الوسم: Triple-A Games

  • Mastering Logr: Tips to Triumph in Ys X: Nordics

    Mastering Logr: Tips to Triumph in Ys X: Nordics

    Quick Links

    As you advance through the main storyline of Ys X: Nordics and embark on your sea adventure with your shield sister, Karja, you’ll encounter a fascinating character named Logr. He is introduced as one of the three enemy generals, and his mission is to enhance the drama of this heroic tale.

    Logr provides one of the most intense battles in the entire game. You’ll face him at the conclusion of your journey in the Ruined Capital of Ribe, and he certainly won’t make it easy for you to prevail.

    Logr Overview and Attack Patterns

    When you reach the Ruined Capital of Ribe, you will have fought various bosses that test your skills. However, Logr Valkios presents a unique challenge, even if you are well-prepared—his health pool stands at a daunting 53,200 HP.

    Although his health is lower than that of Jord, another general you faced earlier, his strength and defense statistics are significantly higher, at 418 and 372, respectively. He launches a relentless series of attacks, and here’s what you can expect:

    Attack Name Description
    Sword Descend Logr raises his hands, summoning multiple swords to strike the battlefield. Yellow circles indicate their landing spots. You can try to parry them, but dodging is safer.
    Speed Attacks Logr can unleash a flurry of projectiles at lightning speed, either as orbs or arrows launched in an arc. These attacks are easy to dodge and provide great opportunities for counterattacks.
    Orb Attack Occasionally, Logr sends out a single orb that moves slowly toward your character. This attack is ideal for parrying, allowing you to build up your revenge gauge.
    Spin Attack Logr surrounds himself with rotating swords that expand outward. Look for green and yellow rays below him to anticipate this attack, which is also good for filling your revenge gauge if you parry successfully.
    Mist Attack Once you wear down Logr’s defenses, he enters a phase where he spawns clones. The best strategy is to grapple with each clone while dodging his ongoing speed attacks.
    Wall of Orbs Logr rises into the air and generates a series of blue orbs, especially when his health is low. The orbs will be arranged in a circle around you. Keep moving to dodge them, and prepare to parry when he descends for an attack.
    Purple Pools During certain attacks, like the Wall of Orbs, Logr will place purple rings on the ground. Avoid these, as they inflict heavy damage and hinder your ability to dodge his projectiles.

    How to Defeat Logr

    Given Logr’s diverse range of attacks, it’s clear that defeating him won’t be straightforward. You must be cautious and can’t just spam your attacks, as certain abilities—like the Wall of Orbs—require dodging skills. Getting hit by the orbs can lead to significant losses.

    To prepare, stock up on revival items. Despite the intimidating nature of his attacks, Logr does have a noticeable weakness: he has lengthy cooldown periods between attacks, especially when his defenses are up, and he doesn’t move around much during the fight.

    This stability allows you to utilize abilities that take longer to charge but can deliver a significant impact, since Logr won’t teleport away from your reach.

    Some of the most effective skills for this battle are Karja’s Frost Impact and the Double Smash Duo skill. When Logr initiates the Wall of Orbs attack, focus on evasion until the onslaught subsides; then you can counterattack. If you have enough firepower, you might even defeat him before he can launch that attack.

  • Mastering Your Skills: Defeating Jord in Ys X – Nordics

    Mastering Your Skills: Defeating Jord in Ys X – Nordics

    As soon as Adol arrives in Carnac during Ys X: Nordics, you will witness a sorrowful event as the Griegr raid the village, leading to the disappearance of all its residents. As you delve deeper into the narrative, it becomes clear that Jord has turned the villagers into her puppets, leading you on a journey to purify them as you explore new areas.

    After grasping the extent of Jord’s powers, your second encounter with her takes place at the conclusion of the Griegr Fort on Raufos Island. In this battle, she will not hold back, and you must be fully prepared to give it your all.

    Overview and Attack Patterns of Jord

    Although Jord Dorsen may appear smaller than some bosses you have faced previously, she is a formidable opponent with an impressive 53,533 HP. With stats of 282 STR and 280 DEF, she can quickly diminish the HP of your active character if you’re not careful to avoid her frequent attacks.

    Here are the types of attacks you can expect from her:

    Attack Name

    Description

    Ninja Attack

    This is one of Jord’s signature moves, where she shines her red sword for a moment, then vanishes only to reappear suddenly next to your active character, inflicting damage upon her return. Be prepared to press the parry button as soon as she disappears!

    Slash Attacks

    These are regular attacks she carries out during lulls in the battle using either a red or purple sword. They can easily be parried, but be cautious—being hit by her purple sword will inflict Poison on your character.

    Speed Attack

    Jord often executes fast attacks that are simple to dodge. You can time your counterattacks effectively during this period.

    Red Attack

    Jord may unleash a red attack if the battle drags on. This can be dodged easily, provided you keep a close watch on her movements.

    Area Denial

    When Jord’s durability bar is reduced, she will create an electric field that lasts a few seconds. Stepping into this field will quickly induce Paralysis.

    Defeating Jord Dorsen

    As one of the three major villains, Jord Dorsen will not be a pushover. However, you can implement strategies to gain an advantage. First and foremost, ensure you have health potions and remedies for Poison and Paralysis ready, in case you find yourself needing them.

    With your supplies in order, focus on acquiring quick skills. Since Jord takes a moment to charge her red sword attack, this presents you with a great opportunity to execute a small skill before you need to parry.

    At this stage, building up Adol for damage and Karja for Break is advised to maximize your effectiveness in this battle.

    Begin the fight with Karja, focusing on using skills that deal high Break damage, such as Frost Impact, assuming you’ve mastered this move beforehand. Once her durability is reduced, switch to Adol and unleash your most damaging abilities.

    It’s worth noting that if you can perfectly parry her normal slashes, Jord will stagger briefly, offering you a crucial window to land some attacks.

  • Locating the Eld Grimoire in Romancing Saga 2: Seven’s Revenge

    Locating the Eld Grimoire in Romancing Saga 2: Seven’s Revenge

    Bringing new classes into your imperial team is an excellent way to broaden your abilities in Romancing Saga 2: Revenge of the Seven. Learning fresh spells, discovering new techniques, and increasing your combat options can significantly tilt the odds in your favor against enemies.

    Recruiting the Diviner class can be quite a challenge, but the effort is worthwhile. While you’ll need to sacrifice a different class (which might have serious consequences), gaining the best Umbrology specialist in the game is a compelling reward. Are you ready to face that tough choice?

    How to Begin Tsukijima’s Grimoire of Eld

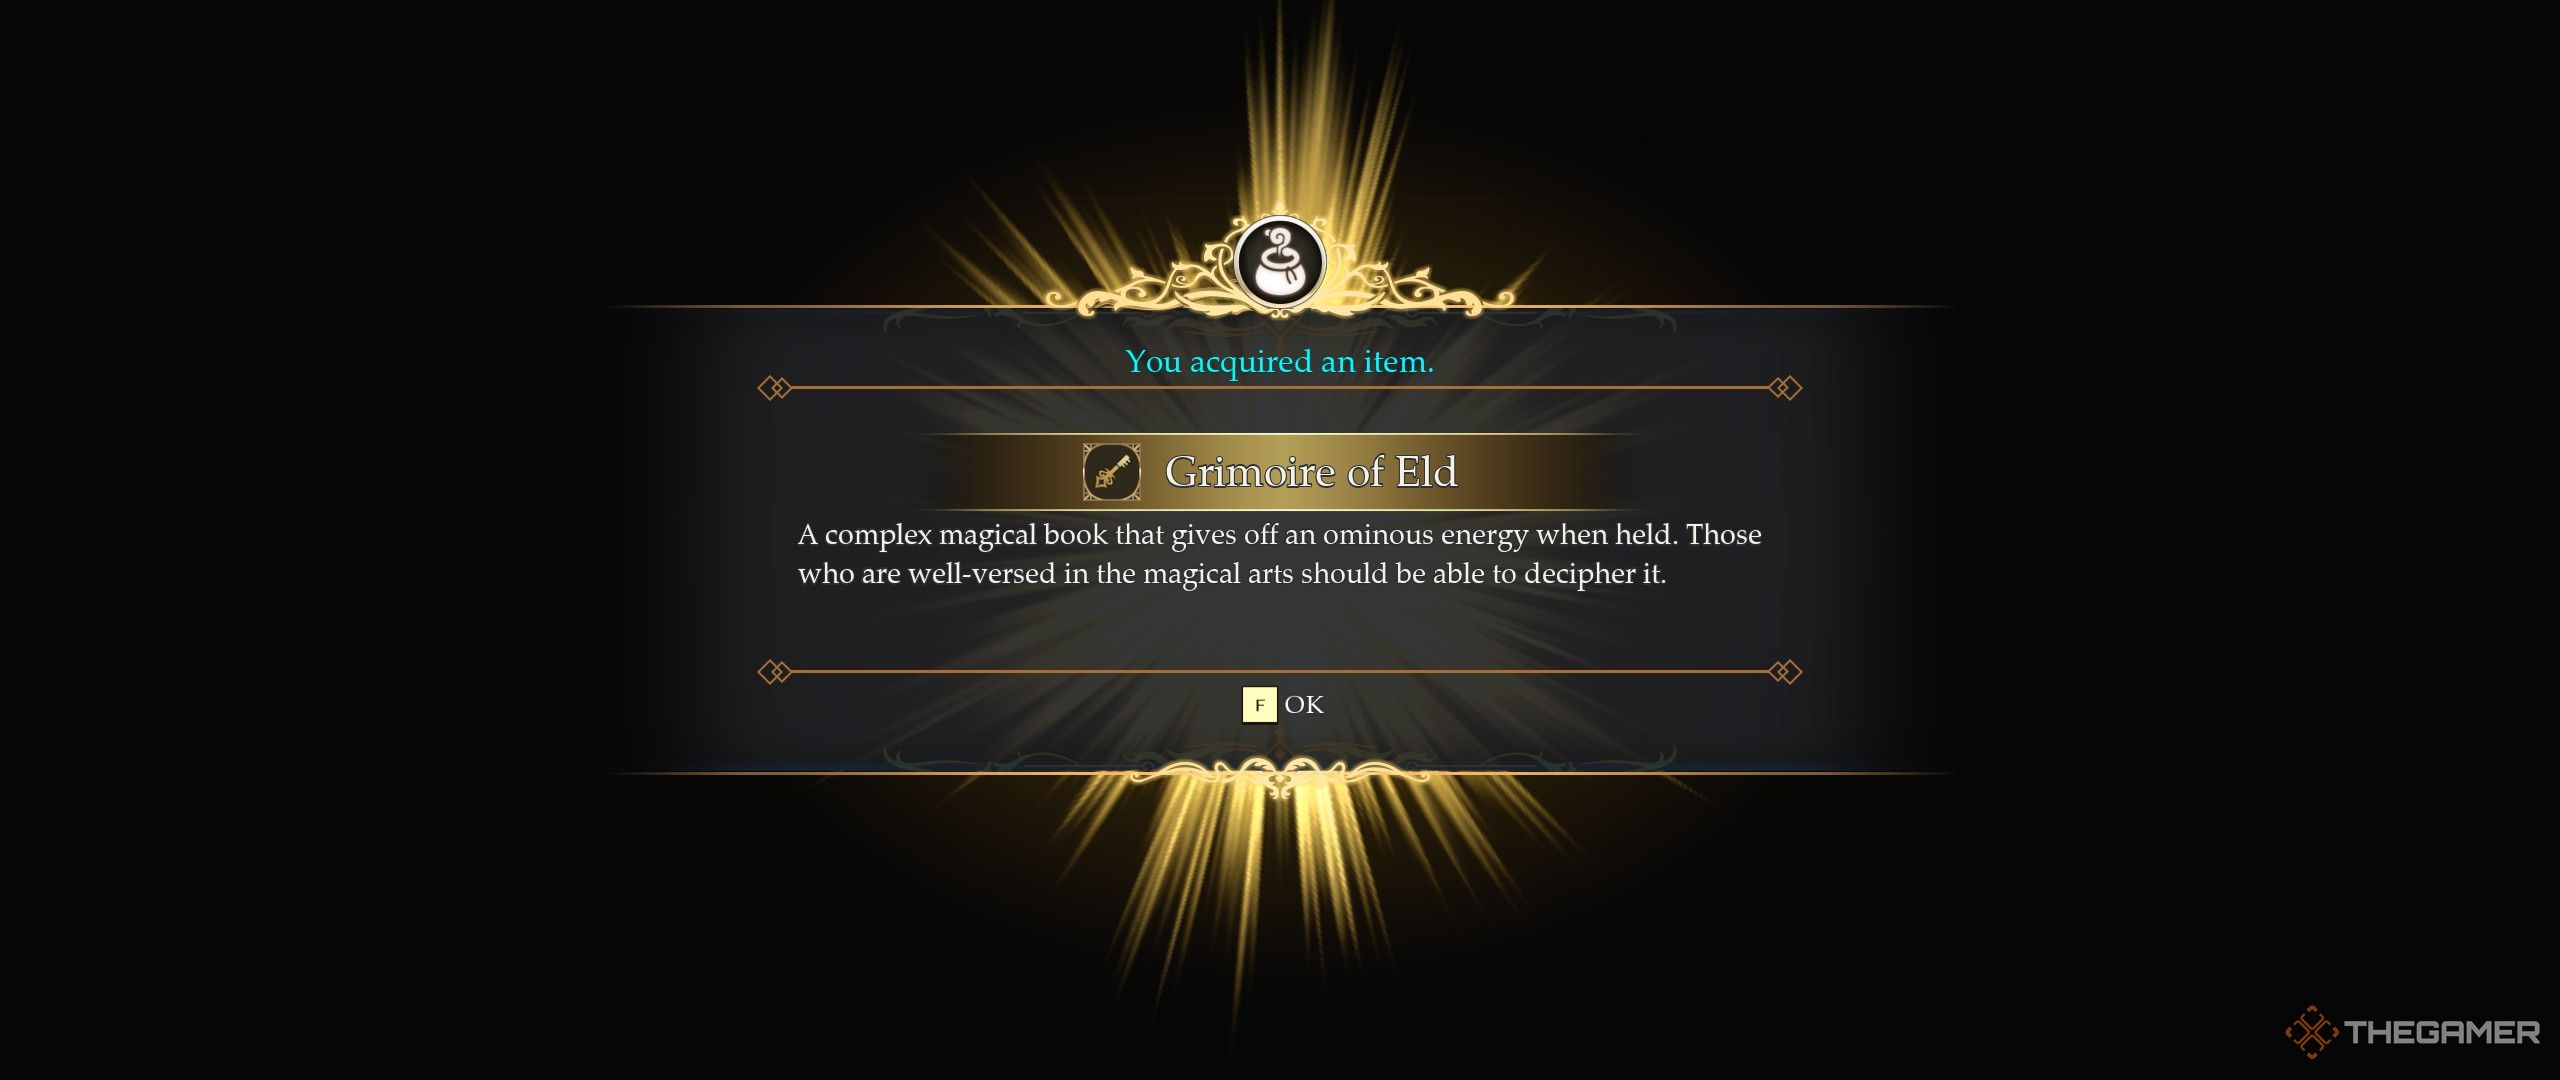
    To start the quest for recruiting the Diviner, just talk to the Diviner in Tsukijima. He will request that you find the Grimoire of Eld, a book of dark spells.

    Where to Locate the Grimoire of Eld

    Retrieving the Grimoire of Eld in Romancing Saga 2.

    Sadly, the Grimoire of Eld can only be acquired if, during the events related to Comroon Island, you permit the volcano to erupt, wiping out a significant part of the island and seemingly eliminating Zemio and its Salamander residents.

    Letting the volcano explode opens up a new area to explore, known as the Emerged Island. This high-level dungeon rewards you with the Grimoire of Eld once you complete it. If you prevent the volcano from erupting, you’ll miss out on gaining Umbrology.

    After obtaining the Grimoire, you can return to Tsukijima (even in its ruined state) and locate the Diviner. Providing him with the Grimoire will help you recruit the Diviner class to your team.

    To unlock Umbrology, you must also show the Grimoire of Eld to the receptionist at the Incantations Lab and then set up the Umbrology Lab.

  • Complete Guide to Chest and Crystal Cluster Locations in Ys X: Nordics

    Complete Guide to Chest and Crystal Cluster Locations in Ys X: Nordics

    Exploring Ys X: Nordics – A Guide to Termina Island

    At first, Ys X: Nordics may feel a bit slow, but things will pick up when Carnac comes under attack. This event introduces you to a variety of characters, including several villains like Jord and Odr. Odr will engage you with his ship and lead you to the Tyrant, ultimately taking you to Termina Island.

    Termina Island is a vast area waiting to be explored if you want to repair your ship. You will encounter numerous enemies and face various puzzles throughout your journey.

    Overview of the Main Area on Termina Island

    The main surface of Termina Island consists of three sections. Each new area can be accessed through a cave system. The first challenge you will encounter involves fast-moving enemies that can dodge your attacks. To effectively battle these foes, trigger their dodge moves, then follow up with powerful attacks.

    Navigating through these areas is relatively straightforward. Here’s a quick guide on what to do:

    1. In the first area, head to the top left of the map to find the Gullinboard. Use this to return to the swampy river, which you can now cross to enter the first cave.
    2. Inside the cave, continue along the only visible path. Eventually, you’ll need to utilize the mana rail to traverse the beach area. A puppet will become visible as you use this rail, guiding you to the second cave.
    3. Proceed to the end of the area, where you’ll face off against the Magna Diga boss and conclude your storyline on Termina Island after purifying the puppet.

    Treasure Locations on Termina Island’s Main Area

    Here’s a list of treasure troves you can discover in the main area:

    Number Type Reward How To Get
    1 Crystal Cluster Crystal Shards As you advance, look to the right in a small hidden spot for this cluster.
    2 Crystal Cluster Crystal Shards Found on a small path leading downward into the island.
    3 Chest 3x Fishing Bait Located on your right near ruins while heading to the top left of the first area.
    4 Chest Gullinboard This is at the top left corner of the initial area, necessary to continue.
    5 Chest Gale Boots After crossing the swamp water with the Gullinboard, look for this chest on the right near a merchant tent.
    6 Crystal Cluster Crystal Shards You’ll find it on the right as you enter the second area of the surface.
    7 Chest 25x Basic Craft Stock While using the mana rail, jump halfway to get this chest on an island in the middle.
    8 Crystal Cluster Crystal Shards Visible in a corner to the right after using the mana rail further into the area.
    9 Crystal Cluster Crystal Shards Near the second cave entrance; use the cyan-colored boost to reach it.
    10 Chest Mead Head to the end of the optional area to find this red chest.
    11 Chest 3x Fishing Bait S Utilize the mana rail in the optional area, which will take you directly to this chest.
    12 Crystal Cluster Crystal Shards Located behind a pillar on the left in the third area.
    13 Chest Heartfire Tome Progressing in the third area, you’ll notice a path to the left containing this red chest.
    14 Crystal Cluster Crystal Shards Easily spotted as you move through the area.
    15 Chest 1000x Gold Look for this chest as you continue along the area.
    16 Buried Treasure 800x Gold Can be found through mana sensing at a designated location.
    17 Buried Treasure 5x Dark Drops Same process as above, located in the area.
    18 Buried Treasure Axe Star Accessible in the same manner as the others.
    19 Buried Treasure Empty Lunch Box Use mana sensing to locate this buried treasure.
    20 Buried Treasure 5x Fishing Bait S Can be found via the same mana sensing technique.
    21 Buried Treasure Lyre Star Look for this treasure using the same sensing method as above.

    Note: Buried treasures can only be collected after you unlock Mana Sense during your adventure.

    Adventure through Termina Island Cave One

    The first cave on Termina Island offers a straightforward experience, but be wary of deep water pools. Should you drown, your character respawns at the last land position, so it’s best to maneuver using the Gullinboard to cross them.

    At one point, you will encounter a fork in the path and should choose the right route. Here, use your board on the mana rail to surf across. In the next room, move to the left and climb up onto the higher platform. Here, you’ll need to interact with a broken pillar, which will create a straight mana rail leading through the cave.

    Treasure Locations in Termina Island Cave One

    Number Type Reward How To Get
    1 Chest 2x Antidote In a corner of the initial open room filled with enemies.
    2 Crystal Cluster Crystal Shards Located straight ahead when the path first branches in the cave.
    3 Chest Sword Seal+ Found when taking the straight path at the branch in the cave.
    4 Crystal Cluster Crystal Shards Near the broken pillar you will need to interact with.
    5 Chest Sea God’s Incense After fixing the mana rail, use it and then jump toward the left before reaching the red chest.
    6 Buried Treasure 5x Rainbow Drops Located toward the end of the cave on the left side.

    Termina Island Cave Two Exploration

    At the start of the second cave, your first task will be to jump between two mana rails. Continue deeper into the cave until you enter a large room filled with multiple mana rails. Take the right path and grapple over the gap at the end.

    Keep using your Gullinboard on various rails and boosters to reach the top of the area, allowing you to enter the last section of Termina Island’s surface.

    Treasure Locations in Termina Island Cave Two

    Number Type Reward How To Get
    1 Crystal Cluster Crystal Shards After the first mana rail, an optional path on your left leads to these items.
    2 Chest Chalice Seal+ Located along the optional path after the first mana rail.
    3 Crystal Cluster Crystal Shards Found right after the first grapple in the large room.
    4 Chest 3x Celadon Clay Automatically visible on a higher platform along your path.
    5 Chest Shield Seal+ Found further along your upward path in the cave.
    6 Crystal Cluster Crystal Shards Near the exit of the second cave, identifiable by a pressure plate.
    7 Chest Armament Blueprint: Fireball Activate the pressure plate to unlock the door and reach this chest using boosts.

    Navigating Termina Island requires skill and exploration, but your efforts in uncovering the treasures and facing enemies will enhance your adventure in Ys X: Nordics. Enjoy your journey!

  • Recapturing an Island in Ys X: Nordics – A Guide

    Recapturing an Island in Ys X: Nordics – A Guide

    The Ozmid Expanse is one of the key locations to explore in Ys X: Nordics, featuring a gameplay element known as Island Recapture. From this point on, you’ll frequently encounter islands surrounded by a pink shield, which you can recapture for various advantages.

    To start, your performance during the recapture will earn you valuable rewards. Recaptured islands can also be unlocked as travel points on your map. Additionally, once you free an island, Hugill gains the ability to highlight all nearby points of interest.

    Guide to Sea Recapture

    To begin recapturing an island, navigate closer to it when you spot it on the water. As you approach, a popup will appear, providing key details including:

    • Rewards for achieving a first clear and for each performance tier
    • Special crew abilities available during the recapture
    • The difficulty of the recapture and the number of waves you’ll encounter in each phase

    After reviewing this information, you can opt for a standard recapture or deploy a Blitz Beacon to skip a portion of it. However, it’s advisable to complete it normally, as skipping makes it nearly impossible to achieve an S-tier rating.

    If you use the beacon, the game will bypass the sea recapture and teleport you directly to the final area of the land recapture for the concluding battle.

    As the battle commences, multiple ships will appear around the island, protected by three barrier pillars. Your primary objective is to eliminate all three pillars in each wave. Once you destroy them in one wave, the next wave will immediately commence. It’s essential to keep an eye on the bottom left of your screen.

    This area displays various tasks that will boost your morale, indicated above your HP on the bottom right. Achieving new levels in morale will trigger one of your crew’s special abilities. This morale becomes crucial during the land portion of the recapture.

    While it’s easy to quickly destroy the pillars and conclude the sea recapture, it’s wise to take your time and work on completing your tasks.

    This strategy will not only boost your final score but also make the land battle much simpler.

    Upon defeating all turrets in each wave, the shield surrounding the island will drop, allowing Adol and Karja to move onto the land portion for the next stage of the recapture.

    Guide to Land Recapture


    Once you enter the land battle, a popup will display various buffs you’ve earned based on your morale level (up to level ten). These could include reductions in damage taken, increases in damage dealt, and even enhancements to your revenge gauge multiplier, among others.

    During the land battle, you need to progress through a series of rooms and defeat all enemies in each before advancing. Some rooms may have hidden mechanisms you’ll need to uncover using Mana Sense. After vanquishing the foe in the final room, the recapture will be complete.

    Your ultimate rewards will be based on your scores from both the sea and land capture phases, with the highest rewards given for achieving S tier.

    If you finish a recapture but don’t achieve the top tier, you can always try again through the planning room on the Sandras.

  • Complete Guide to Chest and Crystal Cluster Locations on Lecto Island in Ys X: Nordics

    Complete Guide to Chest and Crystal Cluster Locations on Lecto Island in Ys X: Nordics

    Ys X: Nordics is a game that starts off at a leisurely pace but gradually picks up as you dive deeper into the main story. Initially, players will find themselves wading through a fair amount of dialogue with limited combat, until they reach Balta Island. Here, you must complete a trial to unite Adol and Karja as shield brethren.

    To get started, you’ll venture to Lecto Island, which is the first significant island you’ll need to explore in its entirety. Along the way, be on the lookout for hidden treasures and crystal clusters as you traverse the landscape.

    Lecto Island: Main Area Overview

    As you approach Lecto Island, you’ll need to dock your ship at the back, since a Griegr ship occupies the front. After stepping off, move inland a little until you discover a spot to use a mana string to cross to the other side.

    Continue deeper into the island until you reach a fork in the path. Take the right route (left on the minimap) which leads to a higher platform. Here, you’ll find another mana string opportunity that allows you to enter a cave and advance the story.

    Tip: You’ll encounter several giant boars in this area. It’s wise to focus on dodging their attacks before attempting to strike back.

    Treasure Locations in the Main Area

    As you explore the main area of Lecto Island, you’ll uncover various treasures. Here’s a breakdown of what and where to find them:

    Number Type Reward How To Get
    1 Crystal Cluster Crystal Shards After using the mana string for the first time, look for it on a cliff to your right.
    2 Chest 10x Basic Ingredients This chest is visible on the minimap near the crystal cluster above.
    3 Chest 2x Stimulant Found on the northern edge before diverging into one of the paths.
    4 Chest Arion Charm After the second mana string, this chest is to your left and guarded by a boar.
    5 Crystal Cluster Crystal Shards Jump down to the small river in the lower area to find this cluster.
    6 Buried Treasure Gold Located in a small ditch at the area.
    7 Buried Treasure 3x Rainbow Drop Found after the path divides at the right edge.

    Note: You won’t find buried treasure right when you arrive; continue the story until you unlock the mana sense ability.

    Cavern of the Rite: Area Overview

    Upon entering the Cavern of the Rite, you’ll navigate through a series of rooms filled with traps and enemies. The initial rooms will feature pressure plates. You can sprint through these areas to avoid projectile traps.

    In the first room, timing your movements is essential to dodge boulders, while the next will challenge you with four enemies that you need to evade. After dodging, get close for a powerful attack.

    Eventually, you’ll need to use Karja’s mana burst to reach higher platforms. Clear all enemies in the following rooms and use Adol’s burst to break through thorn walls to proceed. You’ll eventually face a miniboss named Ziomander.

    Tip: Ziomander has substantial health, so focus on using your strongest skills to defeat it swiftly.

    As you progress, defeat a few Griegr in a larger room. Use the path on the right to climb higher and find a lever that opens the door ahead. Move past a room filled with more traps and enemies, using mana string to reach and defeat the Griegr.

    This will lead you to the final room where you can initiate the boss fight against Ioi, concluding your adventure on Lecto Island.

    Treasure Locations in the Cavern of the Rite

    While exploring the Cavern of the Rite, you’ll find several treasures. Here’s a list of what to look for:

    Number Type Reward How To Get
    1 Chest Armor Seal This chest is visible as you make your way through the cavern.
    2 Crystal Cluster Crystal Shards Found in the open upon entering the second room after the chest mentioned above.
    3 Crystal Cluster Crystal Shards Located in the center after you enter the large room in the cavern.
    4 Chest Breath Formula Use Karja’s burst near the broken platforms left as you enter the big room, then Adol’s burst to clear the blockage.
    5 Chest Warrior Bandana Found along the path while attempting to activate the lever in the big room.
    6 Buried Treasure Shield Star Located on the left path at the rear of the big room in the cavern.
    7 Crystal Cluster Crystal Shards Another cluster found in the center of the rooms as you explore.
    8 Chest 3x Cureleaf These two chests can be found on either side of the platform in the room following the big one.
    9 Chest Axe Seal
    10 Buried Treasure Black Strong-Arm Located towards the end of the cavern, accessible with mana sense.

    By following these tips and treasure maps, you’ll enhance your adventure in Ys X: Nordics while mastering the challenges throughout Lecto Island and the Cavern of the Rite. Enjoy your journey!

  • Unlocking the Dancer in Romancing Saga 2: The Seven’s Revenge

    Unlocking the Dancer in Romancing Saga 2: The Seven’s Revenge

    Contents Overview

    System Functions and Introductory Guides

    Boss Strategies for The Seven

    Character Class Guides

    Romancing Saga 2: The Revenge of the Seven stays true to its roots, being a solid remake of the original game while introducing some fresh features. One of the notable expansions is the option to recruit the dancer class.

    The dancer is arguably the most effective rapier user in the game. She performs her roles adeptly and is also a formidable spellcaster, making her one of the top classes available (and that’s not even factoring in her impressive class ability). However, unlocking her potential requires a significant investment of your time and effort.

    How to Recruit the Dancer


    You can recruit the dancer by speaking with her at the Atlanticus tavern after watching her dance. It’s a straightforward task—provided you’ve completed the intricate Mermaid Quest first. Unfortunately, this class is locked until you finish the Mermaid Quest. This quest includes a series of steps like:

    • Finding the mermaid in Atlanticus.
    • Conversing with the witch.
    • Collecting the swallow’s nest from Toba.
    • Getting the eggshell from The Savannah.
    • Saving the mole people.
    • Gathering water from Lake Aqua.
    • Acquiring the potion from the witch.
    • Finally, using the potion to speak with the mermaid three times.

    Clearly, the Mermaid Quest is complex. For a more thorough step-by-step guide, feel free to check our full walkthrough.

    You must complete the entire Mermaid Quest with a single emperor. If your emperor dies or there’s a time skip, you will fail the quest. It appears impossible to recruit the dancer if you don’t complete this quest successfully.

    Overview of the Dancer Class


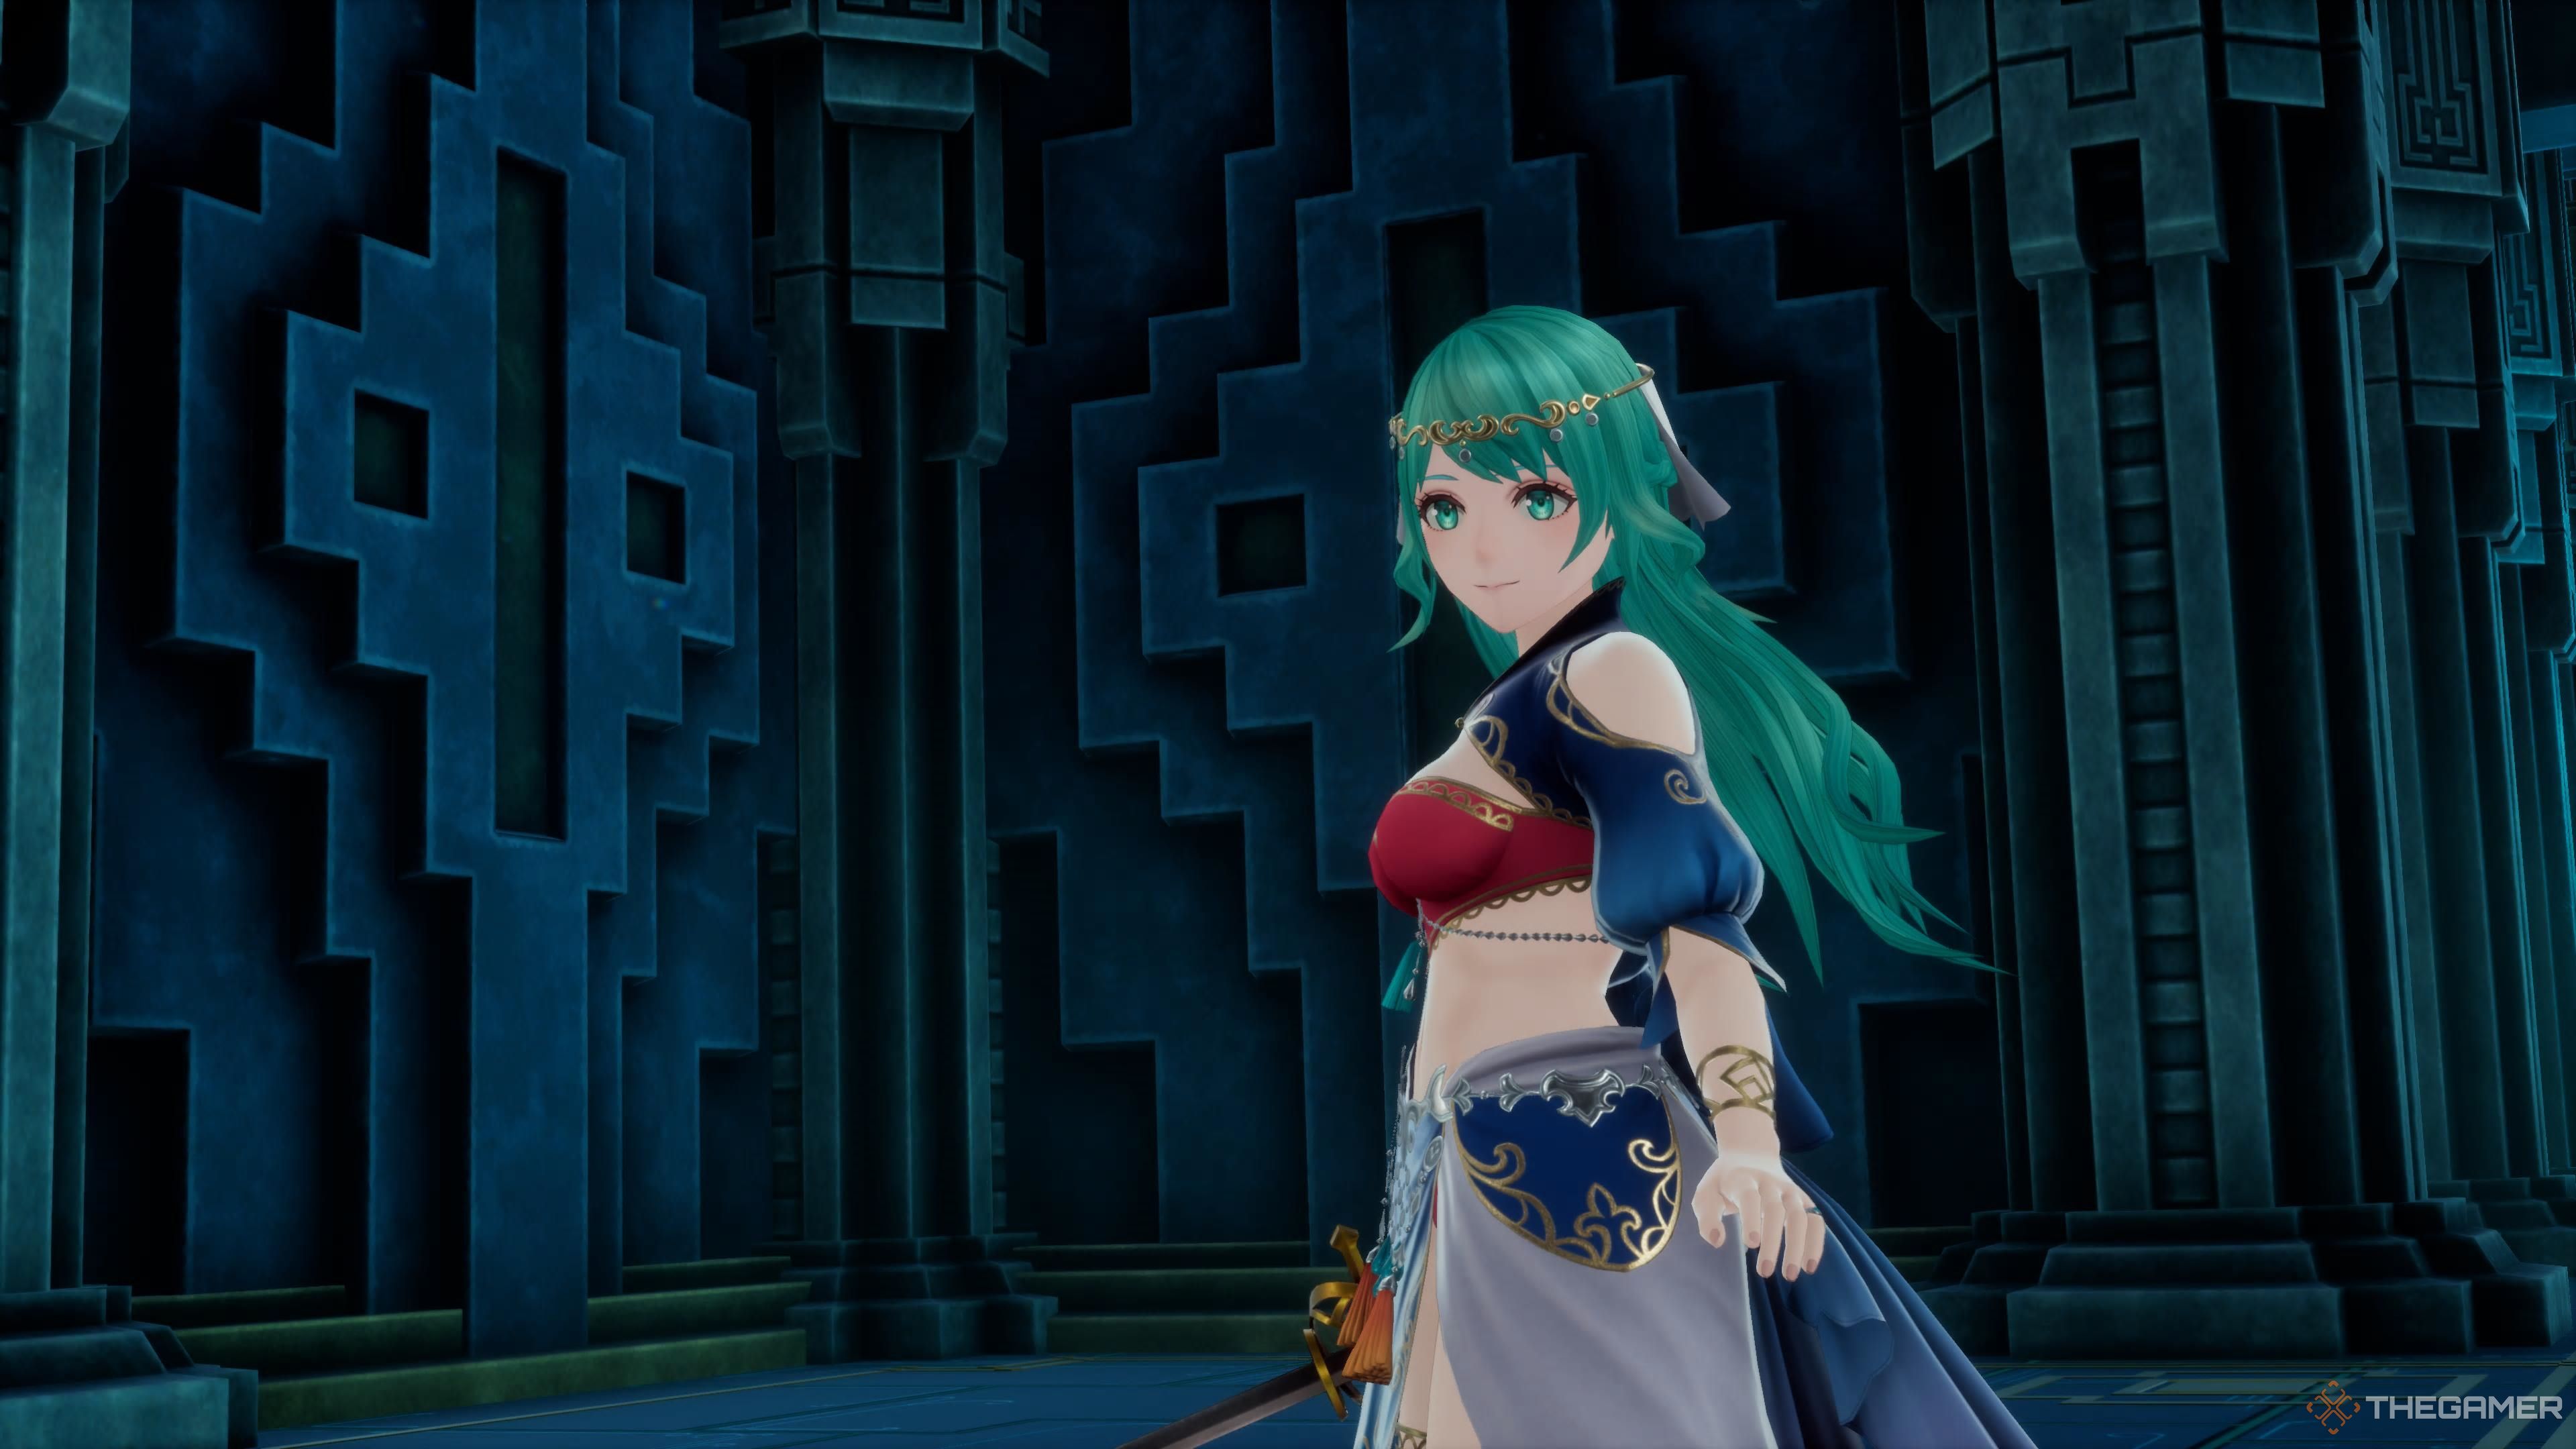
    The dancer after a battle in Romancing Saga 2: Revenge of the Seven.

    The Dancer class is one of the most adaptable in the game. While her strength and vitality are her lowest stats, they remain around average levels. She boasts impressive speed and dexterity, along with a high magic attribute. Proficient with both the rapier and water magic, she excels in close-quarters combat while being a capable water magic practitioner.

    Moreover, her special ability, Penny Pincher, allows her to recover a quarter of the Overdrive gauge after executing an overdrive attack. This significantly boosts your chance of using the game’s most powerful attacks more often.

  • Defeating Magna Diga in Ys X: Nordics Made Easy

    Defeating Magna Diga in Ys X: Nordics Made Easy

    As you progress through the story, you’ll encounter various bosses, including the second major one you can defeat on Termina Island. This boss, known as Magna Diga, has its own unique mechanics that you’ll need to understand in order to stand a chance against it.

    Magna Diga Overview and Attack Pattern

    Your encounter with Magna Diga begins when you arrive on Termina Island after being pushed into the Tyrant by Oor. This location is a vast graveyard filled with the remnants of many ships that fell victim to treacherous water currents. As you explore the island’s caves and landscapes, you’ll eventually find yourself in a large sand pit.

    Upon entering this pit, Magna Diga will emerge. This boss boasts a hefty 39,100 HP and 142 DEF—making it tougher than any foe you’ve encountered before, excluding earlier unbeatable bosses. Even if you’ve focused on leveling up, your damage output may feel underwhelming, leading to a prolonged battle.

    Fortunately, Magna Diga does not have a durability gauge you must deplete to inflict damage on its HP.

    Here are the attacks you can expect during the fight:

    Attack Name Description
    Speed Attack This attack is initiated by the boss when it glows blue, usually right at the start of the fight. It’s advisable to dash at just the right moment to avoid this assault. Successfully dodging rewards you with a special animation that takes a portion of Magna Diga’s HP away.
    Burrow Attack This attack occurs when Magna Diga burrows under the sand, sucking in the surrounding area. If it manages to pull you in, be prepared for a powerful ground slam that inflicts heavy damage.
    Ground Slam While partly above ground, Magna Diga will launch into a ground slam, hitting the ground repeatedly with both its front and back. This attack is relatively easy to parry and will occur several times.
    Ground Spin At times, Magna Diga will surface and execute a spin attack. Although this move is easy to dodge, it can cause significant damage if you get hit.
    Area Denial Magna Diga can create area-denial effects by dropping wooden debris or generating brown patches on the ground. You’ll sustain damage if a wooden structure falls on you or if you step into a brown pool.

    How to Defeat Magna Diga

    Now that you’re familiar with Magna Diga’s attack patterns, let’s discuss strategies for taking it down. Essentially, there are two main approaches: the safe method and the risky method. In both cases, wait for the boss’s speed attack to chip away at its HP initially.

    For the safe method, retreat while Magna Diga is burrowed until it reemerges, then unleash all your powers to defeat it. Be sure to switch between your two characters to utilize both their SP effectively, as Adol typically inflicts more damage.

    Since the boss doesn’t feature a durability bar, it’s best to focus on using high-damage skills against it.

    If you prefer a riskier approach, allow the boss to suck you in while it’s burrowed, timing your parry with its subsequent attacks. While this method can be challenging, it increases your damage multipliers for dual skills, allowing you to defeat the boss more quickly.

    You can also time your parries during its spin attack and ground slam to maintain safety while still gaining those valuable multipliers. Once you successfully defeat Magna Diga, you’ll be rewarded with gold, experience points, and crystal shards.

  • Shiro and the Enchanted Coal Village

    Shiro and the Enchanted Coal Village

    In Shin-Chan: Shiro And The Coal Town, you begin in a charming village that eventually leads you to the enigmatic Coal Town. This mining community is populated with entertaining characters, but its technology is a fascinating blend of vintage and modern innovations.

    Most of the inventions in Coal Town come from a brilliant inventor named Yuri. Her quirky yet amazing creations make everyday life better for the townspeople. When you first encounter her, she’s busy working on a new invention but finds herself lacking some crucial materials—this is where you come in to lend a hand.

    To kick off the first main mission, you need to have advanced the story enough to access Coal Town and completed your first Cooking Challenge for the Back Alley Man, where you had Yosoi prepare Grilled Masu Salmon.

    As you follow Sumi into the laboratory, Yuri will present you with your first Invention Challenge and a list of materials she needs to make her invention:

    • Five Violet Coalite Fragments.
    • One Vacuum Tube.
    • Three Iron Ore.

    At this stage in the game, your best bet to collect these materials is by exploring Coal Town itself.

    Tip: You can refresh where materials spawn by moving to a different area and then returning to the previous location.

    When you enter a new screen, you may find various materials appearing as sparkling spots in different areas, much like the wild vegetables and bugs in Unbent Village. This is where you can gather Violet Coalite Fragments and Iron Ore.

    Finding the Materials

    For Vacuum Tubes, this part of the mission also introduces Shiro’s Discoveries, which can help sniff out these items at several locations, including:

    • In Front of the Main Staircase
    • Coal Town West Street
    • In Front of Coal Town Station

    You should be able to find both Violet Coalite Fragments and Iron Ore in the same spots where Vacuum Tubes may appear, as well as at the Vacant Lot, Back Alley, and Rooftop Road.

    Note: Typically, you will find between one and three of either material at these locations. You may need to visit multiple spots to gather enough.

    After collecting everything you need, head back to Yuri in the laboratory. Once you chat with her, you’ll put the materials into her machine, resulting in the creation of an item called the Street TV That’s Also A Street Lamp.

    Finally, take this invention to In Front Of The Main Elevator to complete your first invention challenge. While you won’t receive any tangible reward for this, you will progress in the main story.

  • Shiro’s Journey Through the Coal Town

    Shiro’s Journey Through the Coal Town

    Even though you’re just five years old in Shin-Chan: Shiro And The Coal Town, there’s plenty to keep you busy. You can chat with various characters, take on missions, explore different areas, and relive the fun of childhood by catching bugs. You’ll find a wide array of insects, such as beetles and butterflies, that serve a purpose beyond mere decoration.

    To fulfill certain sub-missions or achievements, you’ll need to collect various bugs. Many insects will be needed for trading on bulletin boards, so it’s wise to keep a good supply in your inventory. However, you’ll need to venture out and explore to gather them all.

    Insect Locations


    A total of 44 different insects can be discovered throughout the game, most of which are found in Unbent Village.

    Your ability to record them in the Nature Compendium becomes available after you finish the main quest titled The Young Lady And Her Book and acquire the compendium itself.

    Every time you manage to get Kazuko to include a new insect, you’ll earn a small amount of Yen, and you can continue to receive rewards until all 44 entries are logged in the book.


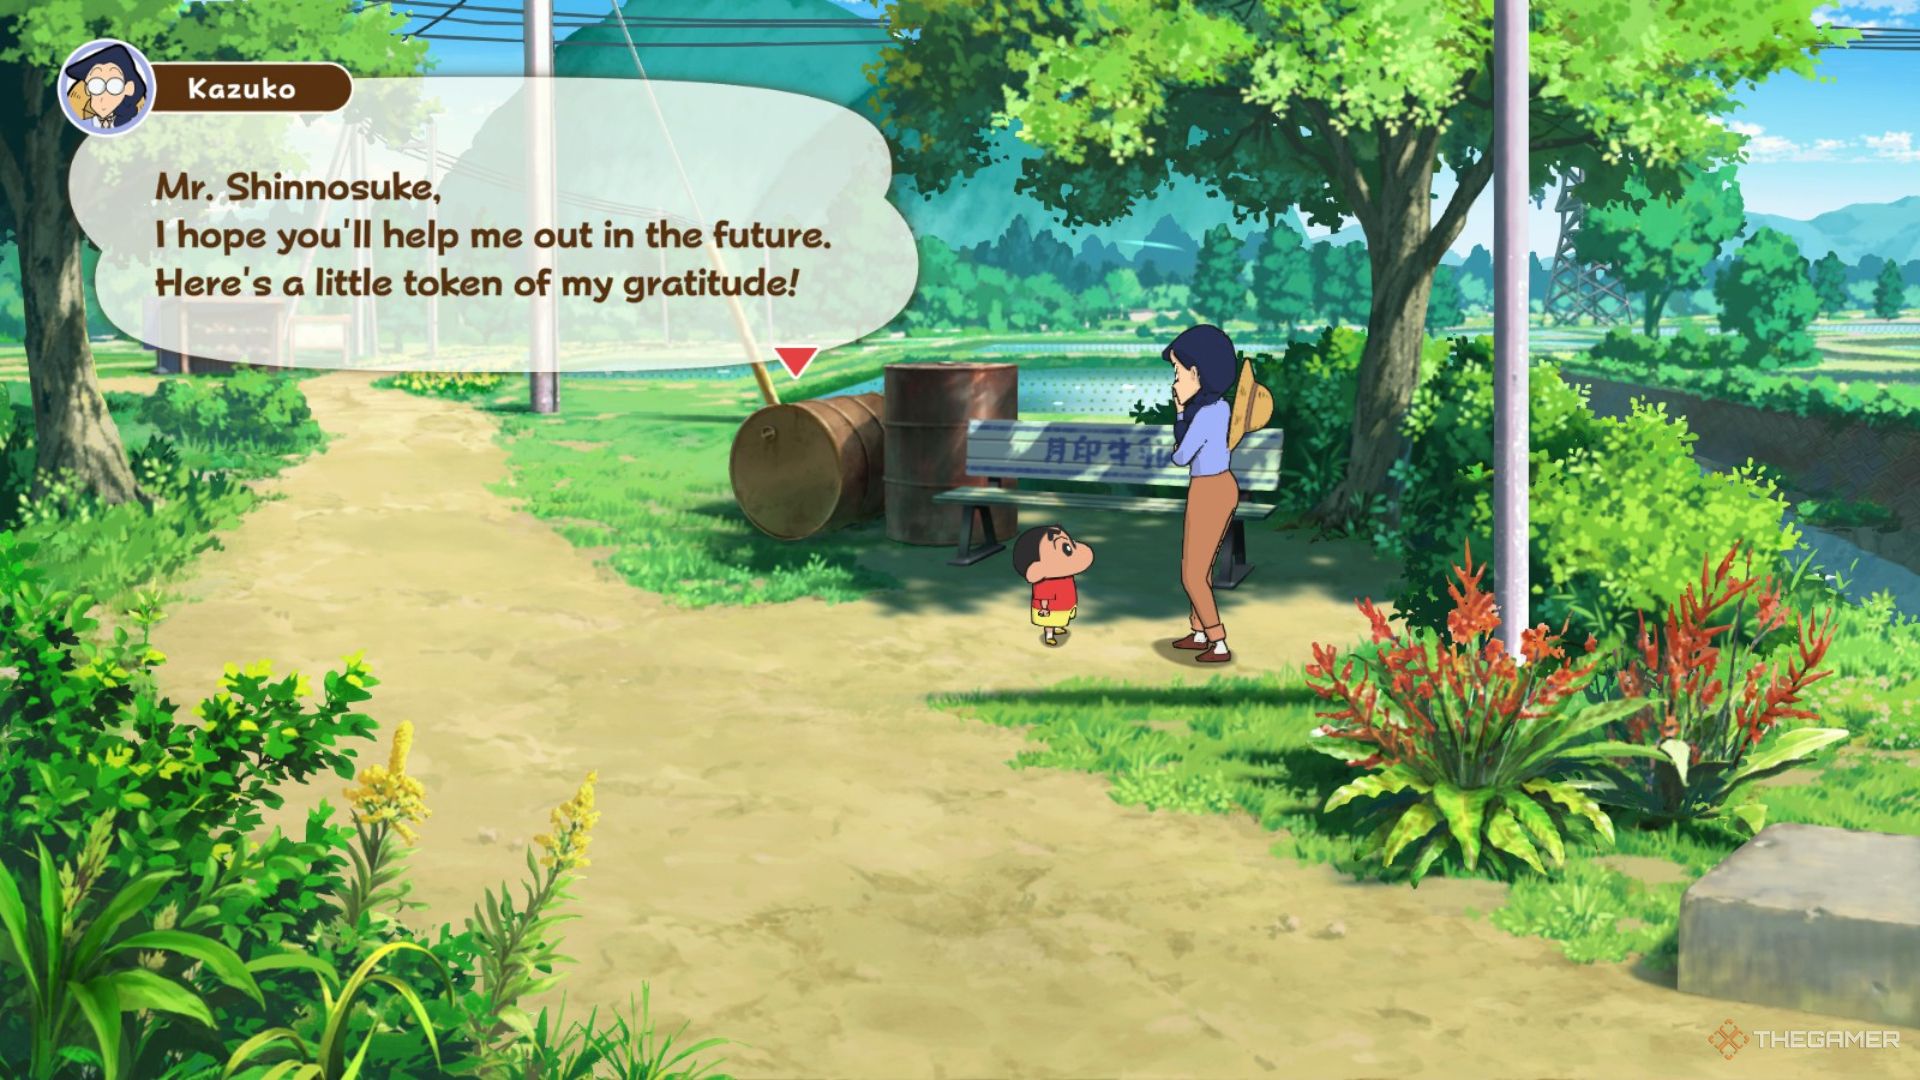
    Shin-Chan showing Kazuko various insects and receiving Yen in return in Shin-Chan: Shiro And The Coal Town.

    After completing the main quest, Public Bath Is Ready, and letting a few days pass, you’ll notice that four new types of insects will start appearing in Coal Town in various spots.

    You’ll initially find only a few insects, but as you finish different sub-missions, more areas of the village will unlock, allowing you to catch additional bugs, some of which will now be found in new locations.

    Occasionally, you might capture bugs labeled as King Size, which signifies that they’re the largest version of that insect. These larger insects appear at random when you catch one and are not limited to specific locations; you also don’t need a special method to catch them.

    The King Size Hunter achievement includes both fish and insects and does not require you to specifically seek out only the King Size insects.

    The King Size designation is important for one of Ace’s sub-missions where you’ll need to catch and deliver any ten of these larger insects, along with achieving the King Size Hunter milestone.

  • Shiro and the Town Embraced by Coal

    Shiro and the Town Embraced by Coal

    When you arrive in Coal Town in Shin-Chan: Shiro And The Coal Town, you’ll discover an exciting new environment filled with opportunities. You’ll encounter various characters, embark on new missions, and collect a range of materials, including several minerals.

    These minerals are essential for completing your Invention Challenges, and they can also be used in side missions or exchanged for items you might find more useful, like scrap parts. Additionally, some minerals serve as materials for trolley parts. There are twelve minerals in total, and every one of them is necessary to finish the game.

    Where to Find All Minerals

    You’ll primarily find 12 different minerals in Coal Town once you access the area. Like wild vegetables, these minerals often appear as sparkling spots while you explore. If you’re lucky, Shiro may spot some of them when you enter a new area, but it’s generally more effective to search for them on your own until you unlock the Sundries Shop and Coal Town’s Bulletin Board.

    • The Sundries Shop opens during the main mission titled Another Great Invention.
    • The Bulletin Board becomes available after completing the mission The Strange Masked Man.

    Additionally, finishing specific main missions will also unlock new minerals for purchase from the Sundries Shop:

    • Completing the Public Bath Is Ready mission unlocks Olivine, Agate, Quartz, Tourmaline, and Jade for sale.

    You can only purchase three of each mineral each day at the Sundries Shop, but rest assured that the stock will refresh the following day. Additionally, winning big in the Trolley Race Courses can net you a good number of minerals, especially the rarer and more valuable ones like Tourmaline and Jade.

    After you’ve advanced further in the game and completed the main mission Thank You Boiling Much, you can also find some minerals in Unbent Village, although only four types: Placer Gold, Raw Copper, Agate, and Quartz.

    Below is a list of the minerals, where to find them, and their purchase prices:

    Mineral Areas Found Purchase Price
    Violet Coalite Fragment In Front Of Laboratory, Coal Town West Street, Coal Town East Street, Back Alley, Vacant Lot, In Front Of Main Staircase N/A
    Iron Ore In Front Of Main Staircase, Vacant Lot, In Front Of Laboratory, Coal Town West Street, Coal Town East Street, Rooftop Road 50 Yen
    Olivine Coal Town West Street, Coal Town East Street, Vacant Lot, In Front Of Laboratory 50 Yen
    Agate Coal Town West Street, Lookout Point, In Front Of The East Elevator, Neighbor’s House (Unbent Village) 80 Yen
    Quartz In Front Of Public Bath, Scrapyard, Narrow Road, Neighbor’s House (Unbent Village) 100 Yen
    Raw Copper Large Watchtower, In Front Of Trolley Raceway, In Front Of Trolley Shop, Neighbor’s House (Unbent Village) 300 Yen
    Placer Gold Large Watchtower, In Front Of Trolley Raceway, In Front Of Trolley Shop, Neighbor’s House (Unbent Village) 500 Yen
    Tourmaline Obtained from completing certain sub-missions, trading, or trolley race rewards 600 Yen
    Jade Obtained from completing certain sub-missions, trading, or trolley race rewards 700 Yen
    Fluorite Obtained from completing certain sub-missions, trading, or trolley race rewards 800 Yen
    Raw Sapphire Obtained from completing certain sub-missions or trolley race rewards 1,200 Yen
    Amber Obtained from completing certain sub-missions or trolley race rewards 1,500 Yen

    This guide should help you track down all the minerals in Shin-Chan: Shiro And The Coal Town effectively!

  • Shiro and the Town of Shadows

    Shiro and the Town of Shadows

    In Shin-Chan: Shiro And The Coal Town, aside from the regular story missions, you’ll occasionally come across special tasks as you interact with various characters in Coal Town. These unique tasks, called Invention Challenges, involve assisting Yuri in creating new inventions that will benefit the community.

    These inventions might be a bit quirky or unusual, yet they provide solutions to specific problems. However, they don’t just magically appear; each invention requires particular materials to be crafted. It’s up to you and Sumi to gather enough supplies for Yuri and ensure that all challenges are successfully completed for the betterment of Coal Town.

    How to Complete All Invention Challenges

    There are six Invention Challenges in the game, and you’ll need to finish each one to complete the main storyline. Each challenge will require a collection of rare minerals and unique junk items alongside a primary material known as Violet Coalite Fragments.

    Make sure to trade for every Violet Coalite Fragment available at the Bulletin Board; you’ll need a total of 290 for all the challenges.

    To gather the necessary materials for any invention, your main options include searching for sparkling spots around town, making trades at the Coal Town Bulletin Board, purchasing items from the Sundries Shop, or, as you progress in the game, winning trolley races and achieving high scores.

    Here’s a breakdown of the Invention Challenges, including how to unlock them, materials needed, and how to obtain those materials:

    Invention Mission How to Unlock Materials Needed How to Obtain Materials
    The Pretty Lady’s An Inventor?! Visit Yuri’s lab for the first time in Coal Town. Violet Coalite Fragment x5, Vacuum Tube x1, Iron Ore x3 Find Violet Coalite and Iron Ore around the Vacant Lot, Coal Town West Street, Back Alley, Rooftop Road, and in front of the Laboratory. Vacuum Tubes are rare on Coal Town West Street or in front of the Laboratory. Shiro can help locate Vacuum Tubes in certain areas.
    Bring Customers To The Diner Finish The Pretty Lady’s An Inventor and the sub-mission Vegetables With Grandma 1, then talk to Yuri. White Dog Statue x1, Violet Coalite Fragment x10, Vacuum Tube x1, Iron Ore x5 Purchase the White Dog Statue from the Sundries Shop for 100 Yen.
    Do You Like It Hot? Complete the main mission Public Bath Is Ready, then talk to Yuri. Lion Mask x1, Violet Coalite Fragment x25, Vacuum Tube x5, Turbine x3, Agate x10, Quartz x10 Buy the Lion Mask from the Sundries Shop for 300 Yen. Turbines, Agate, and Quartz can be traded or purchased from the Sundries Shop.
    Search For The Phantom Gear Finish the main mission A Broken Elevator, then speak with Yuri. 7 Speed Gear Find the SS Typhoon Bike at the Civic Center after completing relevant sub-missions.
    An Invention To Turn You Into An Adult?! Complete the main mission Let The Children Ride, then speak to Yuri. Panda Chair x1, Violet Coalite Fragment x50, Turbine x5, Shaft x3, Raw Copper x6, Placer Gold x6 Purchase the Panda Chair from the Sundries Shop for 600 Yen. Trade for Shafts at the Bulletin Board or buy from the Sundries Shop. Raw Copper and Placer Gold can be traded or found in specific areas.
    The Five Car Trolley?! Finish the main mission Discardson Makes An Announcement, then speak to Yuri. Magic Hand x1, Violet Coalite Fragment x200, Turbine x15, Shaft x10, Tourmaline x20, Jade x15 Buy the Magic Hand from the Sundries Shop for 1,500 Yen by talking to Tanishi at the Coal Town Market. Turbines, Shafts, Tourmaline, and Jade can be obtained through purchases, trades, or trolley race scores.

    Gathering the right materials is key to successfully completing each Invention Challenge. Good luck on your quest to help Yuri improve life in Coal Town!

  • Your Guide to the Imperial Standing System in Romancing SaGa 2

    Your Guide to the Imperial Standing System in Romancing SaGa 2

    Romancing SaGa 2: Revenge of the Seven offers a complex gameplay experience, where enemies evolve alongside your characters, and skills can be shared among party members. So, how do you keep track of all these elements? The Imperial Standing screen is your best resource.

    Imperial Standing provides a comprehensive overview of your current weapon skills and the strength of regular enemies you’ll encounter. It’s also the place to track the Memories of the Seven Heroes you have collected.

    Overall Standing

    Using different weapon types will raise the overall standing for each category. This means that all characters wielding those weapons will become stronger as those standings improve.

    However, equipping all party members with the same weapon won’t always yield the best results, as the effectiveness of a given weapon type will diminish once it surpasses enemy strength. It’s typically more beneficial to distribute talent points evenly across your team.

    Current Revenue

    The Leon Bridge immediately after its construction in Miramar in Romancing Saga 2: Revenge of the Seven.

    Your earnings from each battle are fairly steady. The amount you receive is defined by the “Current Revenue” displayed in your Imperial Standing. You can boost your revenue through story developments such as creating trade routes or securing specific areas like the Gemstone Mines.

    Quests that boost your revenue are usually easy to identify by their titles. For example, a quest related to opening a trade route will likely increase your financial gains once completed.

    Enemy Strength and Battle Record

    The Giant boss in the Gelid Ruins in Romancing Saga 2: Revenge of the Seven.

    This section allows you to monitor the current prowess of the enemies you will face. The key metric here is the Battle Record, particularly the Total Battles statistic. The more engagements you have—whether you win, lose, or retreat—the tougher your enemies will become.

    This is a crucial aspect to watch closely; if the Enemy Strength becomes significantly greater than your weapon and armor options, you may find yourself overwhelmed.

    We have a dedicated section on leveling efficiently and avoiding being outmatched by enemies. Be sure to check it out.

    Memories of the Seven

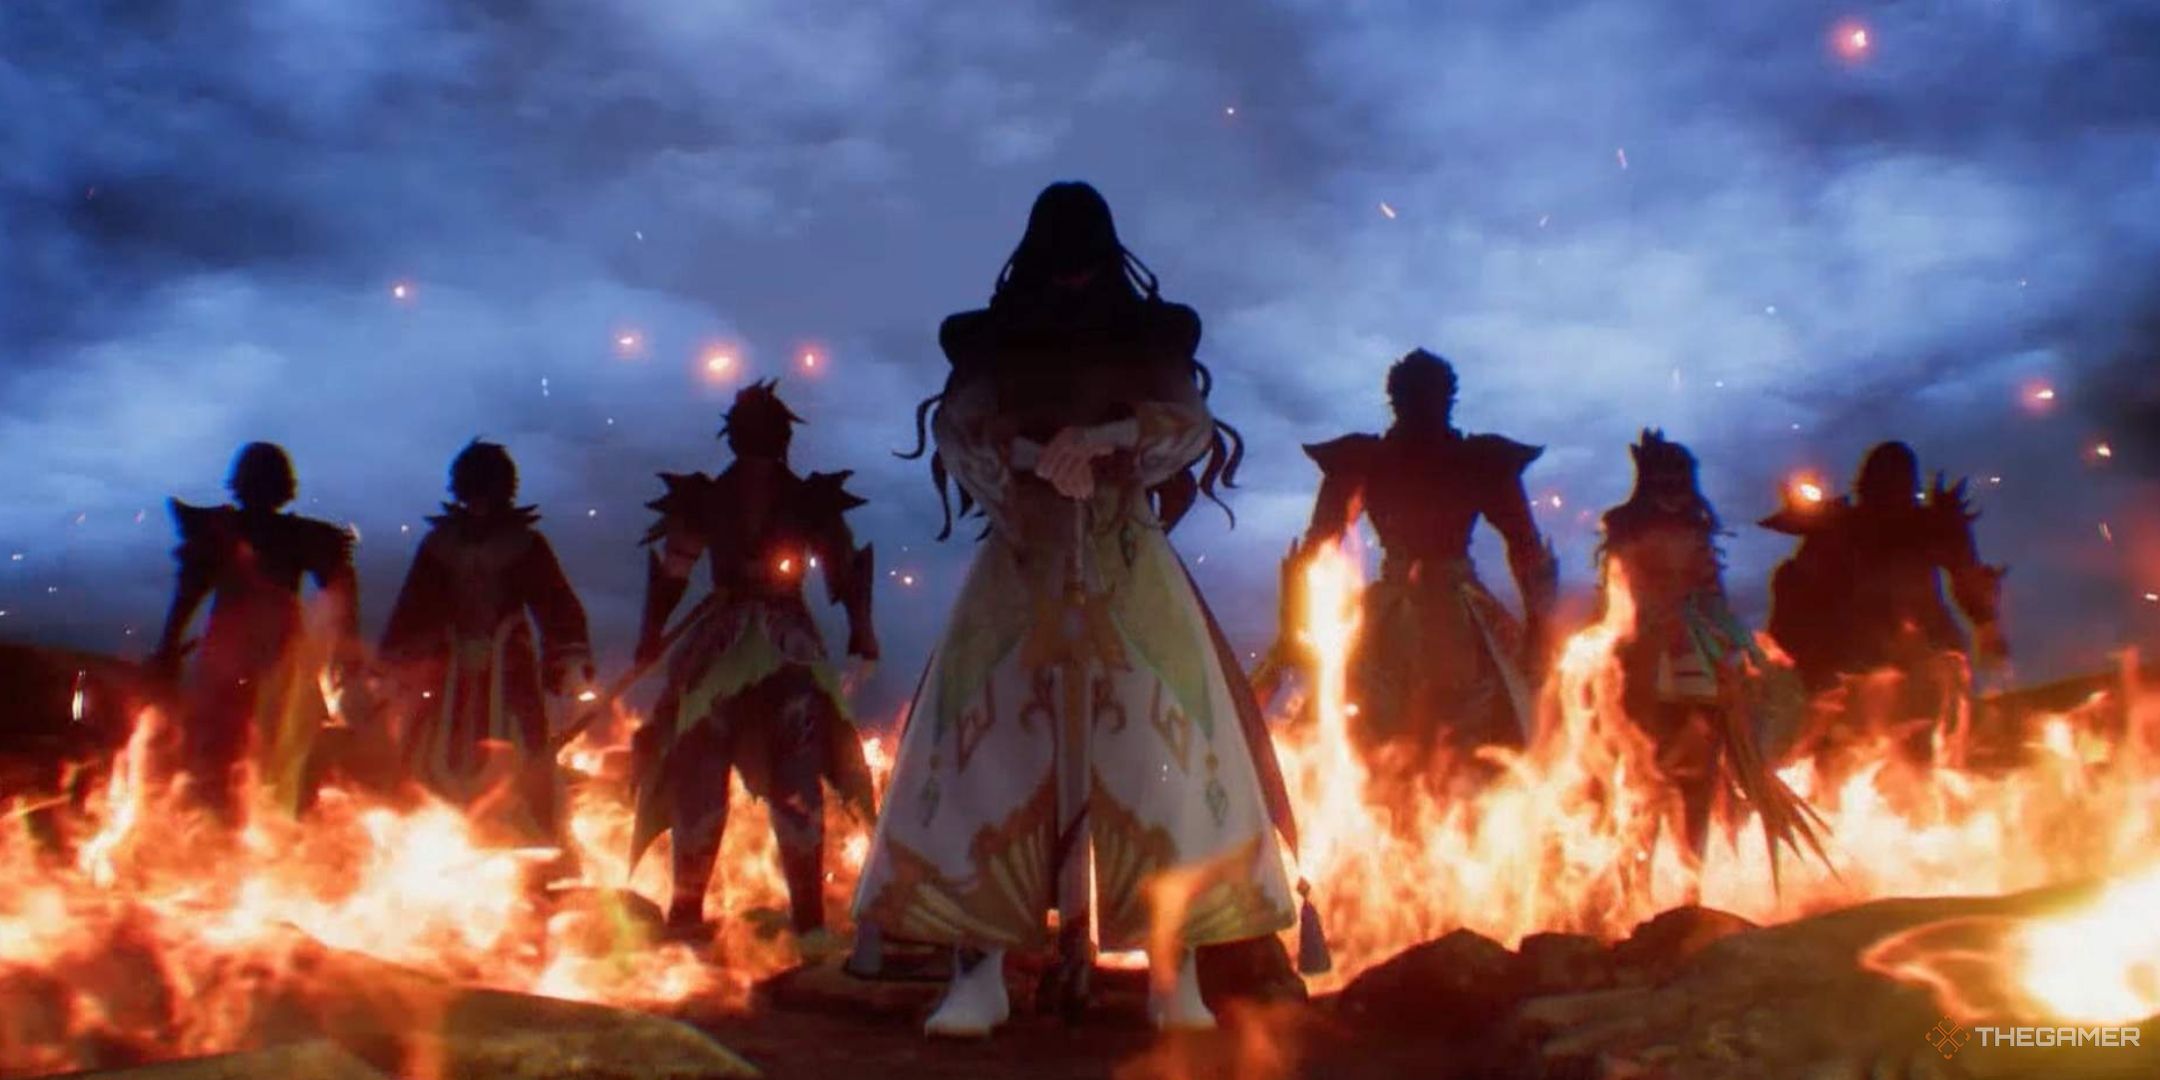
    The Seven surrounded by fire in Romancing SaGa 2.

    Throughout your journey, you’ll come across glowing obelisks. Interacting with these reveals memories related to the main villains of the story. These memories are collected as you progress through various dungeons. Although they don’t offer rewards, collecting all 15 earns you a trophy.

    For those searching for all the memories, they can only be found in dungeons and enemy-filled locations. A glowing trail will always guide you to where these memory devices are located.

    Annex Region Rewards

    Romancing Saga 2 Revenge Of The Seven. A view of The Steppe.

    Every time you liberate a new region and form alliances with its leaders, you unlock another reward tier in the Annex Region Rewards. By claiming the first region, you’ll gain access to class abilities and the Smithy facility. Liberating your third region unlocks the Avalon Gardens, increasing your battle earnings. The fourth region unlocks a three-person Unite Attack.

    Freeing five regions grants access to the Imperial University. Completing seven regions allows for ability mastery (enabling characters to equip abilities from characters not in your party). Liberating eight regions lets you expand the Imperial University. Nine regions will introduce new classes, and finally, liberating eleven total regions will enable the four-person Unite Attack. These enhancements will significantly strengthen your team.

    If you complete the main quest for each region, they typically end with you annexing that area.

  • Romancing Saga 2: Revenge of the Seven The Seven Strike Back

    Romancing Saga 2: Revenge of the Seven The Seven Strike Back

    What should a dedicated RPG player do in this situation? This hub contains a compilation of guides designed to assist you in navigating the game. You’ll find detailed breakdowns on everything from the distinctive progression system and intricate enemy scaling to the innovative inheritance model. Plus, we offer strategies on how to track down and defeat all seven bosses. This guide aims to address all your queries and help you tackle the more challenging aspects of the game.

    • System Mechanics and Beginner Guides

      This section is packed with guides to help you grasp the various systems at play in “Romancing Saga 2: Revenge of the Seven.” There are numerous complex mechanics in this game, and these guides will simplify everything for you, allowing you to bypass the confusion.

    • Boss Guides for The Seven

      Romancing Saga 2 Revenge Of The Seven. The seven heroes of legend.

      The seven heroes featured in the title are central to the story’s conflict and serve as your main targets in the game. We’ll provide you with all the essential information you need to confront and defeat these formidable foes.

    • Class Guides

      Romancing Saga 2 Revenge Of The Seven. Close up on the ninja class.

      A key aspect of “Romancing Saga 2” is forming a diverse team of characters. You won’t start with all the characters right away; instead, you’ll have to recruit them by completing various missions. These guides will help you understand the details of each mission.

  • Unlocking the Amazon Class in Romancing Saga 2: Seven’s Revenge

    Unlocking the Amazon Class in Romancing Saga 2: Seven’s Revenge

    One of the exciting features in Romancing Saga 2: Revenge of the Seven is the ability to unlock various classes and assemble your ideal party. With a multitude of options available, you’ll discover that these classes are unlocked through different means, some of which are quite unique.

    For example, the Amazon class can be found deep in the Salamat Jungle. These formidable warriors specialize in using spears and possess various other skills, making them a tremendous asset to your Empire. Fortunately, recruiting them is simpler compared to some other classes.

    How to Recruit the Amazon Class


    To recruit the Amazon class, follow these three straightforward steps:

    • Locate the Amazon Village within the Salamat Jungle.
    • Rescue the Amazon from the monsters attacking her.
    • Once saved, enter the village and speak to the Amazon there.

    How to Reach the Amazon Village

    The Amazon Village is located in the Salamat Jungle, positioned on the eastern side of the continent. To access Salamat, you must travel east following the events in North Longit.

    To get there, traverse two major areas, taking the eastern exit in both the Steppe and the Savannah.

    Once you reach Salamat, make your way to the southern part of the map to find the exit leading to the Amazon Village. From the southern edge, navigate through a small opening in the wall and then exit to the southeast in the secluded area. This action will allow for fast-travel to the Amazon Village on the world map.


    Deciding whether or not to help the Amazon in Romancing Saga 2.

    Upon entering the Amazon Village, you’ll find the Amazon in the midst of a battle with monsters.

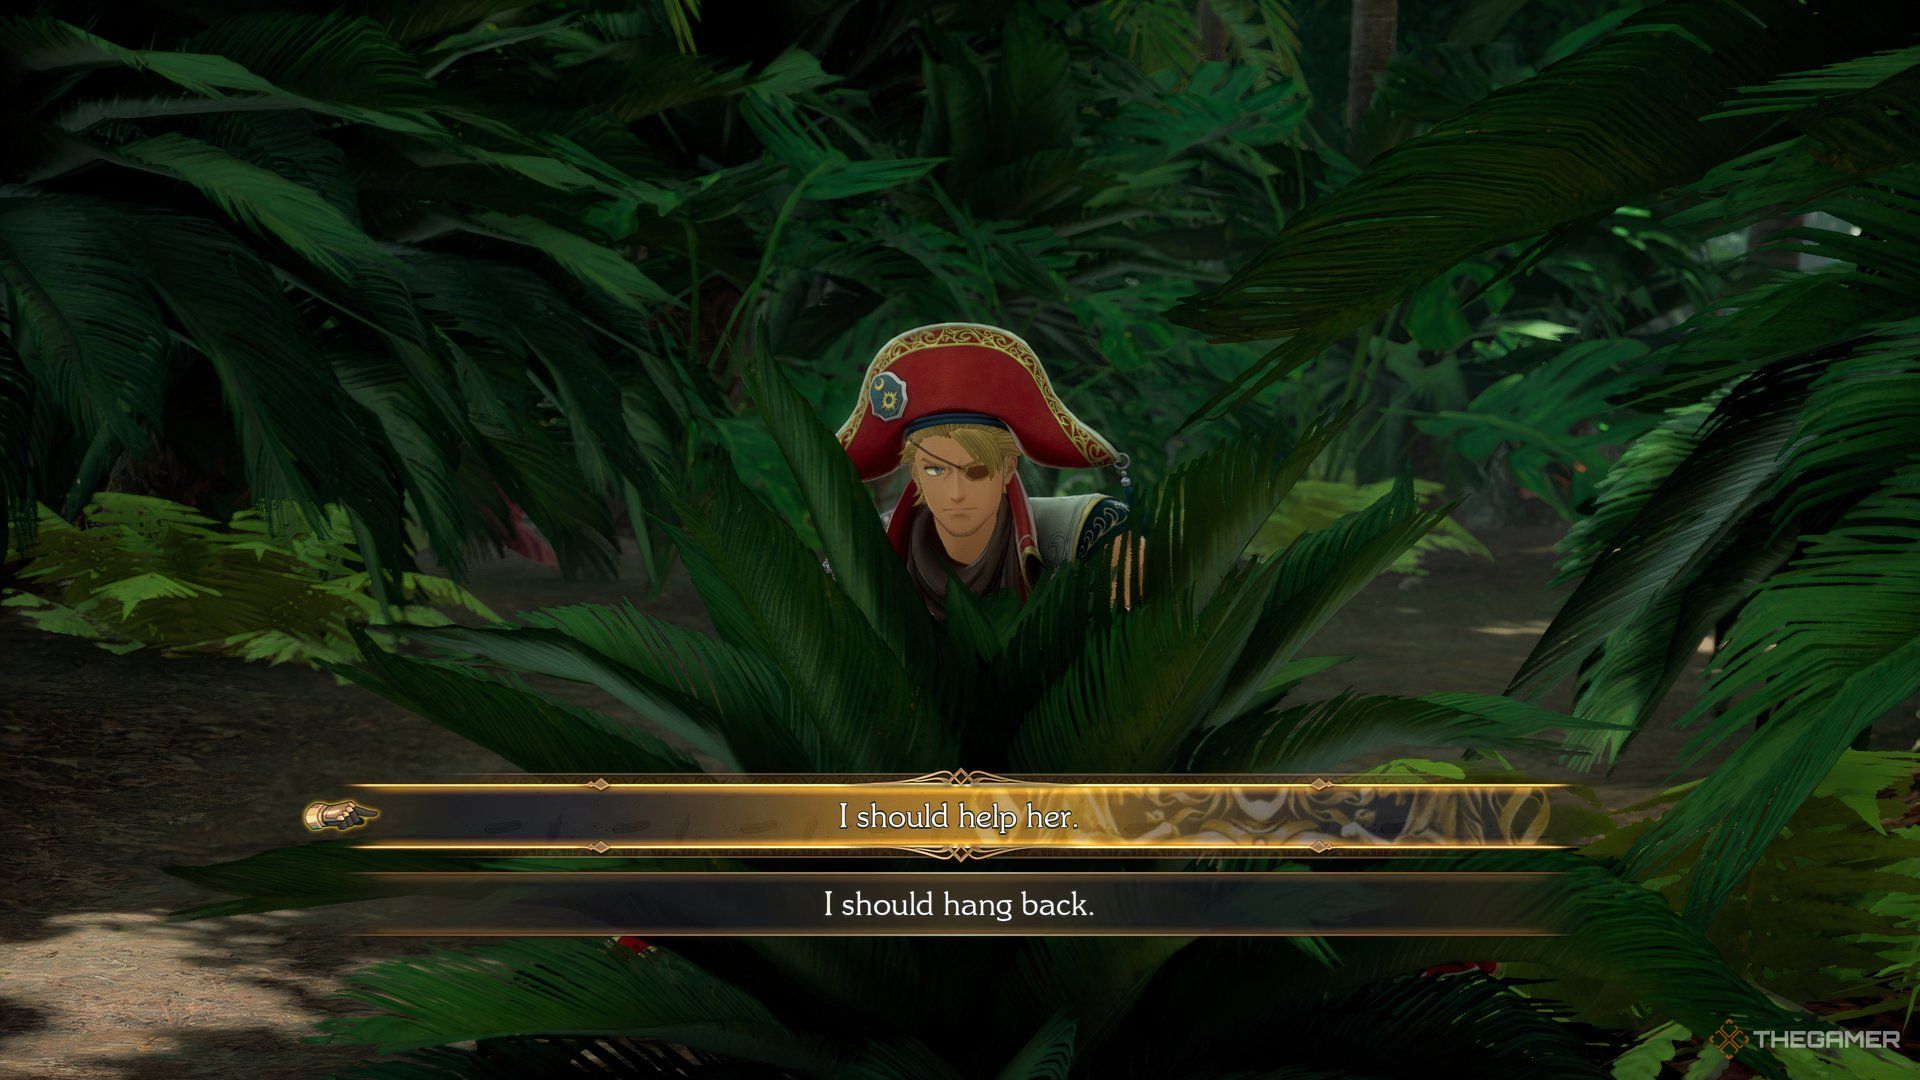
    You can choose whether to assist her or walk away. Choosing to leave won’t terminate the mini-quest; it allows you to prepare for battle. If you decide to help her, proceed forward.

    How to Defeat the Black Widows

    Black Widows are vulnerable to Shortswords, Spears, Bows, and Hydrology. Bringing warriors capable of dealing those types of damage will be advantageous. Since the enemies group closely, using attacks that can strike multiple foes at once, especially targeting the central Black Widow, can make the battle quicker.

    With some smart preparation, this battle can be quite easy. Here are our recommendations:

    • Charge your Overdrive gauge before the fight begins.
    • Include at least one spellcaster equipped with Water Blast II.
    • Bring warriors with skills that can hit multiple foes:
      • Shortsword users with Plasma Thrust.
      • Spear users with Sharp Thrust.
      • Bow users with Rapid Volley or Rain of Arrows.
    • If playing on harder difficulties, it’s wise to have some healers capable of curing Poison, as this will likely be a concern during the fight.

    The Black Widows may drop a Moonbeam Robe when defeated, which is excellent mage equipment that can provide a significant boost for your spellcaster, depending on your progress in the equipment chain.

    After the battle, the Amazon’s response will depend on whether your Emperor is male or female:

    • If you have a male Emperor, the Amazon will rush back to the village, and you won’t be allowed to enter.
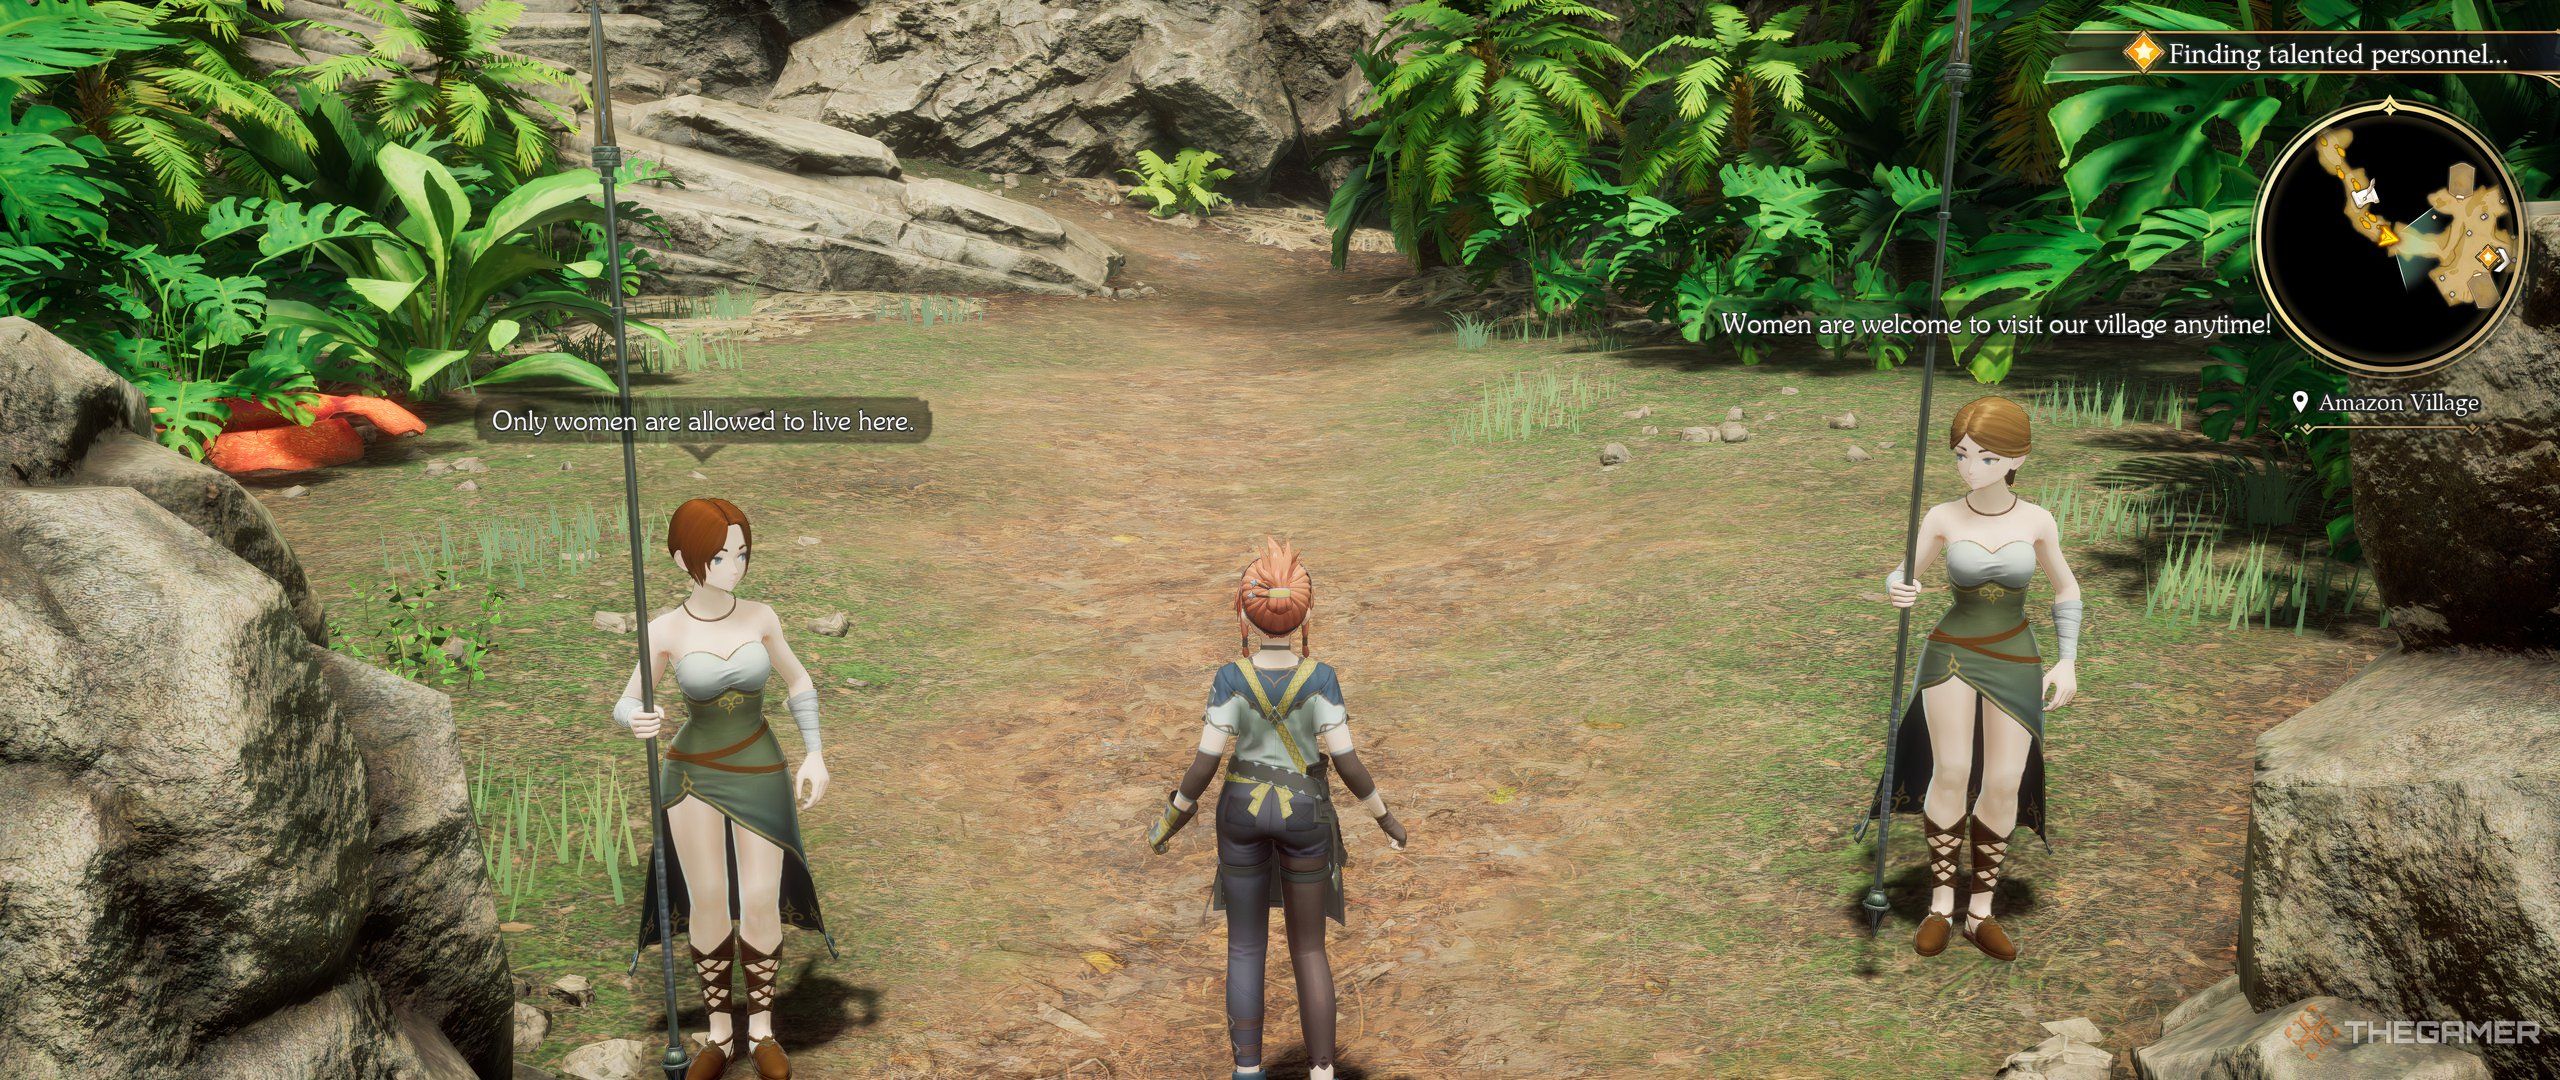
    • If you have a female Emperor, the Amazon will express gratitude, granting you access to the village.

    During this situation, only the gender of your Emperor matters, not the rest of your party.

    How to Enter the Amazon Village


    Entering the Amazon Village in Romancing Saga 2.

    To enter the Amazon Village and speak with the Amazon to join your ranks, all you need is to have a female Emperor. When you have a female Emperor, you can enter the village without any issues and talk to the Amazon, who will gladly join your team.

    As you make your way to the Amazon Village, keep in mind these two points:

    • Stone boats are necessary to navigate across the lava flow on Comroon Island.
    • Beware of a hole in the ground that you must leap over. If you fall in, it leads you to the center of the Salamat Jungle, where you can find some ore for the Pride of the Fabri Family quest.

    The gender of your Emperor doesn’t affect your ability to recruit the Amazon. Even if you have a male Emperor, she will still remember your assistance and join your party after a conversation, whether you choose to abdicate or wait for a generation to pass.

  • Unlocking New Combat Skills and Spells in Romancing Saga 2

    Unlocking New Combat Skills and Spells in Romancing Saga 2

    The advancement system in Romancing Saga 2: Revenge of the Seven is quite distinct and affects how your party members acquire new abilities. Simply leveling up weapon skills and spell categories isn’t sufficient. You’ll need to make use of Glimmers—moments of insight that can occur during battle.

    Glimmers are crucial for unlocking powerful attacks necessary to defeat the game’s toughest enemies. If you miss out on Glimmers, you won’t gain any new moves, so be sure to take advantage of them whenever the opportunity arises.

    How to Trigger a Glimmer

    A character can learn a new Tech during combat if they meet the following criteria:

    • They must be equipped with the correct weapon for that Tech (e.g., Spears for Spear Techs, Swords for Sword Techs).
    • Their Skill level with that weapon must be sufficient to unlock the Tech.
    • They need to know a Tech that can generate a Glimmer for the move they want to learn.

    The final requirement can become challenging as you progress. Initially, basic attacks are enough for most Glimmers, but more complex Techs require specific abilities. For example, a Bow user can learn Rapid Volley through Bow Attack, but to learn Rain of Arrows, they must first use Rapid Volley.

    If all these conditions are satisfied, any available Techs that can trigger a Glimmer will show a light bulb icon next to them. A larger icon means a higher likelihood of activating a Glimmer with that move. The chances of Glimmering depend on the strength of the enemies you face; they’re more likely against bosses, while weaker foes can reduce the chances to zero, removing the icon altogether.

    When a Tech that can trigger a Glimmer is used, there is a chance that the character will instead create and execute a new move. This new move will be added to their Tech repertoire, and they can use it in future turns.

    If a Glimmer doesn’t happen, keep trying as long as you have enough BP to use the required move again.

    Spell and Defensive Glimmers

    You can also gain Glimmers for spells and defensive techniques, though you have less control over these. Defensive abilities—such as Parry, Counter, and Evasions that ensure a specific attack will miss—can Glimmer when a character is hit. The best way to acquire these is to grind for them, so be sure to keep at least one on a character to ensure it registers at the Training Hall for others to use after the next time skip.

    Spells don’t Glimmer during combat. Instead, when a character casts spells that align with a high enough Skill level, they have a small chance to Glimmer a new spell at the end of the encounter. Your best strategy is to consistently cast spells to improve your spellcasters’ Skill levels, then register any new magic at the Incantations Lab.

    Maximum Number of Techs and Spells

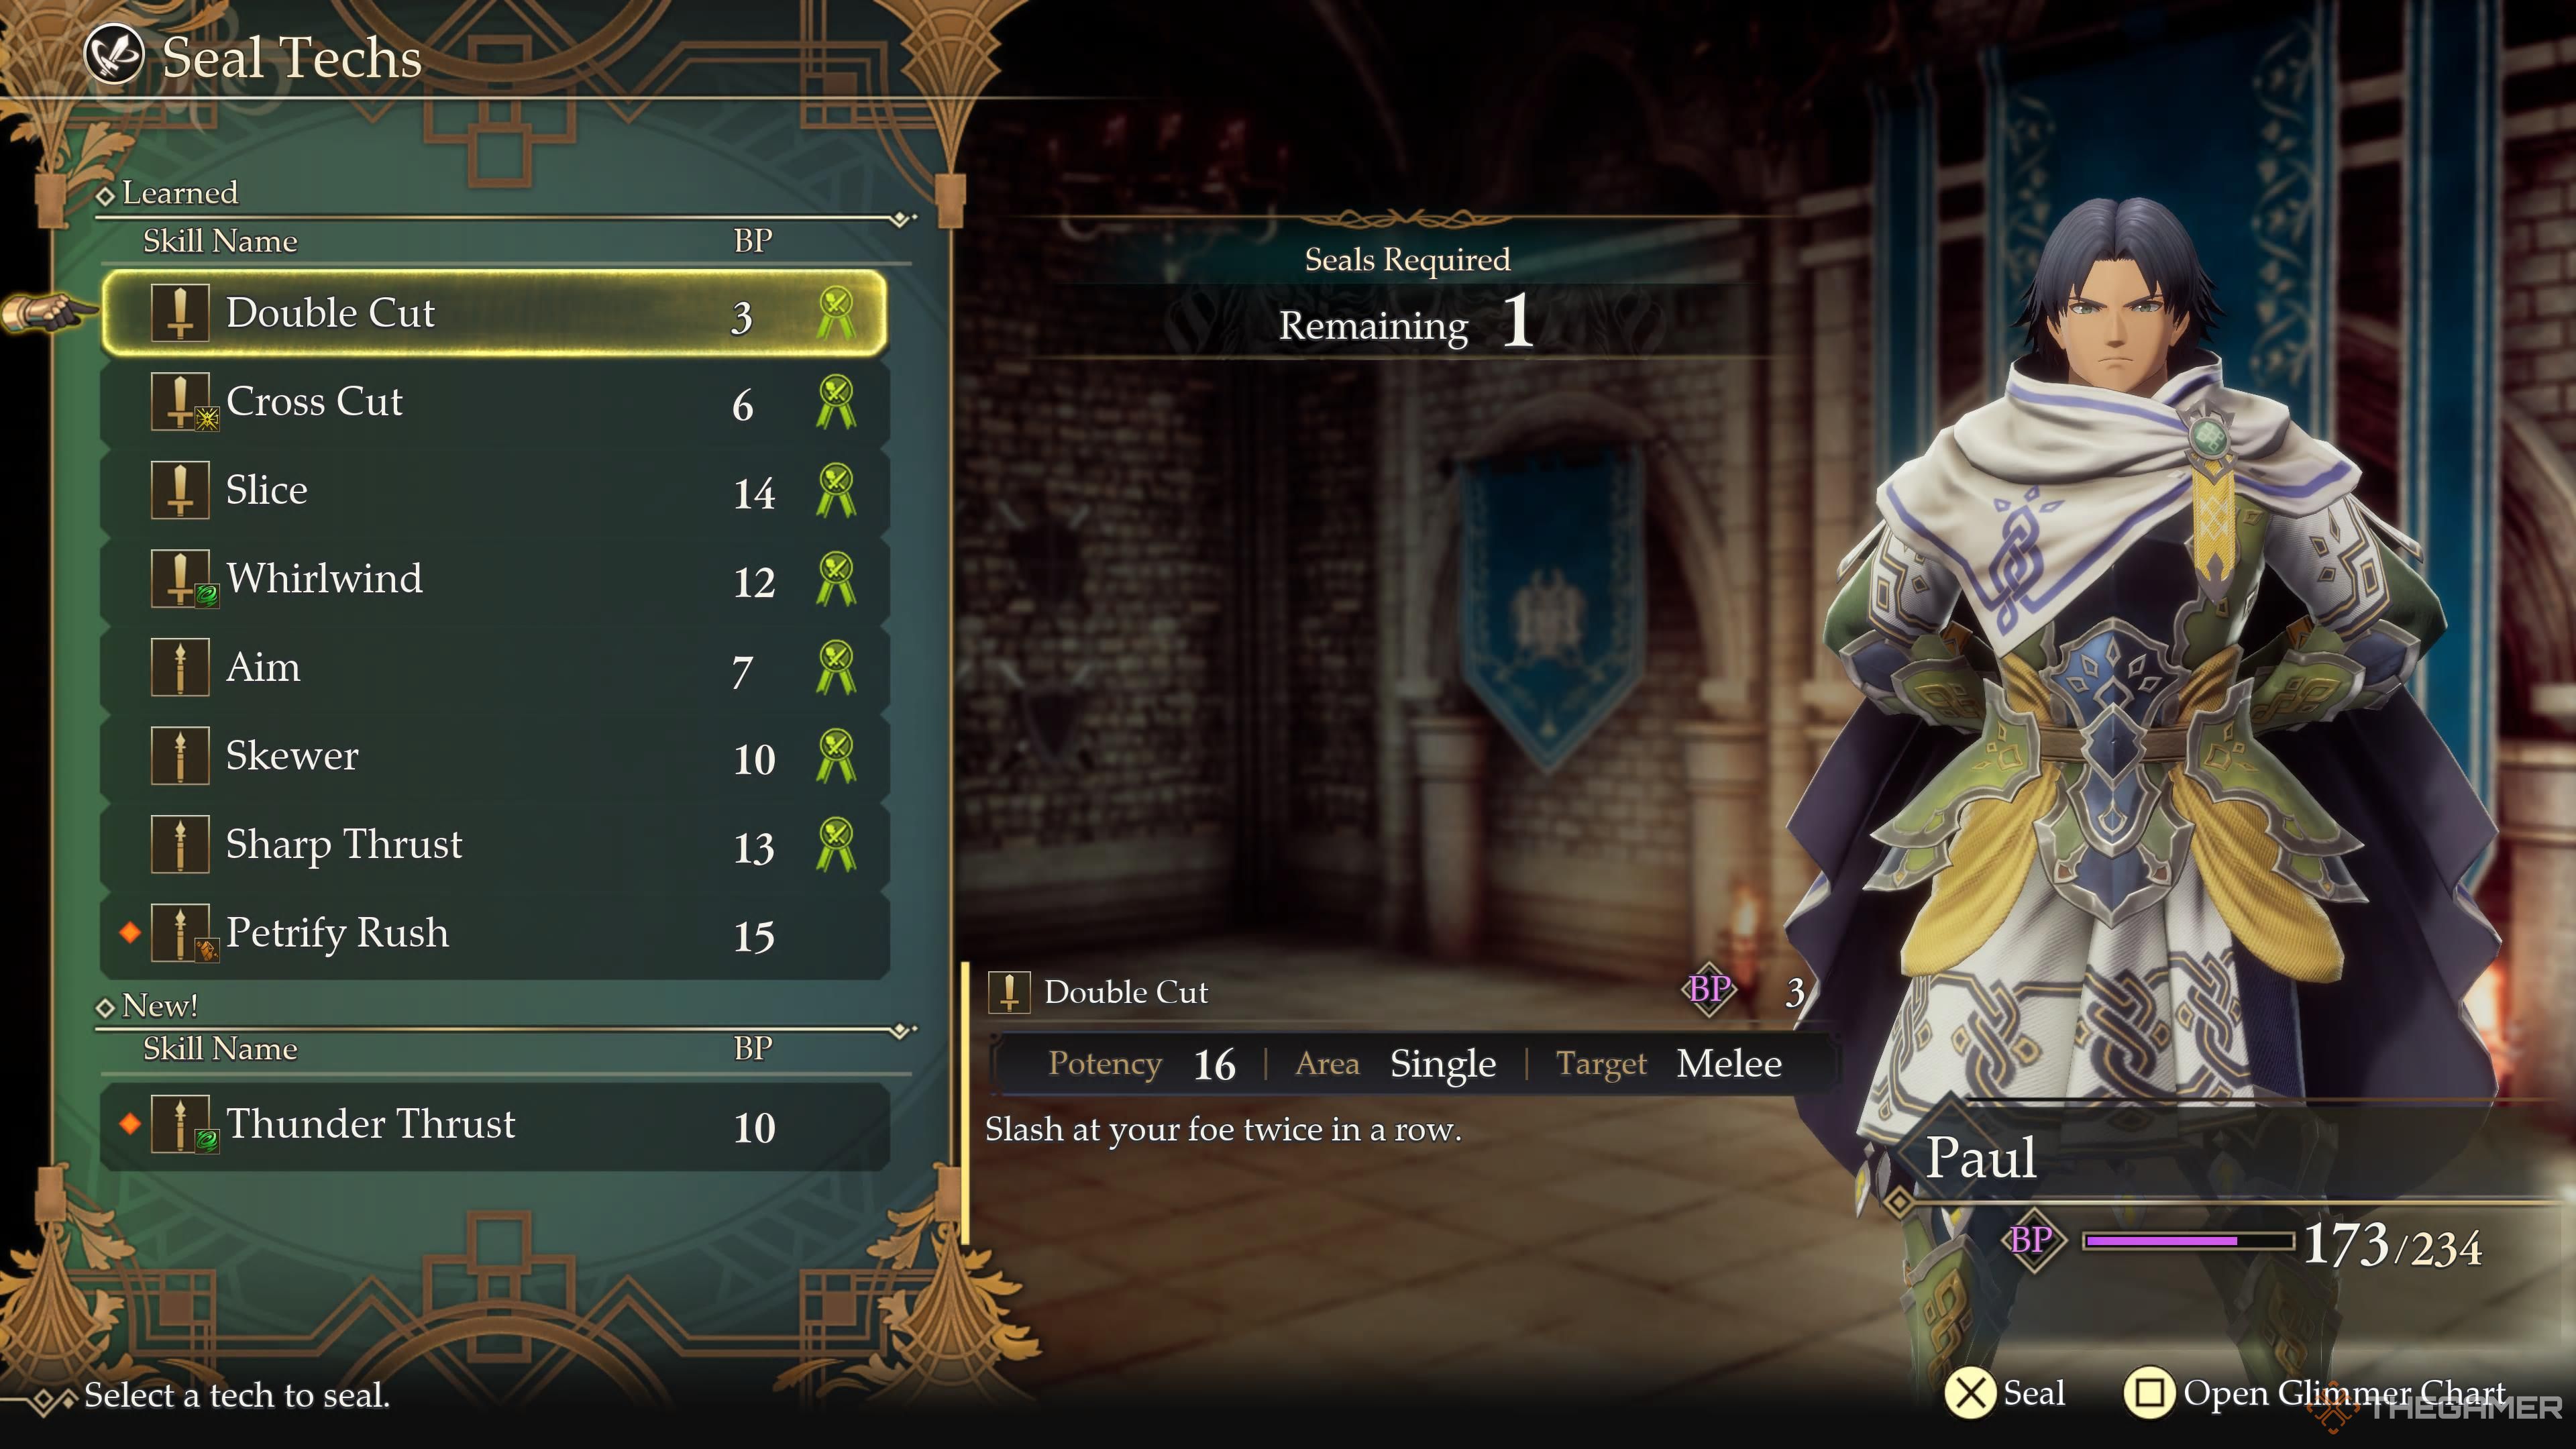
    A crusader chooses a tech to seal for making room for Thunder Thrust in Romancing Saga 2: Revenge of the Seven.

    Each character can hold up to eight Techs, eight Spells, and four Evasions at any given time. You can adjust their setup at the Training Hall and Incantations Lab in Avalon.

    If a character learns a new ability through a Glimmer while at capacity, they will retain it for the duration of the battle. After the fight, assuming they survive, you’ll need to select which abilities to remove to make space for the new ones or choose to forfeit the new ones altogether.

    It’s advisable to discard moves marked with a yellow medal, as these can be easily relearned at Avalon Castle for free at any time.

    If you decide to give up a move immediately, there’s a strong chance it will Glimmer again in upcoming battles. Exercise caution, as this may lead to basic attacks evolving into moves you didn’t intend to acquire. Sometimes it’s better to create room for the new move to prevent unintended Glimmers.

  • Defeating Kzinssie in Romancing Saga 2: The Seven’s Revenge

    Defeating Kzinssie in Romancing Saga 2: The Seven’s Revenge

    The first of the major villains in Romancing Saga 2 is Kzinssie. His Soulsteal ability tragically takes the lives of Victor and Leon during the prologue. However, thanks to Inheritance Magic, Gerard can avoid meeting the same fate as his father and brother. Still, defeating Kzinssie will require more than just a new skill.

    Your initial encounter with Kzinssie, led by Leon, will give you a glimpse of his power, but when you face him as Gerard, the stakes are much higher. The fallen hero will unleash formidable abilities that, while not as lethal as Soulsteal, can still wipe out your party if you’re not careful.


    Once Gerard becomes the Emperor, you’ll have greater flexibility in choosing your party members. Kzinssie is a formidable foe, so assembling the right team is crucial.

    Gerard inherits all of Leon’s powers, which includes the use of light magic. If you haven’t done so yet, consult the Court Mages in the castle to learn Fireball as well. It’s wise to train Gerard in Light Magic until he masters Moonlight, providing an extra healing option during the battle.

    Aries is essential to your team, as you’ll rely on him to cast Life Water almost every turn to counteract Kzinssie’s damage. While he can also handle a mace, that’s more of a backup plan.

    Bear should maintain his role as a frontline tank. If possible, equip him with a mace to increase his damage output against Kzinssie, but remember to keep a Sword in his main slot to maximize his effectiveness. Bear’s key technique in this battle is Parry.

    The final two slots in your party should be filled by characters skilled with bows. Therese, Henry, and Andromache are all great options. No matter who you choose, ensure that both of them have learned Rapid Volley before engaging Kzinssie.

    Guide to Defeating Kzinssie


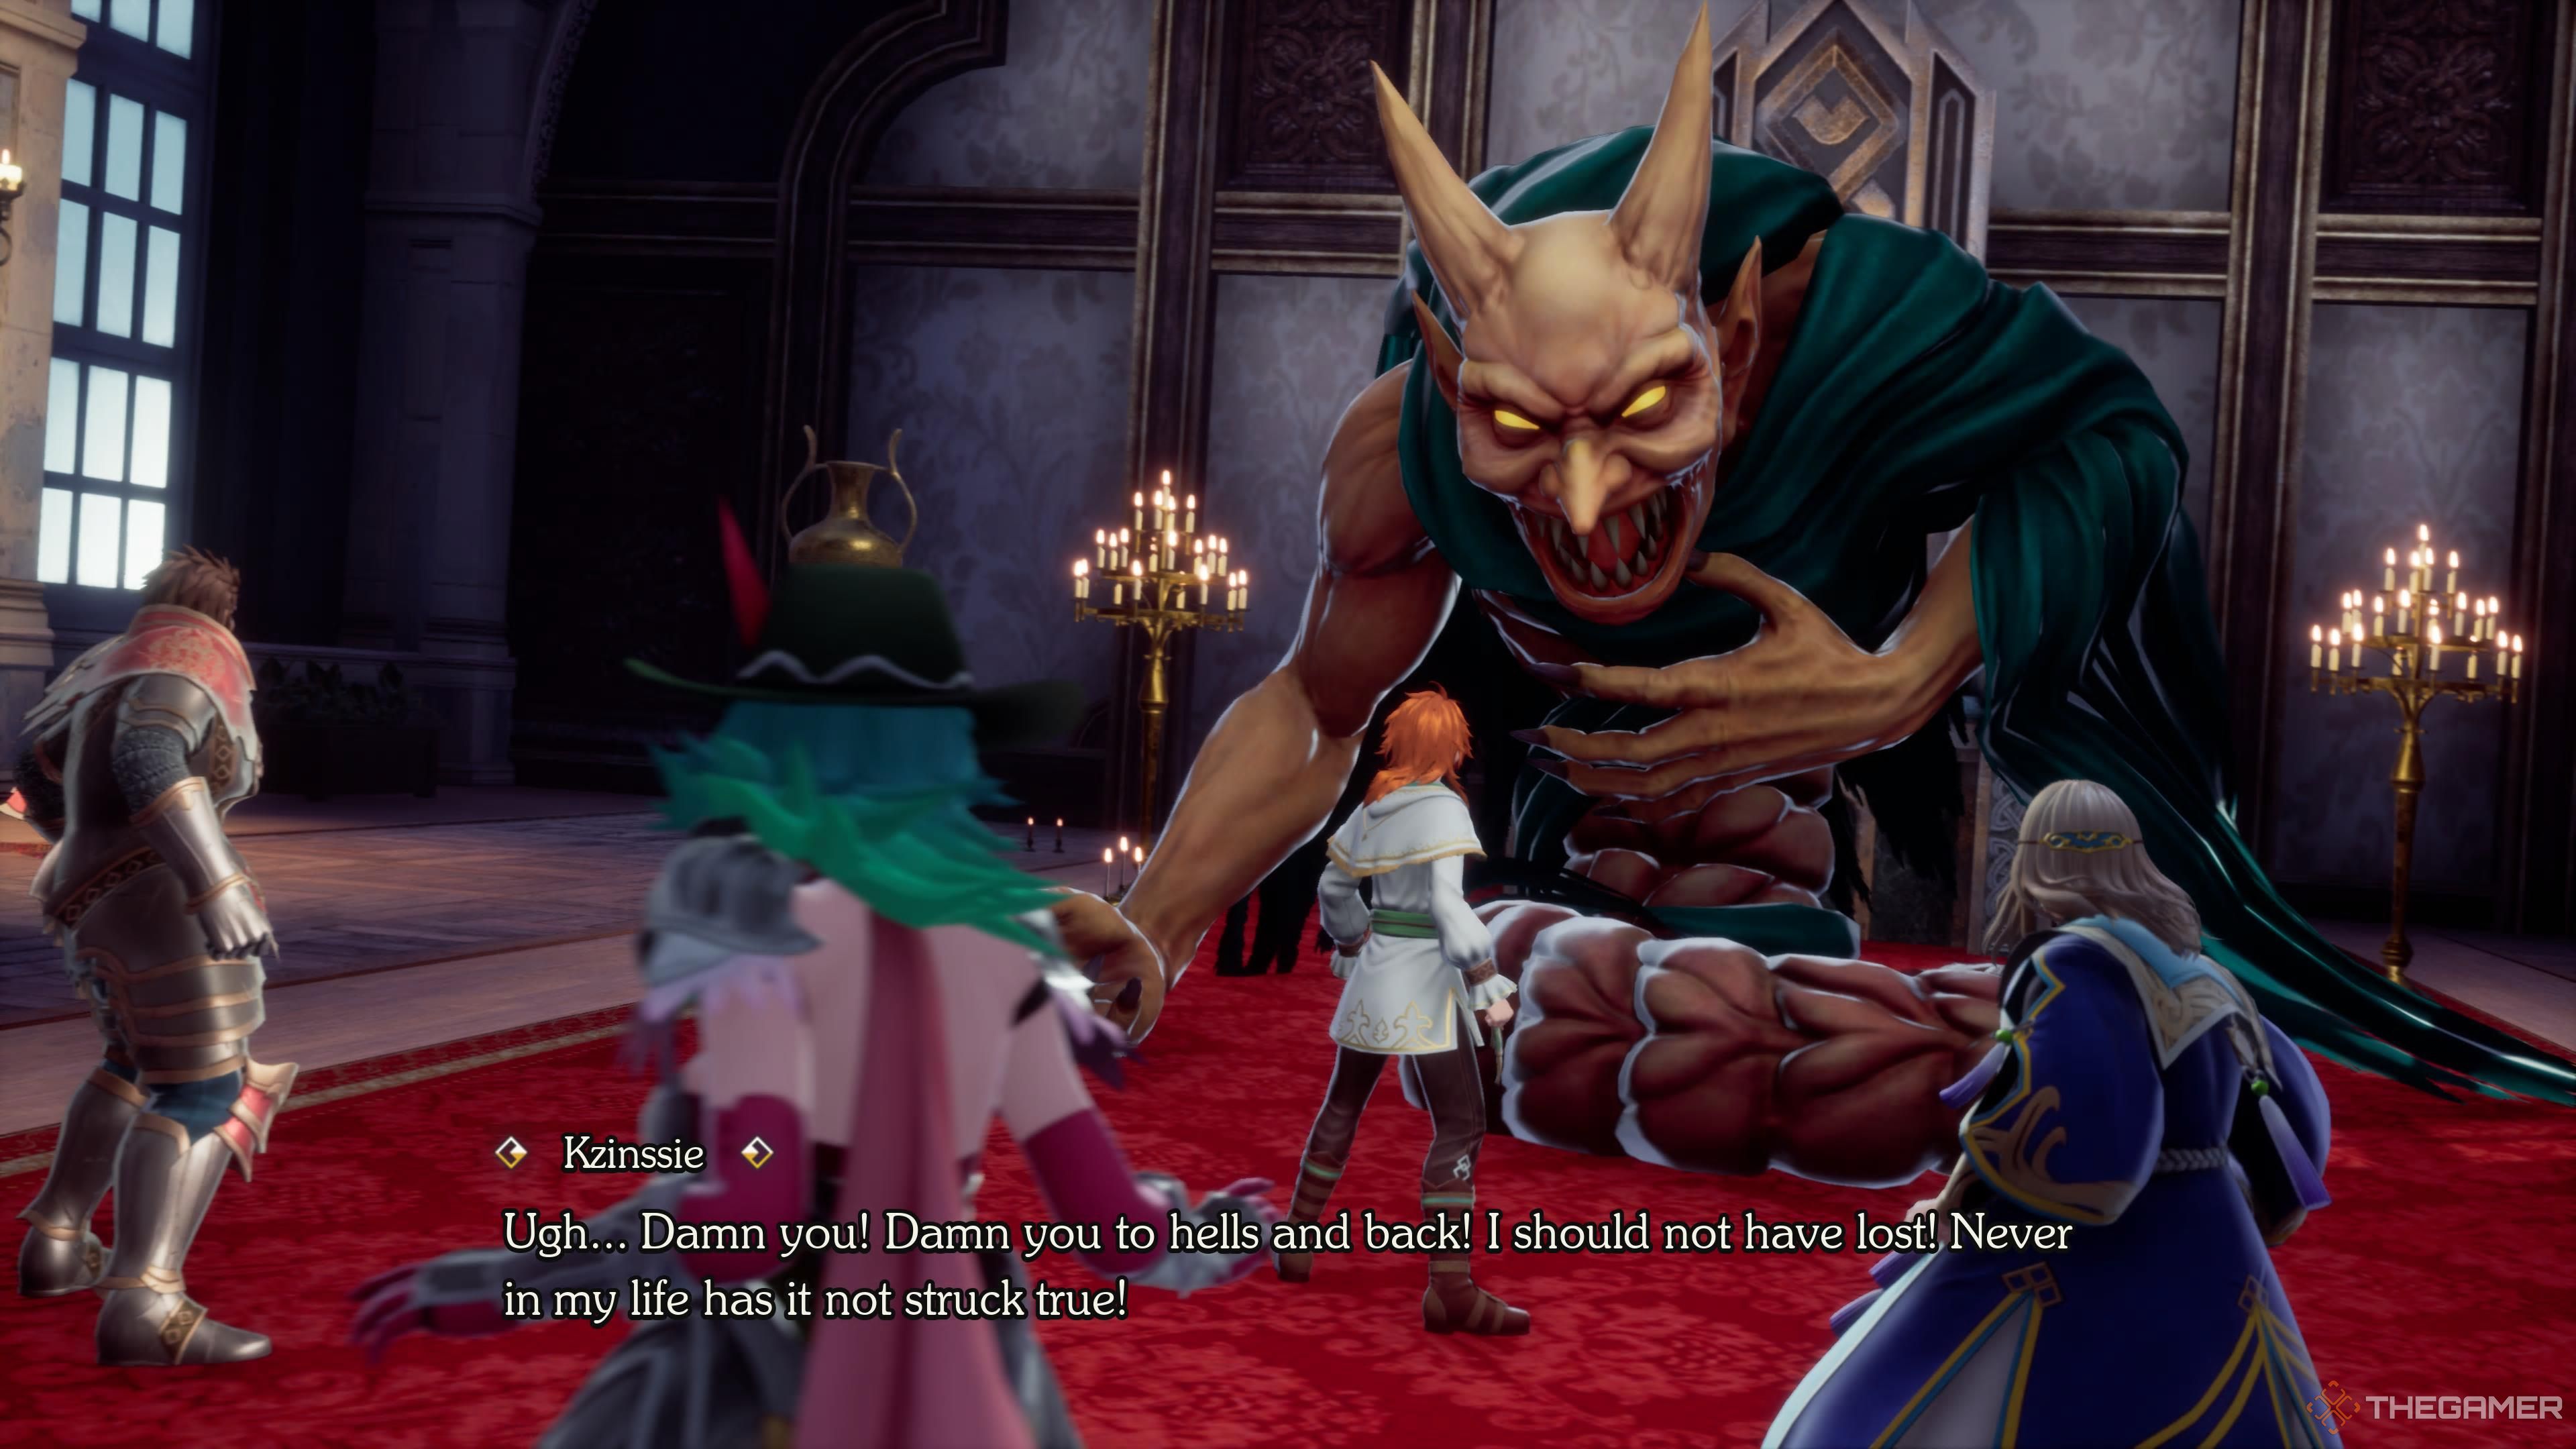
    Kzinssie reflecting on the failure of his Soulsteal attack after being defeated by Gerard in Romancing Saga 2: Revenge of the Seven.

    At the beginning of the battle, Kzinssie presents a typical boss challenge. Keep an eye on his Command Icon at the top of the screen:

    • If there’s no Warning symbol, he’s about to use Stun Slash. This usually targets Bear in the front row, so have him Parry.
    • If a Warning symbol is present, he’s preparing for Cyclone. This attack will hit all three characters in the center row, so have them all Defend instead of attacking that turn.

    Kzinssie is vulnerable to Greatswords, Bows, Fire, and Light; use powerful single-target attacks, and don’t hesitate to spend BP early.

    Arm Attacks

    As the battle continues, Kzinssie will target his arms separately, starting with his Right Arm that wields his sword, followed by his Left Arm which prepares a powerful magical strike.

    While the arms are charging, use Rapid Volley and Light Ball to simultaneously hit both Kzinssie’s body and his arms, setting up for a Unified Attack to destroy them quickly.

    Kzinssie’s arms, unlike his main body, are weak against Swords and Maces, but they also remain susceptible to Bows and Light.

    Be aware that Kzinssie’s attack patterns change once his arms come into play; neutralizing them is crucial to prevent devastating damage:

    • The Sword Arm’s normal attack is Hard Slash, which deals significant damage. As with Stun Slash, instruct Bear to attempt to Parry this attack.
    • The Sword Arm’s more dangerous move, Ill Storm, poisons the entire party. If Aries has learned Physician Water, it’s best to use Balm for its healing effects, including minor recovery.
    • The Left Arm charges for several rounds, but if it casts Shadow Nova, it can potentially wipe out your entire team, making it a top priority target.

    By consistently targeting Kzinssie with Rapid Volley and Light Ball while dealing with his arms, you can maintain control of the battle and secure victory.