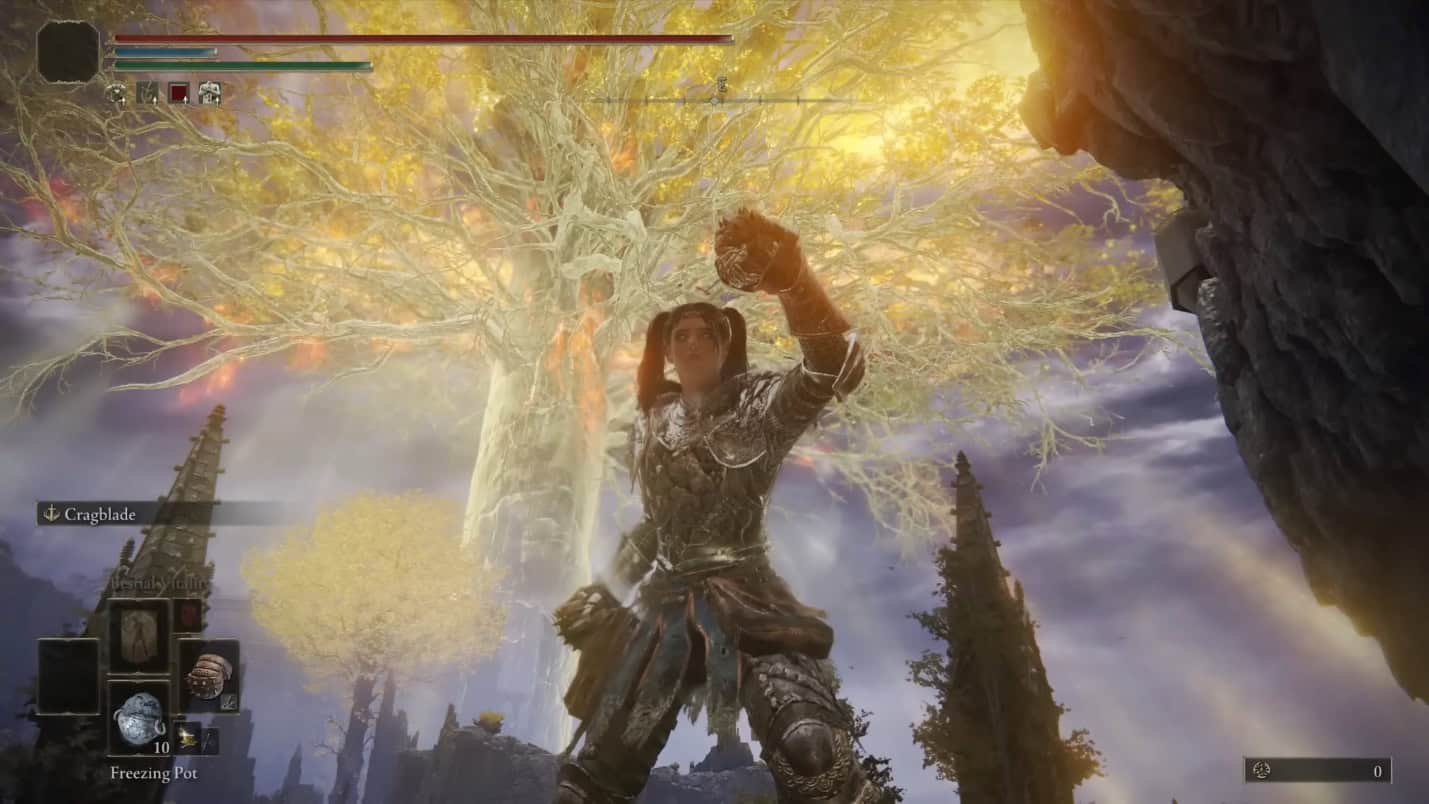
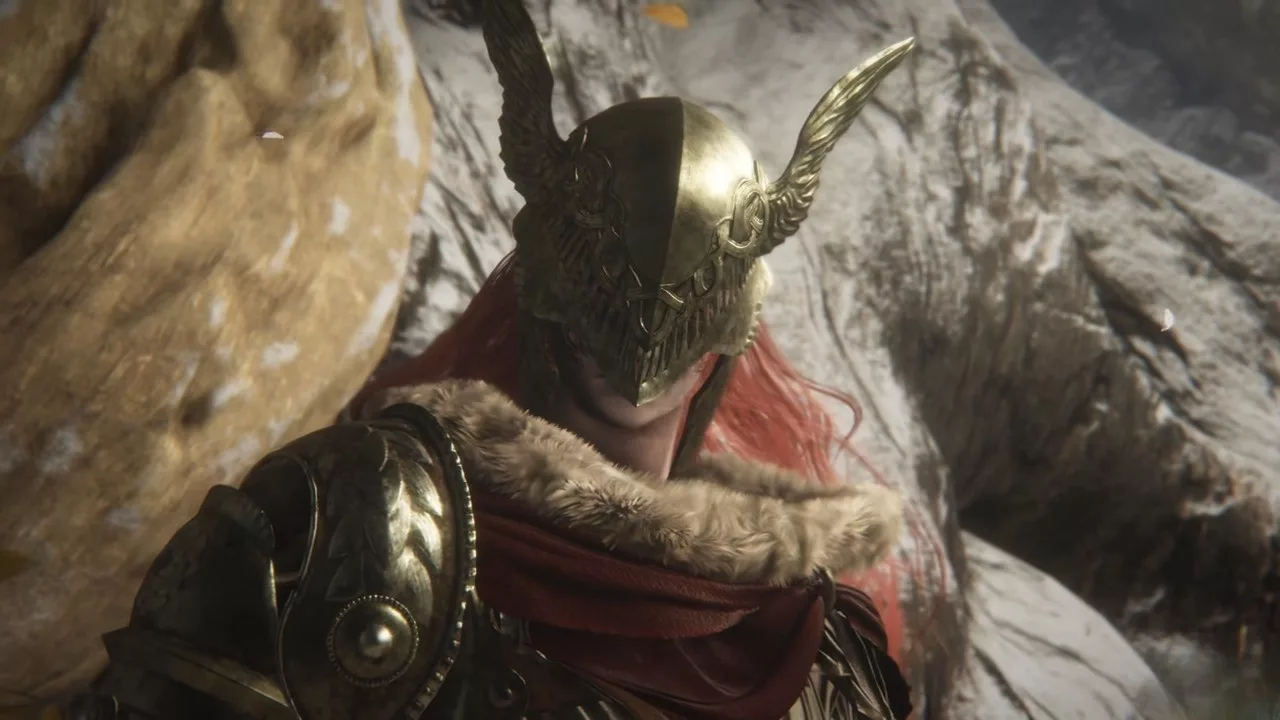
In Elden Ring, the Spiked Caestus is a dual-wielded weapon option, allowing you to use one or both at your discretion. If you prefer melee combat, this weapon should definitely be in your arsenal. Its primary drawback is its lack of range, but it delivers significant damage to foes.
Acquiring the Spiked Caestus is quite simple; head to the Isolated Merchant located in the Caelid region to make your purchase. This guide will lead you through finding the weapon and understanding its effects in Elden Ring.
Location of the Spiked Caestus in Elden Ring
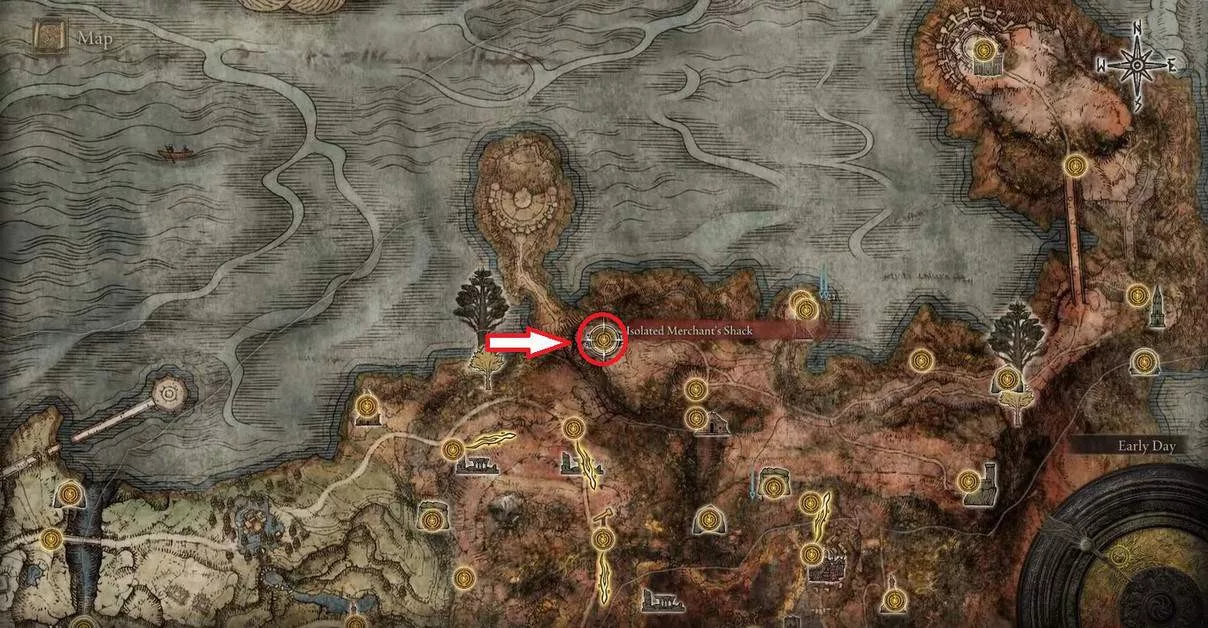
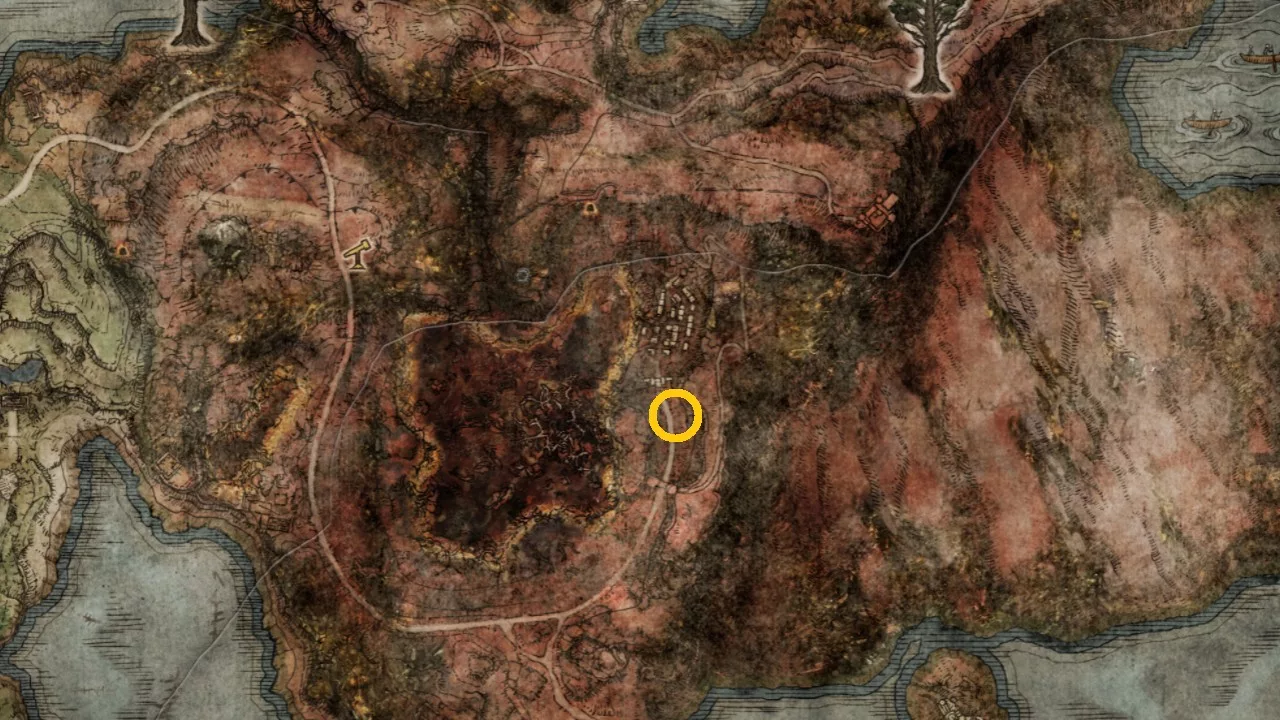
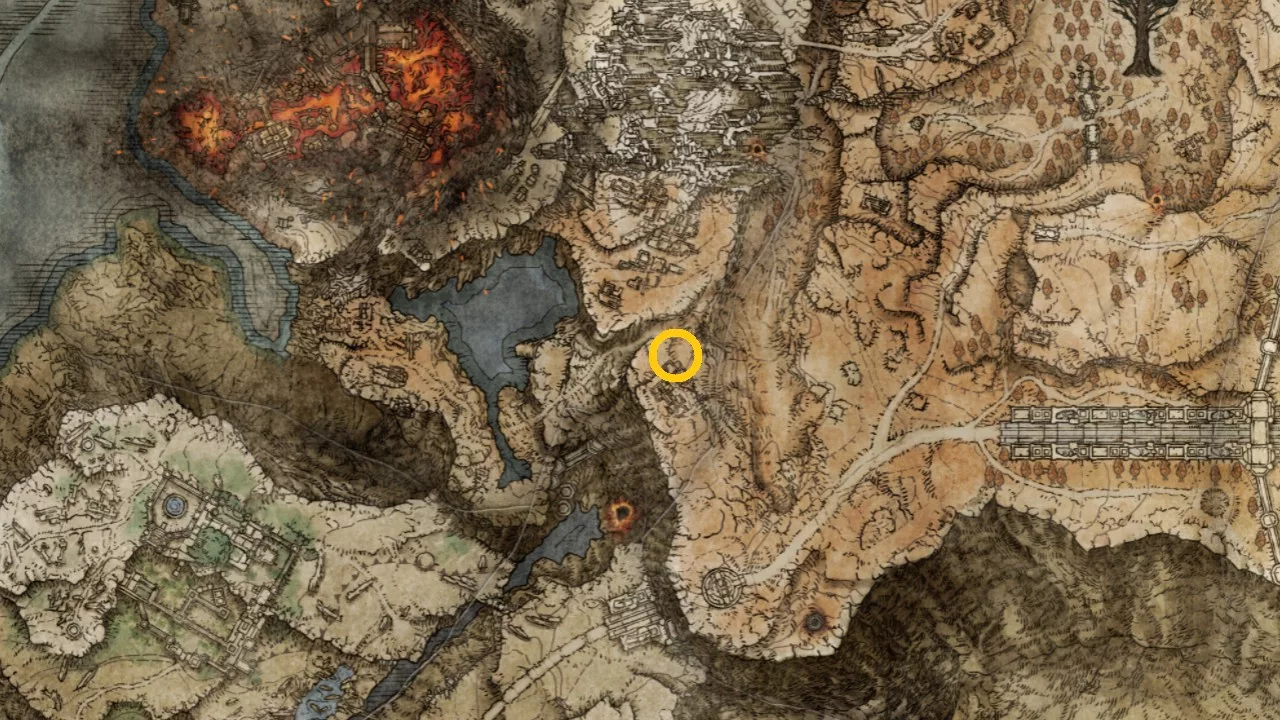
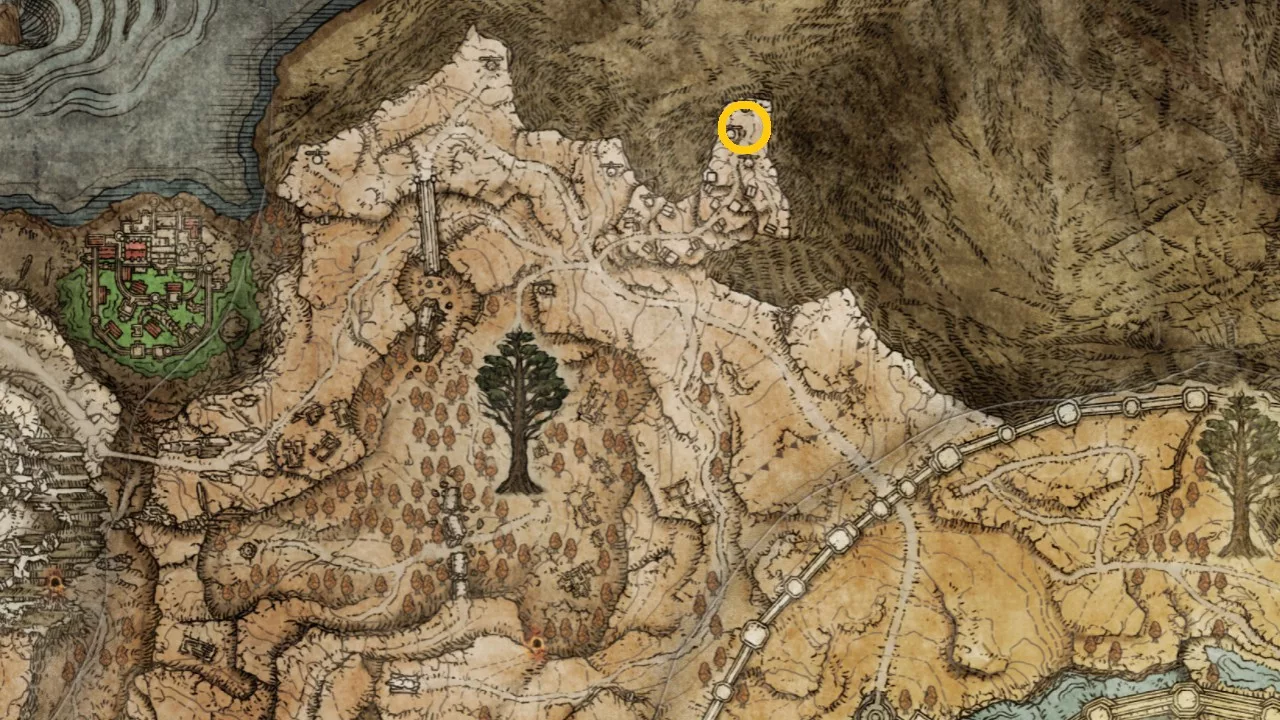
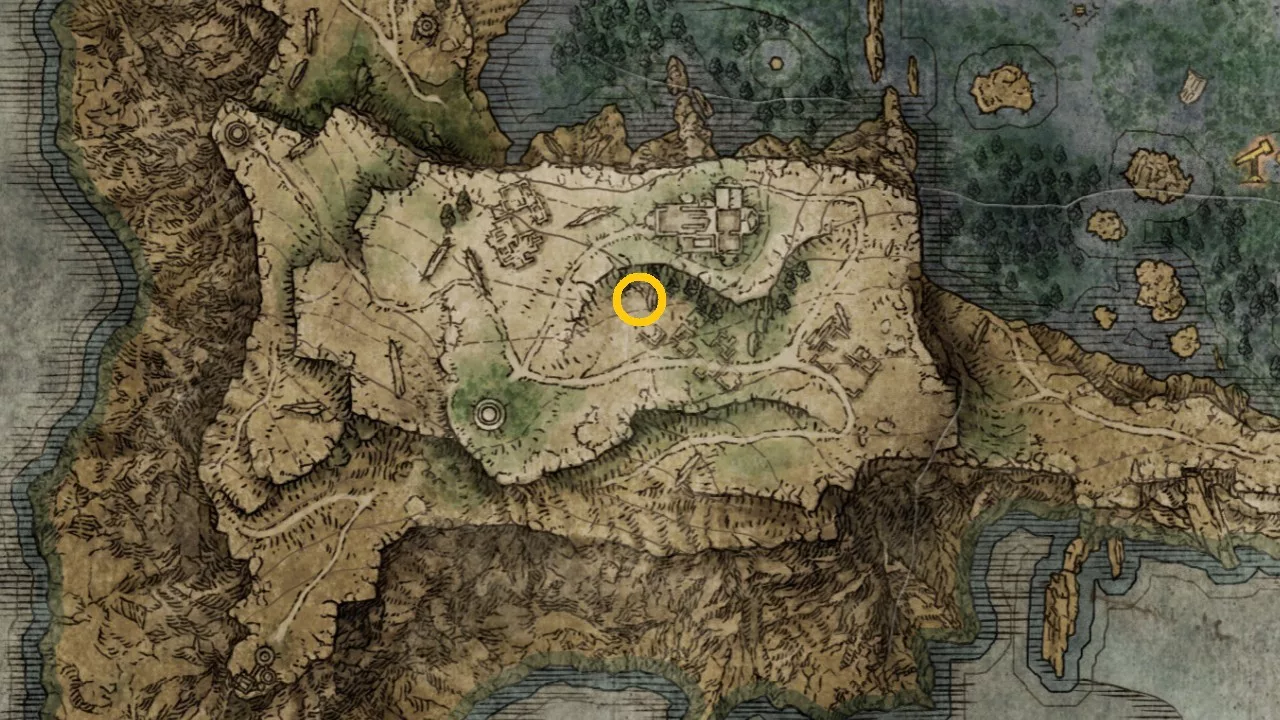
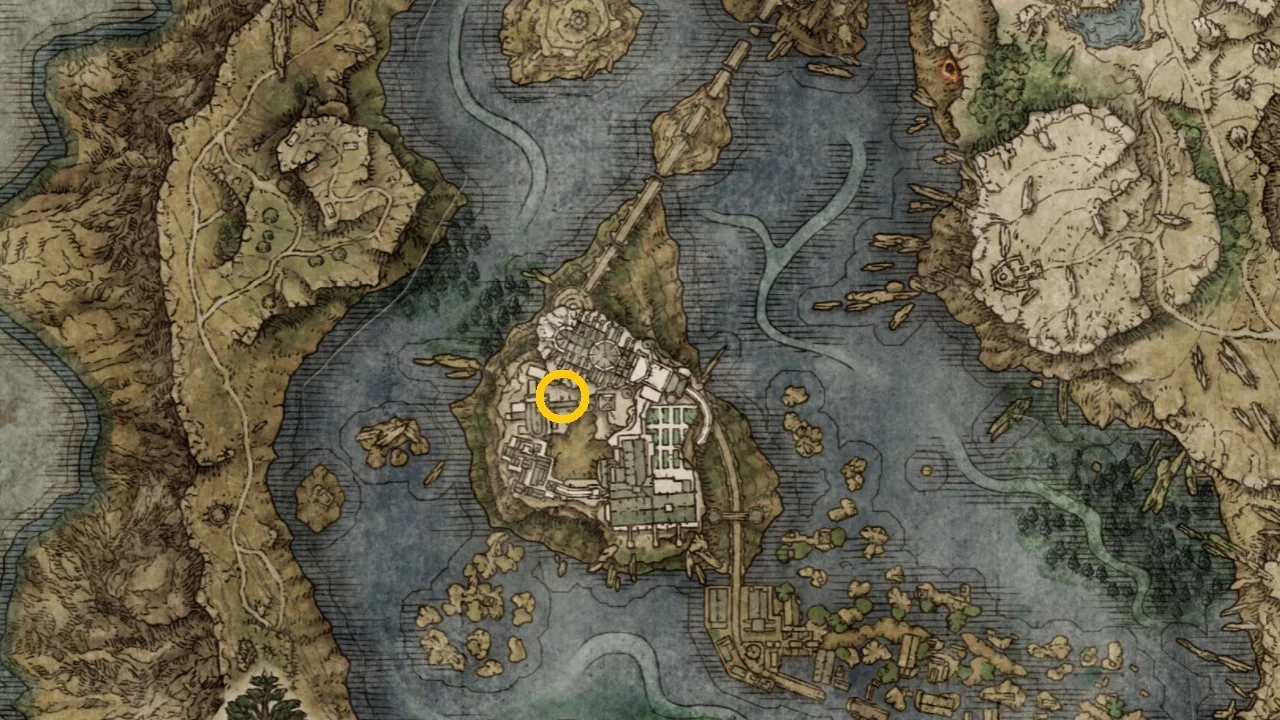
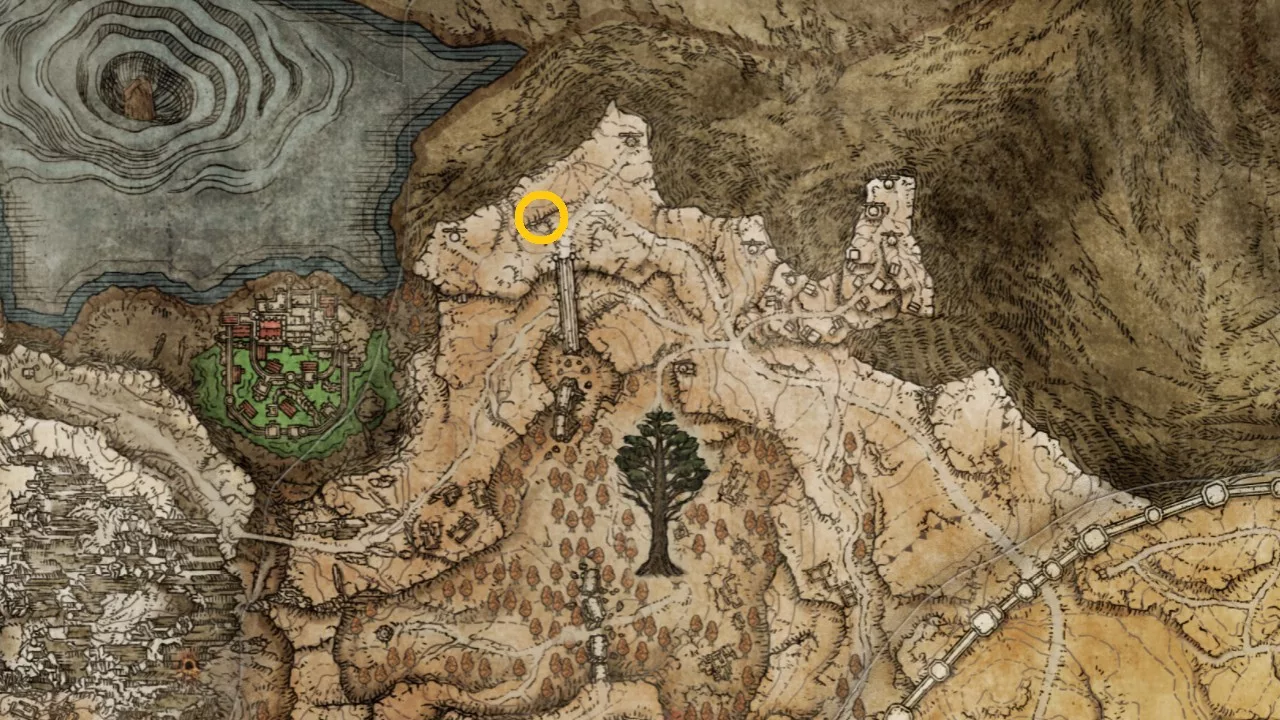
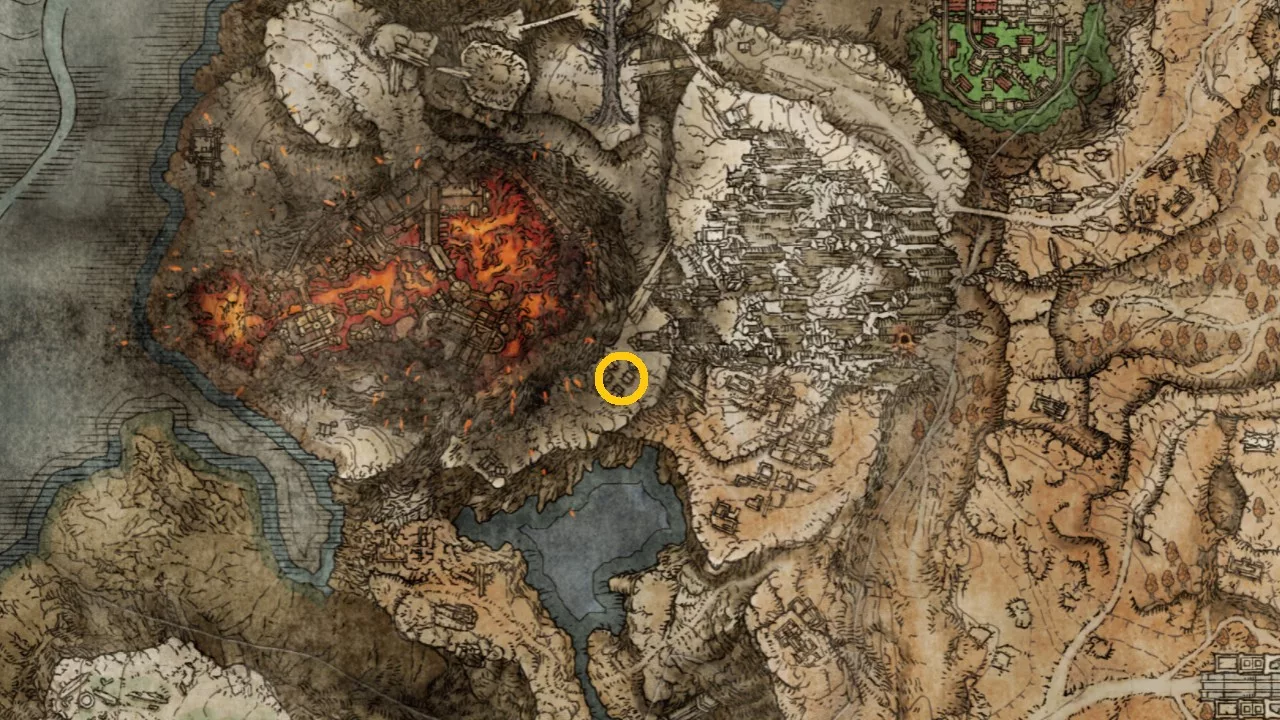
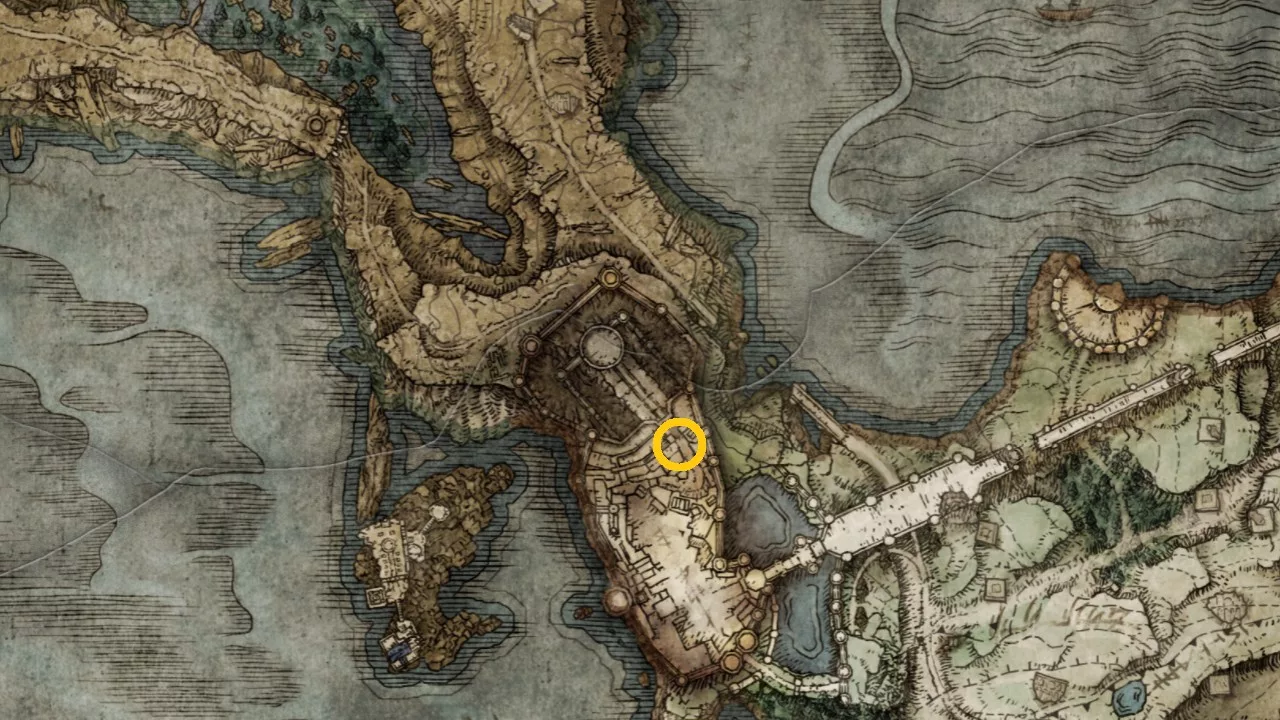
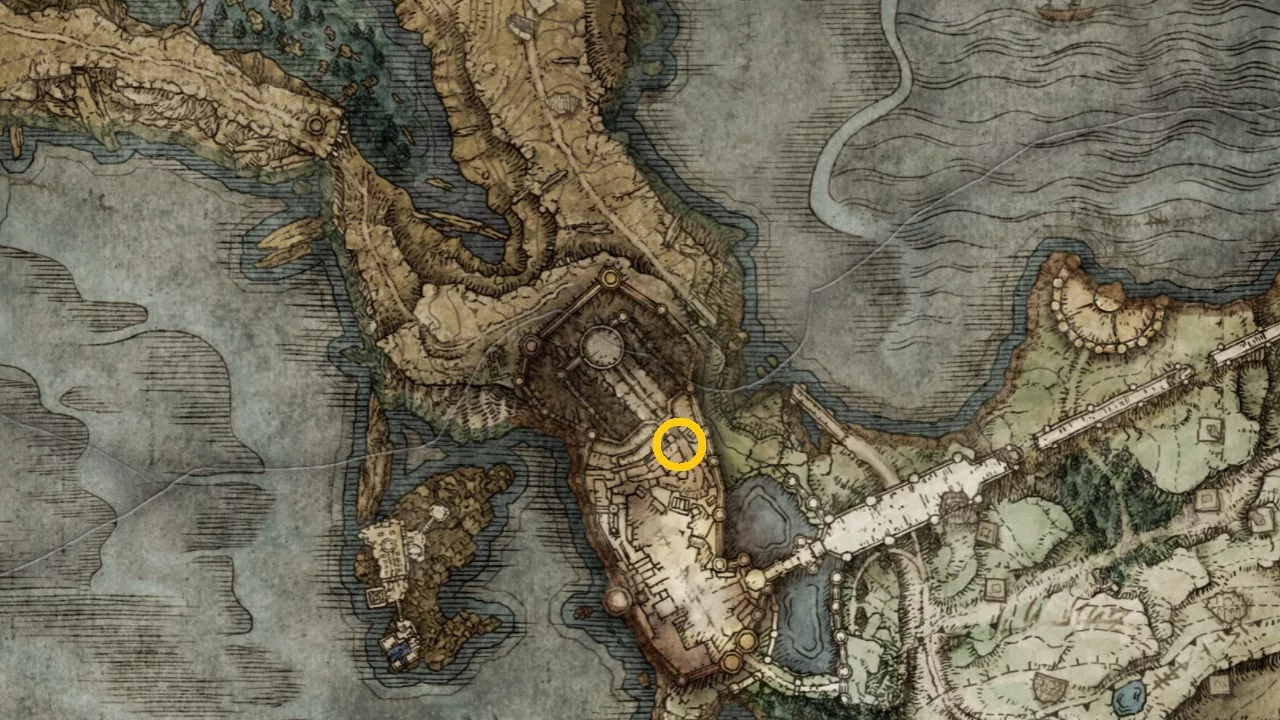
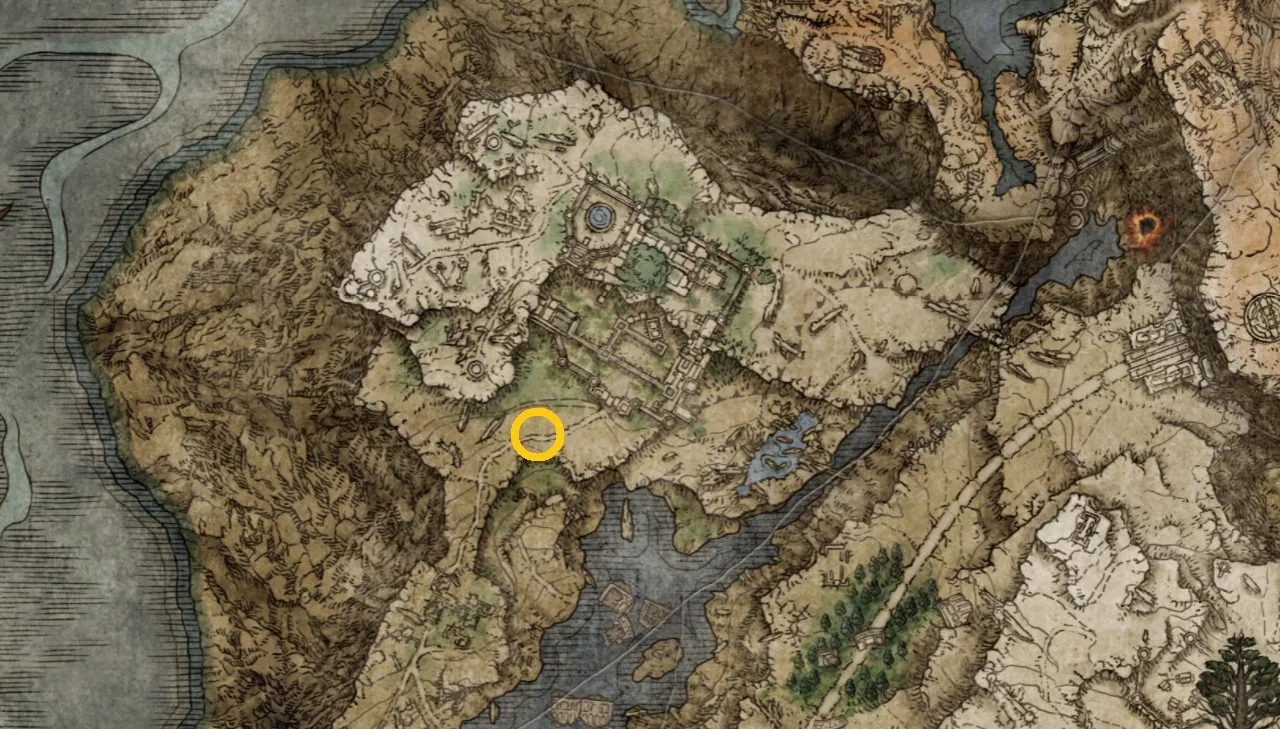
To obtain the Spiked Caestus, make your way to the Isolated Merchant’s Shack situated in the Dragonbarrow area to the north of Caelid.
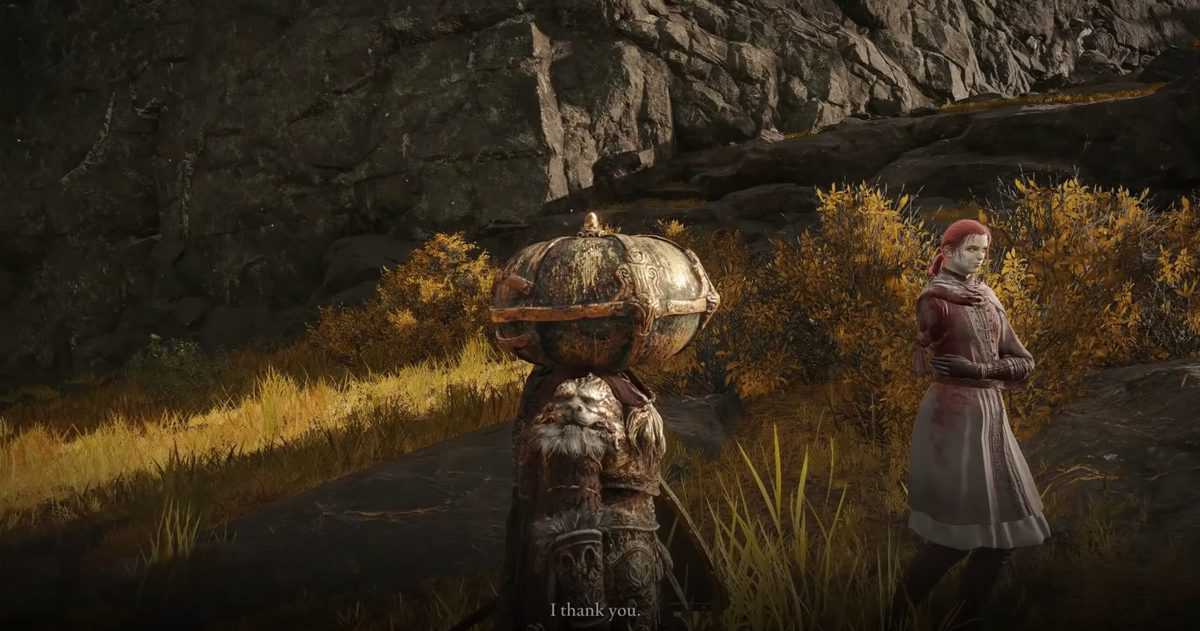
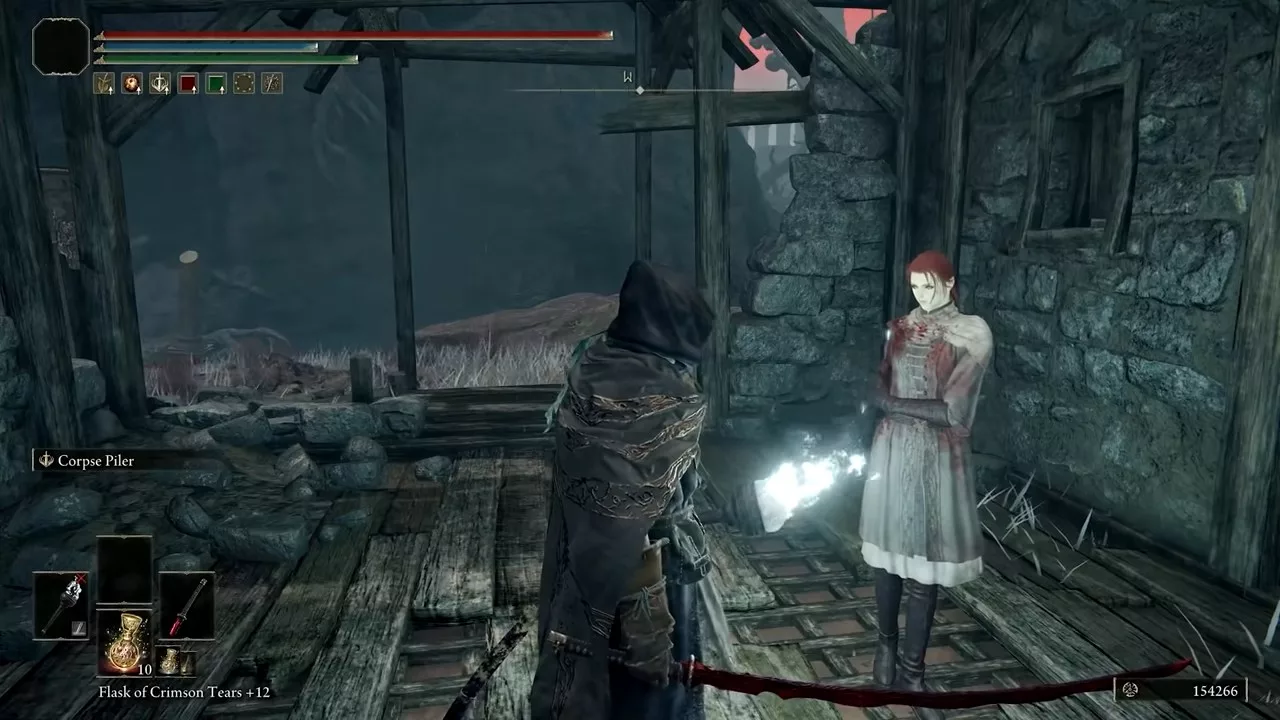
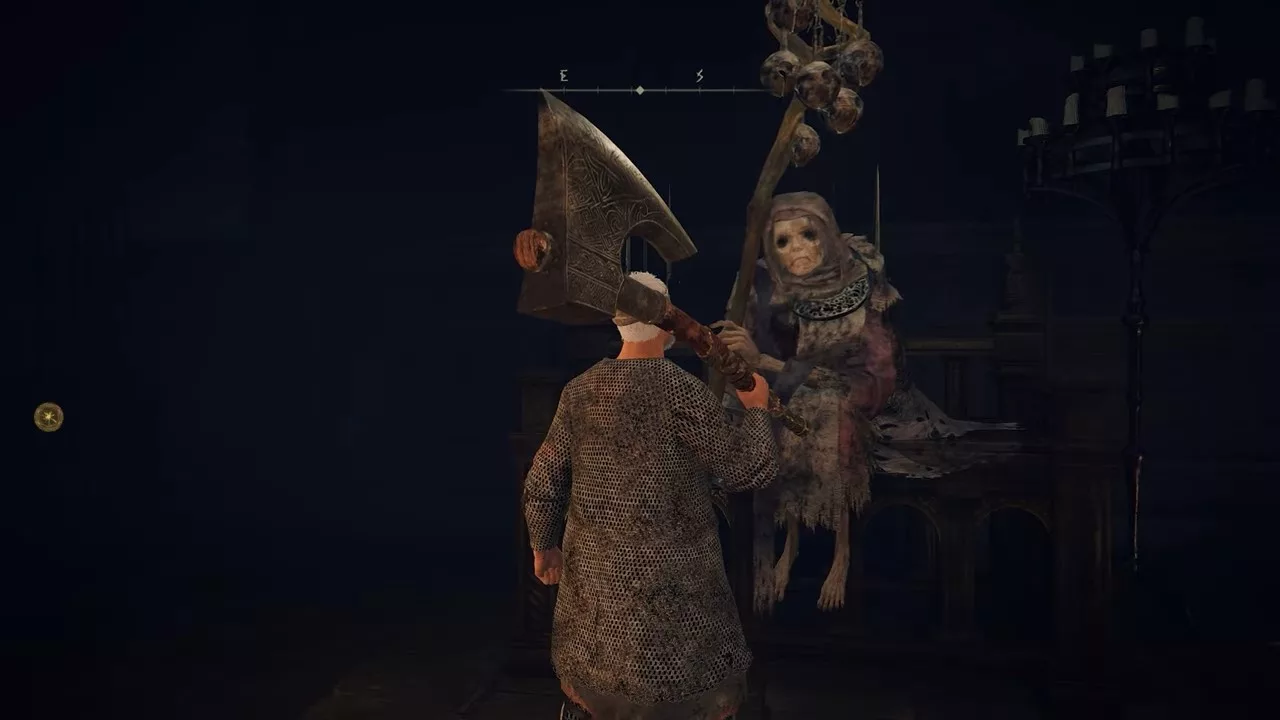
Once you arrive at the location, you’ll find the Isolated Merchant standing outside his shack. Speak with him to buy the Spiked Caestus for 4,000 runes.
Effects of the Spiked Caestus in Elden Ring
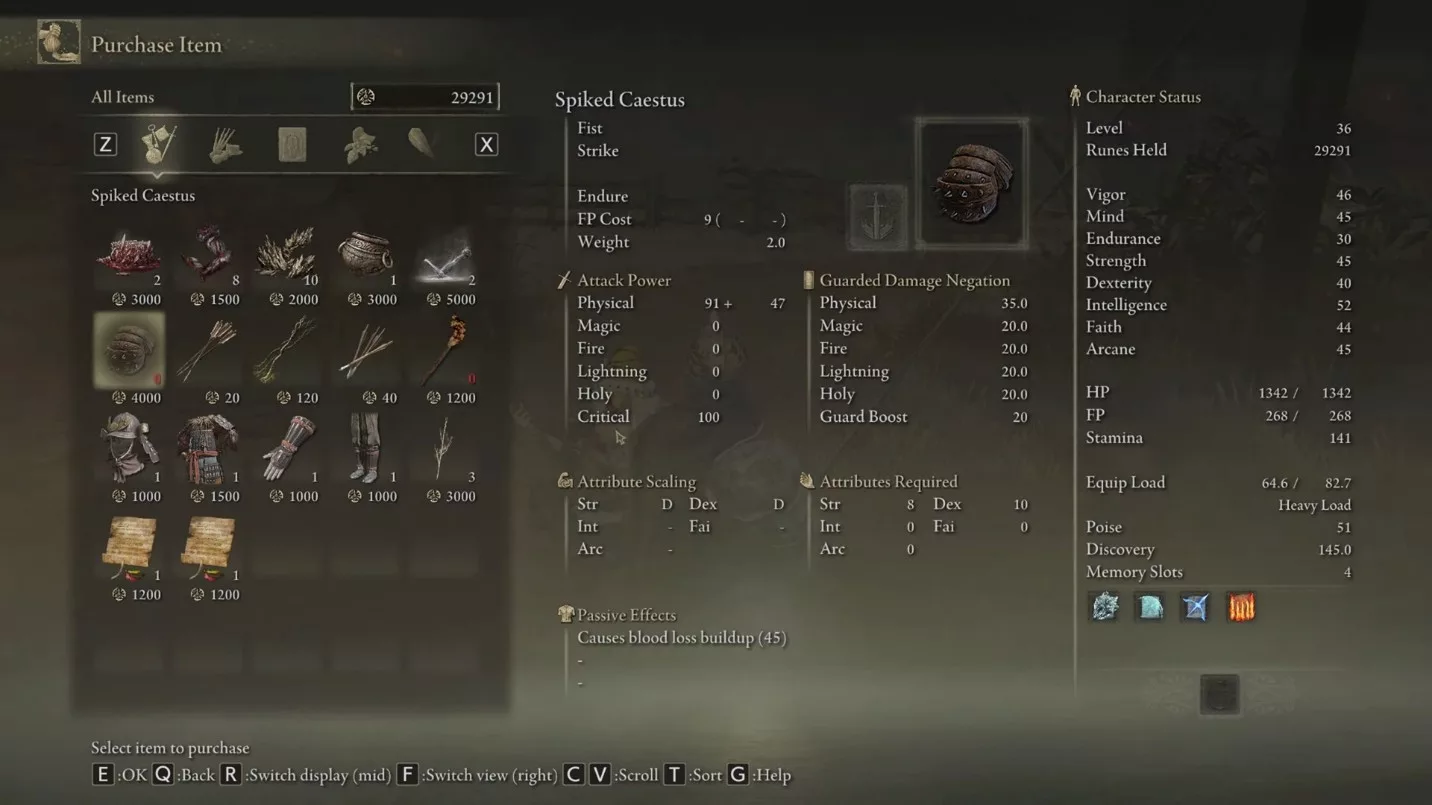
The Spiked Caestus scales effectively with both Strength and Dexterity, allowing for impressive damage output, though it is strictly a close-combat weapon. It features the endure ability, which consumes 9 FP to activate and enhances your blocks while increasing damage resistance.
Additionally, the weapon is equipped with spikes that inflict blood loss, giving you an upper hand against adversaries by allowing you to drain substantial health due to its bleeding effect.
The Circuit of the Americas located in Austin, Texas, stands out as one of the premier racing tracks in F1 22. This track is split into three distinct sectors: the initial sector is fast-paced, succeeded by a tight and winding area.
For a Dry setup on this circuit, focus on maximizing grip in F1 22. Conversely, for a Wet setup, prioritize aerodynamics along with adjusting tire pressure, while keeping most settings consistent.
F1 22 USA Dry Setup
This demanding track necessitates some bold adjustments. The setup opts for an aggressive grip strategy designed for sustained cornering. While there are still adjustment opportunities, you’ll enjoy solid grip in the slower turns. The brakes will feature a standard default configuration.
Aerodynamics
Front Wing Aero: 22
Rear Wing Aero: 30
Transmission
Differential adjustment on Throttle: 50%
Differential adjustment off Throttle: 55%
Suspension Geometry
Front Camber: -2.50
Rear Camber: -1.00
Front Toe: 0.05
Rear Toe: 0.20
Suspension
Front Suspension: 8
Rear Suspension: 1
Front Anti-Roll Bar: 10
Rear Anti-Roll Bar: 2
Front Ride Height: 3
Rear Ride Height: 4
Brakes
Brake Pressure: 100%
Brake Bias: 50%
Tires
Front Right Tire Pressure: 23 psi
Front Left Tire Pressure: 23 psi
Rear Right Tire Pressure: 23 psi
Rear Left Tire Pressure: 23 psi
F1 22 USA Wet Setup
This setup focuses on enhancing aerodynamics to boost downforce and improve stability. The throttle differential adjustment increases from 50 to 80, with other parameters remaining unchanged, apart from tire pressure modifications.
Millicent’s questline is among the most comprehensive side stories in Elden Ring, spanning across three distinct areas: Caelid, the Altus Plateau, and the Mountaintop of the Giants.
This guide will walk you through every step needed to finish Millicent’s quest in Elden Ring. You’ll find details on locations, bosses, and items essential for completing this journey. So without any further delay, let’s dive in.
Visit Gowry’s Shack
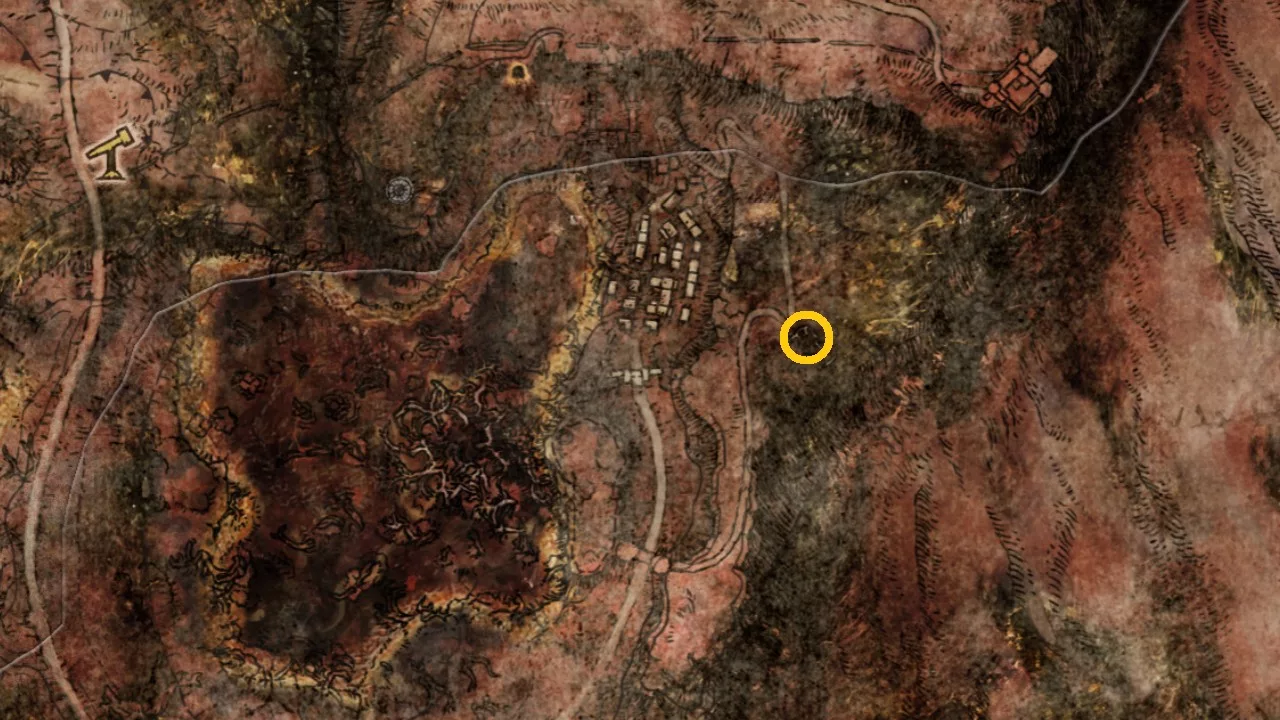
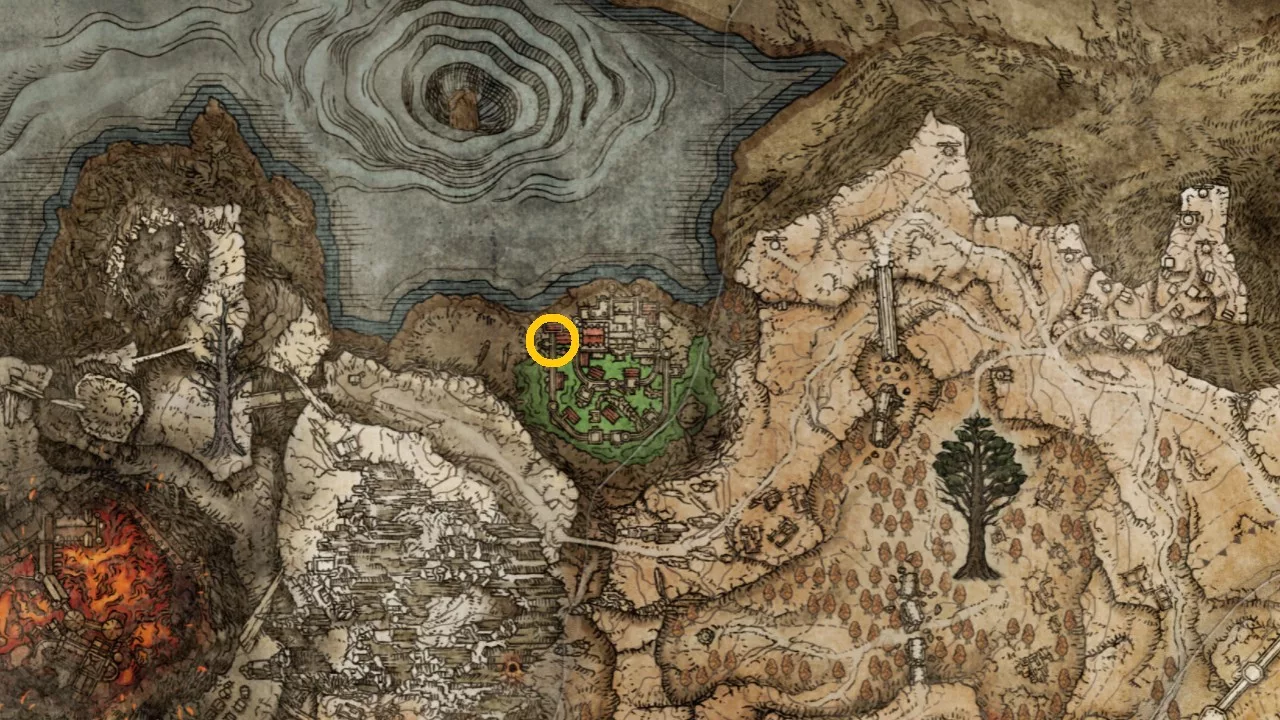
To kick off this questline, head to the southern region of Caelid (specifically the southern part of Sellia) to find Gowry patiently waiting at his shack. Use the route from the Southern Aeonia Swamp Bank Site of Grace, moving southwest, to reach his location.
Speak with him and choose the “Hear the request” option when prompted. Gowry then informs you about Millicent, who rests atop the Church of Plague in Sellia while enduring her debilitating affliction.
Your new mission is to locate the Unalloyed Gold Needle, which may not fully cure her illness but will certainly alleviate her suffering.
Locating the Unalloyed Gold Needle
The Unalloyed Gold Needle is not tucked away in a secret vault; you will need to venture into the Swamp of Aeonia located in Central Caelid to acquire it.
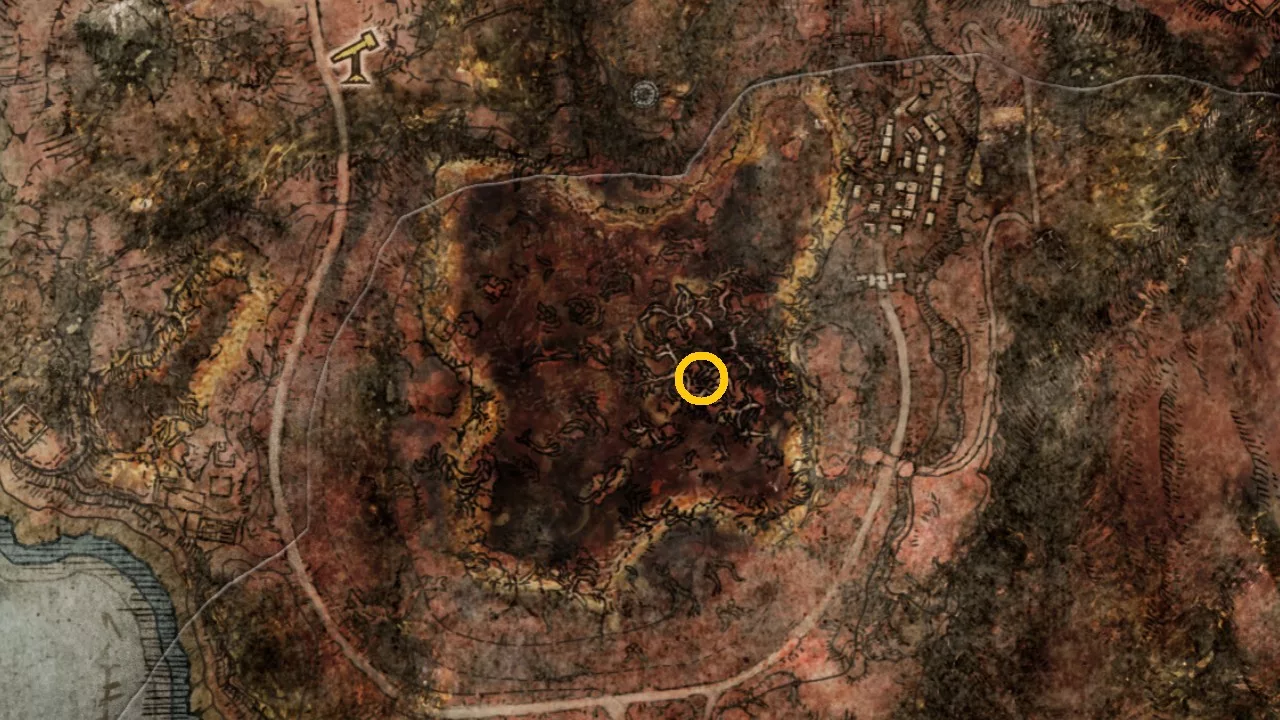
You can find the Unalloyed Gold Needle west of Gowry’s Shack, specifically at the Heart of Aeonia, as marked on the map above. Be prepared to defeat Commander O’Neil, who is a challenging boss guarding this item.
Return to Gowry’s Shack
Now that you have the needle, return to Gowry and hand it over. Then, take a moment to rest at the nearby Site of Grace before speaking to him again. He will provide you with the repaired needle, which you must deliver to Millicent.
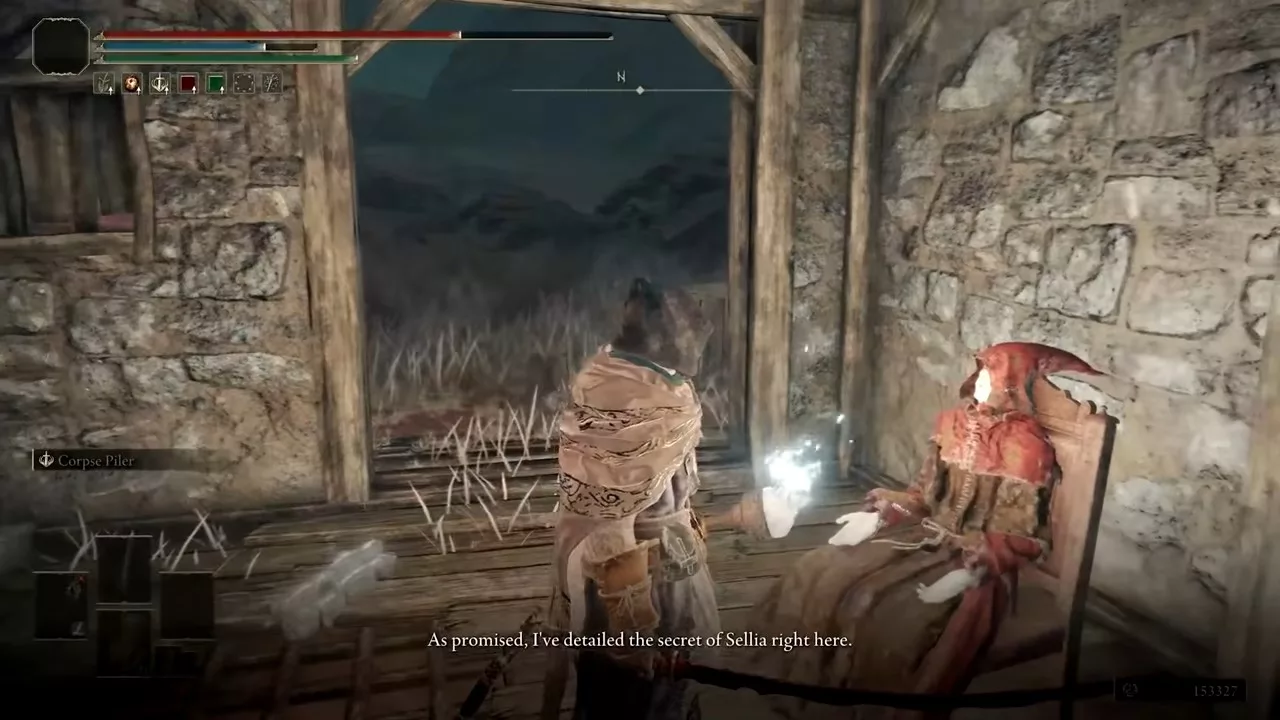
During this second interaction, Gowry will elaborate on the mysteries of Sellia, the sorcery town where the next phase of this quest unfolds, leading you to Millicent at the Church of Plague.
Encounter and Cure Millicent at the Church of Plague
After receiving the Secrets of Sellia from Gowry, make your way to the Church of Plague to meet Millicent and offer her the Unalloyed Gold Needle.
The church is heavily guarded by numerous foes. You can choose to sneak past them or defeat them in order to enter the church, which contains a Site of Grace and a Sacred Tear for your flask.
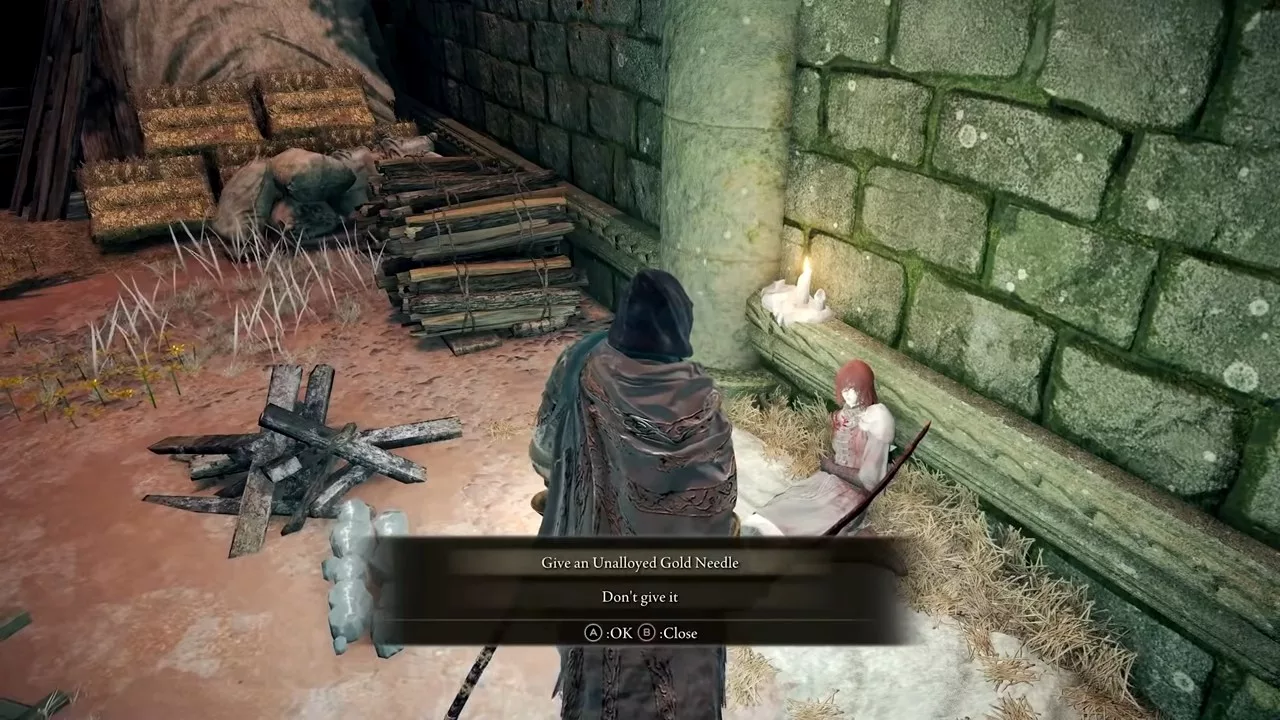
Inside, Millicent is found resting against the western wall. Speak to her, and she will discuss her curse. After concluding your dialogue, a prompt will appear to give her the Needle.
Select “Give the Alloyed Needle” when prompted. After she uses the needle, check back with her later to receive the Prosthesis-Wearer Heirloom talisman.
Head Back to Gowry’s Shack and Chat with Millicent
Once you’ve cured Millicent at the Church of Plague, return to Gowry’s Shack. However, this time you will meet Millicent, who is now exploring the area and recalling her memories.
Once your conversation ends, check back at the shack much later to talk to Gowry. He expresses his gratitude for your efforts in retrieving the needle for Millicent and healing her. You will then have several options: “Study Sorcery,” “Millicent paid a visit,” and “Leave.”
It is advisable to inform Gowry about Millicent in order to progress in the questline. By doing so, Gowry will assign you the task of ensuring Millicent’s safety as she regains her memories, which helps you move forward in the storyline.
Locate Millicent in the Altus Plateau
After your conversation with Gowry, proceed to meet Millicent to the north of the Erdtree-Gazing Hill Site of Grace, situated near a cliff.
Speak with her as she shares her memories coming back. The first name mentioned is Malenia; she expresses her desire to find her. To continue the quest, you must retrieve Valkyrie’s Prosthesis for her.
Where to Find Valkyrie’s Prosthesis
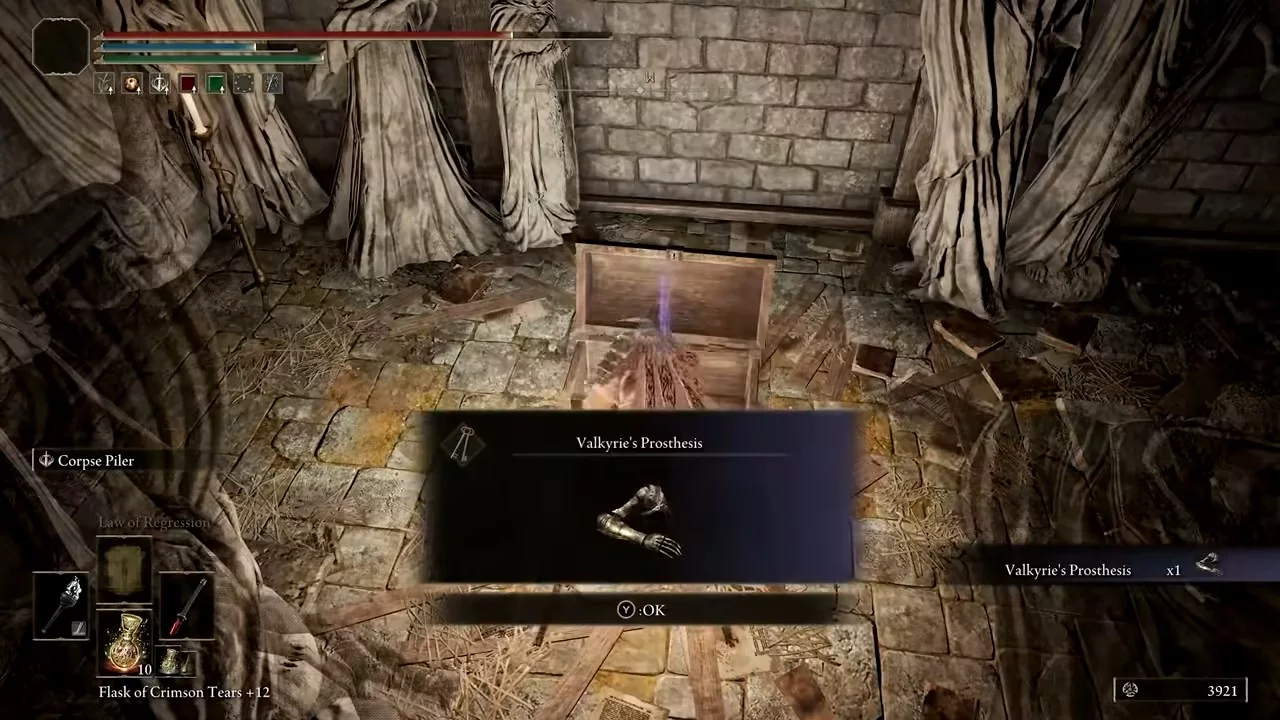
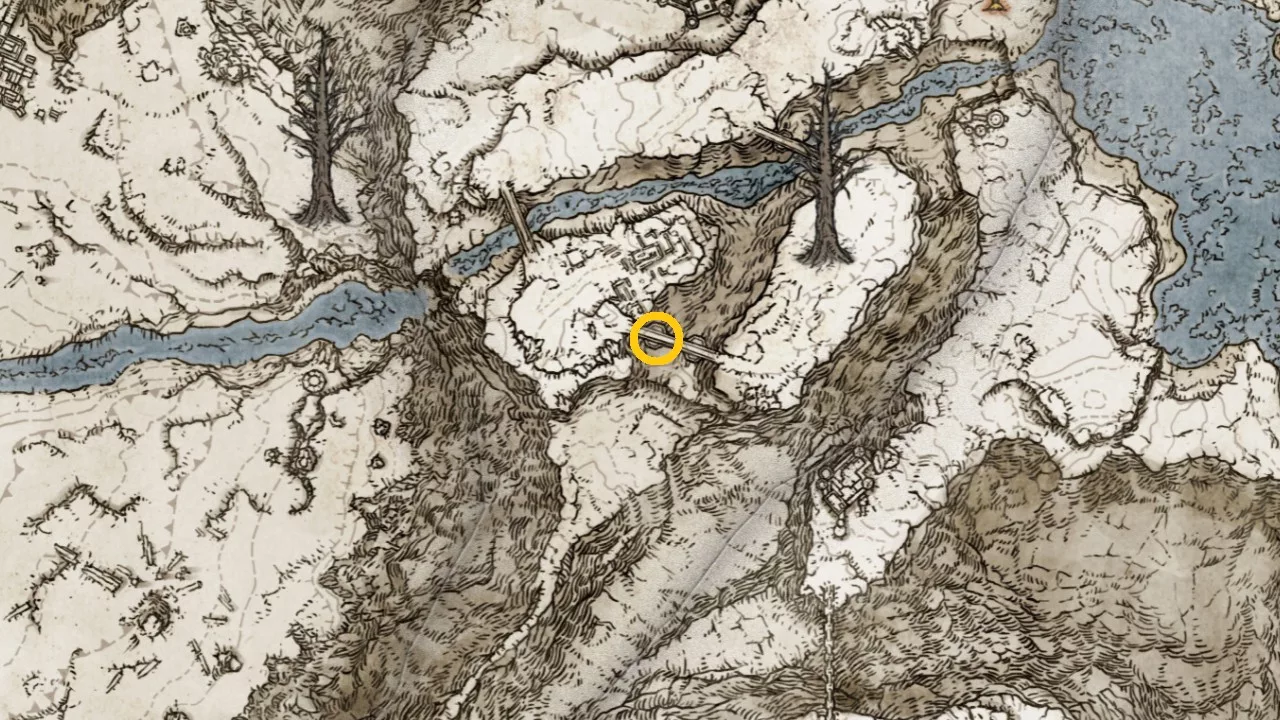
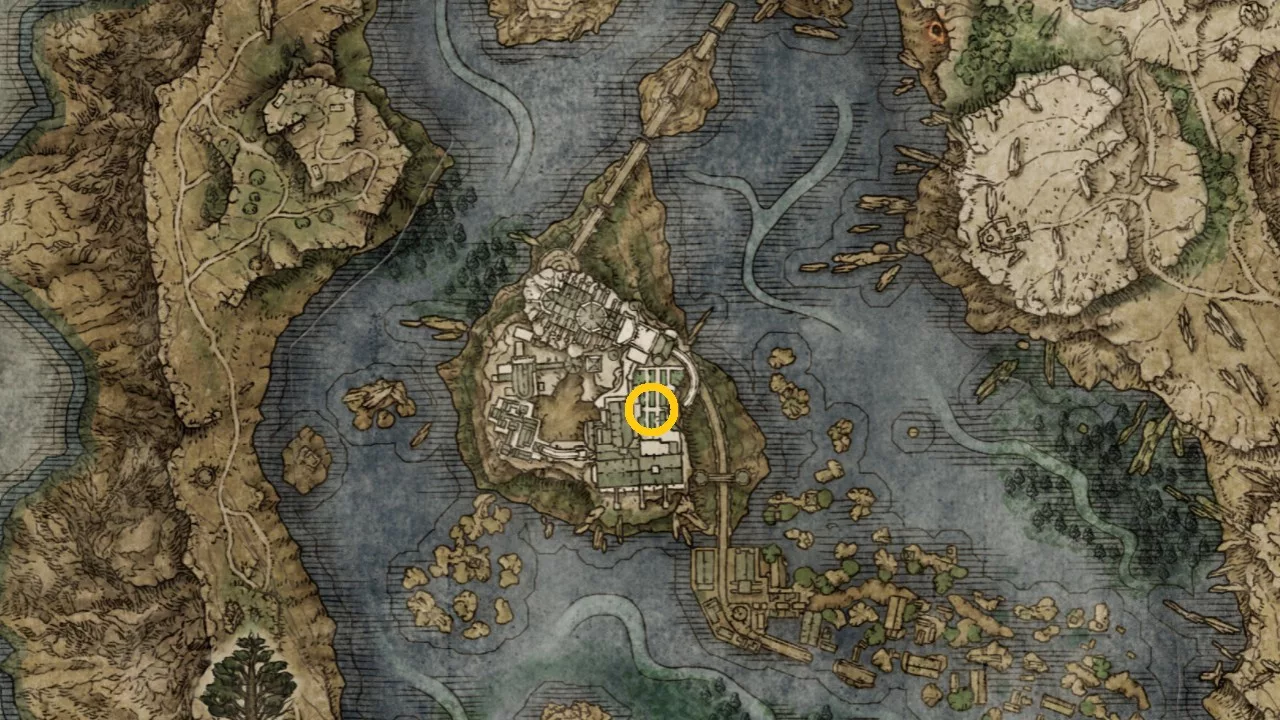
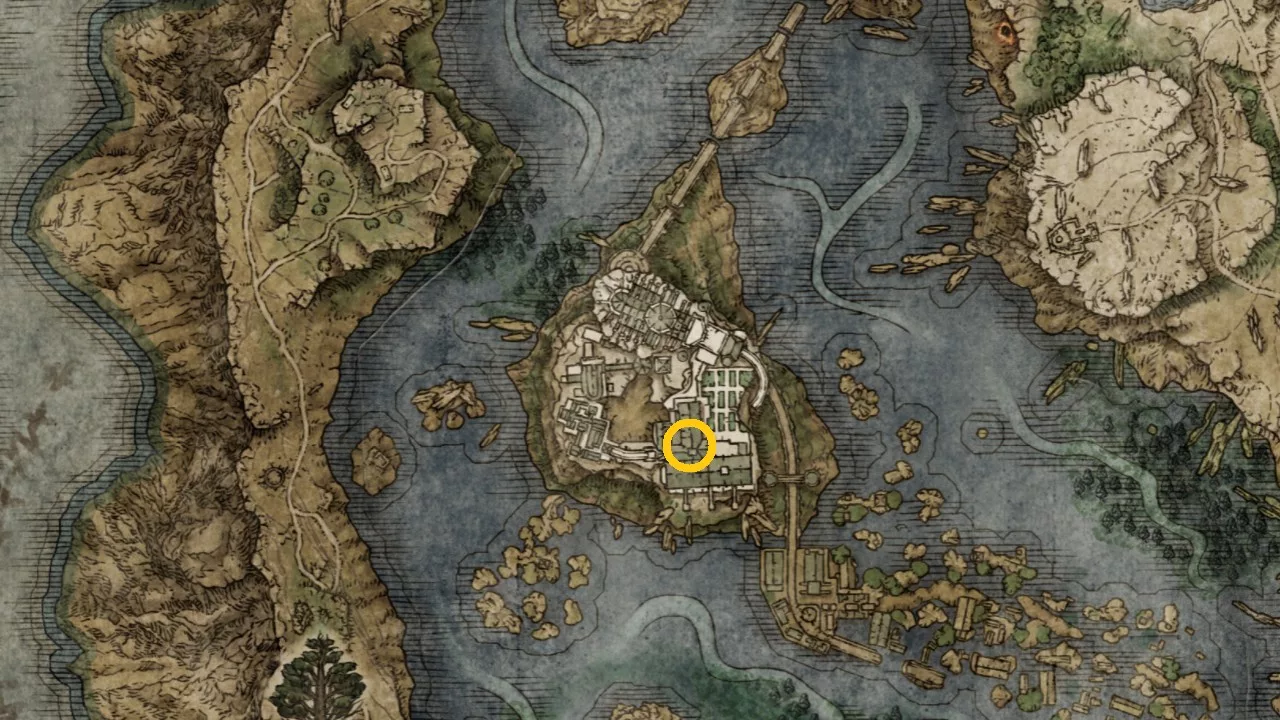
Once you’ve talked to Millicent at Erdtree-Gazing Hill, head to the Shaded Castle in the northern Altus Plateau to find Valkyrie’s Prosthesis. The precise location is shown on the map above.
The prosthesis can be found inside a room protected by a Cleanout Knight. After retrieving it, head back to Millicent and present her with the prosthesis. Make sure to exhaust the dialogue with her to successfully conclude this section of the quest.
Defeat Godskin Apostle at Windmill Village
After handing Valkyrie’s Prosthesis to Millicent, proceed towards the Windmill Village, located along the northern road of the area. Explore until you encounter the local leader, Godskin Apostle.
Once found, engage him near the wind turbines. After defeating this boss, rest in the area to prompt Millicent’s appearance. Speak to her when she arrives, and she will express her gratitude for the prosthesis. As a token of appreciation, she offers to assist you in a battle.
Locate Millicent at the Mountaintop of Giants
The next chapter of Millicent’s questline occurs at the Mountaintop of Giants in Elden Ring. You will find Millicent at the Ancient Snow Valley Ruins Site of Grace. Upon arrival, speak with her as she reveals the existence of a Medallion that provides access to Haligtree, where she believes Malenia can be found. This medallion is comprised of two halves, and both are required to continue your quest.
Locating Haligtree Secret Medallion Halves
To proceed with the quest, you must find both halves of the Haligtree Secret Medallion.
Left Half of Haligtree Secret Medallion
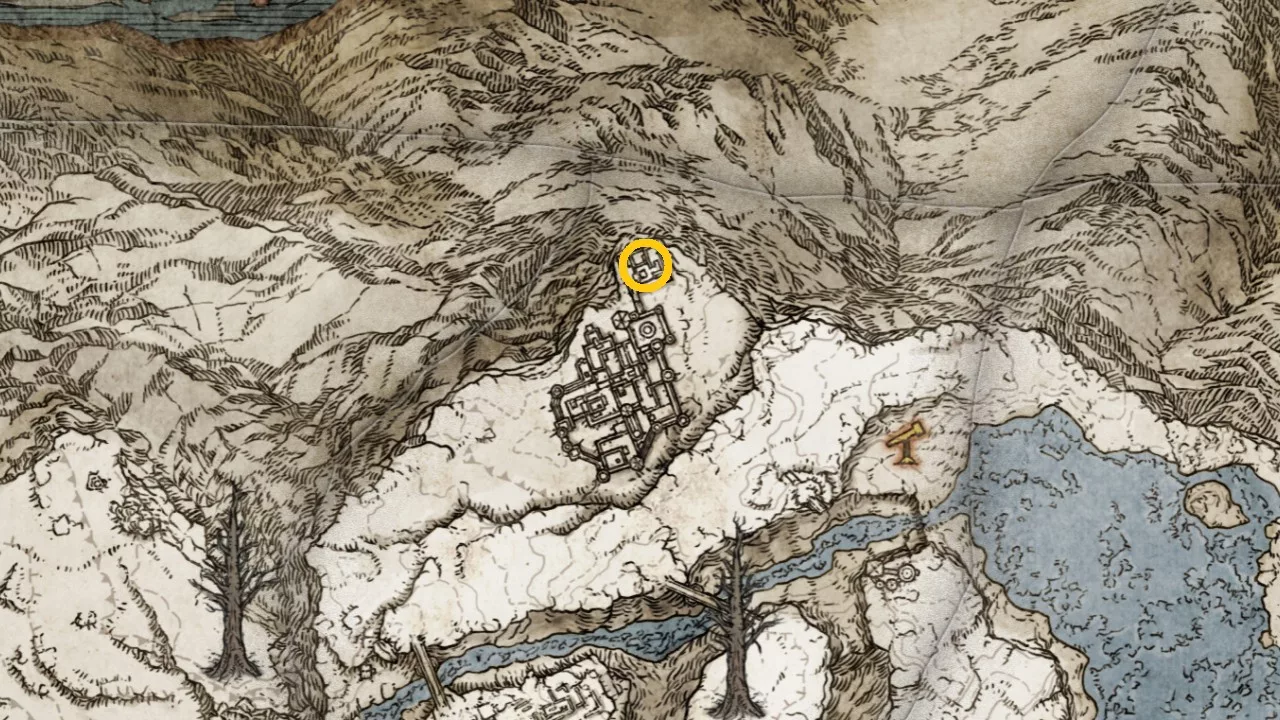
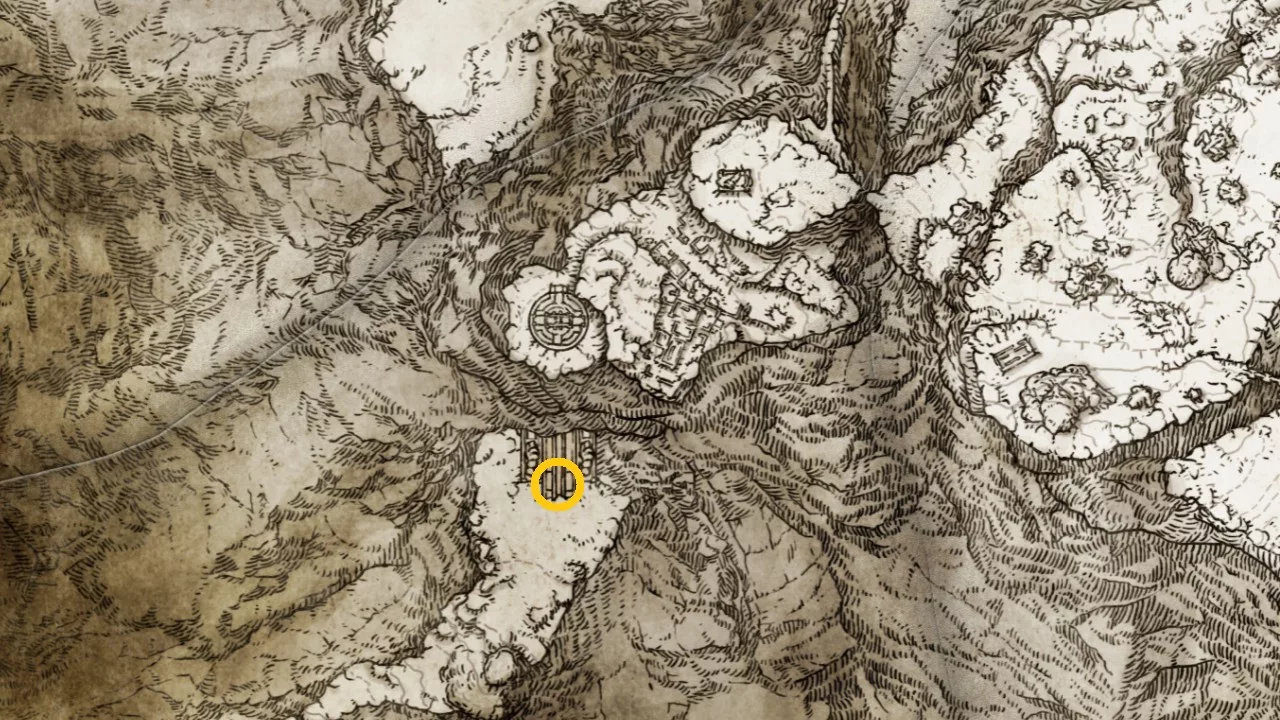
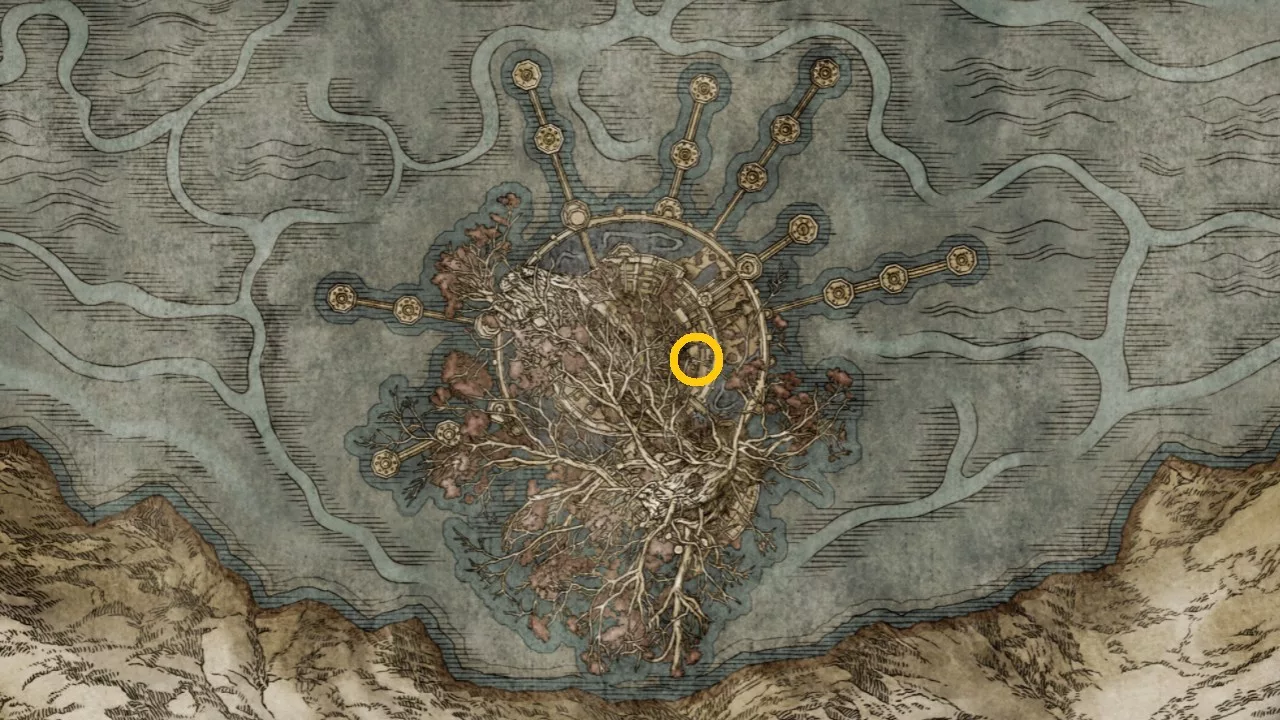
The left half of the medallion can be located within Castle Sol. Travel to the northern section of the map and take down Commander Niall. Afterward, head to the location marked on the map above to retrieve it.
Right Half of Haligtree Medallion
The right half of the Haligtree medallion is found in the Village of the Albinaurics, beneath the cliffs surrounding the Cathedral of Manus Sellus. Make your way to the rear of the village and speak with a character named Albus, from whom you will receive the right half of the Haligtree medallion.
Reach Miquella’s Haligtree and Speak with Millicent
After acquiring both halves of the Haligtree Medallion, use fast travel to the Grand Lift of Rold located in the Forbidden Lands. Choose the Hoist Secret Medallion option in front of the lift, initiating a cutscene.
Upon entry, you will unlock the hidden path to Haligtree, but lighting four flames in Ordina, Liturgical Town, is a prerequisite for entering Haligtree. Locate the evergaol in Ordina and find four statues holding candles throughout the area.
Three flames can be found in the watchtowers: one on the right and two on the left. The fourth statue is at ground level. Once all four flames have been ignited, ascend the staircase in Ordina to reach Miquella’s Haligtree.
Upon arrival at Miquella’s Haligtree, navigate downwards, facing various giant ants and Albinaurics. Continue to press forward until you encounter Loretta, Knight of the Haligtree, boss. Afterward, proceed to the Player Room in Haligtree to find Millicent. Speak with her as she discusses Malenia to complete this part of the quest.
Defeat the Ulcerated Tree Spirit Boss
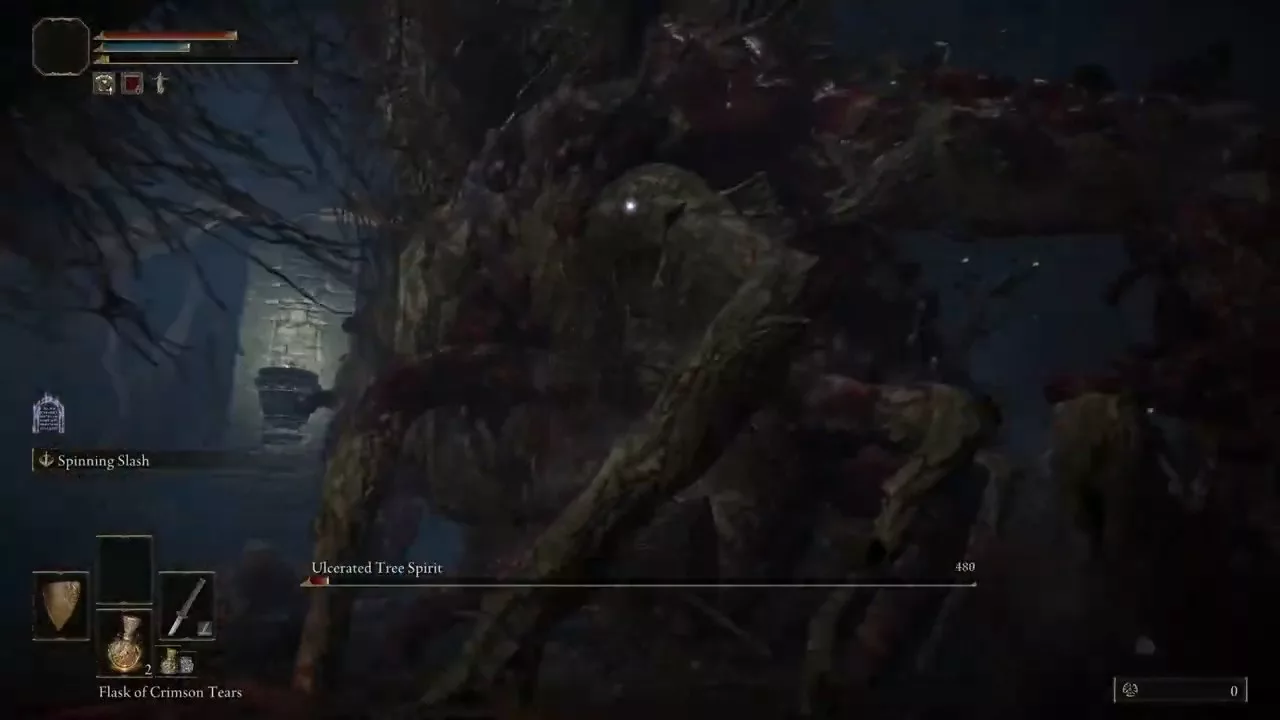
As you explore Miquella, you will encounter the Drainage Channel Site of Grace past the inner wall. This will lead you to the Ulcerated Tree Spirit Boss. Eliminate this boss, and then rest at a site of grace to prepare for the final stages of the questline.
Millicent Quest Choice
The concluding step of this chapter requires you to make a choice. Head back to the Drainage Channel Site of Grace where you’ll encounter two options.
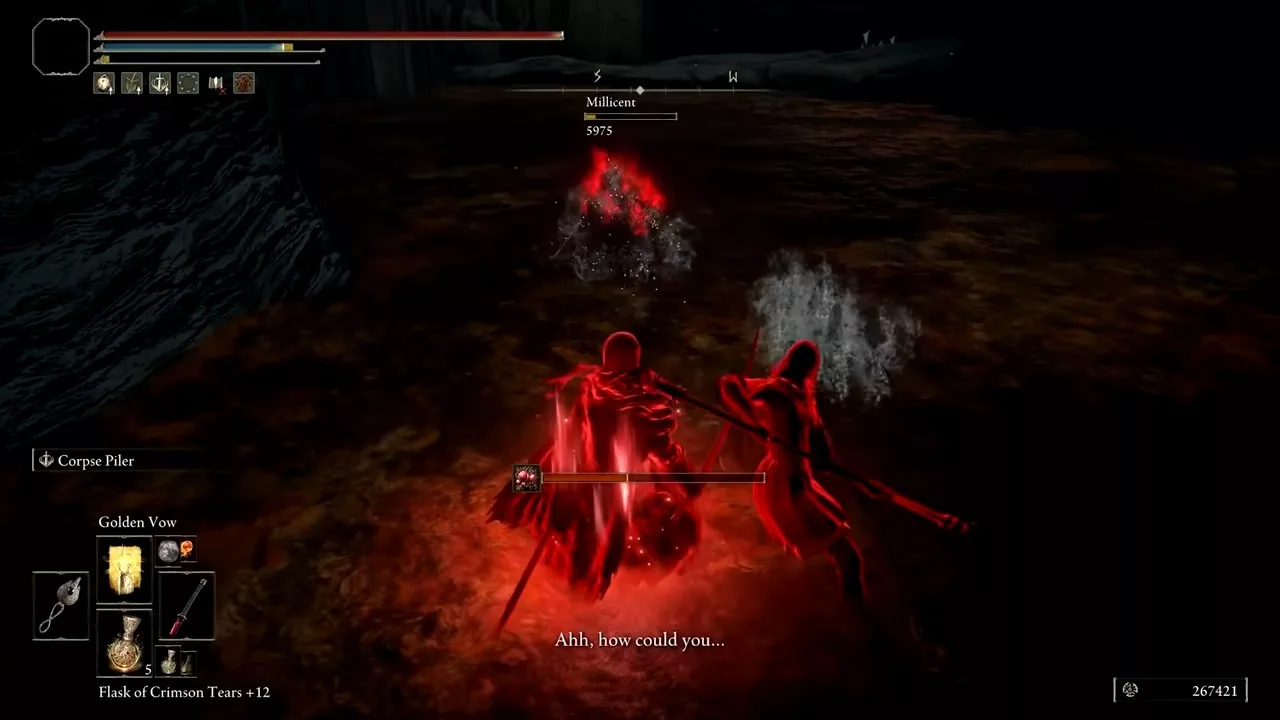
You can either opt for the yellow sign to fight alongside Millicent against enemies, leading you to receive the Rotten Winged Sword Insignia talisman, which boosts attack power. Alternatively, choosing the red sign will pit you against Millicent, rewarding you with Millicent’s Prosthesis.
Finding Miquella’s Needle and Defeating Malenia
The final task in Millicent’s questline involves heading to the Haligtree Roots and engaging in a boss battle against Malenia. This fight consists of two phases, and you can find detailed strategies in our Elden Ring Malenia Boss guide.
After you successfully defeat Malenia, return to the area to use the Unalloyed Gold Needle. Finally, head back to Gowry to wrap up the questline.
You can obtain Miquella’s Needle after completing all parts of Millicent’s questline. Simply utilize the Gold Needle on a scarlet blossom located in her boss chamber to receive Miquella’s Needle as your reward.
Using Miquella’s Needle to Reverse the Frenzied Flame Ending
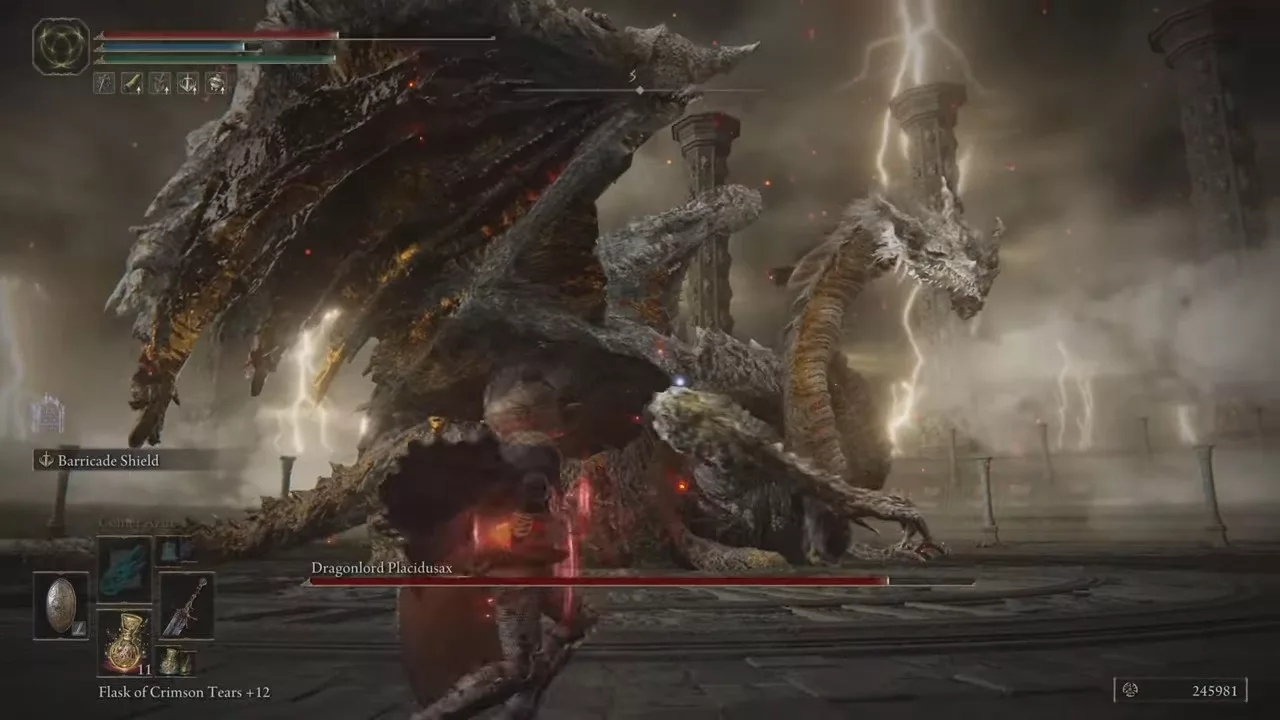
To undo the Frenzied Flame Ending with Miquella’s Needle, simply head to the area of Dragonlord Placidusax and engage in a boss fight. You can choose to use the Needle either before or after defeating Dragonlord Placidusax.
Once cured, your eyes will revert to their original color, and you will be unable to make another pact with the Three Fingers, thus concluding the Millicent questline in Elden Ring.
The Intelligence attribute is crucial for wielding a specific type of magic known as Sorceries in Elden Ring. In contrast to other attributes, it also enhances your defenses against magic attacks. You can improve your Intelligence by spending Runes at any Site of Grace and leveling up.
To further enhance your Intelligence, you will require certain items like the various Glintstone Crowns, Greathood, Godrick’s Great Rune, among others in Elden Ring.
1. Marika’s Scarseal
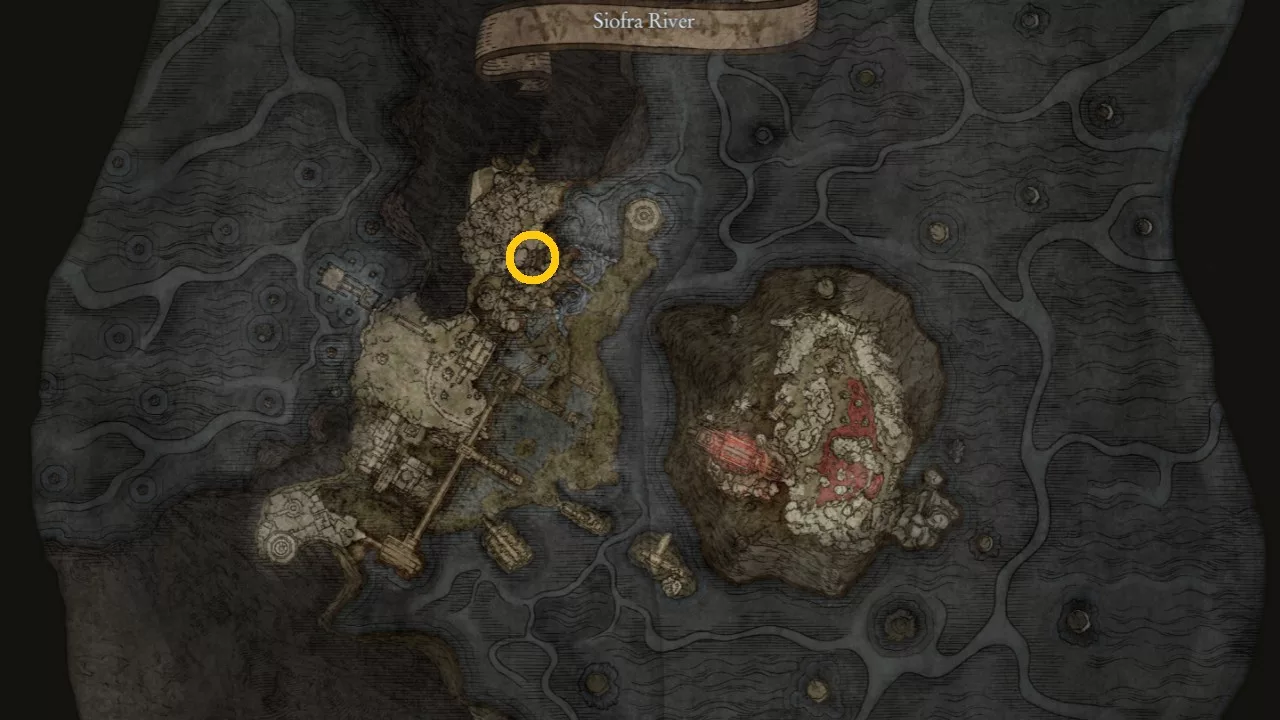
Location: This item is located in the Siofra River, concealed behind the waterfall near where you defeat the Dragonkin Soldier.
Marika’s Scarseal boosts your Intelligence, Mind, Arcane, and Faith by +3 each. However, equipping this Talisman also increases damage taken by 10%.
2. Marika’s Soreseal
Location: You can find it inside a sealed room in Elphael, Brace of the Haligtree (Legacy Dungeon). To access this area, you need a Stonsword Key.
Marika’s Soreseal is a Talisman that can be quite challenging to obtain compared to others. It enhances Intelligence by +5, while also boosting Faith, Arcane, and Mind by +5 each. However, similar to Marika’s Scarseal, it increases damage taken by 15%, making you more susceptible to harm.
3. Stargazer Heirloom
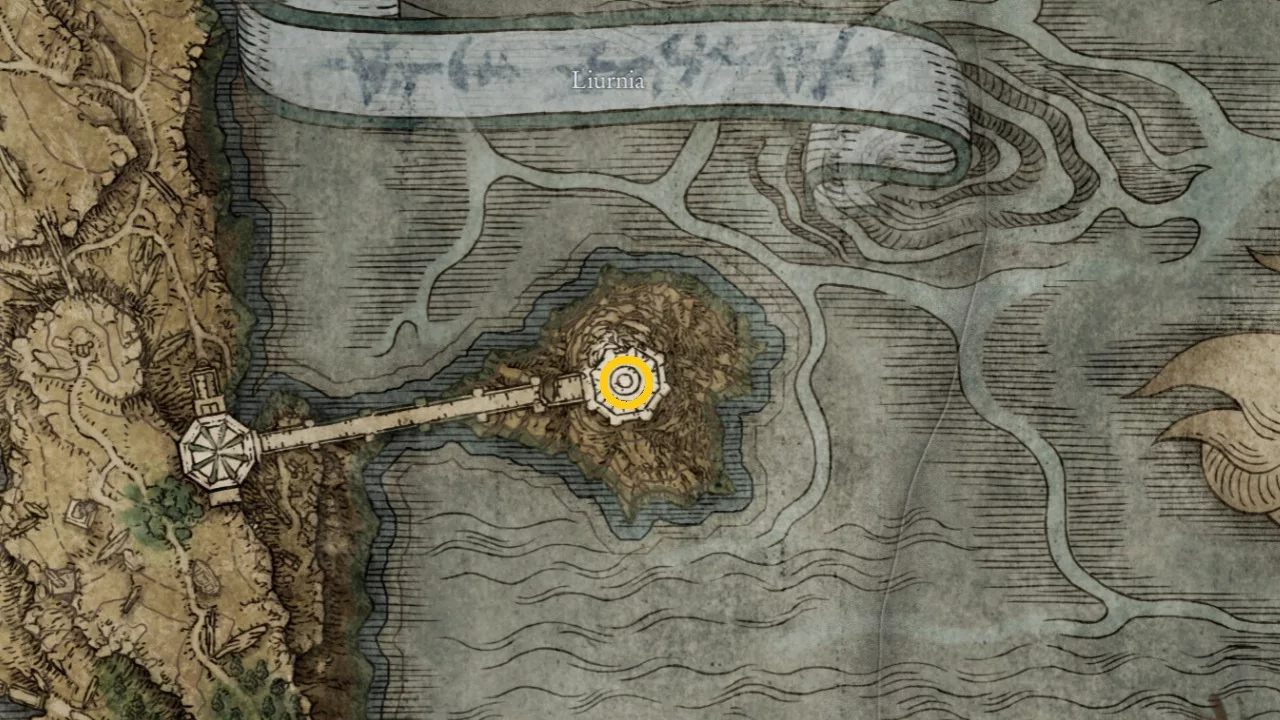
Location: The Stargazer Heirloom is found on a corpse at the top of the Divine Tower of Liurnia.
Stargazer Heirloom is a Talisman that solely increases your Intelligence, setting it apart from others.
4. Olivinus Glintstone Crown
Location: To acquire this armor piece, travel to Raya Lucaria Academy using the nearest Site of Grace (Schoolhouse Classroom).
Olivinus Glintstone Crown is a helm that belongs to the Raya Lucaria Sorcerer set. Equipping this helm boosts your Intelligence by +3 but reduces your HP by 10%.
5. Karolos Glintstone Crown
Location: To equip this item, you will need to defeat some crabs located in the courtyard of the Raya Lucaria Academy.
Karolos Glintstone Crown is part of the Raya Lucaria Sorcerer armor set. Wearing this helm will enhance your Intelligence by +3 but will reduce your stamina by 9%.
6. Twinsage Glintstone Crown
Location: To obtain this helm, you must defeat a crystal crab situated on the rooftop of the Raya Lucaria Academy and claim it as a drop.
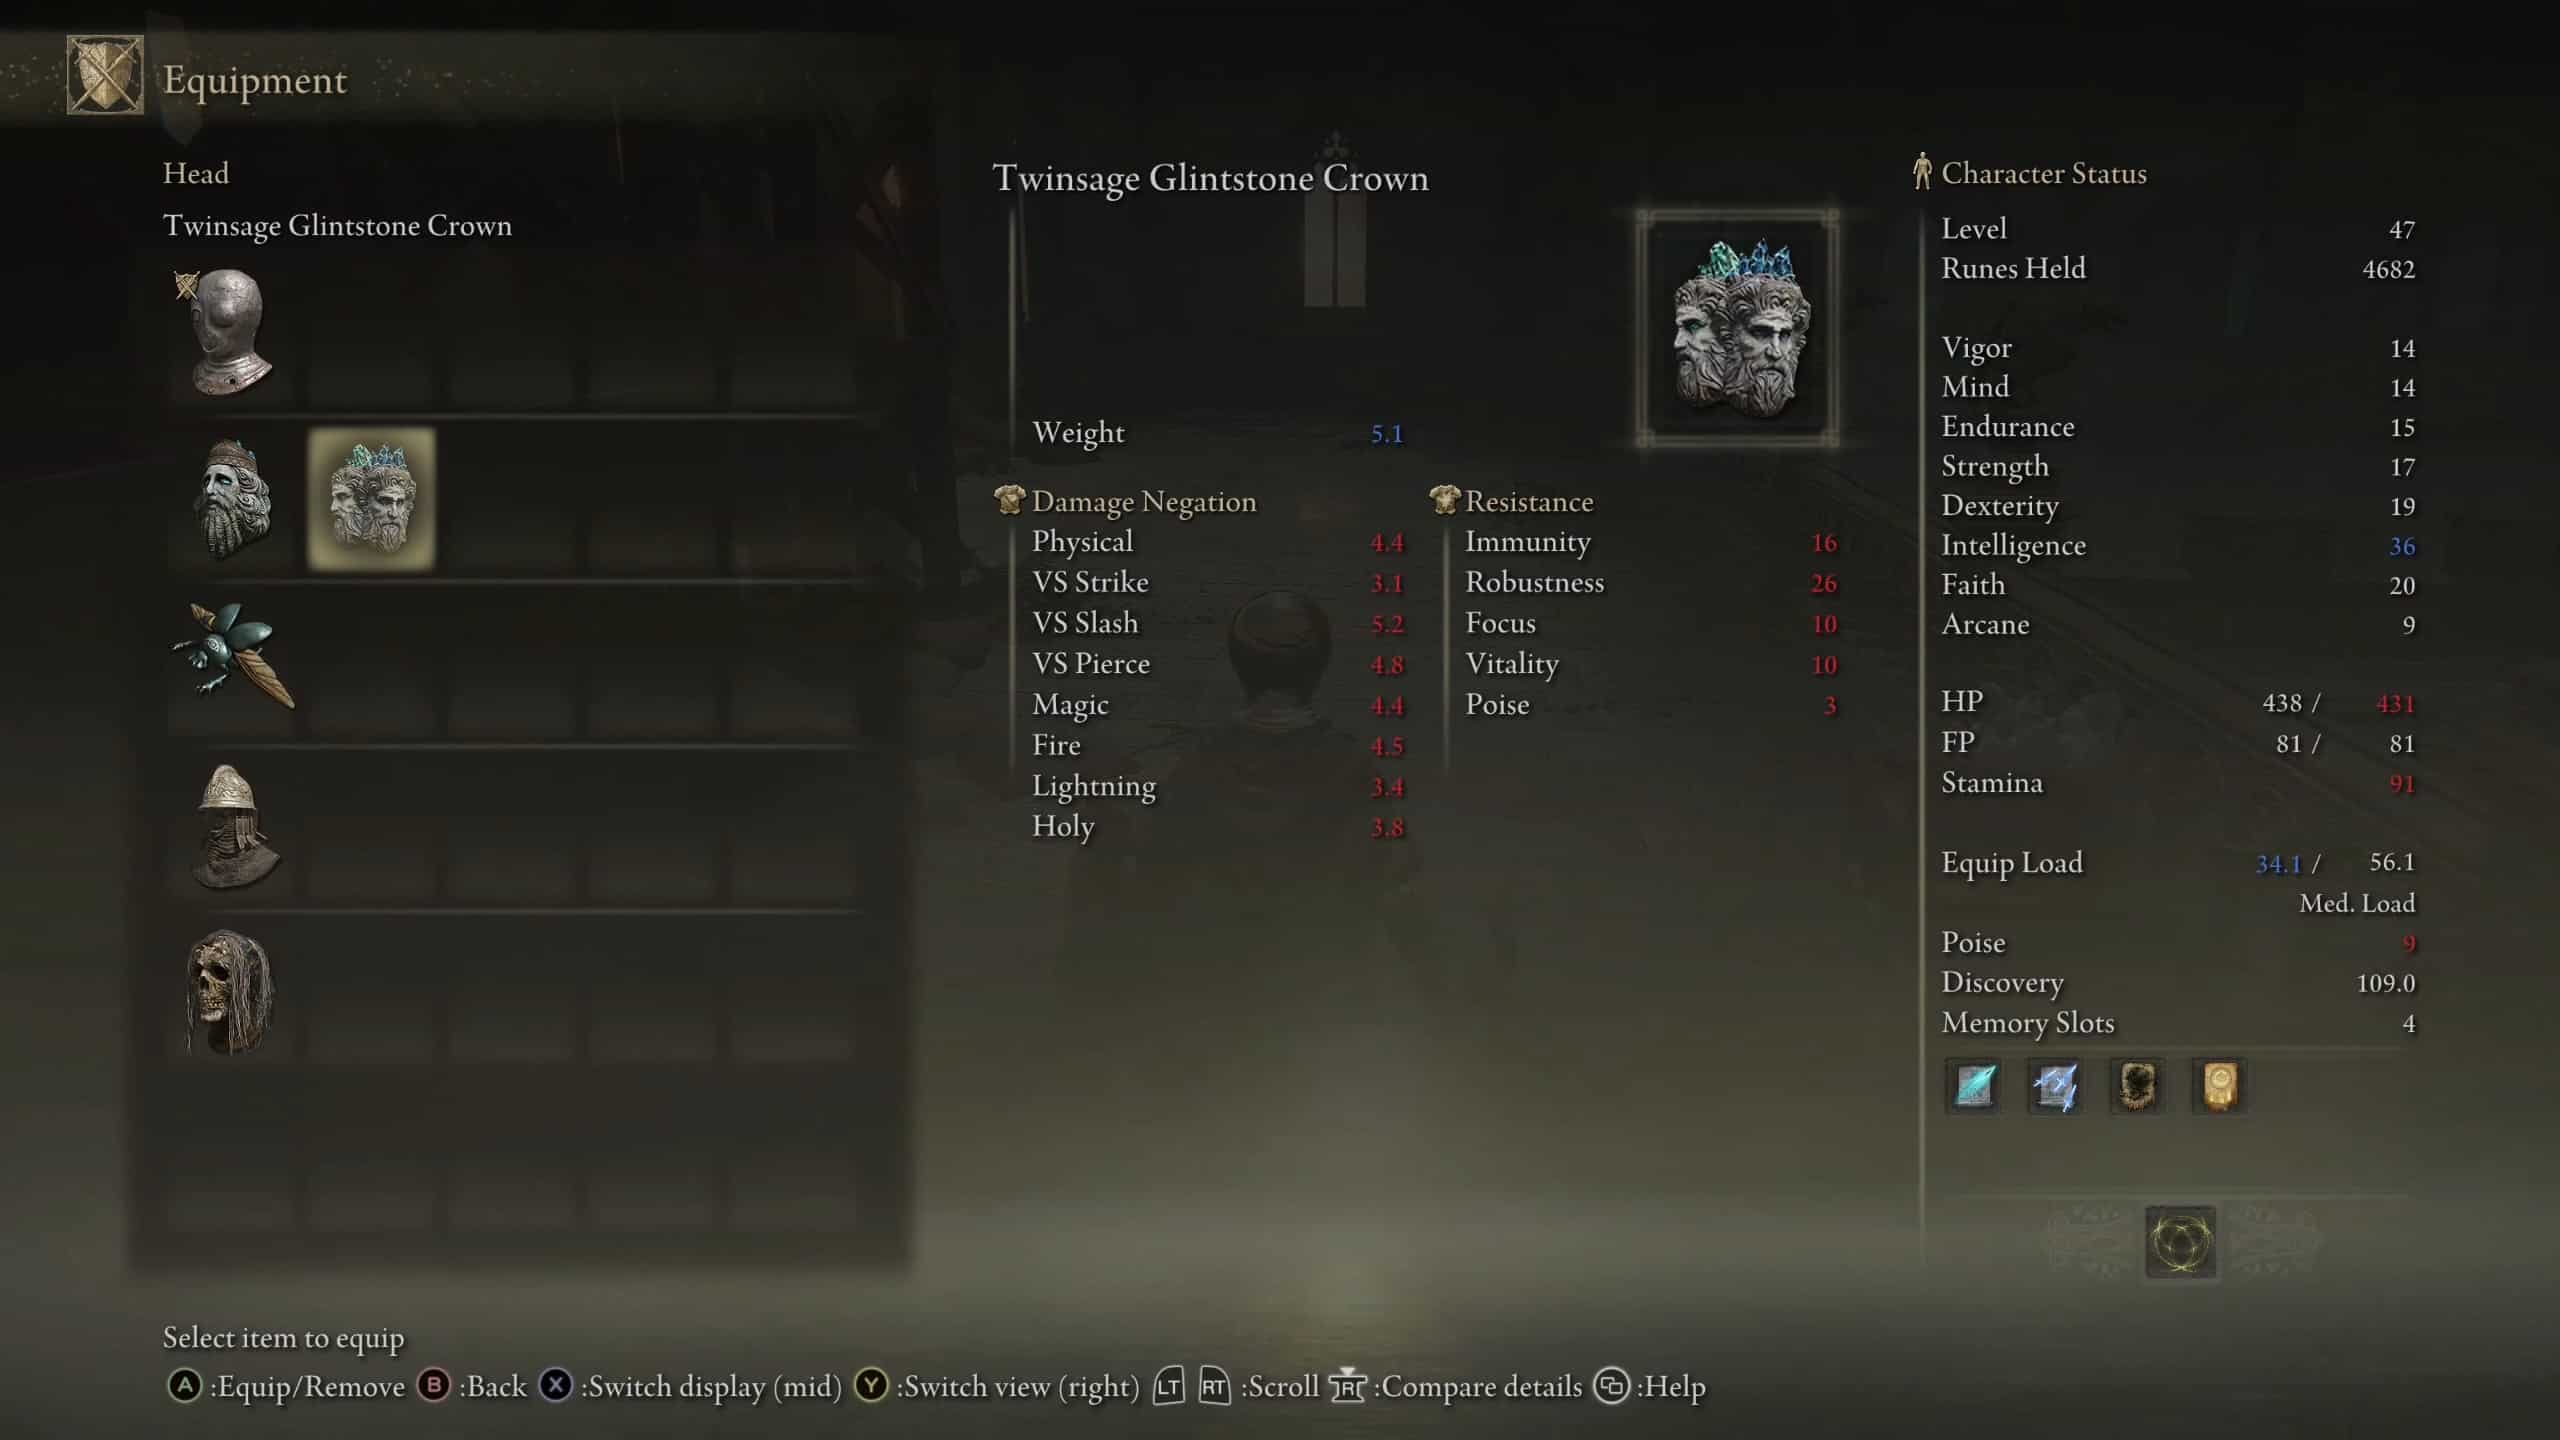
The Twinsage Glintstone Crown is a helm that belongs to the Raya Lucaria Sorcerer armor set. Wearing this helmet enhances your Intelligence by +6, but it also decreases both your stamina and HP by 9% each.
7. Lazuli Glintstone Crown
Location: You can acquire this helmet by defeating a crystal crab within the Raya Lucaria Academy, located in the tower with the wooden floor.
The Lazuli Glintstone Crown is a helm belonging to the Lazuli Sorcerer armor set. Wearing this piece boosts your Intelligence by +3 and also increases your Dexterity by +3. However, this comes at the cost of reducing your HP by 18%.
8. Haima Glintstone Crown
Location: To acquire this helm, travel east of West Windmill Pasture and defeat a battlemage stationed across the bridge. Retrieve the helm from their corpse to enhance your Intelligence.
Haima Glintstone Crown is part of the Battlemage Set Armor set. Wearing this helm will boost your Intelligence and Strength by +2 each, though it reduces your FP by 10%.
9. Hierodas Glintstone Crown
Location: To collect this crown, travel to Mt. Gelmir and search for a corpse located in Hermit Village.
Hierodas Glintstone Crown is a helm that belongs to the Errant Sorcerer Armor set. Equipping this helm raises both Intelligence and Endurance by +2 each, but it reduces your FP by 10%.
10. Witch’s Glintstone Crown
Location: This crown can be obtained as a reward for completing Sellen’s questline, which you will receive at the conclusion of the quest.
The Witch’s Glintstone Crown is another helm from the Raya Lucarian Armor set that can be equipped to enhance your Intelligence. It raises both Intelligence and Arcane stats by +3 each, but it diminishes your stamina by 18%.
11. Queen’s Crescent Crown
Location: This helm can be purchased for 7,000 Runes from Finger Reader (Enia) after defeating Rennala, Queen of the Full Moon.
Queen’s Crescent Crown, part of the Queen of the Full Moon Armor set, increases your Intelligence by +3. Notably, there are no drawbacks associated with wearing this crown.
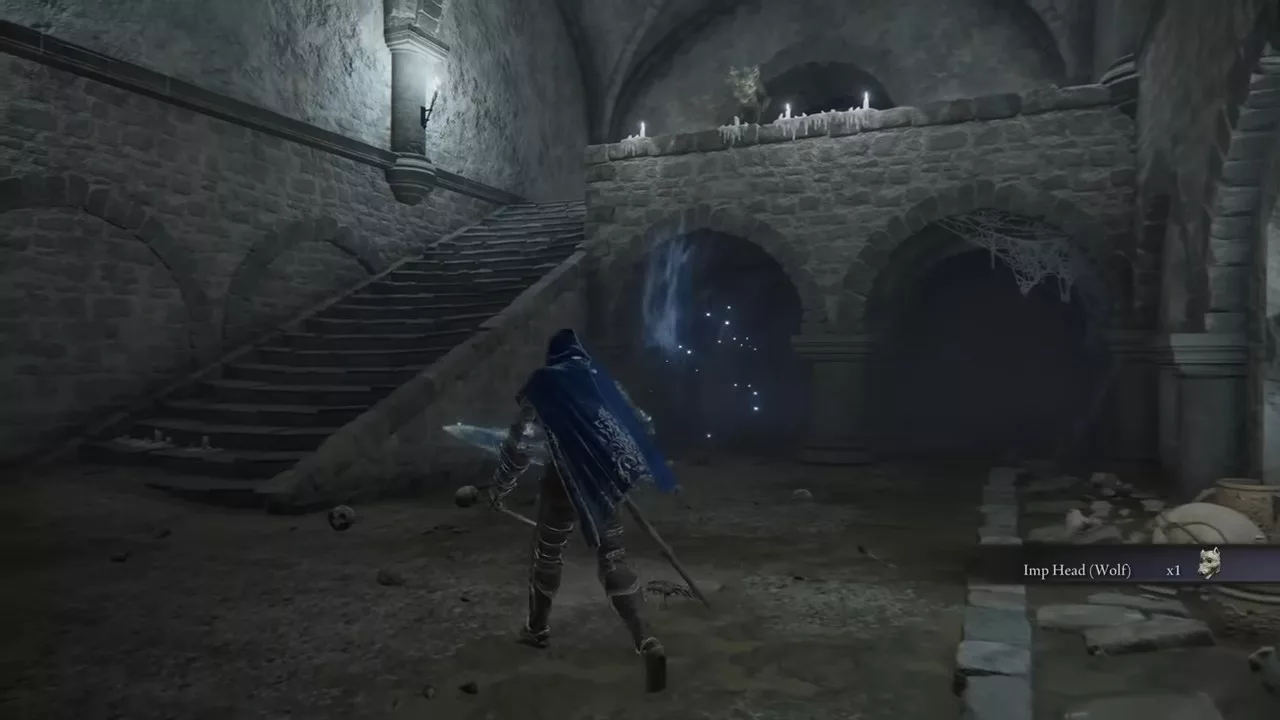
12. Imp Head (Cat)
Location: This helm can be dropped by Imps in various locations.
The Imp Head is a unique cat-shaped helm that is not part of any set. Wearing this helm grants a +2 boost to your Intelligence, and it has no associated drawbacks.
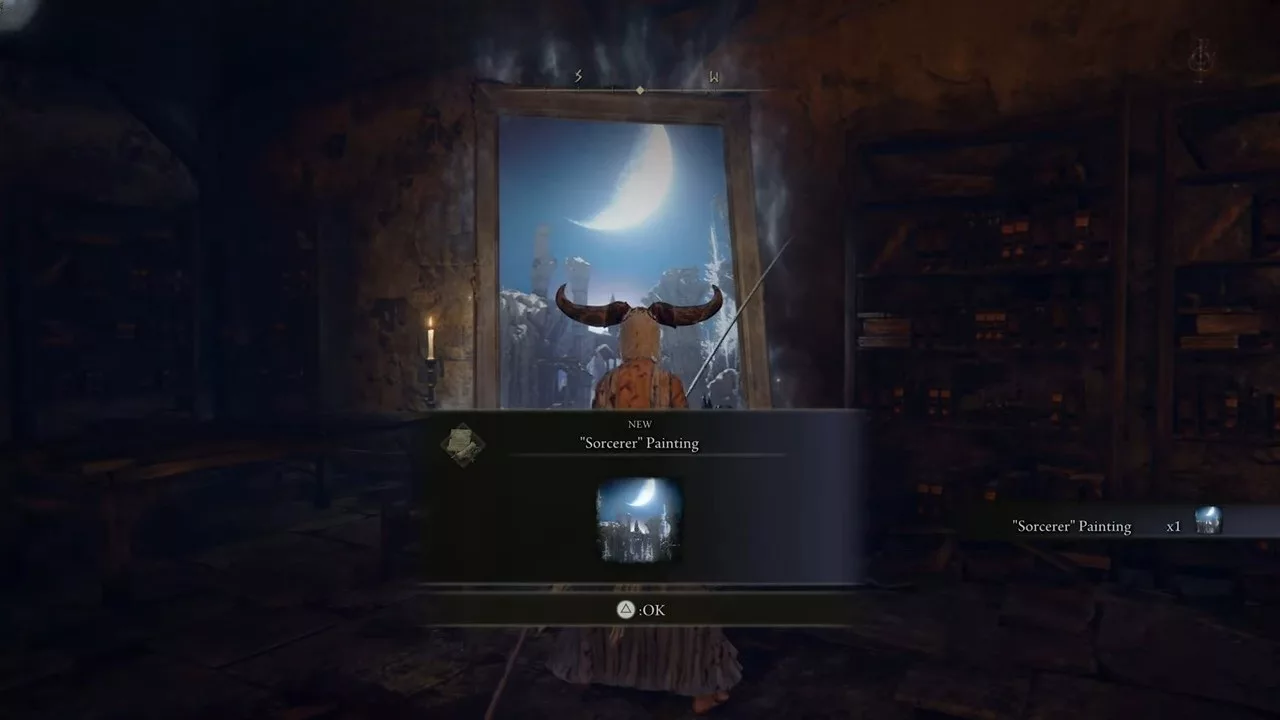
13. Greathood
Location: Solving a puzzle in the Sorcerer painting rewards you with the Greathood. Start this puzzle in Castle Sol.
Greathood is another standalone helm designed to boost Intelligence. Equipping it raises both Intelligence and Faith by +2 each while also reducing your HP by 10%.
14. Godrick’s Great Rune
Location: To obtain Godrick’s Great Rune, visit Stormveil Castle and defeat Godrick the Grafted. This boss victory grants you the Great Rune.
Godrick’s Great Rune is one of the most unique items that enhance your attributes overall, not just Intelligence, in Elden Ring. Since it is a special item, it can only be acquired by defeating the boss. Equipping it boosts all attributes by +5 each, with no negative effects.
15. Grafted Blade
Location: To acquire this Greatsword, you must confront and defeat Leonine Misbegotten at Castle Morne.
The Grafted Blade is a Greatsword that can also enhance your Intelligence. With its default skill called Oath of Vengeance, you can temporarily boost all attributes by +5 each for 60 seconds.
16. Intelligence-Knot Crystal Tear
Location: You can find this item by heading to the Road to Manor (Site of Grace) and dropping down from the cliff to face a series of finger creepers to obtain the Crystal Tear.
The Intelligence-knot Crystal Tear is a key item that provides special effects when mixed with the Flask of Wondrous Physick. Combining this Crystal Tear with physick grants a +10 Intelligence boost for a duration of 3 minutes.
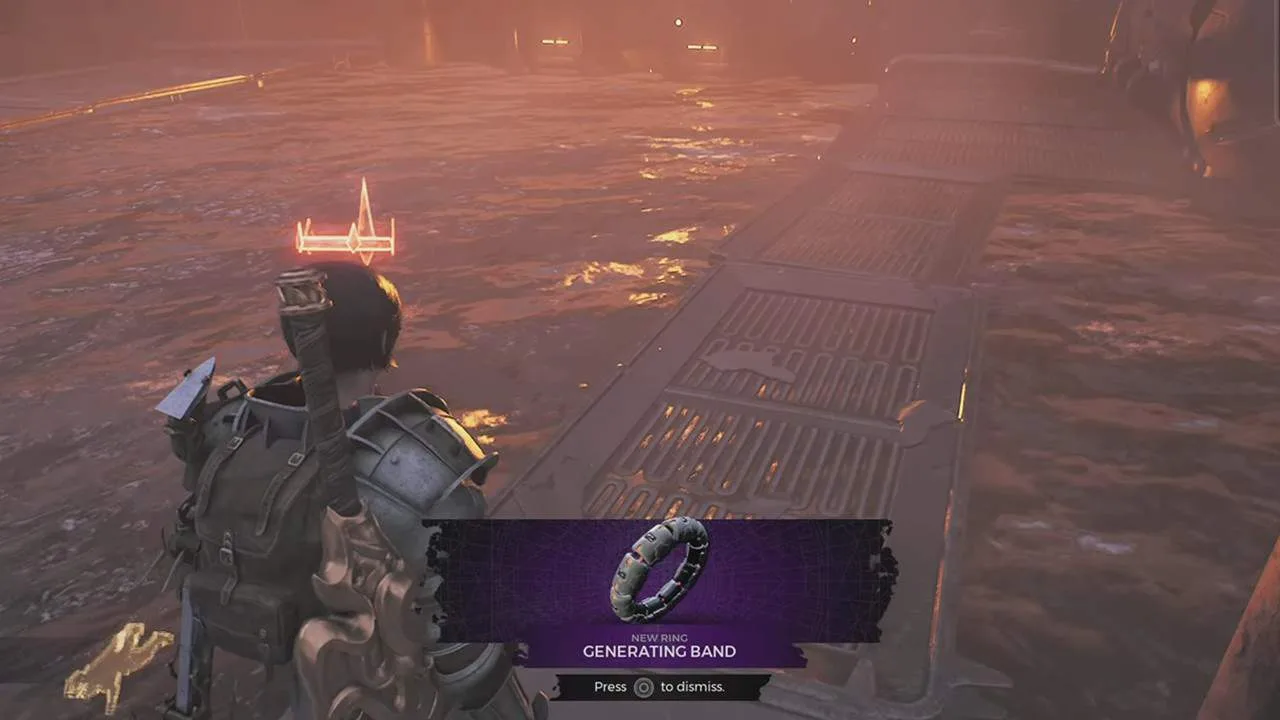
Showcasing the exceptional craftsmanship of Drzyr, the Generating Band is a health-oriented Ring in Remnant 2 that enhances your health regeneration by 3 percent. To obtain this ring, you must participate in The Flooded Room event set in the world of N’Erud.
The challenge with the Generating Band lies in its location, which differs for each player, but we have compiled some valuable hints to help you secure the ring.
Finding the Generating Band in Remnant 2
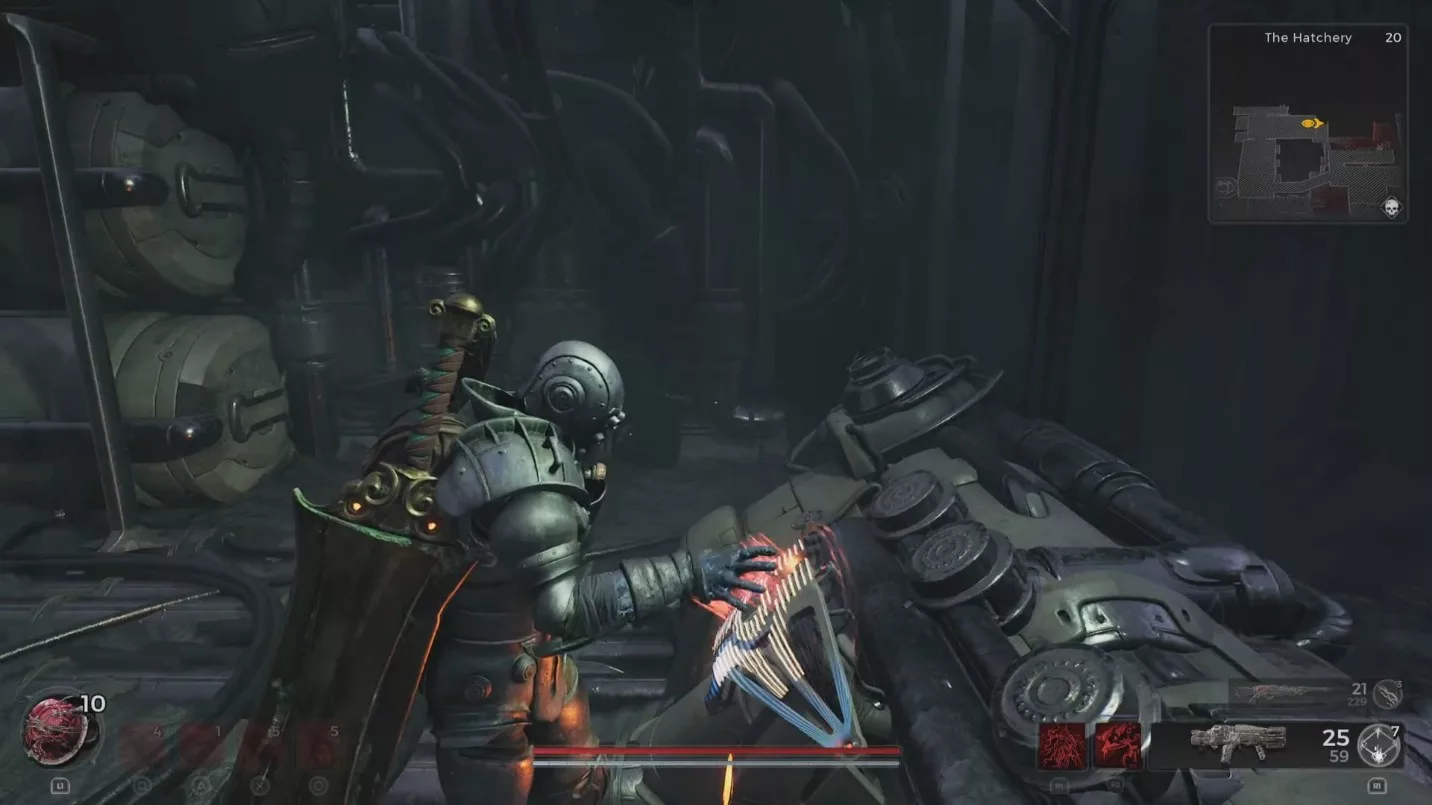
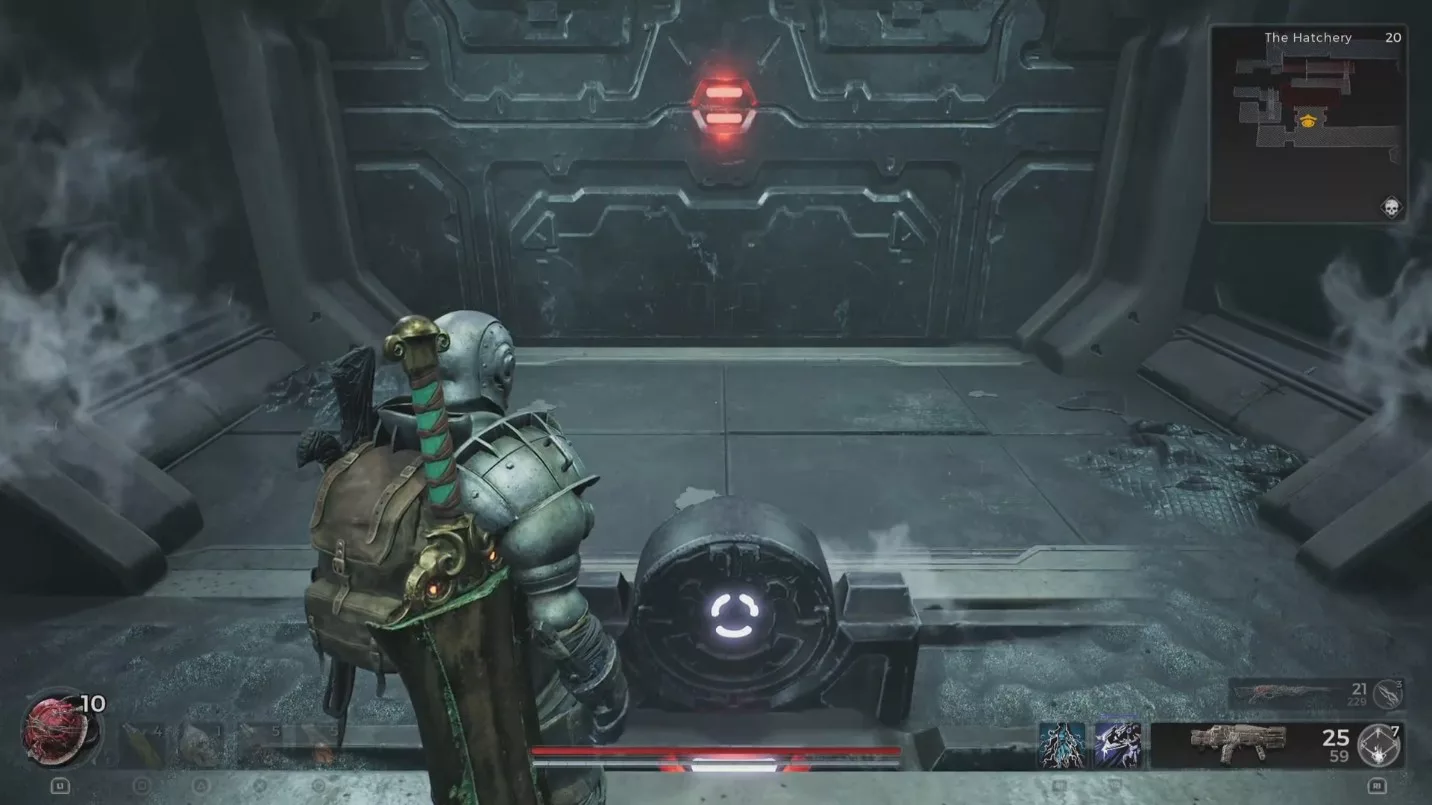
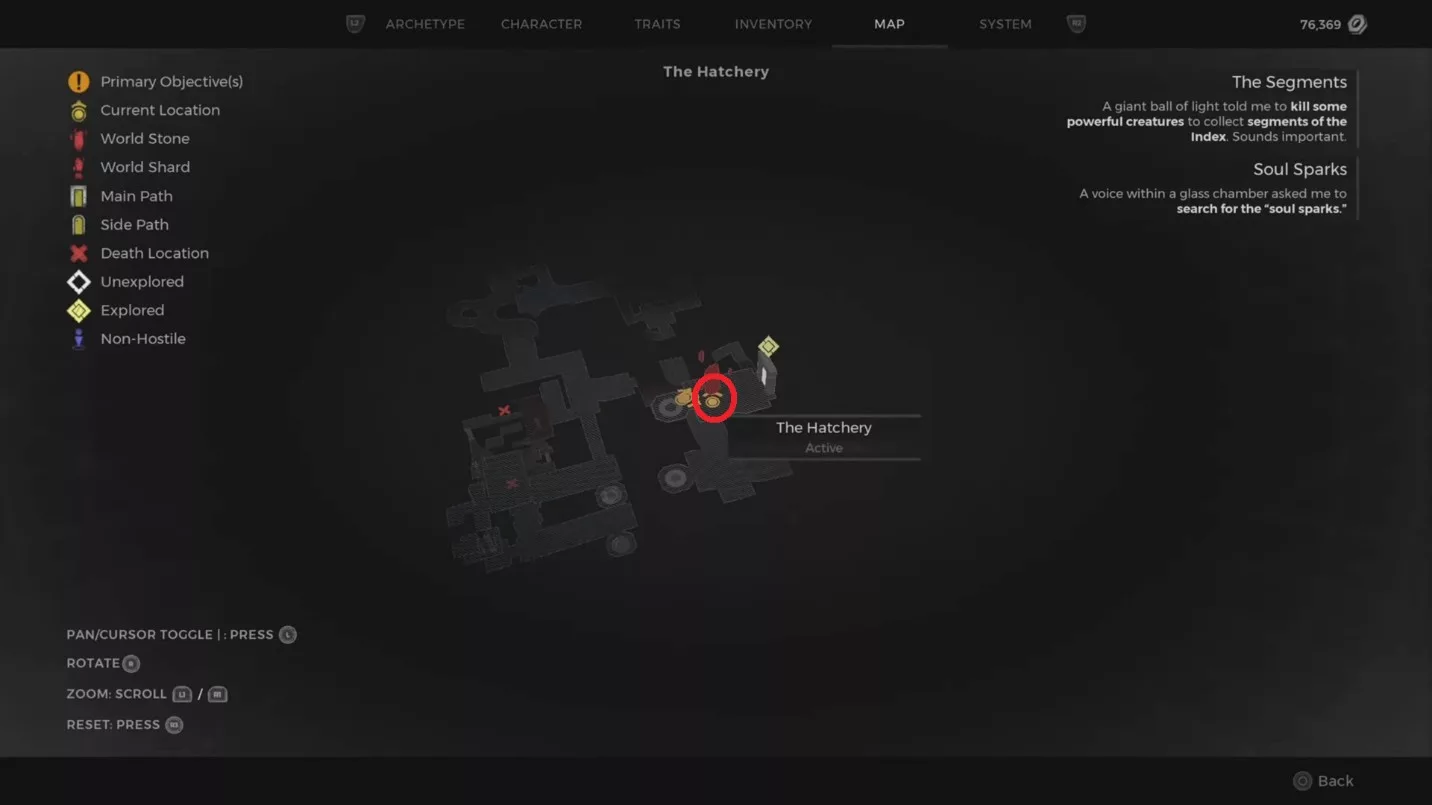
To acquire the Generating Band, reroll the campaign in Adventure Mode and head to The Hatchery Dungeon in N’Erud. Upon entering the dungeon, take the elevator down, defeat the enemies, and leap to the lower level, where you will discover a ladder.
Ascend via the ladder and take the elevator to the flooded section in Remnant 2. This area will guide you to the console room. Activating the console will reduce the water level, which you can observe through the window ahead.
Ride the elevator down to the red locked door located at the end of the corridor. Occasionally, there will be a drop instead of an elevator, but don’t worry. Just descend through the hatch at the bottom to arrive at the locked door.
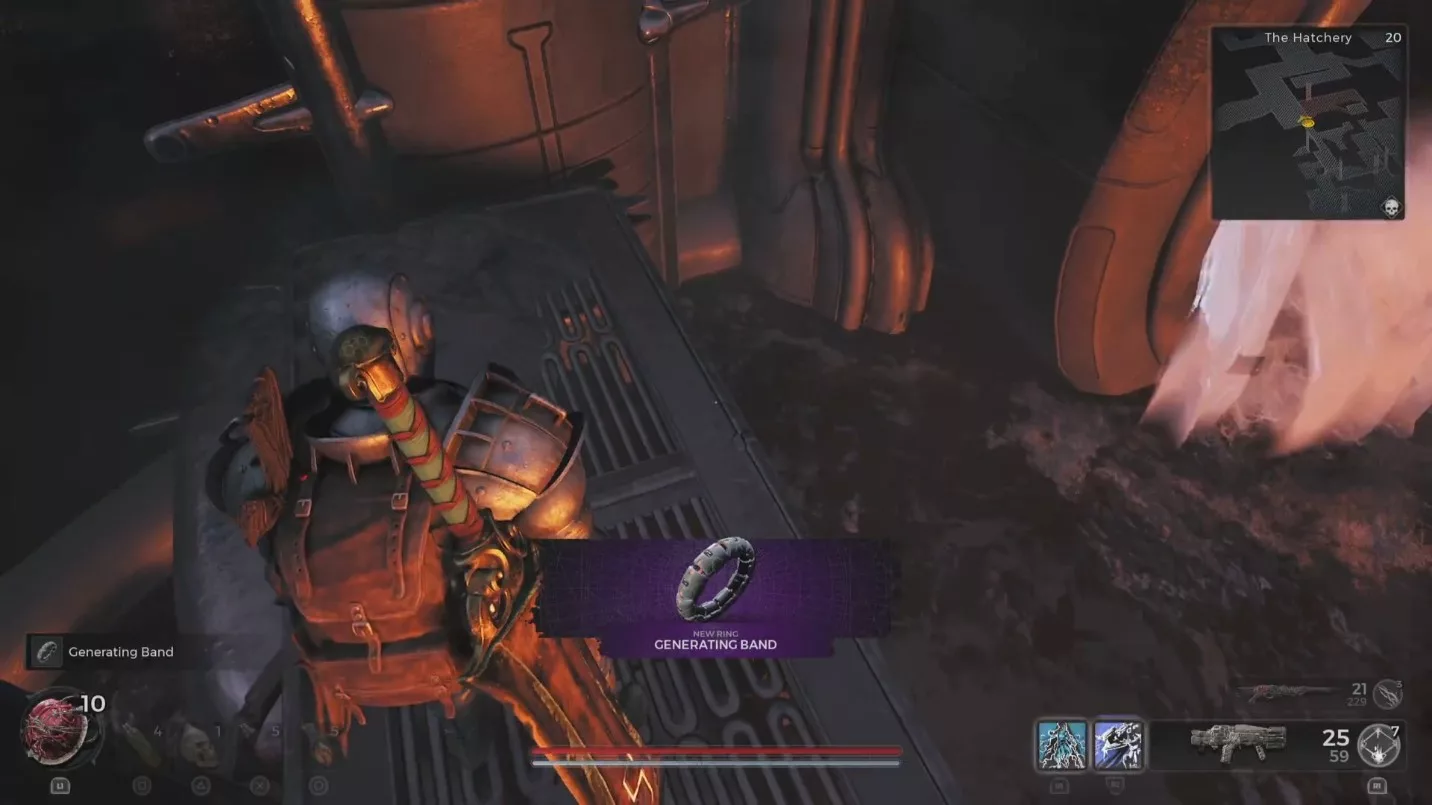
Before entering, it’s crucial to note that you need to collect three items in the room by parkouring to the top before the water level rises. Therefore, act quickly; based on our experience, the fastest method is to start on the left side of the boxes to grab the Subterfuge Link Ring first. Then, leap across to collect the Insulation Driver Amulet and proceed to claim the Generating Band Ring.
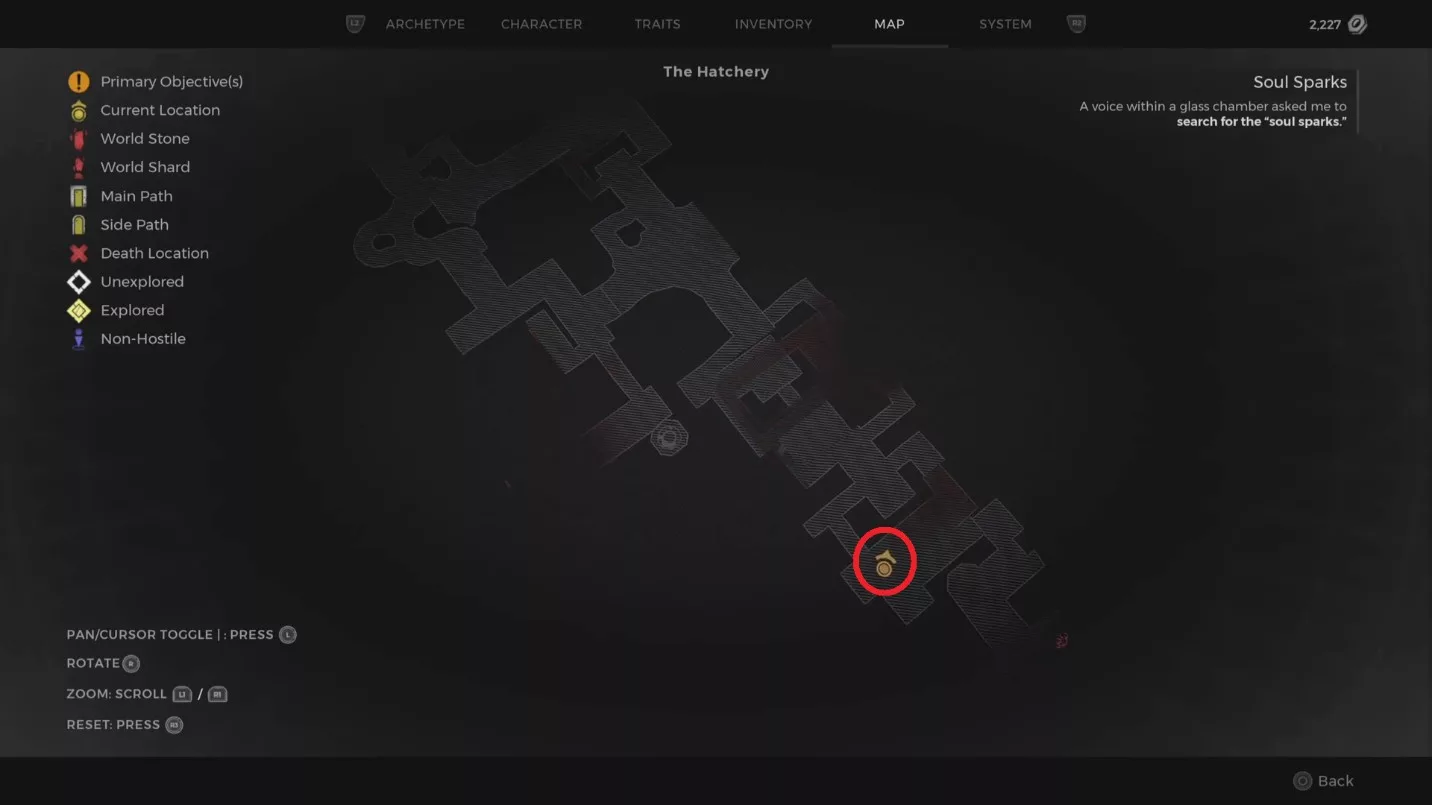
Keep in mind that if you drown while having the Generating Band Ring in your inventory, you’ll respawn at the nearest checkpoint. The specific location where we located the ring is detailed below.
Stats of the Generating Band
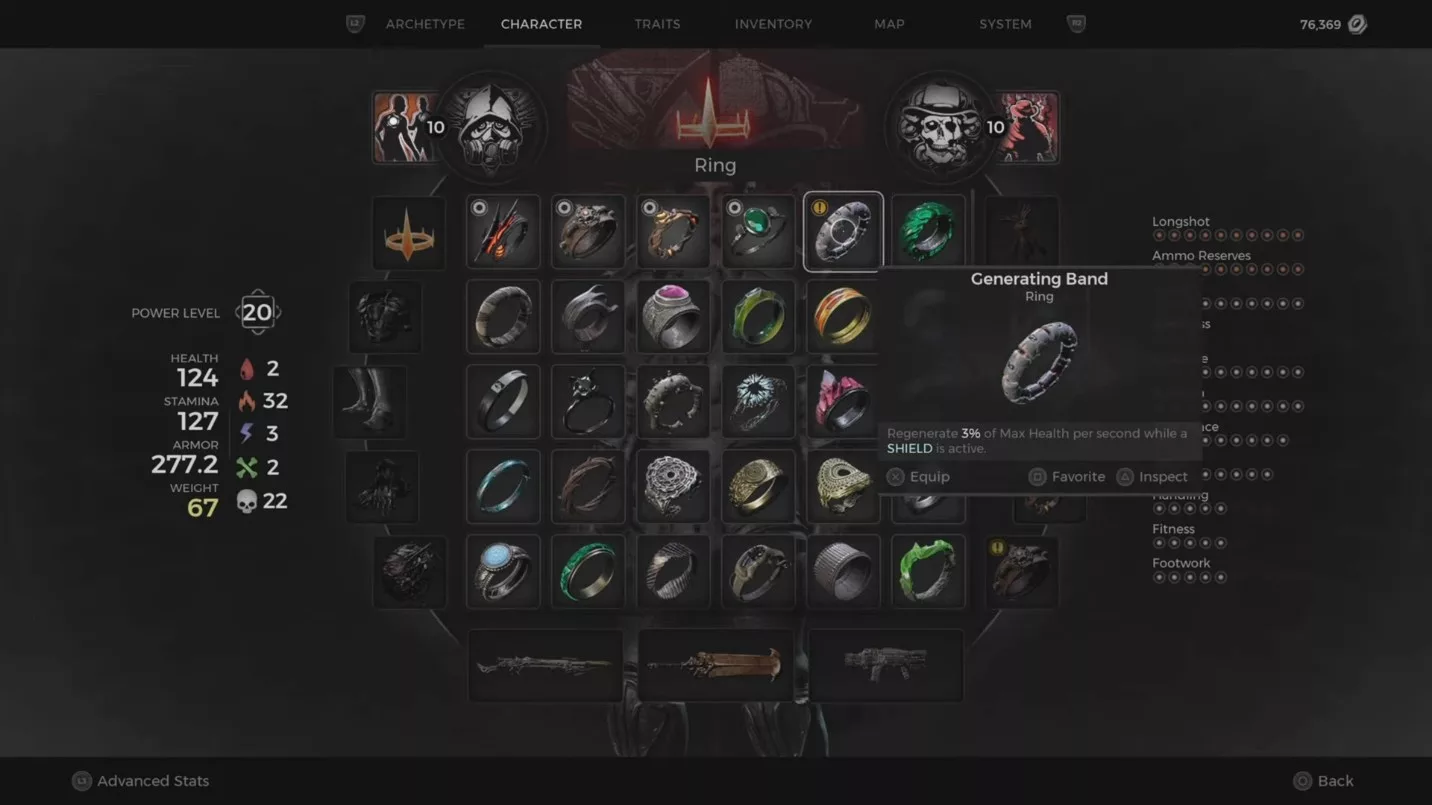
This ring is among the finest for health regeneration builds in Remnant 2. While your shield is active, the Generating Band enables you to restore 3 percent of your maximum health every second.
To maximize the band’s effectiveness, synergize it with the tightly wound coil; doing so will activate the shield every time you expend 75 rounds from your magazine, giving you an extensive health pool. Additionally, if you incorporate the Tranquil Heart alongside the band, it will double your health regeneration for a duration of 15 seconds.
Generating Band Synergies
The Generating Band is well-suited for a variety of builds, including those utilizing the Medic Archetype, Challenger Archetype, or Handler Archetype. These setups maintain your shield for continuous healing, making the band an excellent companion.
If you prefer tank-style builds like the Engineer Class, harness the extra healing to withstand powerful enemy attacks. It also complements versatile equipment often found in these configurations, such as the Burden of the Divine Ring from Losomn or The Dense Silicon Ring from The Labyrinth.
CALIFORNIA – In a surprising move, Microsoft has announced the release of the much-anticipated Xbox Series X (Disc-Less Digital Version), which will come bundled with an innovative gyro controller.
Table of Contents
This exciting development is set to revolutionize the gaming industry and provide gamers with an immersive and intuitive gaming experience.
Xbox Series X (Disc-less version) – Brooklin
The Xbox Series X (Disc-Less Digital Version) is the latest addition to Microsoft’s popular Xbox console lineup. As the name suggests, this version of the console does not include a disc drive, allowing gamers to enjoy their favorite games entirely through digital downloads. This not only eliminates the need for physical game discs but also opens up new possibilities for game distribution and accessibility.
Xbox Series X Gyro Controller
What sets the Xbox Series X (Disc-Less Digital Version) apart from its predecessors is the inclusion of a gyro controller. This cutting-edge controller leverages gyroscopic technology to enhance gameplay by providing more precise and responsive controls. Gamers will be able to enjoy a new level of immersion as they navigate virtual worlds with greater accuracy and control.
The gyro controller features a sleek and ergonomic design that ensures comfort during extended gaming sessions. Its intuitive layout and responsive buttons make it easy for both casual and hardcore gamers to pick up and play. Whether you’re exploring vast open-world landscapes or engaging in intense multiplayer battles, the gyro controller will elevate your gaming experience to new heights.
Microsoft has also announced that the Xbox Series X (Disc-Less Digital Version) will be compatible with a wide range of accessories, including headsets, charging docks, and custom skins. This allows gamers to personalize their gaming setup and create a truly unique and immersive environment.
With the release of the Xbox Series X (Disc-Less Digital Version) and its gyro controller, Microsoft is once again pushing the boundaries of gaming technology. By embracing digital distribution and innovative control mechanisms, the company is ensuring that gamers have access to cutting-edge gaming experiences.
Gamers around the world are eagerly awaiting the release of the Xbox Series X (Disc-Less Digital Version) and its gyro controller. The console is set to launch in select markets later this year, with availability expanding to additional regions in the coming months.
Stay tuned for more updates on this exciting development!
According to the review experts, God of War Ragnarok is the year’s biggest game. Will this game ever be released on Xbox One or Xbox Series X or S? We will answer that question today.
Ghost of Tsushima Xbox One and Xbox Series X coming soon? We will discuss every posibility of the game in this article.
Ghost of Tsushima is an action RPG video game developed by Sucker Punch and Sony Interactive.
Since Microsoft has started expanding their exclusive games to PlayStation, PlayStation has also expanded a few of their exclusive games to Xbox.
Now, Let’s look at the possibility; the game Ghost of Tsushima is developed by “Sucker Punch Games“, the studio only develops game for Sony. If you look at the list of developed games by Sucker Punch Games, you will find the games developed only for Sony PlayStations.
That includes games for PS2, PS3, PS4 and now PS5 and PS5 Pro.
Is Ghost of Tsushima Xbox One / Xbox Series X Happening?
No, It is not.
If the game is developed by a studio that exclusively makes games for either Xbox or Sony, it is impossible to have them on cross-platform. As Halo and Gears of War were developed by the Microsoft studios, which are known for creating games exclusively for Xbox, these games are never released for PS. Similarly, Ghost of Tsushima is developed by Sucker Punch Games, known for exclusively creating games for PlayStation.
The majority of the gaming experts suggested that making the game a cross-platform would earn the developers a fortune as the game has pulled up great ratings.
But, many of them suggest that PlayStation would use Ghost of Tsushima to promote their new generation console PS5 and PS5 Pro. Similarly, the game is also not available for PC either, making it one of the top-selling Playstation exclusives after Marvel’s Spiderman.
Would you love to see the game on PC or Xbox? Let us know in the comment section below. (The game developers might read your comments.)
Now you won’t have to pay for Xbox Live Gold membership to play Free-to-play games on Xbox, such as Call of Duty Warzone, Fortnite, Smite, and more. You will be able to play it without Xbox Live Gold.
After EA Play, Microsoft could burst the next “Game Pass” bomb. There are rumors that Ubisoft Uplay will be integrated into the Xbox subscription service.
Among us is a huge game, but many people are needed to play it as a co-op experience for up to 10 players across PC, Nintendo Switch, and mobile platforms. The question raised is whether Among Us crossplay? This article will cover everything you should know about cross-progression in among us.
As the latest generations are ready to come into our lives, Fortnite is also leveling up their game to introduce Split screen on PS5 and Xbox Series X along with 4K resolution and 60FPS support.
FIFA 2023 is about to take place this year though the fans are tense. The situation that the pandemic has bought to everyone’s life is the worse in the world of sports.