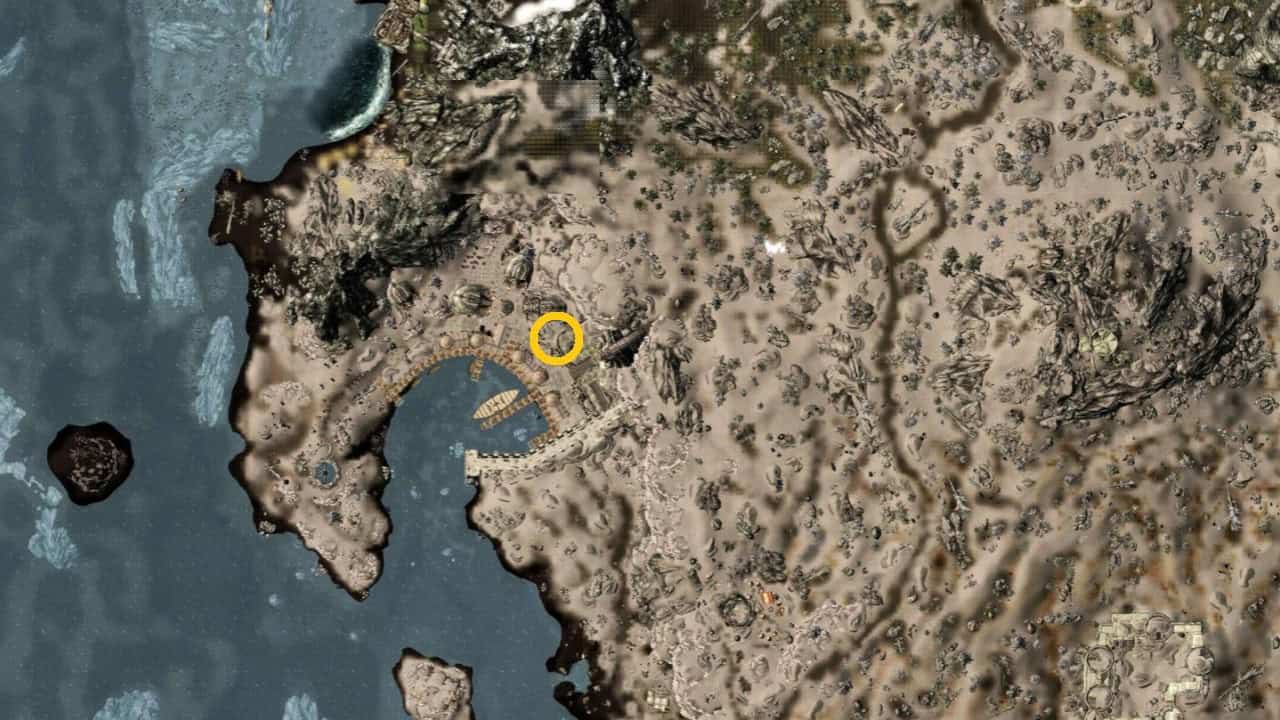
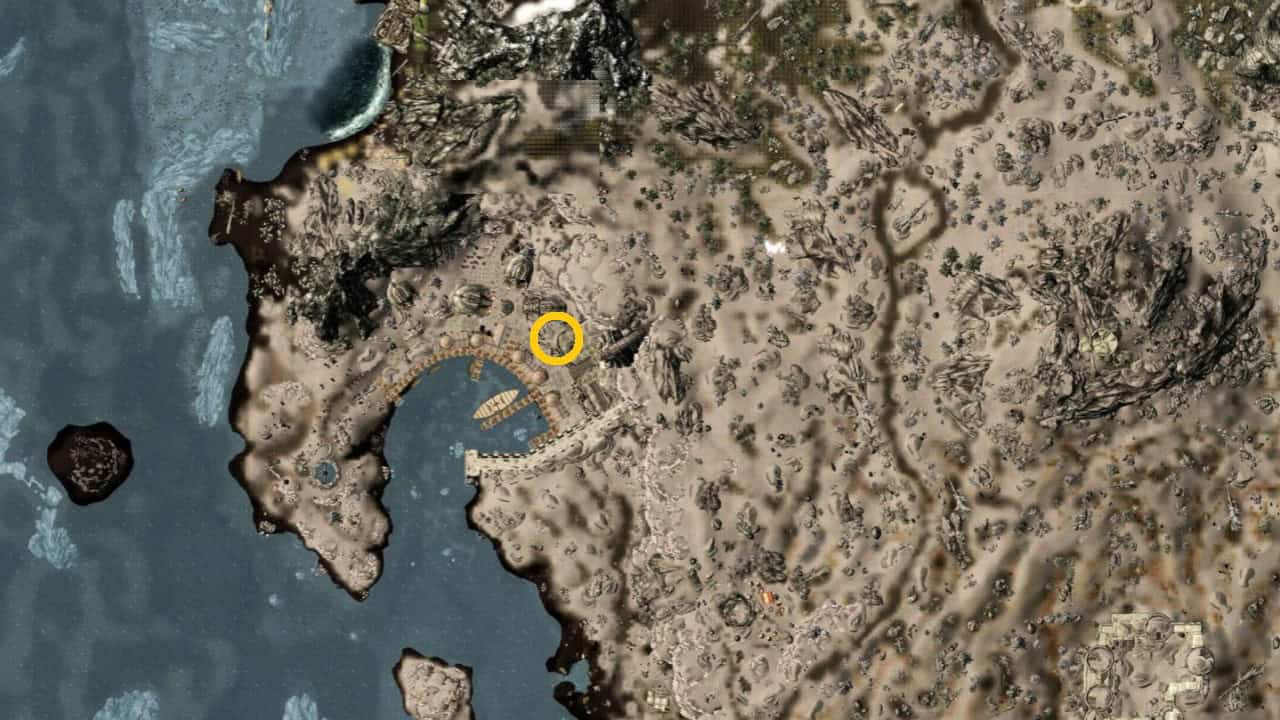
The Elder Scrolls V: Skyrim is filled with a variety of puzzles found in its numerous dungeons and tombs. Some of these puzzles are straightforward, while others, like the pillar puzzle in the Ansilvund Excavation, can be a bit tricky. Nestled in the northern reaches of Riften, Ansilvund is an ancient Nordic tomb. Although it’s not part of the main storyline, players will find themselves drawn there due to its connection to various Radiant Quests, including “Family Heirloom” and “Protecting the Bloodline.” It’s also one of the sites where a Stone of Barenziah can be located.
If you’re playing with a “stealth archer” character build, you’ll have an easier time, as there are plenty of hiding spots in the ruins from which to pick off your foes. Keep in mind that the area is heavily guarded by necromancers, mages, and draugr. Being an excavation, Ansilvund also contains several ore veins throughout its twisting tunnels.
Skyrim: Ansilvund Puzzle Solution
Reading For Clues
Roughly midway through Skyrim’s Ansilvund Excavation, players will face a challenge involving spinning pillars linked to a locked door on a small stone bridge. What complicates this puzzle is the lack of visible clues around; unlike most other pillar puzzles, you won’t find hints scattered nearby. However, the solution to the Ansilvund puzzle might be closer than you think.
In addition to the lurking enemies, watch your step in Ansilvund, as there are pressure plates and tripwire traps scattered throughout the tunnels.
There are two ways to solve Skyrim’s pillar puzzle. The first involves reading a book on a table across from the lever. This book, known as Of Fjori and Holgeir, recounts a romantic tale of Fjori and Holgeir, and the key to solving the puzzle lies in the sequence of animal names mentioned in the story.
Specifically, the names of the animals carved on the pillars can be found within this Elder Scrolls book. Each creature appears in the order needed for the puzzle. Thus, the solution to the puzzle is:
- “As the Eagle (1) finds…”
- “But the Snake (2) came…”
- “A Whale (3) greeted Fjori’s view…”
- “But the Snake (4) bit Fjori…”
Alternatively, you can identify the correct left-to-right order of the pillars just below the spinning mechanisms. They may be hidden beneath some underbrush and cobwebs, but with a careful eye, you can find the solution to Skyrim’s Ansilvund puzzle: “Eagle – Snake – Whale – Snake.”
Getting Out of Ansilvund
Completing this puzzle is part of the “A Love Beyond Death” quest, which starts automatically upon entering the Ansilvund Excavation. After you solve the puzzle, you’ll reach the final chamber where the boss, Lu’ah Al-Skaven, awaits. Once you defeat her, you’ll have the chance to collect the Ghostblade weapon. Beyond that, there’s also a master-level chest filled with valuable loot.
Once you’ve dealt with the boss, continue through the unlocked gate. A ramp behind it leads to a ledge where you’ll encounter a Frostbite Spider and another draugr. After leaving the ledge, head left to find the exit and continue your adventures in Ansilvund in Skyrim.
Location of Ansilvund’s Stone of Barenziah
Locating The Ansilvund Stone Of Barenziah
Players may need to navigate the Skyrim Ansilvund pillar puzzle to find the Stone of Barenziah hidden within. This stone is located in the burial chambers of Ansilvund, near the ghost of Fjori.
Locating The Other Stones of Barenziah
This quest is part of the “No Stone Unturned” mission, requiring players to discover all 24 Stones of Barenziah, and the stone in Ansilvund is just one of them. Players will have to search across the entirety of Skyrim to find each stone. To assist you, here’s a brief list of where to locate all Stones of Barenziah:
|
Location |
Details |
|---|---|
|
Stony Creek Cave |
Located inside the wizard’s cave, on a table. |
|
House of Clan Shatter-Shield, Windhelm |
On a shelf in the upstairs bedroom. |
|
Palace of the Kings, Windhelm |
Found on a table in Wuunferth the Unliving’s quarters. |
|
Dark Brotherhood Sanctuary |
In Astrid’s personal chamber. |
|
Pinewatch Bandit’s Sanctuary |
On a shelf within. |
|
Sunderstone Gorge |
In front of the Word Wall. |
|
Dainty Sload |
On a table in the rear room, only accessible via the basement. |
|
Reeking Cave, Thalmor Embassy |
In a nook near the entrance; it might also be found inside one of the embassy’s bedrooms during “Diplomatic Immunity.” |
|
Blue Palace, Solitude |
In Jarl Elisif’s quarters. |
|
Proudspire Manor, Solitude |
On a dresser in the bedroom, which comes with the purchase of the manor. |
|
Rannveig’s Fast |
Located on a table near the exit. |
|
Dead Crone Rock |
In front of the Word Wall. |
|
Treasury House, Markarth |
In the master bedroom. |
|
Dwemer Museum, Understone Keep |
Past the gate. |
|
Black-Briar Lodge |
In the master bedroom. |
|
Mistveil Keep |
In the Jarl’s quarters. |
|
Jarl’s Quarters, Dragonsreach |
In the bedroom. |
|
Fellglow Keep |
On a table next to the alchemy tools. |
|
Jorrvaskr Living Quarters |
In Kodlak Whitemane’s chamber. |
|
Whiterun Hall of the Dead |
Inside a crypt. |
|
Arch-Mage’s Quarters, College of Winterhold |
On a shelf to the left of the bed. |
|
Hob’s Fall Cave |
On a shelf next to an alchemy desk. |
|
Yngvild |
In the throne room. |
The final task in the “No Stone Unturned” quest involves retrieving a crown to return to Vex, which grants a special Perk for locating all 24 Stones of Barenziah. Additionally, Ansilvund features several radiant quest locations, so you might return later as part of a companion quest. Fortunately, you’ll only need to solve the pillar puzzle once during your entire playthrough of The Elder Scrolls V: Skyrim.

The Elder Scrolls V: Skyrim is the fifth installment in the renowned Elder Scrolls series developed by Bethesda Softworks. Set two centuries after The Elder Scrolls IV, players embark on a journey in northern Tamriel as they discover their identity as a Dragonborn, a powerful being capable of saving the world. Players can explore the vast land of Skyrim with their customized character, undertaking numerous quests and overcoming various adversaries to stop Alduin, the dragon destined to obliterate the realm.
- Released
- November 11, 2011
- Developer(s)
- Bethesda Game Studios
- Publisher(s)
- Bethesda Softworks
- Engine
- Creation Engine
- ESRB
- Rated M for Mature 17+, Contains Blood and Gore, Intense Violence, Sexual Themes, and Alcohol Use
- Expansions
- Skyrim: Dragonborn, Skyrim: Hearthfire, Skyrim: Dawnguard
- X|S Optimized
- Yes
- Metascore
- 96
- PS Plus Availability
- Extra & Premium (Special Edition)
- Steam Deck Compatibility
- Yes
- OpenCritic Rating
- Strong
- Cross Save
- No
- Cross-Platform Play
- No