الوسم: kill

  • Completing the Challenge of Solving Hirrus Clutumnus in Oblivion

    Completing the Challenge of Solving Hirrus Clutumnus in Oblivion

    No one should feel like life is no longer worth living, especially someone like Hirrus. He’s in deep pain, feeling trapped in his misery. His situation is heartbreaking, and his plea for help stands out as a unique challenge in The Elder Scrolls IV: Oblivion Remastered.

    When you encounter Hirrus, he doesn’t ask for weapons or magical items; instead, he requests something much stranger, prompting you to ponder the depth of his suffering. This quest takes you on an unsettling yet thought-provoking journey, but you’re here to help others, right?

    This quest is part of the Shivering Isles DLC.

    How to Start the Final Resting Quest

    Head to Crucible and talk to the locals to gather information. Some will mention Hirrus Clutumnus. You can also find him wandering around town.

    When you first approach him, he’ll ask you to meet him by the sewer grate northeast of the large statue of Sheogorath after dark. Wait until midnight and then rendezvous with him there.

    In a surprising turn, he asks you to end his life to relieve his suffering, revealing his wish for you to perform the act.

    How to Complete the Final Resting Quest


    You can take out Hirrus in several different ways, and there’s plenty of room for creativity. You could quietly approach him in an alley or attack him in plain sight.

    However, there’s one method that stands out as particularly ideal.

    Every night, Hirrus stands at the edge of a tall drop near the palace, where you can follow him and engage in conversation.

    During your chat, you’ll have the option to push him, creating the appearance of an accidental death while freeing him from his pain.

    This approach won’t alert the guards or result in a bounty, making it an ideal way to alleviate his suffering.

    After his demise, search his body for his house key and head to his residence located a little to the south. Once inside, go to the upper floor.


    Rewards for helping Hirrus - Oblivion Remastered

    On the cupboard in front of the bed, you’ll find the jewelry box containing Hirrus Clutumnus’s Will and the Ring of Happiness as part of your reward.

  • Completing the Quest: Solving Faelian’s Location in Oblivion Remastered

    Your next objective in the Oblivion Remastered Dark Brotherhood questline is “The Lonely Wanderer,” which takes you to the Imperial City. This quest is quite vague, as you have very little information to work with—just a name: Faelian. This elf resides somewhere in the Imperial City, and you’ll need to do some detective work to locate him.

    With patience, careful investigation, and strategic planning, you’ll eventually track down Faelian. However, that’s only part of the challenge. To successfully complete “The Lonely Wanderer” and earn your bonus, you need to eliminate Faelian in a way that appears to be a random act of violence—preferably in a secluded indoor space.

    How to Start “The Lonely Wanderer”

    After finishing “The Assassinated Man,” your next step is to report to Ocheeva for the subsequent task.

    Talk to Ocheeva, who has a new contract for you: The Lonely Wanderer. Ocheeva will inform you about a High Elf in the Imperial City who might be hard to find. Accept the challenge and gather more details about Faelian, a High Elf who enjoys long walks.

    Unfortunately, you don’t have information on his daily routine or whereabouts, so Ocheeva suggests consulting fellow Dark Brotherhood members for assistance.

    She also warns you to avoid attracting attention, as the guard captain, Adamus Phillida, is particularly hostile towards the Dark Brotherhood.

    This means you need to eliminate Faelian somewhere private and out of sight so it looks like a casual murder.

    Antoinetta Marie recommends talking to Faelian to learn more about him, allowing you to lead him to a hidden location.

    Alternatively, Vicente Valtieri will advise you to speak with another Elf in the Imperial City for more information about Faelian. You’ll need to boost the Elf’s disposition to at least 50. This route might be easier.

    How to Find & Kill Faelian

    Once you’ve settled on a plan, fast travel to the Market District of the Imperial City, where you’ll have plenty of Elves to approach.

    Mandil is a female High Elf who typically walks around the Market District.

    Boost her disposition above 50, then choose the ‘Faelian’ option to discover that Faelian resides at the Tiber Septim Hotel in the Talos Plaza District. Make your way there.

    When you arrive at the Talos Plaza District, enter the Tiber Septim Hotel and talk to Augusta Calidia, the receptionist, to inquire about Faelian.

    After she tells you about Faelian’s Skooma addiction and his girlfriend, Atraena, it’s time to gather more information. Follow the marker to Atraena, who is usually found in the lobby, depending on the time.

    Raise Atraena’s disposition to over 50, then ask her about Faelian to learn more about his habits, including his visits to an abandoned house.

    Alternatively, you can speak directly with Faelian, who will trade you a key to Lorkmir’s House for a bottle of Skooma (which you can pickpocket from him to return later).

    Whether you decide to talk to Atraena or Faelian, the next step will lead you to Lorkmir’s House.

    Lorkmir’s House

    Head to Lorkmir’s House in the Elven Gardens District during daylight hours (between 11 a.m. and 5 p.m.) and pick the Hard lock to get inside.

    Inside, you will find Faelian acting erratically and pacing around the room. Quietly eliminate him in whatever way you prefer, and leave the house without causing a commotion to secure your bonus.

    What Rewards Do You Obtain from “The Lonely Wanderer”?

    Fast travel back to the Cheydinhal Sanctuary and talk to Ocheeva to collect your reward, which can range from 200 to 600 Gold, depending on your level. You will also receive a bonus for eliminating Faelian in a discreet location:

    • Shadowhunt: a bow with the following enchantments at level 30:

      • Deals 20 points of Health damage
      • Deals 20 points of Magicka damage
      • Turns Undead up to level 32
      • Gives a 20 percent weakness to poison

    With Faelian’s demise behind you, you’re ready to tackle the next Dark Brotherhood quest: Bad Medicine.

  • Completing the Dilemma: Kill Arnora or Solve Jorundr’s Trick?

    Completing the Dilemma: Kill Arnora or Solve Jorundr’s Trick?

    In The Elder Scrolls 4: Oblivion Remastered, certain quests present you with significant choices that can greatly affect the outcomes. Many of these quests immerse you in moral dilemmas, prompting you to question whether you’re making the right decisions.

    The quest “Two Sides of the Coin” exemplifies this. Although it’s fairly straightforward, the tough decisions involved make it stand out among the game’s quests.

    How to Start the Two Sides of the Coin Quest

    You can initiate the “Two Sides of the Coin” quest by asking locals for rumors in Bruma. They’ll share that Arnora and Jorundr were once a happy couple until Jorundr, after committing a robbery, hid all their gold before getting caught by the guards.

    Your task involves speaking with Arnora to gather more details about the incident. Her house is located next to Jearl’s in the southern part of Bruma. Arnora won’t open up about Jorundr right away, so you’ll need to persuade her.

    Two Sides of the Coin Quest Walkthrough

    After successfully convincing Arnora, she reveals that she and Jorundr used to carry out robberies until Jorundr killed a guard and hid their gold before being apprehended. She then asks you to talk to Jorundr and persuade him to disclose the location of the gold.

    Arnora offers to split the gold with you once you find it, but cautions that persuading Jorundr won’t be easy, as he’s changed significantly since she last saw him seven years ago.

    Convincing Jorundr

    Gaining Jorundr’s trust is challenging. You’ll need to visit the Bruma Dungeon, accessible through the Bruma Castle. Upon entering, head right to find the Bruma Barracks; there’s a door from there that leads to the dungeon.

    Immediately to your right as you enter, you’ll see stairs going down. The jailor sits at a desk downstairs. Speak to the jailor about visiting a prisoner, and he will guide you to the cells.

    Once inside, converse with Jorundr about the stolen gold, but he will refuse to cooperate. You’ll hear him mention a guard named Tyrellius, who tries to get Jorundr to divulge the whereabouts of the hidden stash.

    Getting Thrown in Jail

    To earn Jorundr’s trust, you’ll have to get yourself locked up. You can commit a minor crime or even strike the jailor; he’ll throw you in jail. Once you’re inside, you’ll find Jorundr in discussion with Tyrellius, who pressures him to reveal the stash’s location, but Jorundr stays silent.

    Speaking to Jorundr in his cell, he shares that it was actually Arnora who killed a guard and told the Bruma guards where their hideout was, leading to his arrest. Fortunately, he managed to conceal the gold beforehand.

    Jorundr then tasks you with killing Arnora and bringing him her amulet as proof. He also notes that you can keep all the loot in his hidden stash once you prove she’s dead. You can rest and wait out your sentence in jail.

    When you approach Arnora, she firmly states there’s no need for violence and offers you her genuine amulet, implying you can deceive Jorundr into thinking you’ve killed her. Doing so will prompt him to reveal the stash’s location.

    Siding with Jorundr and Killing Arnora

    If you choose to kill Arnora, you’ll find her amulet on her body. However, it’s not the real one. If you present this fake amulet to Jorundr, he’ll immediately recognize it as a trick and understand Arnora played you.

    The genuine amulet can be located in a chest next to Arnora’s bed. You can access this chest after taking the key from her corpse. Bring the authentic amulet to Jorundr, and he’ll finally share the stash’s location, which is just outside Bruma, near the North Gate.

    Follow the Quest Marker to reach the stash and collect its contents, which completes the quest.

    If you present both the real and fake amulets to Jorundr, he’ll commend Arnora’s cleverness, allowing you to complete the quest effortlessly.

    Siding with Arnora and Tricking Jorundr

    If you opt to align with Arnora, she’ll provide you the key to the chest by her bed, which contains her authentic amulet. Show this amulet to Jorundr in the Bruma Dungeon, and he will disclose the stash’s location, leading you outside Bruma to near the North Gate.

    However, before you reach the stash, you’ll run into Tyrellius. He’ll reveal that he overheard your conversation and has already killed Arnora to keep the gold for himself.

    You’ll need to fight and defeat Tyrellius. Afterward, loot his armor and weapon. Claim the gold from Jorundr’s stash, then return to Arnora’s home to verify Tyrellius’ claims about her fate.

    When you enter, you will find Arnora lifeless, marking the end of the Two Sides of the Coin quest. You can keep whatever you find in the chest, without sharing it.

    No matter what choice you make, the contents of Jorundr’s stash remain unchanged.

  • Defeating Eggman in Kingdom Come: Deliverance 2 Explained

    Defeating Eggman in Kingdom Come: Deliverance 2 Explained

    The quest system in Kingdom Come: Deliverance 2 is impressive, featuring a wide variety of missions ranging from intricate and lengthy challenges to shorter, whimsical tasks. Some quests demand a great deal of effort, guiding Henry through multiple stages, while others are light-hearted and quick to complete.

    One notable side quest in the Kuttenberg area is called “Something Rotten.” In this quest, an innkeeper grows tired of some pesky bandits and enlists Henry’s help to deal with them. He wants proof of your success to ensure the town can feel safe once more. This guide will help you navigate through the steps needed to complete the quest.

    How to Start the Something Rotten Quest

    To initiate the Something Rotten quest, you first need to complete the Magic Arrow quest. After that, you should wait a few days before you can start this new quest.

    Next, go to the tavern in Grund and look for Innkeeper Grosch, who will be wearing red. Talk to him and select the ‘How goes it?‘ option to learn about the trouble caused by the bandit camp.

    Make sure to agree to help him to officially begin the Something Rotten quest.

    How to Deal with Eggman

    Your goal is to take out Eggman at the bandit camp located just northwest of Grund. You have three options:

    • You can charge in and defeat all the bandits, including Eggman.
    • You can choose a stealthy approach and eliminate everyone quietly during the night.
    • Alternatively, you can use the Strong Bane Poison that the Innkeeper provided and pour it into the cooking pot in the center of the camp. If you decide on this method, leave the area for half a day, and Eggman should end up dead.

    How to Complete the Something Rotten Quest


    No matter which method you choose to take down Eggman, you’ll need to provide proof of your success by acquiring Eggman’s hat, which can be found either on his body or in a chest close to the cooking pot.

    After you have the proof, return to Grund and show Innkeeper Grosch the evidence. Once your conversation is over, the Something Rotten quest will be completed.

  • Defeating All Three Commanders in Kingdom Come: Deliverance’s Lion’s Den

    Defeating All Three Commanders in Kingdom Come: Deliverance’s Lion’s Den

    Trophies in Kingdom Come: Deliverance 2 come in various forms, but many can be missed as they are linked to specific quests. You can obtain these trophies by accomplishing particular goals within those quests, and once a quest is finished, there’s no way to go back to collect them without starting a new game.

    After you progress to the main quest titled The Lion’s Den in the Kuttenberg region, you need to eliminate three commanders: Chertan, Grozav, and Katz, before you finish the mission to earn the Hydra’s Head trophy. Completing the quest demands following a specific sequence, and this guide will walk you through it step by step.

    This trophy is missable, as it can only be earned during The Lion’s Den main quest.

    How to Unlock the Hydra’s Head Trophy


    During the Lion’s Den quest, Captain Chertan will be killed automatically as the narrative progresses, leaving you to confront the remaining commanders, Grozav and Katz.

    Once you get the objective ‘Search the spot where Chertan was stabbed‘, you’ll start the action.

    How to Kill Grozav


    Player preparing to engage Grozav - kcd2

    After speaking with Katz, you will notice blood on the floor near where Henry stands. Follow this trail to the left room, where you will discover a cannon.

    Inside, make sure to inspect both the cannon and the floor to complete this part of the quest, as it’s crucial for later.

    Continue until you reach the step that directs you to search multiple tents in the camp.

    Begin with Grozav’s Tent, located to the west. Look at the table on the right side with wine and herbs; this is needed for later.

    Next, proceed with the other objectives. Once you search the remaining tents, skip ahead to morning. Then, head over to Katz for the trial to begin.

    During the trial, select specific dialogue options to accuse Grozav of the murder, which results in his execution. Follow this order for your responses:

    • (Stay Silent)
    • (Stay Silent)
    • He was with us at the time of the stabbing.
    • Lord Grozav of Borumlaca.
    • Chertan caught Grozav in the act while he was stealing powder.
    • There was powder scattered all over the storeroom.
    • Grozav poisoned the wine before we arrived.
    • (Mention the found herbs)
    • As you wish.

    This will make Grozav angry, leading him to attack everyone, including you. Now’s your chance to have him killed.

    How to Kill Katz


    Katz appearing frightened in front of Henry - kcd2

    Next, you’ll confront Katz as he becomes your last target. You can kill him later in this quest by setting up an ambush on Katz and his troops.

    Now’s your opportunity to eliminate Katz, but you must handle all the other soldiers first. Eventually, you will see Katz trying to crawl out from under his horse. Once you take him down, the Hydra’s Head trophy/achievement will unlock.

  • Mastering Titan Combat in Roblox: Attack on Titan Revolution

    Mastering Titan Combat in Roblox: Attack on Titan Revolution

    Quick Links

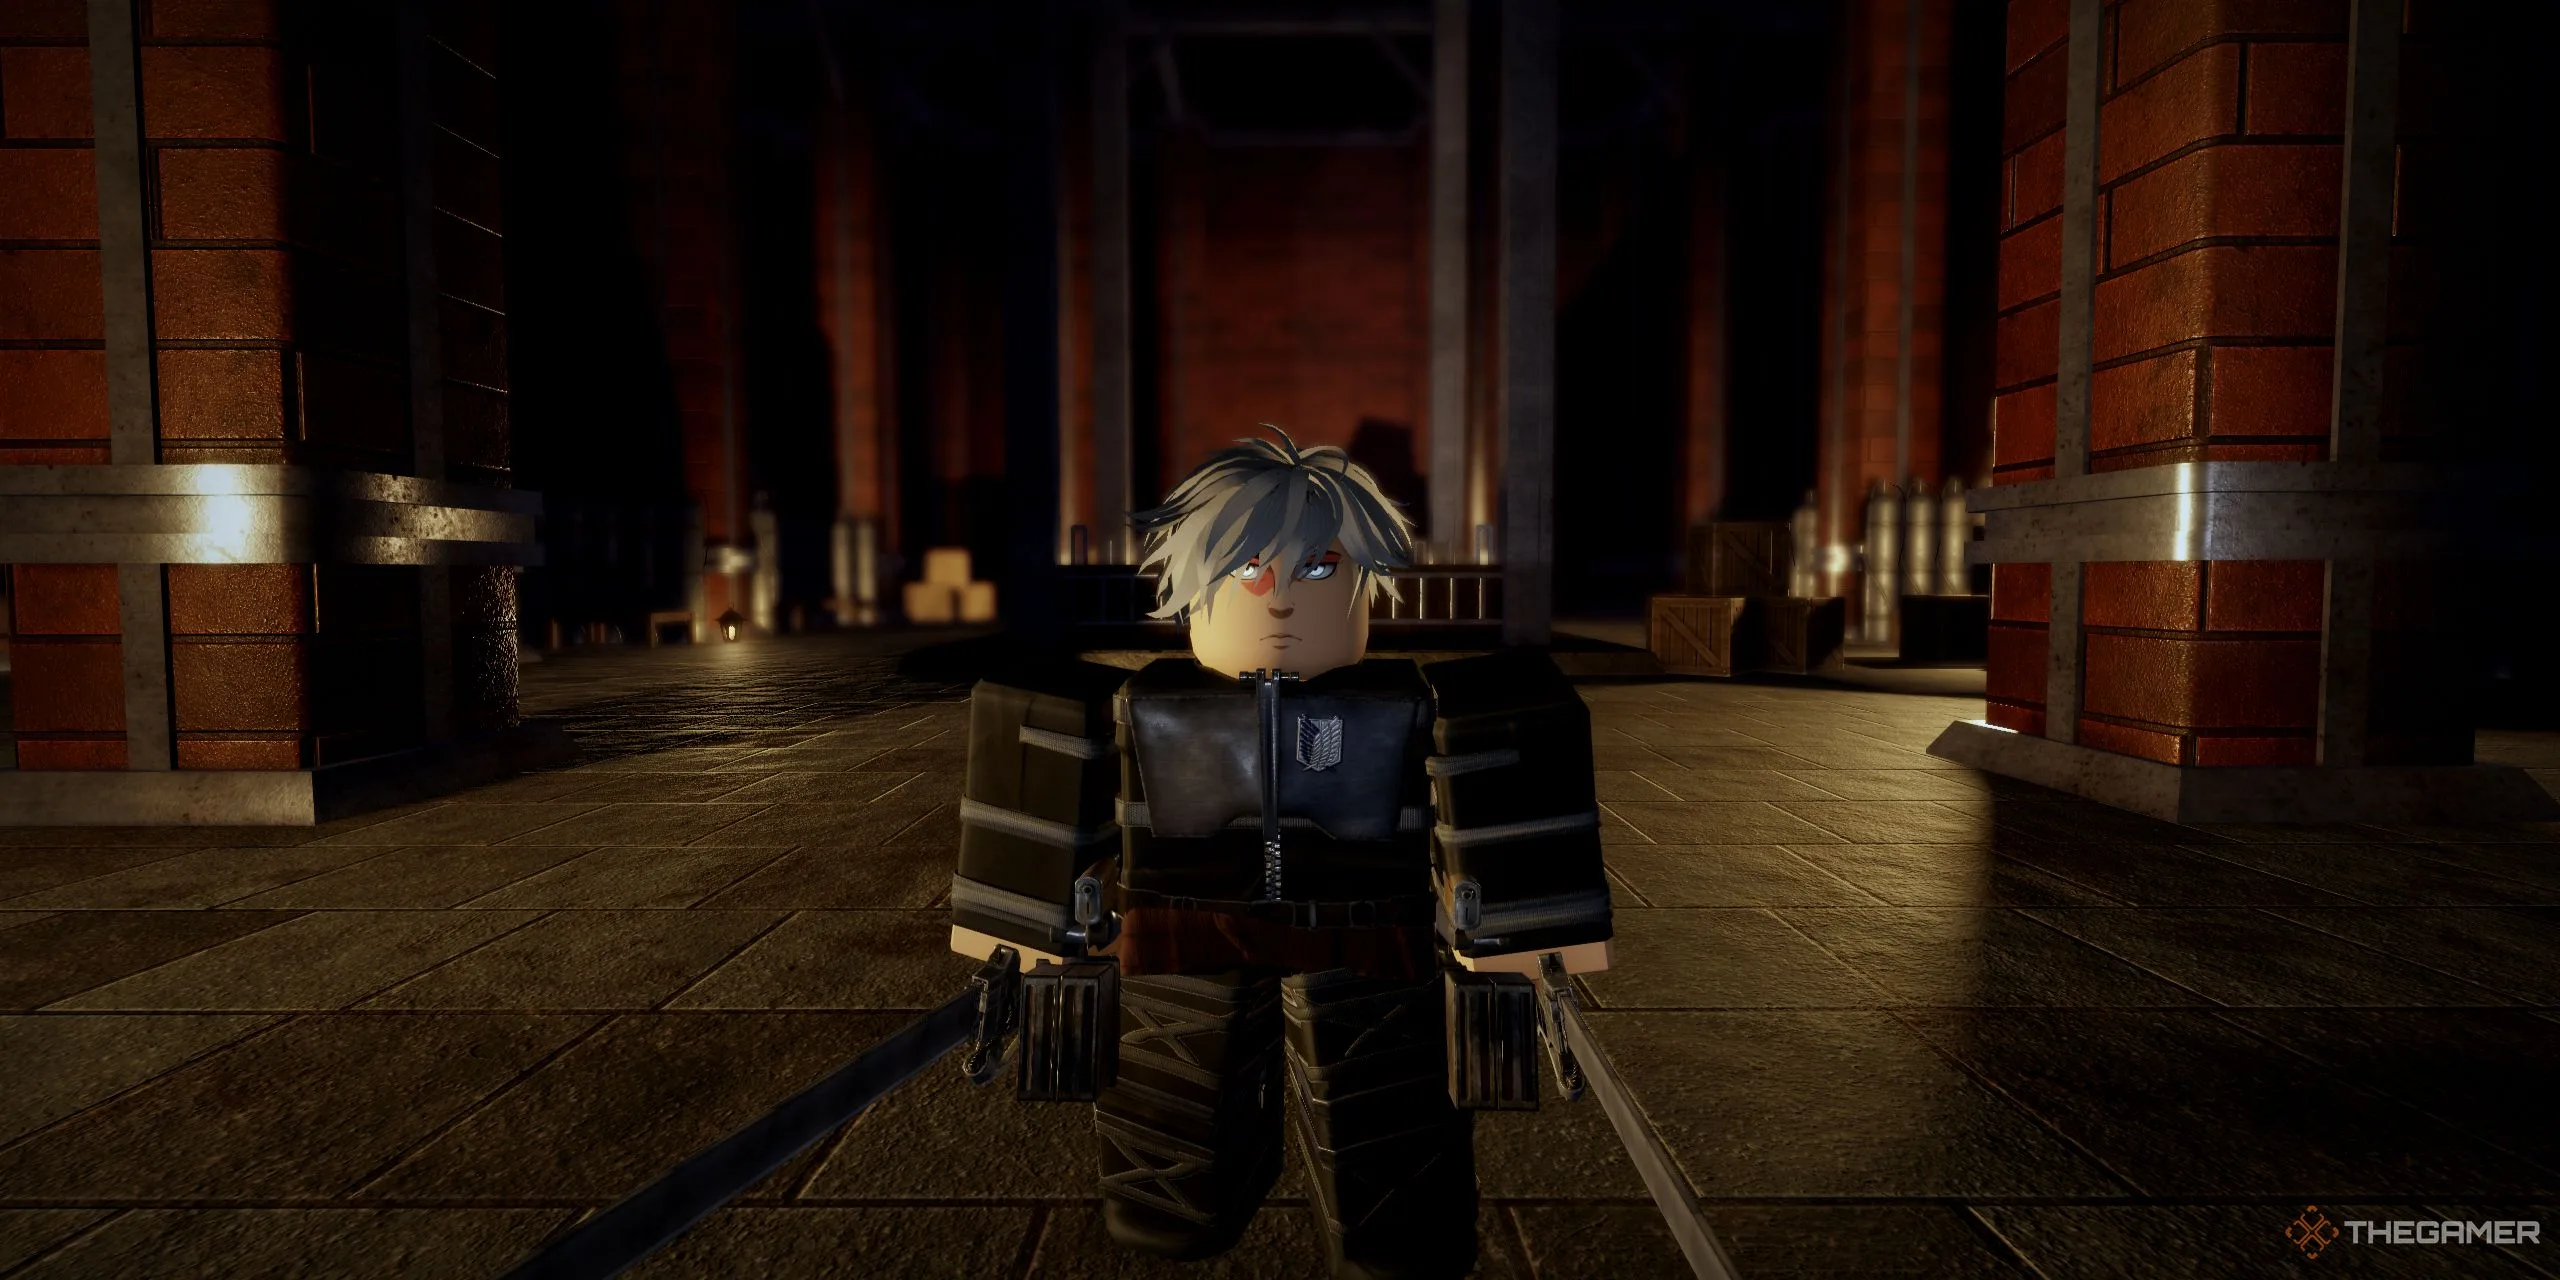
    Attack on Titan Revolution is an engaging Roblox game inspired by the renowned Japanese anime and manga series, Attack on Titan. Players have the opportunity to create custom characters and embark on missions solo or with friends. During these missions, you’ll utilize ODM gear to launch into the air and defeat titans.

    The primary aim is to eliminate as many titans as you can without getting caught. As depicted in the series, the most effective way to take down a titan is to slice the nape of its neck.

    What Is ODM Gear?

    ODM gear, or Omni-Directional Mobility gear, consists of a set of tanks and two blades, designed to make confronting titans easier. Many players find maneuvering with this gear to be a bit tricky, as the game doesn’t offer extensive how-to guides.

    On PC, you can activate ODM gear using the E or Q keys. The direction your character faces will be where you aim your gear to attach it.

    Pressing the ‘Shift’ key will allow you to sprint, while shift-lock can be activated with ‘Ctrl’. When using shift-lock, your character will turn their entire body instead of just moving their head when aiming with the ODM gear.

    Tip: When aiming your ODM gear, observe your screen carefully. If no numbers appear, your gear won’t reach its target.

    Aiming at Titans

    When you’re ready to fight a titan, there are specific targets you should consider. Your ODM gear can attach to anything in the environment, including titans, which facilitates faster movement across the map.

    Aiming for the titan’s forehead can help you slice their eyes, rendering them incapacitated briefly. The critical strike location is the nape of their neck, as that’s the most effective area to aim for.

    Tip: Look for gray diamond shapes on the map to find titans. Diamonds surrounded by a red ring indicate special titans, which may possess unique abilities like jumping or running.

    Easy Kill Techniques

    There are a couple of effective methods for easily defeating titans. Firstly, attach your ODM gear to either the back of the titan’s head or the area between their shoulder blades. While in flight, you can release the W key and use the A or D keys to swing to the sides.

    To boost your movement, double-tap the A or D keys. As you swing around for a clear shot at the titan’s nape, press the space bar to increase your momentum and click just before you make contact for a successful attack. If you need to dodge a titan, use the ‘B’ key to launch yourself backward.

    Tip: Attack titans that are isolated, as they are generally easier to defeat than those in groups.

    Another easy tactic is to aim between the titan’s eyes and slice them, which will cause them to stop moving and cover their face. This gives you a perfect chance to strike at their back.

    If you’re positioned behind the titan, aim for their head, neck, or between their shoulder blades to attach your gear. Just before reaching the titan, click to swing your blades. Once the titan falls, it will disappear.

    Things to Keep in Mind When Battling Titans

    Pay attention to the bottom of your screen while in combat. Your health is indicated by a long red bar, while a blue bar signifies your experience points until you level up. Additionally, on the bottom right, there’s a short red bar that shows how many swings you have left before needing to reload your swords. The short blue bar on the bottom left indicates how much gas is remaining in your ODM tanks.

    If you hold down the ODM gear for too long, it will consume gas and may become unusable. If your gas runs out or your blades are spent, you will need to reload. You can carry up to three sets of blades and will need to click ‘R’ to reload them once they become unusable.

    If the short red bar runs out entirely, you can’t swing or kill titans until you reload. If it’s low but not completely empty, press the ‘R’ key twice to enable swinging again after refilling.

    Tip: Blades deplete quicker than gas, so keep a close eye on your blade levels. To move faster without using gas, disconnect your shot just before landing.

    How to Reload Your Gas

    Each map features a reload station marked by a black and gold emblem, visible when you’re nearby. You need to find these stations to refill your blades and gas tanks once they reach empty.

    You can have up to ten reloads. To reload, locate the tall gas tanks, approach them, and press the ‘R’ key. This will refill all three blade sets and fully recharge your gas tanks.

  • How To Stealth Kill in Stalker 2: A Comprehensive Guide

    How To Stealth Kill in Stalker 2: A Comprehensive Guide

    In Stalker 2: Heart of Chornobyl, you’ll quickly discover a vital strategy for survival: steer clear of combat whenever possible. Your inventory has limited space, and engaging in lengthy battles can deplete your resources, leaving you vulnerable—if you even make it through the encounter. While some confrontations are unavoidable, charging in with guns blazing is seldom the wisest approach. Fortunately, the game features a useful stealth kill technique, though it’s not highlighted in any tutorial.

    Mastering Stealth Kills in Stalker 2

    GSC Game World

    Right from the start, you can perform stealth kills, but the game does not explicitly inform you how. The mechanism is straightforward yet requires practice to execute successfully. You might doubt its effectiveness until you gain a feel for the timing.

    To carry out a stealth kill, equip your knife and approach an unsuspecting enemy from behind. Be sure to get close enough to see your character adjust their grip and prepare the knife for a stab. At that moment, press the heavy attack button. This action triggers a seamless animation where you take down your target in one swift, silent motion. Since there’s no on-screen indicator confirming your proximity, watch for the character’s hand signal to gauge when you’re close enough. If you aren’t right on target but are still nearby, you’ll deliver a slash instead of a fatal blow.


  • To Save or Eliminate the Ninth in Stalker 2: Heart of Chornobyl?

    To Save or Eliminate the Ninth in Stalker 2: Heart of Chornobyl?

    Stalker 2: Heart of Chornobyl offers players a mix of spine-chilling and thrilling missions, one of which is "The Lost Boys." This side quest is accessible early in the game and tasks you with unraveling the mystery behind a missing team while navigating a deserted base filled with remnants of chaos.

    Although it may not be the most intense mission in terms of action, it stands out as one of the finest due to its suspenseful narrative and the dark atmosphere typical of the Stalker series. From beginning to end, this quest will keep you on your toes, challenging you to make difficult choices and observe their consequences.

    How to Begin "The Lost Boys" in Stalker 2: Heart of Chornobyl

    To kick off The Lost Boys quest, head over to Lens in Zalissya and inquire about any work he might have for you. He will share details about a missing team of diggers. Once he explains the situation and gives you their last known location, let him know that you’re willing to search for them, and the side mission will officially begin.

    Your objective is to locate Mastiff’s group, who has not returned from an expedition they embarked on days earlier. Lens expresses concern about their whereabouts, feeling uneasy even before they left, and he hopes you can check on them.

    Travel to Mastiff’s Group’s Last Known Location

    Step out of Lens’ place and follow the blue marker on your compass, traversing through desolate fields and old tunnels until you reach a small building with an open door. This is where Mastiff’s group was last seen. Enter the structure and head down the stairs, delving deeper into the bunker.

    Expect minimal enemy encounters here, but watch out for numerous anomalies; keep your Screw ready to navigate past them. It’s wise to carry an extra Medkit for this portion of the quest. If you’re running low, it’s best to find more before proceeding.

    Discover What Happened to Mastiff’s Group

    As you enter the bunker, turn left and then take another sharp left to find a narrow walkway leading to a corpse. Approach the body to discover a device on the ground next to it. Interact with the device to uncover clues about the fate of Mastiff’s group.

    Continue Navigating the Bunker

    Keep advancing through the bunker along the main path until you come across a bag next to a shotgun. Loot the bag to find a Fuse among other supplies like ammunition, bandages, and food. Take the Fuse and go into the room directly across from where you found the bag to locate the Fuse Box.

    Install the Fuse into the Fuse Box, then exit the room and continue down the main path. This step will be essential later in your exploration of the bunker.

    Further Explore the Bunker

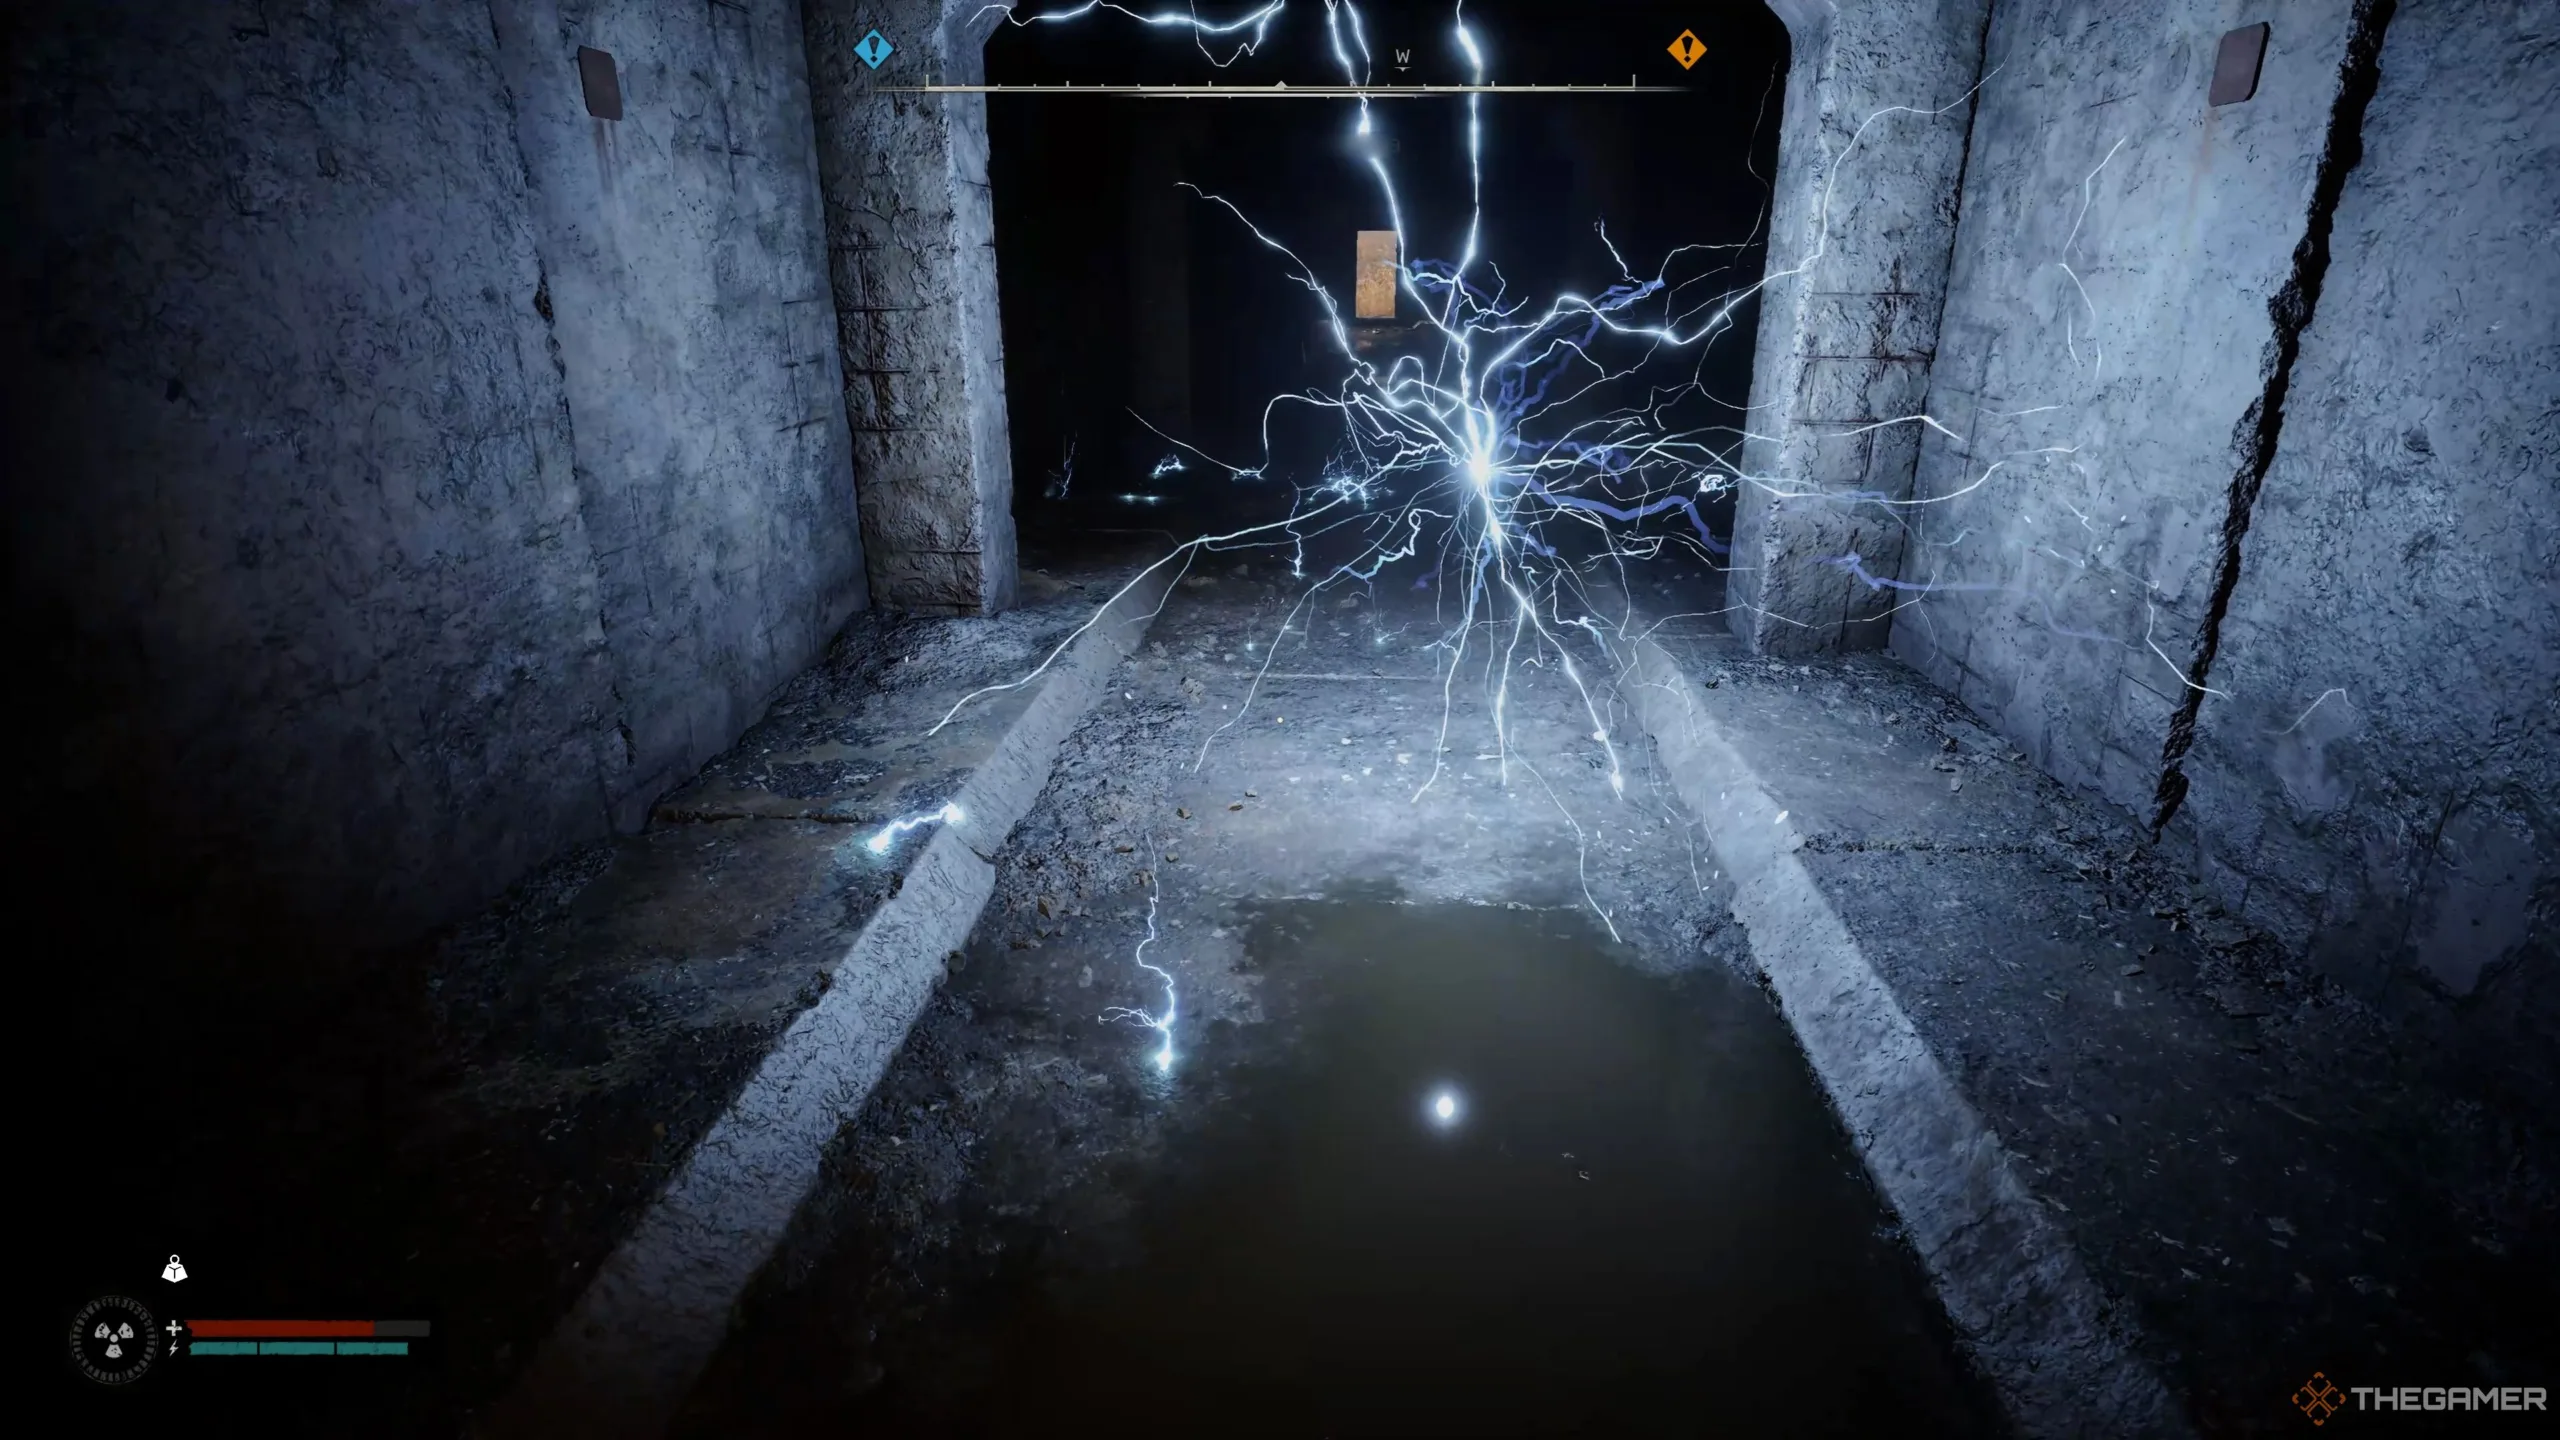
    Proceed until you reach a room filled with Electricity Anomalies. Use your Screw and toss it at the anomalies to activate them, allowing you to maneuver through briefly as they deactivate. Keep repeating this until you enter the next room, where you’ll encounter a small group of Rats.

    Throw the Screw into the transparent orb anomaly to take out most of the Rats, then finish off the remaining ones with your weapons. After clearing them out, you’ll hear someone in distress on the other side of the room. Approach them and use a Medkit to provide assistance.

    Speak with Max Saturday, telling him that Lens sent you to check on the team. He will reveal that a Monolithian ambushed the squad, taking Mastiff captive after eliminating everyone else. Confirm your intention to find Mastiff, and he will mark their route on your map.

    Locate the Secret Room in the Bunker

    Ascend the stairs behind Max and pull the lever on the wall to open the exit door. Instead of leaving, go back to the bunker’s entrance where you found the first body. You’ll notice a newly opened room.

    Enter this new room to find a large duffle bag, numerous medical supplies, ammunition, food, and an Aurora Gas Mask on a shelf. Collect everything you can carry before heading back to Max and moving through the exit.

    Exit the Bunker

    After looting the secret room, exit through the door behind Max to encounter another set of Electricity Anomalies. Use your Screw to temporarily deactivate them, and make a quick escape back into the open fields. Now, it’s time to locate Mastiff.

    Find Mastiff

    Just southeast of the bunker lies the location where the Monolithian took Mastiff. Follow your waypoint until you come to a solitary house deep in the forest, surrounded by tombstones and skulls. Approach the house cautiously and try the front door, which will be locked.

    This attempt will result in an ambush from a group of Blind Dogs, so you’ll need to deal with them before progressing. Fortunately, there are only about five of them, making it a manageable fight as long as you aim carefully and conserve ammunition.

    Enter the House Where Mastiff Is Held

    After dispatching the Blind Dogs, go behind the house to find a shed with a padlock. Use your knife to break the lock and enter. Inside, you will find a cave entrance leading to an underground tunnel that grants you access to the locked house.

    Follow the tunnel to reach the interior of the house, and push further into the next room to discover a wounded Mastiff lying on a bed. To your left, you’ll see a ladder leading to the attic. Climb it to confront the Monolithian inside.

    Should You Kill or Save The Ninth in Stalker 2: Heart of Chornobyl?

    When you confront the Monolithian, you’ll learn his identity as The Ninth. He will provide an account of the events that unfolded, claiming that a mutant attacked the team, and asserts that he saved Mastiff and treated his wounds.

    Don’t attack him immediately; doing so will lead to an encounter with a group hunting The Ninth that arrives outside. You can choose to offer to help The Ninth, which opens up new options, including leaving and going outside, an approach worth considering.

    Talk to Dew

    Outside, you’ll find Dew, who is also intent on confronting The Ninth. Inform him that you’re there for Mastiff, and then select the "I got it" option. You’ll face your final choice: decide whether to side with Mastiff, the Monolithian, or to remain uninvolved.

    Recall the events relayed by Max in the bunker; The Ninth isn’t a good person. Therefore, it’s wise to eliminate him to save Mastiff. If you choose to ally with The Ninth, you’ll end up turning against Dew and his partner, leaving Mastiff at The Ninth’s mercy.

    Ultimately, it’s your decision, but teaming up with Dew to take down The Ninth to save Mastiff is highly recommended.

    Battle Against The Ninth

    Joining forces with Dew and Mastiff will thrust you into combat against The Ninth, so be prepared to expend considerable ammo. Monolithians are surprisingly resilient, so don’t hesitate to make full use of your allies to overpower him.

    Once you’ve defeated The Ninth, loot his body and check his PDA to gain insights into his motivations. Finally, make your way back to Lens in Zalissya to wrap up this mission.

    Return to Lens in Zalissya

    Take the trek back to Zalissya and speak with Lens, filling him in on everything that happened during your mission, including the fate of Mastiff’s group and where Mastiff ended up. Inform him that a Monolithian had taken him to an abandoned house. In gratitude for saving Mastiff, Lens will reward you with a generous bounty of 1,000 Credits, making all your efforts worthwhile!