الوسم: Black Ops 6

  • The Terminator Event: Rewards & Tips for Black Ops 6 Players

    The Terminator Event: Rewards & Tips for Black Ops 6 Players

    Call of Duty: Black Ops 6 continually updates with events that engage players and provide free content, keeping the gameplay exciting with new challenges and exclusive rewards. From the festive Merry Mayhem event to Squid Game-themed activities, there’s always something new to experience. The latest addition to this lineup is The Terminator event.

    The Terminator event is a limited-time challenge that invites players to achieve eliminations and collect a unique currency known as Jolly Archies. Players can trade these Jolly Archies for exclusive items, making it an exciting and rewarding way to play while accumulating free goodies.

    What Is The Terminator Event?

    The Terminator Event is a limited-time feature in Black Ops 6 where players can accrue a set number of Skulls to exchange for exclusive free rewards.

    Wondering how to collect these Skulls? You can obtain them by getting eliminations in both Multiplayer and Zombies modes, so every match offers a chance to earn. If you’re diving into Warzone, keep an eye out for loot crates since Skulls can drop there as well.

    To check how many Skulls you’ve gathered and to redeem them for rewards, just go to the Event tab in the pre-game menu and choose The Terminator Event menu. You’ll be able to see the list of available rewards, with each item requiring a specific number of Skulls to unlock.

    The Terminator Event starts on February 7th and ends on February 20th, giving you and your friends nearly two weeks to gather as many Skulls as you can and claim your rewards before it’s too late.

    All The Terminator Event Rewards

    Every reward in The Terminator Event - bo6

    This event presents a variety of rewards, and the fantastic news is that you can unlock them in any sequence you choose.

    Below, you’ll find a list detailing all the available rewards during The Terminator Event.

    Reward

    Skulls Required

    Double Weapon XP Token

    5

    Ocular System Weapon Charm

    15

    Don’t Blink Calling Card

    25

    The Terminator Loading Screen

    10

    AEK-973 Full Auto Mod Attachment

    50

    Cyberdyne Systems Weapon Sticker

    10

    Double Weapon XP Token

    10

    Big Corp Spray

    10

    Double Battle Pass XP Token

    5

    Scanning Emblem

    25

    Reactive Armor Perk

    50

    War Machine Scorestreak

    100

    Judgment Blueprint for PP-919


    Final Reward

    Unlock all previous rewards

    If you own Blackcell, you will receive an extra blueprint as a final reward known as the Close Range Blackcell.

  • All Free Power-Up Spots Inside the Tomb in Black Ops 6

    In Call of Duty: Black Ops 6, players can tap into free Power-ups anytime, removing the frustration of waiting for them to appear after taking down zombies. These Power-ups can significantly change the game dynamics, providing a crucial advantage when dealing with tough elite foes or when you’re in a tough situation.

    Like the previous three maps, “Tomb” follows a similar design approach by incorporating its own selection of free Power-ups, conveniently placed throughout the map. This guide will highlight where to find each one, so you’re always ready for any challenges that come your way.

    Full Power Location

    Head over to the area where the Stamin-Up perk machine is situated, and you’ll uncover a crafting table.

    To the left of this table, there’s a hole in the wall. Look inside and you’ll discover the Full Power symbol. Fire at it to activate the Power-up.

    Max Ammo Location

    Continue deeper into the Tomb, heading east toward the spot where you place the amulet to access the red portal leading to the Nexus.

    To the right of the portal, you’ll find another small hole in the wall. Inside, to the left, is the Max Ammo power-up.

    Insta Kill Location

    After you’ve found the last item, go down the stairs to where the Arsenal machine is located. Position yourself to the right of it and aim at the pillars.

    You’ll see a skull symbol. Shoot it to trigger a free Insta Kill power-up.

    Max Armor Location

    Next, head over to the area where the Speed Cola machine is. On the wall to the right of this machine, there’s a square hole.

    Inside, at the bottom left, you’ll find the Max Armor. Shoot it to create the free power-up.

    Double Points Location

    For the following two free Power-ups, make your way to the Nexus area. From the green portal, take the path to the far right toward the waterfall.

    After a moment, look up to the left, and you’ll spot the “x2” symbol. Shoot it to release the Double Points power-up.

    Bonus Points Location

    For the next Power-up, head to the blue portal. Just to its left, there’s a small hole in the wall.

    Take a peek inside, and you’ll see the Bonus Points symbol. Shoot it to earn this free Power-up.

  • Unlock a Free Raygun on the Tomb in Black Ops 6!

    Unlock a Free Raygun on the Tomb in Black Ops 6!

    Wonder weapons are some of the most formidable arms in Call of Duty: Black Ops 6 Zombies, but getting your hands on them can be tricky. While luck might land you one from the Mystery Box, there are typically more reliable methods to acquire these potent weapons, like crafting or assembling them.

    In keeping with the tradition established in previous Zombies maps, each area has its own distinct Wonder weapon that can be unlocked through specific actions. In The Tomb, however, there’s an exciting twist: a side Easter egg lets you obtain a free Raygun early in the game, giving you a significant upper hand, especially during the initial rounds.

    How to Obtain a Free Raygun in The Tomb

    Yes, securing a free Raygun in The Tomb’s new Zombies map is indeed possible, and it’s fairly straightforward if you follow the steps correctly.

    The first thing you need is a shovel. You can find a shovel in several spots across the map:

    • To the right of the Quick Revive machine on the map’s east side.
    • Atop the wall near the Death Perception perk machine.
    • In front of the Max Ammo crate located in the green portal room.

    It’s important to note that the shovel is a personal item, meaning it isn’t shared with your teammates. If another player wants to assist you with this Easter egg, they’ll need to find their own shovel.

    Once you’ve secured a shovel, the next step is to purchase the Death Perception perk before you start digging. With both of these in hand, you’ll need to dig at various spots until a green ancient gem appears. Make sure to pick it up when you find it.

    The spawn rate and location of the gems change with each match. You might discover two gems quickly or struggle to find the last one for several rounds. It’s really unpredictable.

    Here are some digging locations you can explore on the map:

    • Three spots in the spawn area: One near the Armor Wall Buy, another beside the generator on the ground, and the last close to the Rampage Inducer.
    • Three spots in the red portal area: One in front of the Quick Revive perk machine, another just right of the Arsenal machine, and one to the right of the Max Ammo crate.
    • Two spots near the Death Perception perk machine.
    • One spot just past the Deadshot Daiquiri perk machine.

    There could be additional digging spots, but these are the more prominent ones. Since gem spawns are random, you could dig through all the locations and still not find all three. Fortunately, the digging spots respawn every few rounds, allowing you to try again.

    Once you have all three gems, head to the room with the Death Perception perk machine and the bull mural. To the left of the mural, you will see a statue. Interact with it to place the gems, which will trigger the spawn of a few Doppelghast enemies that you will need to defeat, so prepare yourself for battle.

    After you successfully take them down, the three gems will combine, and a wave of Essence will appear, along with a free Raygun for you to use in your game.

  • Unlock the Free Brain Rot Ammo Mod in Black Ops 6 Tomb!

    Unlock the Free Brain Rot Ammo Mod in Black Ops 6 Tomb!

    Season Two of Call of Duty: Black Ops 6 is already thrilling Zombies enthusiasts, and a new map has just been introduced following the release of Citadelle des Morts. This fresh map is called The Tomb. Like any engaging Zombies map, The Tomb is packed with secrets and Easter eggs that can be completed for rewards, enhancing your survival against the zombie waves you’ll encounter.

    The map is filled with various side Easter eggs that, once completed, provide players with a assortment of free items or tools. These rewards can help upgrade your weapons, earn you Essence, and more. The exciting part is that these Easter eggs are typically straightforward, so there’s no reason to skip them to grab some additional loot.

    How to Tackle the Simon Says Easter Egg


    Once your match in The Tomb begins, make your way inside by opening the door on the left side of the spawn area. This entrance will lead you to the room containing the Death Perception perk machine.

    Within this room, search for a set of statues located on the right wall. Your task is to shoot the heads of these statues in a specific order to earn some loot, including the Brain Rot ammo mod.

    The sequence in which you need to shoot the statue heads is random; therefore, each match will present a different order.


    Player looking at a statue above with its head emitting light - BO6

    You might want to establish the order yourself, as every time you successfully shoot a statue’s head, it will glow. However, this method can be tedious, especially while zombies are closing in on you.

    If you look carefully, you’ll see that one of the statues is out of place. On the ground, you’ll spot it fallen. If you take aim and shoot the head of the fallen statue, it will reveal the correct order for shooting the others.

    It’s a good idea to film the sequence or have a teammate memorize the order for success on the first attempt.


    Player aiming at the fallen statue on the ground - BO6

    If you correctly shoot all the heads in the right order, they will shine, and you’ll be rewarded with salvage, essence, and a cache of Brain Rot ammo mods for you and your team.

    Be mindful that you need to complete this task within a certain time frame. If you make a mistake, don’t fret—you can restart and give it another shot.

  • Mastering the Tomb: Power-Up Strategies for Black Ops 6

    Mastering the Tomb: Power-Up Strategies for Black Ops 6

    A few weeks after the debut of Citadelle des Morts, Call of Duty: Black Ops 6 has introduced a new zombies map with Season Two – The Tomb. True to its name, this map is set in a spooky underground burial site, featuring ancient tombs, crumbling stone corridors, and hidden secrets just waiting to be uncovered.

    As you fight your way through the rounds here, the difficulty increases significantly, leading to a relentless horde of zombies. To keep up with the escalating challenge, it’s essential to grab perks, enhance your weapons, and most importantly, use the Pack-a-Punch machine. This guide will help you find the Pack-a-Punch location in The Tomb.

    How to Pack-a-Punch in The Tomb

    When you start in The Tomb, you’ll find yourself in an area filled with burial sites. To progress, you’ll need to delve deeper and uncover its mysteries. Like previous maps, you have two paths to choose from—one to the right and one to the left.

    Both paths ultimately lead to the same destination, so it doesn’t make much difference which one you pick.

    Unlike earlier maps, the doors here are pricier, requiring you to survive five to six rounds before you can unlock them. To speed things up, we suggest activating the Rampage Inducer to make the initial rounds more intense and the zombies more aggressive.

    • The first door costs 2,250 Essence.
    • The second door requires 2,500 Essence.
    • The third door will set you back 2,750 Essence, regardless of which side you choose.

    Once you’ve opened the third door, you’ll enter a large area with an objective marker directing you to a table featuring a glowing purple item. Interact with this item to place the amulet you earned from the Citadelle des Morts main mission.

    This action will open a red portal door that leads to the Nexus area. There, you’ll easily spot the Pack-a-Punch machine right in front of you.

    Similar to Terminus, the location of this machine will change every few rounds, shifting between the Nexus area and the spawn area, so keep that in mind.

  • How to Disable Crossplay in Black Ops 6 for a Tailored Gaming Experience

    How to Disable Crossplay in Black Ops 6 for a Tailored Gaming Experience

    While we can share plenty of helpful tips and strategies for Call of Duty: Black Ops 6, they won’t be effective if you’re facing off against cheaters. The game has supported cross-platform play for quite some time, which has created a competitive imbalance at times, particularly for console players who may struggle against PC gamers. This disparity can stem from cheats or the inherent advantages of using a keyboard and mouse compared to a controller. Losing a match because of the platform can be frustrating, especially in Ranked games or while trying to reach Prestige. If you’re looking to create a more level playing field by excluding PC players, here’s how you can disable crossplay in Black Ops 6.

    How to disable crossplay

    You can switch crossplay on and off or configure it in various ways for Ranked matches. There are options to turn it completely off, which ensures you’ll only compete against players using the same console, or just disable play with PC players, while still allowing crossplay with others on consoles. Here’s a step-by-step guide on how to adjust this setting.

    Step 1: Start Black Ops 6 and navigate to the main menu.

    Step 2: Open the Settings menu and scroll to the bottom to find Account & Network.

    Step 3: Choose the Crossplay option, and select your preferred setting. Your choice will remain until you revisit this screen to modify it.

    Be aware that disabling or even restricting crossplay in Black Ops 6 could result in longer matchmaking times. Despite the game’s popularity, reducing the pool of available players might affect how quickly you find a match. Additionally, turning off this feature will limit your ability to join friends on different platforms, not just restrict the opponents you face.

    Activision
  • Mastering Emergence in Call of Duty: Black Ops 6

    Mastering Emergence in Call of Duty: Black Ops 6

    Call of Duty: Black Ops 6 – Emergence Mission Overview

    In Call of Duty: Black Ops 6, players experience thrilling missions throughout the campaign. After a visit to the palace in the "Cradle" mission, you’re ready to dive into the "Emergence" mission.

    This mission takes place in a research facility located in Kentucky. Your objective is to uncover the origins of the Cradle bioweapon within the facility’s Biotechnology department. As you progress, keep an eye out for ringing telephones. Answering these phones will help you complete a side objective and earn a free calling card.

    Emergence Mission Walkthrough — Introduction

    As the mission begins, you will don your mask and traverse a freight elevator shaft. Events take a turn when the elevator below suddenly falls, prompting your character to leap for the ladder. However, it breaks, and you end up in the water below. Swim to the surface and pull yourself up onto the ledge. Now that your mask is damaged, respond to Case, and begin exploring the room filled with unsettling mannequins.

    Find a Tool to Open the Door

    You’ll soon encounter a door that requires a tool to open. Return to the entrance, and in the left corner, you’ll find a hatchet lodged in a mannequin. Take the hatchet and head back to the door to unlock it. Stepping outside will lead you to the central area of the facility.

    Locate the Entrance to Biotechnology

    In the central area, head directly to the back of the room where you’ll find a button next to a far door. Press it, then turn around and approach the desk. Here, you will hear a phone ringing; interact with it to progress with the main mission and complete the first part of your side objective.

    You’ll discover that obtaining access to the Biotechnology Wing requires four Director Keycards. After receiving your mission map, find the "Advanced Combat Research" section where you will head next.

    Advanced Combat Research Director Keycard

    Ascend the stairs to this research wing and venture into the hallway leading to a large cylindrical room. Here, you’ll interact with a computer located on a desk to decode a cipher. Each number corresponds to a letter in the code. Note that the code will vary for everyone.

    To decode the cipher, assign numbers to the letters. For instance, if you receive the number 9053, you would translate it to the code "LIFT," resulting in "LIFT ACCESS" when complete. This will trigger the elevator to descend into the research wing.

    Where to Find the ACR Keycard

    Prepare to face zombies in this area. Make sure to collect weapons and explosives from around the room, including Spring Mines for defense setup. You’ll find the keycard held by a mannequin on a raised platform, while the Grappling Hook can also be snagged from a nearby table.

    Defeat the large zombie creature known as the ACR Director that appears after you collect the keycard. When it charges you, grapple to a platform and deal damage accordingly. Be sure to also eliminate any spawned zombies as you battle.

    After defeating the ACR Director, gather the Director keycard and use the grapple to exit this area. You might find another ringing phone in the hallway if you chose to answer it.

    Where to Find the Administration Director Keycard

    Access the Administration Wing by utilizing a grapple point nearby. As you navigate through the initial hall, you’ll spot a third ringing phone. Jump down into the search area and interact with a cassette player for additional lore.

    On the right side of the room, locate the director’s mannequin holding the keycard and gather all missing reports scattered throughout to gain access to it.

    Where to Find the Missing Reports

    Look for reports under bright lights around the room. Once you collect them, mannequins will spawn. Keep your back facing them to avoid being hit. Once you retrieve all four reports, return to the Director’s window and deposit them in the folders.

    After completing this task, the director will flee, and you’ll need to grapple him to deal damage, revealing his true form after a few attempts. Defeat this large boss to claim the keycard, then proceed to your next objective.

    Where to Find the Joint Projects Director Keycard

    Head to the Joint Projects area by grappling up. You’ll find the fourth phone on your way in. Within the area, retrieve the keycard, but be prepared for another director boss to appear as a zombie.

    How to Defeat the Joint Projects Director

    In this fight, it’s critical to stay elevated and use your environment to dodge the director’s attacks. Attack the objects he turns into when he vanishes, as his screams will guide you to where he’s hiding. Stay agile during combat as you take him down to collect the third keycard.

    Where to Find the Cognitive Research Director Keycard

    Exit to the Cognitive Research area. Here, you can find helpful gear such as C4 and Armor Plates. In the center of the locker room is a radio; tune into it to reveal the safe code. Once you have the code, visit the locked door nearby to collect more resources.

    How to Unlock the Keypad and Drain the Water

    Unlock the keypad by inspecting for fingerprint marks, providing you with the correct code. Once unlocked, access the terminal and initiate the drainage, flipping three switches to drain the water.

    After draining the water, head to the keycard location to defeat the Director boss within, then return to the terminal in the central area to insert all the collected keycards into their slots.

    Accessing The Biotechnology Wing

    With all keycards in place, use the elevator to enter the Biotechnology Wing. Be quick to interact with the elevator button to avoid being attacked by nearby zombies. After the elevator ascends, the last side objective phone can be found. Answer it to continue.

    How to Defeat the Executive Director

    Your final confrontation is with the Executive Director. Keep using your grapple to navigate high areas while raining down fire on him. Utilize cover effectively and gather any scattered ammo or weapons to replenish your supplies.

    Once you defeat the Executive Director, a cutscene will conclude the mission, transitioning you back to your team, after which you’ll move on to the next thrilling chapter of your adventure in Call of Duty: Black Ops 6.

  • Resolving Travis-Rilea Error in Call of Duty: Black Ops 6

    Resolving Travis-Rilea Error in Call of Duty: Black Ops 6

    Call of Duty: Black Ops 6 is packed with players zipping around the maps, but your fun can come to a screeching halt due to the Travis-Rilea error code.

    This error catches you off guard, sending you back to the main menu without much notice, leaving you struggling to reconnect. While it’s not rare to see such errors, the Travis-Rilea issue can be even more frustrating if it occurs frequently and you’re left puzzled about its cause—especially if it causes you to lose progress in the game.

    How to Fix Travis-Rilea

    To resolve a typical Travis-Rilea error, there’s not much to do except wait and try reconnecting later. Based on player discussions, it seems the error frequently occurs on Tuesdays due to Steam maintenance, which takes place weekly.

    This maintenance can force players back to the main menu, interrupting their connection to game servers. Scheduled maintenance generally starts at about 3 PM PST/11 PM GMT on Tuesdays.

    Wait for about 10 to 15 minutes after this time and then attempt to reconnect to the game if you were booted. If you’re not on Steam or you’re encountering this error on any other day, consider trying the following fixes:

    • Restart your game and launch Call of Duty: Black Ops 6 from the Call of Duty HQ again.
    • Change your DNS server to a reliable option such as Google’s: Primary DNS: 8.8.8.8 and Secondary DNS: 8.8.4.4.
    • Check for recent updates for your game, and make sure you’ve installed them.
    • Ensure that other devices at home are still connected, and reset your internet connection if necessary.

    You also have the option to verify the integrity of the game files via Steam. To do so, right-click on Call of Duty in your library and choose Properties. Next, go to Installed Files, and click on ‘Verify integrity of game files’ which you will find as a button. After that, restart the game to check if the Travis-Rilea error persists.

    Does Travis-Rilea Only Affect Steam Players?

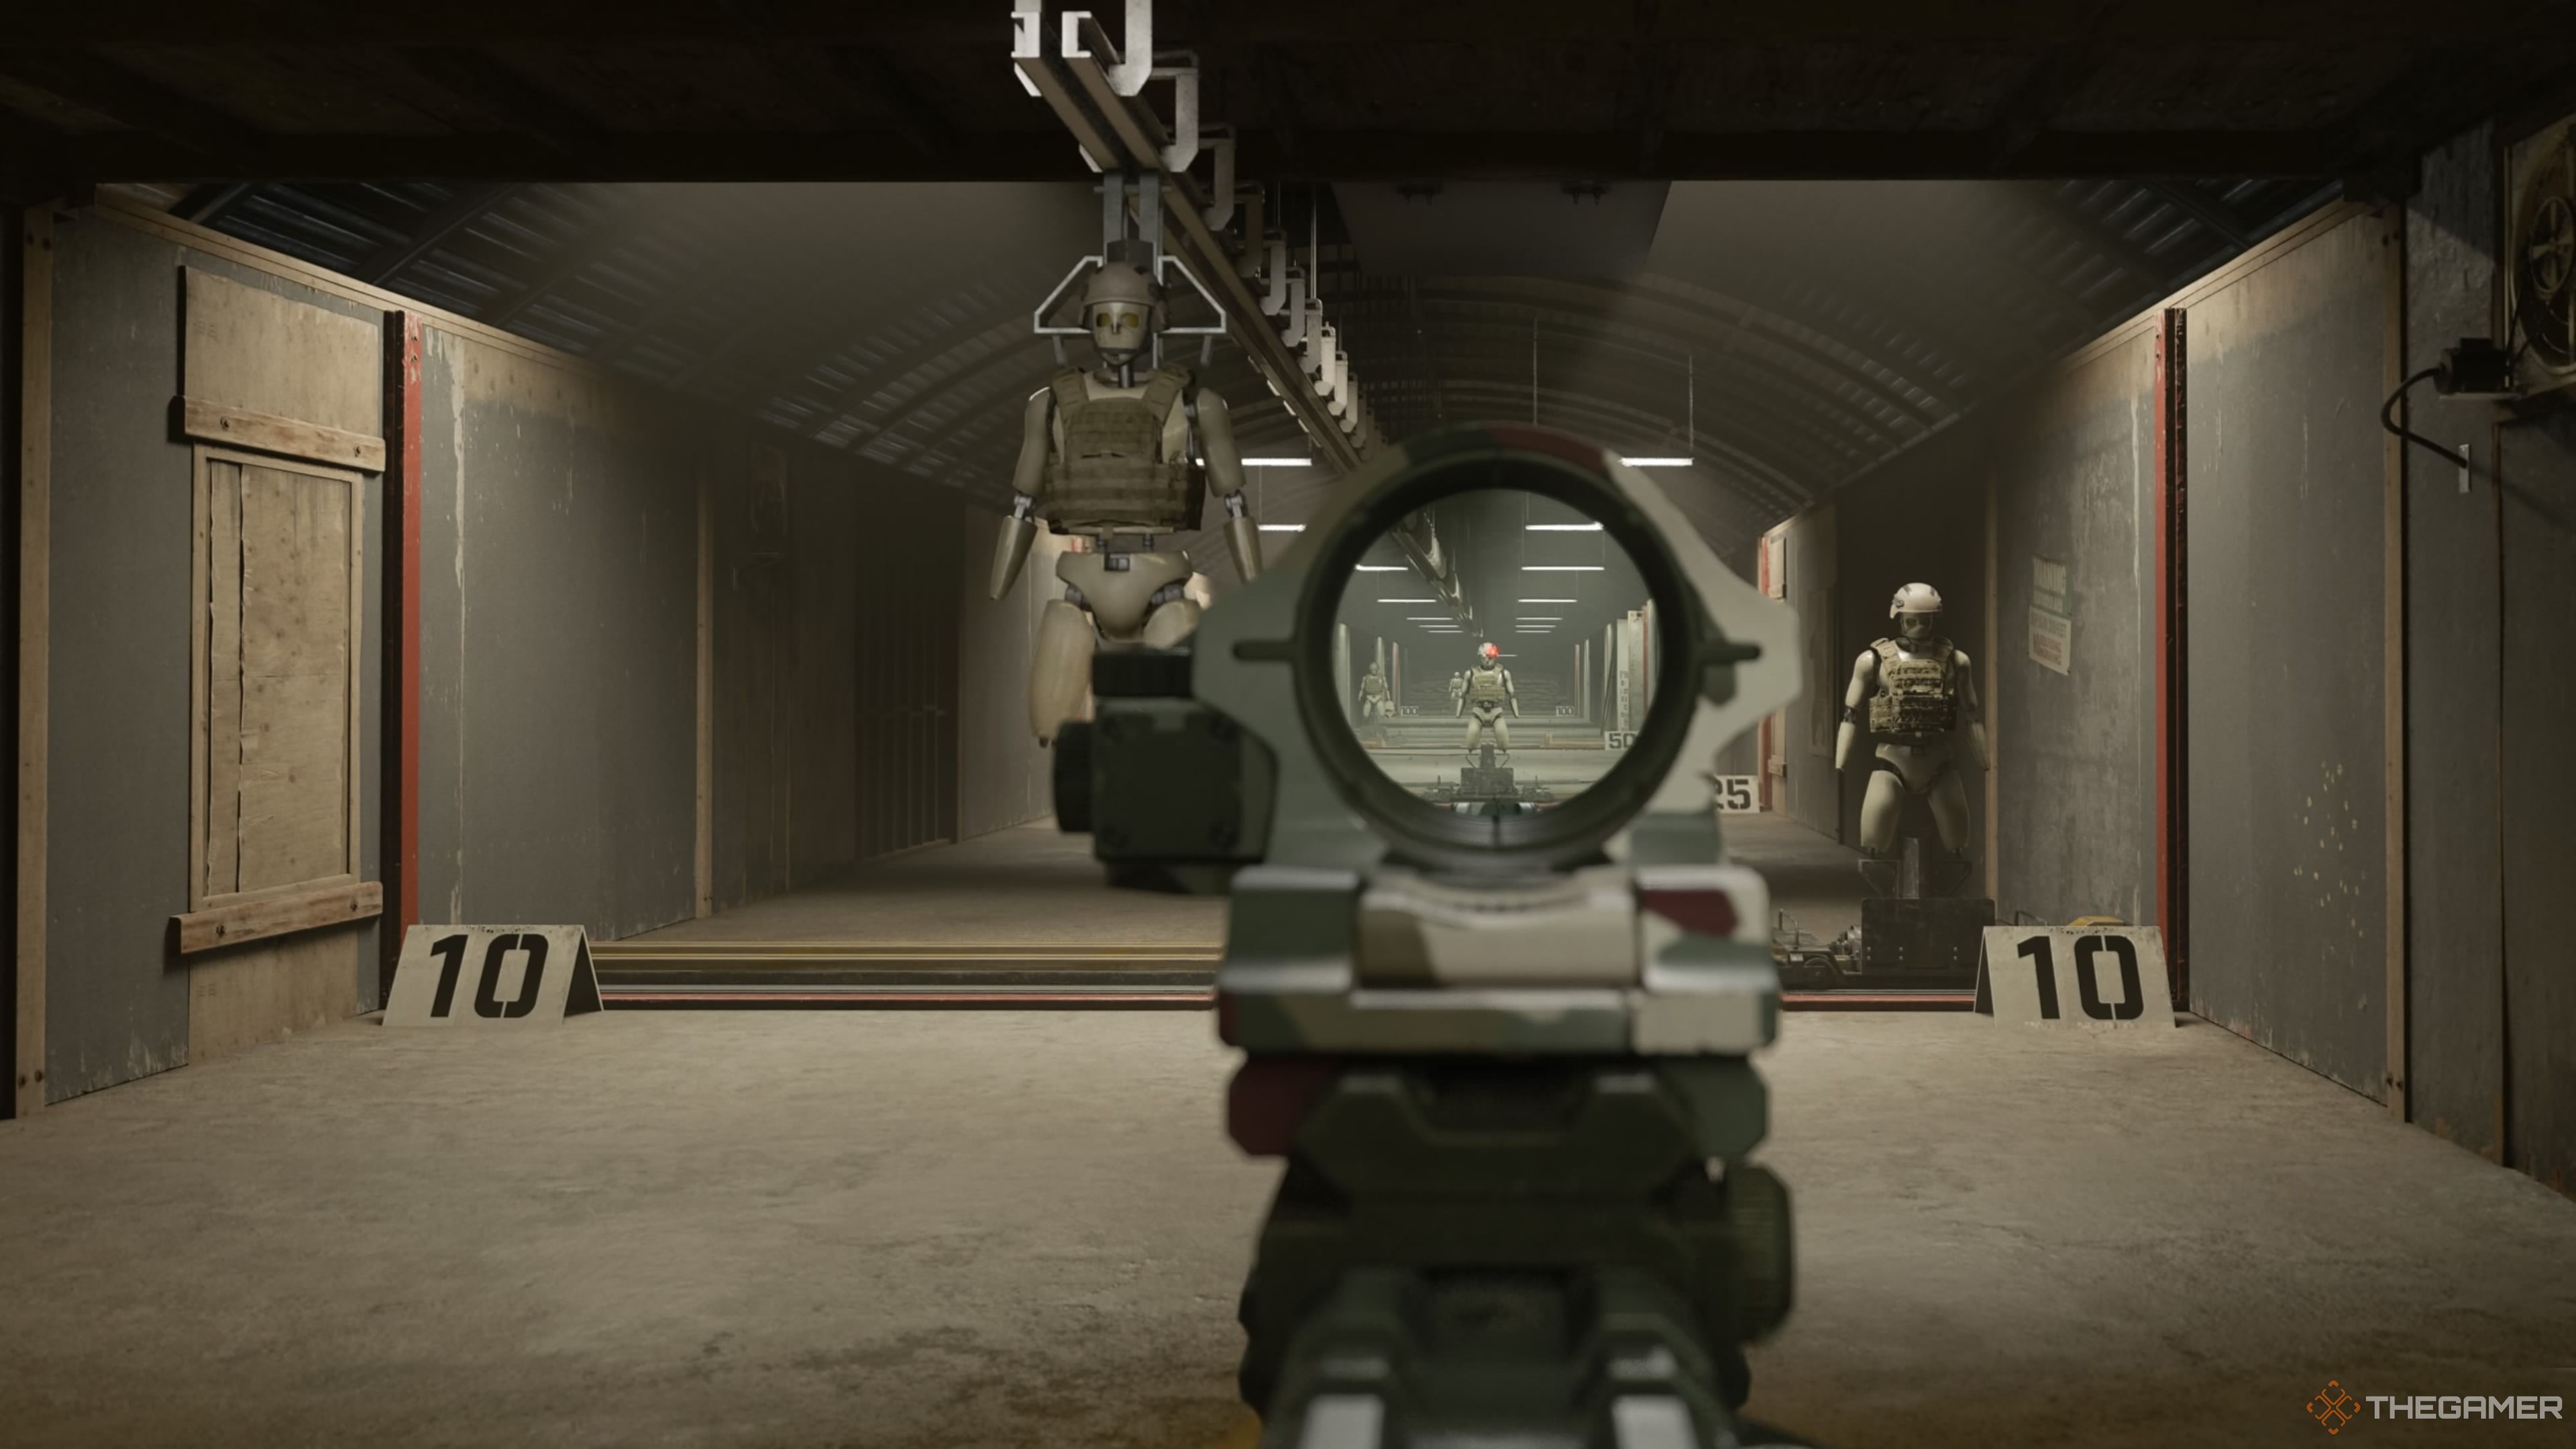
    A player practices aiming in the Training Range, with targets and distance markings visible.

    No, the Travis-Rilea error is a general server connection issue, and it’s not exclusive to Steam players. This error can also appear in other Call of Duty games, like Warzone 2, which has been reported by Xbox users as well. Keep an eye on the official server status during any error incidents to see if there’s an actual server problem that needs fixing. If so, you’ll have to wait until the issue is resolved.

    However, Steam players generally encounter this problem more regularly. If you’re attempting a Zombies Easter egg run, for instance, it’s wise to avoid playing on Tuesdays around maintenance time to prevent losing any progress.

  • Accessing the Roof in Black Ops 6: Most Wanted Mission Guide

    Accessing the Roof in Black Ops 6: Most Wanted Mission Guide

    Call of Duty: Black Ops 6 – Navigating to the Rooftop in Most Wanted

    The campaign in Call of Duty: Black Ops 6 has taken an exciting turn by incorporating open-world maps, marking a departure from traditional linear gameplay. This new approach adds a layer of complexity when it comes to completing missions.

    One particular mission that can be challenging is Most Wanted, where your goal is to rescue Adler at a party hosted by Bill Clinton. Finding the route to the rooftop requires some guidance. Here’s a step-by-step on how to access the rooftop in Most Wanted.

    How to Reach the Rooftop

    You will gain access to the rooftop after obtaining Senator McKenna’s photographs for retinal scans through one of the three methods available. Once you complete this crucial task, Sev will provide you with guidance on the rooftop location, which will appear on the map located near the party’s entrance.

    The rooftop location will be displayed in the lower left corner of your map. You’ll need to navigate through the golden curtains, which will lead you into a restricted area filled with guards. To smoothly enter this area, quietly slip through the back doors.

    Important Note: Avoid making silent takedowns behind the golden curtains, as the guards frequently check their surroundings. If they find an unconscious guard, the alarm will be triggered.

    Once you’re through the abandoned hallways, follow the route until you see an exit door leading to a staircase that goes up to the roof. After ascending the stairs, turn right to find a large ladder.

    Climb the ladder, and you’ll emerge onto the rooftop, where police will be patrolling. You’ll have to maneuver carefully to avoid detection and reach your meeting point.

    Following these steps will help you successfully navigate the Most Wanted mission in Call of Duty: Black Ops 6. Enjoy your experience as you tackle these new open-world challenges!

  • Unlocking the Chess Knight Easter Egg in Black Ops 6: A Guide

    Unlocking the Chess Knight Easter Egg in Black Ops 6: A Guide

    In Call of Duty: Black Ops 6, each Zombies map includes a main quest that consists of various steps and complex tasks. However, there are also several shorter Easter eggs that you can complete, which can be quite beneficial and may even aid you in the main Easter egg quest.

    One of these Easter eggs is the Chess Knight, which can be found in Citadelle des Morts. To start, you’ll need to find the knight chess piece, which spawns in different locations. Once you have it, you can activate this unique Easter egg. If done correctly, a knight chess companion will join you and help fight off zombies, offering substantial support during battles.

    Finding the Chess Knight Piece

    First Location

    The first potential spot for the Chess Knight piece is in the bar’s basement, close to the spawn area.

    Look for a cabinet filled with various bottles and cans. You should see the white knight chess piece wedged between them.

    Second Location

    If the chess piece isn’t in the basement, check the area just before entering the castle. Go to the room with the Elemental Pop machine.

    On the left side of this room, opposite the machine, you’ll find a table next to a server where the white knight chess piece may be located.

    Third Location

    If you still haven’t found the chess knight piece, head inside the castle and climb the stairs to the upper level with the dragon statue.

    Take the path on the right, and right after passing through a door, you will see a table with the knight chess piece on it.

    There may be additional locations for the Chess Knight piece to spawn, but currently, we only know of these three.

    Completing the Chess Knight Easter Egg

    With the Chess Knight piece in your possession, you can start the Easter egg. Make your way to the west side of the castle, specifically to the room housing the Stamin-Up machine.

    In the center of this room, you’ll find a table with a chessboard. With the chess piece, interact with the board to activate a purple circle.


    Your task is to defeat several zombies while standing inside the circle.

    After successfully completing this, the Chess Knight piece will appear as your companion and will assist you in taking down zombies for a significant duration.

  • Unlocking the Lightning Sword in Black Ops 6: A Guide

    In Call of Duty: Black Ops 6 Zombies mode, wonder weapons are among the most formidable arms, but getting them can be a challenge. You can try your luck with the mystery box, but crafting them is often more dependable, albeit requiring several steps to complete.

    With the introduction of Citadelle des Morts, players can find not just one but four elemental swords. Each sword can be enhanced to a unique elemental form. This guide will walk you through obtaining the lightning sword, known as Durendal.

    How to Obtain the Durendal Sword

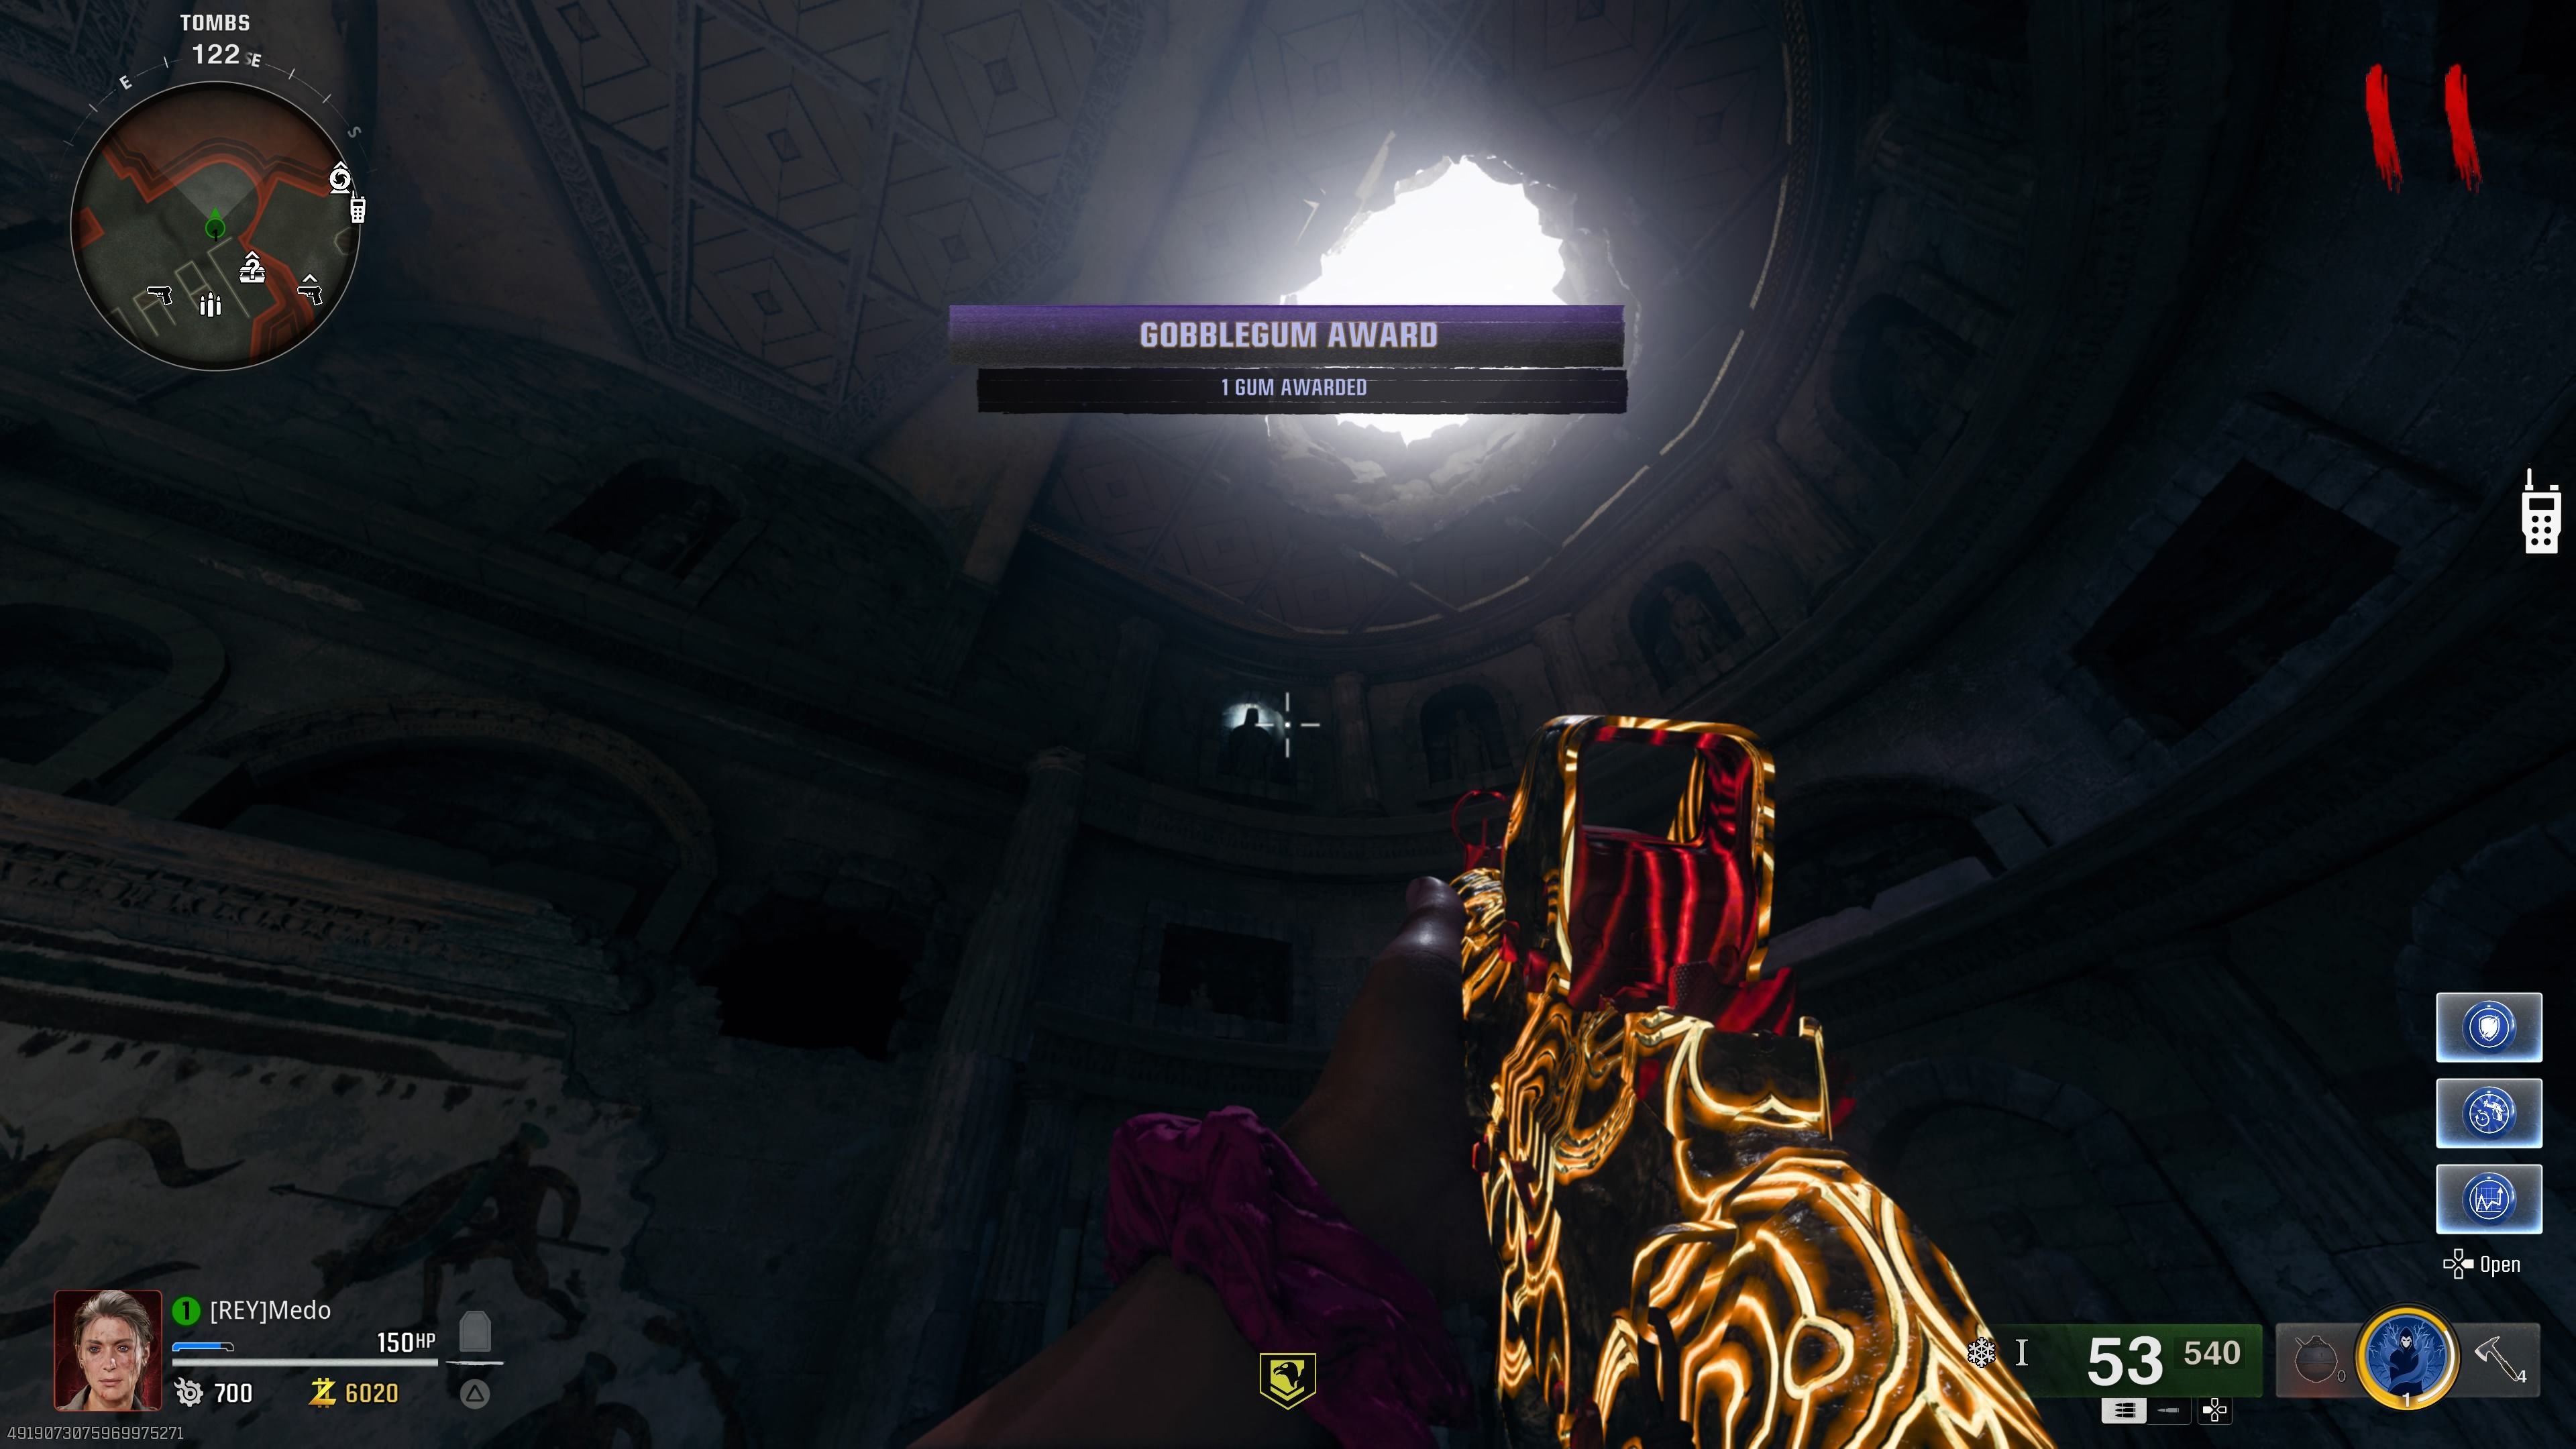
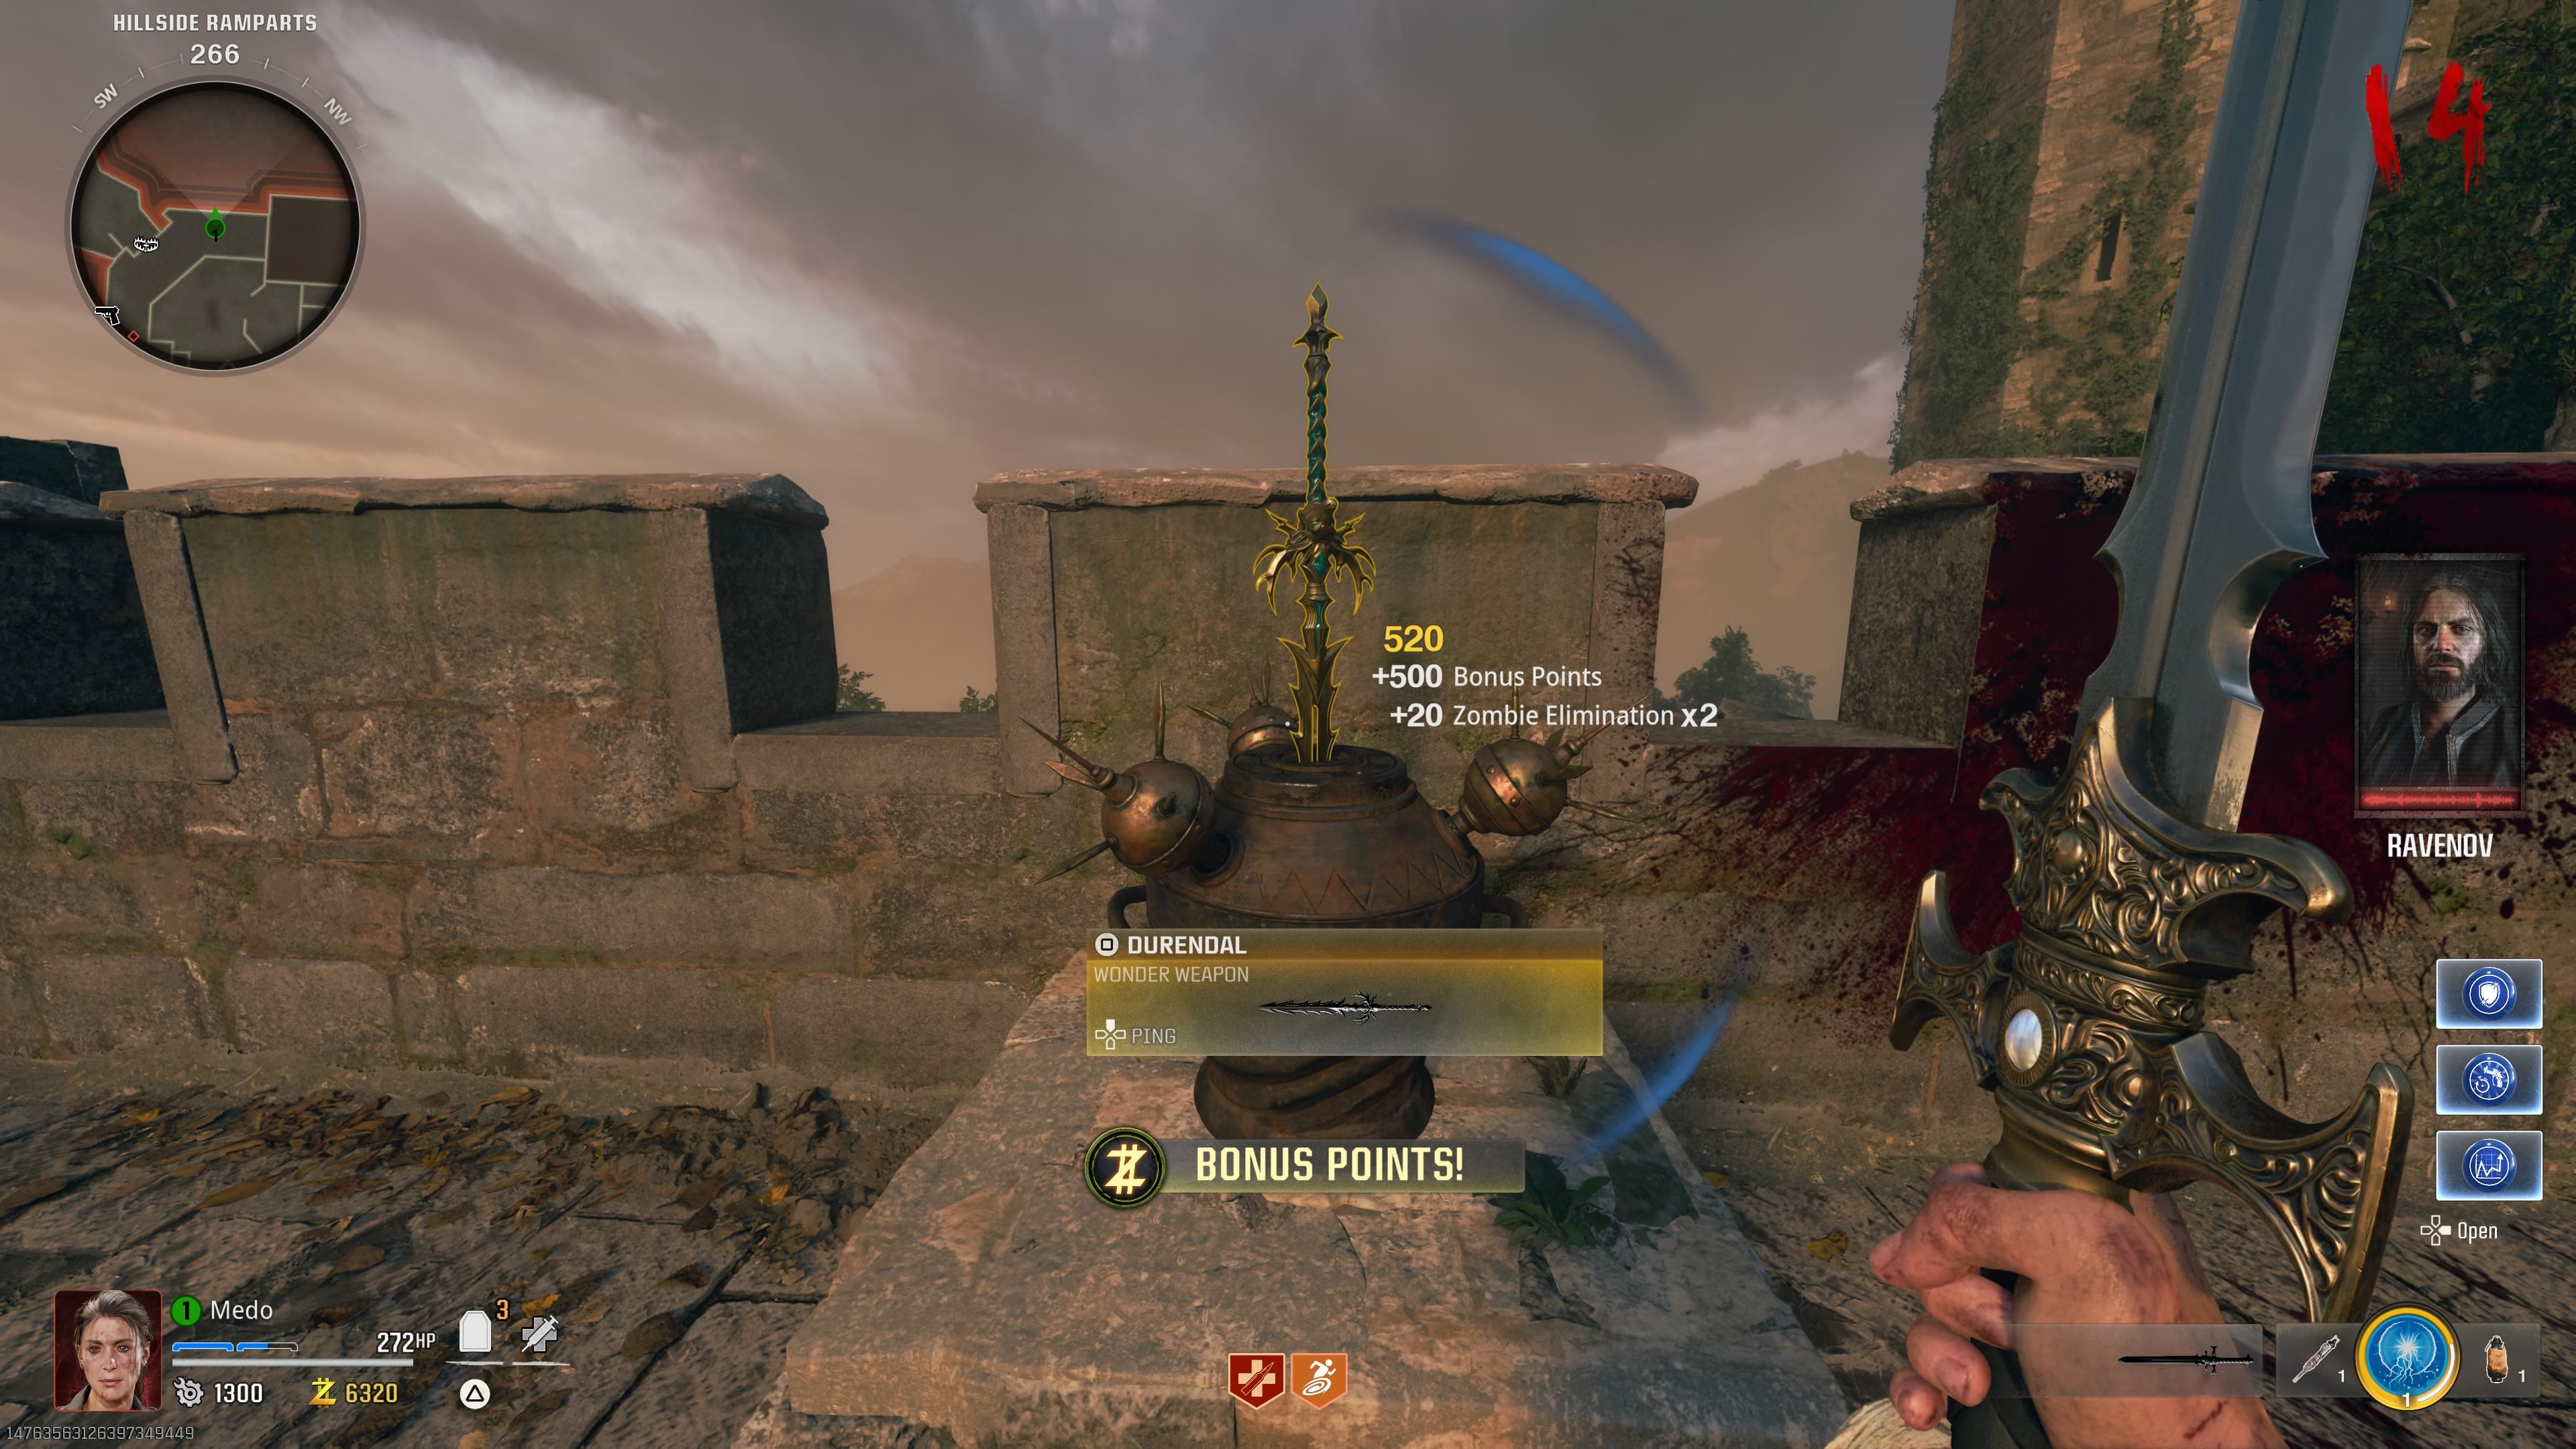
    Player about to obtain the Durendal lightning sword - BO6

    To begin, you’ll first need to acquire a stamp and use it on the appropriate knight statue located in the throne room, similar to how you do with other elemental swords.

    Player standing in front of the statue with the deer crest - BO6

    For the lightning sword, apply the stamp to the knight with the deer crest, which is the first statue on your left.

    Next, you’ll need to locate three lightning rods scattered throughout the map.

    First Lightning Rod Location

    The closest lightning rod is locked and positioned just to the left of the Deadshot machine on the western side of the map.

    Second Lightning Rod Location

    To access the second lightning rod, ensure your weapon is equipped with the Dead Wire ammo mod. Proceed to the underpass near the Speed Cola machine.

    Here, you’ll find a fuse box on the wall by the stairs. Shoot it to receive your second lightning rod.

    Third Lightning Rod Location

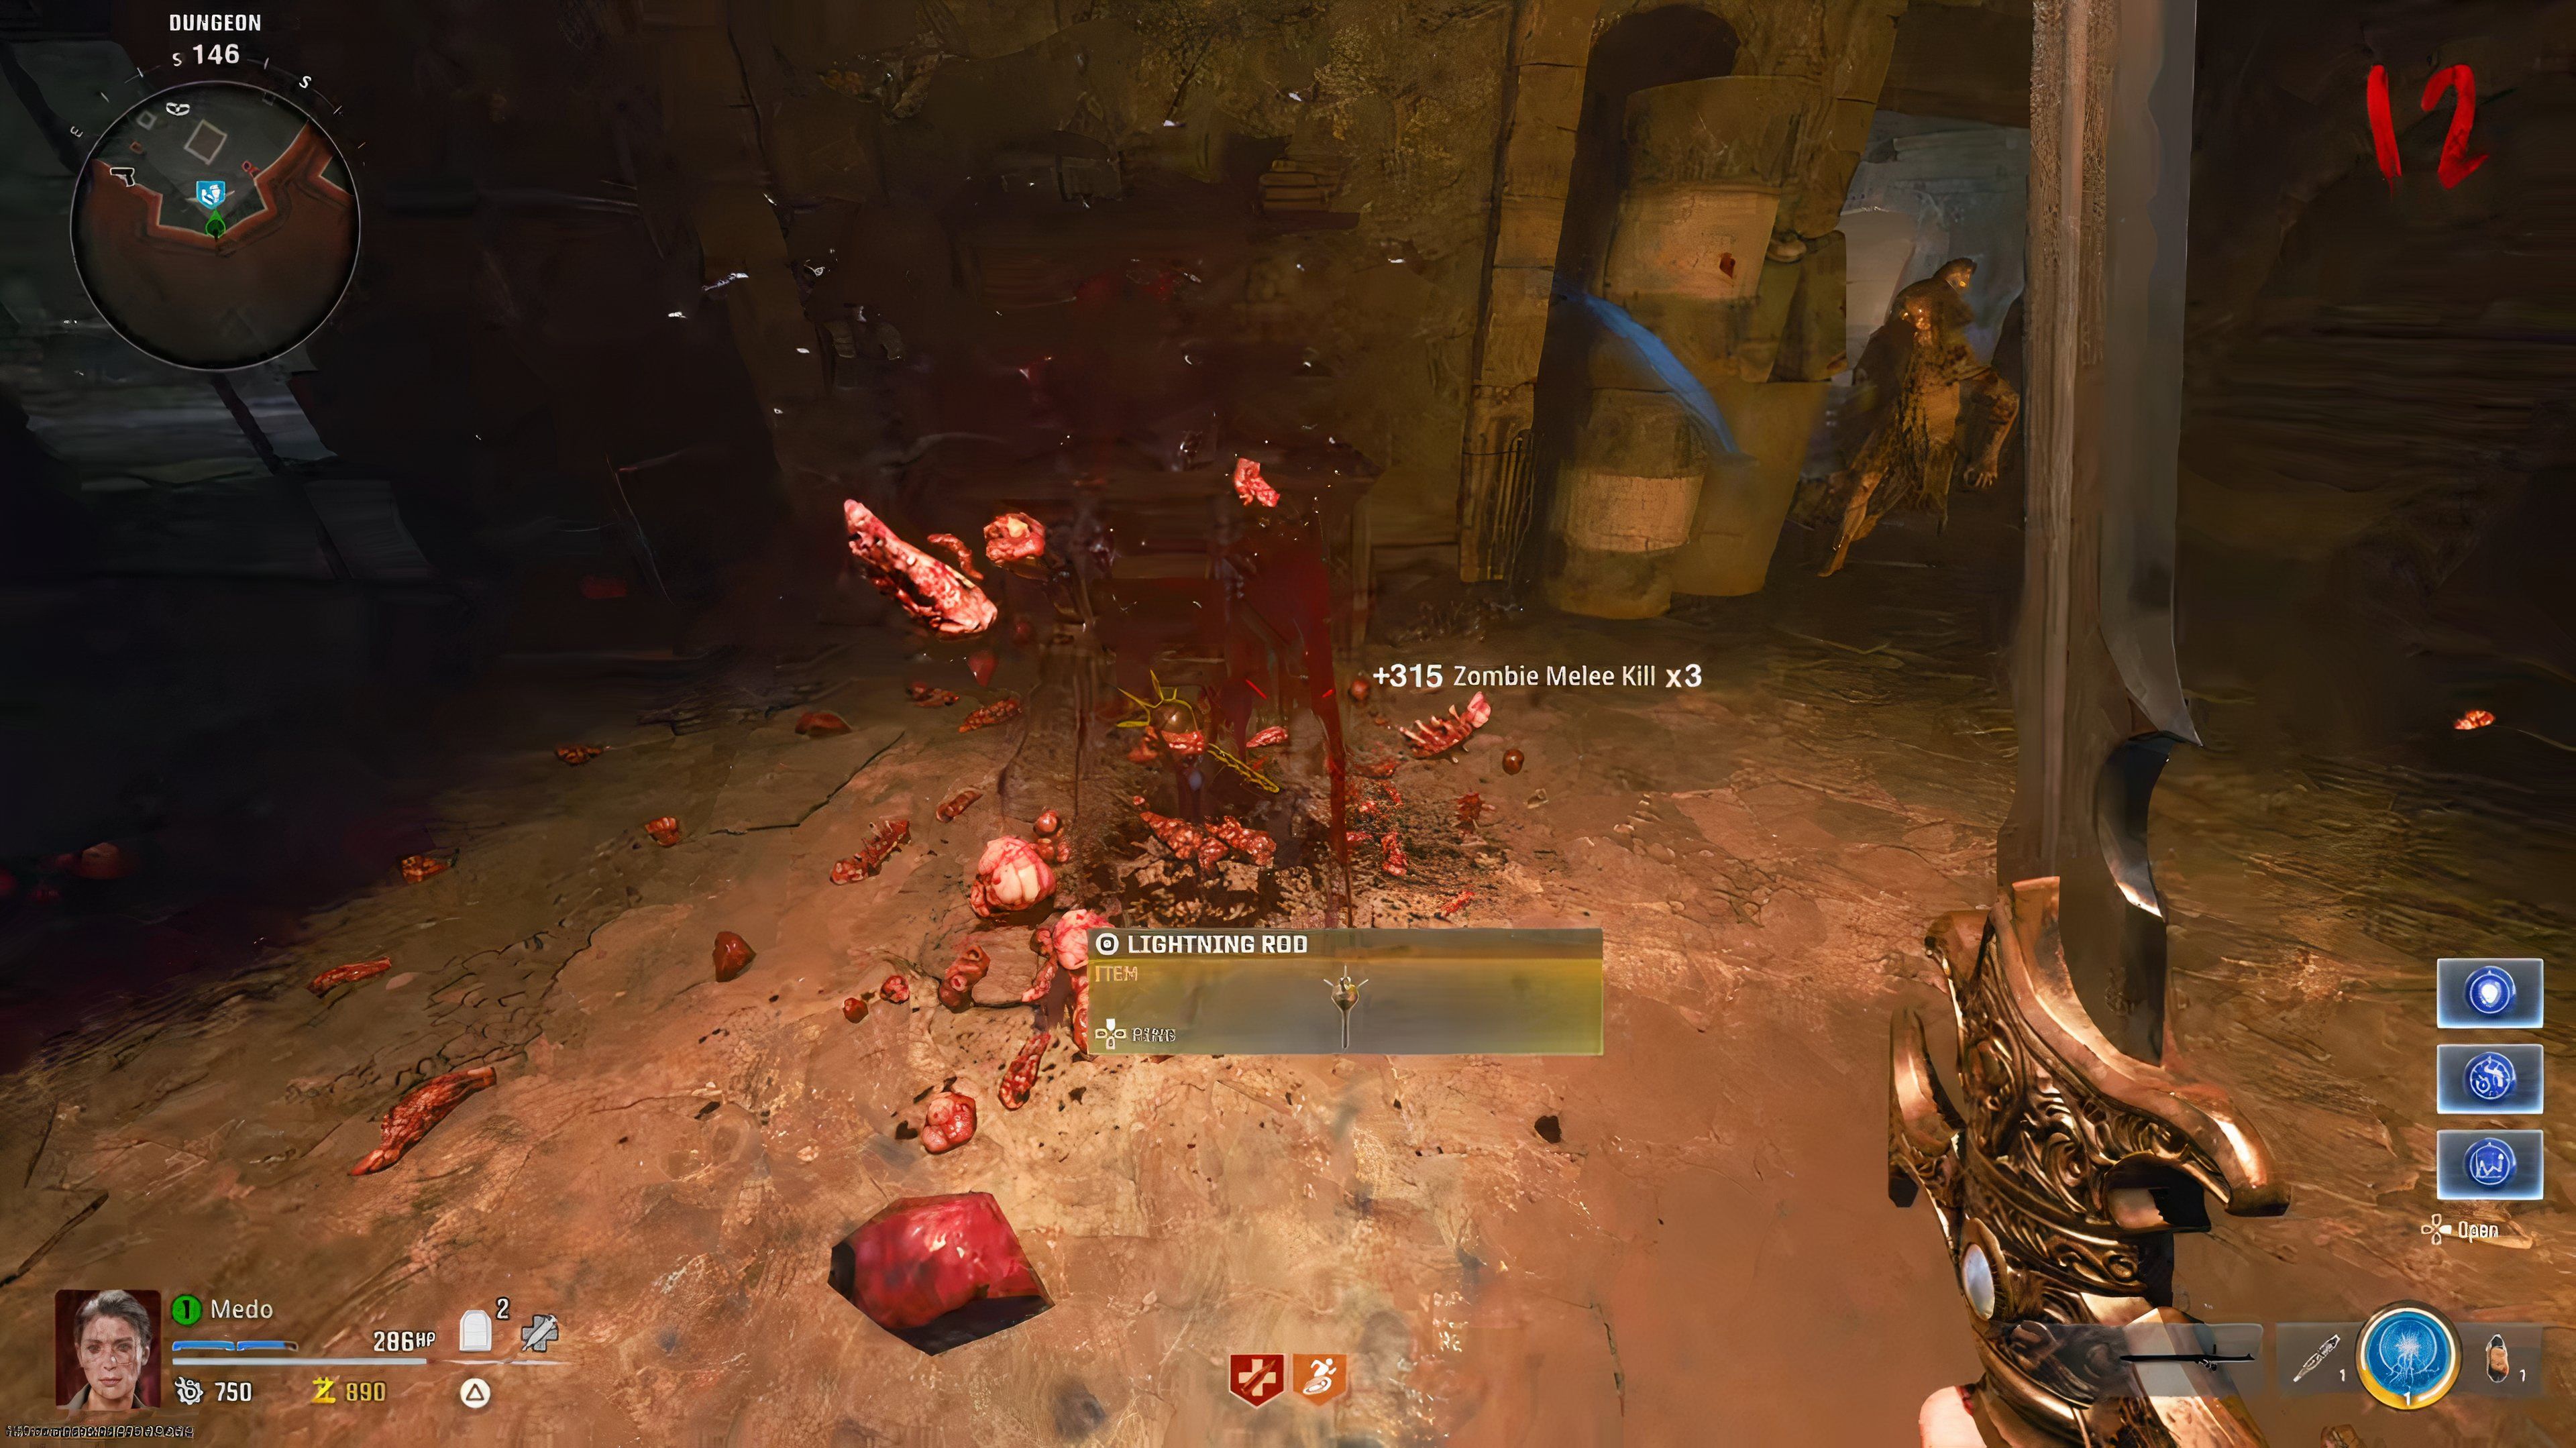
    Enemy just dropped a lightning rod - BO6

    The third lightning rod can appear as a random drop from a zombie, but many players have had better luck finding it in the castle’s underground area.

    At times, we discovered it on the ground after defeating several zombies in the underground region, though we’re unsure of the precise circumstances.

    Claim the Lightning Sword

    With all three lightning rods collected, head to the right of the cannon and find what resembles a vase. Interact with it to place all three lightning rods you’ve gathered.

    This action will prompt a thunderstorm that spawns zombies to attack you. Your objective is to defeat the zombies and wait for your sword to become electrified.

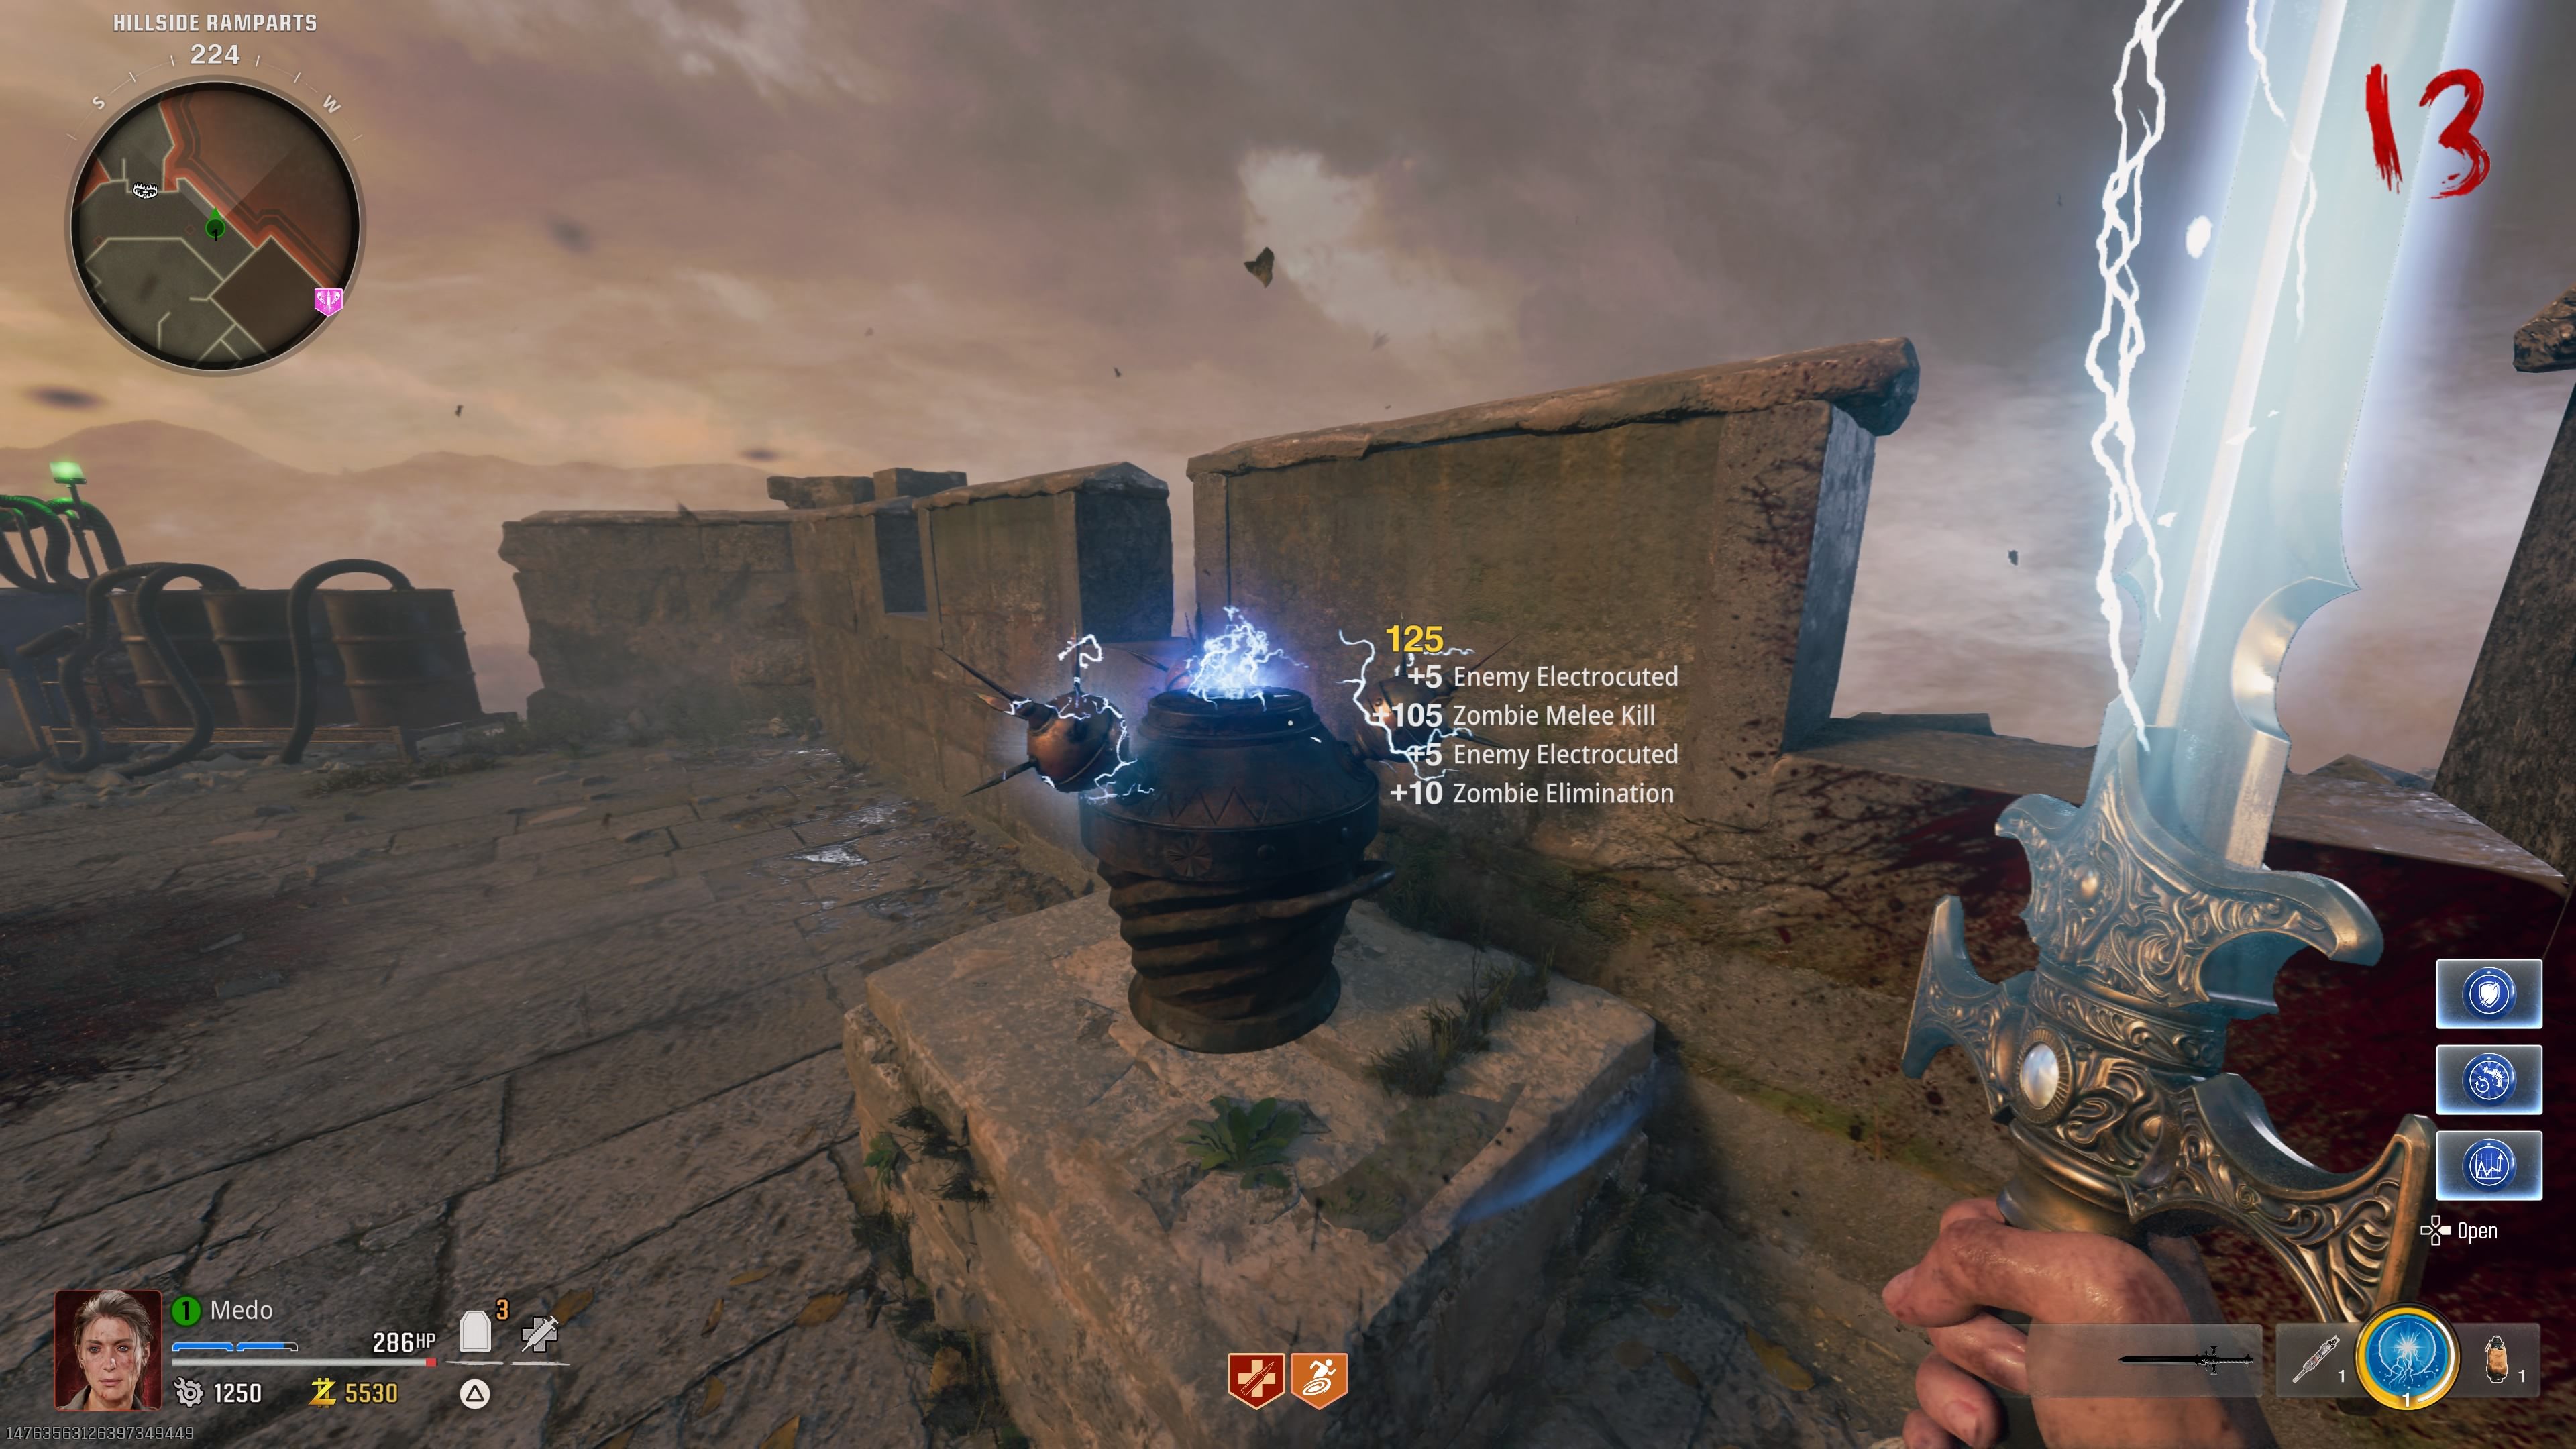
    Player holding an electrified sword in front of the electric vase - BO6

    Once your sword is electrified, strike the vase where you placed the rods and repeat this process three times to completely electrify the vase.

    Finally, you’ll be able to place your sword to receive the lightning sword, known as the Durendal Sword.

  • Mastering Citadelle Des Morts in Black Ops 6: Pack-a-Punch Tips

    Mastering Citadelle Des Morts in Black Ops 6: Pack-a-Punch Tips

    With the launch of Call of Duty: Black Ops 6, players can finally experience the much-anticipated round-based Zombies mode and revisit familiar locations on two initial maps: Liberty Falls and Terminus. The excitement continues with the arrival of Season One Reloaded, introducing a stunning new map called Citadelle des Morts.

    As you battle through increasing rounds, the difficulty ramps up, with more zombies emerging and the challenges becoming tougher. To keep up, weapon upgrades are crucial. Not only can you enhance their rarity, but you can also utilize the Pack-a-Punch feature to take your weapons to the next level. This guide will help you locate the Pack-a-Punch machine on the new map.

    How to Pack-a-Punch in Citadelle Des Morts


    Once you spawn in the Citadelle Des Morts, you’ll find yourself in a quaint town with a castle perched above. Your objective is to navigate your way to the castle.

    There are two routes available: one leading to the right and the other to the left. Both paths will eventually guide you to the castle entrance, but the door is locked and must be unlocked.

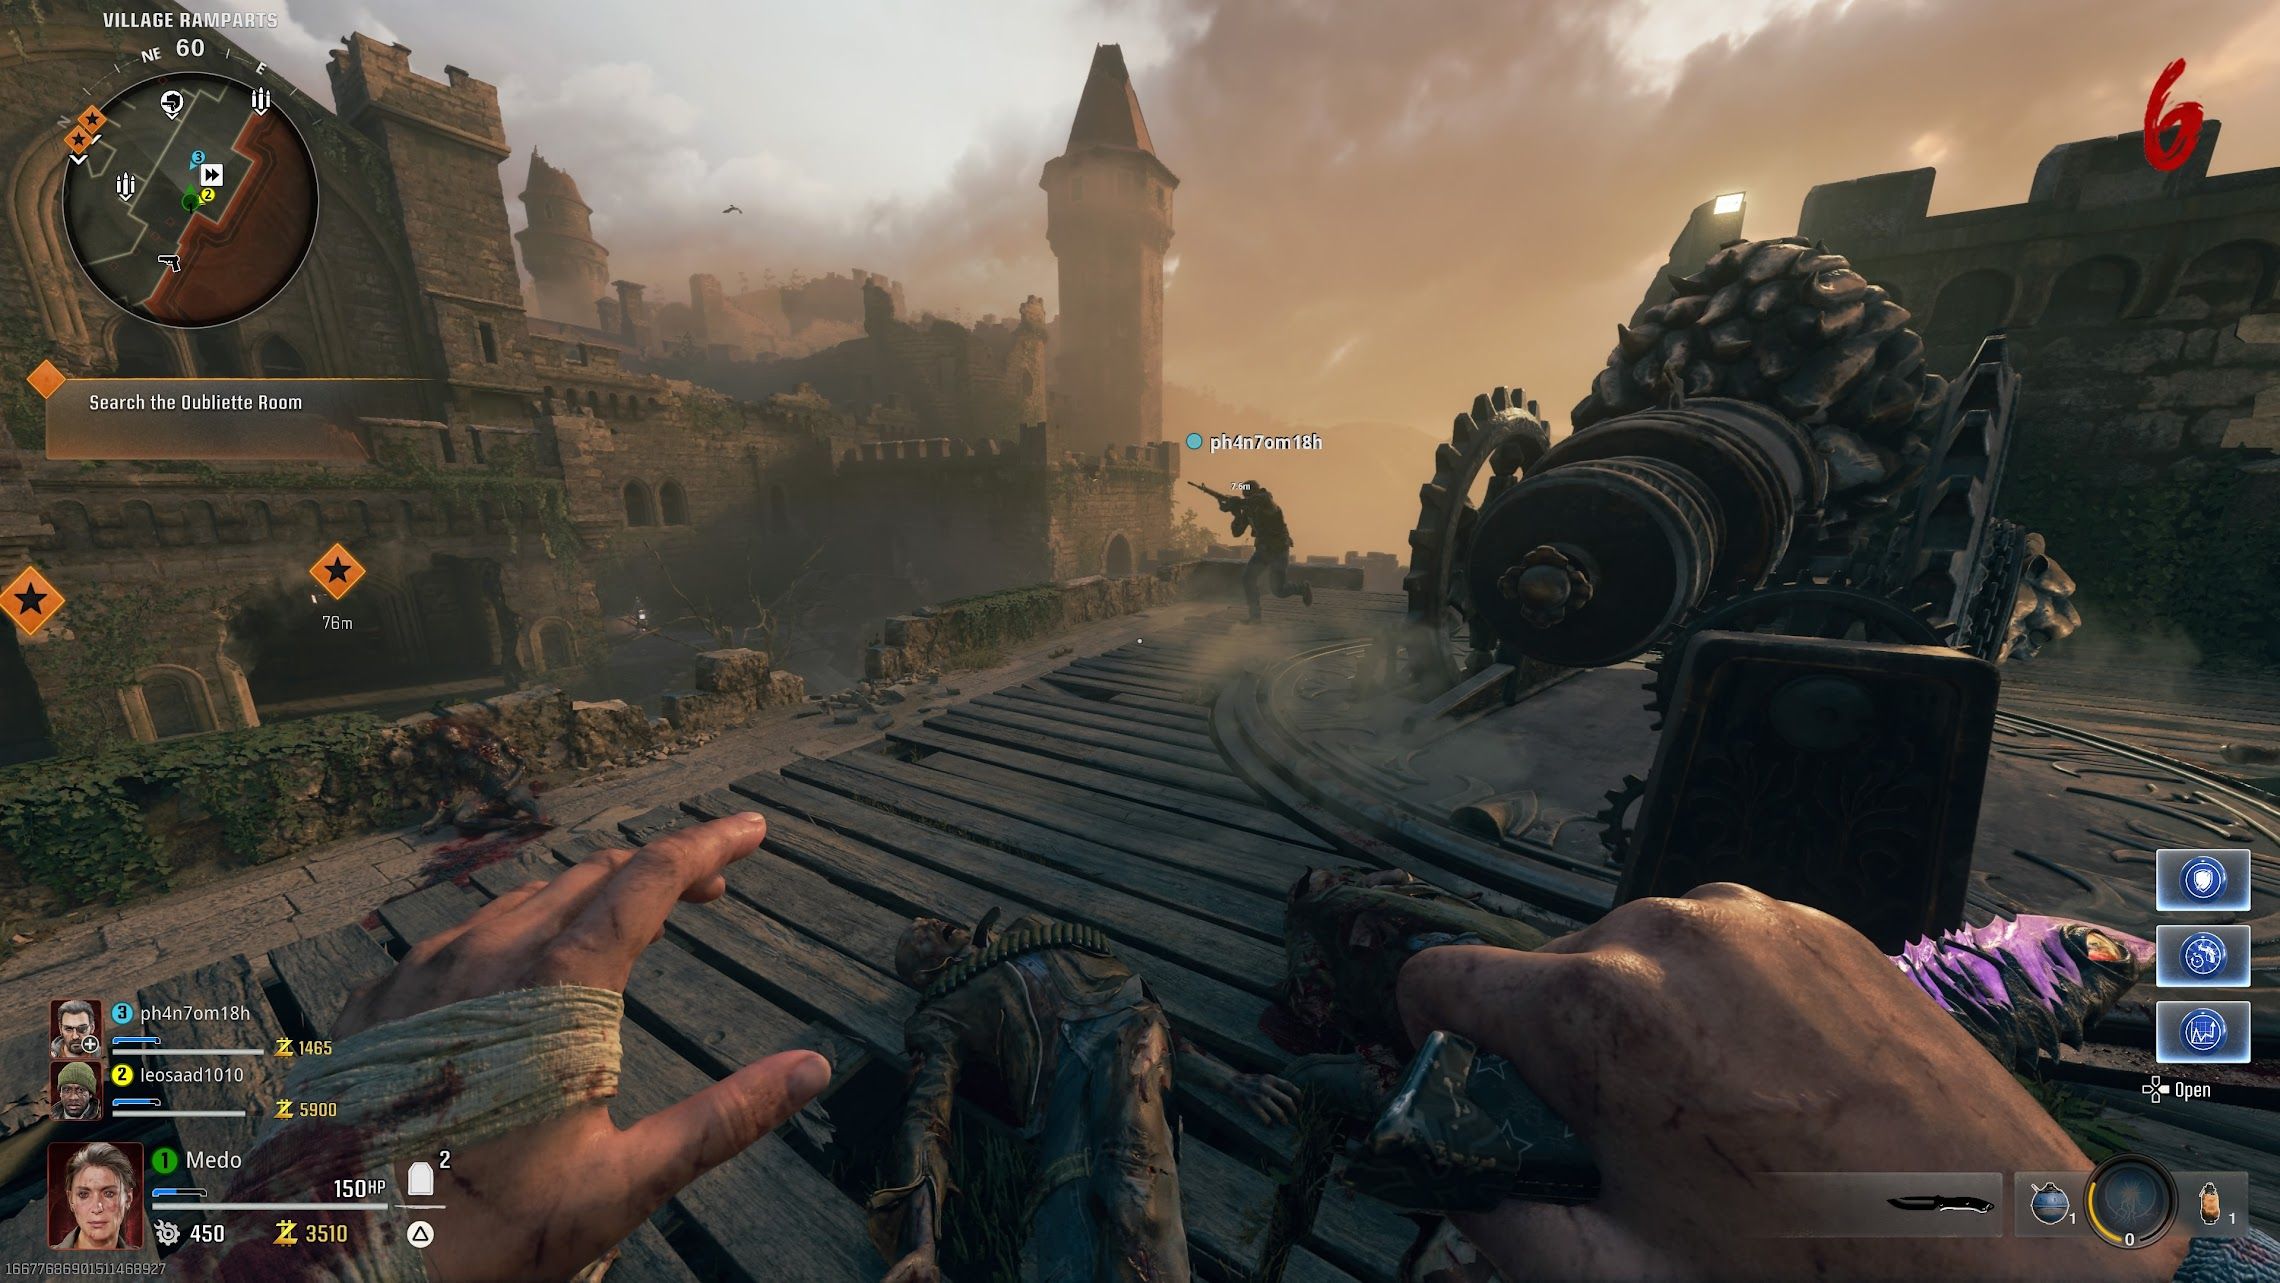
    The only way to gain entry is by reaching a cannon on the upper level. You can get there from either side. After you reach the cannon, be sure to interact with it to aim at the door.


    Player standing in front of the cannon

    Next, go to the back of the cannon and interact with it again to fire, blasting open the main entrance to the castle.

    Inside, you’ll notice two objective markers: one to your right and one to your left. Both pathways lead to the same area, which is the underground.

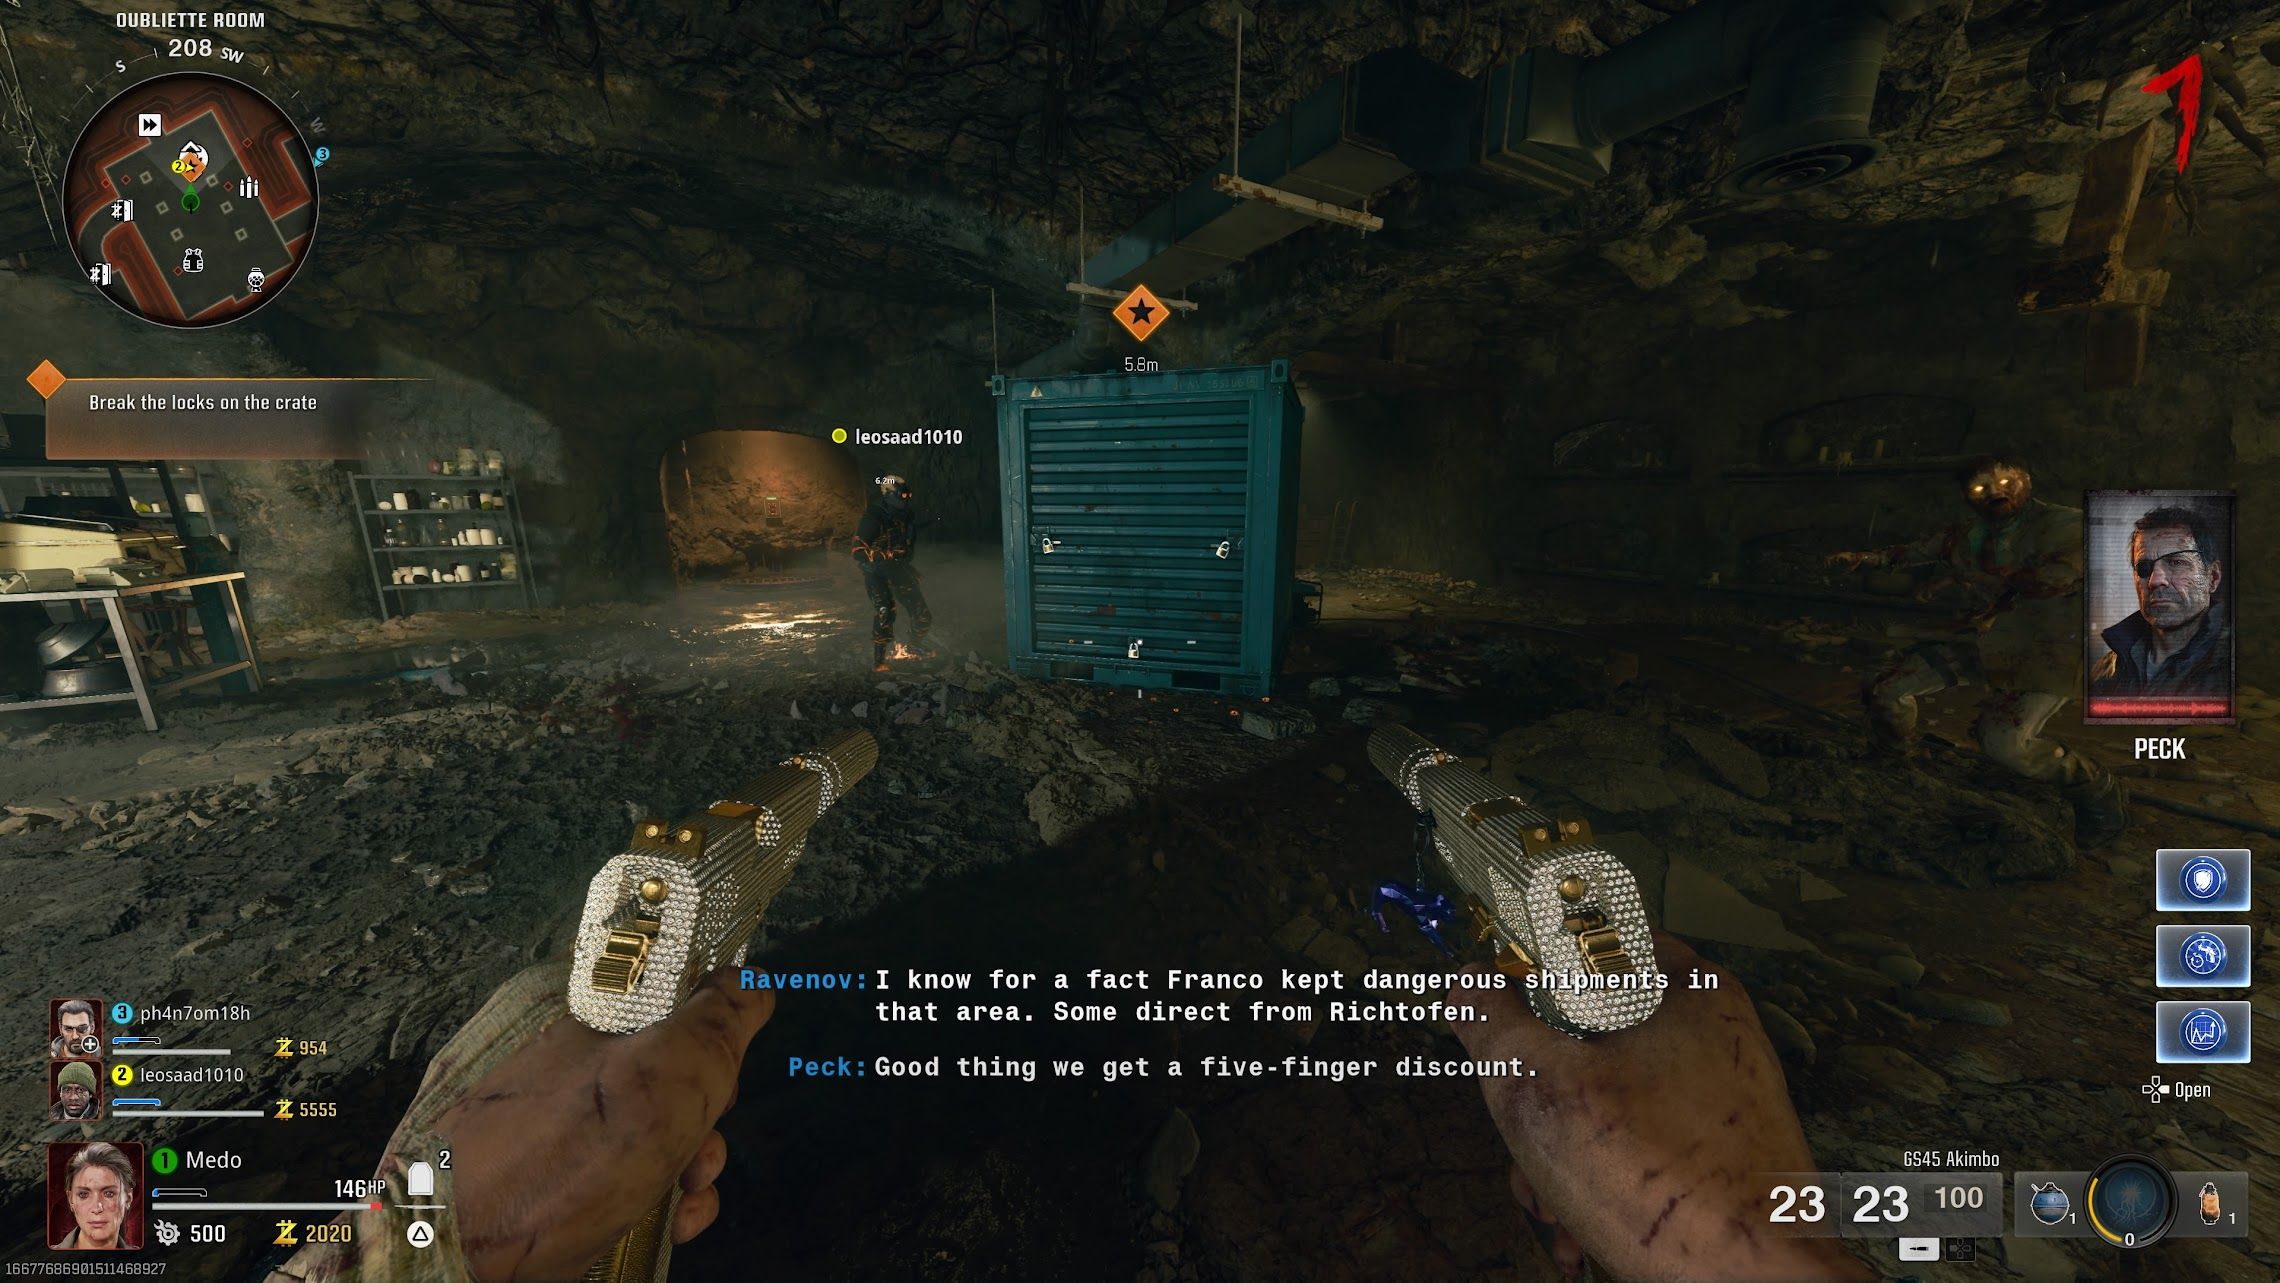
    Once underground, you’ll find a room containing a blue crate secured with three locks. You’ll need to use melee attacks or gunfire to break all three locks, but be prepared for a skirmish.


    Player in front of the blue crate with three locks

    Once you’ve defeated the enemy that emerges from the crate, it will drop the Blood Aetherium Crystal. Take the crystal and place it in the portal located inside the blue container.

    After you do this, the Pack-a-Punch machine will appear, making it available for you to use throughout the remainder of the match.

  • Ultimate Guide and Walkthrough for Black Ops 6: COD Edition

    Call of Duty: Black Ops 6 – Comprehensive Guide and Walkthrough

    Welcome to the ultimate guide for Call of Duty: Black Ops 6! This walkthrough will provide you with all the tips, tricks, and strategies you need to conquer the game.

    Getting Started

    Before diving into the action, make sure your gaming setup is ready. Update your console or PC, check your internet connection, and ensure that you have the latest version of the game installed.

    Main Story Campaign

    The storyline in Black Ops 6 is thrilling and packed with intense moments. As you progress through the campaign, focus on completing the main objectives while exploring the environment for hidden secrets and collectibles. Use the following strategies to stay ahead:

    • Understand Your Weapons: Each weapon has unique characteristics. Experiment with different options to find what suits your play style.
    • Use Cover Wisely: Always keep an eye out for cover. Staying behind obstacles can save your life in heated battles.
    • Map Awareness: Familiarize yourself with the maps. Knowing the layout can help you anticipate enemy movements and find strategic positions.

    Multiplayer Mode

    Multiplayer is where the game truly shines. Here are some tips to help you dominate your opponents:

    • Choose the Right Loadout: Customize your weapons and gear wisely. Tailor your loadout to fit your play style and the map you’re playing on.
    • Communicate with Your Team: Use voice chat or text messaging to stay in touch with fellow players. Coordination can make a massive difference in winning matches.
    • Practice Makes Perfect: Spend time in different game modes to improve your skills. Familiarize yourself with various maps and strategies.

    Tips for Zombies Mode

    If you’re a fan of Zombies mode, follow these guidelines to survive the horde:

    • Stick Together: Stay close to your teammates. Working as a group increases your chances of survival.
    • Manage Resources: Keep an eye on your ammo and health. Be judicious with your resources to last longer against tough waves.
    • Explore for Upgrades: Search the map for power-ups and equipment that can give you an edge in battles.

    Conclusion

    Whether you’re playing through the campaign, battling in multiplayer, or surviving against the undead, Call of Duty: Black Ops 6 offers thrilling experiences. Keep honing your skills, adapting to the game, and most importantly, have fun!

    Good luck, soldier! You’ll need it out there.

  • Game Spending Rises Thanks To Call Of Duty: Black Ops 6

    Game Spending Rises Thanks To Call Of Duty: Black Ops 6

    A soldier shooting a beamshamsher in Black Ops 6.
    Activision

    While it was expected that Call of Duty: Black Ops 6 would dominate 2024 gaming conversations, its impact is proving to be instrumental in boosting overall game sales across the United States.

    Insights from Circana (previously known as NPD Group) reveal a significant increase in October spending on gaming hardware, software, and accessories, which rose by 10% compared to the same month last year. Analyst Mat Piscatella identified the launch of Black Ops 6 as a key factor in this surge. Additionally, spending on non-mobile video game subscription services saw a remarkable 16% increase.

    Piscatella noted that the rise was largely influenced by the October launch of Call of Duty: Black Ops 6, in contrast to the November 2022 release of Call of Duty: Modern Warfare 3. On the subscription side, he highlighted how the inclusion of Black Ops 6 in Xbox Game Pass fueled this growth.

    Overall, spending on video game content, including purchases of games and downloadable content (DLC), rose by 12% year-over-year, although hardware sales continue to decline. In terms of sales performance, Black Ops 6 has made a considerable mark, being the top-selling title for October and ranking as the third best-selling premium game of 2024, trailing only EA Sports College Football 25 and Helldivers 2.

    The excitement surrounding Black Ops 6 was palpable, especially given its return to the beloved Black Ops franchise and its availability via Xbox Game Pass, allowing subscribers access at no additional cost. Industry analysts are keen to see whether this will lead to a sustained rise in Xbox Game Pass subscriptions or if this spike will be temporary. Microsoft CEO Satya Nadella recently stated that the game set records for day-one player engagement and new Game Pass subscriptions on its launch day.

    Despite its popularity on Xbox, Black Ops 6 is experiencing strong sales on PlayStation as well. According to Piscatella, 82% of total spending on Black Ops 6 is attributed to PlayStation, a trend influenced by the Game Pass model.

    Piscatella elaborated on the game’s impact, stating that Call of Duty: Black Ops 6 on Game Pass significantly affected U.S. market dynamics. It helped boost subscription spending, shifted full game sales more toward PlayStation, and notably, it did not seem to cannibalize sales significantly or drastically increase Xbox Series console sales. Thus, many questions regarding the long-term effects of such subscriptions remain unresolved.


  • All Free Power-Up Locations in Terminus for Black Ops 6

    All Free Power-Up Locations in Terminus for Black Ops 6

    The round-based zombie mode makes a thrilling comeback in Call of Duty: Black Ops 6. Players are eager to explore the initial maps, Terminus and Liberty Falls, which are packed with main missions and secret Easter eggs. With endless waves of zombies approaching, being well-prepared is essential.
    As players progress through rounds, they can collect random power-ups. Timing the activation of specific power-ups can give a significant strategic advantage. Each map features hidden boosts, which can be crucial for enhancing survival odds as players face increasingly challenging waves.

    It’s possible that more hidden power-ups exist out there, and we will update this guide as we find them.

    Locating Max Armor

    To find Max Armor, head to the room with the Quick Revive machine. On the right side, there’s an area behind a clock that isn’t accessible. Just to the left of this clock, there’s a chair. Shoot it, and a free Max Armor power-up will appear.

    Locating Max Ammo

    Once you’ve activated the second AMP generator, head outside toward the Mess Hall. There, you will see a guard tower with a light. Use a sniper scope to locate a Max Ammo power-up on the tower and shoot it to make it available in front of you.

    If you don’t have a scoped weapon, feel free to use an explosive weapon or a lethal to acquire it.

    Locating Double Points

    After turning on the power and reaching the laboratory, go to the room directly above where the Melee Macchiato perk machine is located. Look in the back left corner for some white boxes. The hidden Double Points power-up is behind them—shoot it to activate it.

    Locating Nuke Power-Up

    Make your way to the southern island using a raft and find the hole in the rocks where zombies spawn near the armor upgrade station. On the left side of this hole, you’ll spot the Nuke power-up hidden. Make sure to shoot it if you want to collect it.

    Locating Bonus Points

    Take the raft to the shipwreck and board it. Look up toward the far right window of the ship to find a hidden Bonus Points power-up. This one can be tricky, so using a sniper scope will give you a clearer shot. Once you spot it, shoot to claim the Bonus Points.

    Locating Insta Kill

    Head back to the raft and travel to the island north of the shipwreck. At the top of the stairs on this island, slightly to the left, you will see a skull. Take aim and shoot it to obtain the Insta Kill power-up.

    Locating Full Power

    For the Full Power power-up, use the raft to return to the sea tower where the Elemental Pop is located, keeping your distance. Look for a sign with an X symbol hanging from the bottom of the building and shoot it. This will generate the Full Power power-up.

    These tips should help you navigate the challenges in Call of Duty: Black Ops 6 Zombies and discover all the power-ups hidden throughout the maps. Enjoy taking down those zombies!

  • Top Permanent Unlocks from Prestige in Call of Duty: Black Ops VI

    Top Permanent Unlocks from Prestige in Call of Duty: Black Ops VI

    The classic prestige system makes a comeback in Call of Duty: Black Ops 6. When you reach a new level, your account resets, and you start again at level one. However, thanks to the return of the Prestige Token system from previous Black Ops titles, it’s not quite as daunting as it seems.

    Every time you achieve a prestige rank, you earn a token you can use to permanently unlock one item, bypassing the level requirements. It’s essential to think strategically about your choices. Some items in Black Ops 6 are nearly indispensable, making them ideal candidates for your hard-earned prestige tokens.

    Ranking the Items Worth a Prestige Token


    When selecting items for a Prestige Token, it’s wise to evaluate their importance to your playstyle and how long it might take to reach them again.

    It’s not advisable to permanently unlock the Flak Jacket perk or the KSV SMG, as you can acquire those within the first ten levels.

    The Stim Shot can significantly enhance your gameplay in fast-paced matches, but you’ll need to reach level 30 to access it again.

    Below are some top items worth your Prestige tokens, acknowledging that preferences may vary greatly from player to player.

    Prestige Token Unlock

    Default Unlock Level

    Slot

    Description

    Perk Greed

    55

    Wildcard

    Perk Greed enables you to equip a fourth perk from any category, giving you more customization for your ideal setup.

    Stim Shot

    33

    Tactical Equipment

    The Stim Shot quickly restores your health, allowing you to prepare for multiple encounters or escape dangerous situations.

    AS VAL

    54

    Primary Weapon

    The AS VAL is among the top weapons in Black Ops 6, making it a wise choice to keep with a token due to its last unlock status.

    AEK-973

    34

    Primary Weapon

    The AEK is arguably the best weapon in the game but requires accurate shooting. It’s worth a token due to its later unlock level.

    Tac Mask

    44

    Slot 1 Perk

    Having both Flak Jacket and Tac Mask via Perk Greed is extremely beneficial, as it significantly reduces the impact of explosives.

    Jackal PDW

    43

    Primary Weapon

    While the Jackal isn’t on par with the AS VAL, it’s still a solid SMG that can carry you through early gameplay.

    PP-919

    37

    Primary Weapon

    The PP-919 is a reliable weapon with 64 bullets by default, providing ample firepower for multiple encounters.

    Gunfighter

    33

    Wildcard

    While not as immediately helpful as Perk Greed, the ability to use eight weapon attachments can really enhance a weapon’s effectiveness.

    Napalm Strike

    30

    Scorestreak

    The Napalm Strike has consistently been a top objective scorestreak since the first Black Ops, and it’s even more potent in Black Ops 6, allowing you to control sightlines with fiery devastation.

    HARP

    42

    Scorestreak

    The HARP, while not as powerful as the Blackbird or VSAT in earlier titles, provides real-time enemy locations on the minimap, offering even lower-tier teams a better chance to succeed.

    SAM Turret

    33

    Scorestreak

    The SAM Turret effectively counters any aerial scorestreak and is much easier to earn than Interceptors, making it an invaluable tool.

    Aether Shroud (Zombies)

    47

    Field Upgrade

    In round-based Zombies, prestige resets apply as well. Whether solo, with friends, or randoms, using Aether Shroud to become invisible can save your life.

    SVD

    25

    Primary Weapon

    The SVD is the most forgiving sniper rifle in the game, making it a nightmare for opponents.

    Mutant Injection (Zombies)

    39

    Field Upgrade

    One of the best emergency options in Zombies, the Mutant Injection can help you deal with hordes for a limited time.

    Model L

    40

    Primary Weapon

    The Model L is one of the few assault rifles that can kill in just four shots, and it handles exceptionally well considering its power.

  • Nuketown Secret Surprise in Black Ops 6 Revealed!

    Nuketown Secret Surprise in Black Ops 6 Revealed!

    Nuketown stands out as one of the most famous multiplayer maps in the Call of Duty franchise, generating a lot of excitement when it was reintroduced on launch day in Call of Duty: Black Ops 6.

    Players familiar with past versions of Nuketown from earlier Black Ops titles will remember that there was always an Easter Egg involving mannequins. With the launch of Season One, players finally unlocked the steps to complete the Nuketown Easter Egg in Black Ops 6, and this guide is here to help you out.

    How to Complete the Nuketown Easter Egg

    The process for this Easter Egg mirrors earlier versions. This time, you must shoot the heads off all the mannequins on the map within a time limit of one minute and thirty seconds.

    To tackle this challenge, you can set up a private match on the Nuketown map, as, currently, there’s no option to complete it in a public match.

    It’s a good idea to bring along a friend for this Easter Egg, since the mannequins are distributed all over the map. Working together will allow both of you to cover more ground and ensure that you can shoot all the mannequin heads before the time runs out.

    While the exact locations of the mannequins change with each match, you can usually find them inside and outside both houses, as well as near the central bus area.

    Once you’ve managed to take out all the mannequin heads in time, a message will appear saying “Signal Lost – Stand by.” Following this, your game screen will adopt a VHS effect, and you’ll be faced with waves of hostile mannequins trying to attack you.

    If you explore the area outside the map next to the bus, you’ll discover an audience of mannequins who respond to your actions during the match. If you eliminate a mannequin, they’ll boo you, but if you take down another player, they’ll cheer you on. Enjoy the chaos!