الوسم: Xbox 360

  • Guide to Stock Car Races in GTA V

    Guide to Stock Car Races in GTA V

    In Grand Theft Auto V, participating in Stock Car races allows players to unlock distinct and powerful vehicles that enhance your cruising experience across the vibrant streets of Los Santos. However, obtaining these cars involves a bit of effort, and that’s where we come in.

    You can find Stock Car races in GTA V situated in the Grand Senora Desert. By taking part in these races, you stand the chance to earn the ultimate reward: the Cheval Marshall Monster Truck.

    Location of Stock Car Races in GTA V
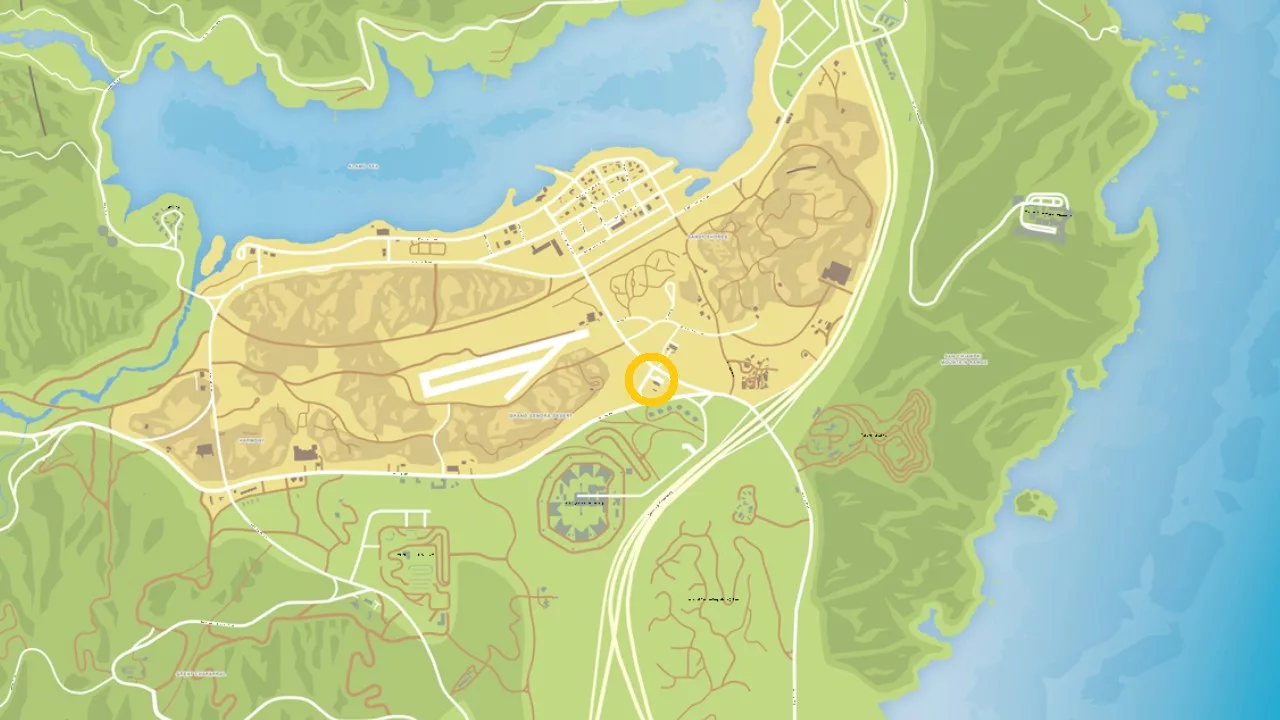
    All five Stock Car races are hosted in the same region. Head over to the Grand Senora Desert and look for an individual standing next to a Burger Shot-themed vehicle along Route 66. As you approach, a prompt will appear, allowing you to enter the first Stock Car race.

    Keep in mind that these missions unlock after you finish Trevor’s mission, “Mr. Phillips.” You will receive a text notification from Ron indicating they are now accessible.

    These races are not available on the older PS3 and Xbox 360 versions of the game.

    How to Unlock the Cheval Marshall Monster Truck?
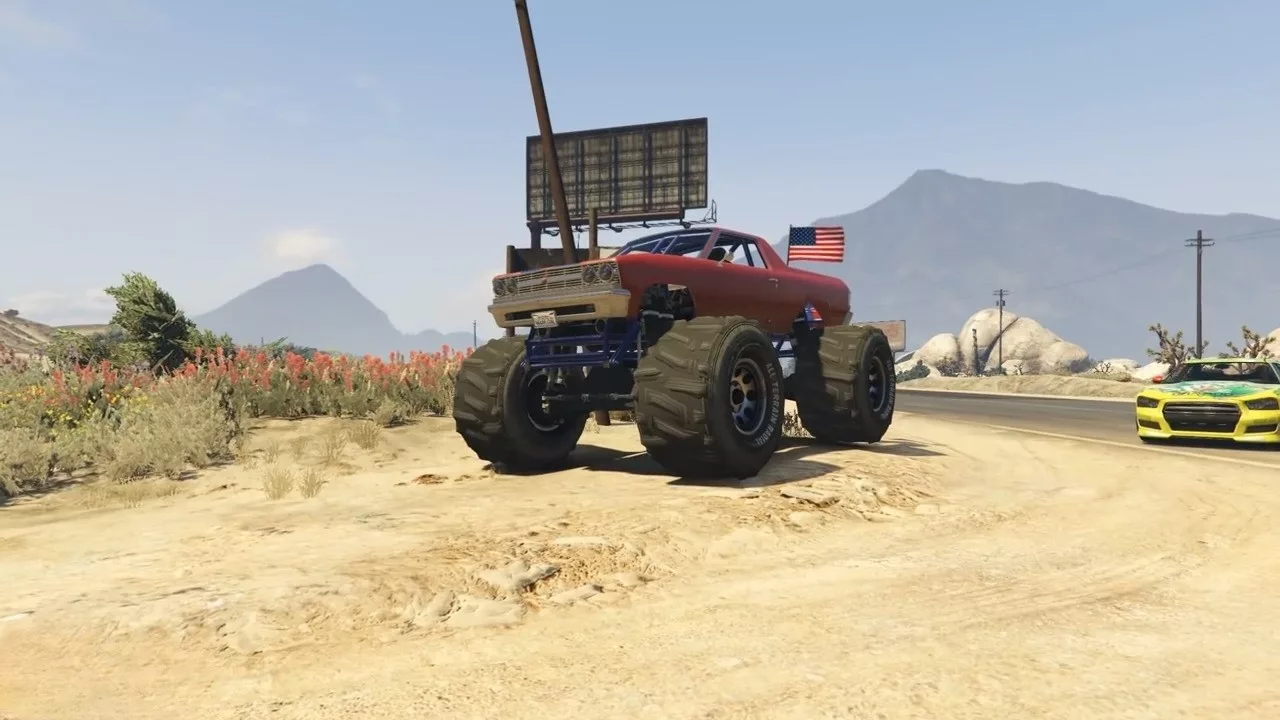
    You must complete the Stock Car races five times in GTA V. Each race consists of five laps, and the difficulty increases with each subsequent race. To gain an advantage over your rivals, a fast car is essential. The Imponte Duke O’Death, known for its exceptional handling and speed, will help players maintain a competitive edge by outpacing opponents enough to secure victory.

    You can complete these races with any character.

    For each race completed, you will unlock a unique Stock Car. Once you finish the fifth and final race, the Cheval Marshall Monster Truck will be unlocked. Here’s the order of Stock Cars you will unlock:

    • Race #1 reward: Declasse Burger Shot Stallion
    • Race #2 reward: Bravado Redwood Gauntlet
    • Race #3 reward: Vapid Pisswasser Dominator
    • Race #4 reward: Bravado Sprunk Buffalo
    • Race #5 reward: Cheval Marshall Monster Truck

    After unlocking these vehicles, they will be available across all characters in their respective garages. Additionally, the Cheval Marshall truck will spawn at Trevor’s airstrip in the Grand Senora Desert, where players can customize it with one of 25 different flag options.

    If you’re having trouble seeing the races, try uninstalling and then reinstalling the game.
  • Top 5 Loadouts for Black Ops 3

    Top 5 Loadouts for Black Ops 3

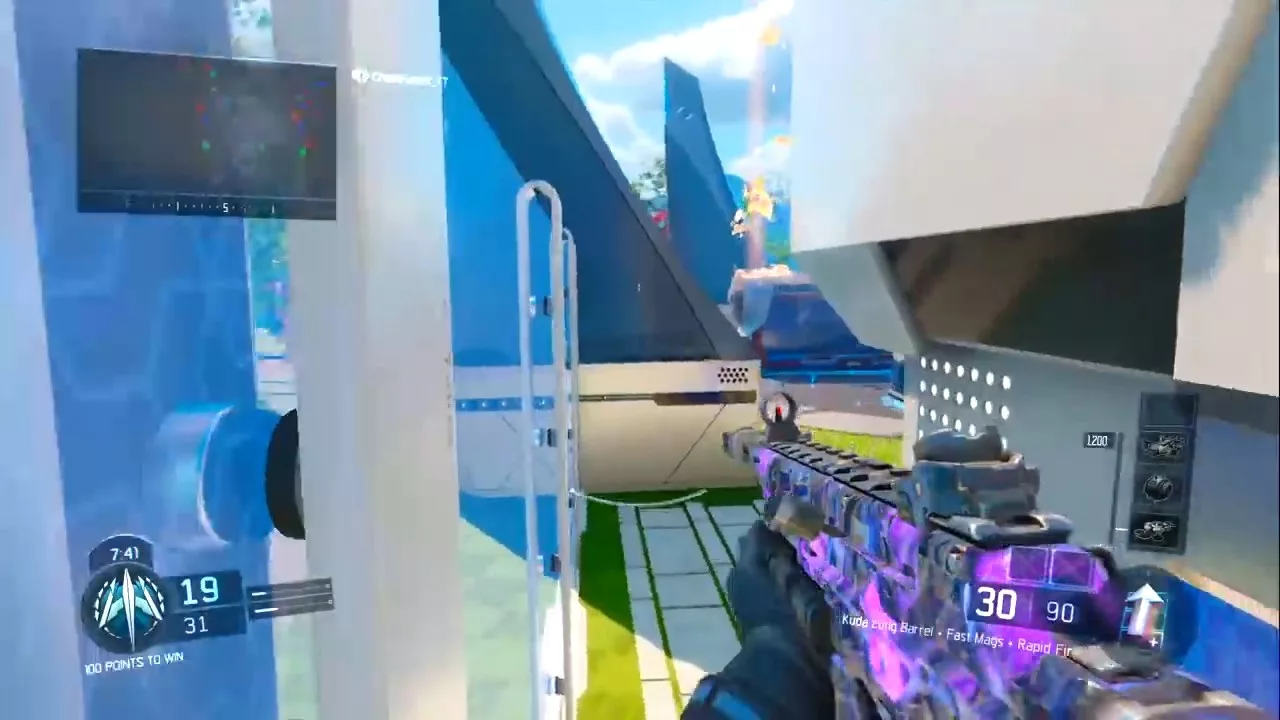
    Whether you’re a veteran or just starting out in Black Ops 3, assembling the right loadouts is crucial for improving your chances of survival in the heat of battle. Yet, figuring out the best weapon, attachments, and perks can be quite a challenge.

    If you’re feeling overwhelmed in the loadout menu, you’ve found the right resource. This guide will walk you through creating top-tier loadouts for both single and multiplayer modes in BO3.

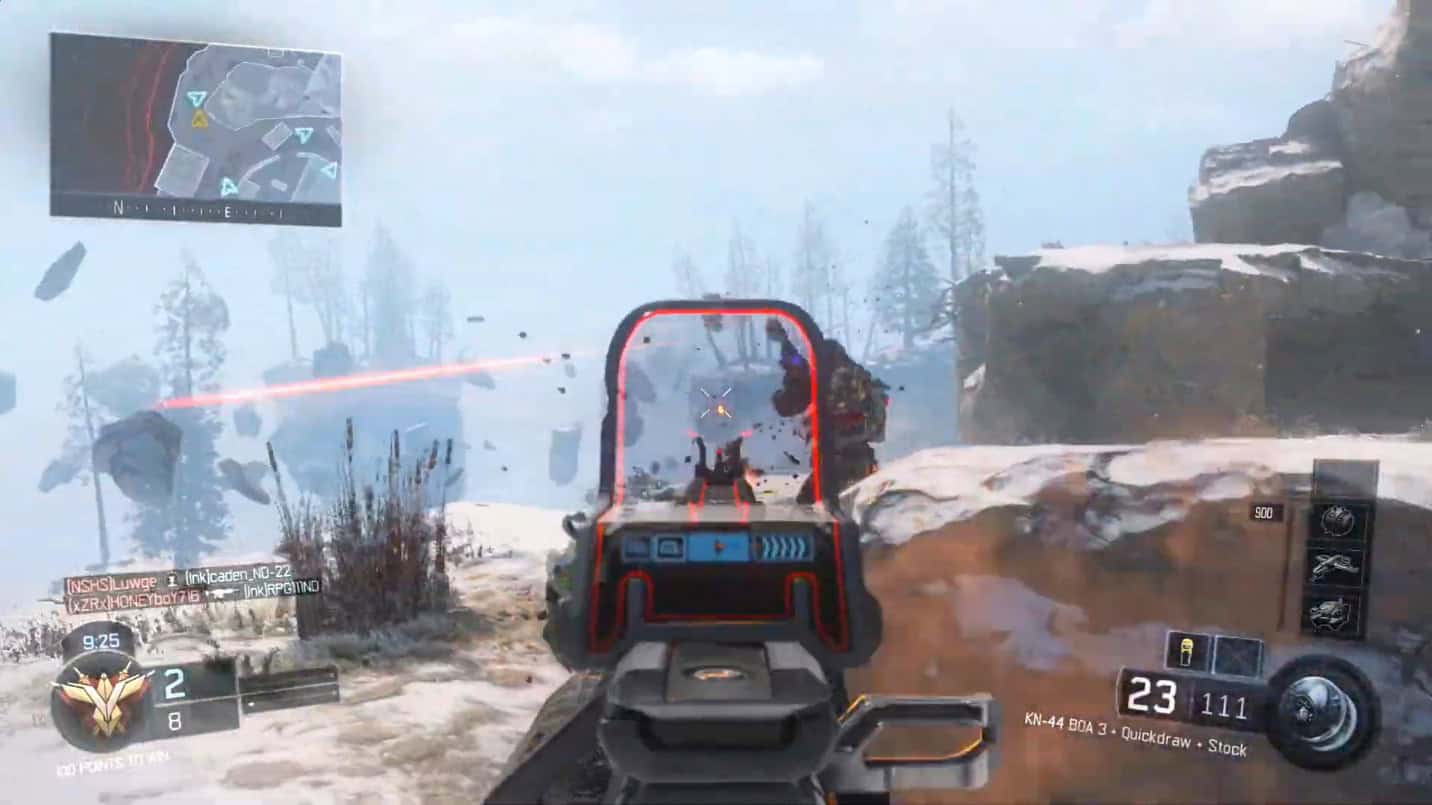
    5. KN-44 – Assault Rifle Setup

    Black Ops 3 Loadouts
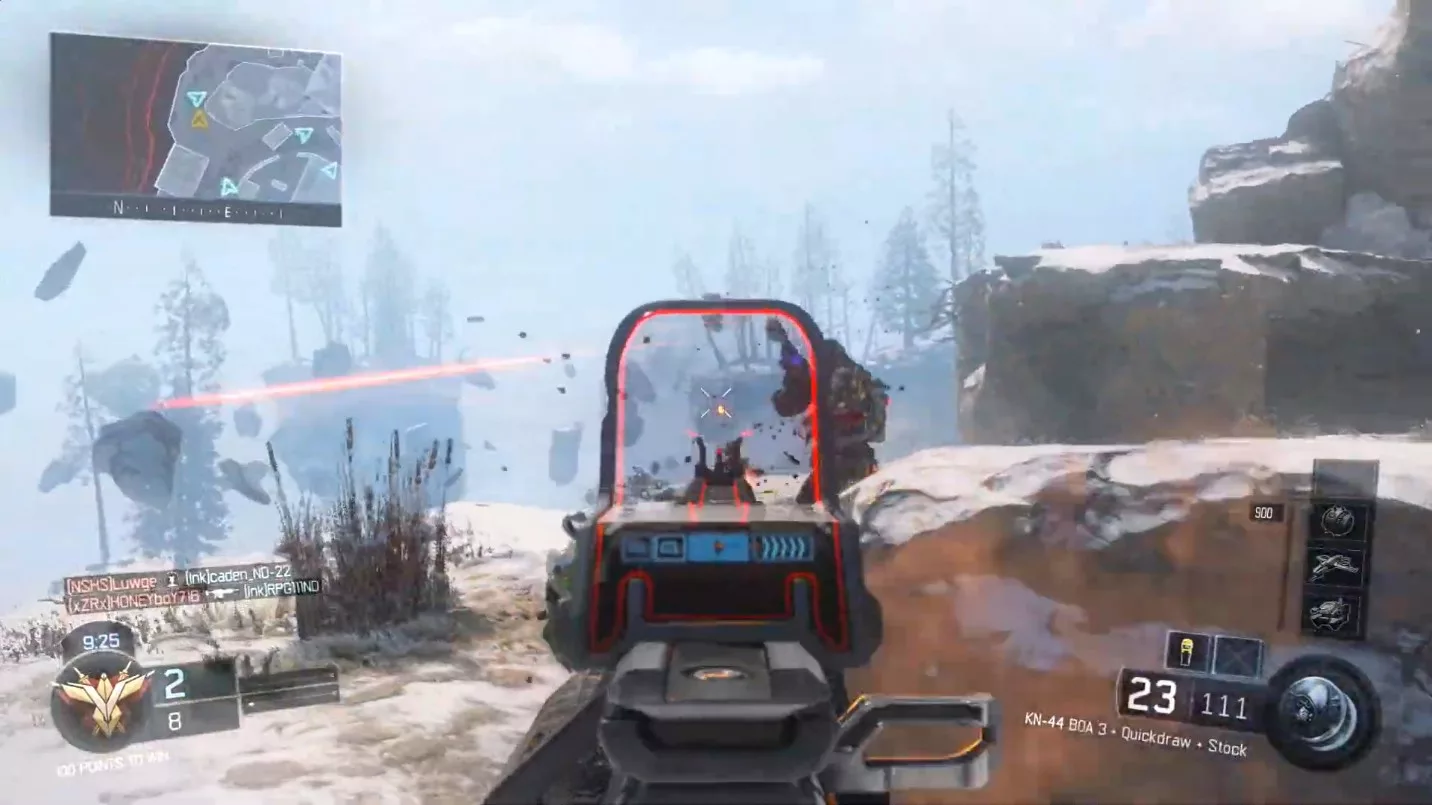
    Primary Weapon Weapon: KN-44 Optic: BOA 3 Attachment: Stock and Quickdraw
    Secondary Weapon N/A
    Lethal N/A
    Tactical Concussion
    Perks Sixth Sense, Ghost, Hard Wired, Blast Suppressor

    This setup is straightforward with the KN-44, which is one of the top weapons in the game due to its three-hit kill potential, making it effective at close range, similar to an SMG. The Stock attachment allows for continuous firing while on the move, and Quickdraw enables fast target acquisition. You could swap Quickdraw for High Caliber to take down opponents even quicker.

    The Ghost and Blast Suppressor perks help you remain undetected by UAVs while you stay mobile. This loadout suits aggressive players who prefer a stealthy approach.

    The key concept with this configuration is to keep your distance from opponents instead of relying on an SMG; this strategy grants you more time to aim down sights instead of sprinting. Additionally, Hard Wired protects you from being killed by shock charges or trip mines.

    4. 205 Brecci – Simple Kills

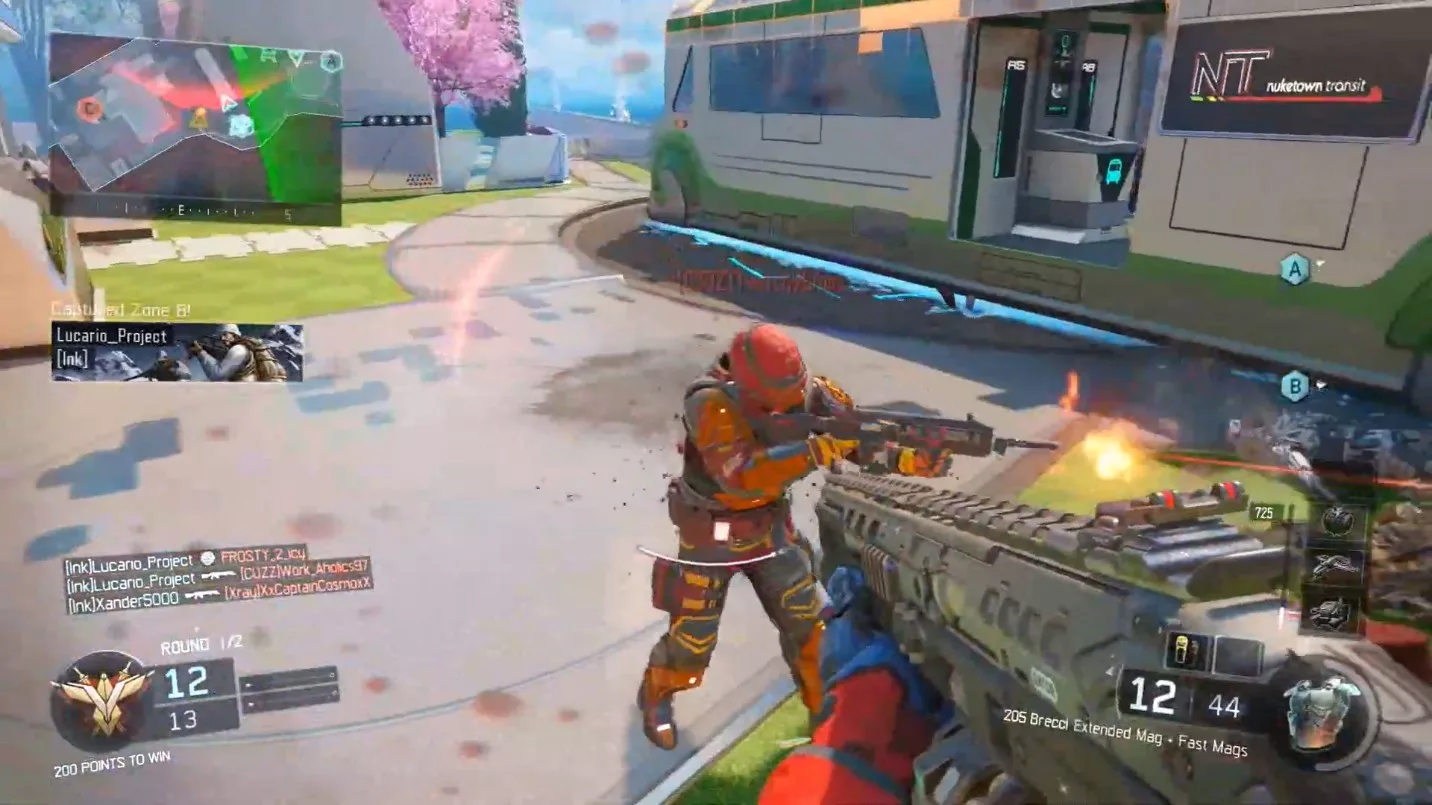
    Primary Weapon Weapon: 205 Brecci Optic: N/A Attachment: Fast Mags and Extended Mags
    Secondary Weapon N/A
    Lethal N/A
    Tactical Concussion (x2)
    Perks Sixth Sense, Ghost, Hard Wired, Gung-Ho

    The Brecci can be quite aggravating to face due to its high kill rate, making this loadout invaluable in hectic situations. This weapon’s design eliminates the need to aim down sights, and the Gung-Ho perk gets you ready to fire quickly as you move.

    The rationale behind carrying two concussions is that in mid-range skirmishes, the Brecci experiences a damage fall-off, which diminishes its effectiveness at longer distances. If you prefer Flashbangs, feel free to swap them in for the Concussions.

    3. Locus – Search and Destroy

    Black Ops 3 Loadouts
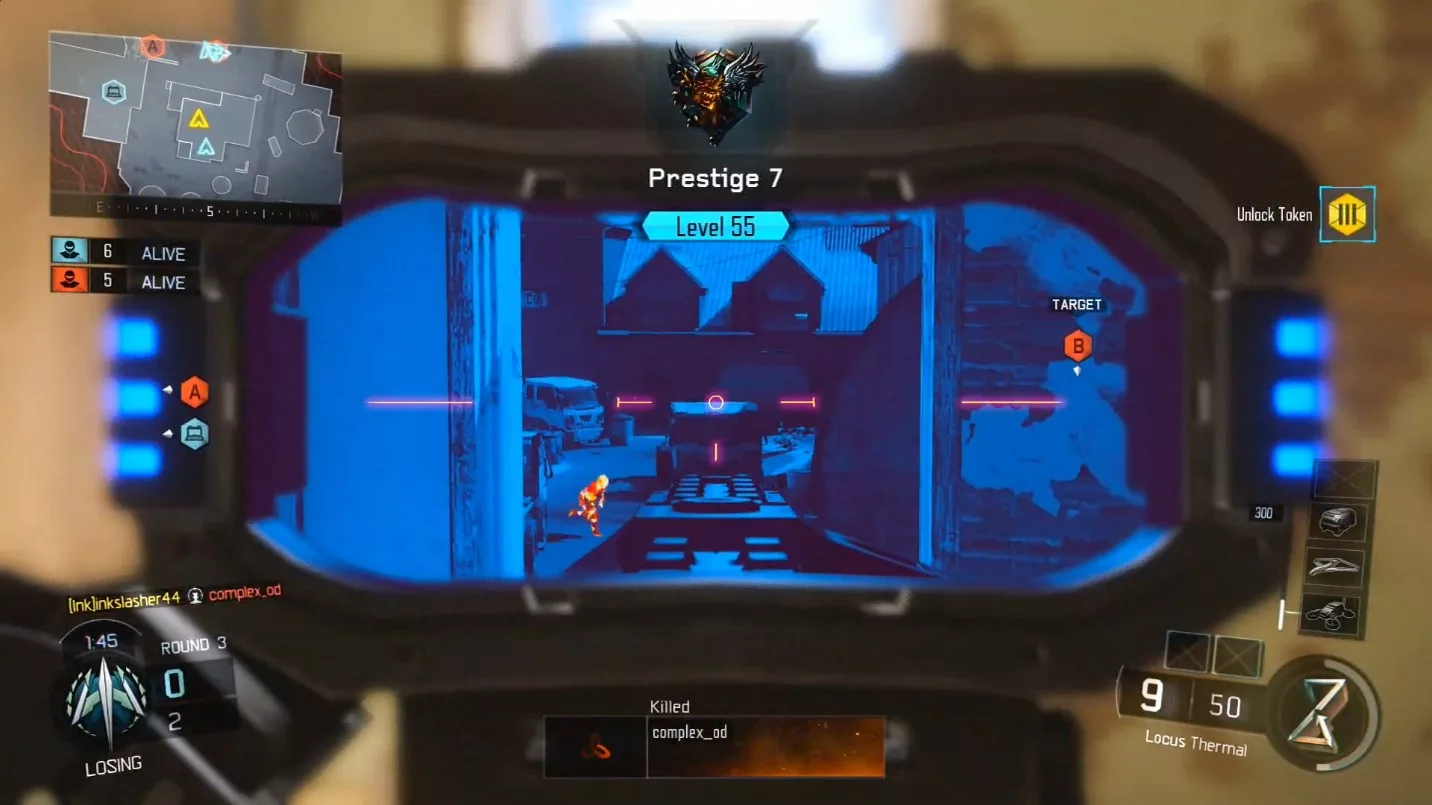
    Primary Weapon Weapon: Locus Optic: Thermal Attachment: N/A
    Secondary Weapon Weapon: VMP Optic: BOA 3 Attachment: N/A
    Lethal N/A
    Tactical N/A
    Perks Sixth Sense, Hard Wired, Dead Silence, Blast Suppressor

    The thermal scope enhances your sniper capabilities, allowing you to spot enemies more easily, though it lacks aim assist. The Sixth Sense perk alerts you to nearby enemies, while Dead Silence and Blast Suppressor ensure you can move undetected.

    2. ARK-7 – The Flanking Ninja

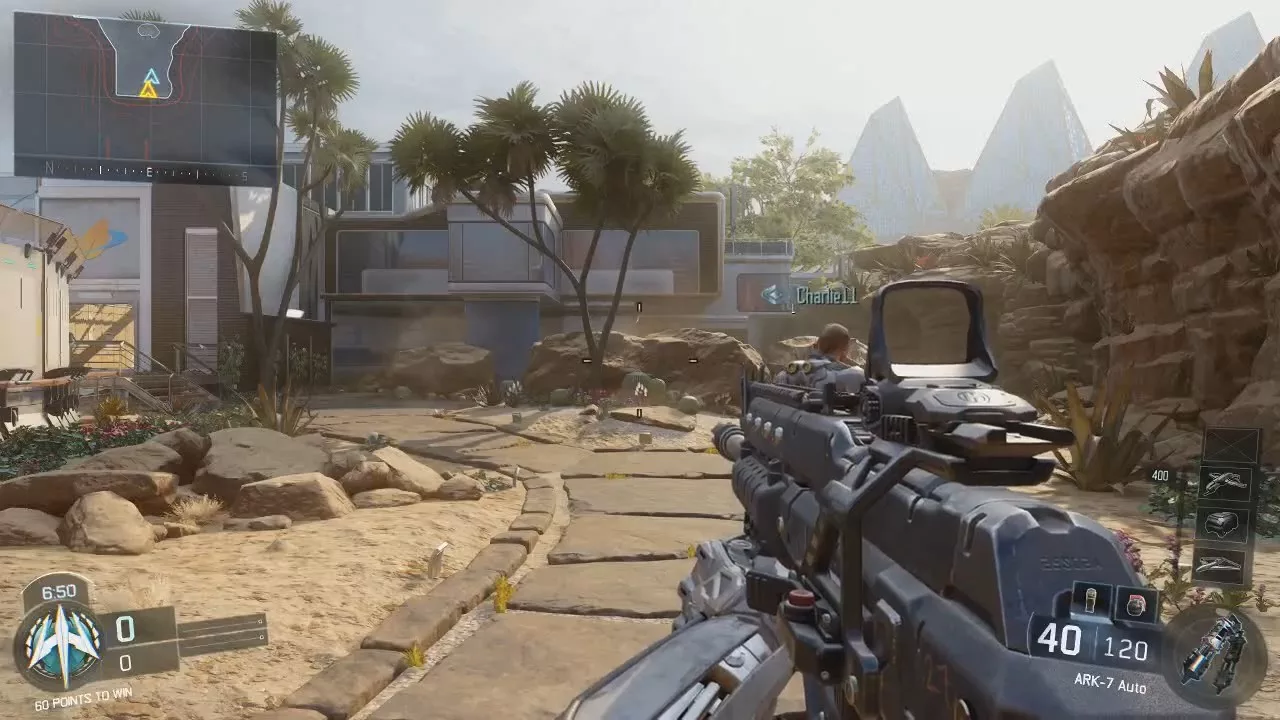
    Primary Weapon Weapon: ARK-7 Optic: N/A Attachment: Suppressor, Quickdraw, and Stock
    Secondary Weapon N/A
    Lethal N/A
    Tactical Concussion (x2)
    Perks Afterburn, Fast Hands, Awareness

    This loadout is tailor-made for players who love to dart around the map, flank opponents, and disrupt spawn points to rack up kills. The ARK-7 is a strong choice early on, offering manageable recoil and a solid fire rate.

    Utilizing Quickdraw and Fast Hands allows for quick weapon raises, giving you an edge in gunfights. The Suppressor and Stock help maximize your kill opportunities by letting you stealthily flank your adversaries.

    Finally, Afterburner is an excellent perk since you’ll be constantly on the move. It replenishes your thruster pack quickly, helping you stay agile and secure early kills for your team.

    1. Kuda – Newcomer’s Loadout

    Black Ops 3 Loadouts
    Primary Weapon Weapon: Kuda Optic: Reflex Attachment: Quickdraw and Grip
    Secondary Weapon N/A
    Lethal Frag
    Tactical Concussion (x2)
    Perks Sixth Sense, Fast Hands, Blast Suppressor

    If you’re new to Black Ops 3 and in search of a beginner loadout, this configuration is ideal for you! The Kuda is an impressive SMG that excels in close-quarters combat. The Grip will help you tackle Assault Rifles in medium-range encounters, while Quickdraw enhances your chances of winning close-range duels. Additionally, the Fast Hands perk provides increased weapon readiness.

    For perks, the Blast Suppressor keeps you safe from nearby grenades, and the Sixth Sense alerts you if enemies are close, allowing you to quickly respond and secure easy kills.

    The design behind this loadout is that it consists of early-unlocked equipment, giving you a significant advantage.

  • Guide to Pack-a-Punch Machine Locations in Black Ops 2: Buried

    Guide to Pack-a-Punch Machine Locations in Black Ops 2: Buried

    Pack A Punch allows you to enhance your weapons, but unlocking it in Black Ops 2 Buried is as tough as fending off the undead. Before diving into the Pack-A-Punch challenge, ensure you have liberated Leroy, gathered 1,250 Points, and armed yourself with a ray gun.

    Next, head to the eerie mansion located in the subterranean western town. Follow the steps outlined in the guide below.

    Enter the Mansion

    Buried Pack A Punch

    To get into the haunted mansion, you must first have Leroy accompany you in Black Ops 2. Provide him with booze or candies, and he’ll break down the mansion’s gates. Make sure to accumulate 1,250 points to unlock the front door before you arrive.

    Evade the Ghost Woman

    Buried Pack A Punch

    Ascend the stairs and you’ll face a female spirit descending from the left staircase. Shoot it with a ray weapon to keep it at bay.

    The ghost will reappear multiple times, and each time it touches you, you’ll lose 2,000 points. Continuously shoot it to earn a perk.

    Locate the Maze Behind the Mansion


    Enter the room on the left staircase, and a bookshelf will slide aside, revealing a concealed pathway. Keep your weapon handy as the ghost reappears often in this location.

    Advance to the end of the narrow passage and exit through the opening on your right, which leads you into another room.


    Exit the room and you will find yourself in a hallway with wooden floors. Turn left to discover a large opening in the wall, leading you to the garden where the maze is situated.

    Buried Pack A Punch

    Once you defeat the ghost woman and claim the perk, a zombie will start to follow you.

    Navigating the Maze


    Take the first left before reaching the fountain area. Move straight ahead, and when you see two left turns and one right, take the right turn at the far corner, as illustrated below.


    Continue straight ahead, and when you come across two more turns, take the left one. This path will eventually lead you to a locked door, serving as a clue to the right route.


    Retrace your steps and take the left turn. Proceed down the straight path, and once again, you will encounter two options. Choose the left path again, and this will ultimately lead you out of the maze.

    You will spot another green door, with the maze exit located on your right side.

    Accessing the Pack-A-Punch Machine

    Buried Pack A Punch

    Descend the staircase that leads down from the building at the maze’s end. Be cautious of any broken sections on the stairs, and you will find yourself near the Pack A Punch machine on the Buried map. Activating the machine will also initiate the Hell on Earth sequence, causing a swarm of zombies to flood in, preventing your escape until they are all defeated.

  • Skyrim Deathbrand Armor: A Guide to Collecting All Pieces

    Skyrim Deathbrand Armor: A Guide to Collecting All Pieces

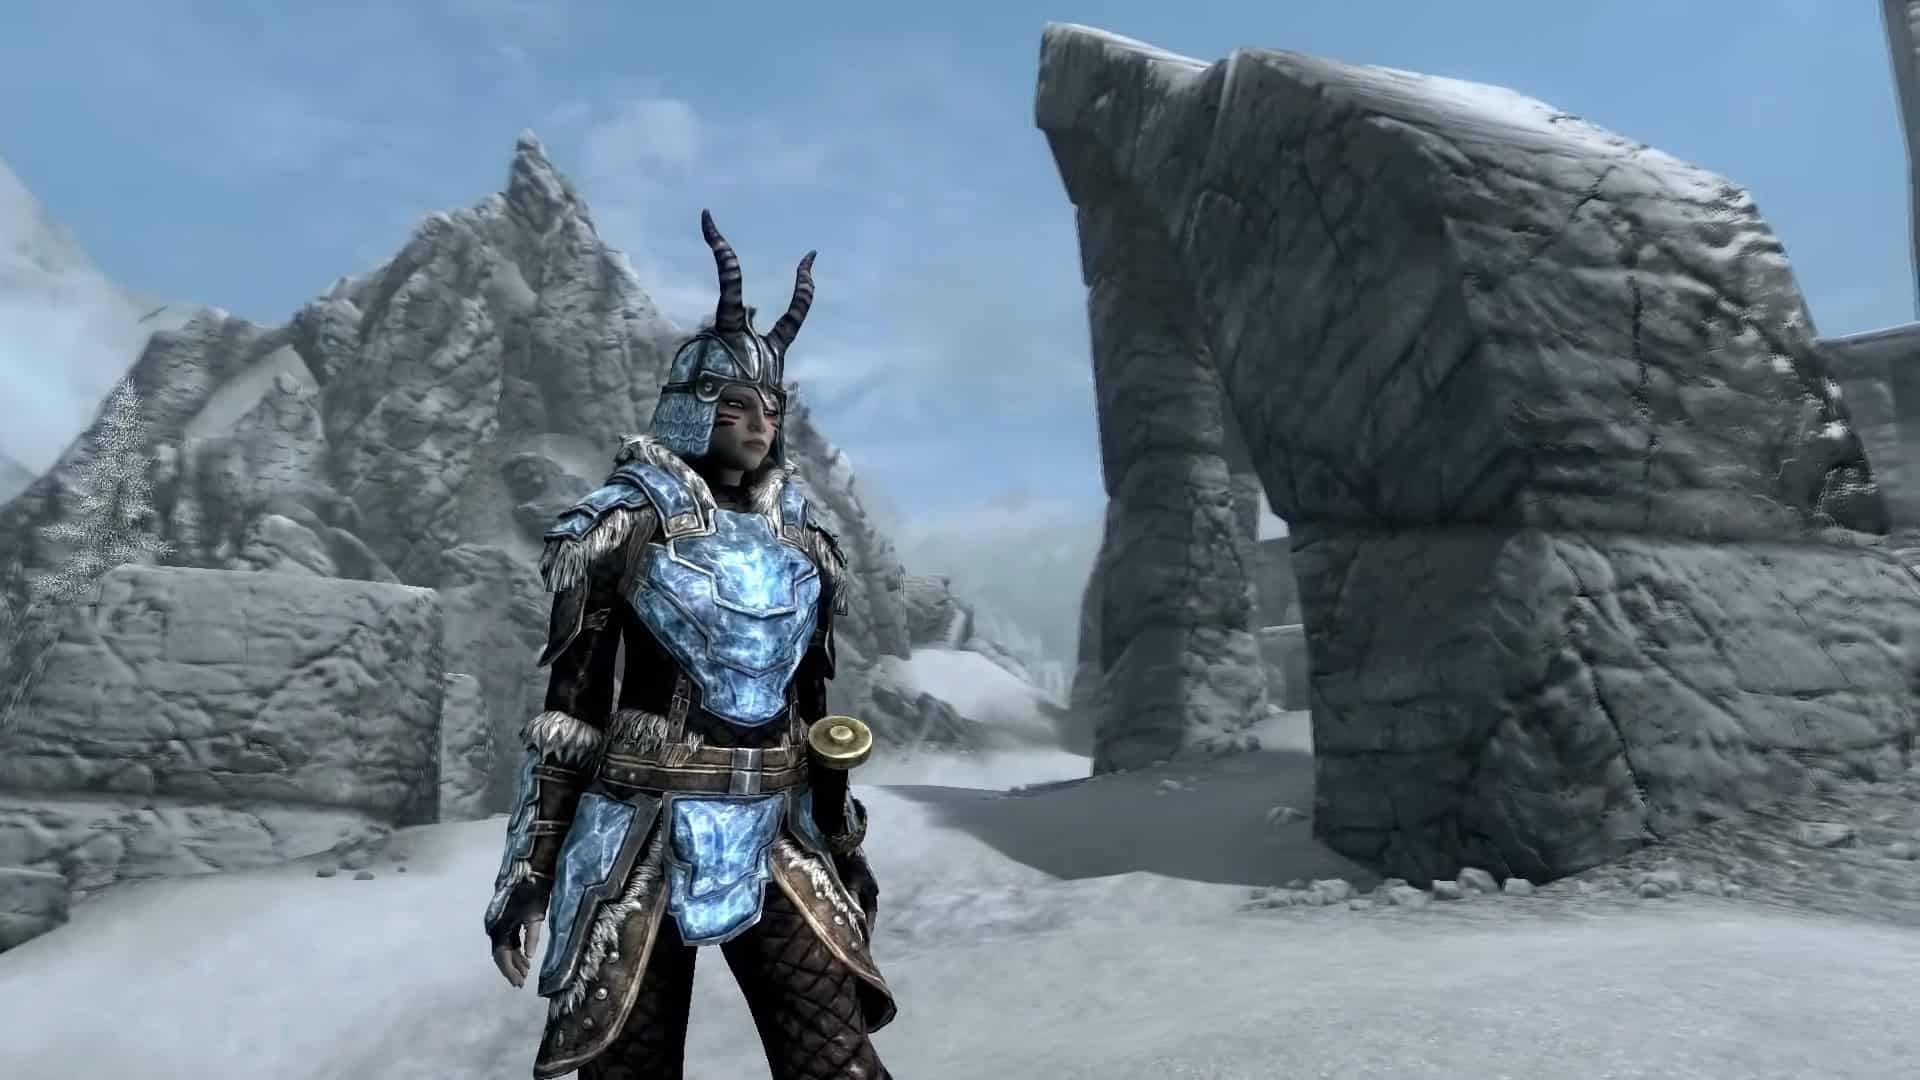
    The Deathbrand armor set is a light armor collection designed for players who utilize magic or prefer a spell-sword combat style, introduced in the Skyrim Dragonborn DLC. This distinctive armor becomes more powerful as you gather more pieces, which can be acquired by embarking on the associated quest aptly named Deathbrand.

    First, you will need to initiate the quest before searching for the armor pieces. All components can be found in the Solstheim area of Skyrim.

    Table of Contents

    • How to Start the Deathbrand Armor Set Quest?
    • Deathbrand Armor Pieces Locations
    • Deathbrand Armor Stats and Item ID

    How to Start the Deathbrand Armor Set Quest?

    To commence the quest, you need to be at least level 38; if you’re lower than that, you won’t be able to start it. Next, locate and read a copy of the Deathbrand book—this can be found in the Temple at Raven Rock.

    Upon reading the book, you’ll gain the ability to open Ancient Chests. If you’ve previously unlocked any of these chests (typically through lock-picking) before reading the book, they would have been empty.

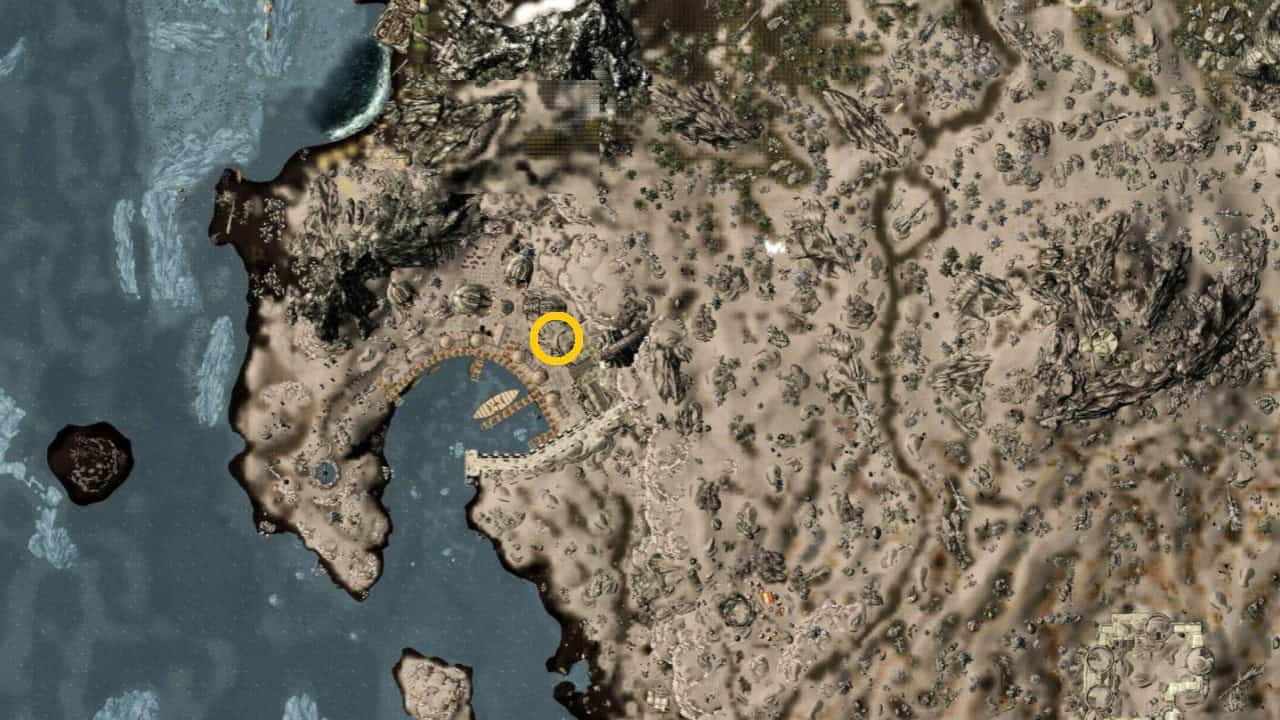
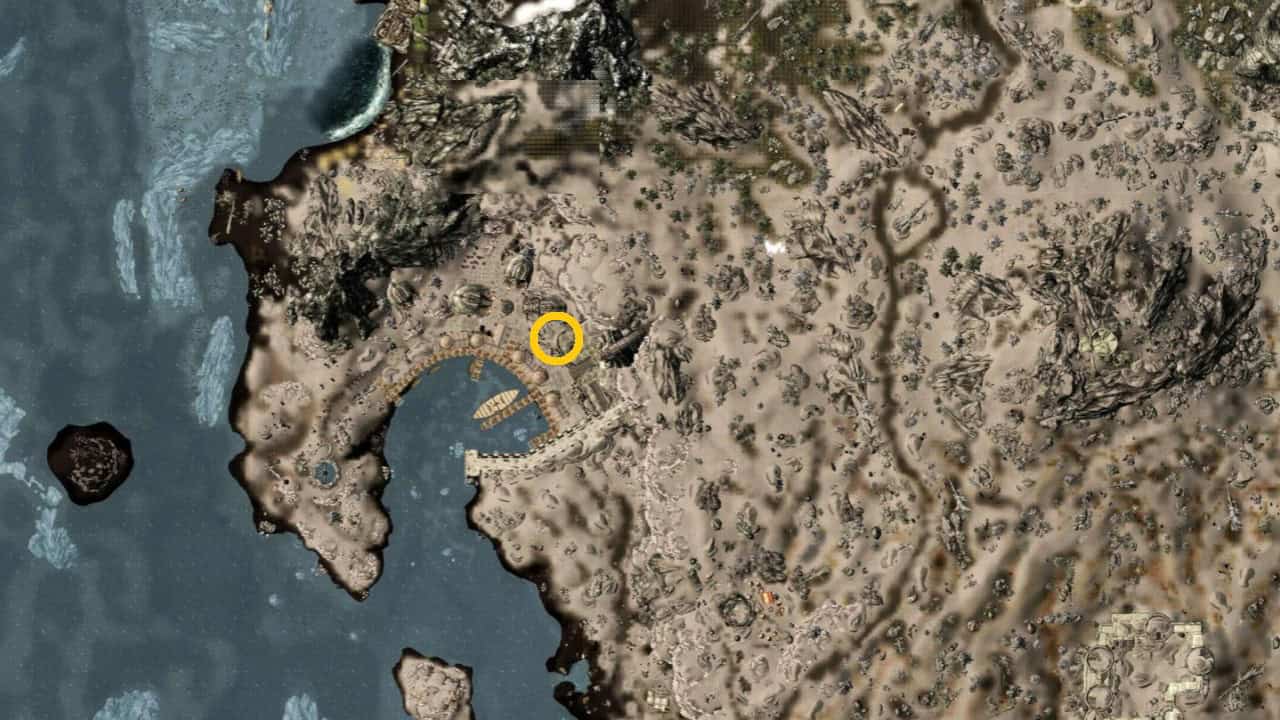
    Alternatively, you can head directly to Haknir’s Shoal without completing the prior tasks. Take out the pirates and loot the chest where you’ll find the Deathbrand Helm, thus starting the quest. From one of the defeated enemies, likely the leader, you can acquire a map detailing the locations of the remaining armor pieces.

    Deathbrand Armor Pieces Locations

    There are four unique pieces of the Deathbrand Armor, and below is a list of their locations:

    Deathbrand Helmet

    Location: This piece can be found at Haknir’s Shoal, a small island situated north of Solstheim.

    Enchantment: Wearing the full set of Deathbrand Armor grants +100 Armor and allows the wearer to breathe underwater.

    Deathbrand Armor

    Location: You can find the Deathbrand Armor northwest of Raven Rock, guarded by two bandits.

    Enchantment: Wearing any piece of the Deathbrand set grants +15 Stamina for each item equipped.

    Deathbrand Gauntlets

    Location: The gauntlets are located across a waterfall south of Bristleback Cave, near a river.

    Enchantment: They provide a bonus of +10% damage with one-handed weapons for each Deathbrand piece worn.

    Deathbrand Boots

    Location: The final piece of the Deathbrand Armor can be located west of Tel Mithryn in a chest by the riverbank. Be cautious as it is surrounded by Ash Spawn.

    Enchantment: The boots increase carrying capacity by +10 for each Deathbrand item equipped.

    Deathbrand Armor Stats and Item ID

    Below are the stats along with the item IDs for each piece of the Deathbrand Armor in Skyrim:

    Armor Piece Armor Rating Item ID
    Deathbrand Helmet 16.5 XX02401D
    Deathbrand Armor 39 XX02401B
    Deathbrand Gauntlets 11.5 XX02401C
    Deathbrand Boots 11.5 XX02401A

    The post Skyrim Deathbrand Armor: How To Obtain All Pieces? appeared first on SegmentNext.