الوسم: Treasure

  • Finding the Left & Right Ruins Keys in Starsand Island for Completing and Solving

    Finding the Left & Right Ruins Keys in Starsand Island for Completing and Solving

    There’s always something to do on Starsand Island, whether you’re just farming or seeking new adventures. With a little help, you can level up your skills and gather a variety of resources found everywhere around your new home. However, some of these materials are off-limits early in the game.

    As you move forward, you’ll need keys to open the large doors inside the Moonlit Forest. We’ll help you find these keys so you can explore deeper into the ruins and fully discover the forest.

    ## How to Get the Right Ruins Key

    When you’re ready for your next adventure, head northwest of your farm to find Zephyria. Talk to him about taking the Intermediate Certification Trial. Afterward, he’ll give you a key to the ruins.

    Despite a small translation mistake, you’ll add the Ruins Key (Right) to your inventory. This is one of two keys needed to open the big gate near Mural Valley.

    ## How to Get the Left Ruins Key

    Getting the second key is tougher. If you explore the forest more than talking to NPCs, you might find this key first. Go to the elevator in front of Azure Bay and ride it down to the lower level.

    Open the round wooden chest here to find some materials and, importantly, the Ruins Key (Left). With both keys, head to the large door to the east and open it. Like in the Crystalinth Hideout, you’ll face a new, bigger boss — in this case, more challenging than before.

    ## How to Beat the Glintortle Boss

    This boss will be your first real test. The Glintortle is heavily armored and very tough, so regular shots won’t damage it much. Instead, upgrade your slingshot to a bow and use arrows.

    Your best bet is Bomb Arrows, but they can be expensive to craft. Bring along a mix of Bomb and normal arrows to reduce the Glintortle’s health. It also has AoE (area of effect) attacks that can hurt you, so keep plenty of health-restoring food in your hotbar for quick use.

    The Glintortle’s weakness is a glowing crystal on its back, but it’s not always visible. Wait for it to spin or become dizzy — then strike when the crystal is exposed. Otherwise, keep your distance and watch for water-based attacks it will summon to hit you.

    If you’re having trouble, you can deploy sentry bots to distract the Glintortle and give you a chance to attack safely.

    Once you defeat the Glintortle, gather your rewards from the log chest nearby and proceed to the next rest area. The path forward is blocked by brambles that only Fire Arrows can destroy. For now, return to the previous camp and head back home.

  • Where to Find Day 16’s Onsen Egg in Heartopia’s Completing Treasure Hunt

    Where to Find Day 16’s Onsen Egg in Heartopia’s Completing Treasure Hunt

    Today marks the last day of the Heartopia Winter Frost Egg Hunt. By now, you should have a colorful collection of mini cracked egg sculptures to add to your decor. While the Egg Hunt itself ends today, the Winter Frost Event continues, giving you plenty of time to build snowballs, go ice skating, and look for those tricky Frostspore fish.

    Completing the collection will earn you a special reward at the end of the hunt. There’s still time to locate any cracked eggs that might have slipped behind or been missed.

    ### Cracked Egg Location
    Since today is the final day of the Winter Frost Egg Hunt, the cracked egg can be found where all others have been—somewhere on Onsen Mountain. Even though the Egg Hunt is over, Onsen Mountain still has many fun holiday events for you to enjoy alone or with friends.

    The last beige Onsen Cracked Egg is near the orange one from Day 9. To find it, pass all the NPCs on Onsen Mountain, go around the large rocks, and look out toward the Old Sea. The egg sits underneath the wooden walkway. Take one last photo to complete your cracked egg collection.

    ### Snowman Bubble Location
    Even though you’ve finished the cracked eggs, the snowman bubble is still out there. This year’s search is a little different because it’s located close to the cracked egg itself. You don’t need to find the snowman bubble to complete your collection, but doing so will give you a small sculpture of each egg you’ve discovered during the event.

    The final snowman bubble, which contains a tiny Onsen Cracked Egg, is near the Capybara Trough. Head over to the three Capybara statues. The bubble will be floating around the middle one. Pop the bubble to add this sculpture to your Egg Hunt collection.

    Note: Pink snowman bubbles will still appear around the Heartopia map after today, but these are not special event bubbles—they’re part of the regular game.

    ### Egg Hunt Reward
    By photographing all the cracked eggs, you’ll earn a reward. But if you’ve completed the entire collection, there’s an extra bonus: a new recipe to make Onsen Eggs. This little boiled egg can only be obtained during the Egg Hunt Event, so if you’ve finished, you’re among the few who have access to this special recipe.

  • Day 11 Heartopia Onsen Egg: Solving the Treasure Hunt Puzzle

    Day 11 Heartopia Onsen Egg: Solving the Treasure Hunt Puzzle

    Today marks the 11th day of the Heartopia Winter Frost Egg Hunt, with only five days remaining. Now’s a good time to keep completing quests and look out for the newest cracked egg in the set. Whether you’re ice-skating, fishing at Frostspore spots, or making snowballs, don’t miss the chance to add to your collection.

    Once you find the colorful cracked egg on Onsen Mountain, take a photo of it. Then, head into Heartopia to locate the matching snowman bubble to get your reward.

    Cracked Egg Location

    Onsen Mountain has transformed into a winter scene with snow-covered scenery, special cooking stations, icy fishing spots, and vendors ready to trade your event tokens for seasonal items and outfits. Yesterday’s cracked egg and snowman bubble focused on Blanc, following the tradition of placing one in the event area on Onsen Mountain and another somewhere else in the world.

    Today’s cracked egg can be found nestled between two tree trunks next to Annie at the Winter Frost Event site. When you arrive, turn left past Asure, the Fashionwave merchant. Annie is up on an outcrop of rocks in front of a large mountain of stones. To her right, a palm tree holds the emerald-colored cracked egg. Take a photo and continue on your adventure.

    Snowman Bubble Location

    By now, you’ll recognize the floating furniture inside pink or clear bubbles meant to be popped. During this event, the egg hunt bubbles are shaped like snowmen and placed around the map. Popping these bubbles rewards you with a small sculpture or decoration that matches the color and shape of that day’s egg.

    The snowman bubble for today is located at the entrance to Onsen Mountain. From the back of Plot 8, head toward Stone Cliff. The bubble will be in the middle of two tree trunks, similar to the cracked egg location. Jump onto nearby rocks to reach and pop the bubble.


    Note: For this day’s activity, the snowman bubble is positioned near Onsen Mountain’s entrance, making it easier to find than usual. You can see a watchtower in the distance from the bubble’s location.

  • Where to Find Day 8’s Onsen Egg in Heartopia’s Completing Treasure Hunt

    Where to Find Day 8’s Onsen Egg in Heartopia’s Completing Treasure Hunt

    We’re halfway through the Heartopia Winter Frost Egg Hunt, and players have been exploring a variety of locations and colors to find eggs. Some eggs are visible in open areas like the forest and city center, while others are hidden away, such as on Onsen Mountain. To get the most out of the event, players can combine egg hunting with activities like fishing and ice skating.

    Visiting Onsen Mountain each day to locate the first set of eggs is a good way to also check out the new collections and find NPCs that have moved from the city.

    While some NPCs remain in the city, most have temporarily relocated to the event area for the Egg Hunt.

    ### Cracked Egg Location

    Yesterday’s Black Cracked Egg was slightly more challenging to find because it was mostly indoors. Still found on Onsen Mountain during the Winter Frost Event, small cracked eggs are scattered around for players to spot, tap, and photograph to finish their collection.

    Today’s cracked egg is on the right side of the igloo, past Azure, above a red coffee umbrella. It can be difficult to see because it is red, but it’s perched up near a concert portal across from the igloo. Some players have reported the egg may also spawn near the red coffee umbrella by Vanya along the shoreline, away from the main event area.

    ### Snowman Bubble Location

    As usual, the snowman-shaped furniture bubble floats around Heartopia, rewarding players with a small egg-shaped sculpture to display at home. After eight more days, the entire colorful collection will be complete. Finding the snowman bubble is often one of the hardest parts of the Egg Hunt, and today’s location was no exception.

    Today, the snowman bubble can be found far from Onsen Mountain, in the Fishing Village. Specifically, it’s floating above a wooden shack stall, near the area with the bird-watching quest. To reach it, jump onto nearby boxes to get onto the roof, then pop the bubble to earn your reward.

  • Where to Find Onsen Egg and Solve Treasure for Day 3 in Heartopia

    Where to Find Onsen Egg and Solve Treasure for Day 3 in Heartopia

    The Heartopia Winter Event is currently underway, offering players new collections to complete. The Egg Hunt continues into its third day. While finding the small egg around Onsen Mountain isn’t too difficult, locating the furniture bubble can be more challenging.

    Although the egg appears near Onsen Mountain, its reward could be hidden anywhere on the map, making it tricky to find. Here are the locations for Day 3 of the Heartopia Egg Hunt:

    Cracked Egg Location on Day 3
    When you enter the winter zone on Onsen Island, go past the Winter Utopia bus stop (which is free to travel to during the event) and head toward the ice-skating rink.

    The Cracked Green Egg can be found near Azure, the NPC from the Fashionwave event. You can visit Azure daily for different clothing items throughout the event.

    Most of the eggs are scattered around the large Winter Event area.

    Furniture Bubble Location on Day 3
    The furniture bubble is situated away from the egg, near the forest area. Head toward the Jump Puzzle section, and you’ll find the bubble under the stairs leading up to the snowman, which is perched on top of an igloo. Interacting with the egg and taking a screenshot will notify you that you’ve collected it.

    Additional Event Details
    Visiting the snowman is also part of the event; interacting with it will add more snow to its body, and you’ll receive a notification indicating it’s getting bigger.

    The furniture bubble can be found in the forest, specifically under the stairs leading up to the snowman atop the igloo. The easiest way to locate it is by going to the Jump Puzzle area and looking towards the far end of the forest. When viewing the map, the bubble appears toward the west when heading back toward the town center.

  • Where To Find Alu’s Treasure in Heartopia by Completing and Solving

    Where To Find Alu’s Treasure in Heartopia by Completing and Solving

    Heartopia Gossip Quests are small tasks you can complete for its residents. These are similar to daily requests, but the way you find and finish them is a bit different.

    Alu’s Treasure Gossip Quest is a random task you may discover when talking to someone you haven’t met yet. Here’s everything you need to know to complete this quest and the reward you’ll receive.

    How to Complete the Gossip: Alu’s Treasure

    This short quest is one of many Gossip tasks found throughout Heartopia. Many NPCs will give you an extra task, and upon completion, you’ll earn a small reward.

    You don’t need to wait for a specific day or time to start Alu’s Treasure. You just need to spend a few days in Heartopia and reach Level 11 in the D.G. Member rank to unlock Gossip Quests.

    Tip: If the quest isn’t showing when you talk to Naughty, you may need to increase your D.G. Membership level or complete other Gossip quests first.

    After reaching level 11 in the D.G. Guild, explore the town, talk to different NPCs, and see if they have tasks available. Some will offer Gossip tasks that you can accept and finish.

    Alu’s Treasure is a Gossip quest from Naughty, who is located north of Heartopia, near Onsen Mountain Lake. Approach the rocky area above the water, where you’ll find a wooden path and platform where Naughty is hiding.

    Finding Naughty and Starting the Quest

    Interact with Naughty to open the Gossip menu and select the option to start the quest. Naughty asks you to find an item inside a floating bubble nearby, among the capybara statues. The bubble will look like a floating icon with a T-shirt inside.

    Note: Heartopia has many floating bubbles containing clothing, furniture, or other rewards. Naughty’s bubble contains the Star And Moon Earring.

    Collecting the Item

    Jump to the floating bubble with the T-shirt icon and grab it to get the Star And Moon Earring for Naughty. Then, return to Naughty and give him the item.

    Naughty will be very thankful and reward you with a Rustic Garland, a piece of furniture you can place in your home. This also grants you two puzzle pieces for your Special Furniture Task.

  • Where Winds Meet: Completing the Treasure Under the General’s Shrine

    Where Winds Meet: Completing the Treasure Under the General’s Shrine

    Exploring Qinghe in Where Winds Meet turns every day into an exciting adventure. You can walk across every part of the map, but there are also many hidden secrets underneath the surface. One of these secrets can be found beneath the General’s Shrine early in the game.

    We’ll help you find this hidden entrance and finish a missing chapter quest that rewards you with useful items for your journey. Be careful, as the path down is long and dark. Here’s everything you need to get started in Where Winds Meet.


    How to Begin the Echoes in the Shrine Lost Chapter Quest

    When you arrive at the General’s Shrine in Qinghe, you’ll see a young child and a dog rummaging through some debris near the entrance. If you jump and land on the debris, it will open a hidden tunnel.

    Once inside, there’s no way back to the surface. You will need to move forward and explore the underground area beneath the shrine. The area is pretty quiet, except for a few Tiger Fort bandits hiding around the corners.


    How to Defeat Zhang Lang and the Tiger Fort Bandits

    When you enter a large chamber, you’ll find several bandits from Tiger Fort along with a man named Zhang Lang, who appears to be the leader. The room is open and has archers and explosive barrels all around. Use your fire arrows to control the crowd and take out multiple enemies at once.

    Zhang Lang is a strong fighter who can attack quickly with several hits in a row. Keep your distance and try to lure him towards the explosive barrels. When he gets close, trigger an explosion to deal heavy damage. After defeating him, loot the area for treasure chests and items left behind by the defeated bandits.


    How to Reach the Top of the General’s Statue

    Your main goal is to find the treasure hidden under the shrine. To do this, investigate the large stone tablet on the left of the statue. It talks about showing respect to the general, and you’ll notice that the big statue is turned away from you.

    Proceed to the mats in the center of the room and bow to the statue three times. Doing this will make the statue turn around, revealing the hidden treasure behind it. The treasure is stored in a small box tucked behind the statue.

    Tip: Climb onto the statue and interact with it to unlock extra rewards!

    Once you’ve collected the treasure, head back upstairs. Push open the large doors and follow the pathway to return to the open world. Here, you’ll want to pay respects at another shrine dedicated to the same general — this completes the quest and earns you plenty of rewards and experience points.

  • Solving the Hidden Treasure in Moonlighter 2’s Gallery

    Solving the Hidden Treasure in Moonlighter 2’s Gallery

    Attention merchants looking to turn a profit! Moonlighter 2: The Endless Vault is now available in early access. Get ready with your sword and a big bag, because it’s time to explore some dungeons. You’ll spend a lot of your time battling enemies, selling your treasures, and upgrading your character. Along the way, there are several side quests you can complete during your adventures.

    One side quest is called “A Hidden Treasure In The Gallery.” You unlock it after earning a certain amount of total money and reaching The Gallery level, which is given to you by Eris. Like the quest she gave you for Kalina, this one involves solving a riddle to earn a special weapon recipe.

    How To Complete A Hidden Treasure In The Gallery

    This side quest can only be finished in The Gallery zone, so start there. Your goal is to reach the mini-boss room, marked with a crossed swords icon halfway through the dungeon.

    Before starting, it’s a good idea to upgrade your weapons and armor, especially if you’re only exploring Kalina so you can survive reaching this point.

    Once in the mini-boss room, defeat all enemies and open the treasure chests at the end. Take your loot but don’t go any further into the dungeon. Instead, turn left and find a hidden staircase along the wall, leading down to lower walkways. Follow this path until you find a portal that takes you to a secret room filled with traps.

    This room is dangerous, with laser beams moving on set paths. You’ll need to dodge roll to avoid them. The first sections are simpler, but later you’ll face multiple moving beams at once.

    For a better view of the room, see the image above.

    In the first sequence, you’ll dodge oncoming beams and sweeping lasers from left to right. Wait until a laser is fully out of the way and move up along the right side. Cross over by dodging through horizontal beams, then continue upward along the left side, avoiding oncoming lasers.

    For the last part, wait until both lasers shift to one side of the room. When they’re on one side, run across the opposite side and dodge roll through the vertical beams to minimize crossing. This will help you reach the exit safely.

    After escaping, grab the scroll to get the recipe for the Heartbeat Hunter gauntlet. You can continue exploring the dungeon or teleport back to town. Talk to the blacksmith to craft the Heartbeat Hunters for 2,000 Gold and 4 Echo Links.

    The Heartbeat Hunter weapon has a special ability: it does 40% more damage while you’re in Berserk mode, but it also increases the damage you take by 40%. It’s a high-risk, high-reward weapon—perfect for players confident in their dodging skills. If you prefer safer options, stick with the original weapons to avoid unexpected dangers.

  • Where To Find The Best Loot on Each Map in Arc Raiders Using Completing and Solving

    Where To Find The Best Loot on Each Map in Arc Raiders Using Completing and Solving

    Knowing your way around the maps in Arc Raiders is crucial. From quick, easy runs suitable for beginners to intense zones full of danger and high rewards, each map has its own flow. Running into a new area without any plan might be fun at first, but it can leave you vulnerable to ambushes. This guide is here to help.

    We’ll go over every map, how to unlock them, and where to find the best loot. Think of it as your map to getting the gear that keeps you ahead in the game.

    Updated by Allyson Cochran on November 10, 2025: Map conditions have now been added to this guide.

    All Maps and How to Unlock Them

    Below is a list of all available maps, how to access each, and a brief description:

    Map How to Unlock Map Details
    Dam Battlegrounds Unlocked by default Easy difficulty, perfect for quick missions and learning the basics.
    Practice Range Play 4 rounds Training zone to improve shooting and mechanics. No loot or extraction here.
    Buried City Play 6 rounds Moderate difficulty, better suited once you’ve gained experience.
    Spaceport Play 12 rounds Medium to high difficulty. Offers better loot but more enemy units.
    The Blue Gate Play 18 rounds Hard difficulty with top-tier loot; open areas make encounters riskier.
    Stella Montis Coming soon Details are not available yet.

    Where to Find the Best Loot on Each Map

    Each map has specific spots where the best items can be found:

    • Dam Battlegrounds: Look for high-value loot at the Hydroponic Dome Complex (top-left), Control Tower, and the Research & Administration Building near the center.
    • Buried City: Top loot is at the Space Travel hub, Hospital, and Town Hall.
    • Spaceport: Focus on the Departure and Arrival Buildings, Launch Towers in the top-left, and the Control Tower A6, Container Storage at the bottom-right for high-tier items.
    • The Blue Gate: The best loot is near Pilgrim’s Peak (top-right) and the central Checkpoint, though these areas are more dangerous.

    What Are All the Map Conditions?

    Map conditions are temporary gameplay modifiers that change how you play. Here are the current conditions:

    Map Condition Description
    Hidden Bunker A sealed bunker appears on Spaceport outskirts. Look for heavy Arc activity to find it. Activate four antennas to unlock. Raider Hatches are disabled, and exit points are limited, making PvP fights tougher.
    Lush Blooms Natural resources like fruits and seeds spawn more often. Great for gathering with minimal combat.
    Night Raid The map is at night with moonlight. Visibility is low, flashlights reveal your position, and enemies are more aggressive. Keys and better loot behind locked doors are more common, making PvP more dangerous but more rewarding.
    Electromagnetic Storm Lightning strikes occur across the map. Avoid hits to shields but use strikes to disable enemies. Useful for fighting tough targets or completing combat quests. Stay alert when looting.
    Prospecting Probes More Arc Probes and Couriers appear, perfect for quests or farming probe loot. They cluster closer together for faster runs and quick extras.
    Husk Graveyard Significantly increases the number of Arc husks available for looting and quests. Best for harvesting husk materials quickly.
    Harvester A large Harvester machine spawns, protected by a Queen. Requires teamwork to defeat. Expect big PvE battles and valuable rewards.

    Being familiar with these map types and conditions can help you prepare better and maximize your success in each zone.

  • Completing the Puzzle to Get the Treasure in Deltarune Chapter 3

    Completing the Puzzle to Get the Treasure in Deltarune Chapter 3

    Prepare yourself for a tough journey as you dive into the Dark World of Deltarune. In the third chapter of this classic RPG, you’ll once again team up with Kris, Susie, and Ralsei. Expect to face a mix of challenges, including quizzes, intense battles with shoot ’em up mechanics, and a range of mind-bending puzzles.

    Throughout your adventure, you’ll encounter various puzzles. Some are essential for advancing in the game and may feature hints from nearby NPCs. Others are optional, offering secrets or items as rewards, but they may require more effort to complete.

    How to Tackle the First Bridge Puzzle

    One puzzle you’ll face involves playing a console game. In this scenario, you will see four bridge pieces, several isolated islands, and a button on an opposite island from where you start. Your goal is to use the bridges to cross the river and reach the island with the red button.

    To solve this, you’ll primarily need Susie and her power to move the bridges. Begin by taking the two-block bridge from the upper-left corner and place it along the second row from the top, right by the shore. Walk across that bridge to the island that has the one-block bridge.

    If you make a mistake, don’t worry! You can use the bell to reset all pieces to their starting positions.

    Next, pick up the one-block bridge and place it directly to the right of where you found it to bridge the gap to the next island. After that, go back to the starting island to grab the other one-block bridge that’s above the bell.

    Now, place the one-block bridge on the water block located in the top-right corner. This will let you cross all the way to the island with the button.

    Don’t forget, Susie can also pluck the weeds in the sand. Collecting them will give you extra points!

    Finally, press the button to complete the puzzle. Doing so will retract the spikes that were blocking your path to a treasure chest in the real world. Exit the game and open the chest to claim your reward for solving this puzzle.

  • Completing AC Shadows: Solving Pirate Locations and Treasures

    Completing AC Shadows: Solving Pirate Locations and Treasures

    The core gameplay of Assassin’s Creed Shadows revolves around carrying out various assassinations. After you complete the prologue, you’ll need to hunt down a significant group known as Shinbakufu, along with several side factions that can be targeted through specific side quests at designated locations.

    One such side quest is the Pirate Alliance, which becomes available once you arrive in the Wakasa region. Completing this quest not only furthers the storyline but also rewards you with a unique key to unlock a legendary treasure chest somewhere on the map.

    How to Start the Pirate Alliance Quest


    If you haven’t begun the Pirate Alliance quest yet, you should go to the northernmost edge of the Wakasa region, specifically at a site known as Sotome Gate. Close to the beach, there’s a city called Tsuruga. To find the quest marker, head north past the bridge near the Tsuruga Tower viewpoint and look for a notice board.

    You can also initiate this quest by continuing with the main storyline where you’ll encounter a Biwa Master who will provide you with the quest. Alternatively, if you’re pursuing The Performer, you’ll come across a list of all the pirates, although their locations will already be marked if you start from the notice board.

    Where to Find Kage


    Assassin's Creed Shadows Kage location on the map.

    The first target you should pursue in this quest is Kage, who is believed to be located to the west of Obama port. When you zoom in 1x on your map, you’ll see Obama city slightly to the left of where Wakasa is indicated. Make your way to the western port, where you will find a boat at your disposal.

    Navigate this boat westward, passing the tip of a nearby island, and you will spot Kage’s ships in the open water. There are three ships present, and stealth may be challenging, so it’s advisable to take Yasuke with you to engage in combat with everyone, including Kage.

    Where to Find Lopo Cruz

    Lopo Cruz is another pirate you need to track down as part of the Pirate Alliance quest. He resides on a secluded island located to the north of Shattered Coast, specifically at the Nariu’s Lair along the western edge, situated between another island and the mainland. To reach him, you can begin from the western mainland or take a boat directly to the center of the area.

    If you start from the mainland, you’ll have to fight numerous pirates along the way. On the other hand, if you hop on a boat to the middle, you’ll easily come across Lopo Cruz, who is anchored on a small boat. You can board this vessel and take him out, concluding this segment of the quest.

    Where to Find Little Kappa


    Assassin's Creed Shadows Little Kappa location on the map.

    You can find Little Kappa in central Shattered Coast at a place called Maizuru’s Lair. Zoom into your map at 3x to locate this area just to the right of where “Coast” is indicated. Once there, you’ll need to eliminate a few guards before confronting Little Kappa, who has an impressive eight health bars. You can lure him out of the camp through the southern exit and sneak in. Use a Kunai to draw him out and then take him out with an explosive barrel when he gets close.

    Where to Find Sen and What to Do With Him


    Assassin's Creed Shadows Sen location on the map.

    After taking down the other three pirates, you’ll discover that Sen is located in Yura Fishing Village, which is near the sea at the northeastern part of Tamba. You can access it by navigating northwest then northeast through the river from the Fukuchiyama area in northern Tamba.

    Yura Fishing Village is calm and peaceful, making it easy to find Sen and interact with him. You will have the choice to either spare him or take his life. Regardless of your choice, the outcome and rewards will remain unchanged, as you won’t reference Sen to the quest-giver at the conclusion.

    However, choosing to spare Sen means you won’t receive the purple-tier weapon from this quest, but you will still get all other rewards.

    Given that you’re already in Wakasa, you likely have better legendary weapons and don’t require a purple-tier item.

    How to Continue the Pirate Alliance Quest


    Assassin's Creed Shadows the end of Takeda Motoaki assassination.

    After you defeat all four pirates in the Pirate Alliance quest, the objective menu will simply prompt you to progress through the storyline without granting rewards. To move forward with this quest, you’ll need to complete a couple of tasks:

    • Conclude the questline to recruit Oni-Yuri, which begins in the same location as the Pirate Alliance quest and is titled “Sweet Lies.”
    • Continue the main story in Wakasa until you achieve the assassination of The Fox, also known as The Performer or Takeda Motoaki. During this, you’ll also eliminate another pirate named Samemaru with Yasuke.

    Once you finish both of these tasks and take out the other pirates mentioned above, you can return to the Biwa Master at Saifukuji Temple located on the northwestern edge of Wakasa to complete the quest and collect your rewards.

    Where to Use the Key

    Upon completion of the Pirate Alliance quest by speaking with the Biwa Master, you’ll receive a special key capable of opening a specific chest on the map. This chest can be found on the western side of the Shattered Coast area, where a river runs between two islands and makes a slight northern turn.

    The quickest route to reach this location is to return to Yura Fishing Village and board one of the boats available. Navigate to the middle of the two large islands until you reach the gap. As you approach the northern part of this river, another Biwa player will be waiting for you.

    The NPC will depart as soon as you arrive, but you can find the chest located inside the cave behind him.

    Venture into the cave and dive into the water, where you can swim underneath the spikes. On the other side, you’ll find a legendary chest containing a legendary trinket for Yasuke, which is part of the quest reward.

  • Discovering Arrowhead Treasures in Avowed: A Hidden Gem

    In Avowed, exploration is key to staying ahead of your foes. The enemies you face don’t level up with you, which means their power remains constant. To keep up, you need to continuously improve your character before tackling new areas.

    This means upgrading your gear or locating better versions of your weapons and armor throughout the game world, which is abundant with treasures. One of the best methods to get powerful items is by finding treasure maps and hunting down their treasures. The catch is that the map only provides an image as a clue and no additional details.

    Ancient Arrowhead Treasure Map Location

    Once you enter Galawain’s Tusks region, which is the fourth available area in the main story, you can quickly get your hands on the Ancient Arrowhead treasure map right when you arrive.

    From your starting point, move slightly north and then head south to find a spot called Writhing Ruins. Before you go in, look to your left to find a ledge to climb. Continue towards the arch entrance and jump to the right side.

    Next, make a second jump to the left, followed by another jump to the right. You’ll notice the path ahead is blocked by spines that you need to clear using fire.

    You can use a Fire spell, Kai’s Firestarter skill, or Magran’s Fury to achieve this.

    This will open a path that leads to a secret cave passage that will take you to a boss fight area.

    If you want to skip the boss and just grab the treasure map, look for a corpse on your left. Approach it swiftly, pick up the map, and then exit the area.

    Ancient Arrowhead Treasure Location

    To find the Ancient Arrowhead treasure, you need to head northeast from your current location until you reach Warden’s Rest.

    Here, you will see a wooden house by the road, along with the Solace Keep building to your right. If you check just to the right of the keep, you’ll find a rocky ledge you can move behind, where a locked chest awaits.

    To unlock it, you’ll need three lockpicks. Inside the chest is the Ancient Arrowhead Treasure, which contains the Scout’s Reach along with some excellent upgrade materials.

  • Location of Woedica’s Inheritance in Avowed Revealed

    Location of Woedica’s Inheritance in Avowed Revealed

    After spending a couple of hours exploring The Living Lands in Avowed, you’ll notice your quest area being divided into various types of quests. One of these is the treasure map quests, which you can purchase from traders or discover randomly while adventuring.

    These treasure maps often highlight a clear landmark to help you locate the treasure. However, with treasures like Woedica’s Inheritance, finding the treasure can be a bit challenging, as the main landmark might not be easily identifiable.

    Woedica’s Inheritance Treasure Map Location


    If you haven’t obtained the Woedica’s Inheritance treasure map yet, you can acquire it by making your way to the Northern Paradis area. You’ll need to enter Paradis city and head to the northern section.

    Once you arrive in Northern Paradis, look for Sanza’s Emporium at the bottom of the map. You can purchase the Woedica’s Inheritance map for 100 currency while browsing Sanza’s offerings.

    How To Get Woedica’s Inheritance Treasure


    Avowed Woedica's Inheritance treasure location on the map.

    When you examine Woedica’s Inheritance treasure map, you’ll recognize some key walls indicating that the treasure is somewhere in Paradis. However, pinpointing the exact spot is tricky due to the resemblance of various corners in the city.

    To locate this treasure, proceed to the eastern part of Paradis. If you’ve already explored this area, teleport to the God’s Gate beacon near the eastern exit of Paradis Hightown. From there, check just west of the beacon on your map, where you’ll find a narrow corner between the buildings.

    Head to the end of this corner and you will discover an

  • Finding the Earthy Aegis Treasure Chest in Avowed

    Finding the Earthy Aegis Treasure Chest in Avowed

    Exploring a vast world like Avowed can make hours vanish in the blink of an eye. While you can wander freely, the main storyline holds the key to unlocking further areas of the game.

    During your adventures, you’ll stumble upon various chests, but you can also embark on treasure hunts using maps found in different locations. One such map is the Earthy Aegis, and here’s how to locate it.

    Earthy Aegis Chest Location

    Among all the treasure maps in the Emerald Stairs area of Avowed, Earthy Aegis stands out as one of the toughest to interpret. The map lacks a distinctive landmark and only depicts a distant ruin tower containing the treasure. This tower is located in the western part of the area near Tama’s Cabin.

    To get there, teleport to the beacon below the cabin and head north along the designated path. Once you reach the top, you’ll notice the tower to the left of the beacon on your map. The chest is inside the cabin, but you won’t be able to enter through the main door. You need to navigate around using a tree branch.

    Move toward the cliff to the right of the cabin. You’ll find a branch extending around it. Carefully walk along this branch until you see an opening in the cabin where the chest is visible. In the lower right corner of this opening, there’s a small switch that you can press to unlock the door on the other side.

    After the door opens, walk back along the tree branch, and you’ll be able to enter the cabin and claim your prize.

    Inside the sarcophagus, you’ll discover a unique shield called Nature’s Ward. This special shield has the ability to inflict damage on enemies when you block their attacks and has a chance to cure any poison affecting your character.

  • Cracking the Practical Pockets Treasure Map in Avowed

    Cracking the Practical Pockets Treasure Map in Avowed

    As you navigate the world of Avowed, you’ll frequently encounter various landmarks scattered throughout the landscape. These locations have distinct names visible when you access the map, making them easily recognizable. Familiarizing yourself with these landmarks is essential, especially when working on treasure maps.

    One treasure map you can find in the Emerald Stairs region is called Practical Pockets. It tells the tale of a ranger who has concealed his coat filled with pockets, with a location marked below. Here’s a straightforward guide on how to uncover this treasure.

    Finding the Practical Pockets Treasure Chest

    The Practical Pockets map hints at a ranger’s hideout, which is crucial for locating the treasure. The illustration on the map features a tall building on the right side, with an X indicating the location of the treasure in a small cave on the left. This tall structure represents the Rangers Headquarters, situated at the eastern edge of the Emerald Stairs.

    If you’ve previously explored this area, you should have the beacon at the top left of the headquarters activated. Teleport there and head north, as indicated on your minimap. You will come across a cluster of rocks that you will need to maneuver around.

    As you navigate around these rocks, you’ll notice an opening at the front that’s obscured by a few trees. Simply run directly through these trees, and you will find a small cave at the end. Inside this cave lies a large golden chest that holds the treasure you’re seeking.

    If you haven’t yet unlocked this area, you’ll need to complete it during the Debt of Blood side quest.

    Once you open the chest, you’ll receive Hjilde’s Handy Hide Light, a unique piece of armor. This armor not only decreases damage taken from Fire, Frost, and Shock but also increases your overall health.

  • Discover Merida’s Family Treasure Locations in Disney Dreamlight Valley

    In Disney Dreamlight Valley, beloved characters from Disney and Pixar movies coexist in a vibrant community. While everyone has a shot at redemption, some villains are still plotting their schemes, and it’s your job to stop them.

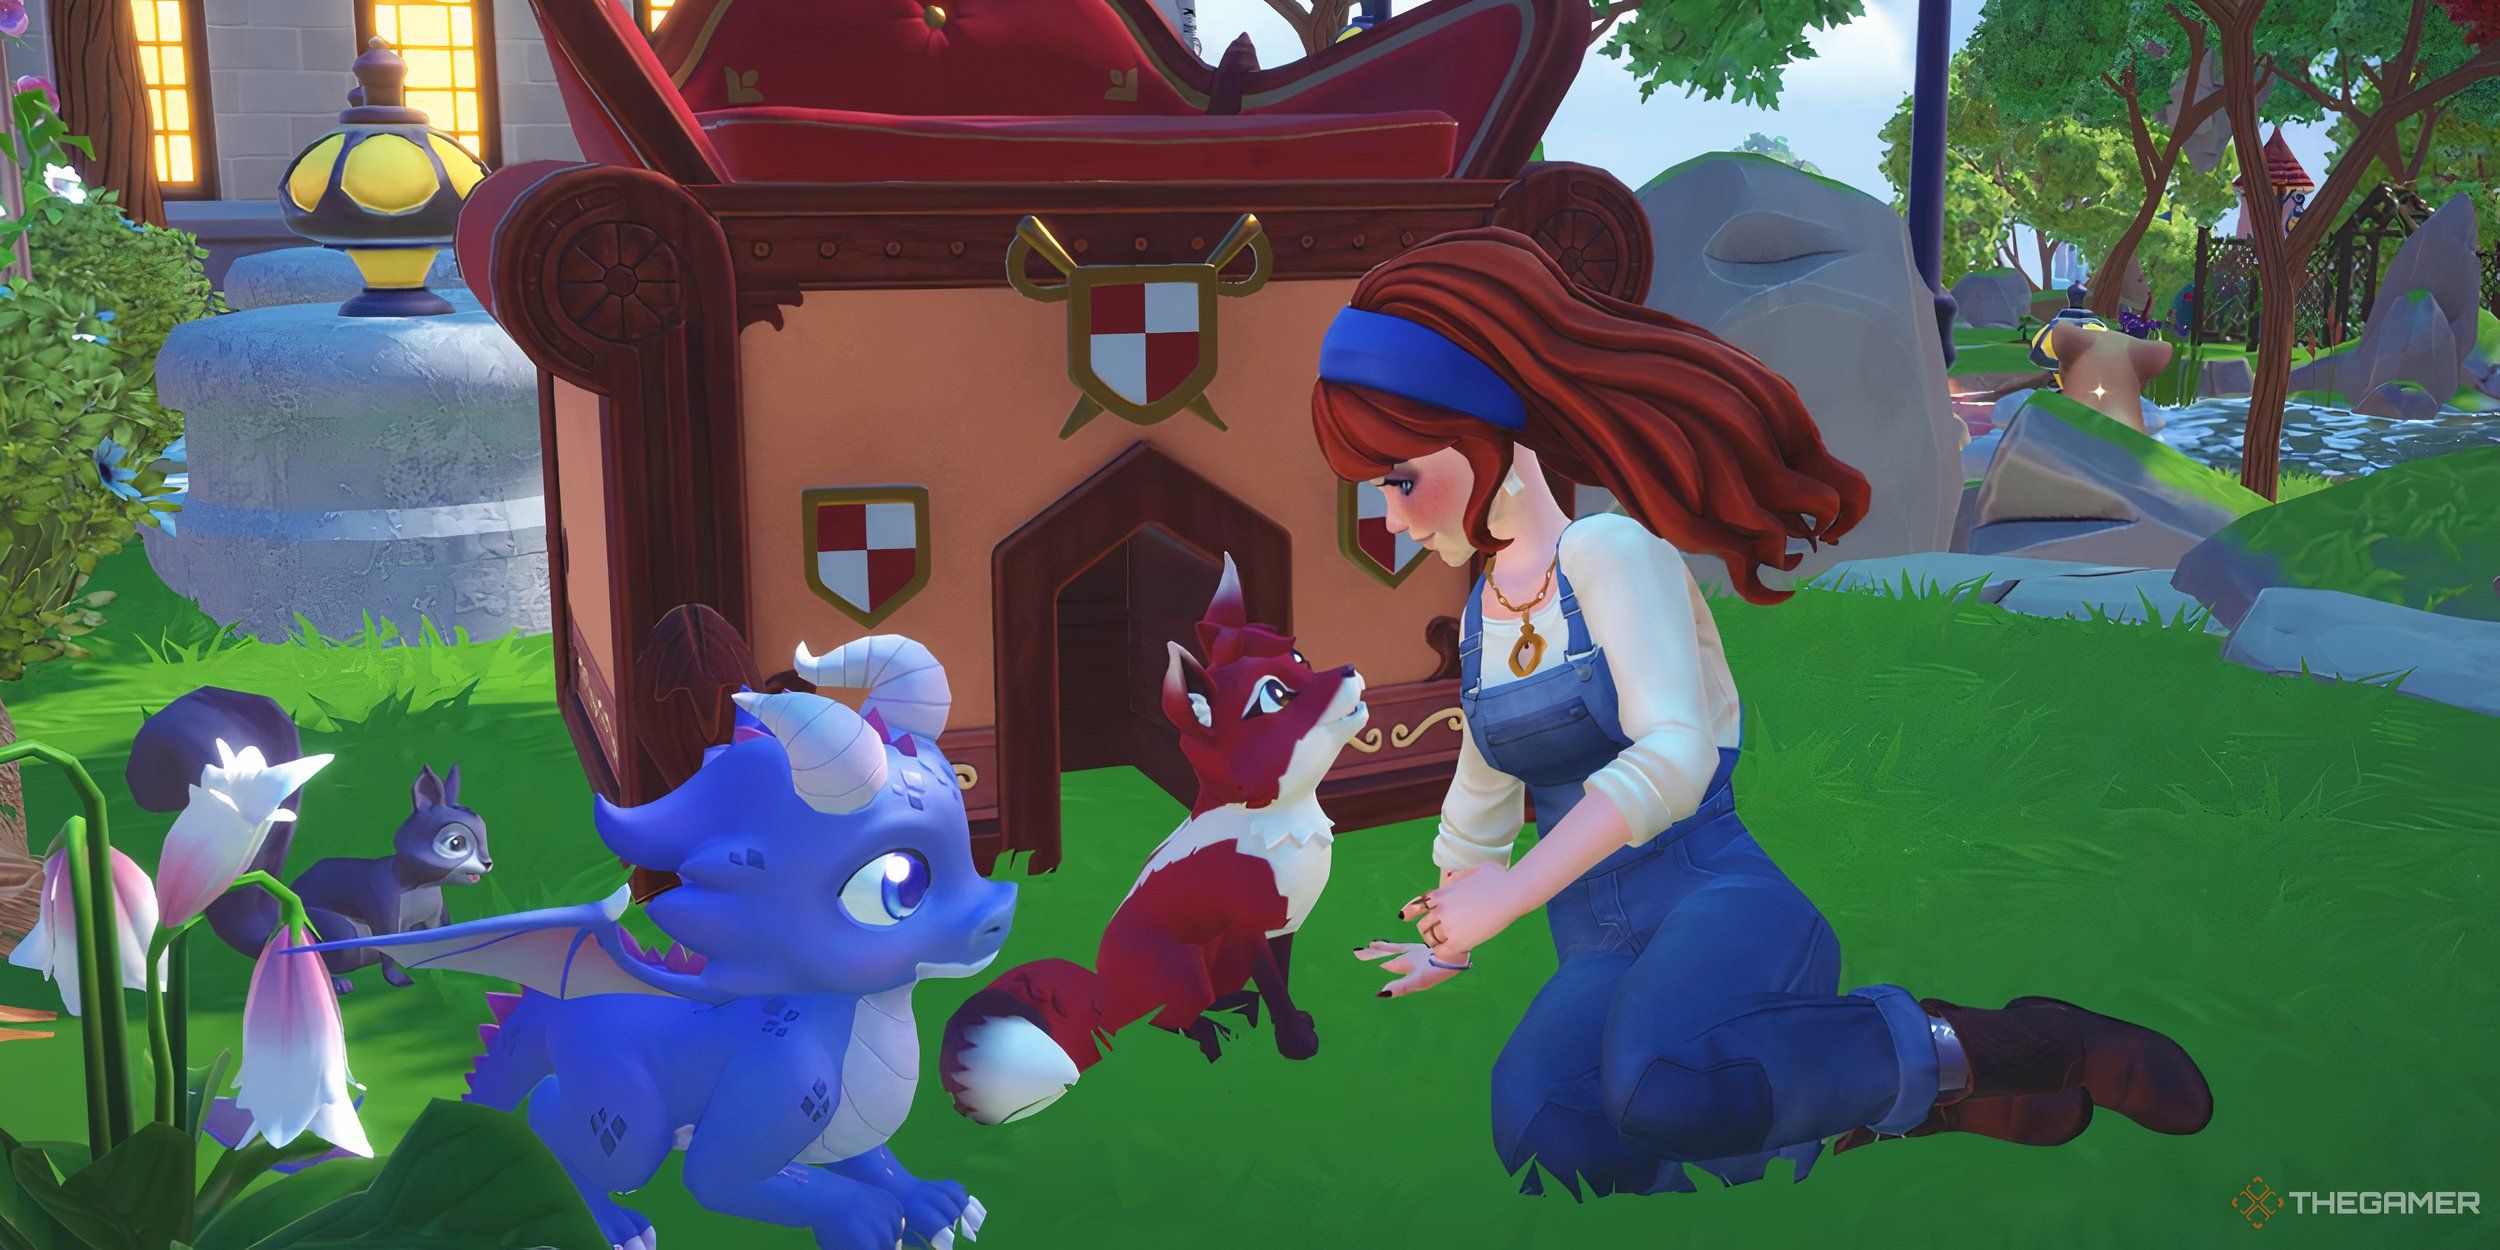
    The avatar petting a fox with a squirrel and baby dragon in the grass.

    Related

    Disney Dreamlight Valley: Critter Schedule Guide

    Add the cutest critter companion to your collection with the help of this guide.

    Merida has lost something important, a treasure that holds the power to alter destiny. Unfortunately, Hades is on the hunt for it and is getting closer. Join forces with Merida and her allies to find the treasure before Hades does, safeguarding the village and all of Storybook Vale from his machinations.

    Where to Find the Clues

    To unlock this quest, you must achieve level seven friendship with Merida. Speak with her to hear about a mysterious treasure that can change one’s fate, and how Hades is scheming to claim it. Your mission is to secure the artifact before he does.

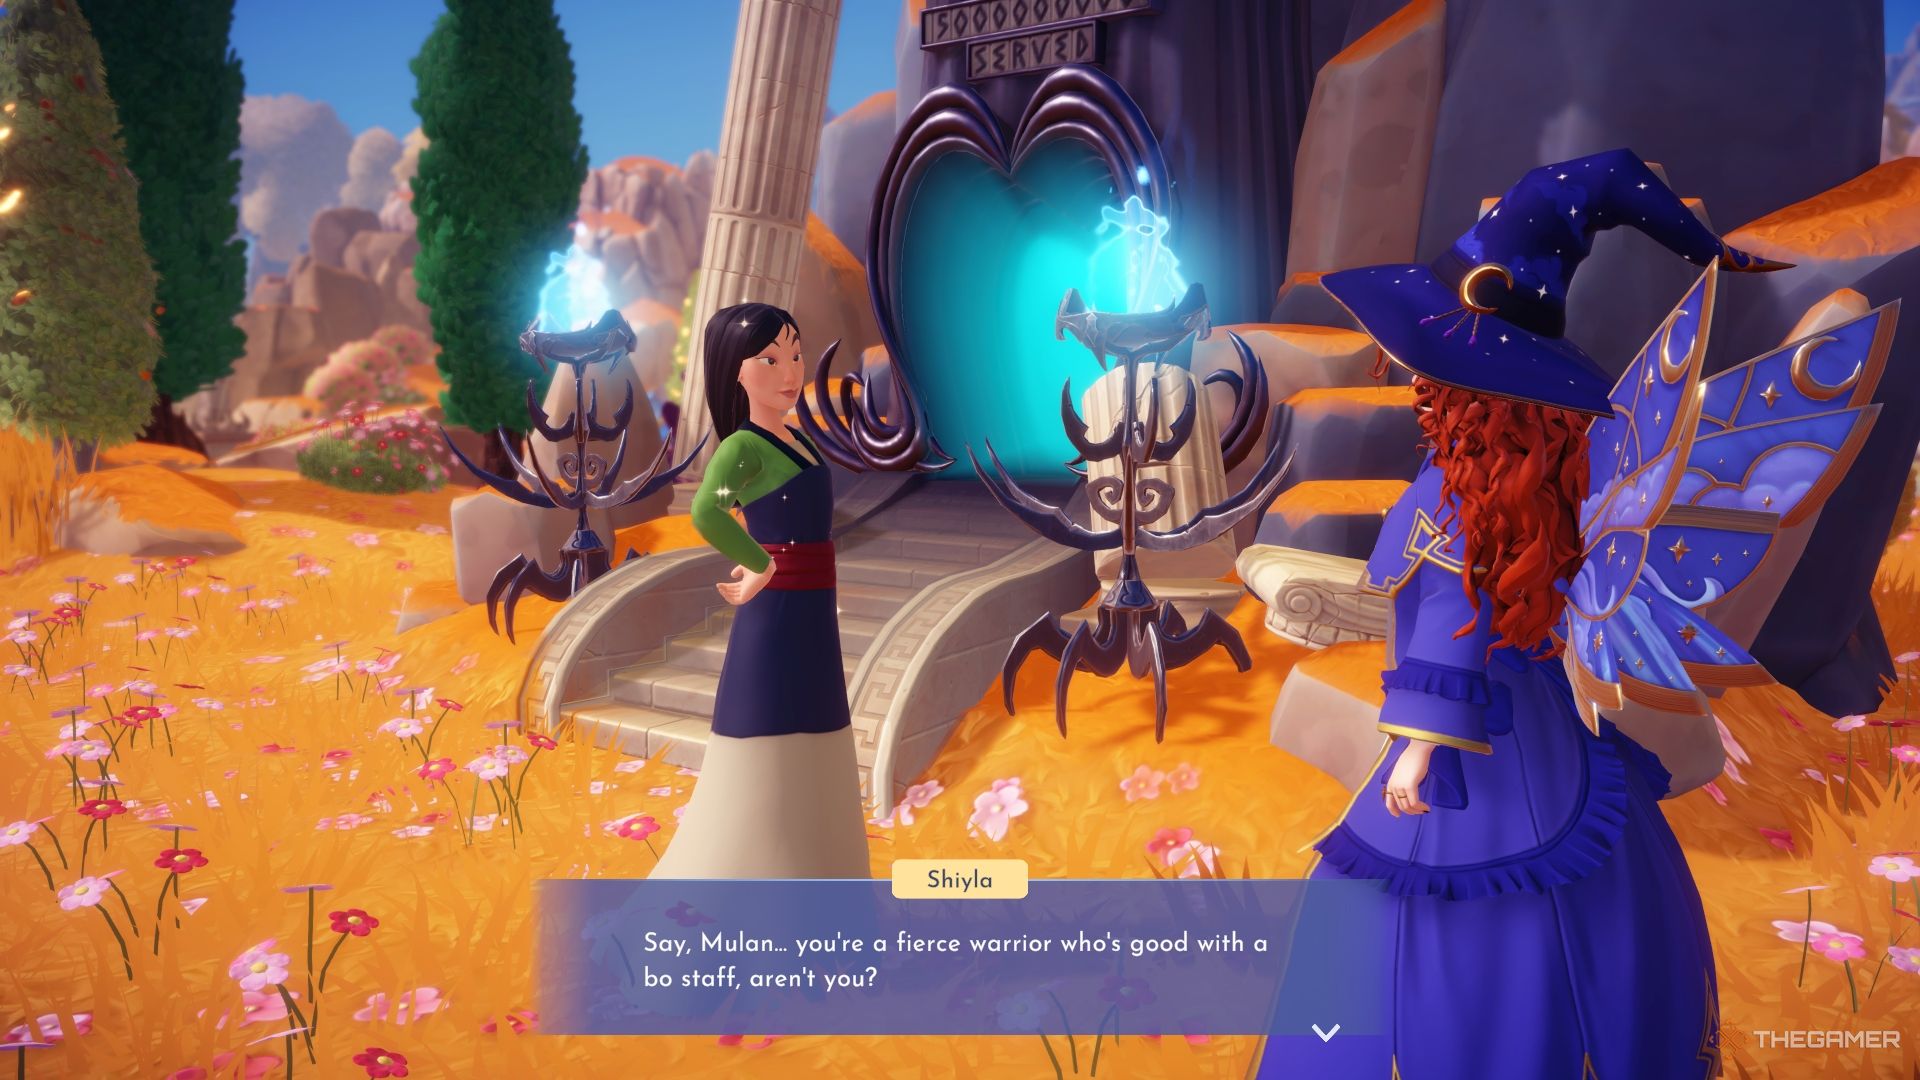
    Merida believes it’s connected to Clan DunBroch and requests your help in searching her cottage for clues. Head over there and check the sparkling bag on the floor. Inside, you’ll discover a note about the first clue, which she entrusted to a fierce warrior skilled with a bo staff.

    A Fierce Warrior Who Was Good With a Bo Staff

    Talking to Mulan about being a warrior.

    Search the village for Mulan and inquire if she remembers anything about the artifact. As she recalls her memories, she will direct you to the next clue by the statue of a flying horse.

    In the Elysian Fields, visit the Mythic Trial site and take a photo of the sparkling bag near the pegasus statue on the hill. Show it to Merida and accompany her back to the site. The bag is up high, so she will shoot an arrow to bring it down. After it lands, retrieve the next clue.

    Where the Wolf Drinks Spilled Tea

    The next clue leads you to where the wolf drinks spilled tea. Consult with Merida for insight, then venture into the Wild Woods. Follow the river until you spot a glowing pink memory along the bank.

    Even though the water comes from the Teapot Falls, you don’t need to unlock that region to finish this quest.

    Pick up the memory, then talk with Merida about the message from the clue.

    Finding One’s Place In The World

    The last clue refers to finding one’s place in the world under the watchful eyes of a mother, and Merida points to the Lorekeeper’s library. Head there and search the wings for a globe.

    Interact with it in the wings to uncover the final note, which reveals the location of Merida’s family treasure! Hurry and retrieve it before Hades does.

    Where to Find Merida’s Treasure

    Make your way towards the falls near the Everafter. Upon arrival, interact with the bookshelf to uncover a hidden alcove. It seems, however, that the treasure isn’t here; Hades has reached it first.

    Confront Hades about the artifact. Surprisingly, he opens up about his plan. Hades acknowledges having stolen the artifact from Merida but insists he isn’t using it for anything nefarious.

    He claims to have just used it as a dinner plate, stating it has no real magical properties—only sentimental value. Hades instructs you to retrieve it from his home if you want it so badly. Go there with Merida and collect the Clan DunBroch family treasure, then return it to Merida to complete the quest.

    You’ll get to keep the treasure as a decoration for your village!