الوسم: tomb

  • How to Solve Pentos’ Tomb in Hell Is Us

    How to Solve Pentos’ Tomb in Hell Is Us

    Hell Is Us encourages players to explore its world on their own, solving puzzles with limited hints provided within the game. It challenges you to think carefully when navigating, and that approach applies to the main story as well. For example, your search for Vitalis, the blacksmith of Jova, takes you all the way to Vyssa Hills without any objective marker guiding you.

    After meeting Vitalis, you’re instructed to find the hideout of The Vigil, a secretive order, with a journalist helping you gain entry. Getting into the hideout isn’t easy; more mysteries await inside. Here’s everything you need to know to access Watcher’s Nest and solve its puzzles.

    ## How to Reach Watcher’s Nest

    Start by heading along the path upward toward the time loop. Follow it left until you encounter a large wooden frame you can pass under. Continue on this trail, fighting enemies along the way. Soon, you’ll find a turn-off to the east, where you’ll meet Tania Alver, a journalist.

    Tell her the password, and she will give you an Emblem – Candle, one of the items needed to access Watcher’s Nest. You will need two emblems in total; her friend Agatha has the second. They became separated when Agatha took a left path to distract the enemies. Leave Tania and take the downward-left route, where you’ll find Agatha dead, killed by Lymbic Entities. Take her ID card and the Emblem – Book.

    You don’t have to go back to Tania afterward, but it’s nice to reassure her. She can also point you to follow the path toward the windmill, which is the easiest route from here. Continue along this trail, avoiding unnecessary detours into the mines. You may also encounter Atticus further along, but he’s not essential for reaching Watcher’s Nest.

    ## Opening Watcher’s Nest

    When you reach the entrance, you’ll face another Hollow Walker. While they look like most Lymbic Entities, they are linked with two Haze enemies, which you must defeat first. Once defeated, insert the emblems into their respective slots beside the door, and it will open.

    The inside of Watcher’s Nest is empty of enemies, putting the focus on your mental challenge. Save your progress and prepare to face the upcoming puzzle. Proceed further, especially after passing the polygraph machine.

    ## Puzzle in Watcher’s Nest

    This area contains many items, computers, whiteboards, and marked walls. One of the first notes explains the importance of wall grooves, which align with details like a name, a title, a symbol, and a date. The key phrase to remember: “Through his name, his title, the symbol of his Order, and the date of inception of his Order, shall the path be revealed.”

    You need to find and activate wall grooves matching these clues. The act of activating is beyond your immediate reach, so proceed further into the tomb, climbing through a hole in the wall to reach the burial chamber. There, you can collect four Ceramic Flowers, which are used to solve the puzzle.

    The placement of these flowers is flexible; order doesn’t matter as long as all are placed correctly. Begin by placing the first flower on a plaque indicating the name “Algea,” who was the Warden of Grief—this groove is near a small alcove behind the whiteboard.

    Next, find the symbol for Grief, which looks like a curve with a teardrop, and place a Ceramic Flower there. This symbol can be found in the circular room at the entrance, on the Lymbic Sphere.

    Now, locate the date of the Order’s founding, 1513, on a plaque in this room. The grooves for the year are on a large heraldry wall; the right side represents 1513, so place the final Ceramic Flower here.

    Other placements, like the symbol of the Vigil (depicted as a shield with an emblem), and the Order’s sigil on the wall, are also part of the puzzle. It’s okay to place flowers in any order, provided they are in the correct spots.

    Once all flowers are correctly placed, a rumbling sound indicates the puzzle is completed. Return to Pentos’ tomb and pull the lever to open it. Inside, you will find the Mark of the Betrayed relic and the Blue Flower Scroll—necessary for progressing further.

    ## Meeting Gildas

    After exiting the tomb, you hear a sudden flush, signaling the presence of Gildas Brom—the last member of The Vigil. Engage in conversations with him; he provides deeper insights into the game mechanics, such as the Guardian Detector, which shows the locations of remaining Timeloop Guardians, and the Amine Prism – Sigma, key to closing Timeloops like the one in Vyssa Hills.

    You can also talk to Gildas after completing Timeloops or deeds, earning extra rewards like glyphs, relics, and more Prisms.

    ## Finding The Eternity Computer Password

    One of the next steps involves a computer that is protected by a password, which isn’t accessible until Act 2. Its password is hidden in an area you can’t reach until after completing initial events at Lake Cynon.

    Although you could technically access the second computer if you have the password, the game does not allow you to do so early. Once you reach Act 2, follow the Keystone of Ecstasy back to Vyssa Hills, where you will find a locked area beyond the serpent statue near Vitalis’ grave. Inside, you’ll find a corpse holding the Key – Mine, which opens locked doors earlier explored.

    Proceed through the mines until you reach a large red chamber with enemies. Defeat them and investigate the corner of the room for another corpse with a note titled Cryptic Maxim. The note reads:

    _”As the hours of the day slip by,
    As the months of the year pass,
    And the seasons turn,
    In the four corners of Hadea,
    Our Vigil Endures.”_

    This cryptic message, beginning with “Eternity,” indicates that the computer password is derived from these lines, resulting in “241244.” Enter this code into the computer in Watcher’s Nest to receive additional lore and unlock further secrets.

  • How to Find the Golden Bing Bong Tomb in Peak Completing

    How to Find the Golden Bing Bong Tomb in Peak Completing

    While exploring the Mesa biome in Peak, you’ll likely be dodging cacti and sandstorms, searching for shady spots, water, and the secret Tomb. Rumor has it that inside the tomb lies a golden statue of Bing Bong, everyone’s favorite divorced airline mascot.

    The Ancient Idol is hidden deep underground in the Tomb within the Mesa biome. If you haven’t found it yet, now’s your chance. But keep in mind, the Tomb isn’t easy to find, access isn’t straightforward, and it doesn’t always show up in Mesa. Here are some helpful tips and key information for locating the Mesa Tomb and the Ancient Bing Bong Idol.

    How to Find the Ancient Idol Tomb in the Mesa Biome

    There’s about a 25% chance that the Tomb will be in Peak, meaning only some of the map rotations will include it in the Mesa biome. This means you might need to try multiple times before discovering the entrance.

    The entrance is a small hole in the sand, located just before you reach the large cavern ahead. It’s a steep drop, so bring rope, balloons, and anything else that could help you explore deep caves. Fortunately, you won’t be under the burning sun while inside, so heat isn’t a concern. However, you’ll need plenty of stamina to climb down the cave walls and navigate the tunnels.

    Tip: It may be easier to spot the tomb entrance from the cliff as you leave the camp.

    Inside, you’ll face tight corridors that require squeezing through claustrophobic tunnels. They look like you can barely fit, but with some effort, you’ll make it through. After passing the narrow passages, you’ll encounter a wide tunnel with small ledges to rest on and a door at the end.

    Tip: Bring pitons and rope spools to help you get through the tunnels and caves.

    Inside Mesa tunnels leading to the Tomb

    Keep traveling through the tunnels until you see a faint glow in the distance. That’s the tomb, where the golden Ancient Idol rests on a pedestal. If you’re in a team, the player with the least weight and no injuries should take the Idol, as it’s extremely heavy. The healthier player, capable of handling the weight, should carry it in their inventory. Solo players should pack stamina-restoring items to help carry the load.

    Tunnel leading to the tomb

    Reach the tomb and the Idol on the pedestal. Once there, continue through the area, and you’ll find a warm glow in the distance, signaling you’ve arrived at the tomb containing the golden Ancient Idol.

    What does the Golden Bing Bong Ancient Idol do?

    The Idol grants the holder invincibility from any damage—a valuable perk considering how heavy it is. If you reach the Kiln area nearby, you can choose to throw the Idol into the volcano as a sacrifice, unlocking the 24 Karat Badge achievement and earning a cosmetic Bing Bong Beanie Hat as a reward.

  • Over 30,000 Gather at Rome Church to Honor Pope Francis’ Tomb

    Over 30,000 Gather at Rome Church to Honor Pope Francis’ Tomb

    Sure! Here’s a rephrased and unique version of the content in American English:

    —

    ### ROME: Crowds Gather to Pay Respects at Pope Francis’ Tomb

    On Sunday, tens of thousands flooded into the Papal Basilica of Saint Mary Major in Rome to view the tomb of the late Pope Francis, marking a significant departure from tradition as he chose to be buried outside the Vatican.

    For over a century, no pope had been interred away from the Vatican, but Francis opted for burial in Santa Maria Maggiore, situated in one of the most diverse neighborhoods of the Italian capital. His casket was moved there on Saturday following a funeral Mass held in St. Peter’s Square, where around 150,000 mourners lined the streets to bid farewell.

    The simple marble tomb is located in a side aisle of the basilica and bears only his name, “Franciscus,” inscribed in Latin. Above the niche hangs a replica of the humble cross that he wore throughout his life.

    Polish pilgrim Maria Brzezinska expressed her thoughts after visiting the site: “This feels like the perfect resting place for the Pope. He was a man of simplicity, and his final resting place reflects that.”

    People began lining up long before the basilica opened its doors at 7:00 AM (0500 GMT), and once the doors were opened, the church quickly filled with visitors. Authorities encouraged individuals to exit after paying their respects, as many more were waiting outside. Within six hours, approximately 30,000 had visited the site, according to Vatican estimates.

    As tourists exited around lunchtime, many shared that they had waited over two hours to enter and only had a brief moment inside the basilica.

    In the afternoon, hundreds of cardinals gathered in the church for prayers. Founded in 432, Santa Maria Maggiore is the only basilica in Rome that retains its early Christian structure, despite numerous later modifications.

    Pope Francis, who passed away on April 21 at the age of 88, held a deep appreciation for this basilica due to his devotion to Mary, the Mother of God. He consistently prayed there before and after each international trip.

    Near the tomb rests a revered Byzantine icon of Mary within the Pauline Chapel. A vase filled with golden roses, donated by Francis in 2023, is placed among candlesticks below the icon. His last visit to the chapel occurred on April 12, when he arrived with a bouquet of white roses.

    A single white rose was laid atop his tomb as a tribute.

    Sharing his sentiments, Rome resident Carmelo Lamurra remarked, “There’s so much emotion. He was a figure who connected with everyone, and we honor him for all he has done, each in our unique way. Thank you.”

    —

    Feel free to use this content as needed!

  • All Free Power-Up Spots Inside the Tomb in Black Ops 6

    In Call of Duty: Black Ops 6, players can tap into free Power-ups anytime, removing the frustration of waiting for them to appear after taking down zombies. These Power-ups can significantly change the game dynamics, providing a crucial advantage when dealing with tough elite foes or when you’re in a tough situation.

    Like the previous three maps, “Tomb” follows a similar design approach by incorporating its own selection of free Power-ups, conveniently placed throughout the map. This guide will highlight where to find each one, so you’re always ready for any challenges that come your way.

    Full Power Location

    Head over to the area where the Stamin-Up perk machine is situated, and you’ll uncover a crafting table.

    To the left of this table, there’s a hole in the wall. Look inside and you’ll discover the Full Power symbol. Fire at it to activate the Power-up.

    Max Ammo Location

    Continue deeper into the Tomb, heading east toward the spot where you place the amulet to access the red portal leading to the Nexus.

    To the right of the portal, you’ll find another small hole in the wall. Inside, to the left, is the Max Ammo power-up.

    Insta Kill Location

    After you’ve found the last item, go down the stairs to where the Arsenal machine is located. Position yourself to the right of it and aim at the pillars.

    You’ll see a skull symbol. Shoot it to trigger a free Insta Kill power-up.

    Max Armor Location

    Next, head over to the area where the Speed Cola machine is. On the wall to the right of this machine, there’s a square hole.

    Inside, at the bottom left, you’ll find the Max Armor. Shoot it to create the free power-up.

    Double Points Location

    For the following two free Power-ups, make your way to the Nexus area. From the green portal, take the path to the far right toward the waterfall.

    After a moment, look up to the left, and you’ll spot the “x2” symbol. Shoot it to release the Double Points power-up.

    Bonus Points Location

    For the next Power-up, head to the blue portal. Just to its left, there’s a small hole in the wall.

    Take a peek inside, and you’ll see the Bonus Points symbol. Shoot it to earn this free Power-up.

  • Unlock a Free Raygun on the Tomb in Black Ops 6!

    Unlock a Free Raygun on the Tomb in Black Ops 6!

    Wonder weapons are some of the most formidable arms in Call of Duty: Black Ops 6 Zombies, but getting your hands on them can be tricky. While luck might land you one from the Mystery Box, there are typically more reliable methods to acquire these potent weapons, like crafting or assembling them.

    In keeping with the tradition established in previous Zombies maps, each area has its own distinct Wonder weapon that can be unlocked through specific actions. In The Tomb, however, there’s an exciting twist: a side Easter egg lets you obtain a free Raygun early in the game, giving you a significant upper hand, especially during the initial rounds.

    How to Obtain a Free Raygun in The Tomb

    Yes, securing a free Raygun in The Tomb’s new Zombies map is indeed possible, and it’s fairly straightforward if you follow the steps correctly.

    The first thing you need is a shovel. You can find a shovel in several spots across the map:

    • To the right of the Quick Revive machine on the map’s east side.
    • Atop the wall near the Death Perception perk machine.
    • In front of the Max Ammo crate located in the green portal room.

    It’s important to note that the shovel is a personal item, meaning it isn’t shared with your teammates. If another player wants to assist you with this Easter egg, they’ll need to find their own shovel.

    Once you’ve secured a shovel, the next step is to purchase the Death Perception perk before you start digging. With both of these in hand, you’ll need to dig at various spots until a green ancient gem appears. Make sure to pick it up when you find it.

    The spawn rate and location of the gems change with each match. You might discover two gems quickly or struggle to find the last one for several rounds. It’s really unpredictable.

    Here are some digging locations you can explore on the map:

    • Three spots in the spawn area: One near the Armor Wall Buy, another beside the generator on the ground, and the last close to the Rampage Inducer.
    • Three spots in the red portal area: One in front of the Quick Revive perk machine, another just right of the Arsenal machine, and one to the right of the Max Ammo crate.
    • Two spots near the Death Perception perk machine.
    • One spot just past the Deadshot Daiquiri perk machine.

    There could be additional digging spots, but these are the more prominent ones. Since gem spawns are random, you could dig through all the locations and still not find all three. Fortunately, the digging spots respawn every few rounds, allowing you to try again.

    Once you have all three gems, head to the room with the Death Perception perk machine and the bull mural. To the left of the mural, you will see a statue. Interact with it to place the gems, which will trigger the spawn of a few Doppelghast enemies that you will need to defeat, so prepare yourself for battle.

    After you successfully take them down, the three gems will combine, and a wave of Essence will appear, along with a free Raygun for you to use in your game.

  • Unlock the Free Brain Rot Ammo Mod in Black Ops 6 Tomb!

    Unlock the Free Brain Rot Ammo Mod in Black Ops 6 Tomb!

    Season Two of Call of Duty: Black Ops 6 is already thrilling Zombies enthusiasts, and a new map has just been introduced following the release of Citadelle des Morts. This fresh map is called The Tomb. Like any engaging Zombies map, The Tomb is packed with secrets and Easter eggs that can be completed for rewards, enhancing your survival against the zombie waves you’ll encounter.

    The map is filled with various side Easter eggs that, once completed, provide players with a assortment of free items or tools. These rewards can help upgrade your weapons, earn you Essence, and more. The exciting part is that these Easter eggs are typically straightforward, so there’s no reason to skip them to grab some additional loot.

    How to Tackle the Simon Says Easter Egg


    Once your match in The Tomb begins, make your way inside by opening the door on the left side of the spawn area. This entrance will lead you to the room containing the Death Perception perk machine.

    Within this room, search for a set of statues located on the right wall. Your task is to shoot the heads of these statues in a specific order to earn some loot, including the Brain Rot ammo mod.

    The sequence in which you need to shoot the statue heads is random; therefore, each match will present a different order.


    Player looking at a statue above with its head emitting light - BO6

    You might want to establish the order yourself, as every time you successfully shoot a statue’s head, it will glow. However, this method can be tedious, especially while zombies are closing in on you.

    If you look carefully, you’ll see that one of the statues is out of place. On the ground, you’ll spot it fallen. If you take aim and shoot the head of the fallen statue, it will reveal the correct order for shooting the others.

    It’s a good idea to film the sequence or have a teammate memorize the order for success on the first attempt.


    Player aiming at the fallen statue on the ground - BO6

    If you correctly shoot all the heads in the right order, they will shine, and you’ll be rewarded with salvage, essence, and a cache of Brain Rot ammo mods for you and your team.

    Be mindful that you need to complete this task within a certain time frame. If you make a mistake, don’t fret—you can restart and give it another shot.

  • Mastering the Tomb: Power-Up Strategies for Black Ops 6

    Mastering the Tomb: Power-Up Strategies for Black Ops 6

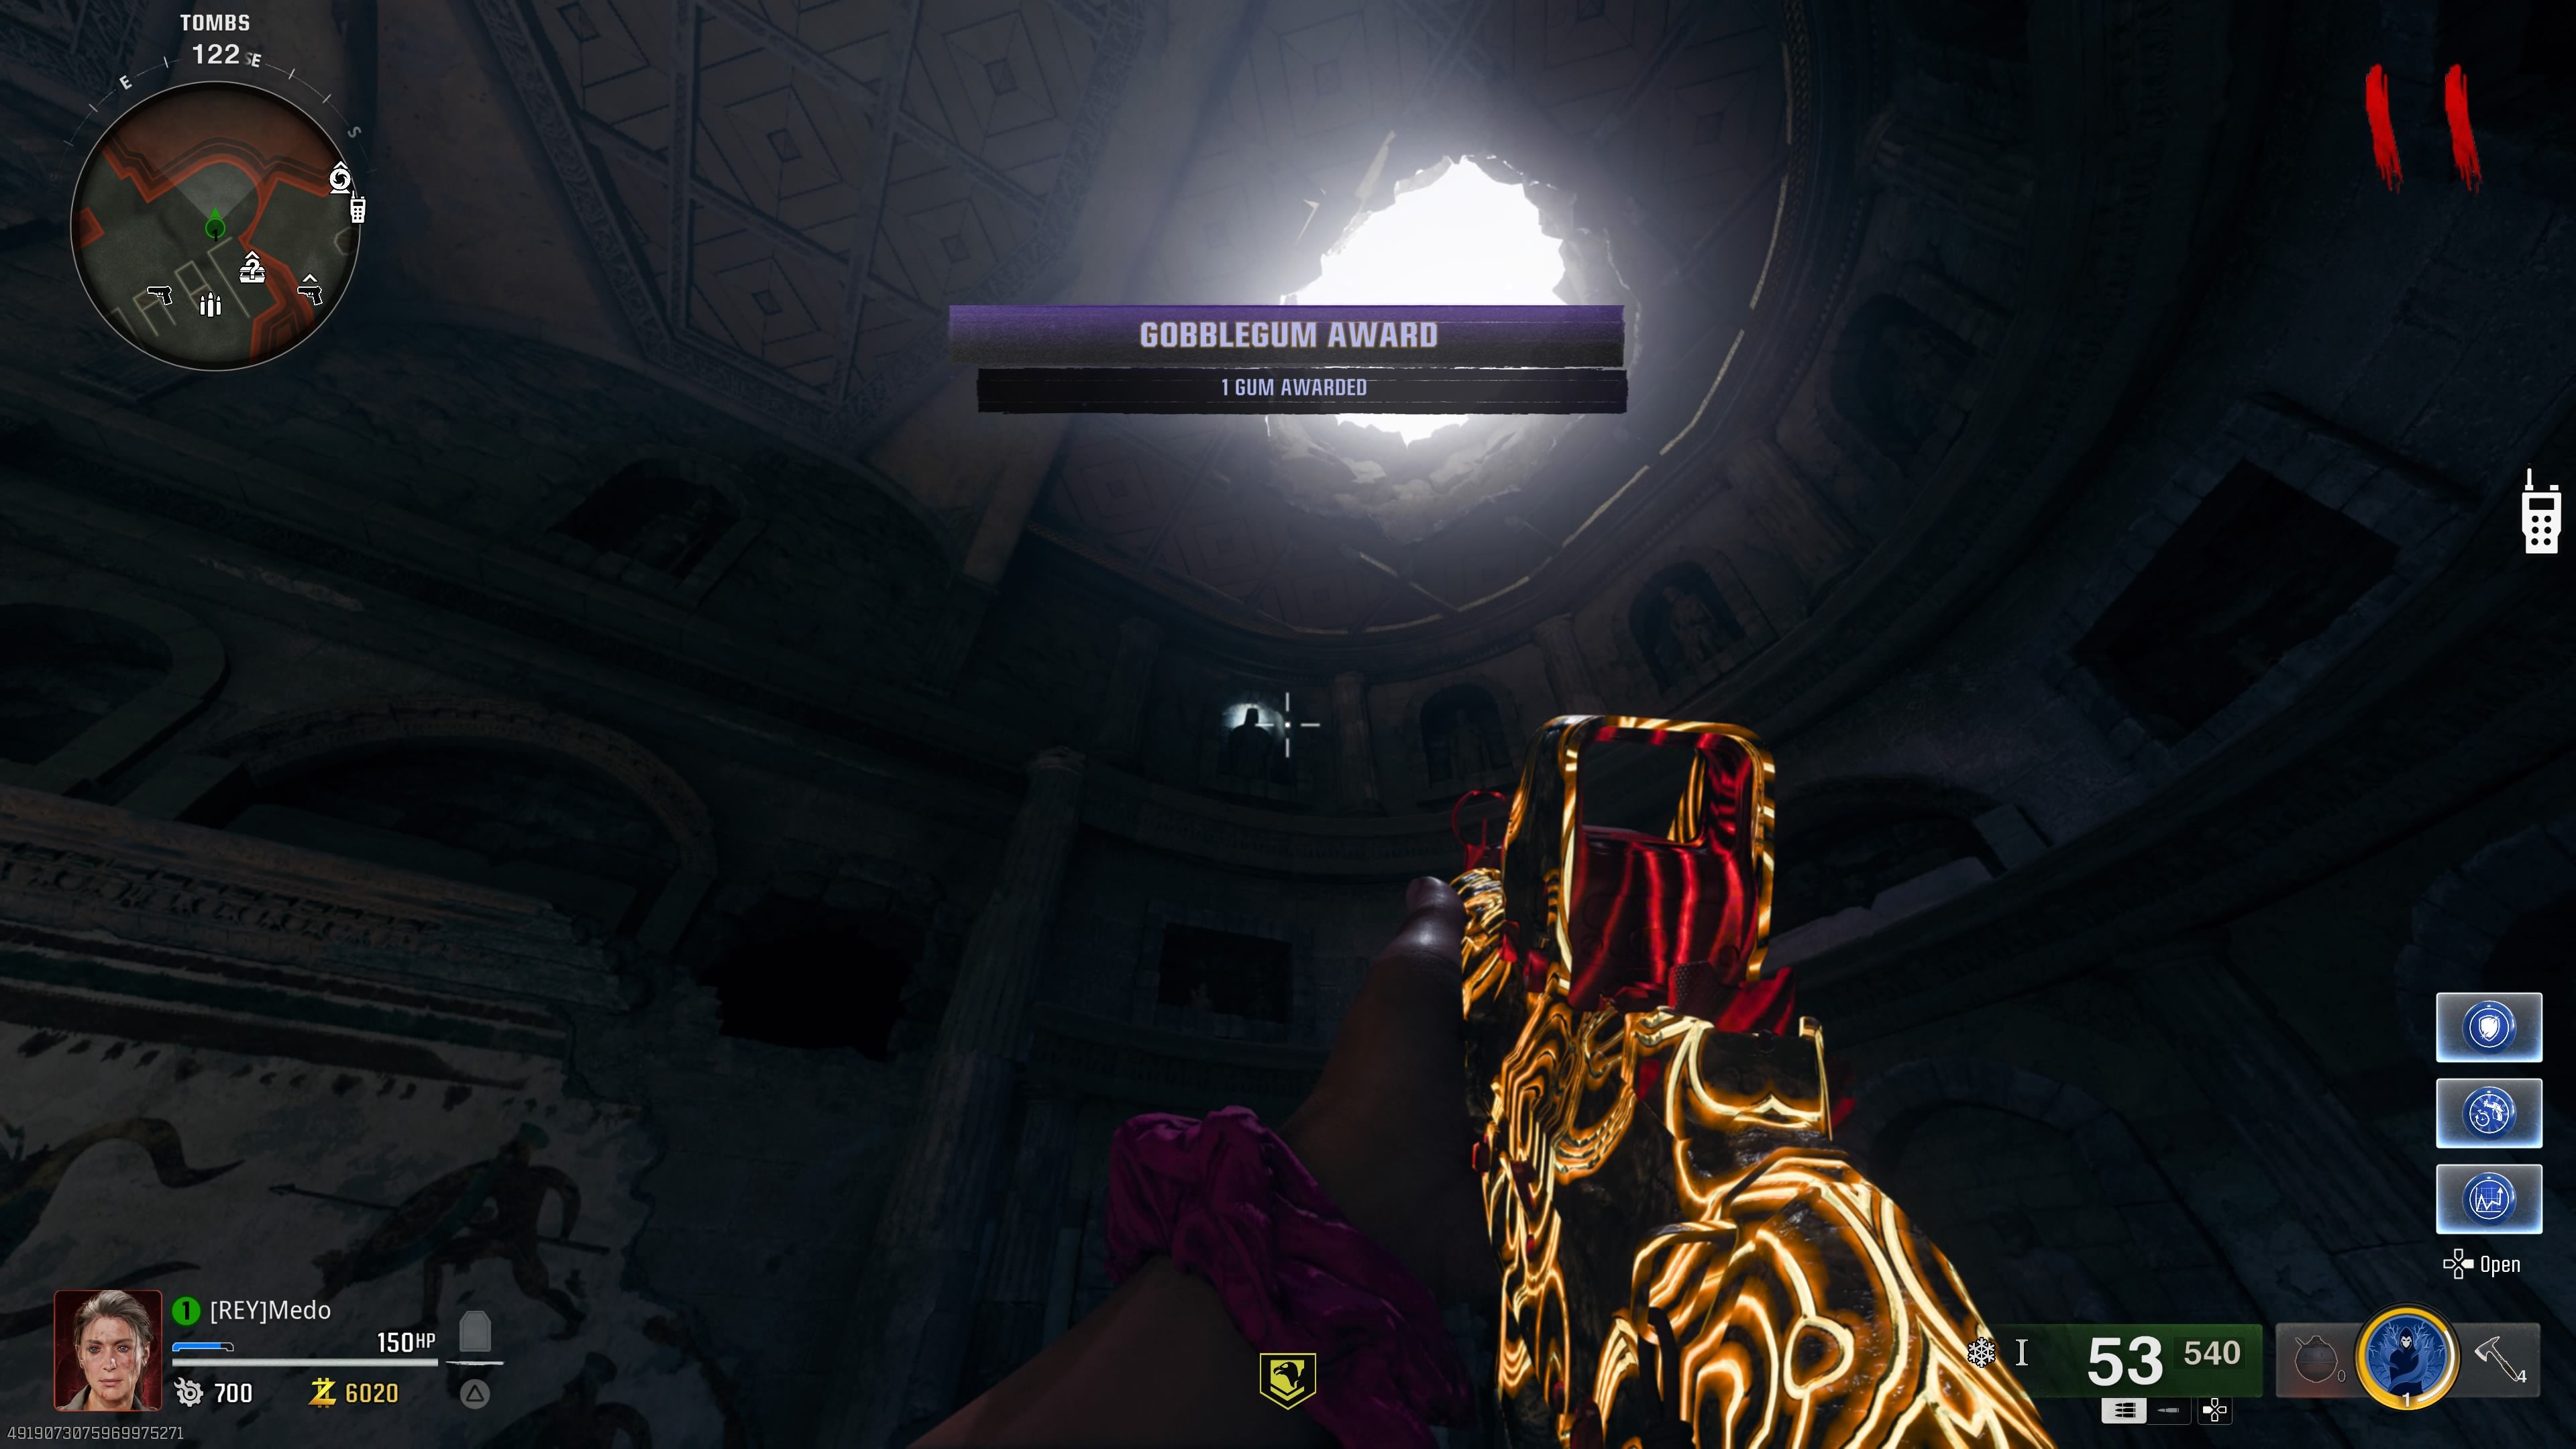
    A few weeks after the debut of Citadelle des Morts, Call of Duty: Black Ops 6 has introduced a new zombies map with Season Two – The Tomb. True to its name, this map is set in a spooky underground burial site, featuring ancient tombs, crumbling stone corridors, and hidden secrets just waiting to be uncovered.

    As you fight your way through the rounds here, the difficulty increases significantly, leading to a relentless horde of zombies. To keep up with the escalating challenge, it’s essential to grab perks, enhance your weapons, and most importantly, use the Pack-a-Punch machine. This guide will help you find the Pack-a-Punch location in The Tomb.

    How to Pack-a-Punch in The Tomb

    When you start in The Tomb, you’ll find yourself in an area filled with burial sites. To progress, you’ll need to delve deeper and uncover its mysteries. Like previous maps, you have two paths to choose from—one to the right and one to the left.

    Both paths ultimately lead to the same destination, so it doesn’t make much difference which one you pick.

    Unlike earlier maps, the doors here are pricier, requiring you to survive five to six rounds before you can unlock them. To speed things up, we suggest activating the Rampage Inducer to make the initial rounds more intense and the zombies more aggressive.

    • The first door costs 2,250 Essence.
    • The second door requires 2,500 Essence.
    • The third door will set you back 2,750 Essence, regardless of which side you choose.

    Once you’ve opened the third door, you’ll enter a large area with an objective marker directing you to a table featuring a glowing purple item. Interact with this item to place the amulet you earned from the Citadelle des Morts main mission.

    This action will open a red portal door that leads to the Nexus area. There, you’ll easily spot the Pack-a-Punch machine right in front of you.

    Similar to Terminus, the location of this machine will change every few rounds, shifting between the Nexus area and the spawn area, so keep that in mind.

  • Elders’ Tomb: A Guide to Secrets and Rewards

    Elders’ Tomb: A Guide to Secrets and Rewards

    Destiny 2’s second act of the Revenant quest is now here, bringing back the iconic Prison of Elders for players to dive into once more. This new Tomb of Elders experience revisits an arena-style gameplay format from the first Destiny game, now revamped to engage teams of three players with challenging modifiers, thrilling combat scenarios, and new rewards.

    Clearing the Tomb of Elders is manageable, but there are some changes to keep in mind from past seasonal activities. This guide will cover how to unlock the Tomb of Elders, highlight how it differs from previous tasks, and detail the exciting rewards that await you upon clearing the Prison of Elders.

    Unlocking the Tomb of Elders


    You can access the Tomb of Elders by progressing to Act 2 in the Revenant seasonal questline. Once you finish the first act, return to the Last City and talk to Mithrax to kick off the next quest. You’ll need to participate in a Tomb of Elders match along with its tougher version, the Contest of Elders. This activity can be found in the Director under the Last City section, right below the seasonal Onslaught playlist.

    Guide to the Tomb of Elders Activity

    The Tomb of Elders is a three-player matchmade activity that challenges you to defeat various enemies in quick-paced battles. It resembles the typical three-player content from previous seasons in Destiny, such as Menagerie, Savathun’s Spire, and Riven’s Lair. Your task is to conquer two combat encounters, take down a boss, and claim your rewards before moving on to the next challenge.

    The standout feature is the dynamic modifier system, which alters the combat difficulty in each room, reminiscent of the original Prison of Elders gameplay. Variks has introduced a variety of new modifiers that heighten the difficulty. Examples include:

    • Counterfeit: Enemies drop explosives disguised as familiar items upon defeat.
    • Grounded: Damage taken while airborne is significantly increased.
    • Brawn: Your health is substantially boosted but does not regenerate. Defeating tough enemies restores health for you and your allies nearby.

    Modifiers are reset after you complete each encounter.

    Activity modifiers (like Surges and Overcharge) remain active throughout.


    Destiny 2 Tomb of Elders Thresher Boss

    In this activity, your fireteam must complete a designated combat encounter to advance within the Prison of Elders. These tasks primarily involve eliminating enemies, sometimes interspersed with objectives like destroying generators or collecting explosives. Completing your objective allows you to unlock the next encounter and continue the fight.

    After clearing two rooms, you’ll face a boss. Your first step is to take down the boss’s immunity shield before inflicting damage. The method varies based on the boss. For instance, when facing The Mechanist, you’ll need to gather nearby explosives and rig an Ether Canister to blow up. For the Cabal boss, you must destroy a Thresher first and eliminate accompanying Psions. Once the necessary tasks are completed, the boss will briefly become vulnerable—use this chance to defeat them and finish the activity.

    Some encounters feature bonus objectives you must achieve quickly, like finishing enemies with specific weapons. Success grants Tonic reagents unique to this activity, such as Tomb Flakes.

    Additionally, certain boss encounters come with critical objectives that have to be completed on time; failing to do so will place debuffs on your team until the encounter concludes.

    Contest of Elders


    Destiny 2 Contest of Elders Modifiers

    Contest of Elders is a more demanding variant, featuring multiple boss encounters rather than just one. This mode is set at 2,020 Power, with limited revives and additional combat modifiers—noteworthy among them are Galvanized, Overcharge buffs, and Banes. You can earn more loot at the end of each boss fight, but expect a much tougher challenge compared to the standard Tomb of Elders. Be ready for action! Contest of Elders also includes options for matchmaking and solo play.

    Rewards from the Tomb of Elders


    Destiny 2 Tomb of Elders Reward Room

    After defeating the boss, it’s time to revel in the loot. Completing the Tomb of Elders yields Tonic reagents and seasonal weapon rolls. Two weapons specifically tied to this season can only be earned through this activity: Scavenger’s Fate (a 65 RPM Void shotgun) and Gridskipper (a 540 RPM Void pulse rifle).

    Additionally, Variks’ reward chests provide a substantial amount of Glimmer, Enhancement Cores, and some common crafting materials needed for Tonics. It seems that rarer materials may drop more frequently at higher tiers in the Contest of Elders, although this is not confirmed.