الوسم: The Legend of Zelda: Breath of the Wild

  • Does Kylie Jenner Love Gaming? Her Passion for Zelda: Breath of the Wild

    Does Kylie Jenner Love Gaming? Her Passion for Zelda: Breath of the Wild

    Famous media personality Kylie Jenner recently made waves online after a video showed her passionately expressing her love for Nintendo’s The Legend of Zelda: Breath of the Wild.

    In a new episode of Therapuss, she shared with host Jake Shane that Breath of the Wild is the highest-rated game of all time, and she proceeded to discuss the game’s storyline, mentioning the villain Ganondorf and Link’s quest to save the world and Princess Zelda.

    She also apologized to Zelda enthusiasts for being new to the beloved franchise and admitted to forgetting the names of the divine beasts, noting she had played Breath of the Wild for hours and days.

    Is Kylie Jenner a gamer? She Shares Her Fandom for The Legend of Zelda: Breath of the Wild

    The clip posted by Netflix on X (formerly Twitter) received mixed reactions. Some fans praised Kylie Jenner, while others accused her of trying to appear more relatable to average fans.

    One person commented, “Honestly, it seems like Breath of the Wild is her first Zelda game, and she’s still pretty early in it, so she didn’t do too badly.”

    Another said, “The fact that she said ‘Zelda’ and immediately started talking about BOTW (a game she’s barely played) without mentioning that the series has over 21 main titles—lol. She’s just a normie and should stay away from video game series. We don’t need her.”

    A different user responded, “You’re a loser. If someone wants to get into gaming, regardless of how often or deeply, they should be welcomed. People like to play casually if that’s what they enjoy.”

  • The Legend of Zelda: Breath of the Wild Adventure

    The game The Legend of Zelda: Breath of the Wild completely changed the way Zelda games are played. The biggest change was creating a huge open world where players have the freedom to explore Hyrule, fight monsters, and figure out dungeons in their own way.

    In this game, Link is portrayed as a well-known knight instead of a simple farmer, like in the earlier games. Instead of giving players all of Link’s backstory directly, the developers made him forget who he is. Finding lost memories becomes an important side quest, and players can discover these memories in different locations across Hyrule. Here’s a guide to some of their locations:

    Sacred Ground Ruins
    “Subdued Ceremony”

    • Warp to Central Hyrule.
    • Head north through Hyrule Field until the Sacred Ground Ruins appear.
    • The memory is in the glowing area in the middle of the circular ruins, showing how the Champions united.
      This memory provides insight into the timeline of Breath of the Wild and introduces the game’s backstory.

    Lake Kolomo
    “Resolve and Grief”

    • Warp to Grand Plateau Tower and paraglide toward Hyrule Field.
    • Aim your flight towards Hyrule Castle, coming to the banks of Lake Kolomo.
    • The memory is among the trees with the mountains in the background.
      In this scene, Link sees a cutscene revealing Zelda’s worries as she and the Champions try to defeat Ganon.

    Ancient Columns
    “Zelda’s Resentment”

    • This is just outside the Tena Ko’sah Shrine, so you can warp there and walk over, or go through Piper Ridge from Tabantha Tower if you haven’t found the shrine yet.
    • The memory is outside the shrine, so it’s easy to spot.
      It shows Zelda’s initial annoyance with having a guard constantly watch her.

    Kara Kara Bazaar
    “Blades of the Yiga”

    • Warp to Wasteland Tower or Kay Noh Shrine, then head south-west toward Gerudo Town.
    • Outside, near a small pond at the edge of the town, you’ll find the memory.
      This scene recalls how Link saved Zelda early in their friendship from assassins.

    Eldin Canyon
    “A Premonition”

    • From Eldin Tower, paraglide west into the mountains.
    • Slightly steer south until you reach the spot shown in the game.
      This memory depicts the aftermath of a big fight with Ganon’s forces. Before moving on, it’s worth solving the nearby Korok rock puzzle.

    Irch Plain
    “Silent Princess”

    • Warp to Ridgeland Tower and glide toward Hyrule Castle on Irch Plain.
    • Go around the castle until you see a tall, lone tree.
    • The memory is right next to that tree.
      This scene shows Link and Zelda identifying plants and animals native to Hyrule. Be careful, as the area is dangerous, so try to visit quickly or when you’re prepared to deal with Guardians.

    West Necluda
    “Shelter From The Storm”

    • Warp to the Great Plateau Tower and glide east toward the Dueling Peaks, or cross the river south of Bosh Kala Shrine for a quicker route.
    • Cross Scout’s Hill and find the memory under a tree atop a large rock.
      This scene discusses Zelda questioning her and Link’s roles as heroes fighting the darkness.

    Hyrule Castle
    “Father and Daughter”

    • This is the most difficult to reach since it’s in the castle’s most dangerous area. The memory is located in Princess Zelda’s Study at the top of the castle.
    • The easiest way is to paraglide from the west over the moat, but beware of Guardians along the way.
      It shows the strained relationship between Zelda and her father before the monster Ganon rises.

    Spring of Power
    “Slumbering Power”

    • Find this memory near East Akkala Stable, close to Tutsuwa Nima Shrine.
    • From the stable, ride a horse north into the grassy fields.
    • Eventually, you’ll reach a sinkhole with waterfalls, and the memory is at the bottom.
      It reveals Zelda’s efforts to awaken her powers.

    Sanidin Park Ruins
    “To Mount Lanayru”

    • Warp to the Central Tower and go west until you cross the Regencia River.
    • On the other side, a large horse statue marks the ruins’ location.
    • The memory is in front of the statue, showing Zelda’s thoughts on traveling to the Spring of Wisdom.

    These locations help uncover the story of Zelda and Link, filling in the gaps of their memories and past experiences throughout their adventure.

  • Top 10 Strongest Recipes in BOTW & How to Craft Them

    Top 10 Strongest Recipes in BOTW & How to Craft Them

    Food plays a vital role in The Legend of Zelda: Breath of the Wild. Both raw ingredients and cooked dishes help Link recover health and stamina. Some foods also offer extra protection against harsh weather, such as cold or heat. Learning which recipes are most effective is an important skill for surviving the many challenges across Hyrule.

    The game offers 118 different cooked food dishes and 12 basic elixirs, each with variations. Recipes made from standard ingredients are straightforward, while elixirs require critters and parts from monsters or guardians. It’s a good idea to gather and stockpile whatever you find. You never know when these may come in handy.


    Best Recipes to Restore Stamina

    When exploring high mountains or running from enemies, stamina can deplete quickly. Some recipes can restore or boost your stamina wheels, helping you reach new places in Hyrule.

    Examples include:

    • Enduring Fried Wild Greens: Adds 2 extra stamina wheels. Made with 5 Endura Carrots.
    • Enduring Steamed Meat: Adds 1 stamina wheel. Uses 2 Endura Carrots, 2 Endura Shrooms, and 1 Raw Gourmet Meat.
    • Energizing Salt-Grilled Fish: Fully refills up to 3 stamina wheels. Created with 2 Staminoka Bass, 2 Stamella Mushrooms, and Rock Salt.
    • Energizing Honey Candy: Replenishes nearly 3 stamina wheels. Made with 5 Courser Bee Honey.

    Using these recipes efficiently can keep you moving longer between rests or before needing to recharge.


    Recipes for Restoring Hearts

    In tough battles or dangerous encounters, restoring health is crucial. Starting with only three hearts, you’ll want to use recipes that maximize health recovery.

    Examples include:

    • Fish and Mushroom Skewers: Fully recovers health and grants 20 extra hearts. Crafted with Big Hearty Truffles and Hearty Salmon.
    • Full Recovery Dishes: Such as “Copious Seafood Skewers” or “Fish Skewers,” which restore all health plus additional hearts.
    • Steamed and Glazed Meats: Max out to 28 hearts with 4 Raw Gourmet Meats plus a vegetable like Endura Carrot or Durian.
    • Special Fruits: Like Steamed or Glazed Fruit, to boost health while exploring.

    Early in the game, focusing on full-heart recovery can prevent constant reloading from death and keep you alive longer.


    Weather Resistance Recipes

    Hyrule’s unpredictable climates require cold, heat, and electric resistance. Foods labeled “spicy” grant cold resistance, “chilly” for heat, and “electro” for electricity.

    Examples include:

    • Spicy Steamed Mushrooms: Protects against cold for 30 minutes, made with Sunshrooms, Farosh’s Horn shard, and spices.
    • Chilly Fruits: Like “Chilly Fruit and Mushroom Mix,” lasting 30 minutes against cold.
    • Electro Fish and Mushroom Skewers: Protect against electricity for 30 minutes, using Voltshrooms, Farosh’s Horn, and other critters.
    • Special ingredients such as shards of dragon horns can extend resistance effects significantly (up to 30 minutes or more).

    While farming dragon parts can be dangerous and time-consuming, wearing weather-resistant clothing is often easier and more efficient for enduring extreme conditions.


    Speed Boosting Recipes

    Sometimes escaping danger is smarter than fighting. Recipes that boost movement speed are useful for quick getaways.

    Examples:

    • Hasty Fruit and Mushroom Mix: Grants 30 minutes of increased speed using Fleet Lotus Seeds, Rushroom, and Farosh’s Horn shard.
    • Hasty Veggie Cream Soup: Offers 11 minutes of increased movement speed with Swift Carrots, Milk, and Monster Extract.
    • Hasty Apple Pie: Provides about 10 minutes of fast travel, made with apples, Fleet-Lotus Seeds, and sweeteners.

    Keep a couple of these handy—they’re helpful for quick escapes but less critical than health or stamina recipes.


    Combat Boost Recipes

    Boosting attack or defense helps when facing powerful enemies. “Tough” dishes increase defense, while “mighty” dishes increase attack.

    Examples include:

    • Tough Salt-Grilled Fish: Strong defense boost for nearly 5 minutes, prepared with Armored Porgy and Rock Salt.
    • Mighty Simmered Fruit: Attack boost for 30 minutes, using Mighty Bananas and dragon parts.
    • High-defense dishes are best saved for boss fights or tough encounters with enemies like Lynels.

    Stealth Recipes

    Sneaking past enemies like the Yiga Clan can sometimes be the best strategy. Some recipes temporarily boost stealth abilities.

    Examples:

    • Sneaky Fried Wild Greens: Provides 30 minutes of stealth boost, made with Silent Princess, fairies, and Farosh’s Horn.
    • Sneaky Steamed Fish: Offers 10 minutes of increased stealth with Silent Princess, Sneaky River Snails, and other critters.
    • More stealth foods can help you navigate hazardous areas undetected.

    Having these on hand makes sneaking easier when you prefer avoiding combat.


    Elixir Combinations

    Elixirs are made from critters (frogs, insects, lizards) combined with monster parts. The type of critter determines the elixir’s nature, while monster parts affect how long it lasts.

    Some of the most powerful monster parts include:

    • Bokoblin Guts
    • Moblin Guts
    • Lizalfos Tails
    • Lynel Guts
    • Keese Eyeballs and others

    Popular elixir recipes might provide:

    • Extra hearts (with Hearty Lizards)
    • Stamina regeneration
    • Increased attack, defense, or stealth

    Preparation might require farming dangerous creatures, but these elixirs can be game-changers during boss fights or extended exploration.


    Final Tips

    It’s wise to keep a variety of recipes and elixirs ready. Health and stamina recovery are always a priority, especially early on. Weather resistance and stealth foods are useful but can often be replaced with armor or clothing for durability.

    Overall, gathering ingredients and understanding how to combine them effectively will give you many strategic options. Stock up on versatile recipes—you never know when you’ll need a quick boost to survive or escape in Hyrule.

  • Zelda: Breath of the Wild – Trial on the Cliff Quest Guide

    Zelda: Breath of the Wild – Trial on the Cliff Quest Guide

    The Qaza Tokki Shrine in Zelda: Breath of the Wild is nestled within the North Lomei Labyrinth. To access this shrine, you’ll need to successfully complete the Trial of the Labyrinth. This shrine challenges your patience and intelligence, rewarding you with a spirit orb for your efforts in locating it.

    Make sure to pack at least one fire weapon, as it’s essential for your journey.

    Location of the Zelda BOTW Qaza Tokki Shrine

    qaza tokki shrine location

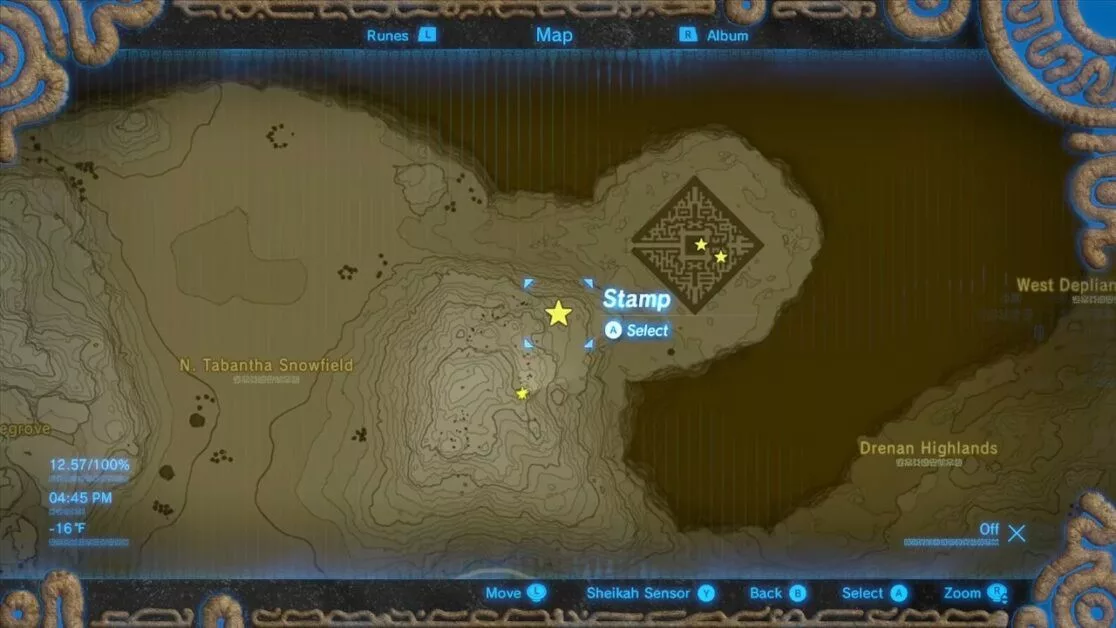
    The Qaza Tokki Shrine is situated to the northeast of the Tabantha Tundra in the Hebra region of Hyrule. It lies within the North Lomei Labyrinth, to the northeast of the N. Tabantha Snowfield, marked by a square icon on the map.

    Accessing this shrine can be quite challenging due to its placement in one of Hyrule’s harshest climates, further complicated by the need to tackle another trial. Equip gear that offers at least +2 cold resistance to ensure Link’s survival. You can either trek from the N. Tabantha Snowfield or climb up some nearby rocks to glide into the North Lomei Labyrinth.

    Solving the Qaza Tokki Trial in Zelda: Breath of the Wild

    The Trial on the Cliff commences upon entering the North Lomei Labyrinth in Zelda BOTW. This trial involves locating the hidden Qaza Tokki shrine and liberating the labyrinth from Ganon’s blight.

    You can find five treasure chests within the North Lomei Labyrinth. Head to the east corner to uncover the first chest containing 5 ice arrows. Your minimap will be invaluable for navigating the labyrinth. The second chest can be found in the north corner and holds the Edge of Duality, boasting a base damage of 50.

    Watch out for Silver Lizalfos, as they can call for help. Utilizing fire weapons will be effective against these foes.

    qaza tokki shrine

    Next, head to the west corner where you’ll discover a Silver Rupee in another chest. The minimap reveals a square section in the labyrinth’s center. Navigate to the southwest corner to locate a large eye inflicting blight. Use your arrows to take it down and purify the labyrinth from Ganon’s influence.

    Continue onward to find another chest containing gold Rupees located in the northwest corner of the square area in the heart of the North Lomei Labyrinth.

    From the west corner, head straight then veer northward. Keep to the right until you reach a hidden staircase marked by two fire lamps. Ascend these stairs to reach the top of the labyrinth.

    At the top, you’ll find a treasure chest containing a diamond. You should also spot the entrance to the Qaza Tokki shrine from this vantage point. Glide down and activate the lift to enter the shrine.

    Upon proving your worth by locating the Qaza Tokki shrine in Zelda BOTW, you will be honored by Qaza Tokki upon entering. Open the treasure chest in the center of the room to receive Barbarian Leg Wraps. Finally, interact with Monk Qaza Tokki to earn a Spirit Orb.

  • How to Discover and Tame

    How to Discover and Tame

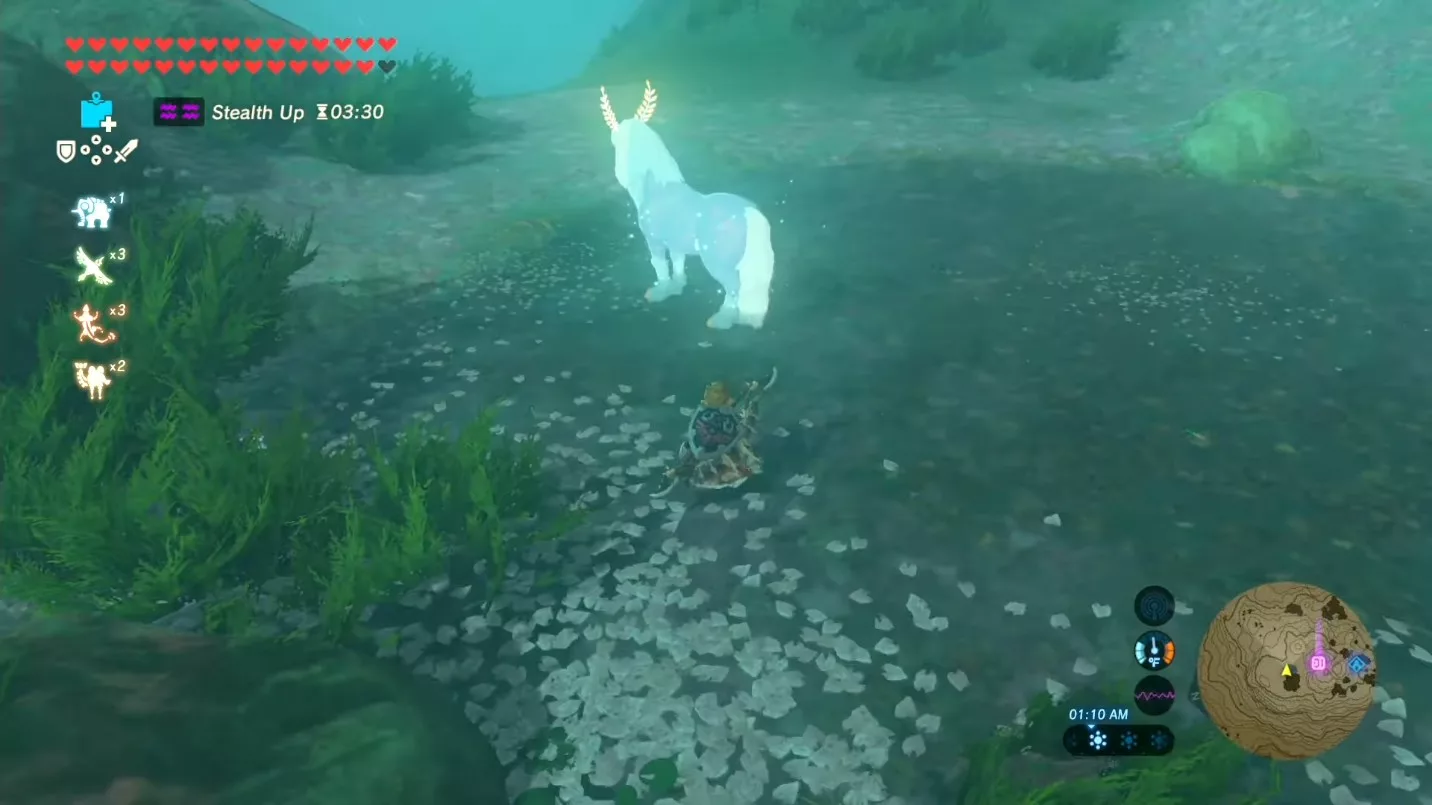
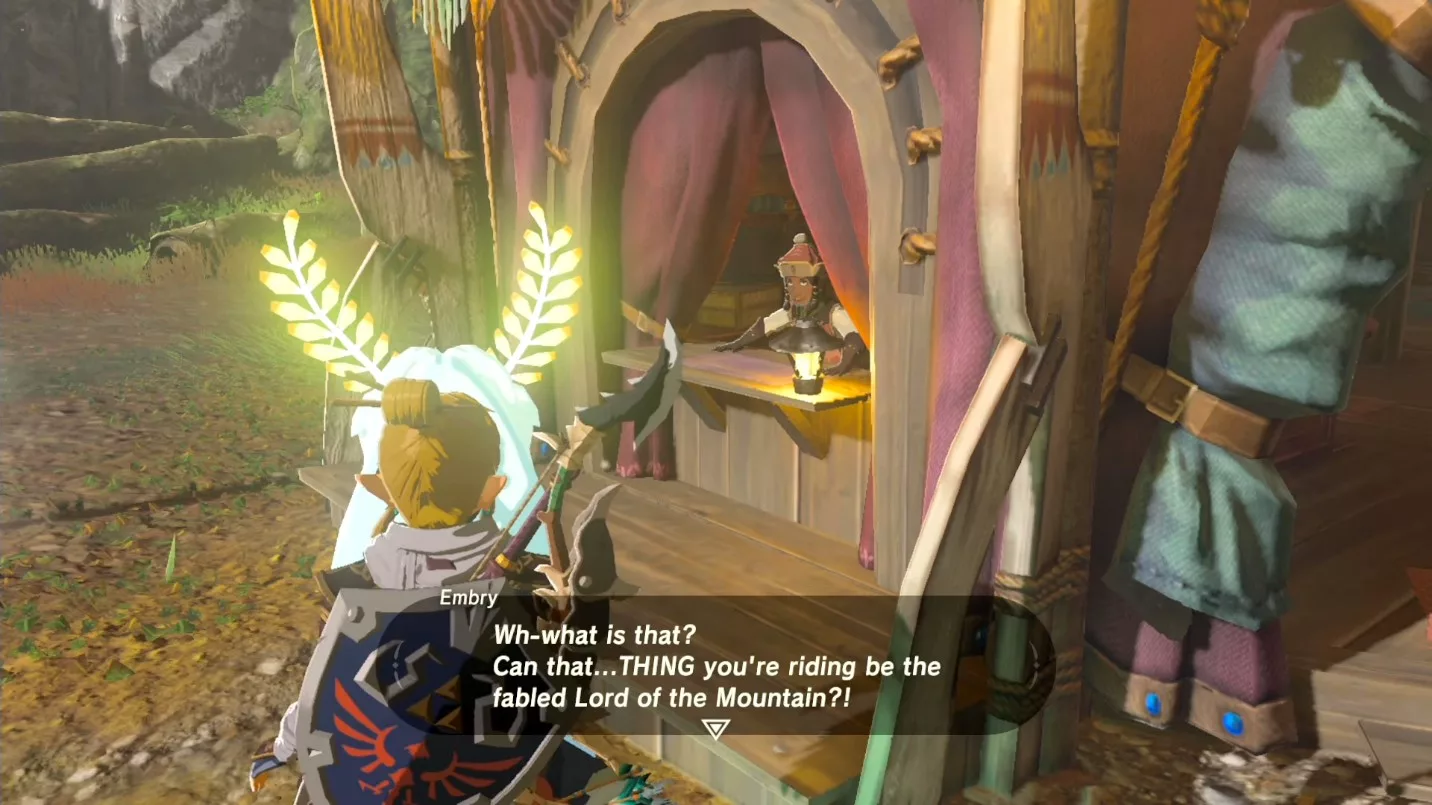
    Among the majestic beings in Zelda: Breath of the Wild, the Lord of the Mountain, also known as Satori, stands as the mightiest. This elusive creature has a low spawn rate and proves challenging to capture. It can be found on Satori Mountain, appearing mainly at night. Since its appearances are unpredictable, you may often leave empty-handed after searching its usual location.

    This guide specifies the essential requirements, location, and taming tactics for Satori in Zelda: Breath of the Wild.

    How to Locate the Lord of the Mountain in Zelda BOTW?

    BOTW Lord of the Mountain

    To find the Lord of the Mountain, start by heading to Botrick in the Outskirt region, located near the Rota Ooh Shrine. Botrick will direct you to search for the Lord of the Mountain on Satori Mountain.

    Satori Mountain is close to the Mogg Latan Shrine, so be sure to unlock this shrine beforehand for easy fast travel during your quest.

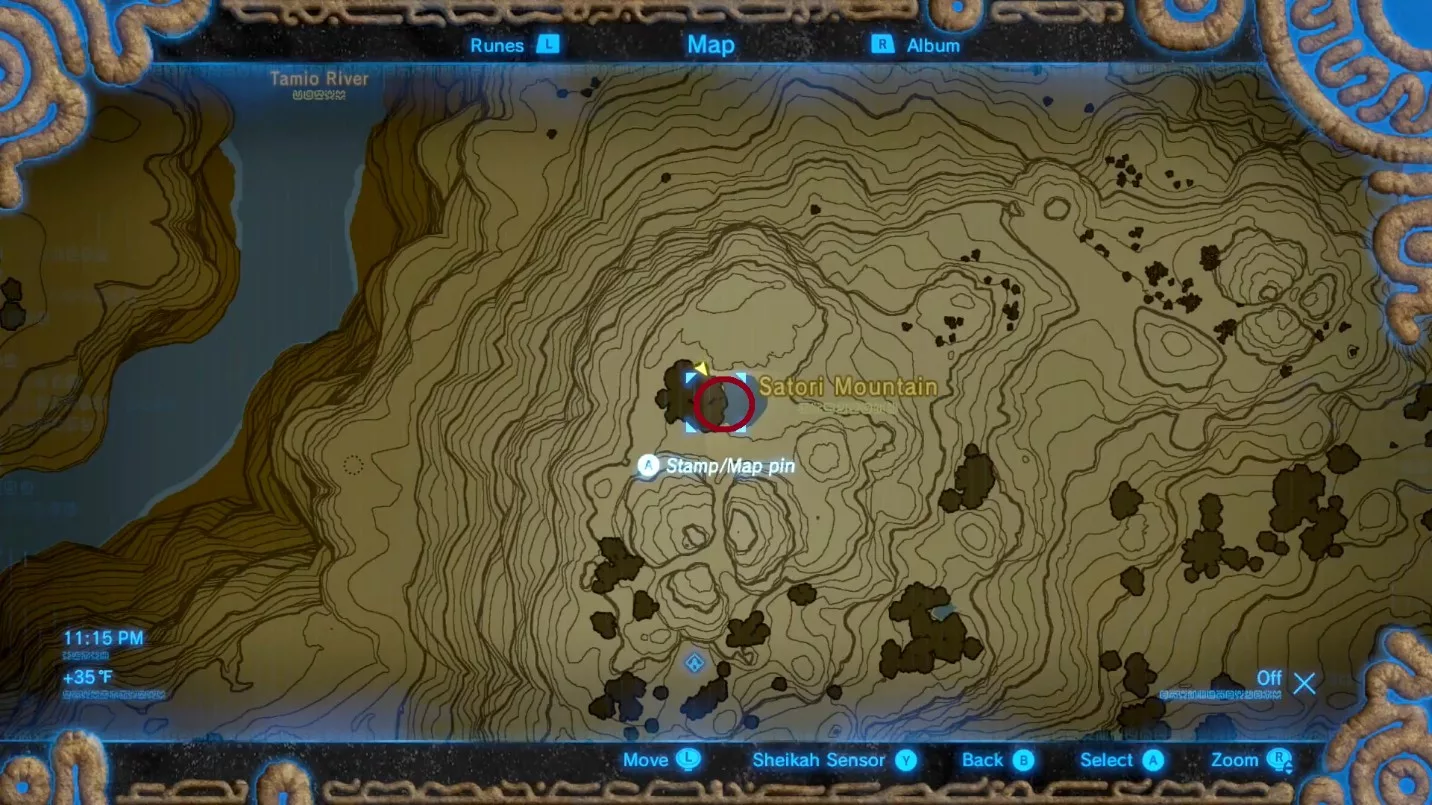
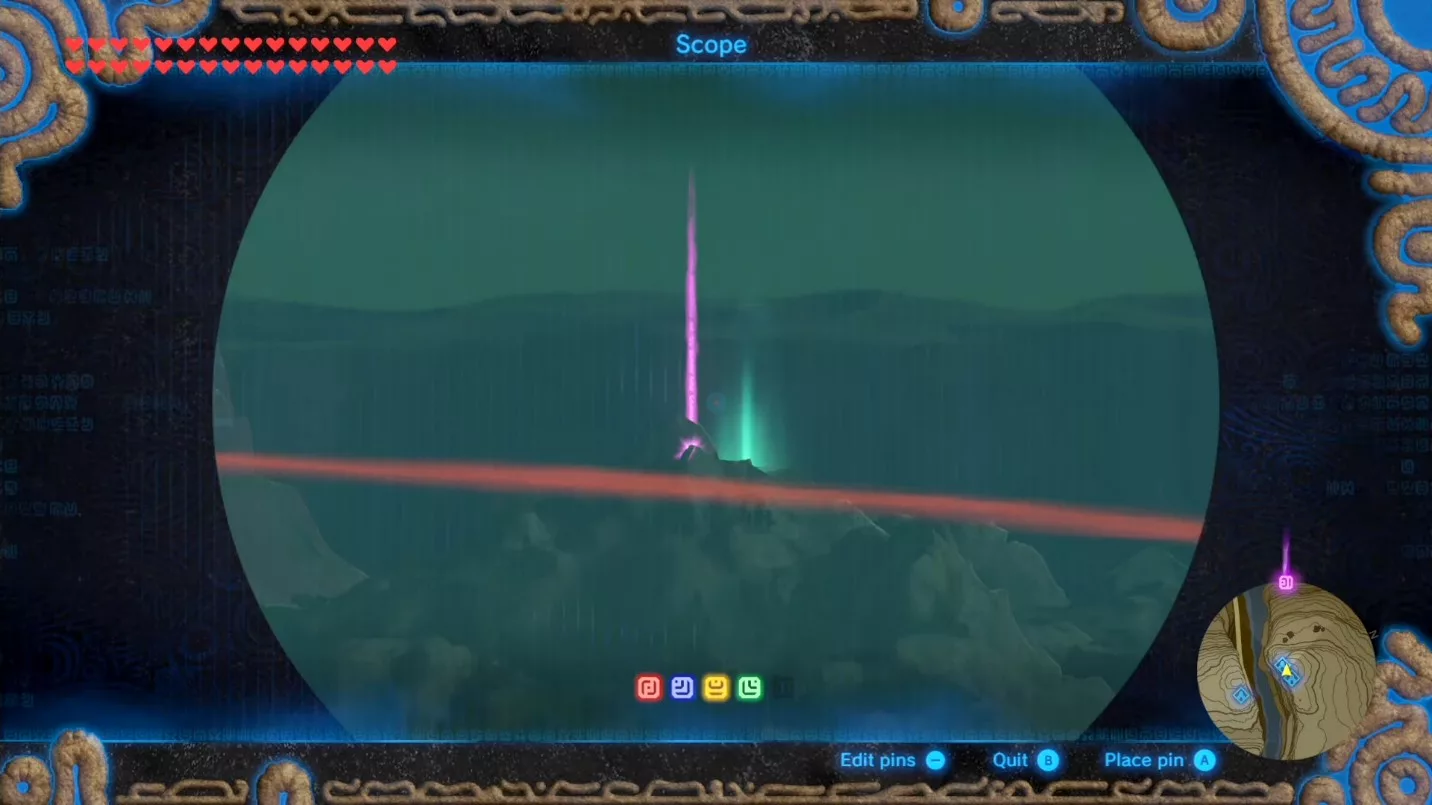
    The Lord of the Mountain spawns at random locations and times throughout the night. Keep an eye out for a glowing green light in the area. Utilizing Ridgeland Tower is a sound strategy; as soon as you see the glowing aura, move towards it. We spotted Satori at the location indicated below.

    How to Tame the Lord of the Mountain?

    Approach the Lord of the Mountain while remaining in stealth mode. Equip stealth gear like the Sheikah Set to get close to Satori undetected. It’s crucial to note that if you don’t wear stealth armor, the creature will sense your presence from afar and quickly flee.

    While on Satori Mountain, you’ll need to balance warmth with stealth. Make sure to have a warming or spicy dish, or carry a Spicy Elixir. Your stamina gauge should be full, and it’s wise to keep stamina-restoring items in your inventory as well.

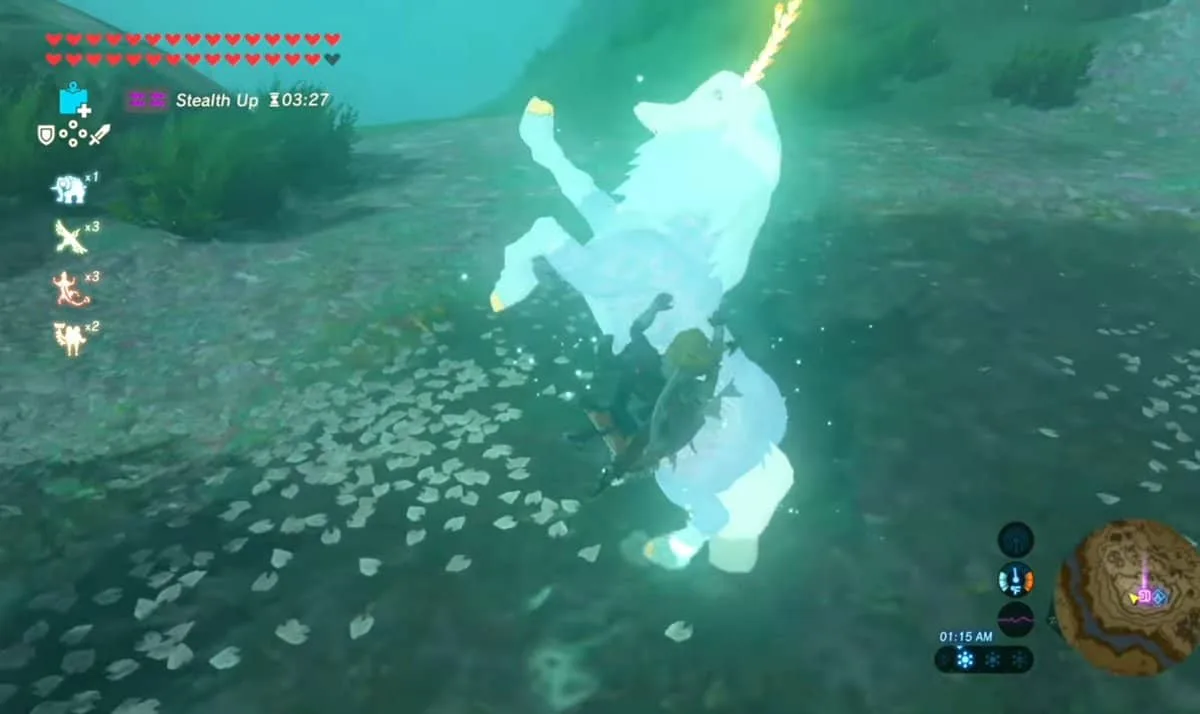
    Eventually, after some time, Satori will calm down, allowing you to ride it.

    Can You Register the Lord of the Mountain?

    BOTW Lord of the Mountain

    In contrast to other creatures, the Lord of the Mountain cannot be registered at a stable. You can ride it only for the duration of your time on its back; once you dismount, it will swiftly flee and vanish.