الوسم: Survival Horror

  • How to Use the Golden Apple in Silent Hill 2 Remake

    How to Use the Golden Apple in Silent Hill 2 Remake

    The Golden Apple in the Silent Hill 2 Remake is a small puzzle that seems like it’ll be important in the Wood Side apartments, but in reality, it doesn’t do much. At first, you might think it’s a bigger deal than it actually is. To help keep your expectations in check, here’s what the Golden Apple actually does in the game.

    You can find the Golden Apple inside a wardrobe in room 108 of the Wood Side apartments. It appears shortly after you get the chute courtyard key, which is a part of progressing through the story. Besides the apple, the wardrobe contains a wedding dress, but once you’ve added the fruit to your inventory, there’s not much else to it at this point.

    Don’t stress too much about using the apple for a complicated puzzle—it’s mainly just a key you’ll need later. When you reach room 208 on the floor above, you’ll use it to access a safe in the Wood Side area. Opening this safe rewards you with the old man coin, which is needed for the Coin Machine puzzle in the game.

    Since using the apple is part of moving forward in the story, missing it is pretty much impossible. You’ll need to use it to progress, so even if you don’t think much of it at first, it’s an essential piece for moving ahead.

  • Hidden Inari Seals Locations in Silent Hill F: A Complete Guide

    Hidden Inari Seals Locations in Silent Hill F: A Complete Guide

    Silent Hill f moves away from the typical American setting of previous Silent Hill games and instead ventures into Japan, exploring its culture in detail. Ebisugaoka, Hinako’s hometown, stands out as a remote place with a unique history rooted in religious beliefs and a very isolated community.

    The town’s reverence for the god Inari is central to the story, and his symbol appears frequently throughout the game. This symbol acts as a key to some of the deepest lore and the most valuable items, but you’ll need to find the right key to unlock them.

    Most of the Inari Seals can only be unlocked in a New Game Plus playthrough. While some spoilers will be shared here, they will be minimized, though some details may still be mentioned.

    What Are the Inari Seals?

    During the game, you will encounter the figure known as Fox Mask. Though never explicitly stated, he clearly represents Inari, whom the town of Ebisugaoka holds in high esteem. Because of this connection, Fox Mask is granted immense strength.

    You will notice many doors and boxes marked with his symbol or sealed with his talismans. These seals often appear on doors as black markings featuring Inari’s symbol or on various smaller boxes found mainly in the real world, covered with seals.

    These Inari Seals are optional and easy to overlook if you’re not actively searching for them.

    How to Open Inari Seals

    To open these seals, you need a specific item called the Brooch, which features Inari’s image. Fox Mask gives this to Hinako during her last full visit to the Otherworld, but at that point, only one Inari Seal is in the game.

    The Brooch is one of the few Key Items that carry over into a New Game Plus. Therefore, it’s essential to keep a save file with a completed game to ensure you can access all the seals later, especially those you might miss during your first playthrough.

    Starting a New Game Plus requires loading a saved game from a completed run, not simply choosing the “New Game” option.

    Locations and Rewards for Each Inari Seal

    Across the entire game, there are ten Inari Seals to find. Only one is accessible in your first playthrough; the other nine become available in New Game Plus.

    They are split evenly between the real world and the Otherworld, spaced out across the game’s timeline. Here’s a guide to all of their locations and the items inside:

    Inari Seal #1
    Located toward the end of your first playthrough, in the same Otherworld section where you obtain the Brooch. After collecting the White Sparrow and Black Sparrow Crests, the next time you enter the room with Inari statues, one door with the Inari symbol will open for you. Inside are items like the Mandate Of The Clan note, Ema Plate, and a Letter with a Pressed Flower note.

    Inari Seal #2
    Found early in a New Game Plus run, just after the Hokora in the south of Ebisugaoka, after the fog appears. Go down the stairs near the small box in the corner—its seal will burn away when approached. Inside are items like the Diary Of Revenge note and Ema Plate.

    Inari Seal #3
    In your first trip to the Otherworld, find this seal by locating the large tree with bulging eyes in the southeast. A box with seals is on a bench here. Inside are a note titled “A Perspective On Hierogamy” and a Shrew Mole Omamori. This seal appears during a later visit, where you’re searching for the Naginata, through a locked Inari door.

    Inari Seal #4
    Back in Ebisugaoka, on the way toward Rinko’s house, opposite the Hokora before entering the rice fields, you’ll find a box with the seals in front of a small shrine. The items inside include several notes, an Hotei-sama Sitting Cross-legged figurine, and a Crimson Water Puzzle.

    Inari Seal #5
    Located near Rinko’s house, opposite the Hokora before the rice fields. On a small shrine in front of a box is the Seal, which contains notes like the “Mandate Of The Clan,” an embroidered drawstring bag, and other notes. This seal appears during your second visit to the Otherworld, in a locked room in the leftmost area where you find the Naginata.

    Inari Seal #6
    Hidden in the south of Ebisugaoka, inside a locked Inari door in the area where you look for the Naginata during a later visit. Inside are several notes, including the “Diary Of Revenge,” along with an Ema Plate and other objects.

    Inari Seal #7
    During your third trip, in the area representing Rinko’s side of the story, find this in a passage in her section. Squeeze through a slit in the wall to access, where inside are items like the “A Perspective On Hierogamy” note and a Swallow Omamori.

    Inari Seal #8
    On the mountain path en route to Rinko and Shu, after entering the mountain area and following the path north, locate a container behind an enclosed sitting area. Inside are items such as the “First Mandate Of The Clan” and “Note Of Caution.” It is available in your second New Game Plus run.

    Inari Seal #9
    Near Hinako’s house, shortly after a flashback at the playground. The seal is in a home with surrounding walls and a pond. Inside are notes including the “Diary Of Revenge,” along with an Ema Plate.

    Inari Seal #10
    In Hinako’s house, specifically between the living room and the Ominous Photo room, lies the final seal. The box there contains the last items, and unlocking it completes the set of seals, earning you the “Inari-sama’s Secrets” achievement.

    Having uncovered all ten seals gives you full access to Inari’s secrets, revealing the deepest lore and rewarding you for your exploration.

  • Silent Hill 2 Remake: What’s the Playtime?

    Silent Hill 2 Remake: What’s the Playtime?

    How long does it take to finish the Silent Hill 2 Remake? The revamped version follows the same storyline as the original game but introduces a different pace with fresh gameplay elements, puzzles, and new areas to explore. This remake places greater emphasis on puzzles and introduces extra challenges, allowing players to wander and potentially get lost in certain environments.

    On average, players can expect to complete Silent Hill 2 in about 20 hours. However, this timeframe can vary based on your approach to the game, and it doesn’t account for additional content in New Game Plus (NG+). Below, I’ll provide more detailed information about the time it takes to finish the Silent Hill 2 Remake and what factors might influence those estimates.

    How long does it take to beat the Silent Hill 2 Remake?

    (Image credit: Konami)

    Typically, players can complete the Silent Hill 2 Remake in about 17 to 22 hours. The exact time will depend on your skill level and how much you explore the environment for collectibles and other challenges. While Silent Hill 2 isn’t an open-world game, it does feature some non-linear areas you can freely navigate, which adds to the exploration aspect. This is where puzzles, like the Garage Jack in Silent Hill 2 Remake, come into play, encouraging you to stray off the main path for rewards.

    Silent Hill 2 Remake New Game Plus

    (Image credit: Konami)

    Additionally, let’s consider the New Game Plus mode in the Silent Hill 2 Remake. The NG+ feature introduces new items, graphic options, and even alternative endings not available during your first playthrough. Players who dive into NG+ can obtain powerful weapons like the Chainsaw, which is among the most lethal in the game.

    For completionists or those looking to fully experience what Silent Hill 2 has to offer, multiple playthroughs are essential. With a total of 8 different endings in the Silent Hill 2 Remake, anyone aiming to see them all will need to replay the game several times, rather than just watching them online.

  • Complete Guide to Alan Wake 2 Lake House Computer Codes

    Complete Guide to Alan Wake 2 Lake House Computer Codes

    In the DLC for Alan Wake 2, you’ll find yourself blocked by a computer password at the Lakehouse just minutes after you start. Although there’s a hint indicating what the code should be, figuring out the necessary numbers and the correct order can be challenging. If you’re struggling with it, I’ve got the password worked out for you.

    Determining the Alan Wake 2 Lakehouse Computer Password

    (Image credit: Remedy)

    The passcode for the Lakehouse computer in Alan Wake 2 is 180738. Input that when prompted, and you’ll be able to access the controls for the security door.

    You can derive the code from the security memo located on the desk to your left. The memo mentions that the code changes daily and starts with a consistent set of numbers, followed by varying numbers each day—excluding birthdays or the current date. This means you need to identify one constant number and one that changes.

    The calendar next to the memo provides the changing number, specifically noting that actress Hedy Lamarr invented a torpedo guidance system when she was 38. (We can’t use the actual date, so that prominent 14 on the calendar is off-limits, no matter how tempting.)

    For the consistent number, check the diplomas and certificates hanging on the far wall. You’ll see a document stating the Lakehouse was completed on July 18, leading us to 18/07 as part of our code.

    Combining the consistent number from the Notice of Appointment (18/07) with the number derived from the calendar (38) gives you the code 180738 for the Lakehouse computer. Enter that to unlock the security booth door, where you can grab the Security Clearance 01 Keycard for the elevator.

    Alan Wake 2 Lake House Level -2 Computer Password

    You’ll need a different password for the computer on Level -2 of the Lakehouse in Alan Wake 2. You’ll come across this when you obtain the Security Clearance 02 Keycard and find some notes pertaining to paintings.

    After using the 02 Keycard to access the nearby door, you’ll find another computer with a note stating that an anniversary is a week from this Friday. An email on the computer indicates, “Today’s Password is the date of our SPECIAL UNFORGETTABLE ANNIVERSARY plus a brown shape with horns.”

    Checking the calendar reveals that a week from ‘next Friday’ is 09/22, based on the dates of 09/14/23 noted in both the email and the memo. The ‘brown shape with horns’ refers to the last painting listed on page 2 of the notes by the locked computer, which is numbered 25. Therefore, the password for the Level -2 computer in Alan Wake 2 is 092225.

  • Unlocking the Hospital Padlock Code in Silent Hill 2 Remake

    Unlocking the Hospital Padlock Code in Silent Hill 2 Remake

    In the Silent Hill 2 Remake, one of the first puzzles you encounter in Brookhaven involves a locked keybox in the reception area of the hospital. While James could solve this problem with a bit of brute force—like smashing the glass of every car window he’s passed—there’s actually a combination to unlock it. Discovering this code isn’t too difficult once you understand where to look. You can find hints in a nurse’s memo and around some photographs in the lobby. If you’re trying to unlock the padlock in the hospital reception area, here’s how the game cleverly conceals the code from you.

    Decoding the Hospital Reception Padlock in Silent Hill 2 Remake

    (Image credit: Konami)

    The padlock code for the hospital reception area in Silent Hill 2 Remake is 724. Just like the motel safe code from earlier in the game, you can open this padlock using just this number without solving the puzzle. However, if you prefer to find the answer on your own, let me explain how to do it.

    Your journey begins on the east side of the main floor of the hospital. Sneak into Exam Room Two through the window. Once inside, head over to Exam Room Three by using the connecting door. You’ll find a Nurse’s Memo there that provides a crucial hint:

    “Once you’re in the lobby, just look around. Now remember.
    Nurses. Doctors. Trees.”

    Next, go to the hospital entrance lobby and take a look at the photographs displayed on the walls. You will notice that all of the mentioned elements are depicted: seven nurses, two doctors, and four trees. The code to the padlock is simply the sum of these numbers, giving you the sequence 724.

    Once you enter 724 into the padlock, you’ll unlock the Basement Key, allowing you to access the stairs located in the southeast corner of the hospital.

  • Mastering the Seesaw Puzzle in the Silent Hill 2 Remake

    Mastering the Seesaw Puzzle in the Silent Hill 2 Remake

    In Silent Hill 2, the seesaw puzzle located in the Bluecreek Apartments requires you to find two bird figurines: a pigeon and a distorted swan. The goal is to place these figurines on the seesaw in a way that balances them perfectly. While the concept of balancing the seesaw is straightforward, the challenge lies in discovering the figurines as you explore the Bluecreek area. If you need assistance, we’ll guide you through finding these items and completing the seesaw puzzle in Silent Hill 2.

    Solution and Walkthrough for the Silent Hill 2 Remake Seesaw Puzzle

    (Image credit: Konami)

    Once you acquire the Minute Hand for the clock in Silent Hill 2, you can proceed to solve the Seesaw Puzzle by following these steps:

    1. After finishing the radio and valves puzzle in Silent Hill 2 Remake and installing the hour hand, you will obtain the Minute Hand but will be sealed inside.
    2. Find the Pigeon Figurine in the open wardrobe located in Apartment 210.
    3. In Apartment 209, go to the bathroom and break the divider that’s blocking the bathtub.
    4. Retrieve the Malformed Figurine Part from inside the bathtub.
    5. Go to Apartment 211 and break through the wall in the kitchen.
    6. Navigate through to find the Wooden Swan Head sitting on the counter.
    7. Combine the Swan Head and the Malformed Figurine Part in your inventory to create the Swan Figurine.
    8. Return to the Seesaw and place the Swan Figurine in the second innermost slot on the right, and the Pigeon in the far left slot. This setup will balance the seesaw and complete the puzzle.
    9. The seesaw will break, revealing the Winged Key as your reward.

    Completing this will open the door immediately to the left of the seesaw, allowing you to progress in the Silent Hill 2 Remake clock puzzle. If you need further help with that, we have a guide that outlines all the necessary steps. Plus, be ready for the next challenge, the Silent Hill 2 Remake moth puzzle, which we can assist you with as well.

    © GamesRadar+. Not to be reproduced without permission.

  • How to Retrieve Your Items in Silent Hill 2 Remake

    How to Retrieve Your Items in Silent Hill 2 Remake

    Retrieving your belongings in the Silent Hill 2 Remake after navigating through the hotel basement and the employee areas can be quite a challenge. Although the cabinet where you stored your items isn’t hard to find, it becomes complicated since you also left your map in there. This makes finding your way back a bit tricky. Technically, returning for your gear isn’t essential; you could choose to continue your journey without the weapons and equipment you’ve gathered throughout the game. However, with the game’s climax looming, it’s wise to gear up for what’s ahead. Here’s a step-by-step guide on how to locate the weapon cabinet near the elevator and retrieve your items.

    How to Retrieve Your Equipment After the Hotel Basement in Silent Hill 2 Remake

    (Image credit: Konami)

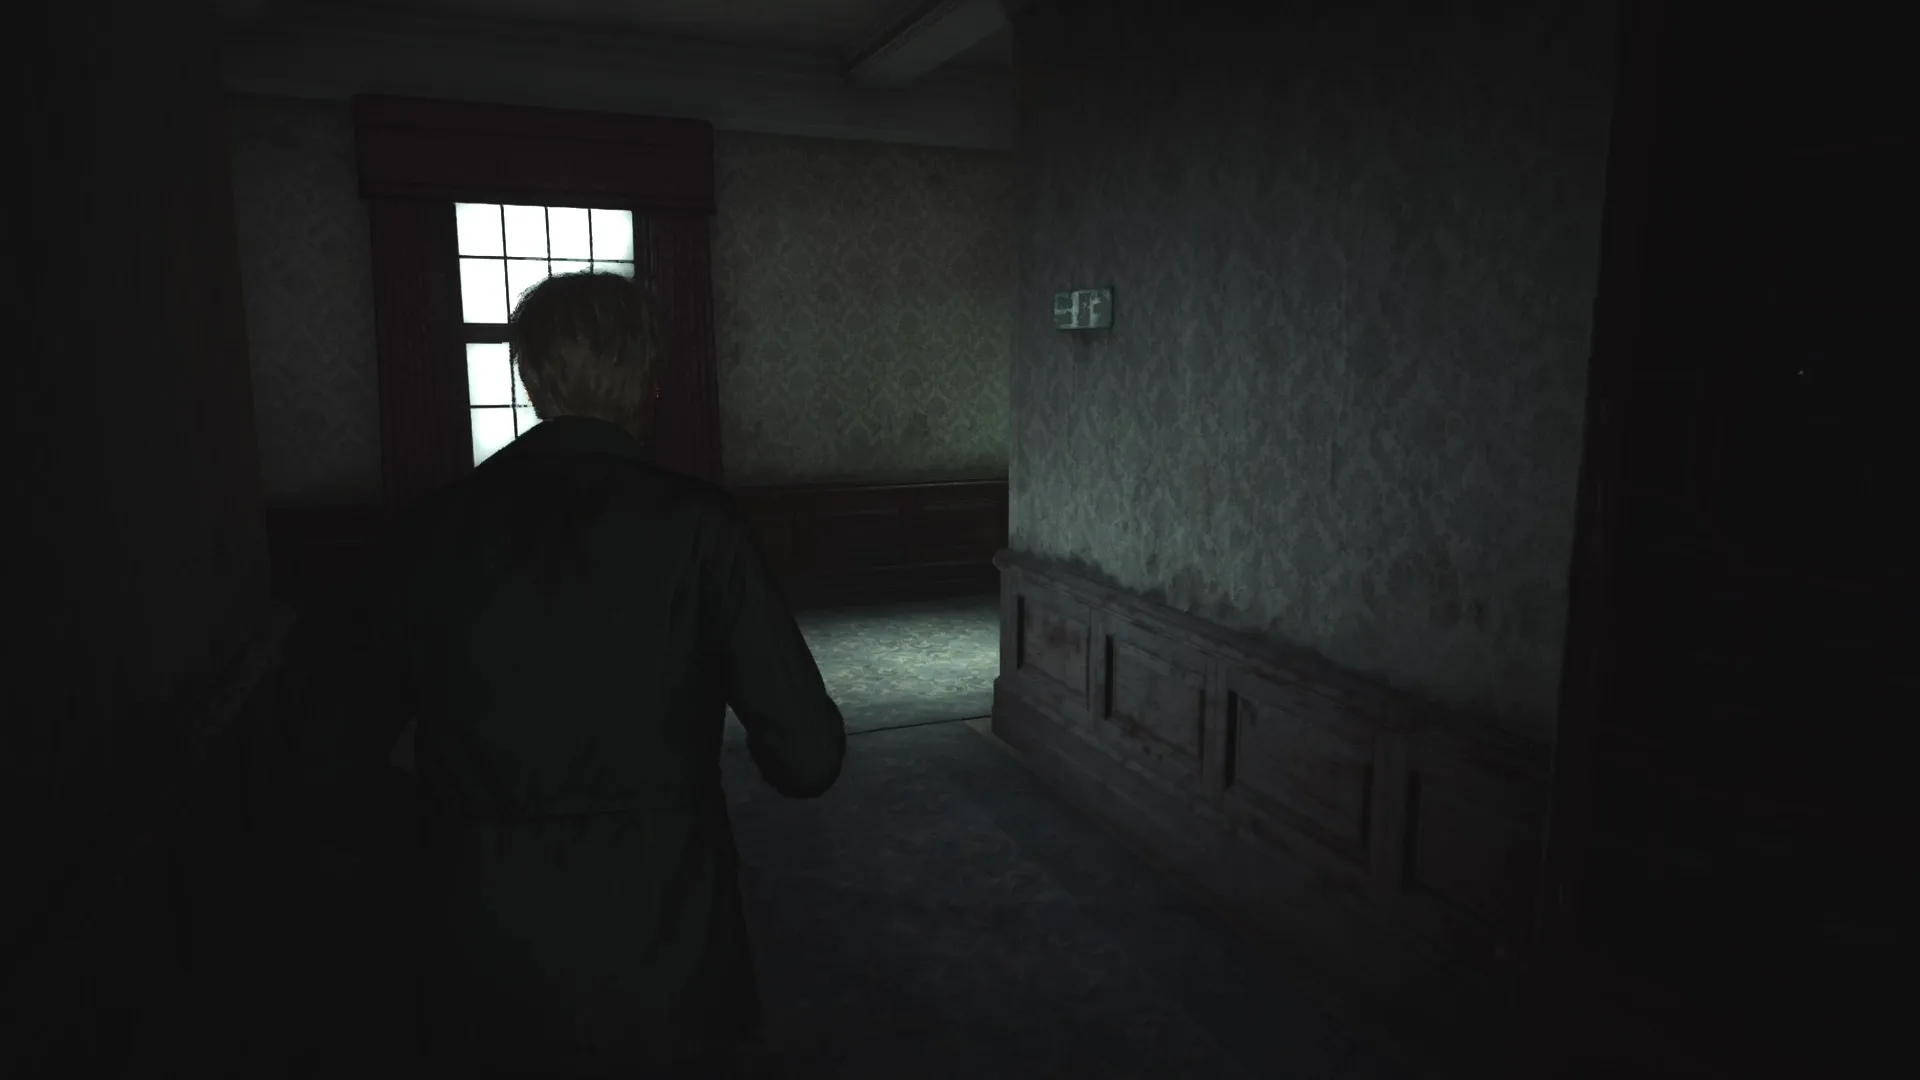
    Once you’ve left the hotel basement in Silent Hill 2 Remake, follow these steps to retrieve your items, weapons, maps, and equipment from the cabinet located in the employee elevator area. This is the same spot where you stored your gear before dealing with the ceiling-walking monsters and tackling the gem box puzzle. Here’s a simple route to guide you:

    1. After you obtain the Mermaid Figurine for the music box puzzle, exit the Venus Tears Bar into the hallway.
    2. Head up the stairs ahead to reach the hotel entrance.
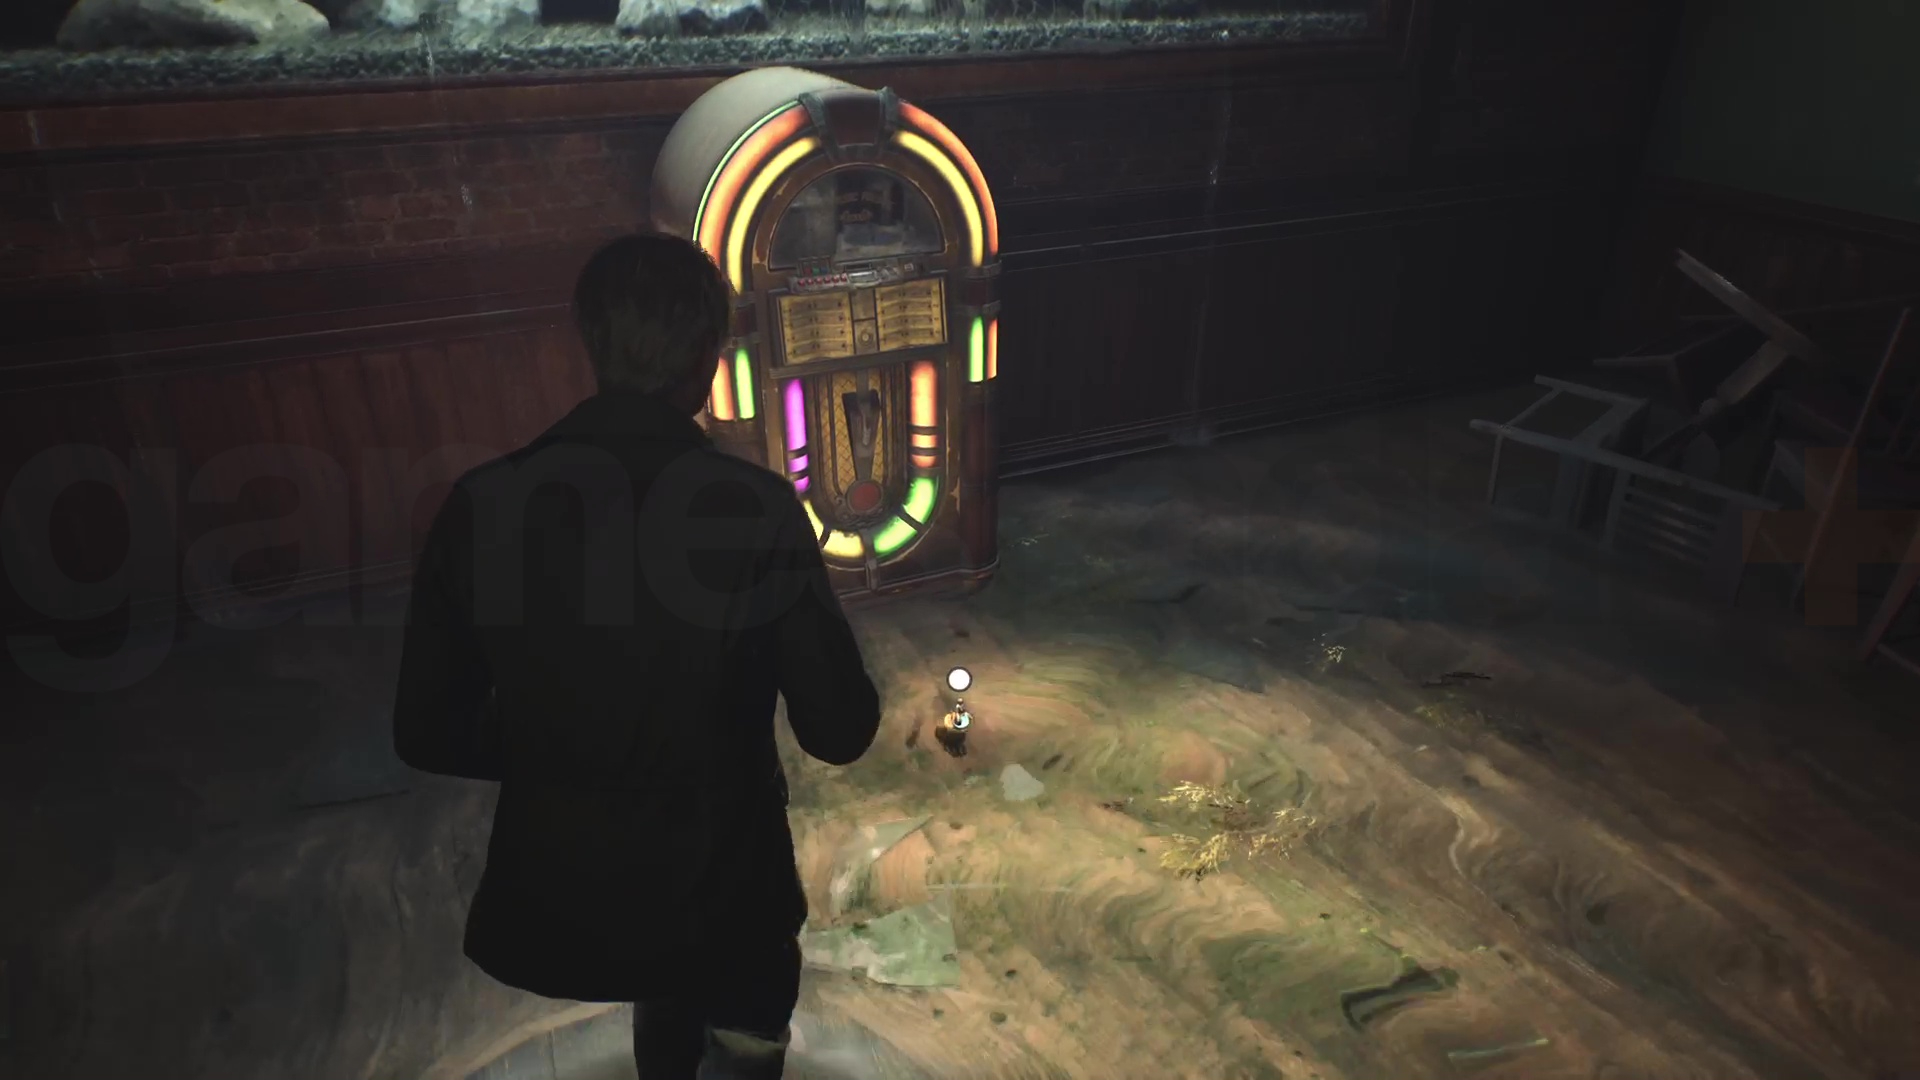
    3. Before interacting with the music box you see at the entrance, proceed up to the second floor (2F).
    4. Once at the top, take a left, then immediately make another left—you should be facing a window down a hallway.
    5. Approach the window and turn right to find a door labeled “Employee Elevator.”
    6. Enter through that door; a save point will be directly in front of you, while the cabinet is on your right.
    7. Interact with the cabinet to reclaim your weapons, items, and equipment.
  • Cracking the Music Box Puzzle in Silent Hill 2 Remake

    Cracking the Music Box Puzzle in Silent Hill 2 Remake

    The music box puzzle in the lobby of LakeView Hotel in the Silent Hill 2 Remake is one of the last major challenges in the game, serving as a focal point for the entire area. Much like the rotating cube puzzle, the music box commands your attention while you navigate various tasks designed to help you figure it out.

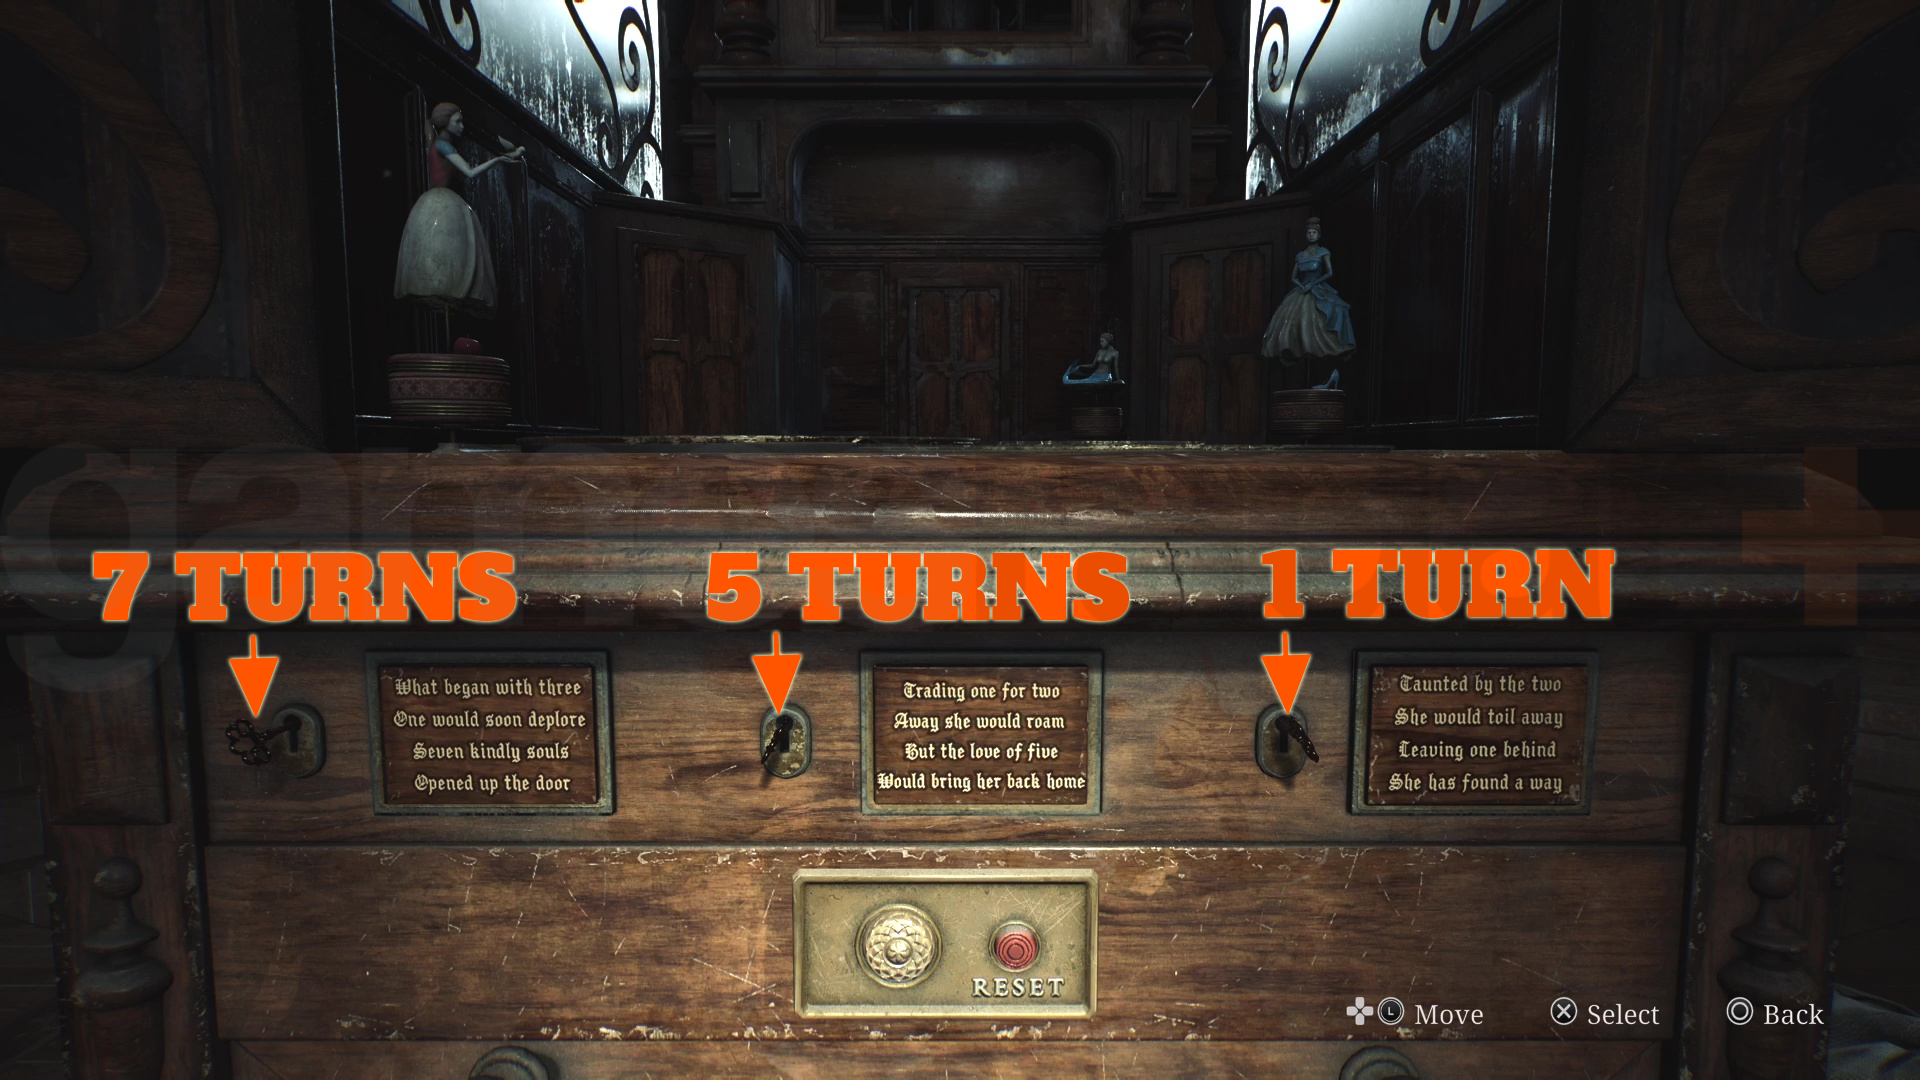
    Your main objective is to collect three princess figurines: Snow White, Cinderella, and the Little Mermaid. Once you have all of them, you can place them into the music box and solve it by adjusting the internal mechanisms to specific positions, guided by the clues provided in the poem below. But before diving in, let’s go through how to tackle the music box puzzle and locate all the princess figurines hidden in the hotel.

    How to Solve the Music Box Puzzle in Silent Hill 2 Remake

    (Image credit: Konami)

    To solve the music box puzzle, follow these steps:

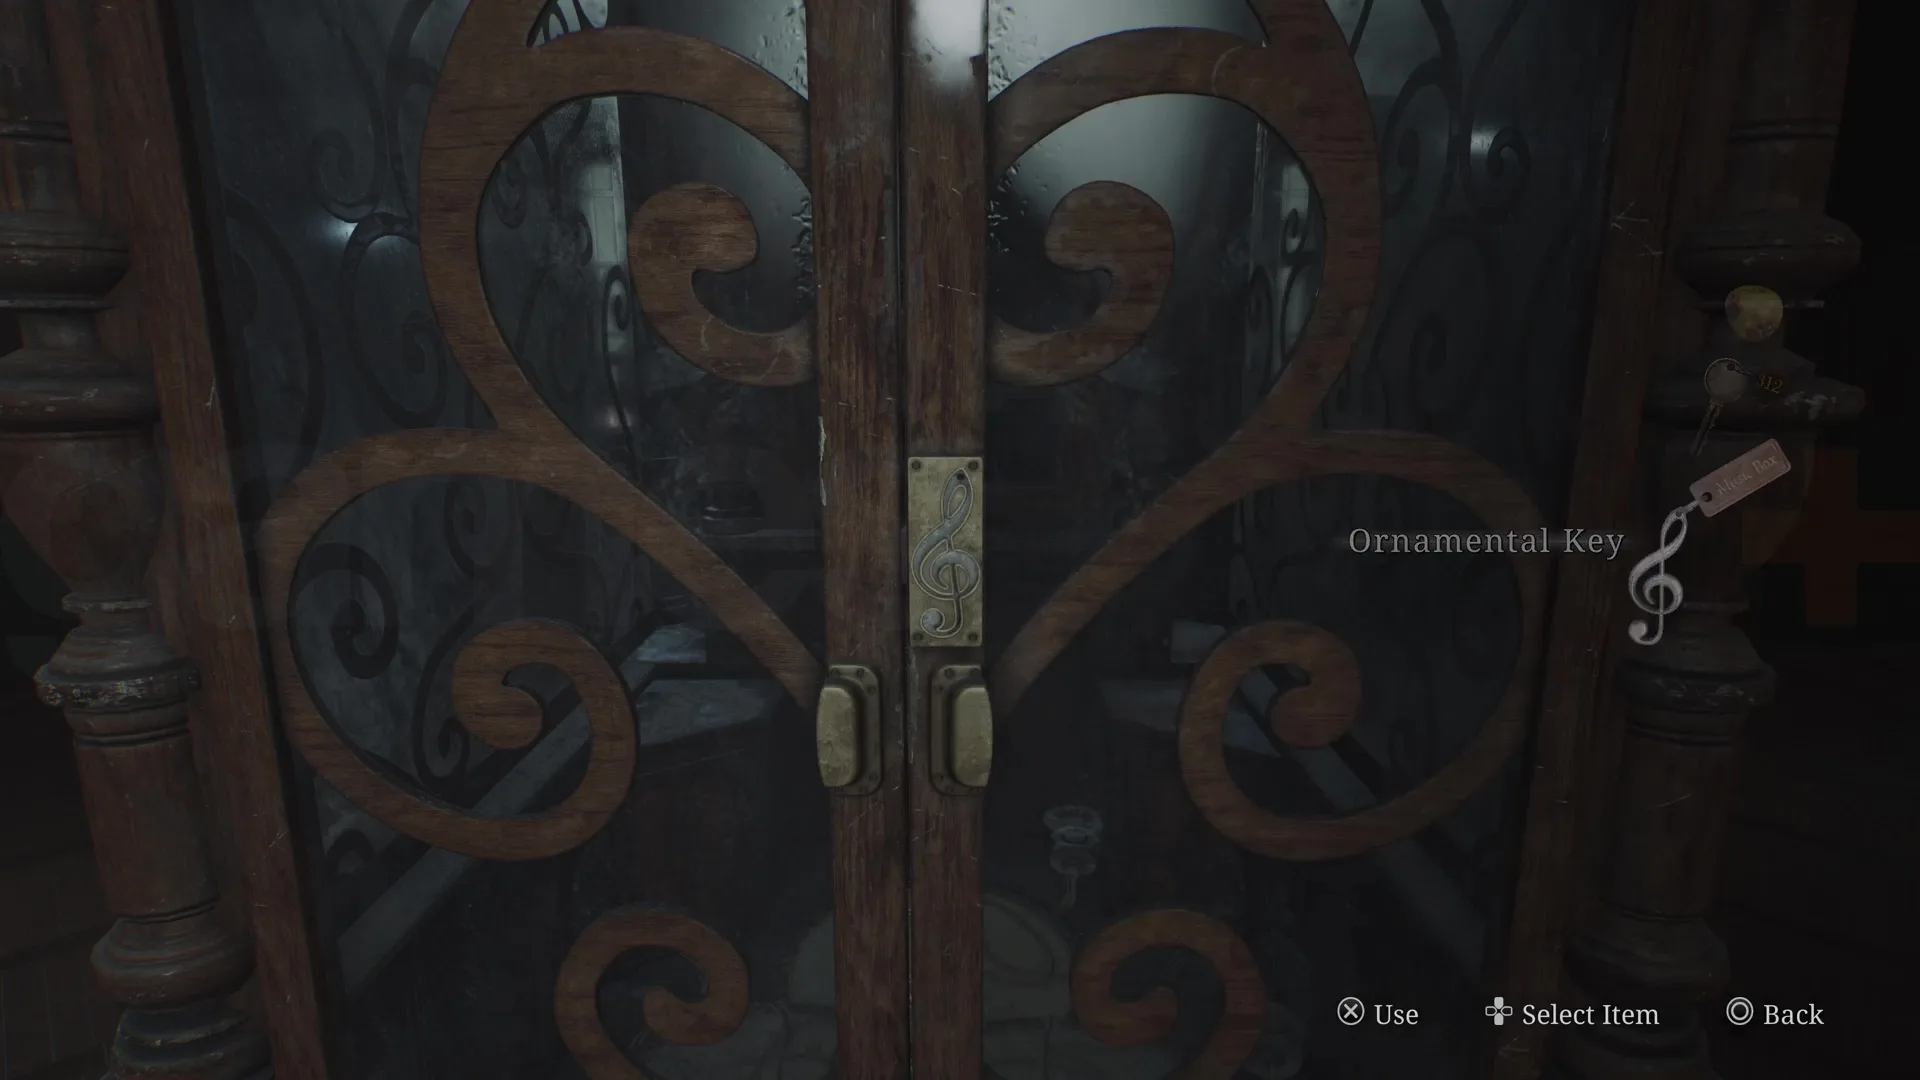
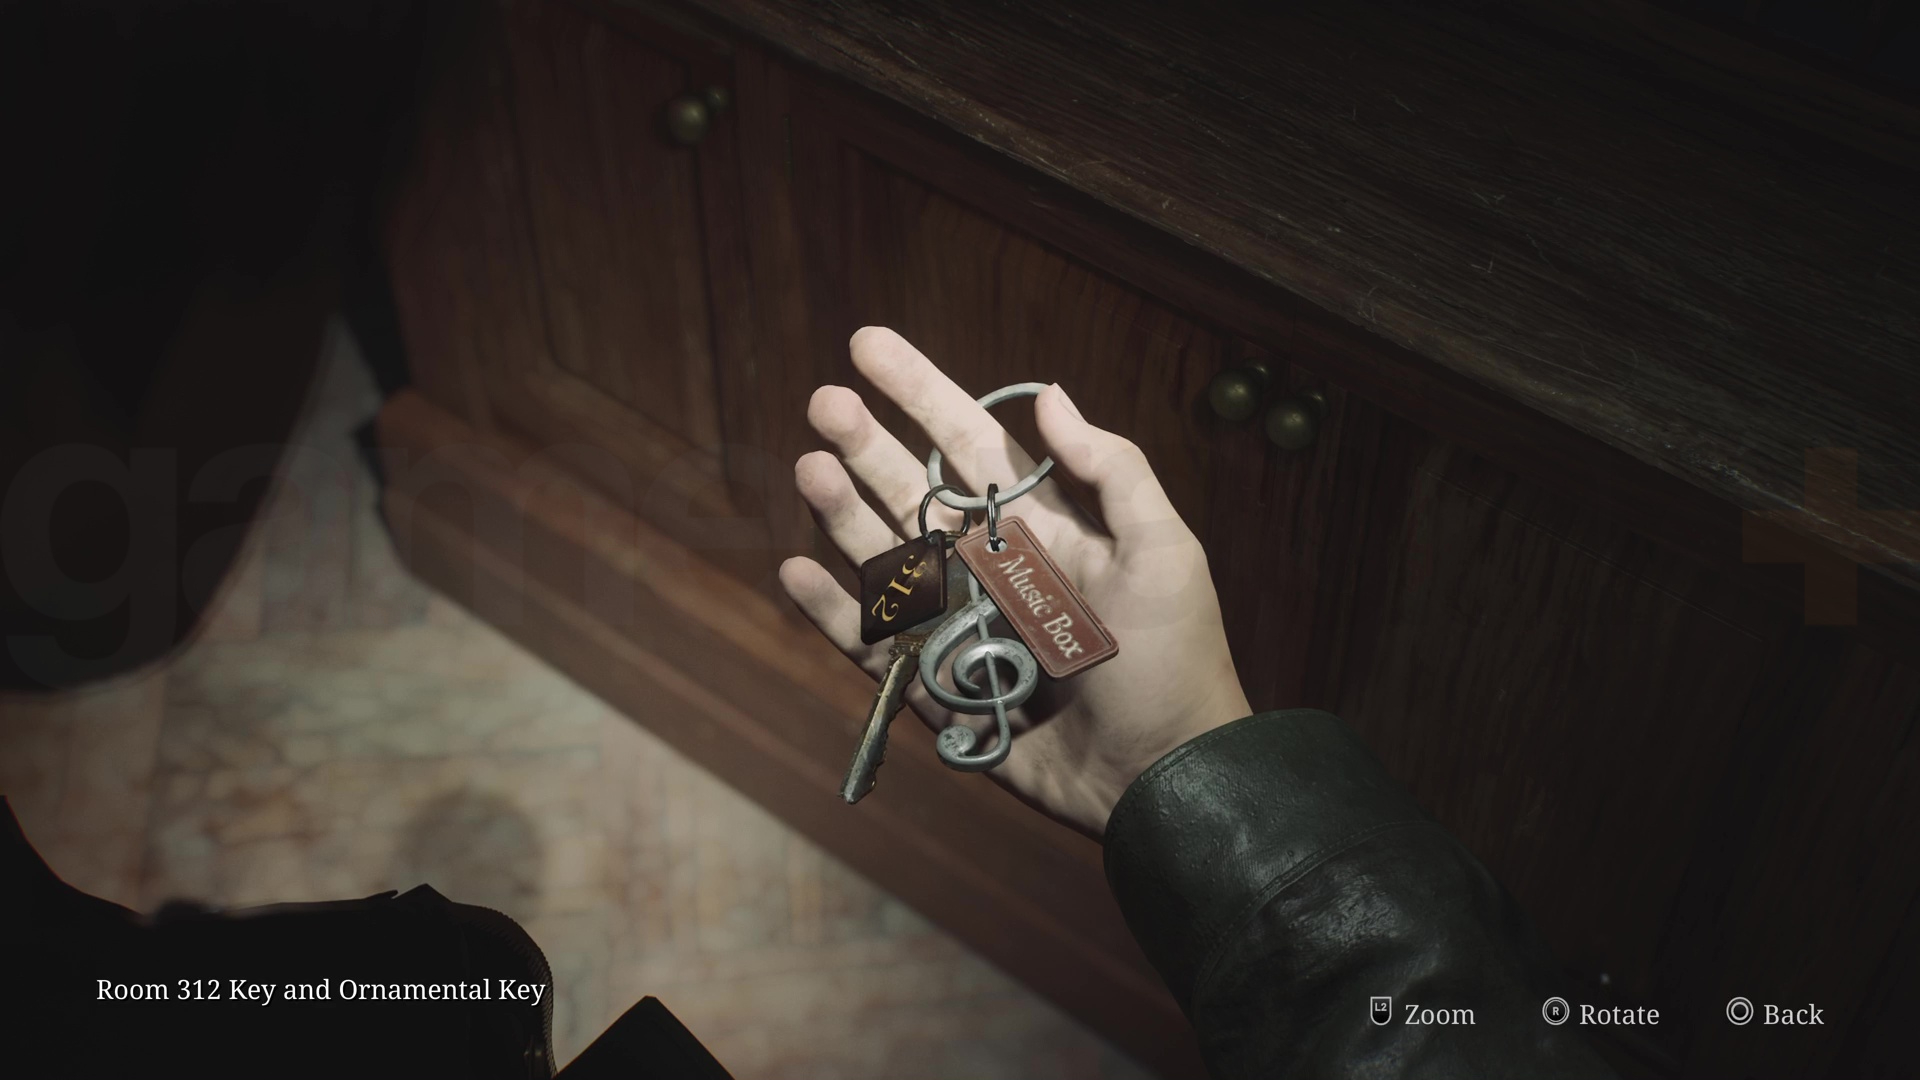
    1. Unlock the music box using the Ornamental Key, located in the Check reception area.
    2. Find the three Princess Figurines hidden throughout the hotel: Snow White, Cinderella, and the Little Mermaid. This may take some time.
    3. Insert the figurines into the Music Box.
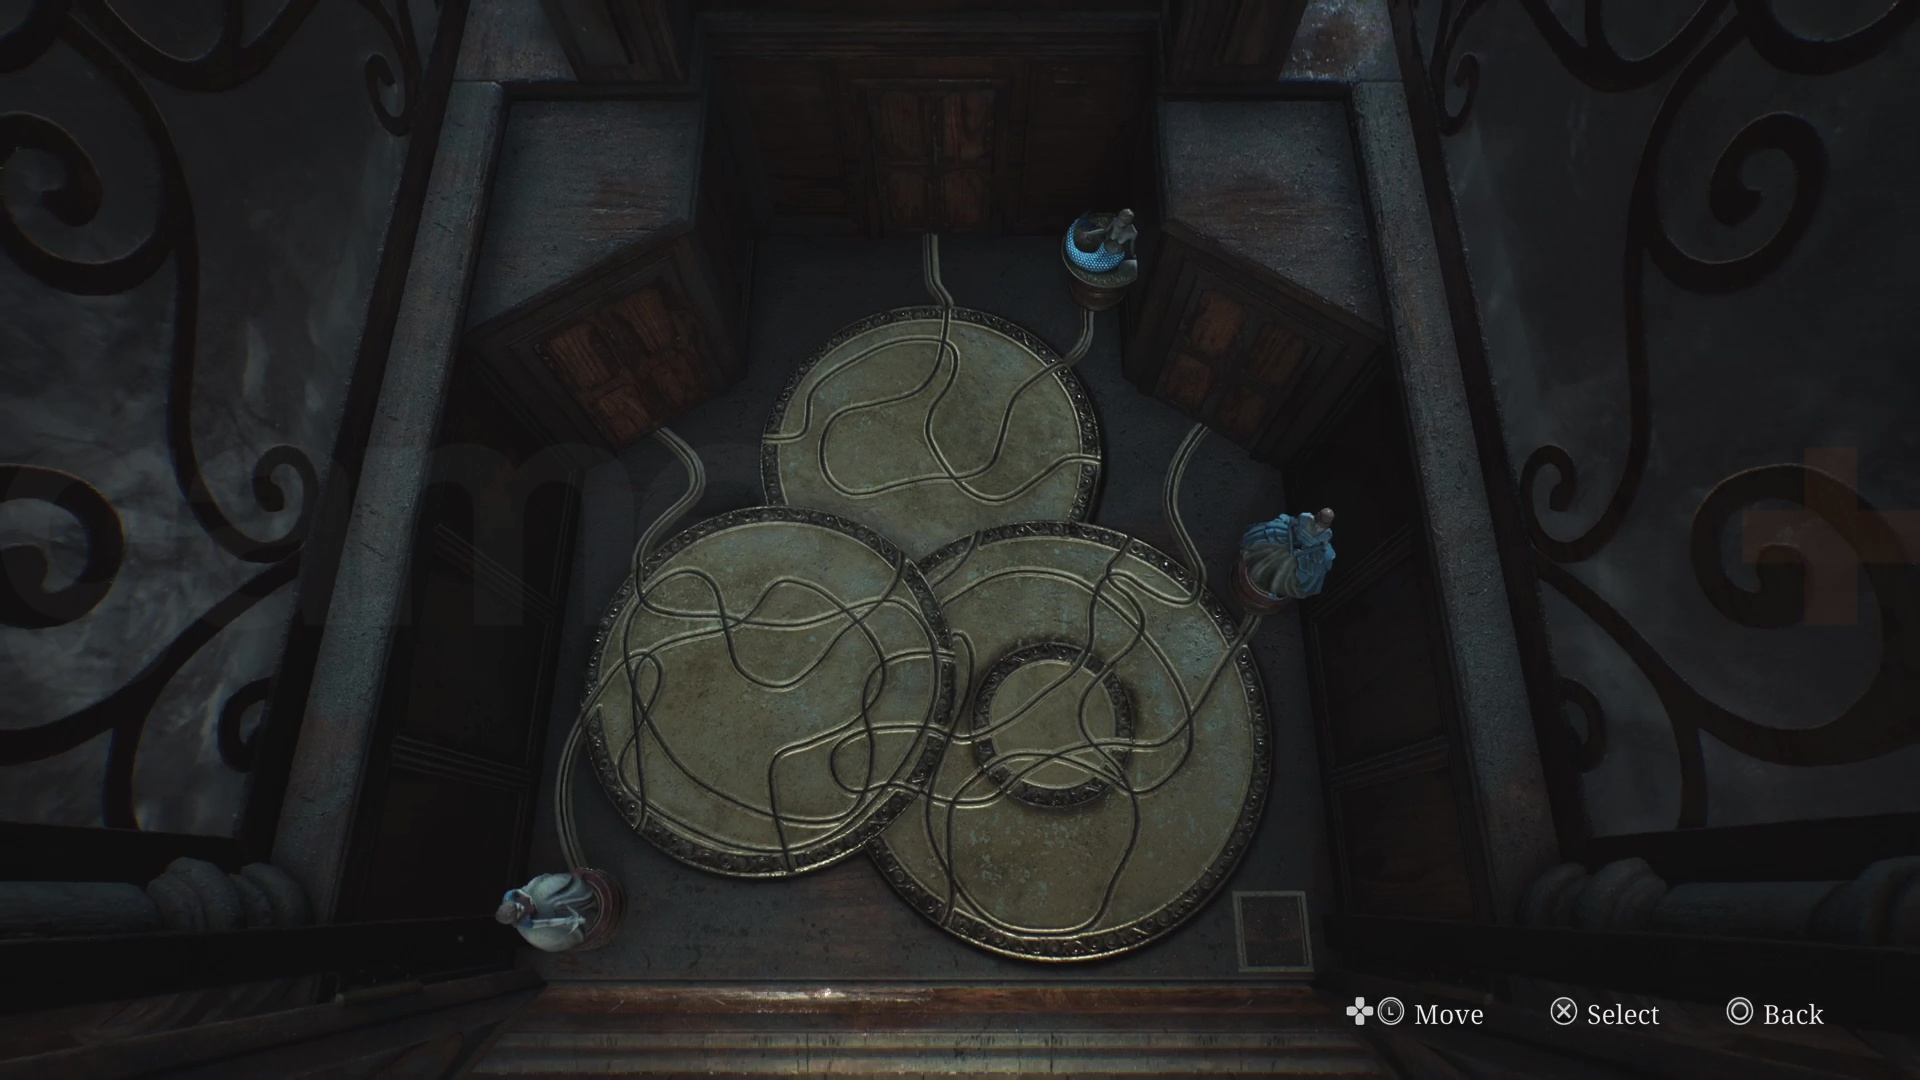
    4. Adjust the pathway sections so that each princess has a direct track to one of the integrated doors.
    5. Wind up the three keys below the figurines to different degrees, controlling their speeds along the track.
    6. When all three princesses enter the doors simultaneously, you will have completed the puzzle.
  • Guide to Defeating Chief Mendez in Resident Evil 4

    Guide to Defeating Chief Mendez in Resident Evil 4

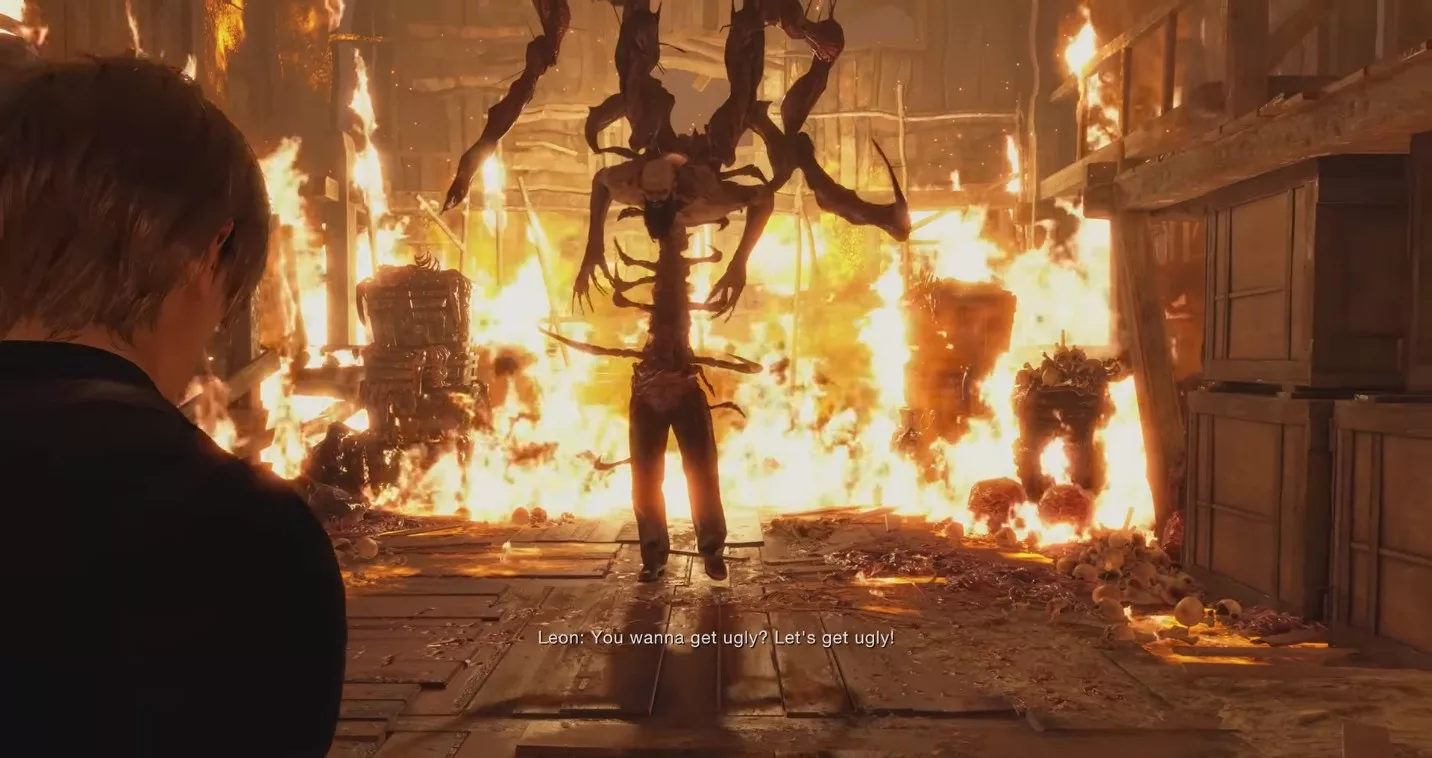
    The showdown with Chief Mendez occurs at the conclusion of chapter 6 in Resident Evil 4, precisely in the desolate slaughterhouse situated in Valdelobos Village. This towering and sinister missionary possesses lethal abilities and a substantial health bar.

    The encounter is segmented into two phases, and mastering how to counter his assaults is essential for an efficient victory.

    Location of Village Chief Mendez

    Chief Mendez is the primary antagonist of chapter 6 and first makes his entrance as you exit the wooden door located west of the checkpoint. Following this cutscene, you need to dash across the bridge towards the slaughterhouse, where the true battle unfolds in RE4.

    The slaughterhouse can be found in the far northeast section of the Valdelobos map.

    Prior to entering the slaughterhouse, make sure to replenish your resources, enhance your weaponry, and grab a knife from the merchant nearby. It’s advisable to use the TMP submachine gun and the RED9 pistol for this boss encounter.

    Phase 1 of the Mendez Boss Fight

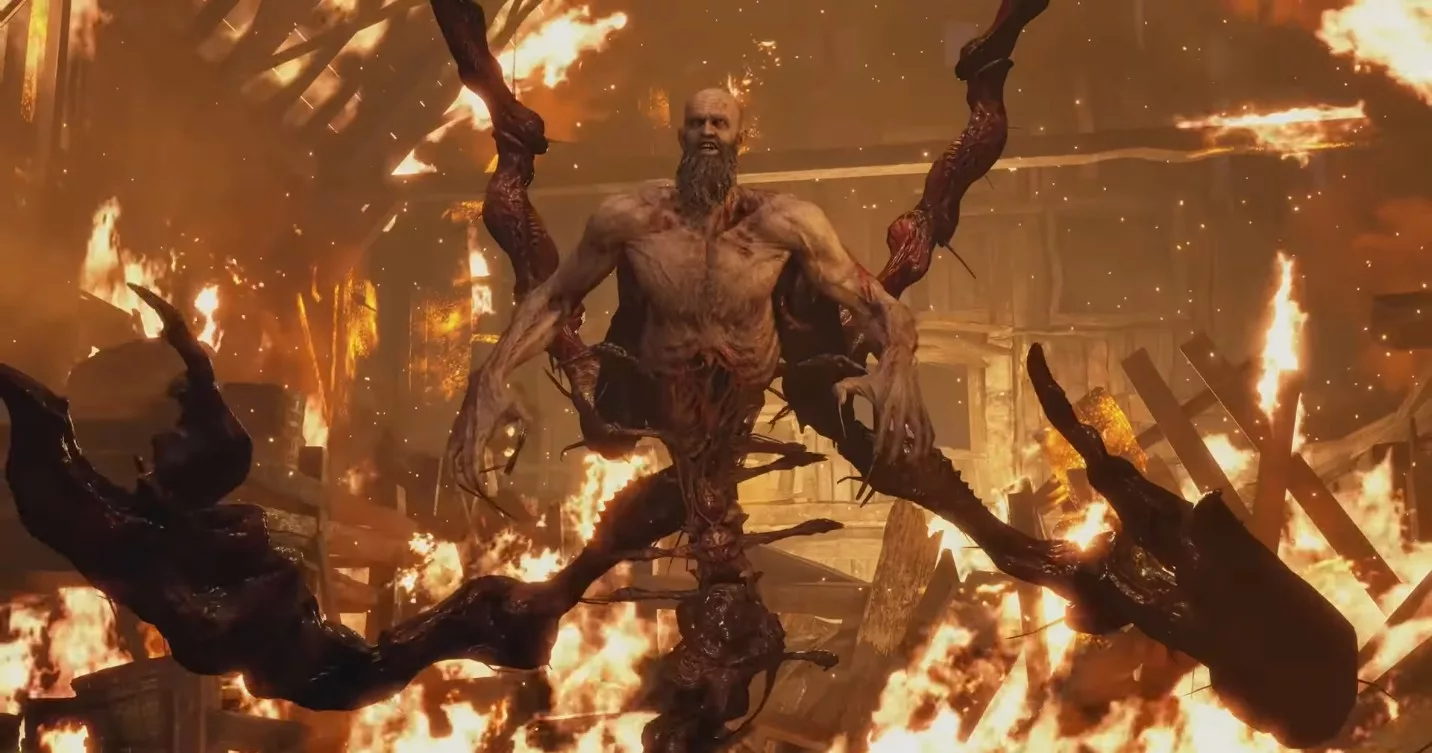
    Resident Evil 4 Chief Mendez Phase 1

    In the initial phase of his transformation, concentrate on targeting his head while ensuring you maintain enough distance to evade his assaults. Stay grounded and keep maneuvering around him in a counter-clockwise fashion while firing.

    During this phase, Mendez will attempt to grab you, so watch out for his left arm as it lunges towards you. Roll away or duck to avoid capture. If you do get caught, use the knife to escape immediately.

    When Mendez’ limbs are swinging down toward you vertically, you can either deflect the attack with your knife (by pressing L1/RB) or simply dodge to the side. However, if you see him sweeping his limbs horizontally, evade the attack by pressing Circle/B.

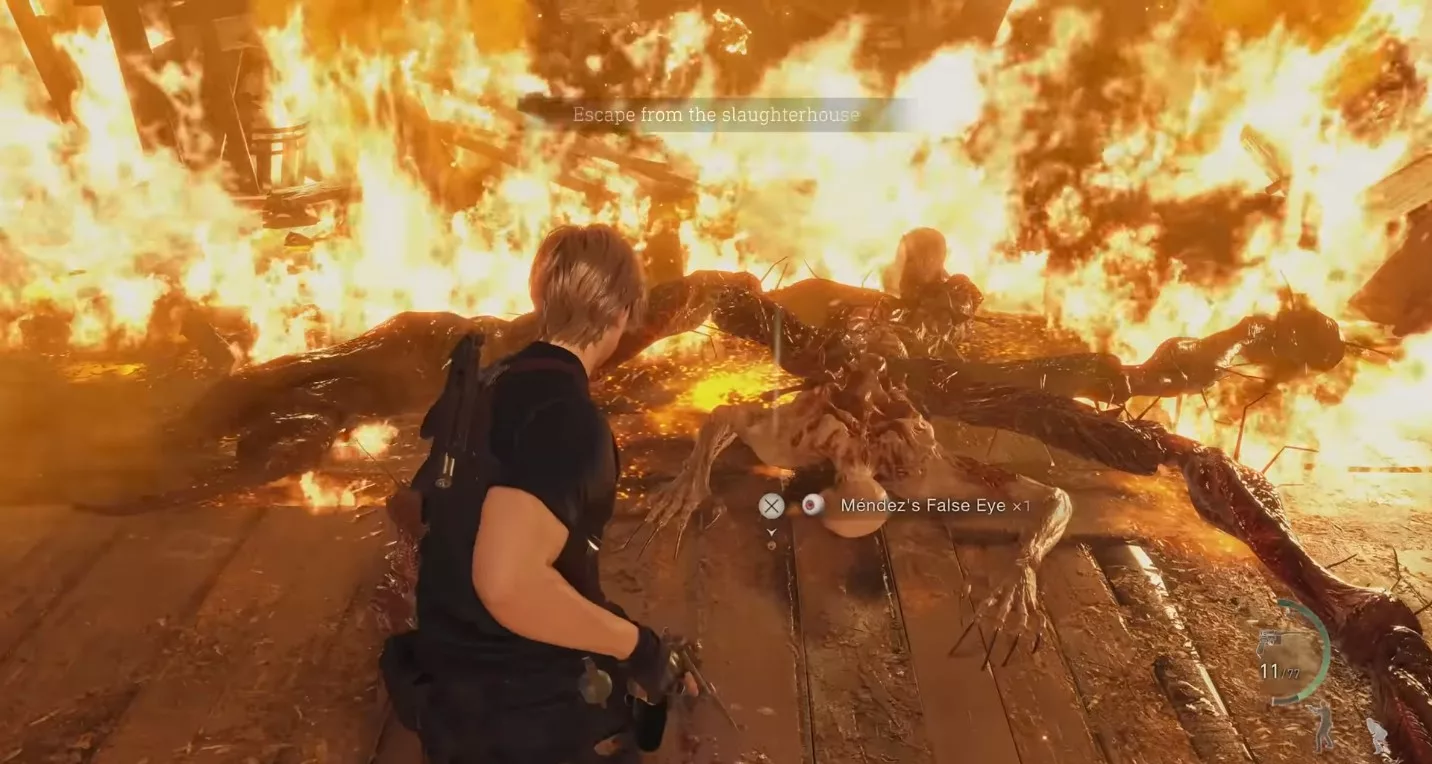
    Use the TMP to unleash a barrage of shots; this will cause the boss to collapse temporarily. Now, you’ll notice a false eye on his back, which is his vulnerability; stab it with your knife.

    Keep in mind, you must stab or shoot the eye twice to initiate his second phase. You can either remain on the ground and keep targeting his head until he bends to expose the false eye, or scale the ladder to the second floor, continue to attack him, and then take aim at the false eye.

    Phase 2

    In the second phase, Mendez becomes faster and focuses on long-range attacks, necessitating your position on the second floor.

    This time, he will target you with wooden planks and explosive barrels. To dodge the wooden planks, simply shift to the opposite side, but when he prepares to throw a barrel at you, shoot it to inflict damage. Additionally, Mendez will rush at you with a swift attack, so be prepared to evade.

    Utilize the TMP and grenades to damage him, and when he weakens, he will fall and expose his false eye again. Once he recovers, he will double his attack output. You must carefully dodge the incoming attacks while shooting the barrels when he holds them. He will ultimately succumb once you’ve dealt him sufficient damage.

    Rewards for Defeating Chief Mendez in RE4

    Resident Evil 4 Chief Mendez rewards

    Upon defeating Mendez, you will earn the Grilled Big Cheese Achievement. Additionally, his false eye will drop, so be sure to collect it, as it can be traded with a merchant for 12,000 pesetas.

    How to Defeat Chief Mendez Without Fighting?

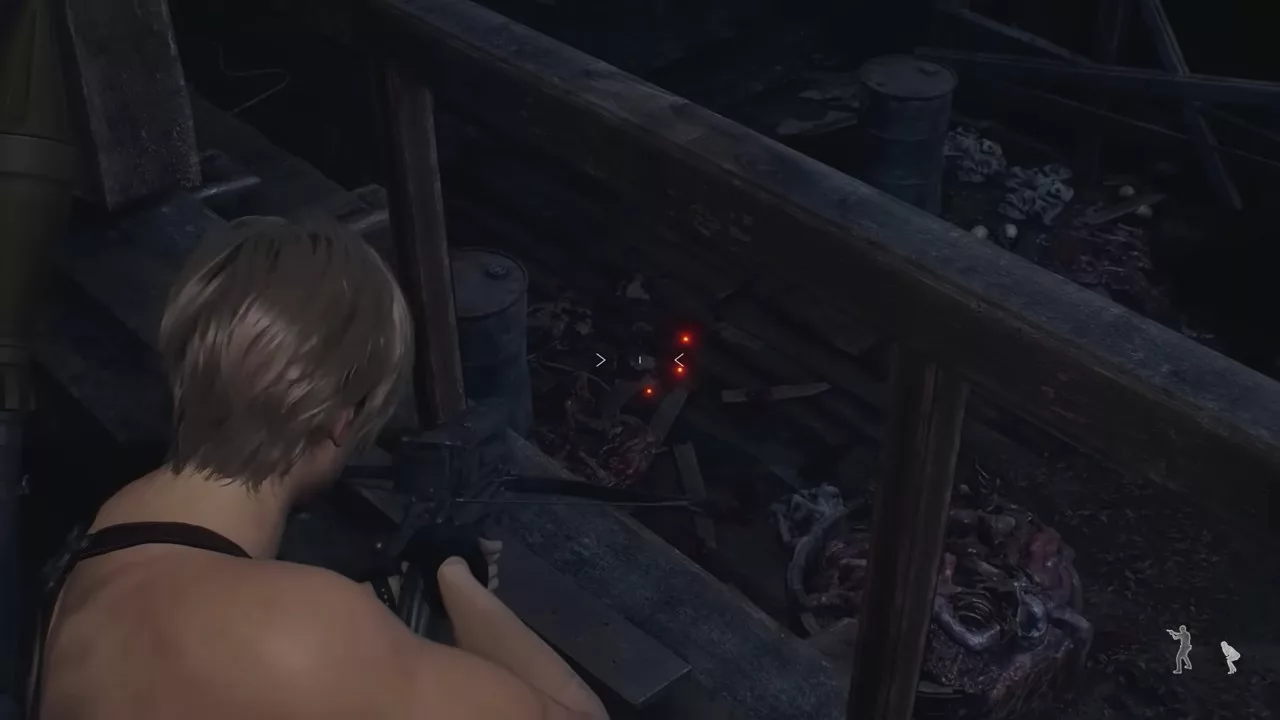
    If you’re aiming for a quick-kill strategy, gather some bolt mines and a magnum gun. To initiate this method, place the bolt mines on the ground right between the barrels. After that, plant more mines on the ledge just above.

    The bolt mine on the ground should be set at the exact location where he first spawns for maximum damage.

    Once the mines are planted, move away to trigger Mendez’s entrance. As he enters his first phase, aim for his groin using a well-timed magnum shot.

    With the combination of bolt mines and the magnum shot, he will sustain enough damage to advance to his second phase. After the transformation, as he repositions himself to grab the ledge above the spot where the mines are set, take aim and fire again, and he will be defeated.

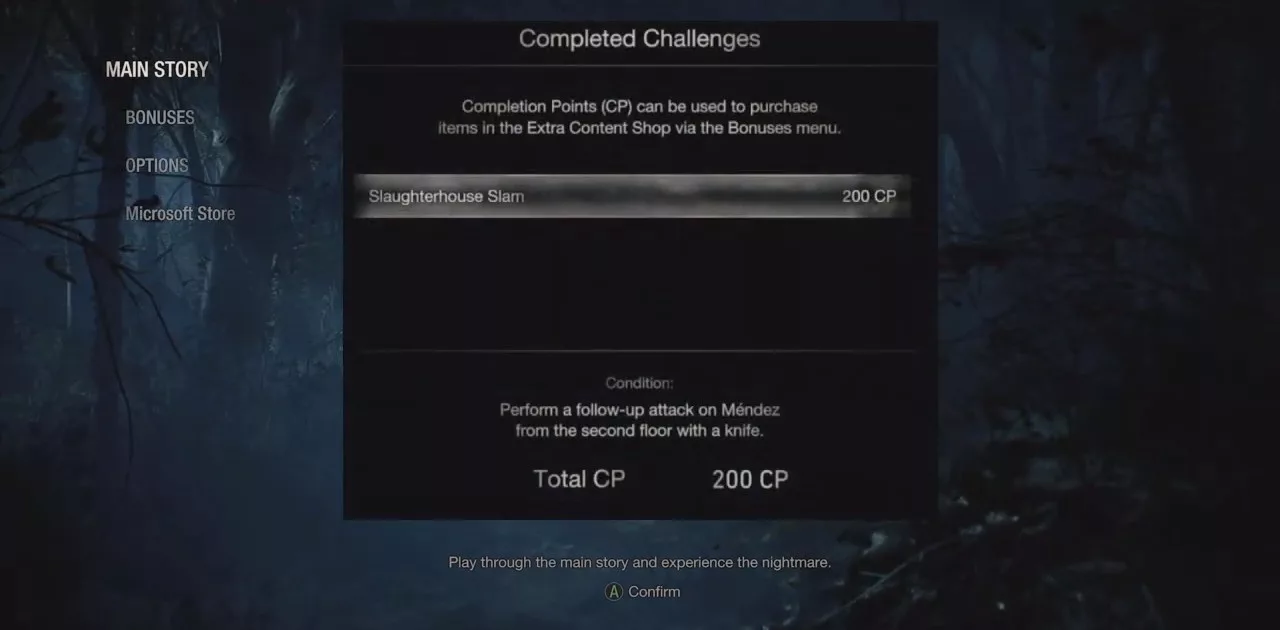
    How to Complete the Slaughterhouse Slam Challenge?

    Resident Evil 4 Chief Mendez slaughterhouse slam challenge

    The Slaughterhouse Slam Challenge requires you to attack Mendez from the second floor. To accomplish this, ascend to the second floor as soon as the boss appears and aim for his back where the eye is located.

    When he falls, position yourself at the ledge and press the knife button to it drop down and attack his back with the knife. Completing this action will fulfill the Slaughterhouse Slam Challenge.

  • Dead Island 2 Body Count Location: How to Find It?

    Dead Island 2 Body Count Location: How to Find It?

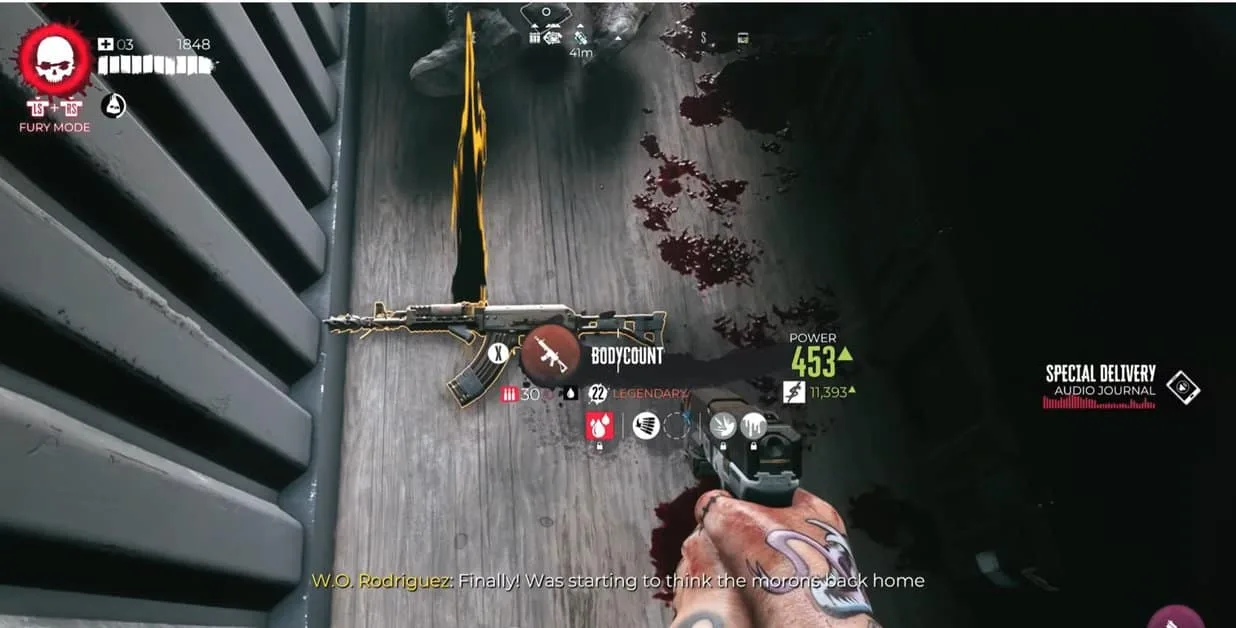
    If you’re in search of one of the top rifles in the game, look no further than the Body Count in Dead Island 2. This legendary rifle features impressive stats and damage capabilities. You can obtain it by completing specific side quests along with a Lost and Found weapon mission in Dead Island 2.

    We’ve detailed the entire process so you can follow along with ease.

    Finish the Main Storyline

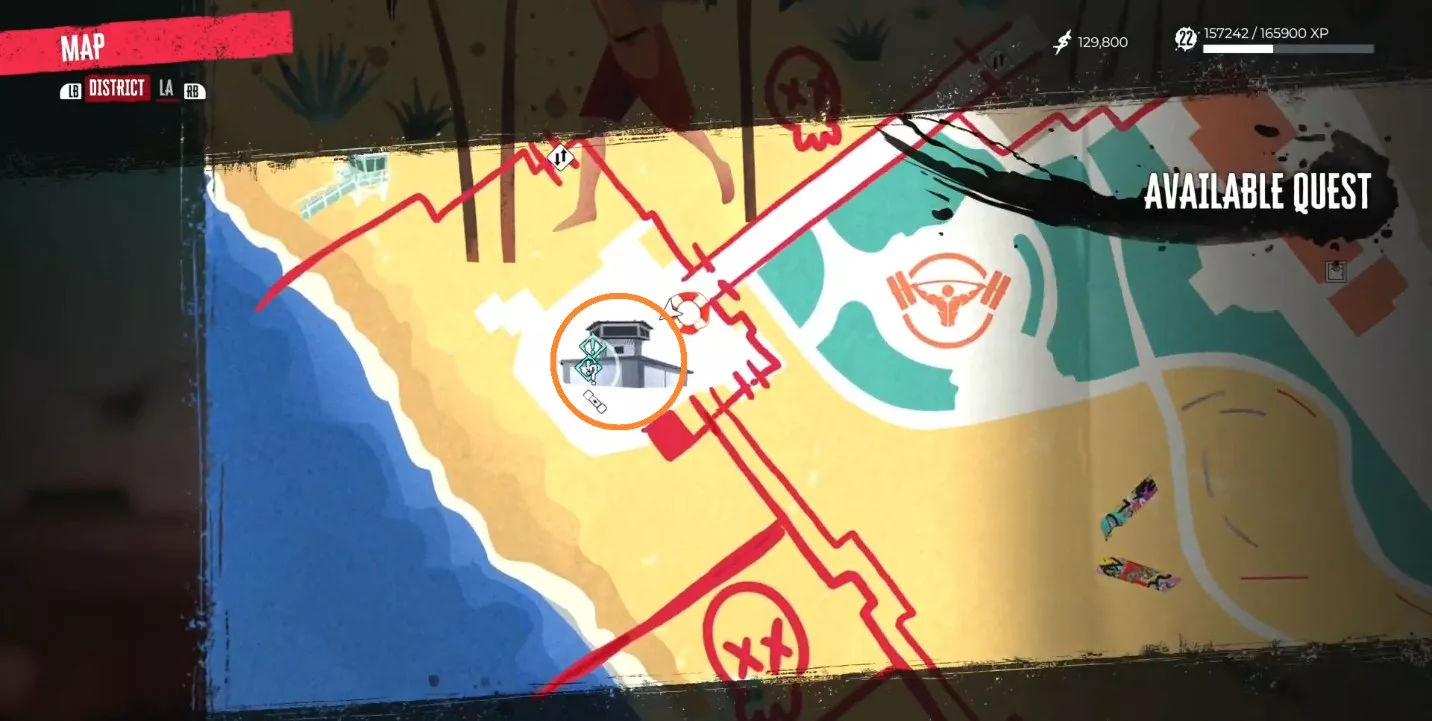
    To acquire the Body Count legendary rifle, you’ll first need to complete the primary storyline of Dead Island 2. Afterward, head back to Venice Beach and navigate to the guard tower.

    Once you’re at the top of the tower, you’ll meet a soldier named W.O. Rodriguez who offers a side quest titled Cremains of the Day.

    Finish Cremains of the Day

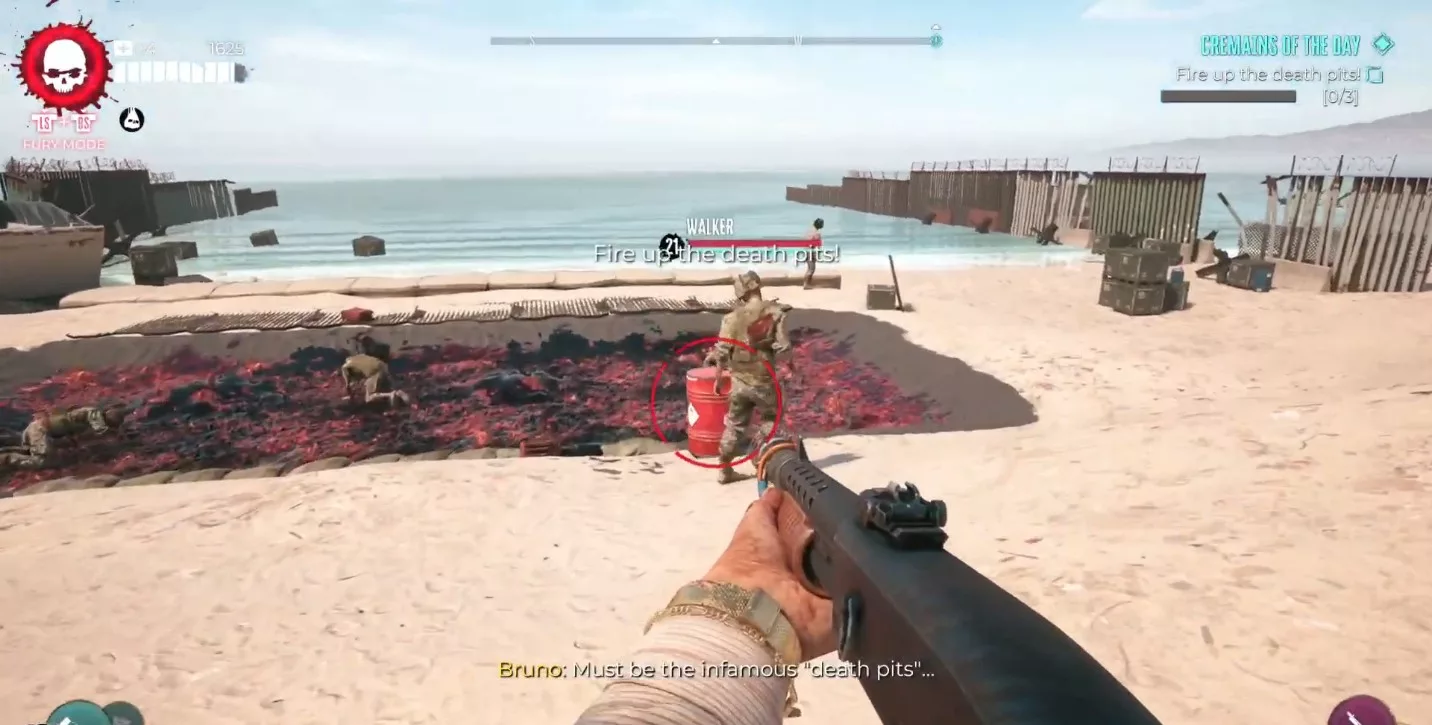
    In this quest, you’ll need to ignite a fire in the death pit, which can easily be done by shooting the oil container.

    Be cautious as the watchtower is filled with traps while making your way to Rodriguez.

    After wrapping up the side mission, return to Rodriguez for your reward, then head to the military base to initiate the Lost and Found quest. Completing this quest will unlock the [REDACTED] side quest that ultimately grants you the Body Count Rifle.

    It’s essential to complete all the quests in the specified order to unlock the weapon.

    Finish the Redacted Lost and Found Quest

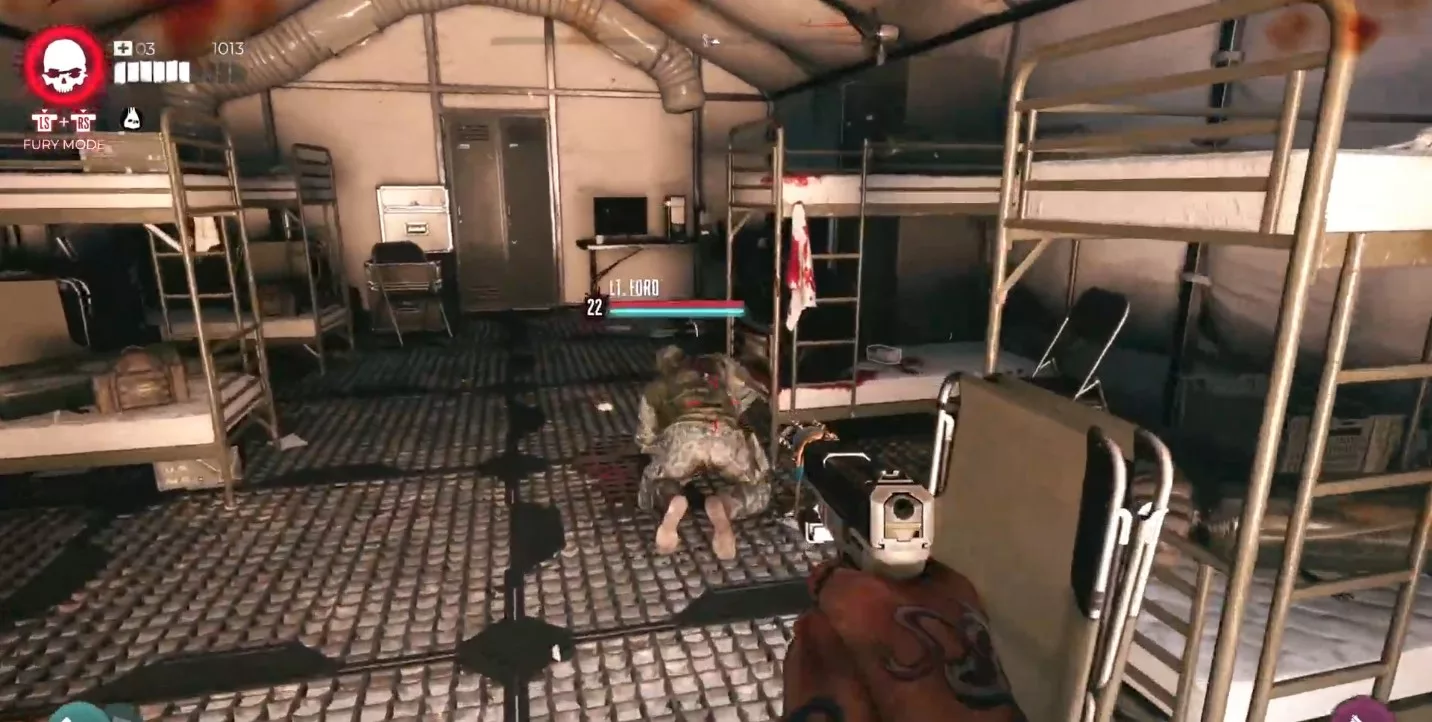
    You will need to eliminate Lieutenant Ford at the military base. He can be found transformed into a zombie within the west barracks under a tent. Defeat him to trigger the side quest.

    If he doesn’t appear, consider completing all other available side quests in Dead Island 2 before checking again. You must defeat the Lieutenant to acquire the Journal he drops.

    Follow the journal left by Lt. Ford and return to the containers near the tower’s beachfront area. Look for a container surrounded by zombies, enter it, and open the chest to claim your weapon.