الوسم: Super

  • How to Complete Glitch Boy in Super Meat Boy 3D and Solve Its Secrets

    How to Complete Glitch Boy in Super Meat Boy 3D and Solve Its Secrets

    Super Meat Boy 3D is known for its challenging platforming that often leaves players frustrated and eager to quit. However, the game is also packed with hidden secrets, just like the original. These secrets include secret levels and unlockable characters, with Glitch Boy standing out as the most elusive of all.

    Glitch Boy, Explained
    Glitch Boy is a mysterious character unlocked not through completing a specific level or collecting Bandages, but by finding five hidden glitches scattered throughout the game, one in each world. To unlock him, simply locate each glitch and touch it, then exit the level. Once all five are found, Glitch Boy becomes available. While his appearance and special glitching effect are interesting, he doesn’t offer much beyond that. Still, unlocking him is tied to an achievement, making the effort worthwhile. Here’s where to find each glitch:

    Note: You don’t need to finish the level after discovering a glitch; touching it and leaving the stage counts.

    World 1 Glitch Location

    In the twelfth level, Thorn Trial, after platforming into the open area, you’ll see a path ahead blocked by a fallen tree. Instead of moving forward, jump into the small gap nearby and find the hidden glitch there. Just watch out for the saws being shot at you during this moment.

    World 2 Glitch Location

    In the fourteenth level, Trash Metal, the sneakiest glitch is hidden near the start. Jump out into the distance into a small cove on the level’s left side. Use the first platform to wall jump over there and grab the glitch from the hidden spot.

    World 3 Glitch Location

    Level eight, called Questionable Working Conditions, contains the most challenging glitch to find. To reach it, go near the end of the level, then jump off the final wall and circle back around to a hidden area behind the previous platform to find the glitch.

    World 4 Glitch Location

    In the seventh level, Magma Wastes, go through the level normally, avoiding blocks and lava trails. When you reach the section where you can break a glass pane, instead jump up the wall slightly and look just above on the platform to see the glitch.

    World 5 Glitch Location

    The last glitch is in the fourth level of World 5, called Crumbled Canyon. At the very start, look for a large metal pipe on the left side. Climb it by jumping onto its metal sides, then head toward the wall with the final glitch. Reaching this spot unlocks Glitch Boy if you haven’t already collected the past ones.

    This collection of glitches requires some careful jumping and exploration, but finding all five will unlock Glitch Boy and a special achievement in Super Meat Boy 3D.

  • How to Complete the A Cut Above Achievement in Super Battle Golf

    How to Complete the A Cut Above Achievement in Super Battle Golf

    Landing a hole-in-one in Super Battle Golf is a rare move that players often talk about for weeks. Usually, it seems like it’s just luck and perfect timing. But if you’re aiming for the “A Cut Above” achievement, relying solely on luck isn’t your best bet.

    The good news is, with the right approach, this tricky shot can be made more consistent. Once you set things up properly, it becomes much easier to pull off the perfect shot. If you want to improve your chances of success, here’s a step-by-step guide.


    How to Get a Hole-in-One

    Getting a hole-in-one in Super Battle Golf isn’t just a cool trick; it’s also the way to unlock the “A Cut Above” achievement. While it might seem like luck, there’s actually a reliable setup that can help you make this shot more often if you follow these steps carefully.

    First, start a Solo Mode game and select the “Desert 1 – Showdown” course. This course layout is ideal because it allows for a precise shot with the right angle and full power. Once you’re in, aim directly at the hole and adjust your angle to exactly 52 degrees. The number is very important.

    You might notice that at a 51-degree angle, the progress bar shows the hole in your power meter, which could make you think that’s the correct angle. However, that visual is misleading. If you take the shot at 51 degrees, even with full power, you will miss the hole-in-one. Instead, slightly increase your angle to 52 degrees.

    Pro Tip: At this angle, the hole flag won’t appear in your progress bar, and that’s exactly what you want.

    Next, set your shot to 100% power and hit the ball. With this precise setup—aiming at 52 degrees and using full power—the ball should go straight into the hole with a single well-placed shot, earning you the hole-in-one and unlocking the achievement.


    Tips for Success

    • Double-check that your angle is exactly 52 degrees, not 51.
    • Make sure you are using full power every time.
    • Even small deviations in angle or power can cause the shot to miss, so precise adjustments matter.

    Following these steps increases your chances of hitting a hole-in-one reliably, making your path to the “A Cut Above” achievement much clearer.

  • How to Play and Solve with Friends in Super Battle Golf

    How to Play and Solve with Friends in Super Battle Golf

    If mini golf and party brawlers had a sibling, it would be Super Battle Golf. This game isn’t a slow, polite walk on perfect greens. Instead, it’s quick and sometimes ruthless, with players racing to sink the same ball while avoiding interference and fighting for good position.

    Multiplayer is the main focus here. Knowing how to navigate lobbies and match settings makes a big difference between a smooth game and a frustrating experience. Setting up your game only takes a few steps, but understanding the system behind it saves time and avoids confusion. Here’s everything you need to start playing with friends.

    How to Play with Friends

    If you want to play with certain friends, first make sure they are added to your Steam friends list. After that, launch the game and press Start from the main menu. This loads you onto the course but doesn’t start a match right away.

    Next, press the ESC key to open the menu and select Invite. Pick the friends you want to join you. Once they accept, they will join your lobby. When everyone is ready, you can start a game together.

    You can also join a friend’s game instead of hosting. From the main menu, select Join to open the lobby list. If your friend has a game up, you can find it there and join directly. This way, you don’t need to send invites.

    How to Make or Join a Public Server

    Creating a public lobby is just as easy. From the main menu, press Start and load into the course. Then, open the ESC menu and go to Match Setup. Instead of restricting access to friends, set the lobby to remain open so others can join.

    Here, you can change rules, pick the courses in rotation, set the maximum number of players, and add a password if you want to keep it private.

    You can have up to 16 players, but around eight is recommended. If you want to join an existing public game, select Join game from the main menu. The lobby list shows available sessions created by other players. Keep an eye on ping—aim for less than 100 milliseconds for smooth gameplay.

    The lobby browser has filters to make searching easier. You can hide full lobbies, look for games created by friends, or browse all open matches. It’s a good system if you don’t have a group to play with already.

    Why Is My Microphone Not Working?

    If voice chat isn’t working in multiplayer, several common issues might be the cause. First, check that the correct input device is selected in your system audio settings. Also, confirm that the game has permission to access your microphone. Sometimes, restarting the game after plugging in a headset can fix detection problems.

    If voice chat still doesn’t work, ask your friends to check their audio settings to rule out issues on their end. Lastly, ensure your internet connection is stable—high ping or packet loss can disrupt voice communication as well as gameplay.

    How to Spectate

    If you prefer watching others play, the lobby browser allows you to spectate ongoing matches. From the main menu, select Join and browse available lobbies. When you pick a game in progress, you can enter as a spectator instead of playing actively.

    There’s also an achievement for spectating: watch an entire hole from start to finish to unlock the ‘Couch Potato’ achievement.

  • Complete Guide to All Items in Super Battle Golf: Solving Secrets

    Complete Guide to All Items in Super Battle Golf: Solving Secrets

    In Super Battle Golf, the course isn’t the only thing that keeps players alert. Scattered throughout the maps are purple suitcases marked with question marks, each containing an item that can change how a round unfolds. These items range from simple power-ups to gadgets that can seriously disrupt opponents or boost your own chances. This adds new ways for players to interact with the course and each other.

    Picking up the right item at the right time can turn a regular shot into a fun highlight or help you move through the course faster than others. Knowing what each item does and how to use it is key to staying competitive. This guide explains every item and what to expect when using them.

    How To Get Items

    You collect items by picking them up from the purple suitcases marked with question marks placed around the courses. There are ten different items available, each with its own way of interfering with other players or speeding up your progress.

    All Items And What They Do

    The following list details all the items in Super Battle Golf and explains their effects:

    Item Description
    Rocket Launcher Fires a homing missile that locks onto a target, stunning them.
    Air Horn Distracts a player when used just before they take a shot, causing them to overshoot.
    Landmine Places up to three explosives that stun players who walk over them. Best near high-traffic areas or close to opponents’ balls.
    Golf Cart A traversal item that speeds you up and allows you to run into other players to stun them. Holds up to eight players and can honk.
    Orbital Laser A very rare item that calls down a large laser explosion on a marked spot.
    Spring Boots Lets you jump far forward, making it easier to traverse the course quickly.
    Dueling Pistol A single-shot pistol that stuns another player.
    Coffee Grants a 10-second speed boost.
    Elephant Gun A two-shot rifle that causes significant knockback on the shooter.
    Electromagnet Provides a shield lasting 5 to 7 seconds, blocking projectiles and item attacks.

    What Are The Best Items?

    Among the ten items, these stand out for their impact on winning:

    • Rocket Launcher: Its long-range homing makes it easy to target opponents from afar, disrupting their shots and strategies effectively.
    • Dueling Pistol: Great for quick stuns, it allows you to interrupt other players’ turns precisely when needed.
    • Golf Cart: Enhances speed and mobility, letting you reach advantageous positions faster and even knocking out others in your path.
    • Orbital Laser: This powerful and rare weapon can cause major damage, but because it’s so uncommon, you need to plan carefully for its appearance.

    Having these items can significantly improve your chances of winning in Super Battle Golf by giving you the tools to outmaneuver and outlast opponents.

  • How to Completing All Achievements in Super Battle Golf and Solving Secrets

    | Achievement Name | How to Achieve It | Tips and Details |
    |——————————|———————————————————————-|—————————————————————-|
    | Pacifist | Complete a multiplayer hole without knocking anyone out | Focus on shooting carefully and avoid harming other players. Stay away from them. Don’t cause damage. |
    | Green Thumb | Knock out 5 players with buried landmines | Place mines where many players pass by and wait for them to step on them. |
    | Failed Successfully | Finish a hole where your ball changes course after hitting something | Can be tricky. A good method is parking a cart near the hole and bouncing your shot off it. Use angles. |
    | Playing with Fire | KO an opponent and yourself with the same explosive | Use a mine close to yourself when an opponent is nearby and time it carefully. |
    | A Matter of Honor | KO someone with a Dueling Pistol while they’re holding one | Duel one-on-one, aiming carefully, and avoid being hit back. |
    | Snail’s Pace | Finish a hole during overtime | Let the timer run out or play so you reach overtime—try to have your ball near the hole then. |
    | Ready for the Big Leagues | Complete the tutorial | Simply go through the game’s tutorial from start to finish. |
    | Home Run | KO someone from over 125 meters away using a ball or item | Use the rocket item for easier long-distance shots. Or line up a shot downhill for gravity help. |
    | Danger Close | Be within 10 meters of an Orbital Laser blast without getting hit | Press ‘CTRL’ to dive out of the way at the last second. |
    | Living on the Edge | Complete a par 5+ hole without touching respawn points | Avoid checkpoints and use trick shots to reach the hole. |
    | Best Served Cold | Get 10 revenge knockouts | Track who KO’d you and take revenge. |
    | Phone Home | Call an Orbital Laser on yourself | Aim the laser at your own position. |
    | Head in the Clouds | Reach the top of the Golf Shop in Driving Range (lobby area) | Use Spring Boots, sit at the stairs, and jump up. Climb the golf club statue afterward. |
    | Frog Legs | Jump over 100 meters in a single leap | Use Spring Boots from a high spot and then knock yourself further with the Elephant Gun. |
    | Lying in Wait | KO someone while hiding in foliage | Find bushes or trees and ambush passing players. |
    | Safety First | Disarm an enemy’s active landmine | Shoot to detonate safely from a distance or hold ‘Alt’ to disarm before it’s planted. |
    | A Cut Above | Achieve a hole-in-one | Pick an open hole and aim precisely, taking your time to line up shots. |
    | Bully | KO 3 players at once | Lure multiple players onto a planted mine in crowded areas. |
    | Coolheaded | Finish a 9+ hole game on or below par | Practice each hole and aim carefully to stay under par. |
    | Never Give Up | Finish a hole after being KO’d more than 10 times | Have a friend KO you repeatedly with items during a match. |
    | Underwater Expedition | Drive a cart with passengers into deep water | Coordinate with friends so they board your cart and ride into water by pressing ‘E’. |
    | Clowning Around | Interrupt 25 players with the Air Horn | Use the Air Horn near players just before they swing or shoot. |
    | Early Bird | Get a Birdie or better 25 times | Focus on approach shots and consistent play; aim for one stroke under par per hole. |
    | Sweet Moves | Dance on the green for 3 seconds before others finish | Wait near the hole and perform emotes early using the ‘T’ button. |
    | Couch Potato | Watch a full hole from start to finish | When choosing public lobbies, select ‘Spectate’ instead of ‘Join’. |
    | Gunslinger | KO 10 players from over 50 meters with Dueling Pistol | Aim carefully at open holes for long shots. |
    | Behind You! | KO 250 players from behind | Approach opponents from behind and shoot. Practice this often. |
    | Catlike Reflexes | Evade 50 homing shots | Dive to avoid shots by pressing ‘CTRL’. |
    | Road Rage | KO 50 players using the golf cart | Constantly drive into opponents with your cart. |
    | Goalie | KO 50 players on the green with clubs | Swing at players near the hole to knock them out. |
    | Hoarder | Collect 1,000 items | Pick up all purple suitcases you find on the course. |
    | Walk the Plank | Push 25 players into deep water | Use carts or explosives to shove opponents into water. |
    | Grizzled Veteran | Complete 500 holes | Play often and aim to finish full matches regularly. |

  • How to Complete All Achievements and Units in Super Fantasy Kingdom

    | Unit | Undead Goal | How to Achieve |
    |————–|——————————————————-|—————————————————————–|
    | Miner | Defeat the first boss in the Undead Kingdom. | Kill the first boss when it appears on day 7. |
    | Crossbowman | Lose in Undead scenario. | Follow the standard losing conditions. |
    | Druid | Have 50 rats in your city. | Build small Burrow structures to spawn rats daily; upgrade to Soul Hunter to remove bushes and spawn more rats. |
    | Treant | Have 15 bonepiles in your city. | Upgrade the Quarry to convert graves into bloats or use the Big Daddy upgrade to spawn a bloat daily; defeat bloats to generate bonepiles. |
    | Flamewalker | Defeat the fourth boss in the Undead Kingdom. | Kill the second boss when it spawns on day 28. |
    | Jouster | Have no graves in your city on day 21. | Upgrade the Quarry to remove all graves before day 21. |
    | Frost Mage | Complete all stages of a quest. | Complete the two quests in the Undead Kingdom: kill 500 enemies with Dark damage (using Deathpriest or Lich) and summon 5,000 units during a run (with units like Deathpriest or Leech Mother). Work on this alongside the Bee achievement. |
    | Angel | Have 99 faith. | Construct the small Decoration building that generates faith each tax cycle, set taxes to faith, upgrade the castle to increase tax speed, and save faith until reaching 99. |
    | Mechanic | Have all types of Undead siege engines. | Build the Dark Tower and craft every siege engine in one run. |
    | Griffin | Field 4 airborne units. | Use units with wings, such as Vampire, Bee, Angel, or Banshee; elemental units with flying traits also count; build an Elemental Tower for help. |
    | Swordsman | Have a wall with at least 250 hitpoints. | Fully upgrade your castle, walls, and towers; buy the builder upgrade increasing wall health by 50%. |
    | Bee | Field 5 summoner units. | Find units with a book icon, like Mechanic, Stormcaller, Bard, Deathpriest, Leech Mother, or hero units Cadus and Qhe’la. |
    | Satyr | Have 17 potions. | Build the Cauldron; craft potions with 2 Ooze and 1 Bone (Ooze is generated automatically; bones come from killing bloats with the Soul Hunter). |
    | Bard | Fully upgrade the tavern. | Collect 80 Blocks to upgrade the Tavern; build a Graveyard to dig graves for stone, focus on quarry and Haunted Workshop to turn stone into Blocks, and defeat the first mini-boss to get more stone. |
    | Dryad | Have 30 thickets. | Build the Graveyard and dig for Thickets. |
    | Dancer | Survive 14 days without a house. | Houses in Undead Kingdom spawn carriers, so this is easier; unlock more starting zombies or use Amaya upgrade for additional carriers. |
    | Magus | Build sewage channels at least 66 tiles long. | Construct the sewage plant far from ooze deposits and connect with sewers; gather enough Blocks to build the sewers. |
    | Halfling | Have 33 pumpkins in your city. | Connect sewage and ooze deposits with sewers, harvest pumpkins near them to produce more, possible to combine with Magus achievement. |
    | Paladin | Have 15 carriers. | Build and upgrade houses, use Amaya upgrades to increase carriers; more carriers make it easier. |
    | Monk | Have 21 graves in your city. | Build the Graveyard and dig graves. |
    | Marksman | Have 25 bloats in your city. | Use the Graveyard to dig graves, then dig graves with upgraded quarry to spawn bloats; Big Daddy upgrade helps here. |
    | Berserk | Be brave. | Summon and defeat all four mini-bosses on the same day. |
    | Colossus | Defeat the ultimate evil. | Beat the game with at least 1250 Glory to unlock the final boss, then win. |
    | Pixie | Die a peaceful death. | During a weather event that resembles cherry blossoms, retreat all units and die peacefully. |
    | Overlord | Beat the game. | Defeat the final boss on a designated day. |

  • Beginner Tips for Completing and Solving in Super Fantasy Kingdom

    Beginner Tips for Completing and Solving in Super Fantasy Kingdom

    Super Fantasy Kingdom is a blend of city-building, strategy tower defense, and roguelike gameplay, and it manages to excel at all three, even though it’s still in Early Access. The game features two main, interconnected modes happening at the same time: one where your units defend against waves of monsters, and another where your workers gather resources and help grow your kingdom.

    There’s a lot of hidden complexity in Super Fantasy Kingdom, and discovering all its secrets can take dozens of hours. Luckily, the game offers meta progression that carries over your achievements to new runs, allowing you to improve gradually through experience and experimentation. If you need some helpful tips to kick off your journey, keep reading.

    ### Recruit Workers

    Workers are your most valuable resource; they form the core of your kingdom. They gather materials and food, keeping everything running smoothly. How many workers you have largely limits what you can accomplish each day, so getting as many as possible is crucial.

    At the start, you’ll have only a few workers, but it’s fairly easy to get more if you know what to do. The main way to add new workers is by building Houses. These structures cost increasing amounts of Wood — starting at four, then eight, sixteen, and finally 32 — to construct.

    You can also upgrade each House with Ore, as long as your Houses are connected to Stone Roads. To build Stone Roads, you need to upgrade the Quarry and spend one Coin per road tile. The roads upgrade sequentially from the Quarry outward, so placing your Houses near the Quarry helps streamline expansion.

    ### Keep Your Kingdom Fed

    Food is a surprisingly important resource. Each night, after defeating monsters, your units (excluding your Hero, who doesn’t need to eat) return to the Tavern. There, each unit consumes one piece of food, which also grants them experience points.

    If a unit doesn’t receive food, it will go hungry and lose 25% of its attack speed the next day. This can seriously weaken your defenses, so it’s vital to ensure you always have enough food for all your units. If a unit isn’t involved in combat the following day, you might opt not to feed it, but remember, it won’t gain experience without food.

    ### Keep an Eye on the Map

    As you progress through the early stages, building up Shards and Glory, the map will fill with new opportunities. Daily, check around the map for new roads to construct, quests to start or complete, and marked locations (red Xs) where you can gather resources.

    Roads are permanent upgrades that persist across runs, so build them whenever you can. Unlocking new roads allows you to connect more parts of your kingdom, improving movement and resource flow. Building roads also sometimes reveals Outpost locations, where you can place resource-granting Outposts. Each run allows one Outpost per location, giving a resources boost at the start. More types of Outposts become available as your kingdom levels up.

    You can also find the Witch, usually near an apple. Spending Shards with her grants you extra resources at the beginning of a run. Her upgrades get pricier as you progress, so focusing on short-term gains early is smarter.

    Additionally, exploring the map can lead you to unlock new heroes by inspecting the map periodically. Sending them to the Throne Room allows you to recruit them using Shards between runs.

    ### Balance Coins and Faith

    Coins and Faith are your main currencies during runs. Coins are used to buy resources, units, and upgrade facilities, while Faith is used to upgrade units, purchase upgrades, and unlock buildings.

    Both are generated by taxing your kingdom. When the tax timer fills, you choose whether to produce Coins or Faith. Keep an eye on your resources and toggle between the two depending on what you need most.

    Every sixth day, Gevald appears and offers a chance to buy one of three random units for 10 Coins. Make sure you have enough Coins before he arrives.

    ### Try New Things

    Leveling up your kingdom by trying different units, heroes, and relics is one of the best ways to gain power. Each first-time use of a hero, unit, or relic grants a kingdom experience point, helping your kingdom level up.

    Increasing your kingdom’s level allows you to start each run with more gold and unlock new features and upgrades. Experimenting with various heroes and units also helps you learn the game better and discover powerful synergies. While progressing through meta upgrades is essential, developing your skills and understanding deeper mechanics is equally important.

    ### Play Both Kingdoms

    After a while, you’ll unlock the Undead Kingdom, which plays very differently from the Human Kingdom. It features a new set of resources, buildings, map layout, and a different style of gameplay. You can switch between them at any time, making the game more varied.

    Sharing progress between the two kingdoms is beneficial — things like stars earned from defeating bosses are shared and help unlock essential upgrades faster. Playing both kingdoms equally can be a strategic advantage, especially as you can transfer some progress, like resources and upgrades, between them.

    In the Undead Kingdom, workers only perform one task per day but are easier to generate. Managing the balance between producing new workers and spending them is key. The city layout also differs: Zombies that gather resources can pass through entrances to the Catacombs located at the Graveyard, Church, and Mausoleums. Positioning these structures around your kingdom can make resource collection more efficient.

  • How to Complete Sonic Racing: CrossWorlds and Solve Super Sonic Challenges

    How to Complete Sonic Racing: CrossWorlds and Solve Super Sonic Challenges

    Sonic Racing: CrossWorlds starts you off with nearly every character unlocked, except for one. Staying true to Sonic’s tradition, Super Sonic isn’t handed to you easily—you need to earn him.

    Getting Super Sonic requires some effort, but that challenge is part of the excitement. Having Super Sonic on your team is definitely worth it. Here’s how to unlock this golden hedgehog so you can speed through tracks and demonstrate real velocity.

    ### How to Add Super Sonic to Your Roster

    Super Sonic is the only character you have to unlock in Sonic Racing: CrossWorlds. To unlock him, you must defeat all non-DLC rivals in races. This means you’ll need to complete at least 23 Grand Prix races, as there are 23 rivals in the game. Currently, there are only seven Grand Prixs available (eight once you unlock the Secret Grand Prix), so you’ll need to replay certain tracks multiple times.

    Once you’ve beaten all your rivals, Super Sonic becomes available for play.

    ### How to Defeat Rivals

    Beating a rival means finishing ahead of them on the leaderboards after a Grand Prix. Since rivals are tough opponents, this usually means finishing first overall in the race. Sometimes, when you start a new Grand Prix, you might be offered a different rival on a harder difficulty, but you don’t need to accept this challenge. Playing on the easiest level makes it quicker to earn Super Sonic.

    You can also change your rival before starting a Grand Prix. A rival is chosen randomly, but it’s smart to access the menu to select the one you want to challenge. This helps keep track of who you’ve defeated and who still needs to be beaten.

    ### What Does Super Sonic Play Like?

    Super Sonic is completely worth unlocking. Like regular Sonic, he’s a speed-focused character, with his abilities influenced by the vehicle you pick. One major advantage is that Super Sonic is invincible, making him immune to items and allowing him to crash into walls without losing his rings. While powerful vehicles can protect you from losing rings, only Super Sonic is immune to item effects, making him the top character in the game.

    However, because he is so overpowered, you can only play as Super Sonic in offline Grand Prix races. This rule keeps gameplay fair online, preventing unfair advantages from disrupting competitive matches.

  • Mastering Super Vegeta in Dragon Ball: Sparking Zero Gameplay

    Mastering Super Vegeta in Dragon Ball: Sparking Zero Gameplay

    Vegeta’s Role in Dragon Ball: Sparking Zero

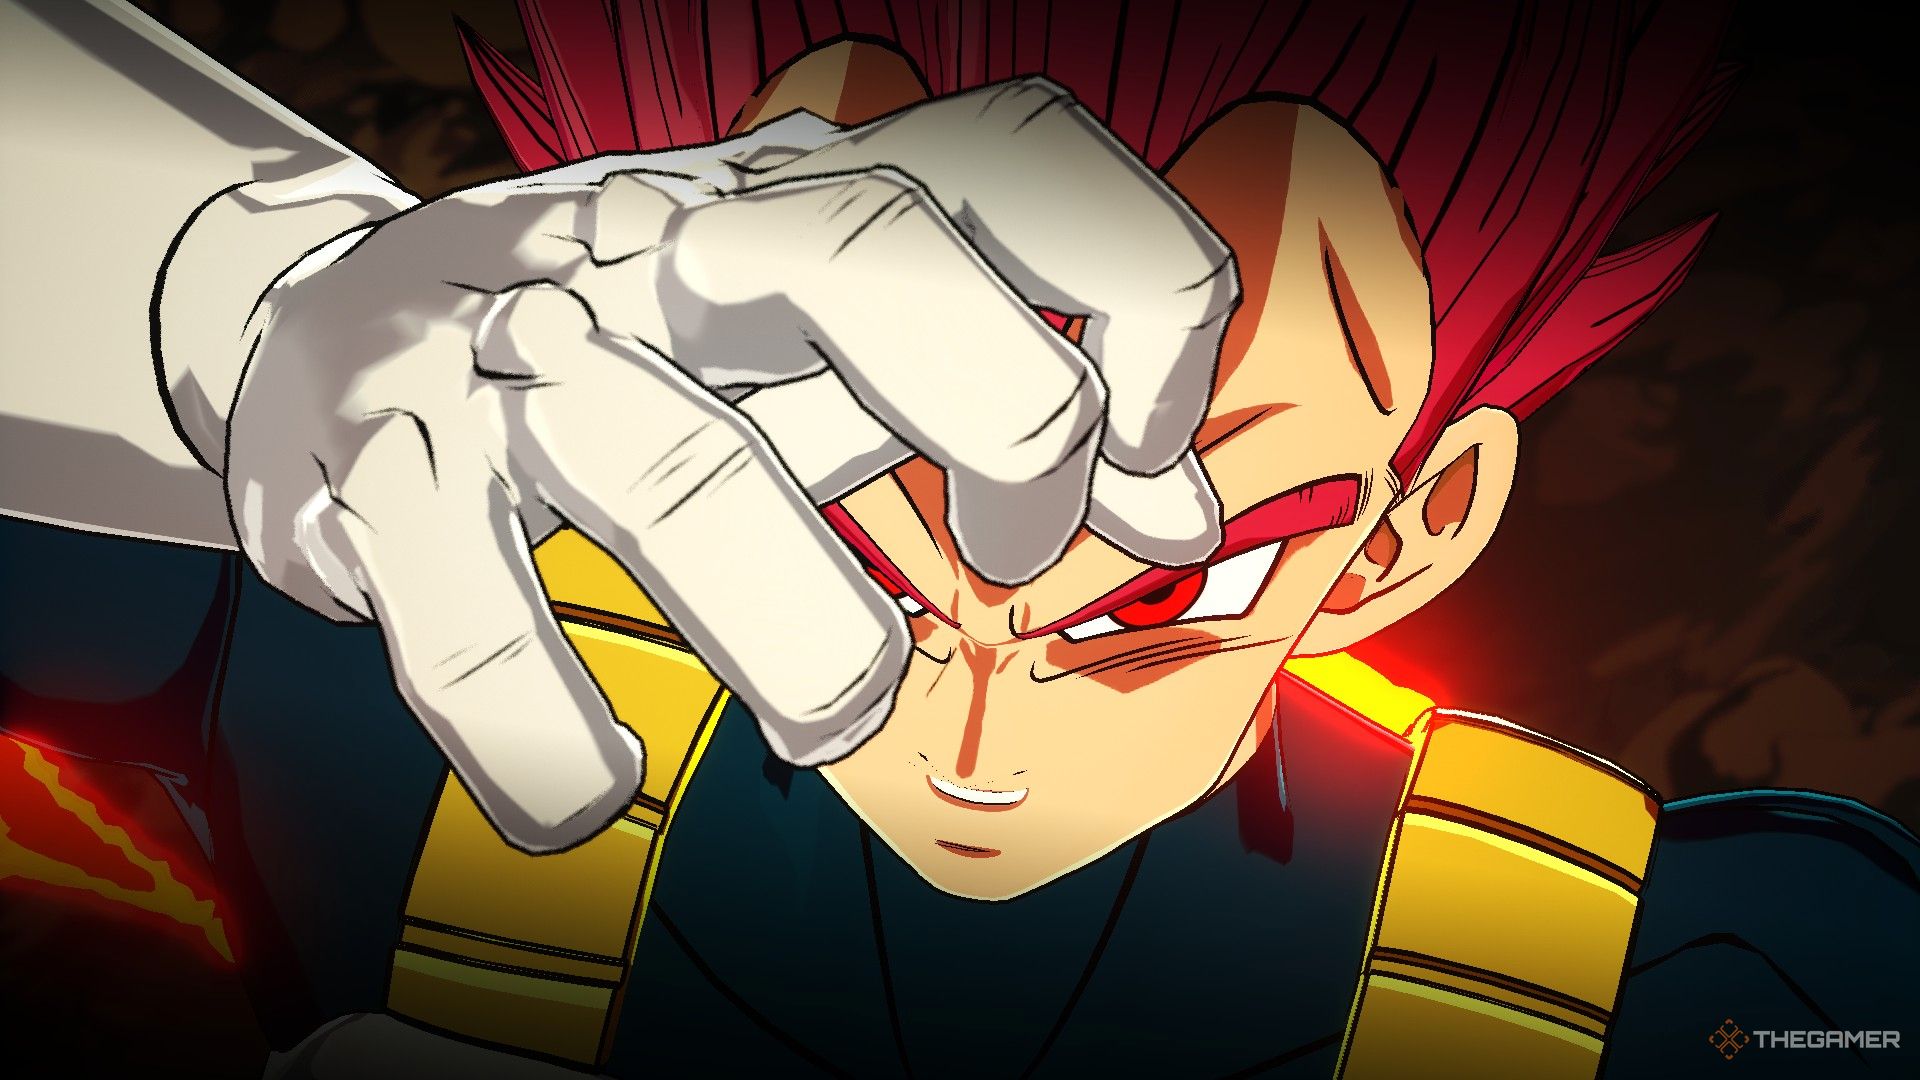
    Vegeta, the proud Saiyan prince from Dragon Ball Super, showcases his fierce power in Dragon Ball: Sparking Zero, presenting players with a fighter who excels in both versatility and damage. Players can start with Vegeta’s base form, moving through his transformations: Super Saiyan, Super Saiyan God, and the final transformation, Super Saiyan God Super Saiyan (commonly called Blue). Each transformation offers a boost in abilities and techniques, making him increasingly formidable.

    With each transformation, Vegeta enhances his unique blend of finesse and brute force, positioning him as a leading contender in both close-quarters and long-range battles. This guide will help you navigate Vegeta’s moves and transformations to unleash his full potential and decisively defeat your opponents.

    Vegeta (Super)

    In Dragon Ball: Sparking Zero, using Vegeta’s base form is often more advantageous than his other forms due to its lower DP cost of five. This allows players to switch between transformations during a match, activating their enhanced powers while spending less resource.

    In his Super form, Vegeta has access to moves like Explosive Wave, a quick entry into Sparking Mode, and a well-rounded selection of both Rush and Beam Super attacks. However, since the costs for entering Sparking Mode have been increased, the strategy of quickly transitioning to higher forms may require more careful planning.

    Moveset for Vegeta (Super)

    Move Name Input Cost Effect
    Explosive Wave R2/RT + Up on the D-Pad 2 Skill Count Releases a wave that pushes enemies back.
    All Warmed Up R2/RT + Left on the D-Pad 4 Skill Count Transitions into Sparking Mode.
    Galick Gun R2/RT + Square/X 3 Ki Bars Fires a devastating beam attack.
    Absolute Rush R2/RT + Triangle/Y 3 Ki Bars Initiates a powerful Rush attack.
    Final Flash R2/RT + Circle/B (in Sparking Mode) Full Ki Bar Unleashes a powerful beam attack.

    Super Saiyan Form

    Vegeta as a Super Saiyan

    This form leans less on defense but offers beneficial stat boosts, enhancing damage output. Combining these advantages can create a formidable character, although it’s wise to save Skill Count for transforming to even more powerful states.

    While Galick Rush unleashes a series of projectiles, much of its damage occurs in a cutscene afterward. It can be used to harass your opponent, but its cost makes it advisable to select openings more strategically.

    Moveset for Vegeta (Super Saiyan)

    Move Name Input Cost Effect
    Saiyan Spirit R2/RT + Up on the D-Pad 2 Skill Count Grants offensive boosts.
    I’ll Get You For This… R2/RT + Left on the D-Pad 4 Skill Count Enters Sparking Mode.
    Galick Rush R2/RT + Square/X 3 Ki Bars Fires multiple projectiles.
    Galick Uppercut R2/RT + Triangle/Y 3 Ki Bars Executes a Rush Super for high damage.
    Final Galick Flash R2/RT + Circle/B (in Sparking Mode) Full Ki Bar Massive Rush Ultimate attack.

    Super Saiyan God and Beyond

    Vegeta as a Super Saiyan God

    The Super Saiyan God form provides a blend of offensive buffs and defensive capabilities like the Explosive Wave. It’s beneficial for wearing down opponents before advancing to the Blue form, where finishing blows can be delivered.

    In this form, your ultimate attack options become simpler, allowing for strong Rush abilities that can set the stage for powerful finishers.

    Moveset for Vegeta (Super Saiyan God)

    Move Name Input Cost Effect
    Explosive Wave R2/RT + Up on the D-Pad 2 Skill Count Catapults enemies back.
    Saiyan Spirit R2/RT + Left on the D-Pad 2 Skill Count Offensive buffs activated.
    God Shine Attack R2/RT + Square/X 3 Ki Bars Multiple projectiles inflict damage.
    Gamma Fist R2/RT + Triangle/Y 3 Ki Bars Initiates a Rush Super.
    Prominence Flash R2/RT + Circle/B (in Sparking Mode) Full Ki Bar Devastating beam attack.

    Super Saiyan Blue

    Vegeta as Super Saiyan Blue

    Using Super Saiyan Blue means relying on powerful but trade-off abilities. For example, while Gamma Burst Flash deals moderate damage, it lacks range. Conversely, the Final God Explosion is an unblockable move that inflicts major damage but also costs you health. Due to its unique properties, this move is best used as a concluding attack rather than an opening strategy.

    Another significant skill is Limits? I Break Them!, which grants infinite duration buffs, effectively lifting Vegeta’s power level permanently for the duration of the fight. Stacking buffs like this can amplify his performance dramatically.

    Moveset for Vegeta (Super Saiyan Blue)

    Move Name Input Cost Effect
    I’m No Pushover! R2/RT + Up on the D-Pad 2 Skill Count Offensive buffs applied.
    Limits?! I Break Them! R2/RT + Left on the D-Pad 5 Skill Count Buffs with infinite duration.
    God Final Flash R2/RT + Square/X 3 Ki Bars Beam attack with heavy damage.
    Gamma Burst Flash R2/RT + Triangle/Y 2 Ki Bars Close-range beam that does decent damage.
    Final God Explosion R2/RT + Circle/B (in Sparking Mode) Full Ki Bar Explosive attack with high damage.

    In conclusion, mastering Vegeta’s transformations and abilities in Dragon Ball: Sparking Zero allows players to strategize their assaults effectively, leveraging his strengths while managing his weaknesses. This guide provides a foundation for maximizing his potential and dominating battles.