الوسم: Sukhothai

  • Complete Guide to Sukhothai Lost Artifacts in Indiana Jones

    Complete Guide to Sukhothai Lost Artifacts in Indiana Jones

    In Indiana Jones and The Great Circle, after their adventure in Shanghai, Indy and Gina land in Sukhothai. This expansive area features rivers and islands, which leads the pair to explore in a vintage boat. Since Gina is unable to swim, she can’t join Indy on every escapade, so he often finds himself on solo missions.

    Like in other locales, the Nazis are once again the primary antagonists, but Indy’s greatest phobia is snakes. Throughout his journey, he encounters numerous snakes, big and small, sparking a bit of panic in him. Nevertheless, there are hidden artifacts waiting to be uncovered. If you’re ready for the hunt, this guide lays out their locations.

    All Lost Artifact Locations In Sukhothai

    After you solve the Hidden Pyramid puzzle and exit, make your way to Jonhdang’s Hut to purchase the Sukhothai Artifacts booklet for 450 Baht. Money can be tight at first, so completing the Voss’ Gold side quest can help you earn some quick cash.

    Where To Find The Ganesha Statue

    To find this lost artifact, head to the northeastern area marked in red on your map. If it’s your first time here, you’ll be given the Voss’ Gold side quest that will guide you to this location.

    Be sure to grab the Royal Army Uniform Disguise available in the area; it will help you navigate more freely in this and other locations.

    Then, enter the military camp, which you can access via the wooden bridge or another route. To the east of this camp, there’s a boom barrier surrounded by blue barrels. Navigate through the wires to the right of the barrier to reach the large building housing Voss’ office. There’s a dim passage on the right of the building; go inside.

    Turn left past the wooden crate, and you’ll find a low passage beneath the wall; crouch to enter. The lost artifact will be in front of the statue inside.

    Where To Find The Belt Buckle

    Start at the harbor by Jonhdang’s Hut and head south by boat. Keep the sunken temple on your left as you navigate down the river on your right. When you spot the abandoned wooden boat, make a right turn and continue your journey.

    Next, turn left and pass by the tree in the river. After passing it, the river will fork again; take the left path. Continue straight, and you’ll spot another boat on your left. Stop and look to your right, where you’ll see a submerged wall and a passage.

    Get out of the boat and swim through the passage. Move towards the structure with planks blocking the entrance on your left. Use your lighter to burn the planks. Dive into the water through the hole in the center of the structure. You’ll need the Rebreather to stay underwater.

    Lift the submerged log and continue onward, emerging into another structure. Inside, you’ll find the lost artifact.

    Where To Find The Jade Humanoid

    First, complete the Hidden Pyramid. After defeating the Serpent and Lotus and speaking with Pailin, you will start the ‘Study In Fear’ side quest, which involves explosions.

    After meeting Annika, proceed to the quest’s conclusion and find the Demon’s Tomb in the burial chamber. However, don’t leave just yet; check under the logs with puzzles in the last circle; a dark area flows beneath them.

    If you head to the entrance of the puzzle area and check the logs, you can easily spot it. Enter the dark area below and use your lighter to unveil the lost artifact.

    You can also return after finishing the side quest to collect this artifact.

    Where To Find The Bronze Jue

    This lost artifact is located south of the marked military area on your map, in the southernmost region. As you head south, you’ll find a small structure resembling a temple. Step off your boat and begin circling around the structure.

    On the side of the temple facing the columns, there’s a branch at the top covered in vines. To reveal this hidden branch, you’ll need to collect Mangosteen fruits that resemble coconuts near the columns.

    Once you have one, light it on fire and throw it at the vines to burn them away. This will expose the branch. Now, use your whip to climb to the top of the temple. Once on top, jump inside to find the lost artifact waiting for you.

    Where To Find The Jomon Mask

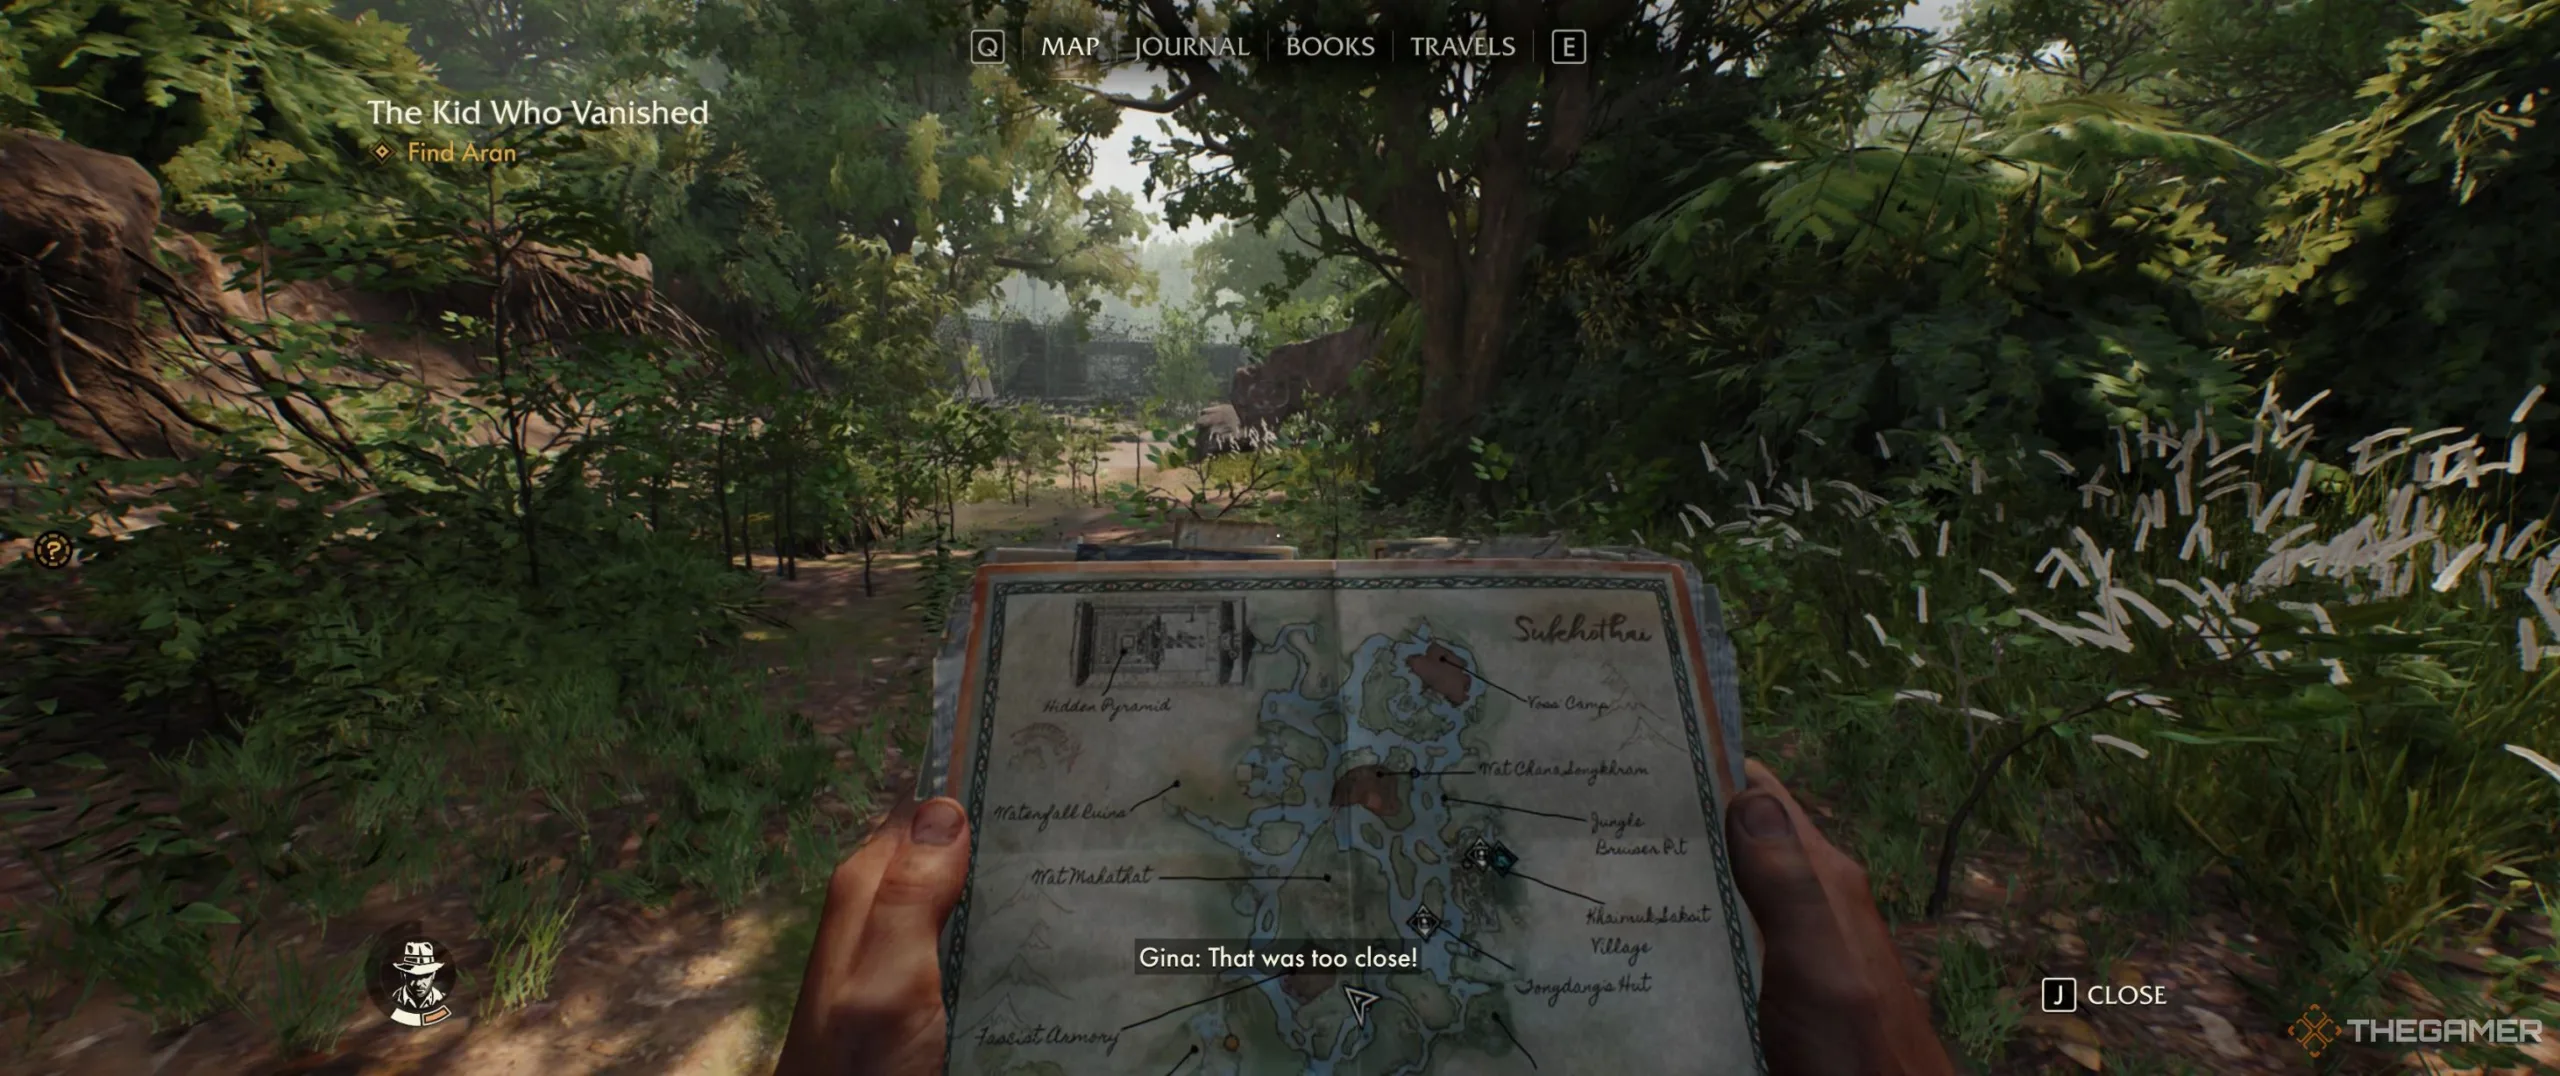
    To locate this artifact, head to the island southwest on your map, known as Wat Si Sawai. Here, you’ll encounter fascists; push further in, and you’ll arrive at the Khmer Warrior Temple. Completing the ‘The Kid Who Vanished’ side quest will bring you to this area.

    After locating Aran and finishing the quest, go to the entrance room filled with spotlights. Enter through the door located in the southwest corner of the room. Move further inside, and you’ll notice a pit below; carefully descend using your whip. Once at the bottom, head west and take the left corridor.

    Follow the crack in the wall and use the ledges to avoid falling into the pit. When you reach the other side, turn left, and you’ll spot a low wooden platform next to a multi-headed snake statue. Climb onto this platform and after reaching the top, enter through the door to the south.

    You’ll find yourself in a corridor with rotating gears; first, turn left and look down. You’ll see a tree branch covered with hay on the ground; use your lighter to ignite it. After that, turn around and near the door you entered, you’ll find Mangosteen. Grab one, and while holding it, jump onto the stone platform across from the hay you just lit.

    Next, turn right and jump over the gears, making your way to a single gear ahead. Stand on the stone platform next to the gear and look up. You’ll see another tree branch covered in hay. Burn the Mangosteen and throw it at the hay to set it ablaze, revealing the branch. Use your whip to climb it. Once at the top, turn left, and you’ll find the lost artifact near some monkeys.

    To exit, use the branch that was uncovered when you ignited the hay earlier and leave the area.
  • Navigating the Secret Pyramid in Sukhothai: A Guide for Indy Fans

    Navigating the Secret Pyramid in Sukhothai: A Guide for Indy Fans

    At the climax of Indiana Jones and the Great Circle, you’ll find yourself in Sukhothai, where your journey leads you to pursue the final stone and the tales of a Blessed Pearl. The silver lining is that Voss has yet to uncover the way to the Hidden Pyramid of the Nephilim, but the downside is that it’s actually concealed quite well.

    Your first challenge is locating the Pyramid. However, once you’re inside, you’ll face some of the game’s most formidable obstacles, including a scenario that would terrify even Dr. Jones himself. Prepare to confront the age-old dilemma: is it worse to face a hundred normal snakes or one massive serpent?

    How to Locate the Hidden Pyramid

    You can head to the Hidden Pyramid as soon as you acquire the Breathing Device from Tongdang. The easiest way to fund this purchase is to swipe Voss’ stash of gold from his campsite. While you’re there, you might as well grab a Royal Army Uniform and jump into the Boxing Ring nearby for some extra cash.

    Once you own the Breathing Device, take a boat to the northwest corner of the map, just north of Wat Sa Si. You’ll come across two trails: the right one leads to a dead end but features a waterfall you can photograph for adventure points, while the left path reveals a Yeak statue, the creature Sunan mentioned before, indicating you’re in the right place.

    Stop your boat, equip the Breathing Device, and dive below. Amidst the ruins, look for a chute to swim down through; this will lead you through a tunnel, pushing aside a wooden beam blocking your way.

    Warning: The Breathing Device has a limited oxygen supply, so don’t waste time. It automatically refills when you surface, so keep an eye on the meter at the bottom right of the screen.

    After you pass the beam, emerge into a sunlit area to catch your breath, then continue along the left path. You should have just enough air to reach the Gear Train Puzzle waiting for you at the tunnel’s end.

    How to Solve the Khmer Gear Train Puzzle

    To unlock the mechanism that exposes the waterway, you must activate the gear systems on both sides of the chamber separately. You can tackle them in any order, but first, you’ll need to gather the cogs hidden nearby:

    • You’ll find two large cogwheels, one at the front and another at the back of the room.
    • Near the gear trains, there’s a small cogwheel on the ground to the left of each; you’ll need to grab both to have a total of two, but you still require a third.
    • On the left gear train, there’s a hole to the right. Crawl through and climb the wall on the left to find the third small cogwheel at the top.

    Once you have all three small cogwheels, use your whip to pull the ring on the wall opposite the waterwheel. This will set the wheel in motion and activate the machinery.

    Right Gear Train

    The right gear train presents the simplest cogwheel challenge. Position one small cogwheel to the right of the large center gear, then place a large cogwheel right next to it to form a horizontal line. Next, set a second small cogwheel directly above the large one, and put the third small wheel in the remaining space to its right. This forms a connection from the main gear to the cog concealed in vines in the upper-right corner.

    Once arranged correctly, pull the lever at the mechanism’s center. If everything is set up right, the statue to the left will sink into the ground. Afterward, retrieve your cogwheels, as you’ll need them for the other puzzle.

    Left Gear Train

    You’ll need all five cogwheels (two large and three small) to activate the left gear train, and ensure that the waterwheel in the back is functioning (refer above). After meeting these conditions, place a large cog to the left of the main gear. Then, add two small cogwheels next to each other to the left of this large cogwheel.

    The second large cogwheel should go beneath the leftmost small cog so that it sits partly behind the statue’s ear, with the final small cog placed in the last remaining spot on the right. When correctly arranged, pulling the lever will cause the statue to retract into the ground, just like with the right gear train.

    Tip: Remember to take the three small cogwheels with you when you leave. You’ll need them for optional puzzles hidden throughout Sukhothai, and they are crucial for collecting all the Ancient Relics.

    Once both statues have disappeared into the ground, turn the dial on the wall between the two gear trains to trigger a cutscene that reveals the Hidden Pyramid.

    Warning: If you’re low on supplies like Bandages at this point, it’s smart to head back and raid an enemy camp for more before proceeding.

    How to Access the Sukhothai Pyramid

    The pyramid’s exterior doesn’t reveal any doors, stairs, or ladders. To enter, you must navigate the water and face its serpentine guardian.

    Warning: Unless you’re in a tight area where the giant snake can’t follow, you’ll hear a sonar sound whenever you’re in the water near the pyramid. This indicates the snake is on your trail; the sound will increase in pace as it gets closer. If it catches you, the consequences are fatal. Stay out of the water or find cover.

    While in the boat from the gear puzzle room, approach the pyramid until you spot a collapsed tower on your left. Carefully climb onto it from your boat and notice that the roof has a hollow space, allowing you to swim down. Equip the Breathing Device and move the beam at the bottom of the tower.

    Get some air, then return to the opening and swim straight ahead to the next tower as fast as you can. As long as you don’t pause, you’ll outrun the snake. Move from one safe area to another, following the sunlight if you get disoriented until you’re inside the pyramid. If you catch a glimpse of the snake’s face, you’re temporarily safe; just make sure to get above water before running out of air.

    How to Scale the Hidden Pyramid in Sukhothai

    Once you’re out of the water, make your way to the far end of the room and jump down to the ledges below until you reach the chasm’s base. Here, you’ll find a crawl space that leads you to the Tower.

    Walk carefully along the stone ledges, using your whip and running jumps as needed to navigate larger gaps. When you see a giant mushroom to your right and a spear ahead, you’re about to learn a new climbing mechanic.

    Using the Giant Mushrooms to Climb

    Throwing a spear at a giant mushroom will create a swinging bar that you can secure with your whip. Ensure you throw the spear from directly across from the mushroom; any angled throws may cause it to bounce off. Generally, there will be multiple spears available, but if you miss too many, you might need to reload a checkpoint to respawn them.

    Tip: If the targeting reticle turns red, it means the spear is in range to hit the mushroom, but the angle might still need adjustment. Aim for a straight shot whenever possible for optimal success.

    How to Navigate the Lost Archive and Defeat the Giant Snake

    After swinging from the first mushroom, you’ll enter the Lost Archive. Head immediately right for an Ancient Relic, then continue crossing the stones as before: make running jumps and swings. If you fall, you’ll end up in the water again, but beware—the giant snake is back. Get back ashore quickly when that happens.

    Tip: Some spots will require a quick swim. As long as you’re in and out of the water fast, you should be safe from the snake.

    When you spot the elephant skeleton, your only option is to dash toward the swing bar on your left and use your whip midair to grab it. This will lead to a break that drops you into the water. Climb onto the island beneath the elephant to confront the snake directly.

    Collect the spears from the ground, and hurl them at the snake when it opens its mouth. Don’t hesitate, or it will bite, depleting a significant portion of your health. Fortunately, the snake takes its time resurfacing after submerging, giving you a chance to apply a Bandage.

    Tip: If you run out of spears on the ground, there are more in the elephant’s holster above you.

    Once you’ve used enough spears on the snake, it will retreat and break through a wall, allowing you to progress to the next area without further hassle.

    Second Climbing Section

    Once back in the sunlight, it’s time to climb again. Move counter-clockwise along the cliff’s edge until you can cross the chasm and then shift back clockwise along the tower’s side. At the giant snakeskin, you’ll have two routes: staying to the right will lead you to the spear needed to create a swing bar straight across the chasm. However, before you circle back on the snakeskin, continue on the right path for another Ancient Relic.

    Swing across the cliff using the whip attached to the spear and mushroom, then climb through the cave on the opposite side. You’ll surface right above where you just were. Continue to the right path to reach the summit of the tower after some brave jumps and swings using the mushrooms.

    At the top, you’ll hear Gina calling from outside. Turn left and head down the stairs, then use your whip to pull her up.

    Note: The snake’s escape has also created an opening to the right for easier access without backtracking through the entire ruin.

    Follow Gina up the stairs as she turns the dial on the door’s left side; take a running jump back to where you initially came from to reach the right dial and enter the Game Room.

    How to Solve the Nephilim Game Puzzle

    Each time you place a game piece on the board, it will rotate all orthogonally adjacent towers by 90 degrees counter-clockwise. Start by taking all the pieces from the left shelf; along with the one already on the board, you should now have three to use.

    Facing the statue, do the following:

    1. Place one piece at the center of the board, causing three towers to rotate.
    2. Position a second piece diagonally next to the first so that the two leftmost towers rotate.
    3. Position the third piece next to the far-right tower, aligning all four to face the wall.

    When all four towers are oriented toward the wall, a second shelf will reveal three more game pieces. Keep the original pieces in their current spots, and add the new pieces to the board on places that won’t move the towers. You’ll need them all off the shelf to ensure continued access after the panel closes:

    1. Position a piece in the corner so that the center and near-right towers rotate.
    2. Add the other two pieces beside the remaining towers, causing each to rotate. All four towers should now be facing the statue.

    When the statue reveals its secret message, snap a picture to trigger a cutscene and a boss battle. Refer to our guide for strategies on tackling Locus in the Pyramid’s depths; after defeating him, you’ll be automatically transported back outside to continue your adventure.

  • Discover All Radio Frequencies in Sukhothai – Indiana Jones Guide

    Discover All Radio Frequencies in Sukhothai – Indiana Jones Guide

    Similar to the one in Giza, the Sukhothai map in Indiana Jones And The Great Circle features four radio frequency cards tucked away in hidden spots. Players can grab these cards soon after arriving, provided they’re ready to navigate through some heavily guarded areas. Collecting all four cards will lead you to secret stashes filled with cash.

    Obtaining the Royal Army Transmissions is a fantastic way to get oriented in Sukhothai. This will allow you to explore the northern part of the map while getting accustomed to traveling by boat with Gina. The camps you infiltrate also contain extra supplies if you’re up for the challenge.

    Voss’ Camp

    Your first mission in Sukhothai involves raiding Voss’ camp to retrieve his gold reserves. While you’re there, be sure to check out the large map room located on the first floor of his office. In the northwest corner, you’ll find a bulletin board. To its right is a table equipped with a radio and typewriter; the first frequency card can be found on this table.

    Wat Chana Songkhram

    At the army camp located at Wat Chana Songkhram, which is situated just northwest of the village, there’s another radio frequency card that’s easy to reach if you can avoid the guards. It’s best to approach from the south; the card is located inside the guardhouse on the left as you enter.

    Be cautious as there are two guards stationed at the entrance, one in the tower above, and dogs patrolling the inside. If you’re not wearing a Royal Army Uniform, it might be a good idea to sneak in and take out the guards first.

    Wat Chana Songkhram is also where you’ll find the Timely Arrival Mystery, offering additional rewards if you linger to solve that puzzle as well.

    Wat Sa Si

    Wat Sa Si is located near the northwest corner of the map, with the army’s radio tent situated at the rear of the camp. The best way to enter without confrontation is to dock at the southeast corner of the island and follow the raised path that bears the rebels’ tiger insignia on the right. This pathway leads directly to the camp and the radio tent containing the frequency card and includes a stash of food and an Adventure Book for you.

    If you already have the Adventure Book, a quicker method is to dock north of the camp and use your whip to climb over the back wall. This will allow you to sneak behind the radio tent for a stealthy entry and exit.

    Wat Mahathat

    Wat Mahathat is the large island west of the village and hosts one of the biggest enemy camps in Sukhothai. To reach the camp, dock northwest of Tongdang’s Hut for an easier path to the entrance.

    Once you arrive at the camp, crawl through the ruins on the right to avoid detection by guards and dogs. This route will lead you behind the tent where the frequency card is located, but be cautious as multiple guards—and at least one dog—will be nearby.

    You’ll find several tools behind the tent, including sledgehammers that you can use as weapons.

    After acquiring the card, it’s advisable to exit the same way you came in and return to explore further once you have the Royal Army Uniform.

    What to Do with the Radio Frequency Cards in Sukhothai


    Once you gather all four frequency cards, meet Gina at any boat dock. You can call her using the dock’s radio if she’s elsewhere.

    Once you and Gina are at the same dock, place the cards on the table with the radio. She will give you a draft of an article and mark your map with red X’s. If you visit those marked locations, you’ll find crates containing 125 baht each.

  • Discover Monkey Locations in Sukhothai: Indiana Jones Adventure

    Discover Monkey Locations in Sukhothai: Indiana Jones Adventure

    Indiana Jones and the Great Circle carries on a classic tradition by showcasing plenty of creepy creatures and playful animals. In Sukhothai, Indy isn’t the only one stirring up trouble for the fascists. A group of monkeys has pilfered the keys to the equipment room, giving Indy a chance to retrieve them before they fall into the wrong hands.

    If you’re having difficulty tracking down the mischievous monkeys and snatching the key, this guide will help you out. We’ll detail where to find all the animals and what actions you need to take once you locate your prize.

    How to Begin the Monkey Business Mystery

    Start this quest by fast-traveling to the Secret Armory Entrance.

    If you haven’t unlocked this fast travel point yet, make your way by sailing south from the Wat Mahathat East entrance. Look for a dock located on the southeast side of the largest island on the map. You’ll know you’ve arrived when you spot a large chain-link fence.

    Advance towards the fence and crawl through the opening to enter the secret armory. Directly in front of you is a sizable two-story tent – that’s your destination. For a safer approach, veer left through the crumbled stone wall and approach the tent from the side. Go to the second floor and take out the enemy you encounter here so you can freely explore.

    If you’ve already secured the Royal Army Outfit from Voss’s camp, navigating this restricted space becomes a lot easier.

    Snap a photo of the Monkey Warning on the corkboard in the corner of the room to kick off the quest. Then, pick up Francesco’s Note on the desk next to the corkboard to learn about the keys that have gone missing. Finally, examine the Keyring Note located on the wall by the door. Now you have everything you need to unravel this mystery.

    The Monkey Warning is scattered throughout the large island, so there’s a good chance you’ll have encountered it before.

    Where to Locate the Monkeys and Equipment Room Key

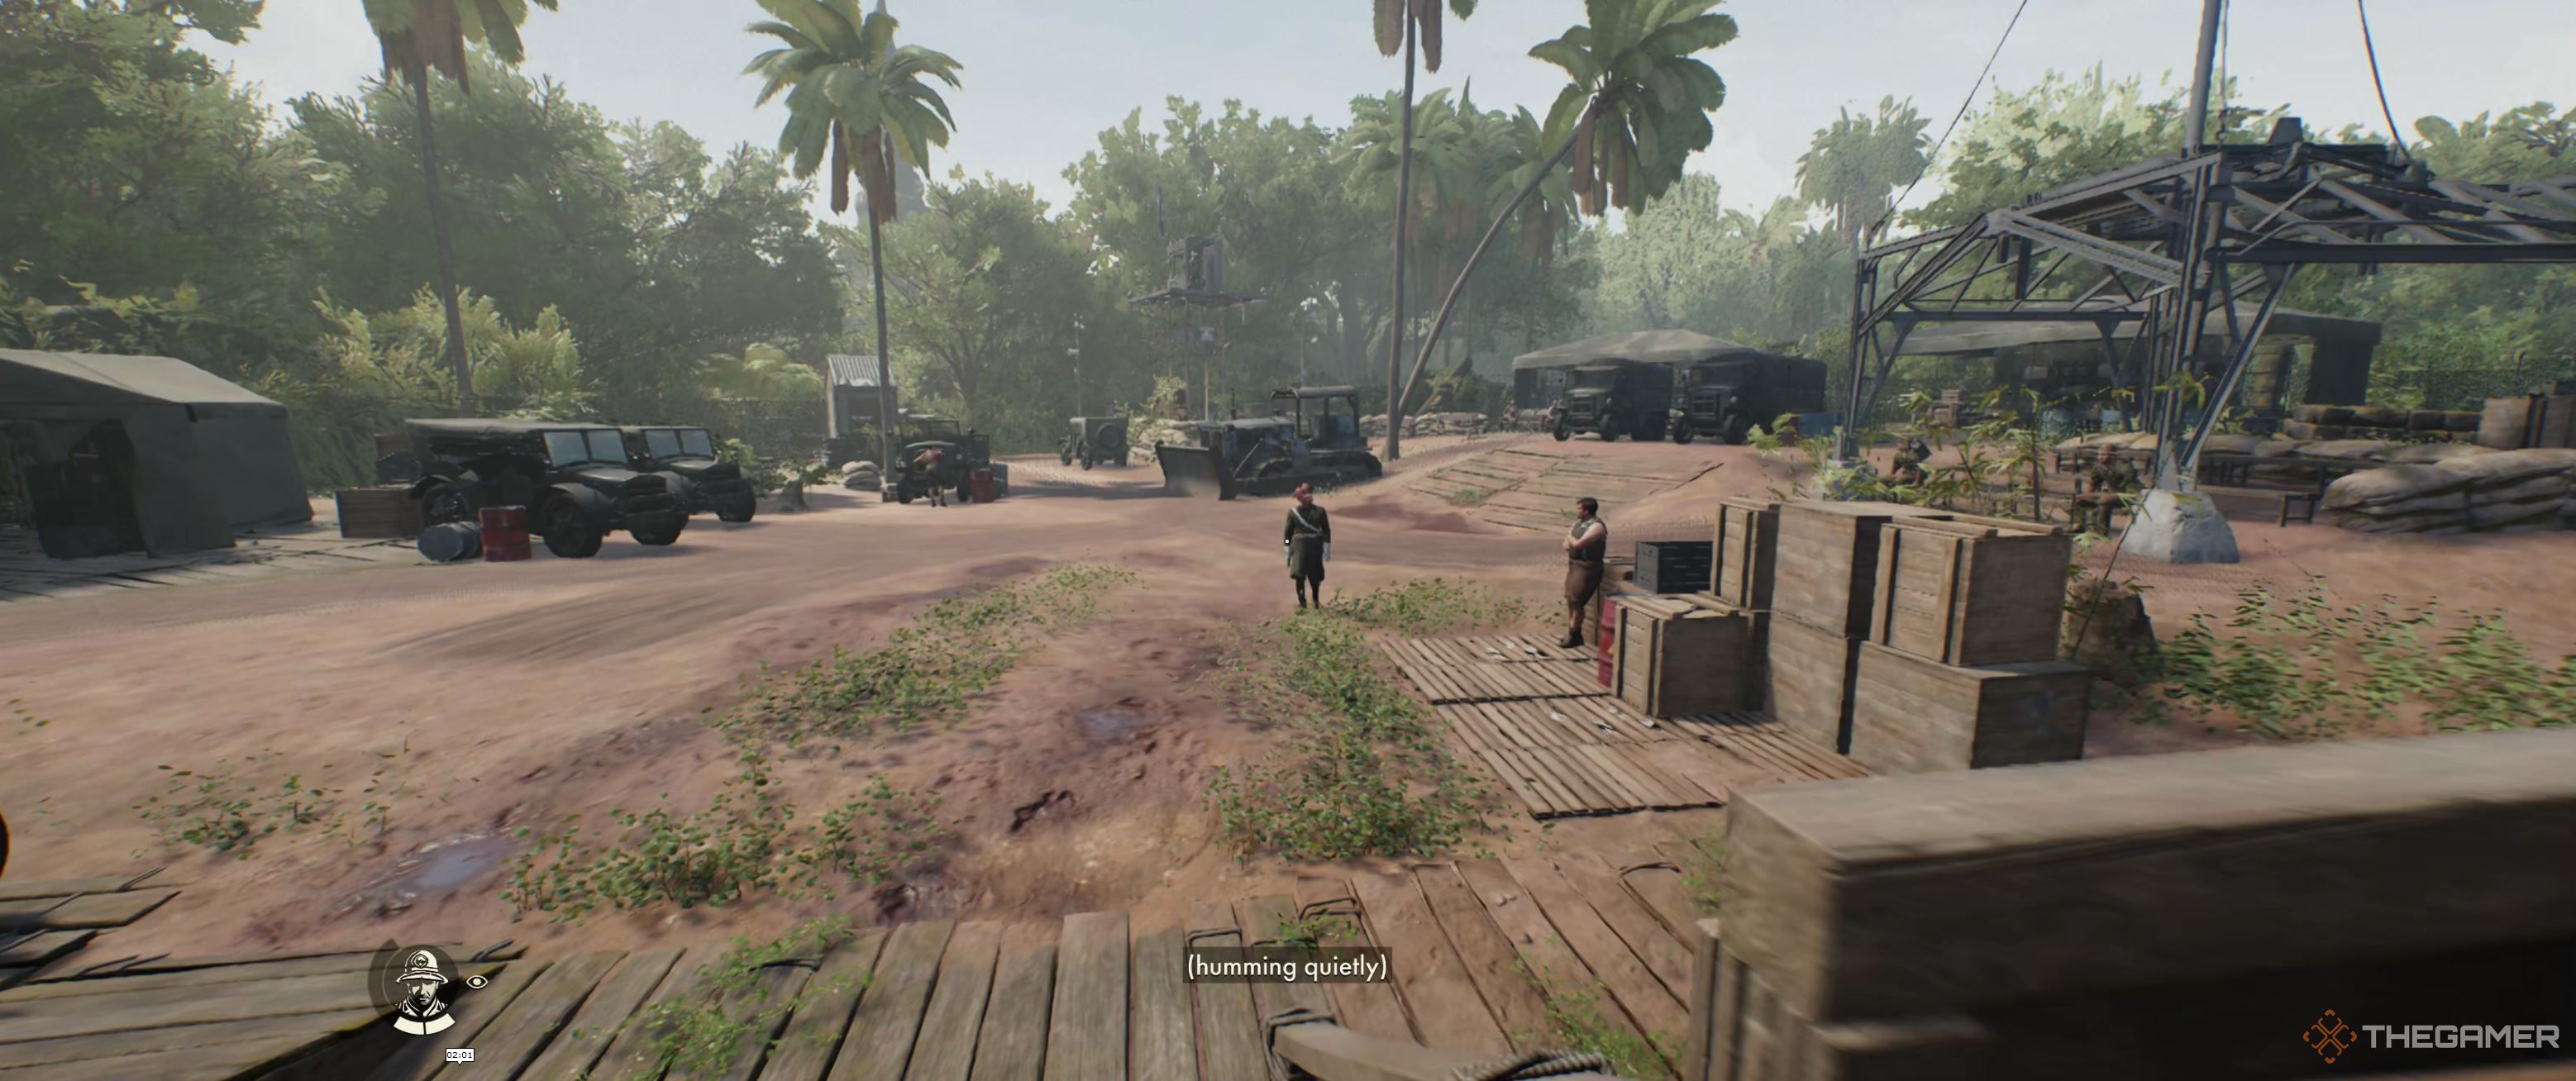
    View of the military zone, with soldiers and vehicles present.

    Luckily, those cheeky monkeys haven’t ventured too far. Exit the tent and descend the stairs. As you look out at the camp, you should see a guard tower in the distance; move in that direction.

    Indy navigating through a narrow bush path.

    Go down the stairs near the guard tower, where a truck awaits. On the opposite side of the truck, you’ll find a narrow path through the foliage. Follow this path until you reach the other side.

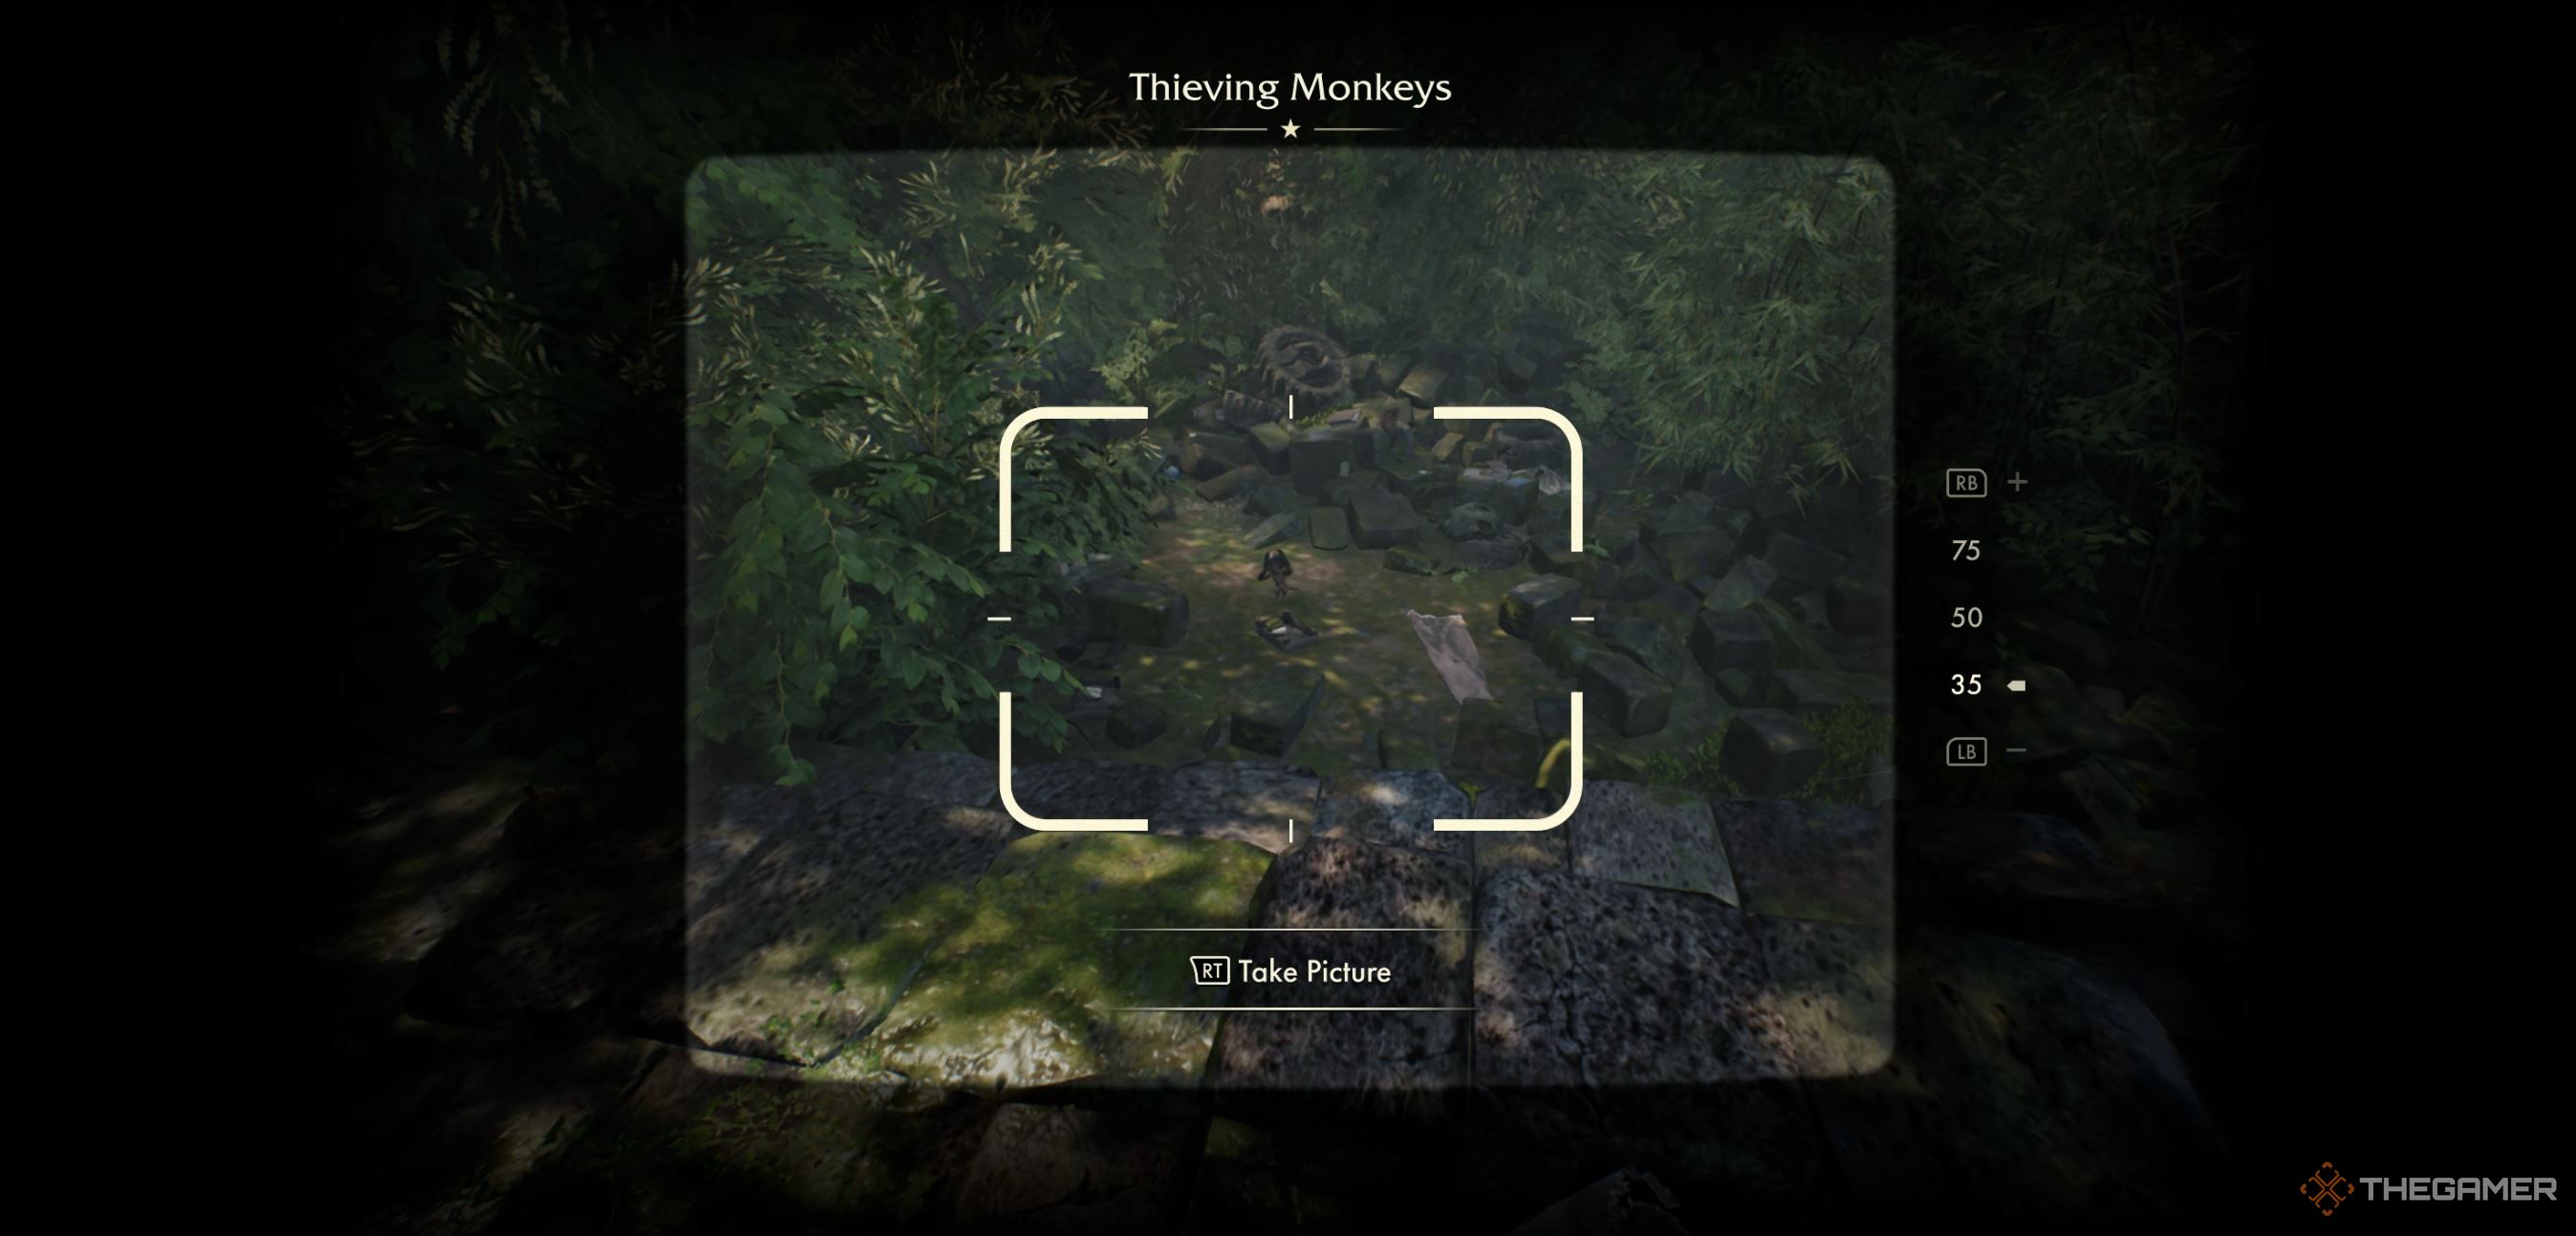
    Indy capturing a photo of a monkey stealing food near some ruins.

    Make a right turn and proceed towards the crumbled staircase. Use it to leap over the water on your way, or you’ll have to slog through the mud. Climb onto the brick foundation and turn left. You should spot a monkey sporting a Royal Guard helmet.

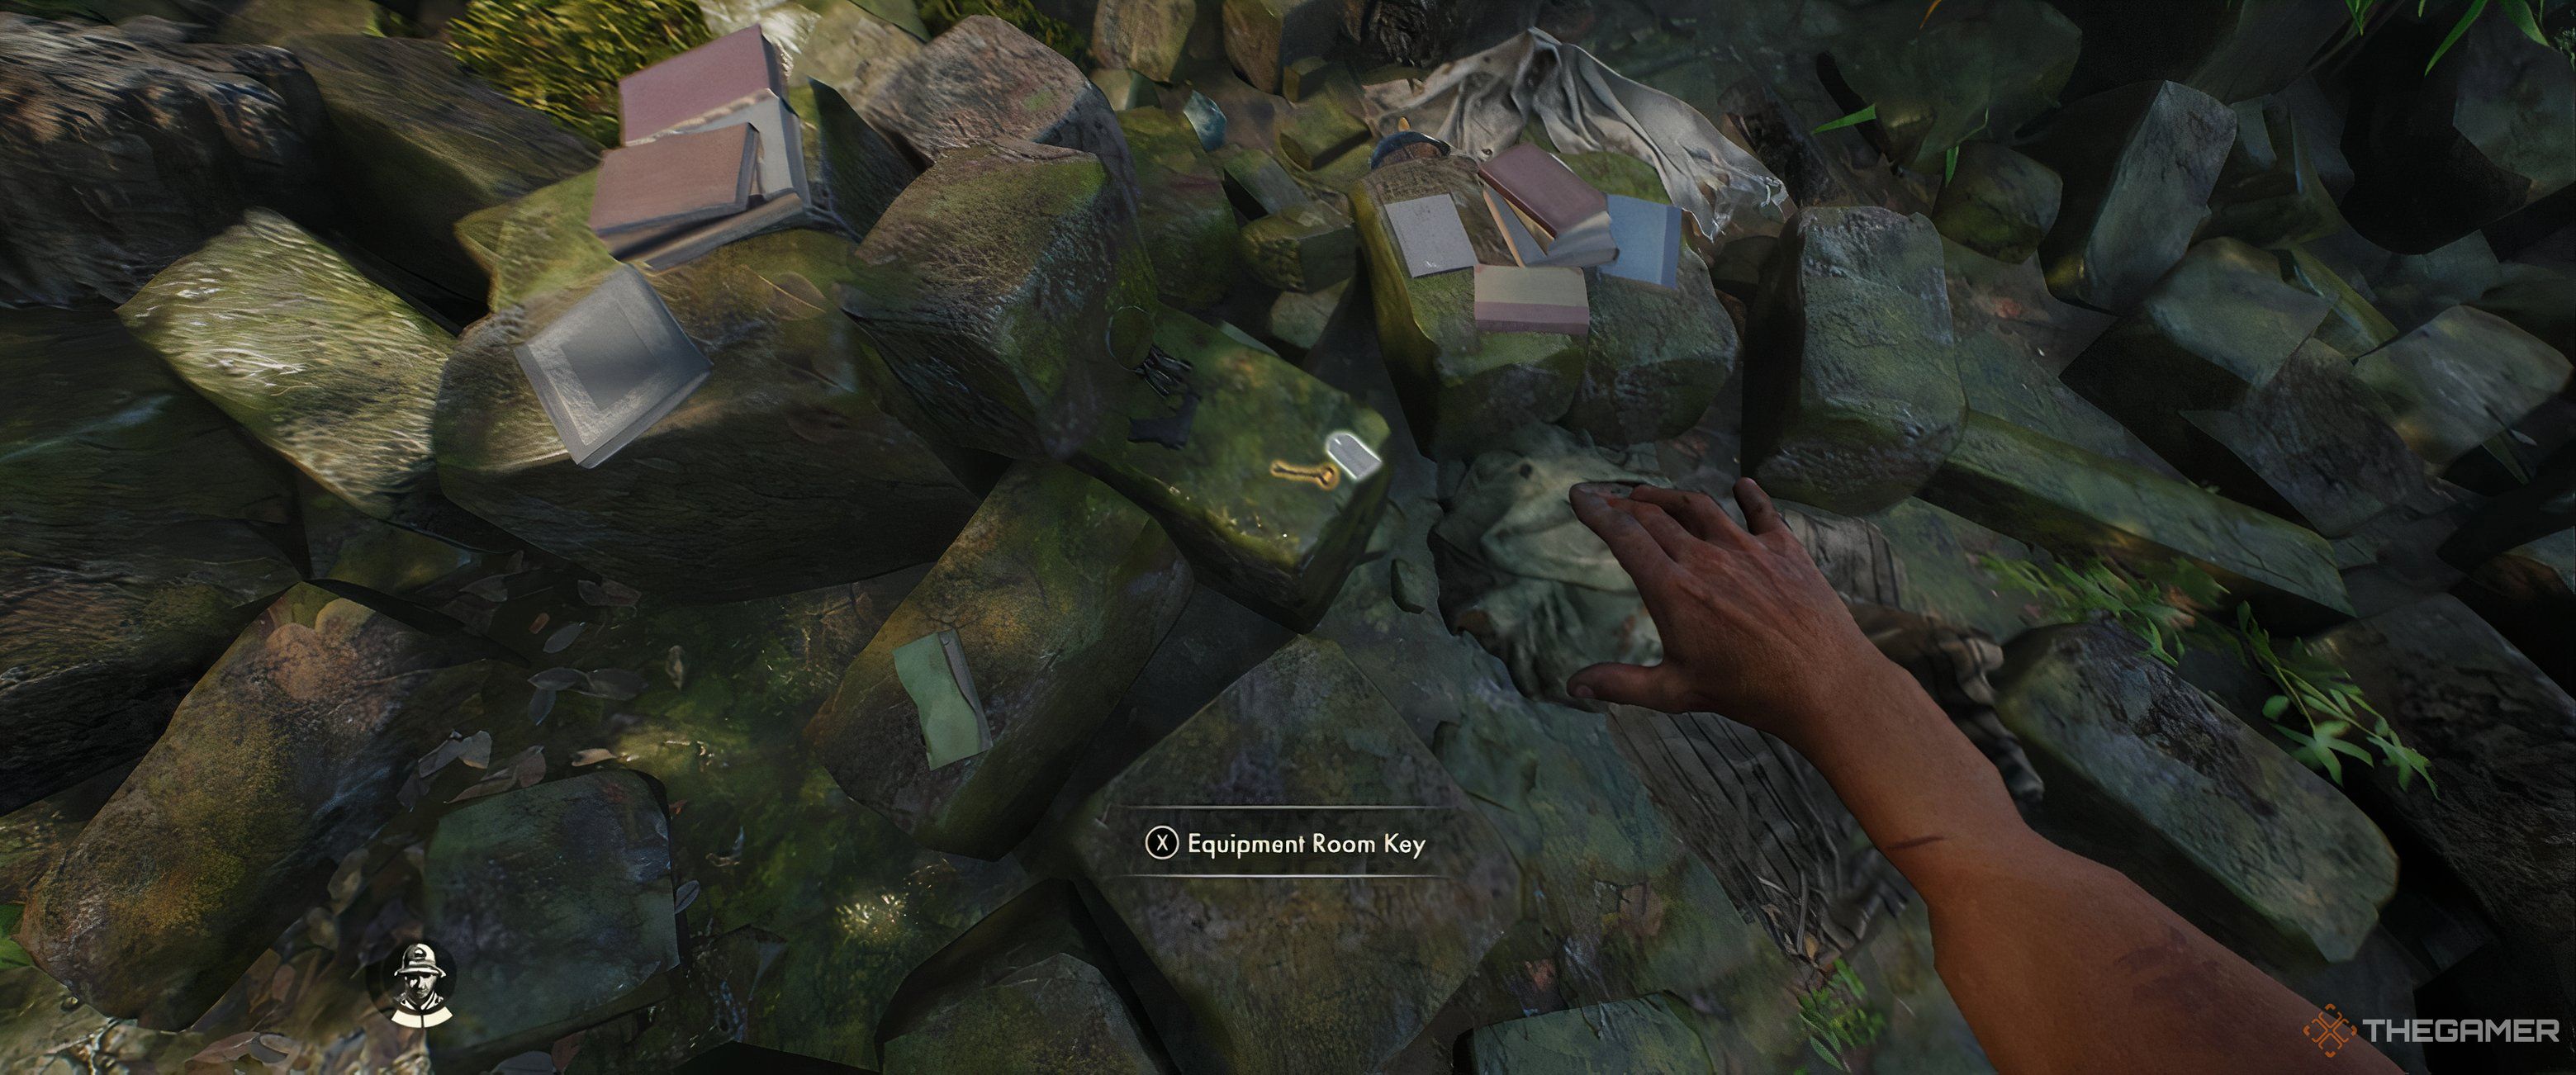
    Indy reaching for a key on a rock among various items.

    As you approach, the monkeys will scatter, allowing you to pick up the Equipment Room Key from the ground. Now, return to the large two-story tent and unlock the equipment room door.

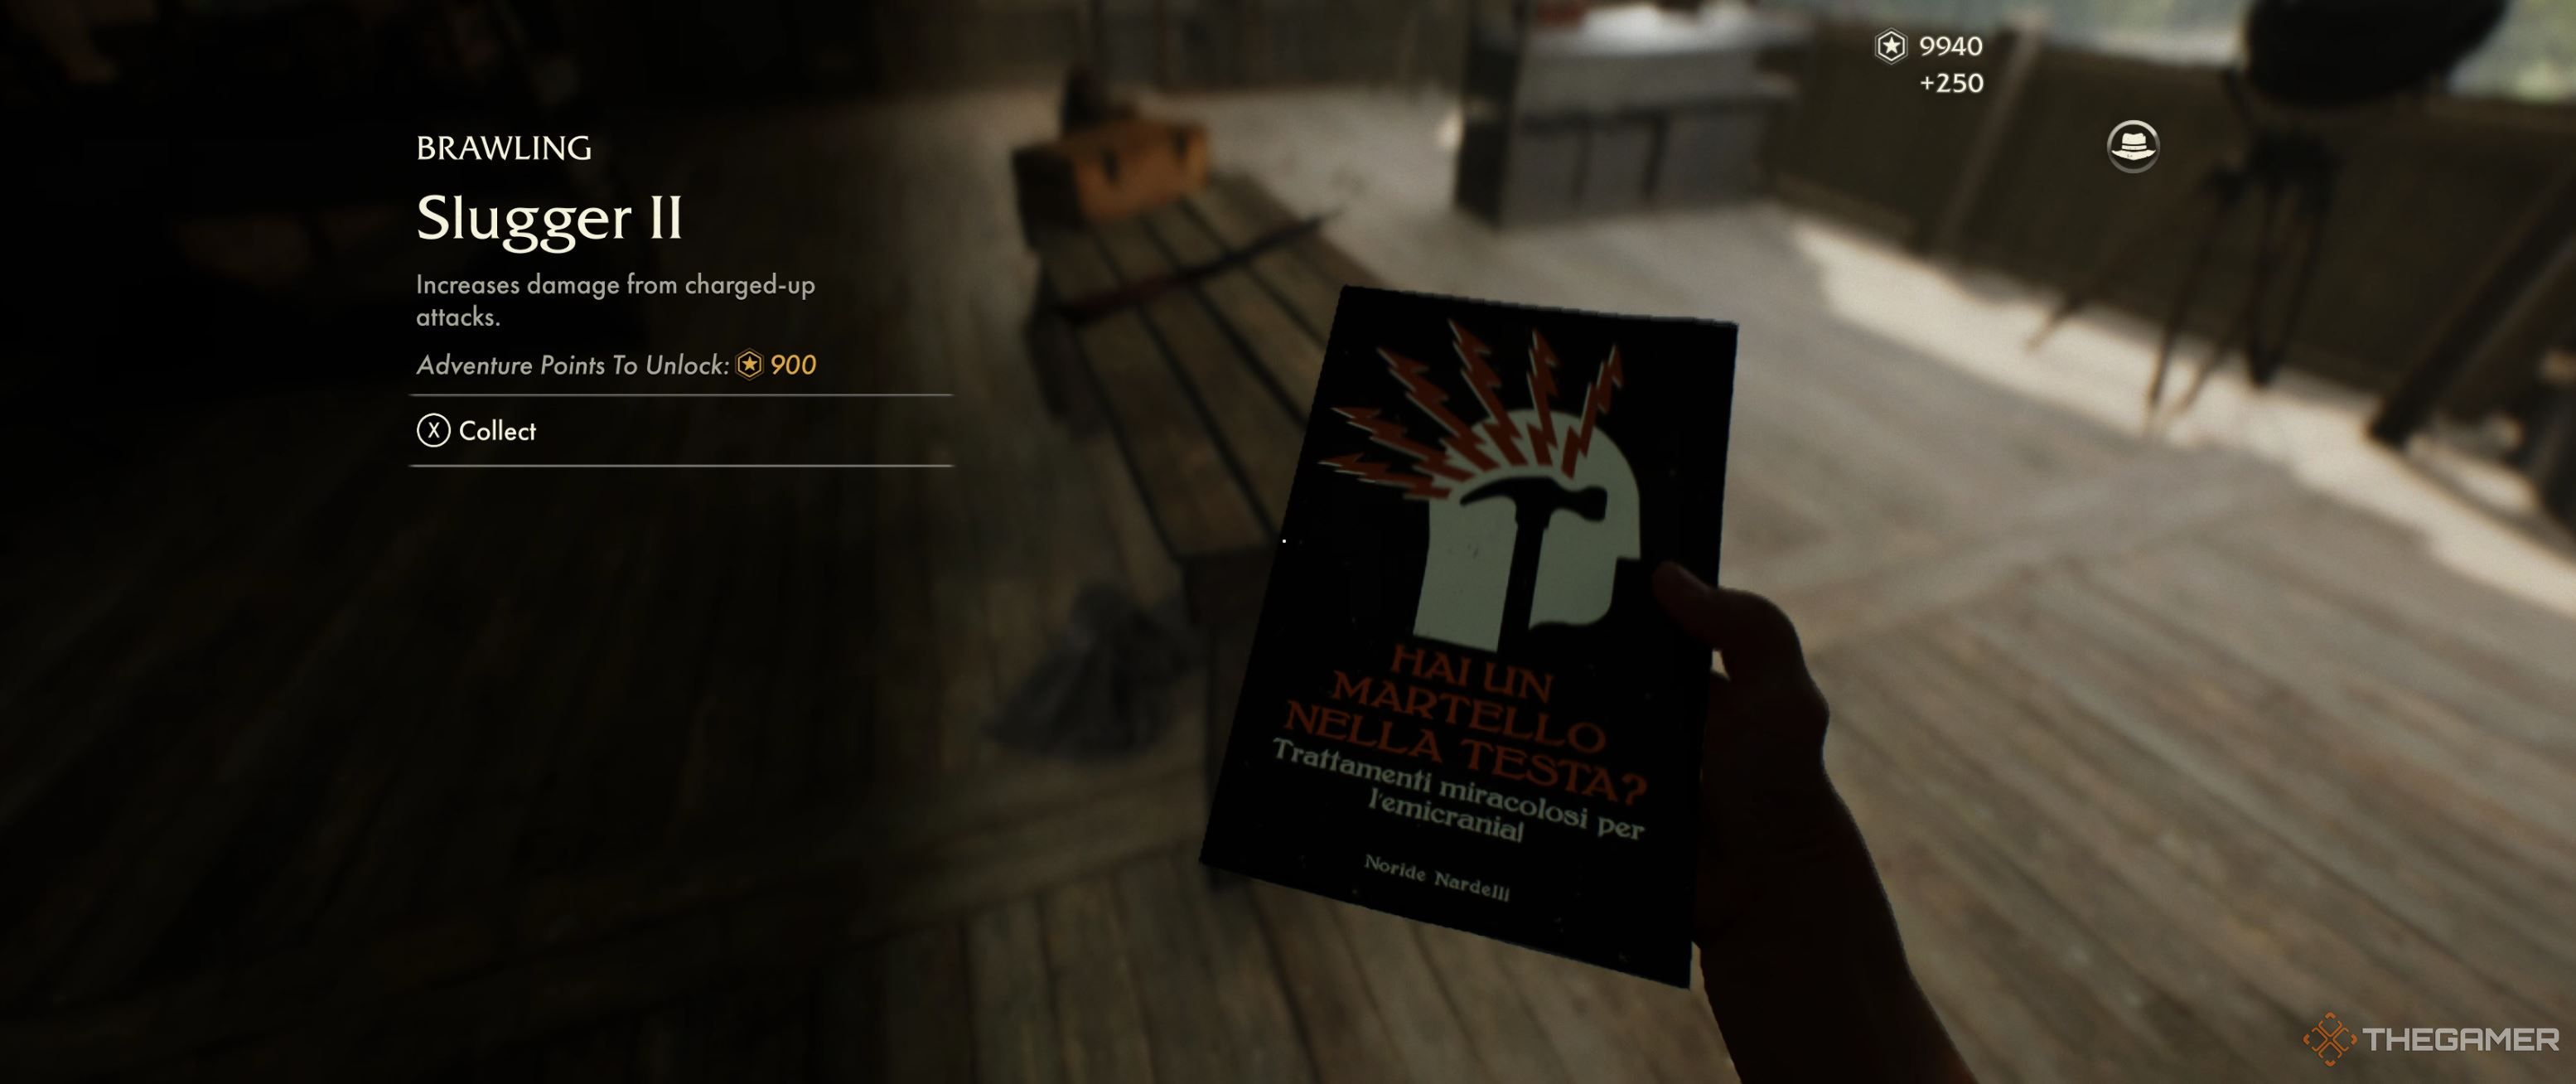
    Your reward for completing this quest is the adventure book Slugger 2. Be sure to search the room thoroughly for as much Nazi cash as you can collect.

    Locations of Monkey Business Notes

    Indy holding the Slugger 2 adventure book in his right hand.

    Monkey Warning

    On the corkboard on the second floor of the big tent in the Secret Armory.

    Francesco’s Note

    On the table next to the corkboard on the second floor of the big tent in the Secret Armory.

    Keyring Note

    On the wall next to the door on the second floor of the big tent in the Secret Armory.

    All three notes can be found in the same room, making it easy to complete your note collection in this mission.