الوسم: stash

  • How to Find Dodger’s Stash in Traffic Tunnels in Arc Raiders

    How to Find Dodger’s Stash in Traffic Tunnels in Arc Raiders

    Tian Wen, Speranza’s trusted gun dealer and expert, often works with a lot of people in Arc Raiders. However, her dealings are not always officially approved or authorized by the people in charge. Dodger is one of her contacts, but she hasn’t heard from him in a while.

    When someone goes quiet, Speranza usually sees it as either a sign of betrayal or that the person has been killed above ground. Tian Wen is still waiting to get a Bastion Cell from Dodger, and she wants her money. So, she decides to head to The Blue Gate to find out what happened to him.

    Where to Find Dodger’s Stash

    To complete Tian Wen’s mission, you need to finish all the objectives in one go, starting with heading to The Blue Gate. Your first stop is the Traffic Tunnels, located beneath Checkpoint in the middle of the map.

    Go past the security booths into the Traffic Tunnels. Watch out for Pop Rollers and Fireballs as you move toward the back corner of the left tunnel, where there’s a lot of debris and pallets.

    In the farthest corner, inside a barred container filled with orange boxes, interact to search it. Be quick to step away afterward to avoid the blast that occurs immediately after.

    Where to Find Dodger’s Deal Spot

    After completing the first objective, your next destination is Pilgrim’s Peak. You can reach it easily from the Traffic Tunnels by entering a small doorway near the center of the area. Take the zipline up, then climb the stairs on either side of the floor to reach the Headhouse above. From there, hop over the rim of the building.

    Proceed to the large antenna beyond the main building. You can either zipline to the top and drop through the broken grated section or simply jump off the zipline onto the lower enclosed platform of the antenna.

    Inside a small living area between the tall red consoles on the right, there’s a yellow bag. Search it to find Dodger’s Note, which is essential for completing the final objective. Store it safely if you have a Safe Pocket.

    Finally, return to Speranza and speak to Tian Wen at her shop. Rewards include experience points, the Gothic Graffiti color palette for the Aviator outfit, and two weapon mods: an Extended Medium Mag III and a Silencer II.

  • Complete Guide to Stash Locations in Zaton for Stalker 2

    Complete Guide to Stash Locations in Zaton for Stalker 2

    Quick Reference

    Stashes to Discover in Zaton

    Zaton is a vast expanse in Stalker 2, filled with hidden treasures for those willing to explore. However, with its sprawling landscapes, it’s easy to overlook some of these caches due to their clever placements.

    To help you on your adventure, we’ve put together a comprehensive guide detailing the location of each stash in Zaton. While most stashes contain standard survival gear, some offer surprising rewards.

    Every Stash in Zaton

    Zaton is laced with stashes in various unexpected spots. Below are the ones you can find throughout this region.

    Izumrudne Broken Stage Stash

    In Izumrudne, locate a broken stage in the eastern section of the area. Head behind the stage, climb onto the roof, and look for a hole to drop down into. There, in the corner, you’ll discover a blue stash.

    Railway Maintenance Facility Stash

    At the Railway Maintenance Facility, you will find six towers that you can first climb using ladders. Ascend the concrete platforms to reach the catwalks and traverse to the easternmost walkway. The stash is located atop the central water tower, where you’ll also find two grenades waiting for you.

    Railway Maintenance Facility

    Railway Maintenance Locked Tower

    On the southwest side of the Railway Maintenance Facility, there’s a lookout tower with a locked keypad. You can discover the code by climbing the nearby tower.

    Tip: The code is 2468. Enter it on the keypad to unlock a safe stash with PSZ-5I Hawk armor and various ammo crates.

    Railway Maintenance Locked Tower

    Broken Train Bridge Stash

    Travel southwest from the Railway Maintenance Facility until you encounter a damaged bridge. Here, you will meet an NPC named Darwin. You can choose to interact with him or simply move towards the stash, located at the top of the bridge structure.

    Start climbing from the bridge’s left side and leap across to reach the right side. Continue upwards to find the stash at the end of the structure.

    Broken Train Bridge

    Note: Darwin may ask you to share the stash. If you refuse, he’ll turn hostile.

    Opachychi Stash

    In the area of Opachychi, you’ll come across several ruined and flooded homes. Navigate to the westernmost house, use crates to climb the roof, and leap to the adjoining half of the broken house to find a stash containing a Viper-5 SMG and associated ammunition.

    Opachychi Stash

    Canning Factory Small Warehouse Stash

    The Canning Factory hides two stashes. The first is in the smaller warehouse. Head inside and jump over the shelves at the back. The stash, which contains a Protective Coating blueprint for SEVA-V Suit armor, is located on the top shelf.

    Canning Factory Small Warehouse

    Canning Factory Large Warehouse Stash

    The larger warehouse is filled with anomalous fields; use bolts to avoid harm as you traverse. Head to the back to find a metal staircase that leads up a catwalk. Continue through the anomalous fields until you discover a stash containing an M10 Gorgon SMG and Optician Gas Mask.

    Canning Factory Large Warehouse

    Stash Near Gas Station

    At the northwest Gas Station, you’ll spot two trucks guarded by electrical anomalies. Jump to the roof of the single-story building from the trucks to find a stash containing an anti-radiation drug and Medkit.

    Stash Near Gas Station

    Claw Stash

    Northeast of the Gas Station, in a location called Claw, you will find two caves. Enter the higher cave by climbing the rock formations. Inside, check for a stash along with a Fora-221 Assault Rifle and some ammunition.

    Claw Stash

    Abandoned Cars Stash

    To the southwest of the Gas Station, locate a series of abandoned cars at the cliff’s edge. Make your way down to find a stash behind one of the vehicles containing some Vodka.

    Abandoned Cars Stash

    Hydrodynamics Lab Stash

    In the Hydrodynamics Lab, east of Zaton, you’ll find a long white building. Use cement slabs to scale the roof and search near the far end for a stash. If you wish to locate the next stash, climb down and find an entry point inside the building.

    Expect to battle zombies inside; one might drop a collar with a password for the locked stash.

    Tip: Preparing with healing items is advisable for the battles ahead.

    Hydrodynamics Lab Locked Stash

    At the southwest corner of the lab, there’s a building with a large chimney. Input the password 4824 on the keypad to access the metal safe stash found in the center of the building. This stash includes a GP-25 grenade launcher attachment for the AKM-74S.

    Hydrodynamics Lab Locked Stash

    Hydrodynamics Lab Sewers Stash

    Towards the eastern section of Hydrodynamics Lab, you can access a sewer entrance. Proceed through the pipes on the left until you encounter a deceased scientist alongside a stash located next to the skeleton.

    Tip: Utilize a flashlight to navigate through the dimly lit areas.

    Lviv Stash

    To the south of Hydrodynamics Lab, you’ll find a dock called Lviv. You’ll notice a large ship; to access the stash, go to the end of the pier and board the ship. Progress through it by climbing and finally ascending to the control center, where you’ll find the stash containing Marauder Suit armor and healing items.

    Lviv Stash

    Ranger Station Stash

    At the eastern portion of the Ranger Station, look for some containers. One of the containers will have an open door; climb up to it. Inside, you’ll discover a stash with PSZ-5D Universal Protection armor.

    Ranger Station Stash

    Repair Quay Stash

    The Repair Quay is situated in southern Zaton. Navigate to the eastern part of this location where a large crane stands. Climb the ladder and deal with the anomalies using bolts, making your way to the top to find the stash.

    Repair Quay Stash

    Port Crane Stash

    Further south from the Repair Quay, you’ll reach Port Crane. Enter a large building with broken windows and open doors to find the stash, but be ready to eliminate any foes in your way. Afterward, climb the stairs to uncover a stash containing a Return Mechanism Sleeve Tightener blueprint for VS Vintar.

    Port Crane Stash

    Armed with this guide, you’re well prepared to uncover every hidden stash throughout Zaton! Happy exploring!

  • Complete Guide to Stash Locations in Wild Island – Stalker 2

    Complete Guide to Stash Locations in Wild Island – Stalker 2

    Stalker 2 is an intense survival game that takes its challenges seriously. To aid players in navigating the perilous, radiation-laden landscape of Chornobyl, numerous stashes containing supplies are strategically placed throughout the game world.

    Finding these stashes can be tricky, as they often blend seamlessly into their surroundings. For those who love to explore, the game offers these rewards for exploration, but traversing such a dangerous environment can be daunting and time-consuming. To assist you, we have compiled this guide.

    All Stashes in Wild Island Location

    There are many hidden stashes scattered across Wild Island in Stalker 2. Below, you’ll find precise locations where extra supplies can be uncovered.

    Pontoon Depot Warehouse Stash

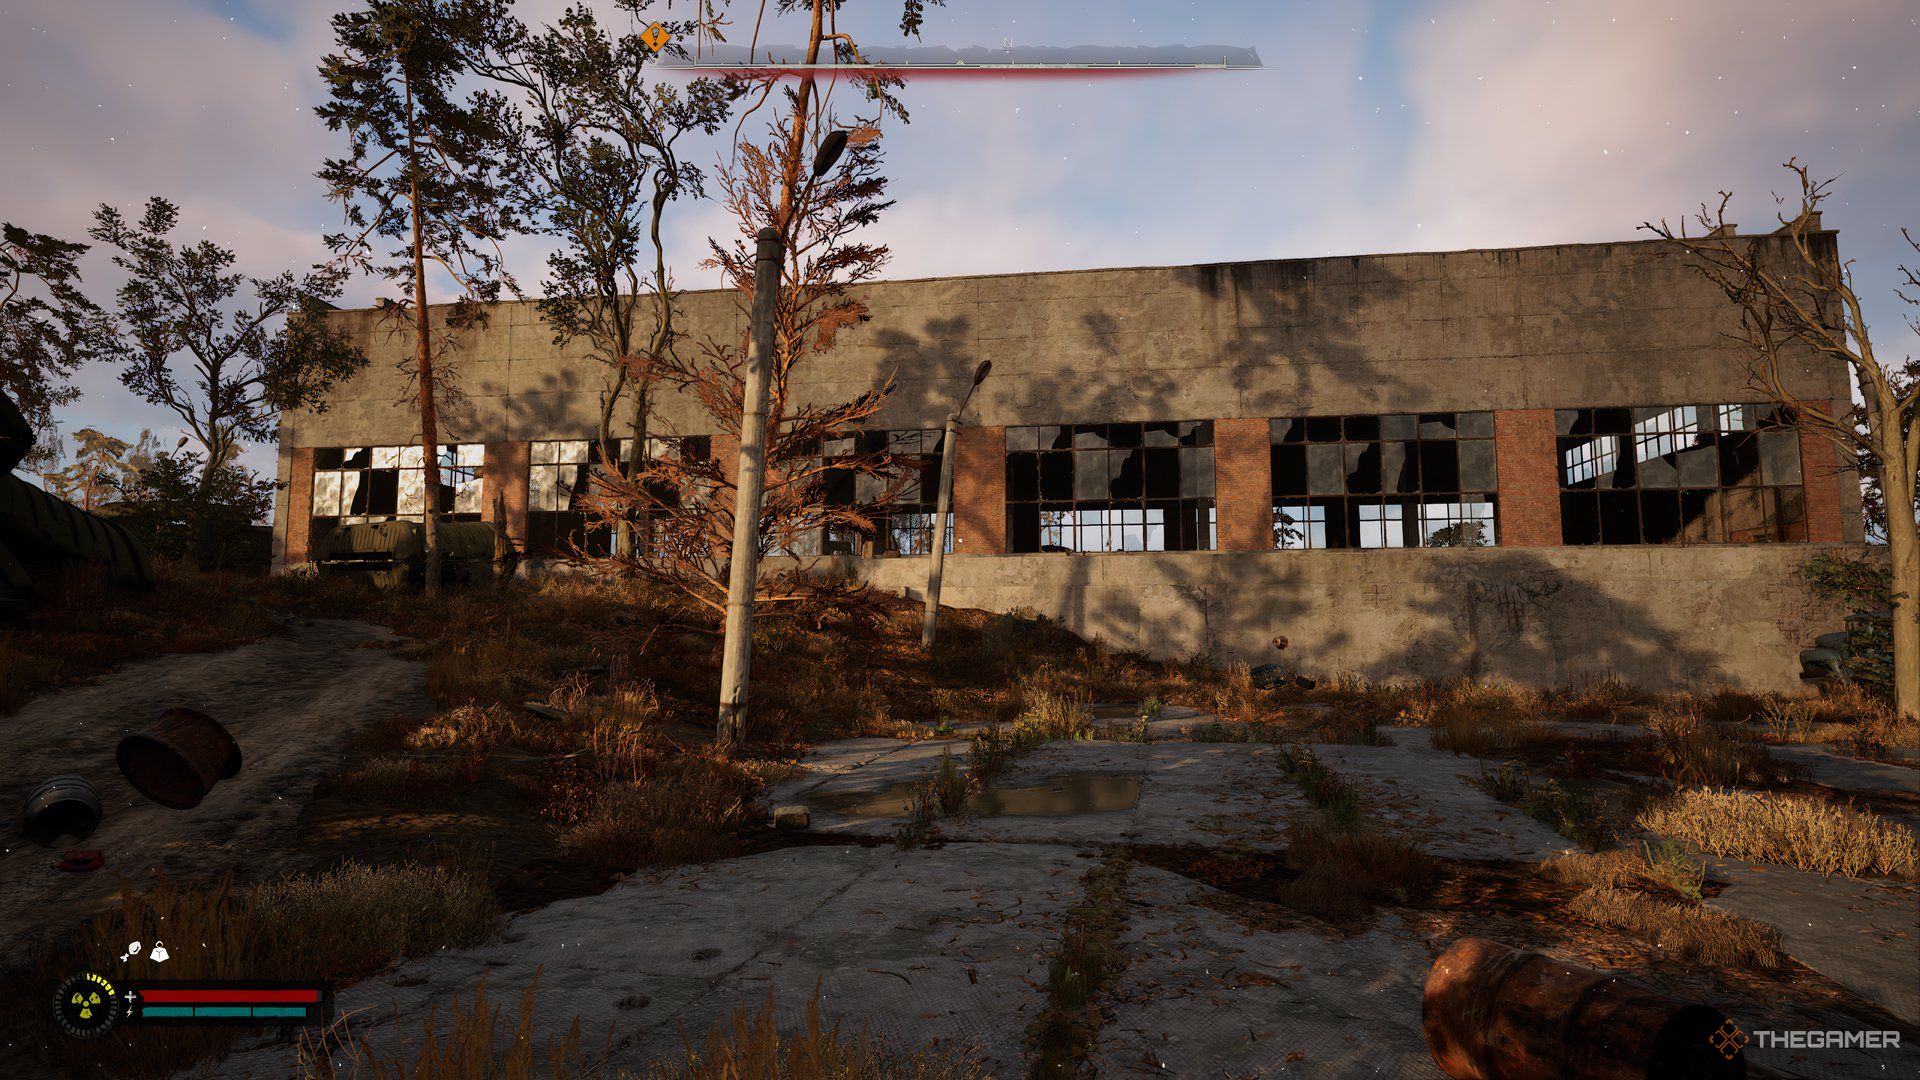
    An image showing an old broken warehouse in Stalker 2.

    Located in the northwest area of Wild Island, you will find an abandoned warehouse. Be prepared to confront a poltergeist before proceeding inside. Head deeper into the structure until you spot a cement truck. Directly across from it, you’ll find a shelf containing a metal safe stash.

    Pontoon Depot Broken Shed Stash

    An image showing a broken shed in Stalker 2.

    To the west of the warehouse, you will notice a large shed with a damaged roof. Climb up to the roof by navigating over the green metal objects nearby. Be cautious of an anomaly; throw a bolt to gauge its location before proceeding. After reaching the roof, head south, and you should spot the stash on the right.

    Mineshaft Stash

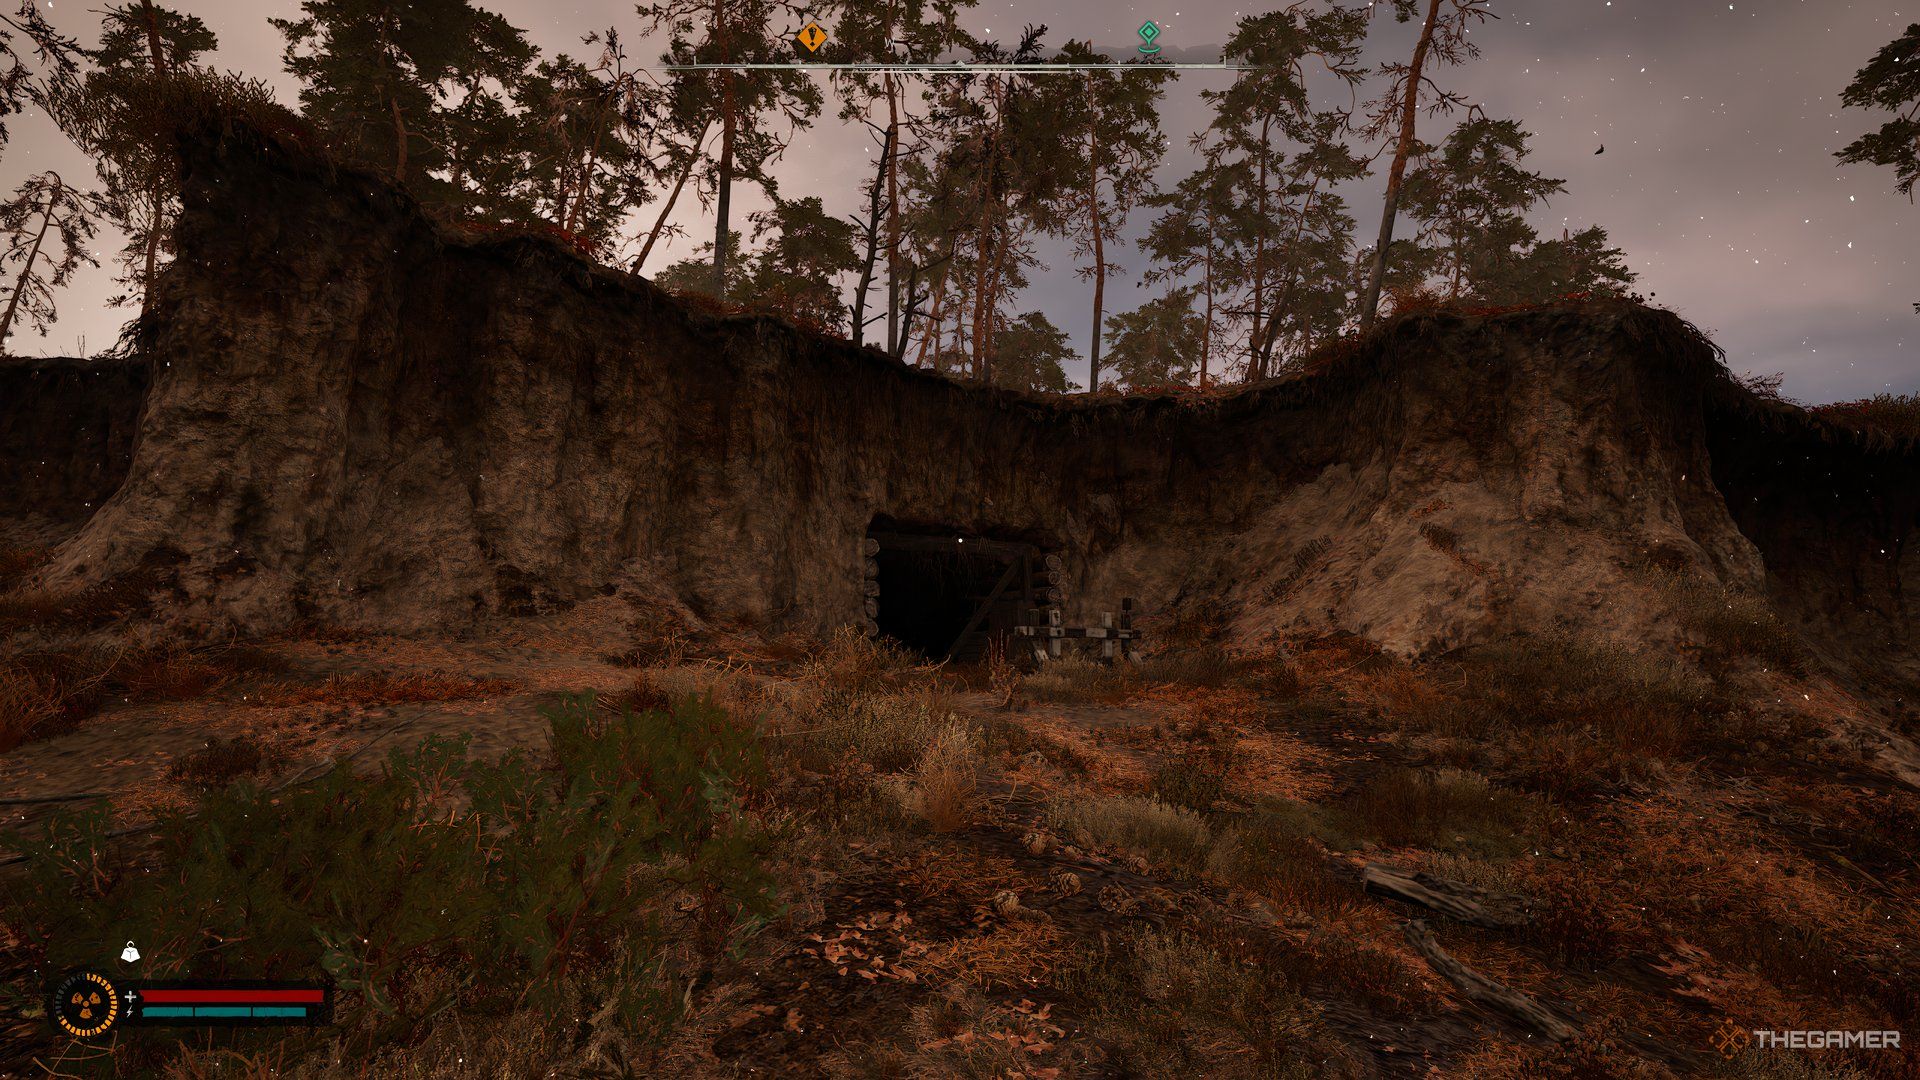
    An image showing a Mineshaft in Stalker 2.

    Head north of the Pontoon Depot to locate a mineshaft. Go inside, and at the end, you will discover a mine cart. Behind the cart lies a stash.

    Once you retrieve the stash, a swarm of rats will attack. Be prepared for combat.

    Broken Bridge Stash (North)

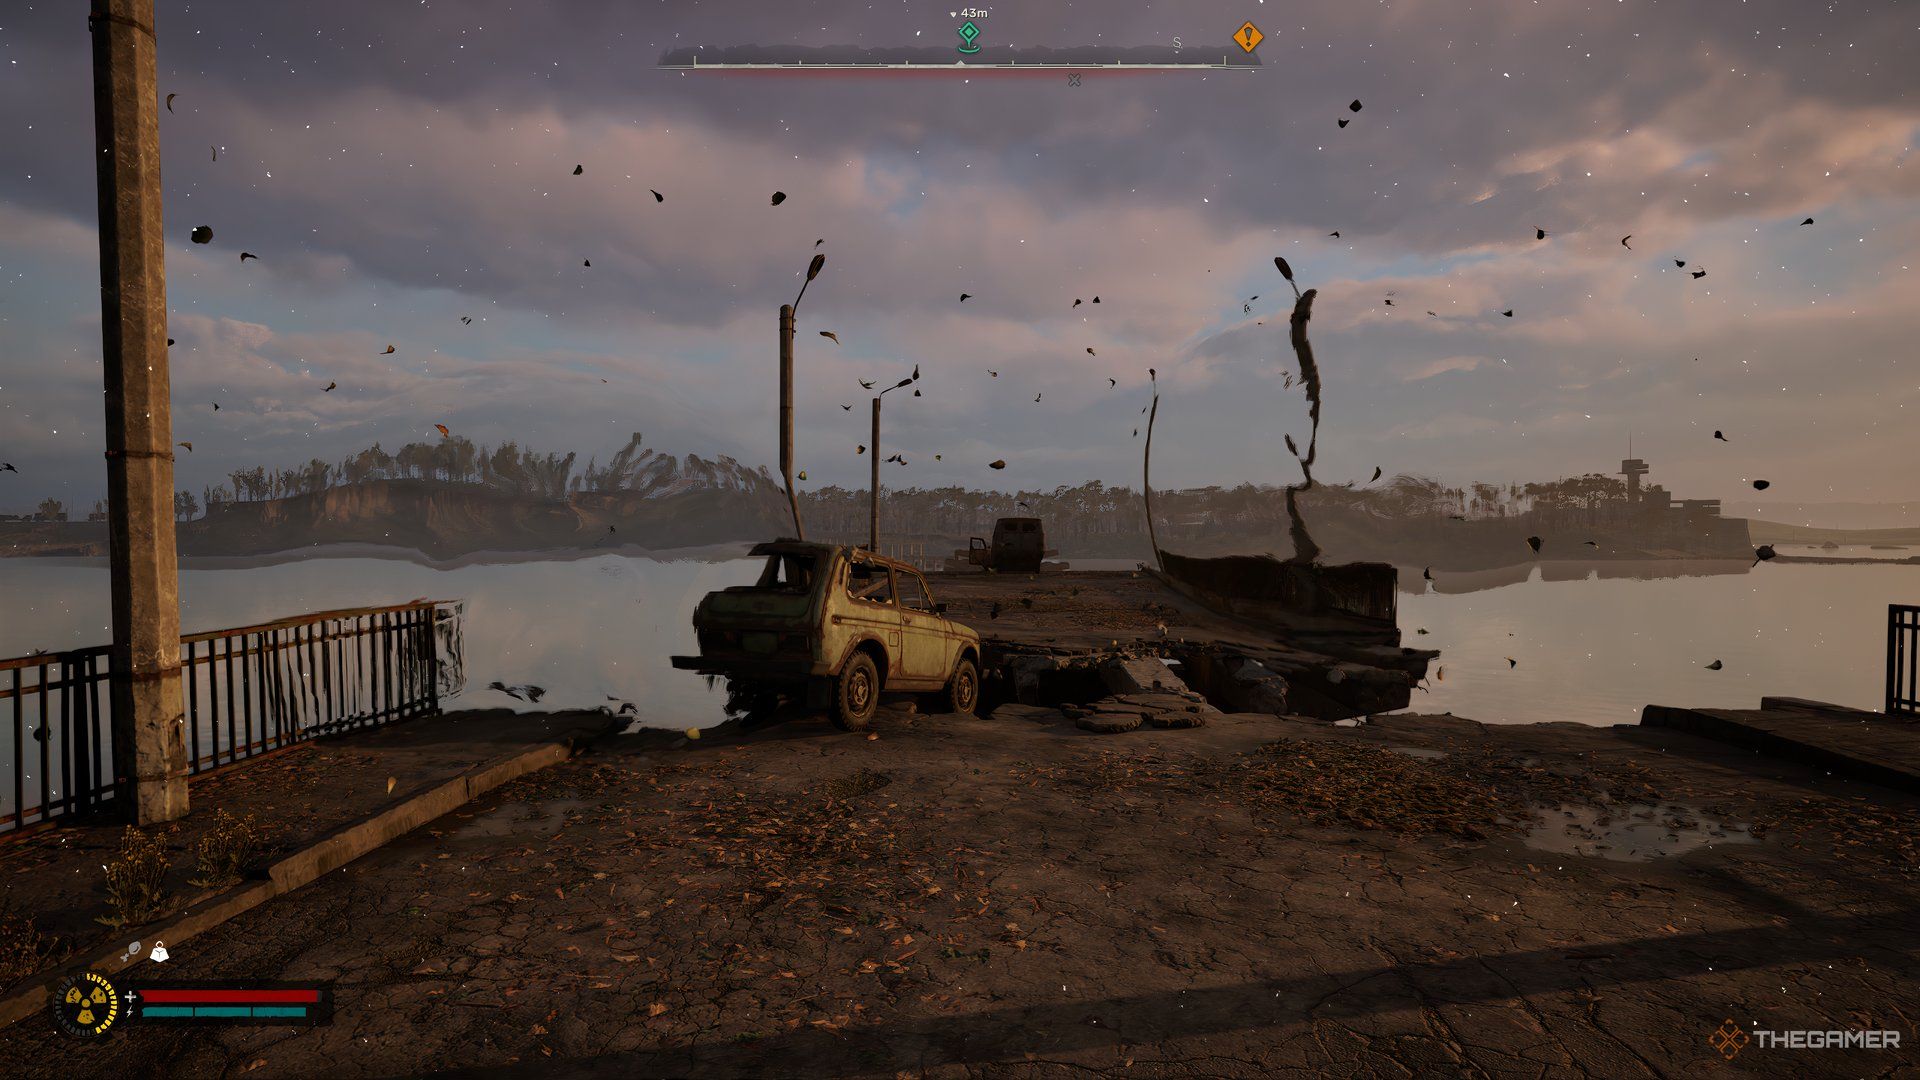
    An image showing a broken vehicle at the end of a broken bridge.

    In the northwest corner of Wild Island, you will find a broken vehicle bridge. Navigate through a few anomalies to cross over to the other side. At the end of the bridge, there’s a van that is teetering off the edge. Check the left side where an open door reveals the stash sitting on the seat, along with an M860 Cracker Shotgun.

    Broken Bridge Stash (South)

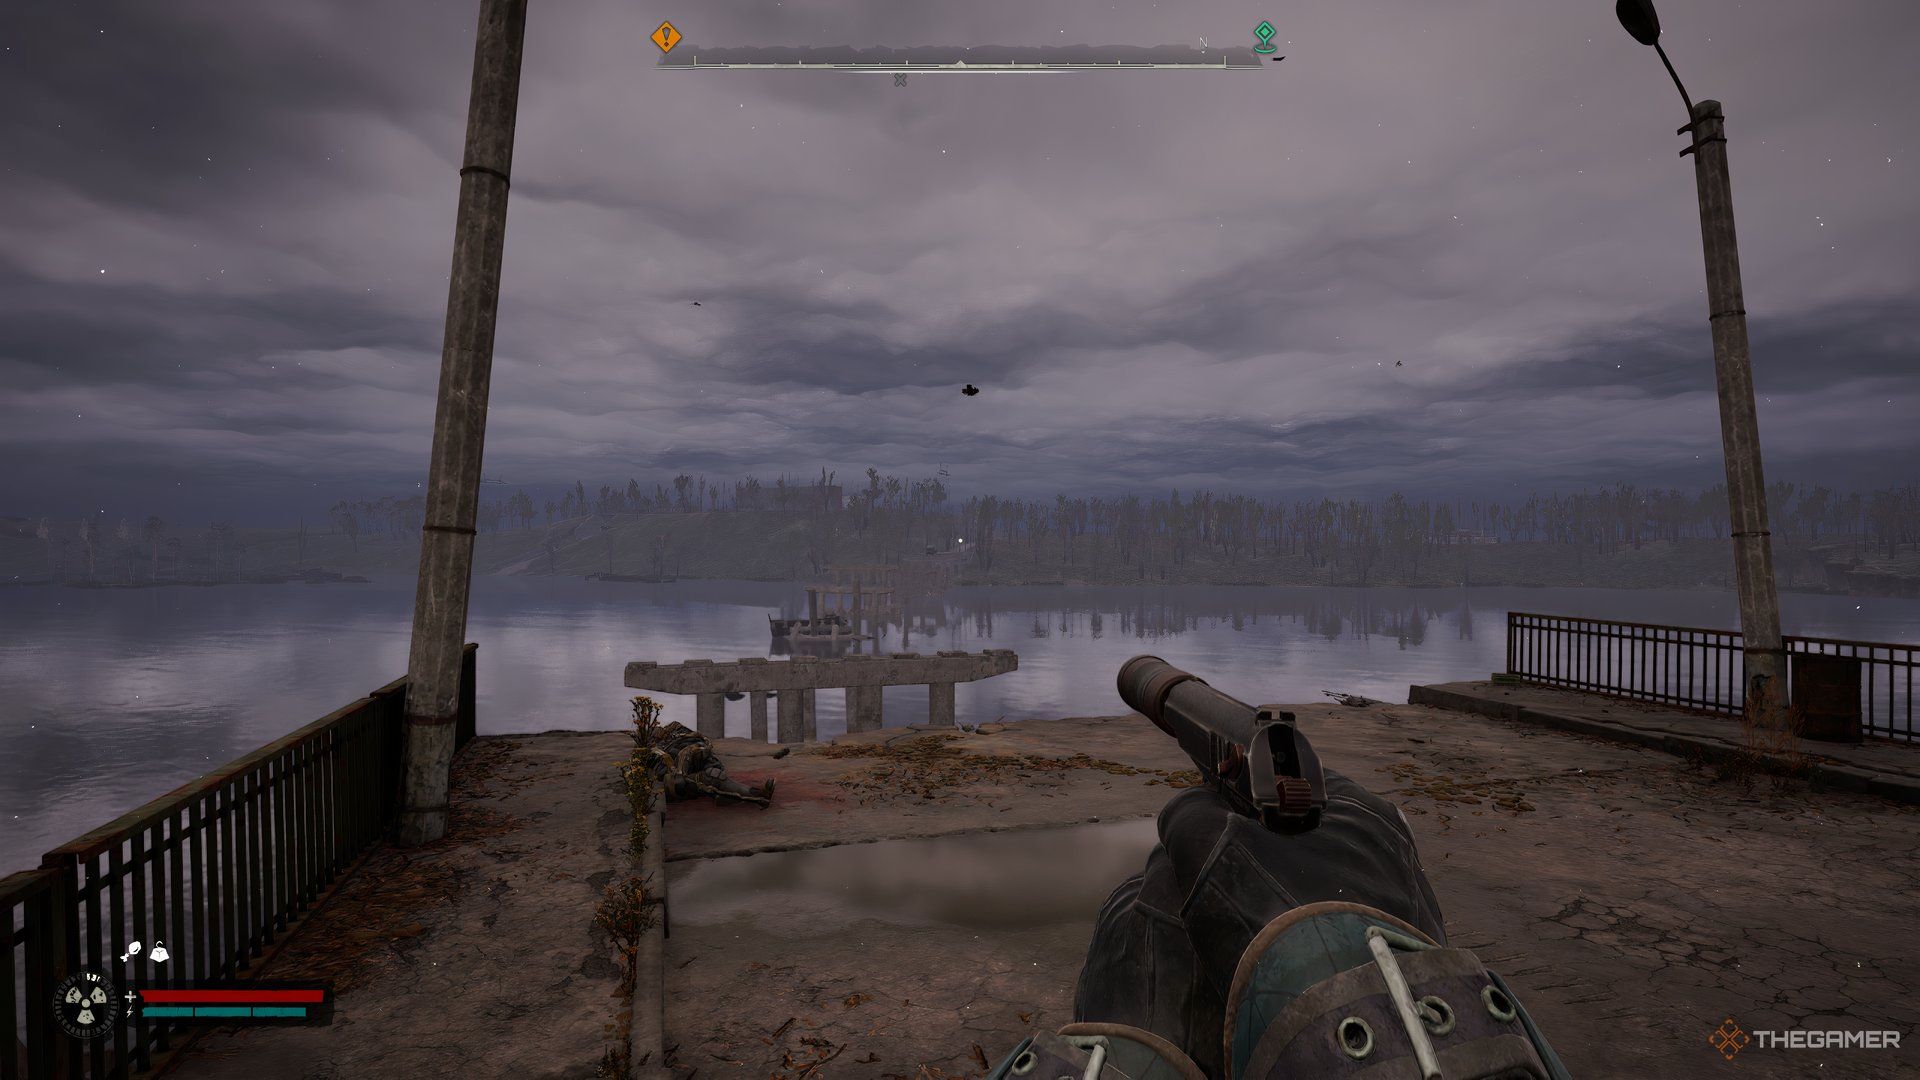
    An image showing a broken bridge in Stalker 2.

    The southern section of the broken bridge also hides a stash. Traverse through the land masses on Wild Island until you reach the far end of the broken vehicle bridge. Be wary of aggressive wild dogs and kill them before collecting the Old Key from a dead body on the left.

    After retrieving the key, descend from the bridge and land on the ship below. Here, you’ll find two blue containers; navigate between them towards the open container on your left. Inside, you’ll discover a blue safe that can be opened with the key you previously acquired.

    South Bridge Shore Stash

    An image showing a broken tree in Stalker 2.

    Head to the shore located west of the South Bridge. At the end of this shore, look for a stash hidden behind two tree barks. You can reach the shore by heading northeast from the Sand Mine on Wild Island, or by walking straight north from Izumrudne in Zaton.

    Polissya Collective Farm

    An image showing a T-shaped house in Stalker 2.

    To the northwest of the broken bridge, the Polissya Collective Farm awaits. Inside a T-shaped house, expect to encounter some enemies and zombies. Defeat them, and then use the lever across from the cage to unlock the doors. Inside the cage, you’ll find a stash along with a Mercenary Suit.

    Scar Stash

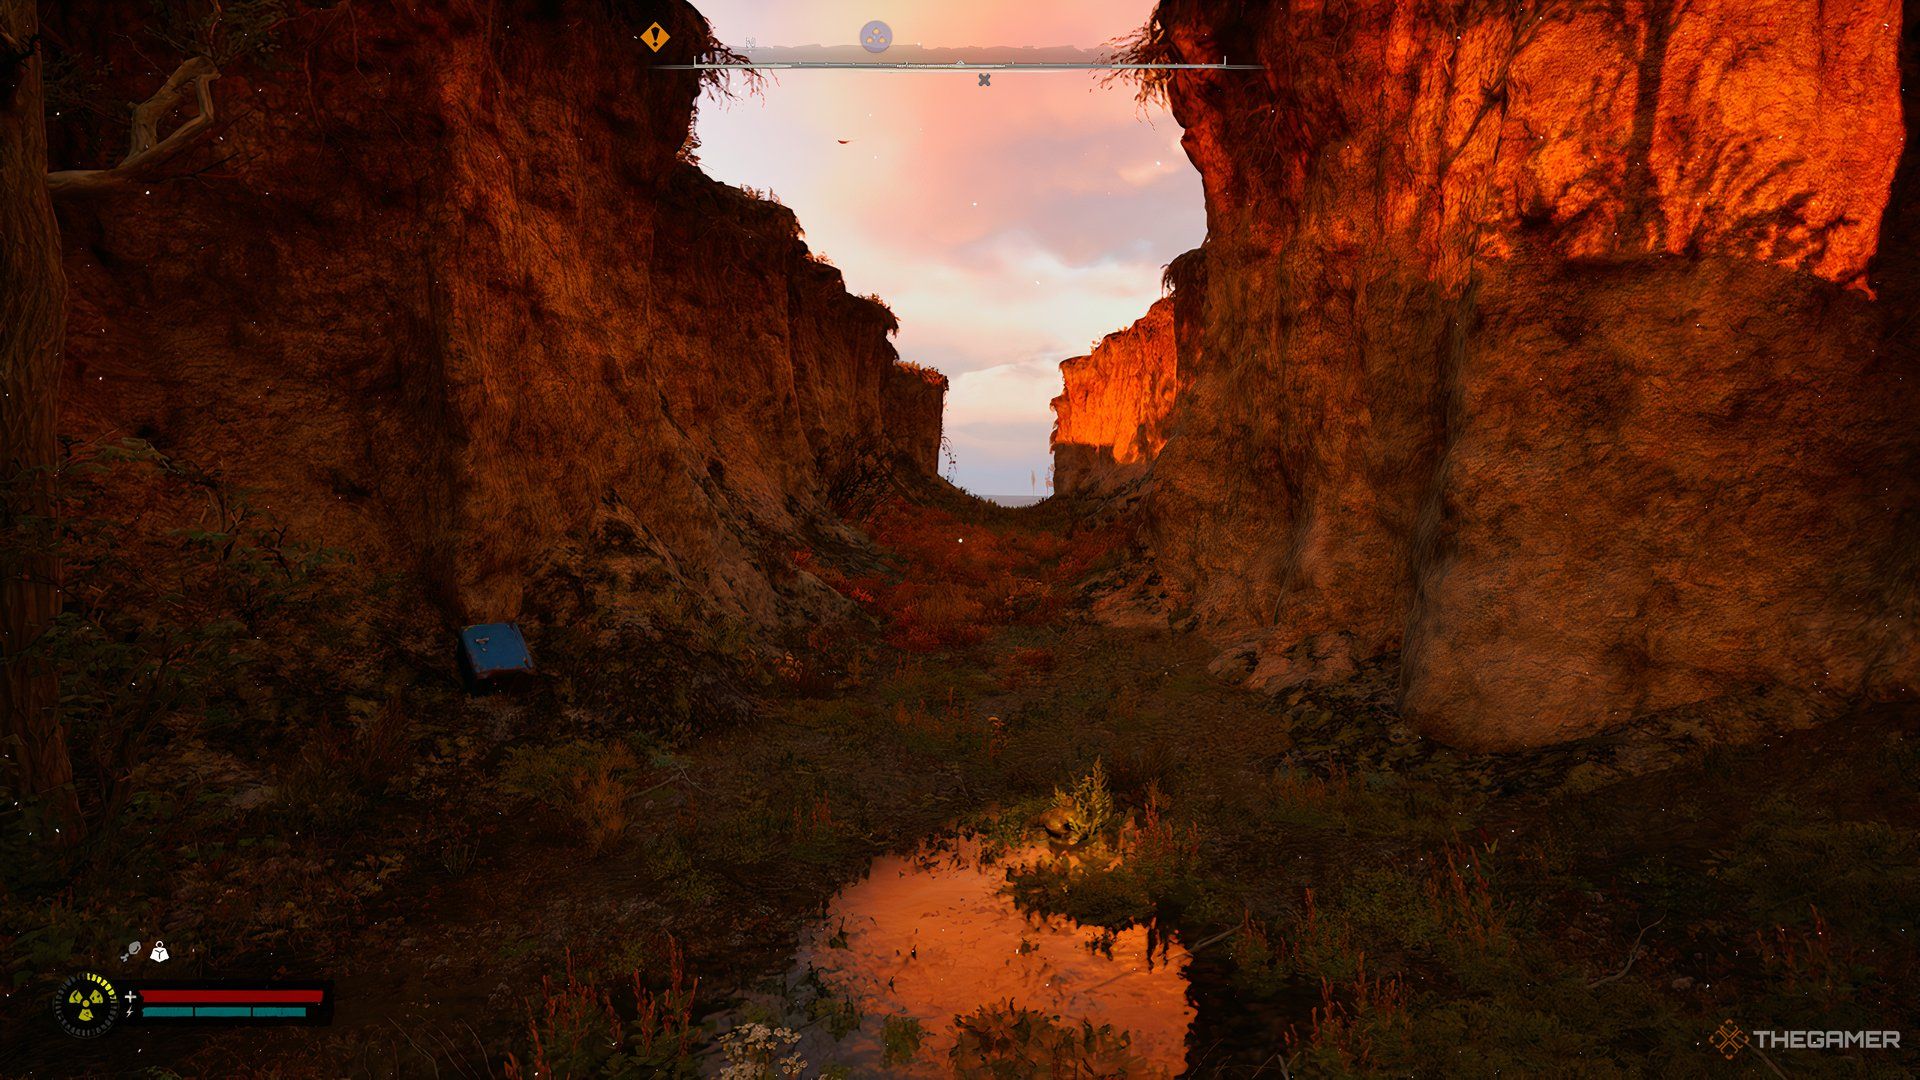
    An image showing a canyon during sunset in Stalker 2.

    To the west of Polissya Collective Farm lies the Scar Canyon. Right in the canyon’s center, you’ll find a safe located on the northwest ledge. If you’re struggling to reach it, follow the sloping path at the canyon’s end to descend.

    Sawmill Water Tank Stash

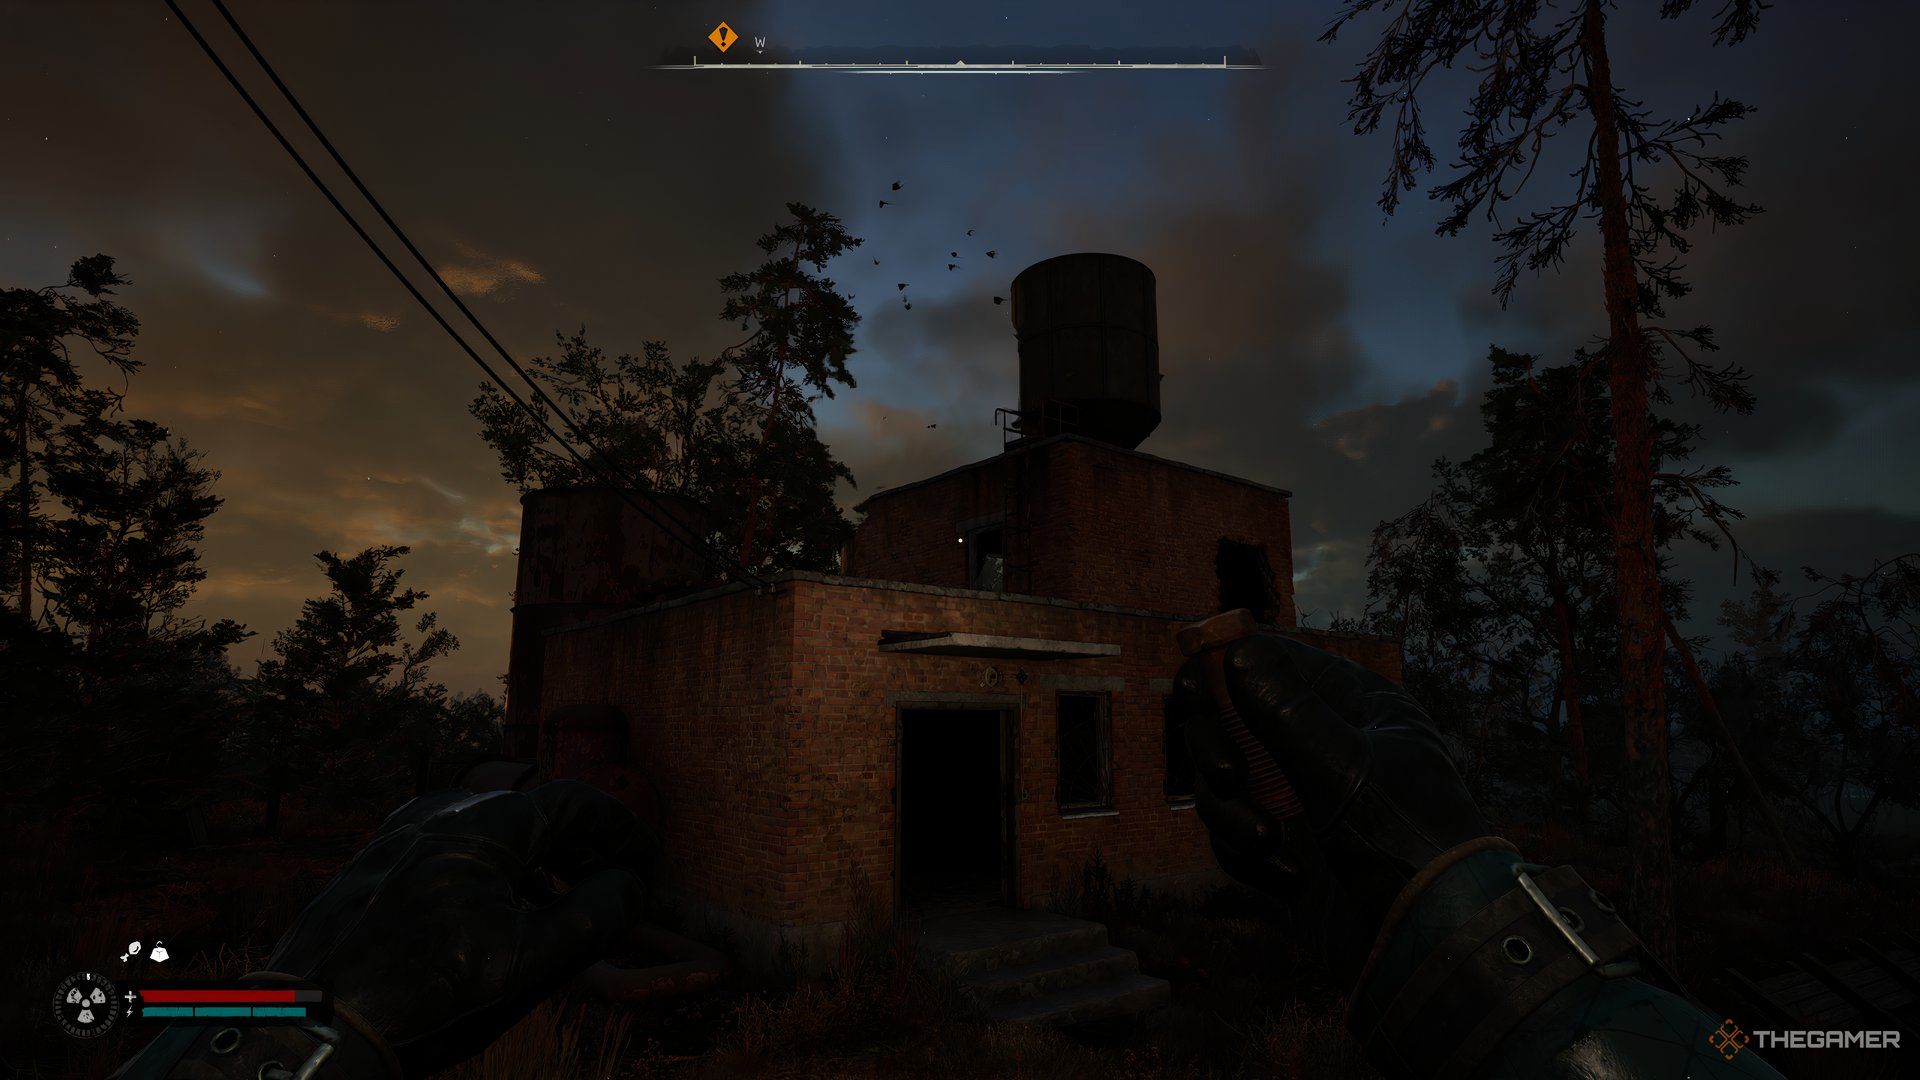
    An image showing a building at dusk in Stalker 2.

    Located in the northwest region of Wild Island, the Saw Mill features two stashes. The first stash can be found within a two-story brick building. Enter, then head upstairs to reach the first roof.

    Here, you’ll find a yellow ladder leading to a higher rooftop, where an anomaly awaits. Deal with it by tossing a bolt. Jump over the rusted water tank to the west, and make your way to the other tank, where the stash is hidden.

    Sawmill Attic Stash

    An image showing a broken down house in Stalker 2.

    In the northern section of the Sawmill, you will come across a house with an attic. Enter through the broken window located on the northern wall. Pass the door to find a ladder leading to the attic. Climb up and head straight; the stash is tucked away behind boxes on the left.

    Boathouse Building Stash

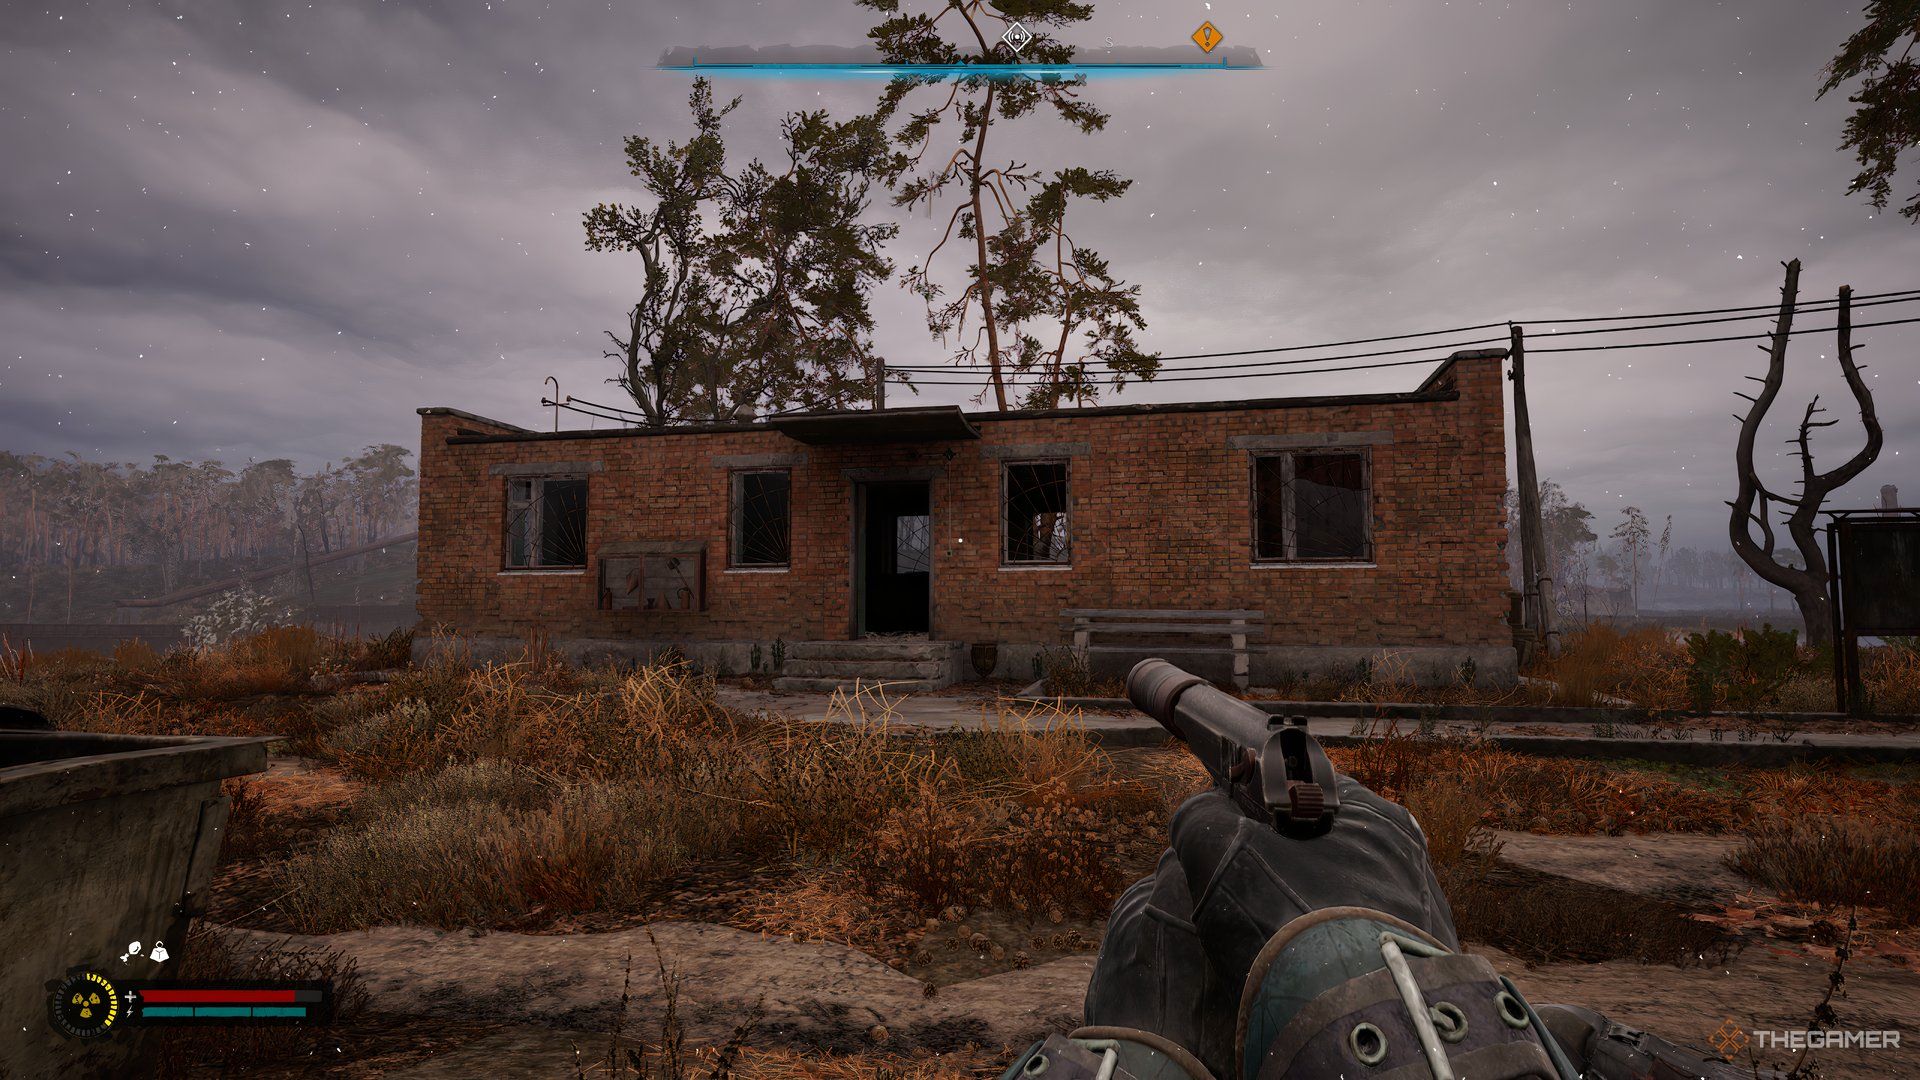
    An image showing a bricked long house in Stalker 2.

    The Boathouse is situated south of the Sawmill and features a side quest. Near the southern area, there’s a long house. Enter through the main entrance and proceed to the room on your right side; the stash is on the right side of that room.

    If you continue to the room on the left side upon entering, look to the right to find a locker that hides another stash on top.

    Boathouse Pier Stash

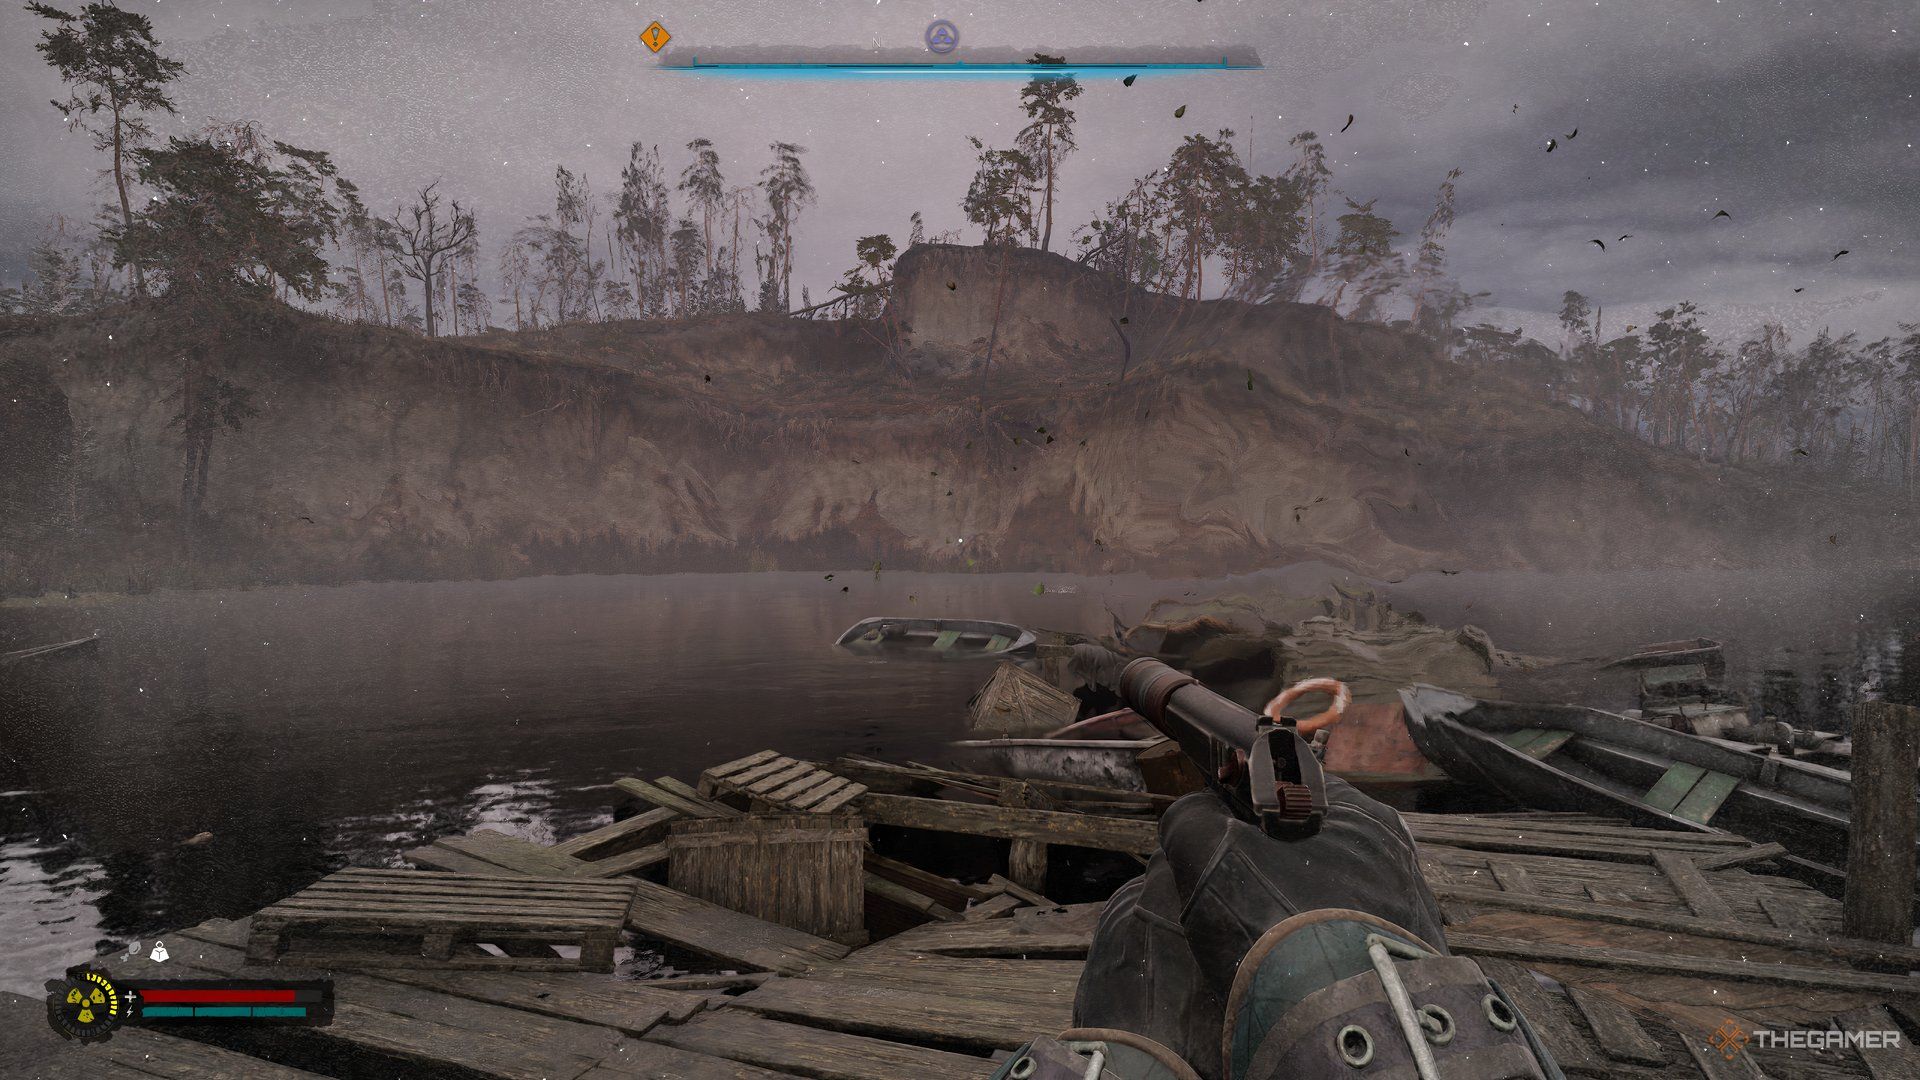
    An image showing a broken pier in Stalker 2.

    In the northern part of the Boathouse, a pier filled with anomalies awaits. Use bolts to detect their positions and carefully navigate along the pier. On the left side, a broken green boat holds the stash you are looking for.

    West of Shelter Tower Stash

    An image showing a tower in Stalker 2.

    Travel west from the Shelter to discover a small island with a brick tower. Use the ladder to climb to the top and find the hidden stash there.

    A Bloodsucker (an invisible enemy) lurks in the area, so be sure to eliminate it before exploring this stash or others nearby.

    West of Shelter Buildings Stash

    An image showing an old abandoned factory in Stalker 2.

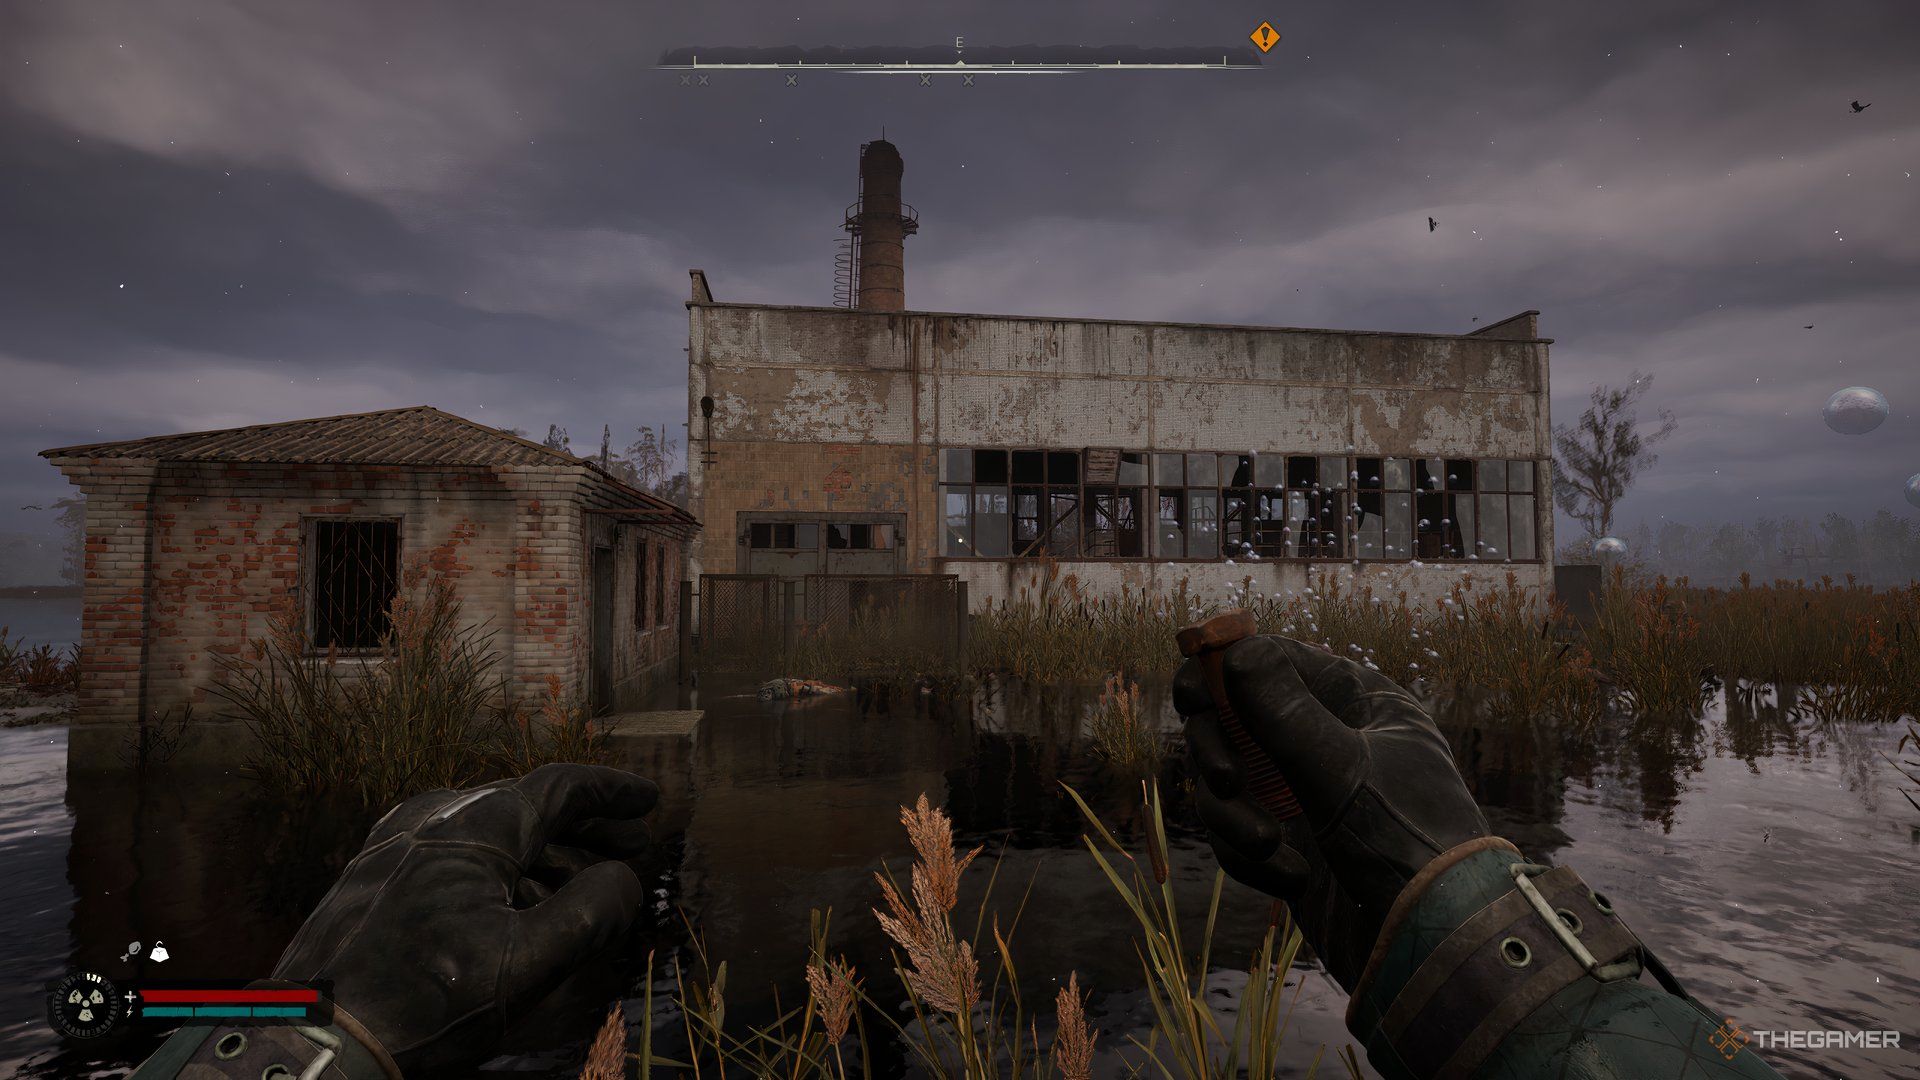
    An additional stash can be found inside a small house across from a factory located to the west of the Shelter. Enter through the main door and head to the room at the far end. In the right corner of that room, you’ll find a metal-safe stash.

    Another stash awaits in the large factory building. Go in through the broken wall facing north, take the stairs on the right side, and proceed left to the catwalk. Beware of anomalies here; use bolts to navigate, and the stash is at the end of the catwalk.

    North of Shelter Bunker Stash

    An image showing a bunker entrance in Stalker 2.

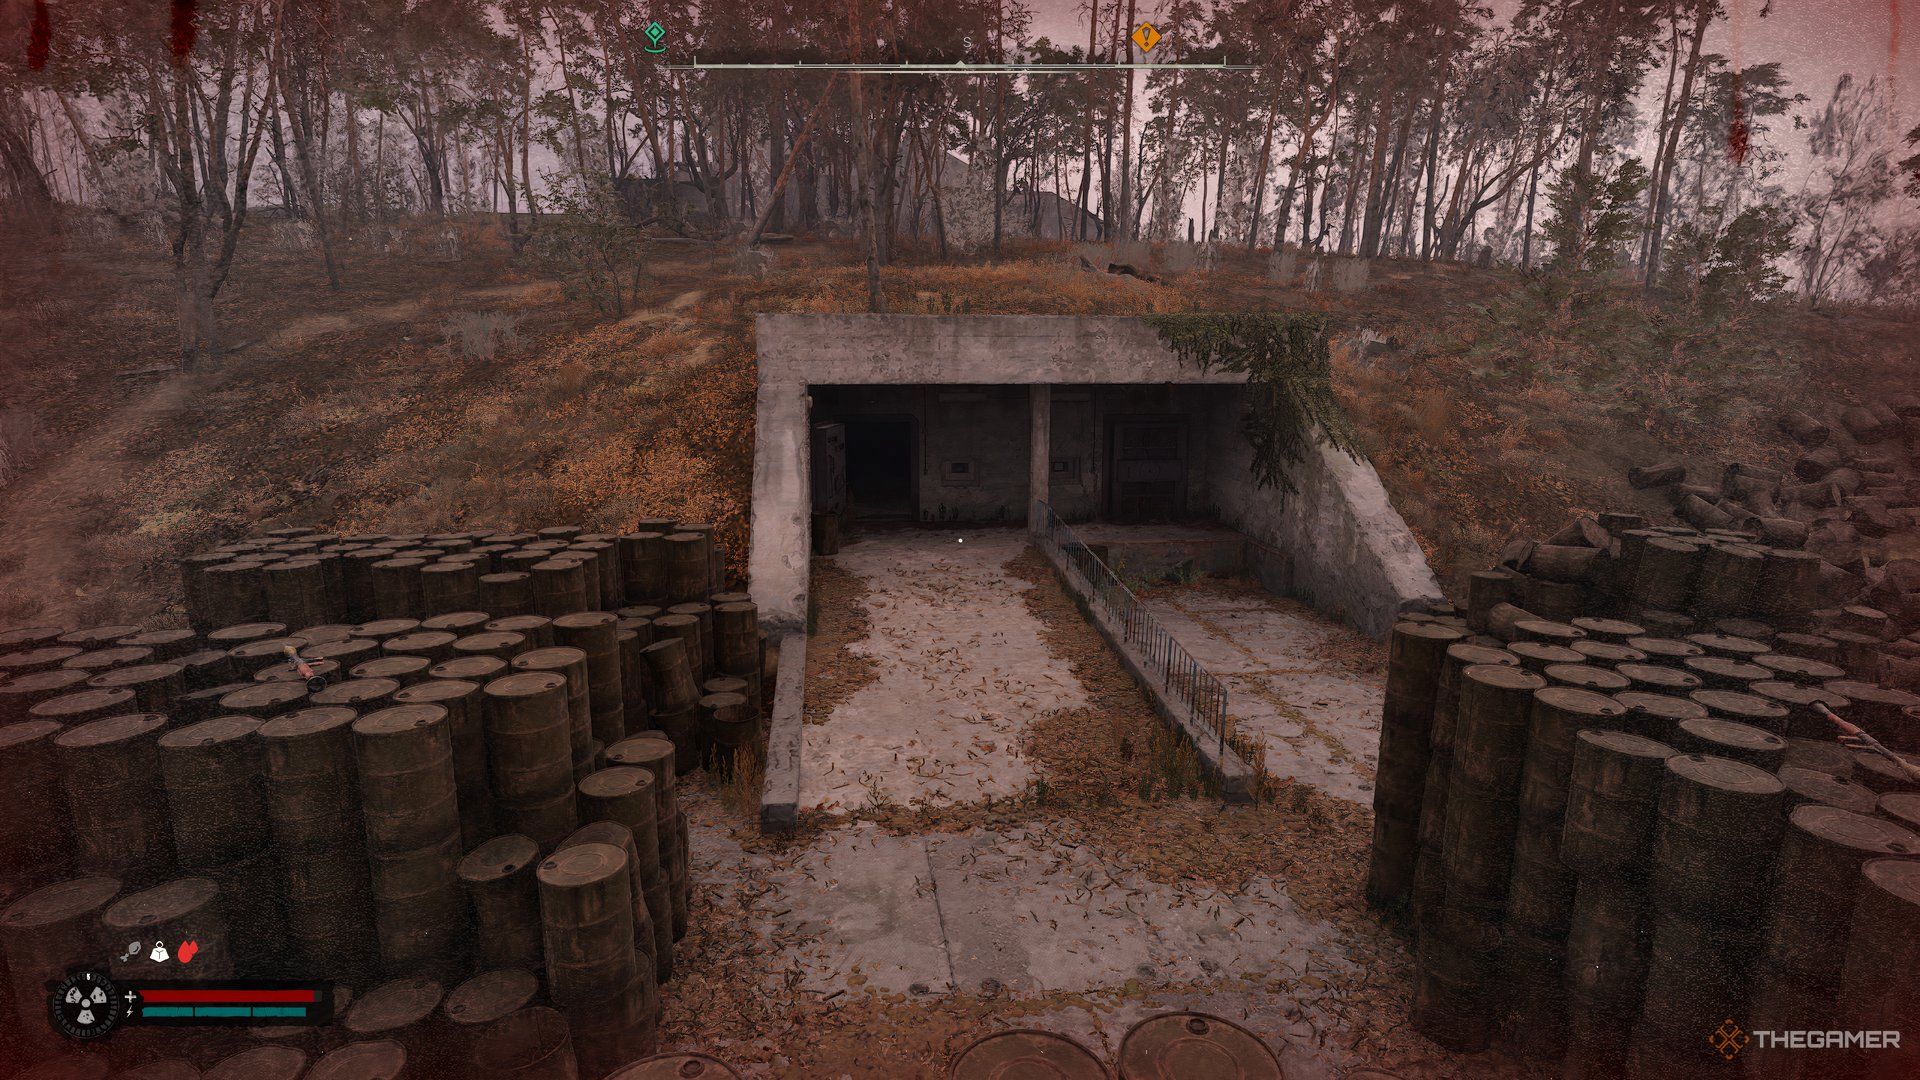
    Venture north of the Shelter to find a sunken boat and a bunker entrance occupied by numerous barrels. Inside the bunker, you’ll face two Burers (telekinetic enemies); defeat them before entering. Once inside, look to the right side next to a dead survivor to find a stash.

    Be patient for the Burer’s shields to weaken to take them down more rapidly. Employ a sniper or assault rifle at close range for maximum efficiency.

    Quiet’s Camp Stash

    An image showing a container crane in Stalker 2.

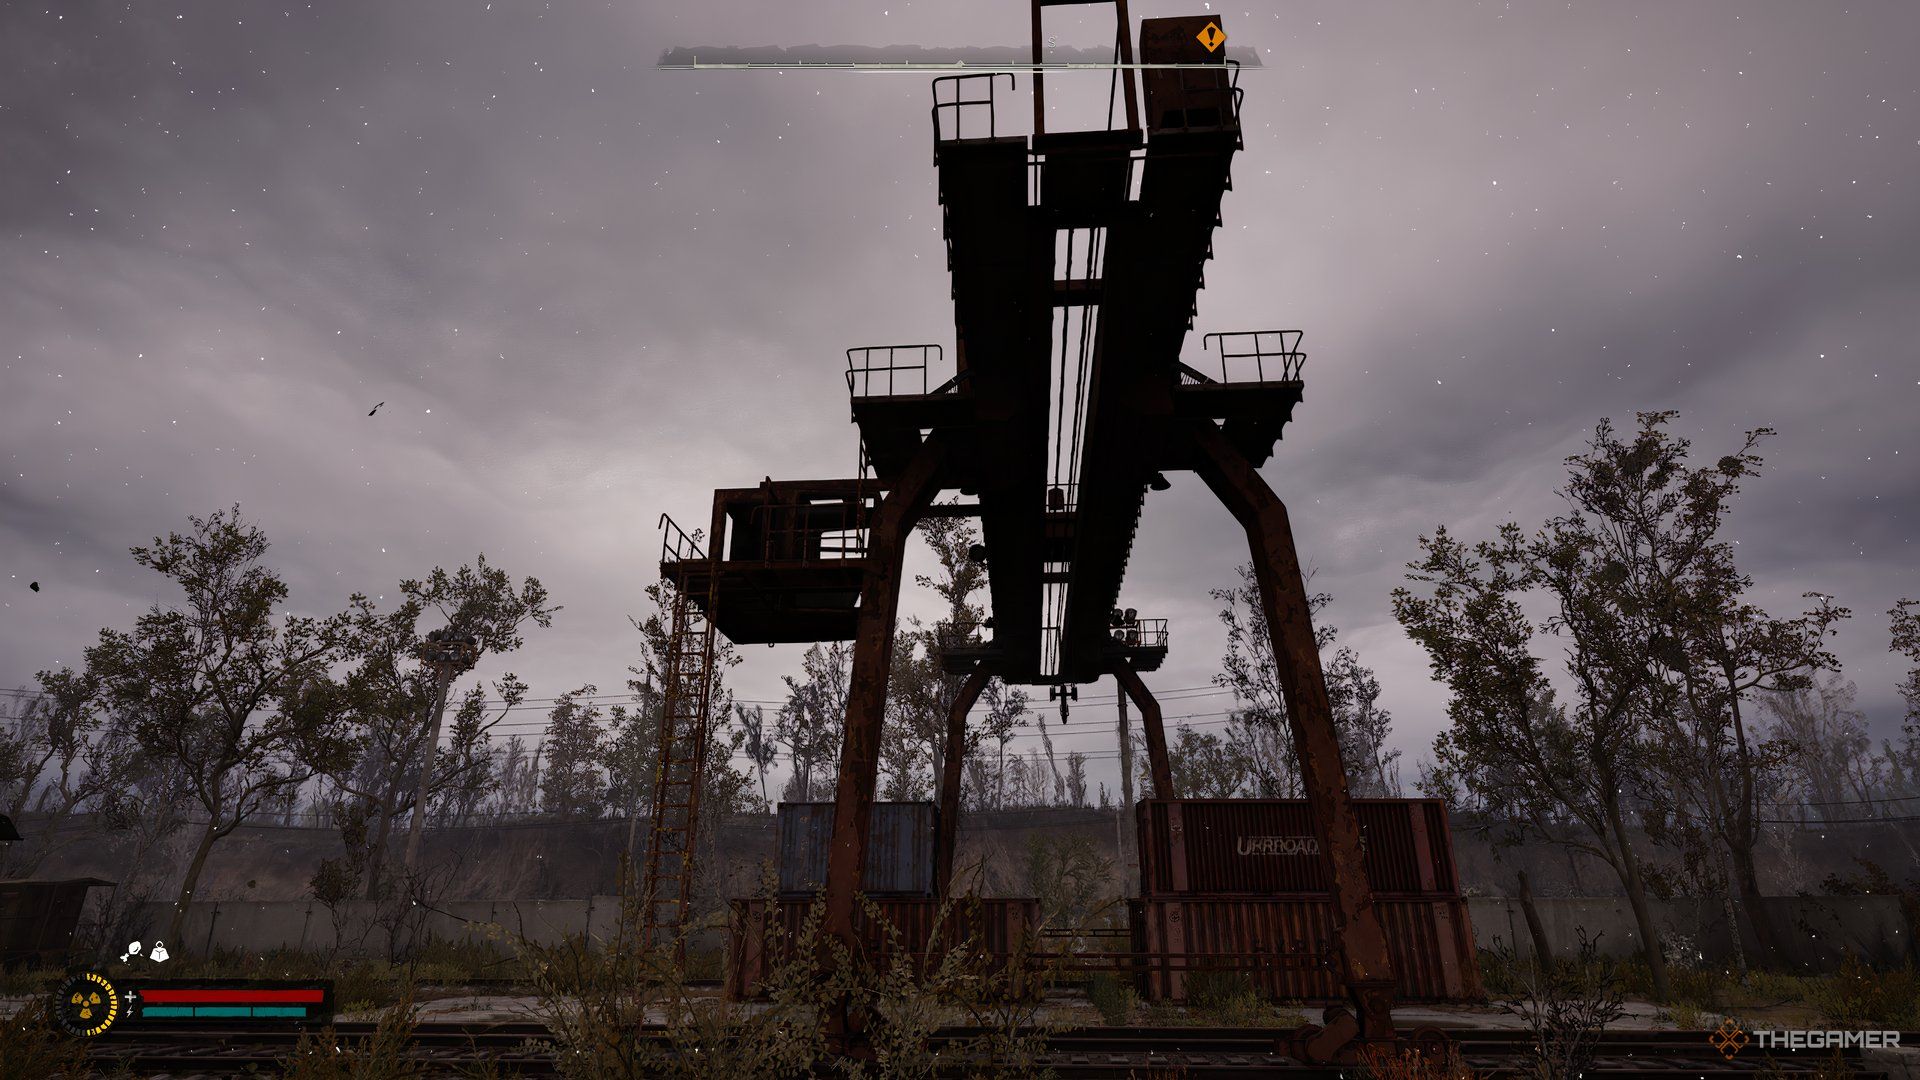
    Head to Quiet’s Camp located in the south of the Wild Island region. You’ll find a large container crane that can be scaled using ladders. Once at the top, check the southern part of the crane, where the stash is positioned on the right side.

  • Discover Every Stash Spot in Garbage – Stalker 2 Guide

    Discover Every Stash Spot in Garbage – Stalker 2 Guide

    Exploring the Zone in Stalker 2: Heart of Chornobyl

    In Stalker 2: Heart of Chornobyl, the Zone is organized into various regions that you’ll discover as you progress through the main storyline. Starting off in the Lesser Zone, you will soon venture to Garbage in search of clues about Nestor. But it’s not just about the main quests; this area is brimming with side content, including numerous hidden stashes that can divert your attention and aid your journey.

    These hidden stashes are treasure troves for Stalkers, offering everything from first-aid supplies and ammunition to food and, on occasion, unique weapons to enhance your experience. If you’re keen to track them down, let’s dive into where you can find all the stashes in Garbage.


    Koldyba’s Pigsty Stash: Location Guide

    The first stash you’ll encounter in Garbage is quite easy to find, just after you cross the bridge into the region. Head north along the road, and listen for the frantic cries of a Stalker named Vovchyk Koldyba, who is being harassed by bandits looking to loot him. Intervene, save him, and in gratitude, he’ll reveal the location of his stash.

    You’ll find the stash nearby, inside the building to the right of Koldyba. Look for wooden barricades at the north end of the structure. Break through, crawl through the gap, and you’ll discover the stash hidden in a dumpster alongside a pistol.


    Abandoned Drop in Hlynka: Stash Location

    The Hlynka settlement, positioned along the western road upon entering Garbage, contains a stash hidden within a small brick building near the end of the street on the right. Inside, you’ll find a duffle bag, along with additional loot scattered on the shelves.

    Tip: Keep an eye out for any hostiles while you search!


    Forgotten Loot in the Southeastern Junkyard

    This stash is also an early find in Garbage, but this time you need to head east. Follow the road until you arrive at a junkyard that’s easily noticeable.

    Look for a wrecked green truck. The stash lies directly underneath it. However, beware of mutant dogs that might ambush you. Only after dealing with any threats should you loot the stash safely.


    Roof Stash in the Detention Center

    During the Answers Come At A Price main quest, you’ll stop by the Detention Center located in the southeastern part of Garbage. This secure zone has multiple stashes, including one located on the roof.

    To reach it, climb the stairs within the building until you reach an open, sky-exposed section. Use a slanted beam to access the roof, where you’ll navigate through anomalies spewing lava. At the northern end, find a chest next to a deceased individual—this is your stash!


    Tamper-Proof Stash in the Detention Center

    The Tamper-Proof Stash can be found in the basement of the Detention Center. You’ll need to obtain the heavy key first. Enter through the southern door and check a small compartment—the key is on the desk.

    Once you have it, head downstairs to unlock the basement door, where you’ll find the stash in the room directly opposite the entrance.

    Caution: There’s a fire poltergeist mutant lurking in the basement, but you can eliminate it by shooting through the grate from outside before going in. An artifact is also tucked away within the thermal anomalies down there.


    Abandoned Drop in the Detention Center

    Before you leave the Detention Center’s basement, loot the corpse of a soldier lying near a thermal anomaly. Act swiftly to avoid getting harmed, and you’ll find an old key on him.

    This key unlocks the double orange doors on the same floor as the NPCs. Behind these doors lies the final stash you’re after in this area.


    Missing Person’s Loot in the Vehicle Graveyard

    To discover the Missing Person’s Loot, travel west of Hlynka and cross the bridge. Continue south until you see a series of dangerous bubble anomalies. Stay clear unless you’re specifically looking for artifacts.

    Past that area is the Vehicle Graveyard. Here, seek out a small cabin wedged between several rusted trucks—this is your stash location.


    Hidden Stash in Acidic Cave

    For this stash, proceed to the hidden cave northeast of the Vehicle Graveyard. The entrance can be somewhat elusive, so keep your eyes peeled.

    Inside, you’ll encounter hazardous acidic fumes. Be quick to minimize harm as you navigate through. Your prize will be the stash, which is hidden among the bodies inside.


    Discovering More Loot in the Plant

    The Plant, located along the northern road, is a crucial area with multiple stashes to uncover. One particularly easy find is located in the basement of the main building.

    After locating a closed door, open it to unveil the chest. While it may not be very well concealed, the items inside are certainly worth it for any Stalker passing through.

    Another stash, the Forgotten Loot, is found outside the main building in the adjacent structure. Ascend a ladder, go south to the skybridge, and navigate through pricking glass anomalies to claim your stash.


    Lex the Legend’s Stash

    At the Flea Market POI, situated in the western Garbage area, you’ll meet Lex the Legend—a Stalker known for dubious tales. After a brief interaction, he’ll send you coordinates for his so-called “legendary stash,” which turns out to be atop a vehicle fitted with a shovel.

    The stash is mostly empty, containing a note mocking you and a broken pistol, followed by a surprise ambush from a Bloodsucker. Lesson learned: not all legends hold true in the Zone.


    Conclusion

    In Stalker 2: Heart of Chornobyl, the hunt for stashes can be as rewarding as it is challenging. Make sure to explore every nook and cranny as you journey through the Zone, and always be prepared for unexpected encounters!