الوسم: Slime Rancher

  • How To Complete and Solve All Vacpack Upgrades in Slime Rancher 2

    Resource Harvester
    Automatically gather resources from different points around Rainbow Island.

    • Required: 10 Cotton Plorts, 450 Newbucks
    • Available from the start.

    Heart Module Tier 1
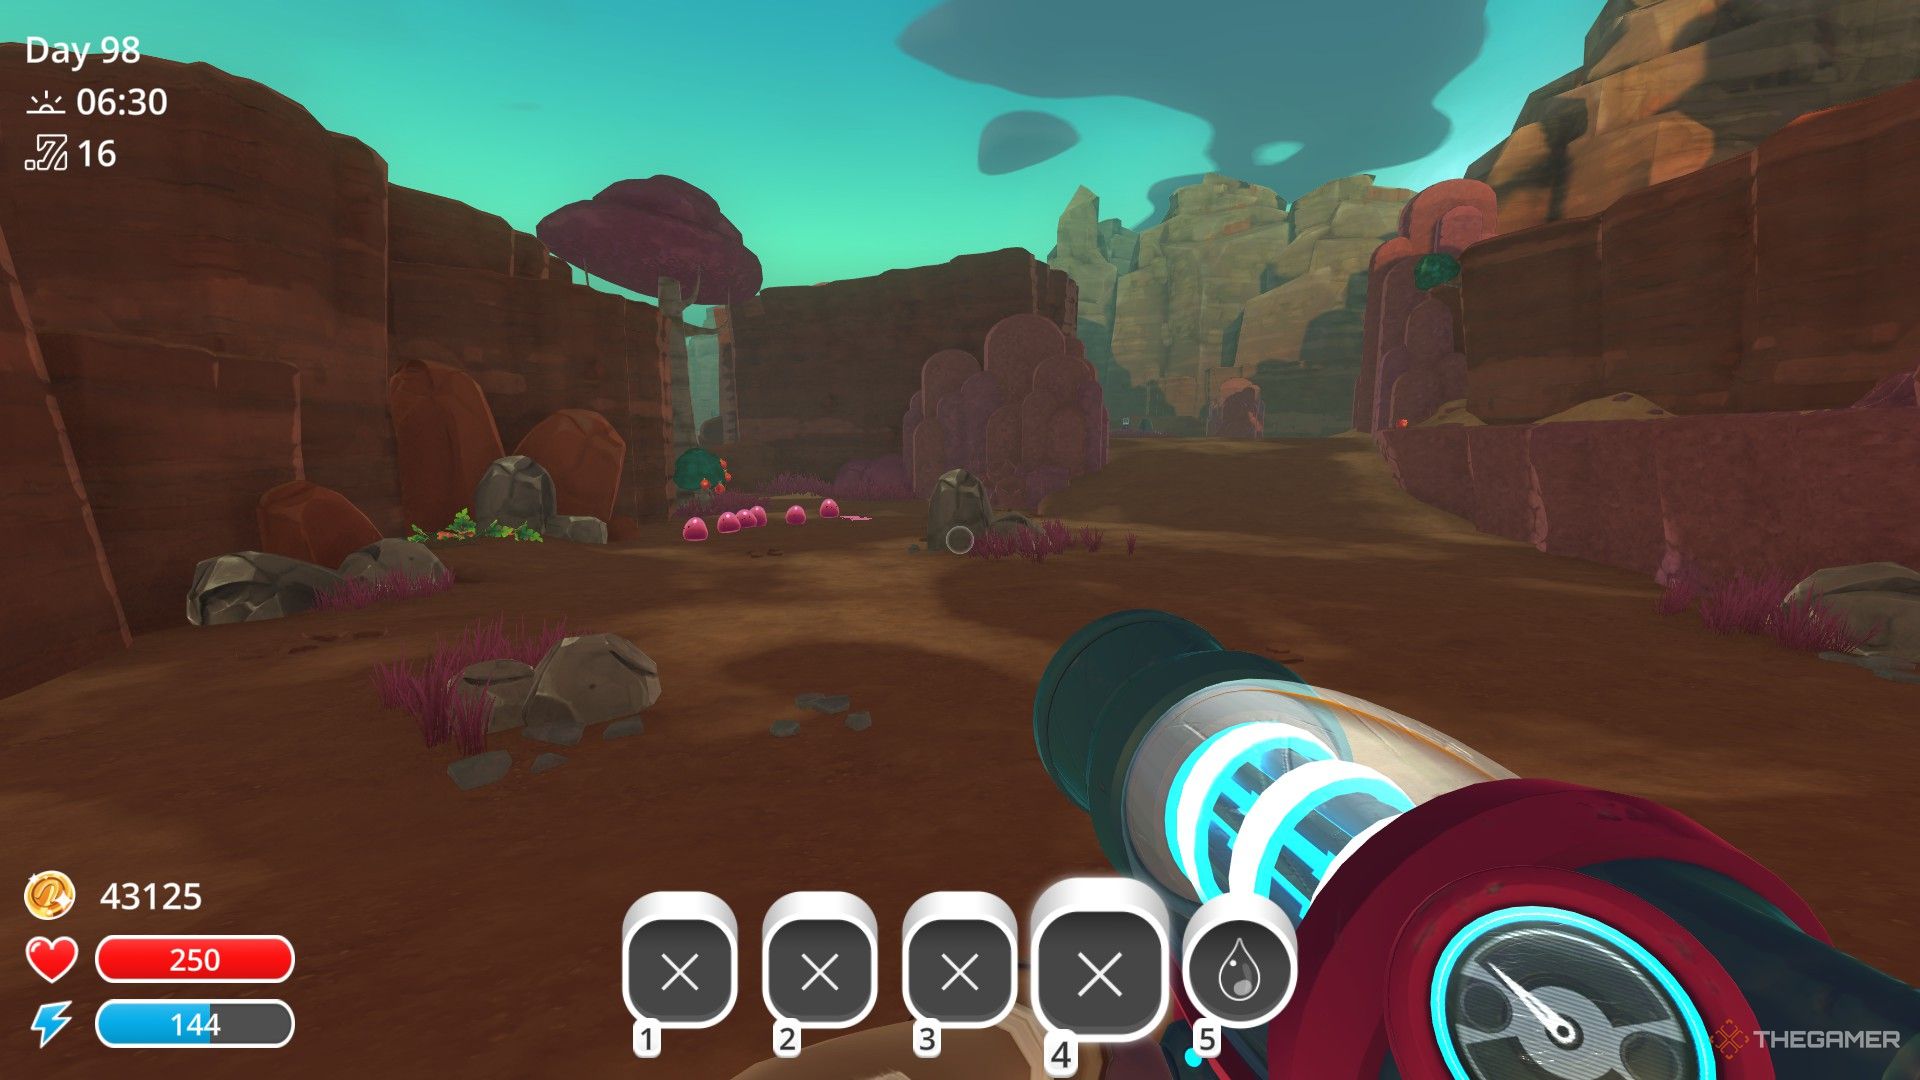
    Boosts your health to 150.

    • Needed: 10 Pink Plorts, 450 Newbucks
    • Available from the start.

    Heart Module Tier 2
    Raises health to 200.

    • Required: 20 Pink Plorts, 10 Honey Plorts, 10 Deep Brine, 10 Jellystone, 1 Heart Cell, 900 Newbucks
    • Find a Heart Cell in a treasure pod.

    Heart Module Tier 3
    Boosts health to 250.

    • Needed: 30 Pink Plorts, 20 Honey Plorts, 30 Deep Brine, 10 Silky Sand, 1 Heart Cell, 3,000 Newbucks
    • Find a Heart Cell in a treasure pod.

    Heart Module Tier 4
    Increases health to 300.

    • Required: 50 Prisma Plorts, 30 Honey Plorts, 25 Magma Combs, 1 Royal Jelly, 1 Heart Cell, 10,000 Newbucks
    • Find a Heart Cell in a treasure pod and unlock the Grey Labyrinth.

    Power Core Tier 1
    Increases energy to 150.

    • Needed: 10 Cotton Plorts, 450 Newbucks
    • Available from the start.

    Power Core Tier 2
    Raises energy to 200.

    • Needed: 20 Cotton Plorts, 10 Batty Plorts, 10 Primordy Oil, 10 Jellystone, 1 Power Chip, 900 Newbucks
    • Find a Power Chip in a treasure pod.

    Power Core Tier 3
    Boosts energy to 250.

    • Needed: 30 Cotton Plorts, 20 Batty Plorts, 10 Wild Honey, 30 Primordy Oil, 1 Power Chip, 3,000 Newbucks
    • Find a Power Chip in a treasure pod.

    Power Core Tier 4
    Raises energy to 275.

    • Needed: 50 Cotton Plorts, 30 Saber Plorts, 30 Slime Fossil, 1 Sun Sap, 1 Power Chip, 10,000 Newbucks
    • Find a Power Chip in a treasure pod.

    Power Core Tier 5
    Increases energy to 300.

    • Needed: 50 Prisma Plorts, 40 Twin Plorts, 25 Tin Petals, 1 Royal Jelly, 1 Power Chip, 15,000 Newbucks
    • Find a Power Chip in a treasure pod and unlock the Grey Labyrinth.

    Dash Boots Tier 1
    Reduces stamina cost for sprinting.

    • Required: 10 Boom Plorts, 450 Newbucks
    • Available from the start.

    Dash Boots Tier 2
    Further reduces sprinting energy.

    • Needed: 20 Boom Plorts, 10 Flutter Plorts, 10 Wild Honey, 10 Lava Dust, 1 Dash Boot Module, 1,500 Newbucks
    • Unlock after finding the Dash Boot Module in the Starlight Strand treasure pod.

    Jetpack Tier 1
    Allows a brief extended jump.

    • Needed: 10 Phosphor Plorts, 10 Radiant Ore, 450 Newbucks
    • Available from the start.

    Jetpack Tier 2
    Extends jump a little longer.

    • Required: 20 Phosphor Plorts, 10 Batty Plorts, 20 Radiant Ore, 10 Wild Honey, 1 Jetpack Drive
    • Obtain the Jetpack Drive from a treasure pod in Ember Valley.

    Tank Booster Tier 1
    Increases tank capacity to 30 units.

    • Needed: 10 Tabby Plorts, 450 Newbucks
    • Available from the start.

    Tank Booster Tier 2
    Increases capacity to 40 units.

    • Needed: 20 Tabby Plorts, 10 Angler Plorts, 10 Radiant Ore, 10 Jellystone, 1 Storage Cell, 900 Newbucks
    • Unlock after getting a Storage Cell from a treasure pod.

    Tank Booster Tier 3
    Raises capacity to 50 units.

    • Needed: 30 Tabby Plorts, 20 Angler Plorts, 30 Radiant Ore, 10 Lava Dust, 1 Storage Cell, 3,000 Newbucks
    • Obtain a Storage Cell from a treasure pod.

    Tank Booster Tier 4
    Raises capacity to 60 units.

    • Needed: 40 Tabby Plorts, 30 Saber Plorts, 30 Perfect Snowflakes, 1 Sun Sap, 1 Storage Cell, 10,000 Newbucks
    • Obtain a Storage Cell from a treasure pod.

    Tank Booster Tier 5
    Increases to 70 units.

    • Needed: 50 Sloomber Plorts, 20 Prisma Plorts, 20 Black Indigonium, 1 Royal Jelly, 1 Storage Cell, 15,000 Newbucks
    • Obtain a Storage Cell from a treasure pod.

    Tank Booster Tier 6
    Up to 80 units.

    • Needed: 60 Twin Plorts, 25 Prisma Plorts, 20 Dream Bubble, 3 Sun Saps, 1 Storage Cell, 20,000 Newbucks
    • Obtain a Storage Cell from a treasure pod.

    Tank Booster Tier 7
    Up to 90 units.

    • Required: 50 Sloomber Plorts, 70 Hyper Plorts, 20 Magma Comb, 3 Royal Jellies, 1 Storage Cell, 30,000 Newbucks
    • Obtain a Storage Cell from a treasure pod.

    Tank Booster Tier 8
    Max capacity of 100 units.

    • Needed: 80 Ringtail Plorts, 50 Twin Plorts, 30 Aqua Glass, 3 Royal Jellies, 1 Storage Cell, 50,000 Newbucks
    • Obtain a Storage Cell from a treasure pod.

    Extra Tank 1
    Adds a fifth vacuum tank slot.

    • Needed: 10 Rock Plorts, 10 Silky Sand, 1,500 Newbucks
    • Available from the start.

    Extra Tank 2
    Adds a sixth slot.

    • Needed: 40 Rocks Plorts, 20 Ringtail Plorts, 20 Silky Sand, 2 Strange Diamonds, 1 Vac Tank, 3,000 Newbucks
    • Unlock after obtaining a Vac Tank from a treasure pod in Ember Valley.

    Water Tank
    Holds water in your hotbar.

    • Needed: 10 Deep Brine, 450 Newbucks
    • Available from the start.

    Pulse Wave
    Pushes away slimes to clear space.

    • Needed: 10 Flutter Plorts, 10 Jellystone, 5 Wild Honey, 450 Newbucks
    • Available from the start.

    Tank Guard Tier 1
    Reduces some hotbar contents lost when passing out by 20%.

    • Needed: 20 Crystal Plorts, 10 Hunter Plorts, 10 Buzz Wax, 10 Lava Dust, 1 Tank Liner, 3,000 Newbucks
    • Unlock after obtaining a Tank Liner from a treasure pod.

    Tank Guard Tier 2
    Reduces loss to 40%.

    • Needed: 30 Crystal Plorts, 20 Hunter Plorts, 10 Buzz Wax, 1 Strange Diamond, 1 Tank Liner, 6,000 Newbucks
    • Unlock after getting a Tank Liner from a treasure pod.

    Tank Guard Tier 3
    Reduces loss to 60%.

    • Needed: 40 Crystal Plorts, 30 Hunter Plorts, 30 Buzz Wax, 2 Strange Diamonds, 1 Tank Liner, 12,000 Newbucks
    • Unlock after obtaining a Tank Liner from a treasure pod.

    Drone Archive Key
    Unlocks logs on research drones around the island.

    • Needed: 20 Hunter Plorts, 20 Fire Plorts, 20 Jellystone, 10 Lava Dust, 1 Drone Archive Key, 1,500 Newbucks
    • Available after Mochi Miles provides the blueprint.

    Golden Sureshot Tier 1
    Locks onto Gold Slimes and doubles plort drops when hit.

    • Needed: 20 Fire Plorts, 1 Gold Plort, 10 Perfect Snowflakes, 1 Sun Sap, 1 Sureshot Module, 1,500 Newbucks
    • Unlock after finding the Sureshot Module in a treasure pod.

    Golden Sureshot Tier 2
    Locks onto Gold Slimes and triples plort drops.

    • Needed: 30 Saber Plorts, 2 Gold Plorts, 20 Perfect Snowflakes, 2 Sun Saps, 1 Sureshot Module, 3,000 Newbucks

    Golden Sureshot Tier 3
    Locks onto Gold Slimes, quadruples drops.

    • Needed: 40 Saber Plorts, 3 Gold Plorts, 30 Perfect Snowflakes, 3 Sun Saps, 1 Sureshot Module, 6,000 Newbucks

    Shadow Sureshot
    Locks onto Shadow Slimes, doubling plort drops when hit.

    • Needed: 20 Sloomber Plorts, 20 Twin Plorts, 20 Hyper Plorts, 1 Strange Diamond, 1 Shadow Sureshot Module, 10,000 Newbucks
    • Unlock by purchasing the Shadow Sureshot Module from the vending machine.

    Regenerator Tier 1
    Increases energy regeneration speed by 15%.

    • Needed: 25 Twin Plorts, 10 Prisma Plorts, 10 Magma Combs, 10 Aqua Glass, 1 Regen Module, 5,000 Newbucks
    • Obtain from a Shadow Plort Door.

    Regenerator Tier 2
    Increases regen speed by 30%.

    • Needed: 50 Sloomber Plorts, 50 Hyper Plorts, 10 Black Indigonium, 1 Royal Jelly, 1 Regen Module, 10,000 Newbucks
    • Obtain from the Night Market.
    Power Injector Tier 1
    Reduces energy regen delay by 25%.

    • Needed: 25 Sloomber Plorts, 10 Prisma Plorts, 10 Dream Bubble, 10 Black Indigonium, 1 Injector Module, 5,000 Newbucks
    • Obtain from a Shadow Plort Door.

    Power Injector Tier 2
    Reduces delay by 50%.

    • Needed: 50 Hyper Plorts, 50 Twin Plorts, 10 Aqua Glass, 1 Royal Jelly, 1 Injector Module, 10,000 Newbucks
    • Obtain from the Night Market.
  • How to Farm Wild Honey in Slime Rancher 2: Complete the Solving Quest

    How to Farm Wild Honey in Slime Rancher 2: Complete the Solving Quest

    Finding resources is a big part of Slime Rancher 2, and gathering everything takes some time. Still, it can be tricky to know where to find the items you haven’t discovered yet or where to farm for hard-to-get materials like Wild Honey.

    Luckily, we’re here to help reduce the time spent traveling between regions on the map. When you need Wild Honey, we’ll point out the best spots for gathering so you can make the most of each day exploring outside the Conservatory. Here’s everything you need to know about collecting Wild Honey on Rainbow Island.

    Where to Find Wild Honey

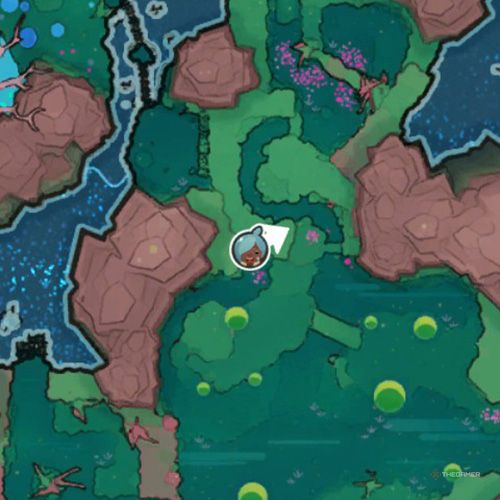
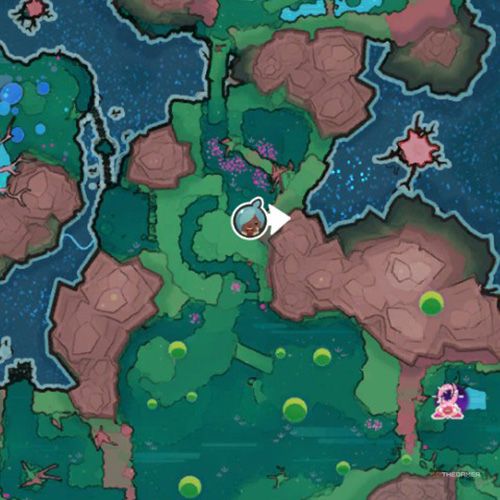
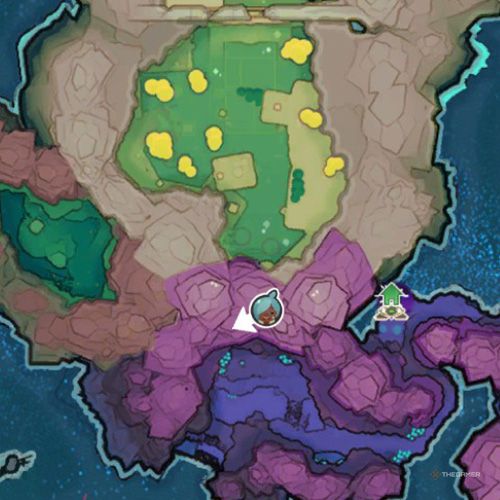
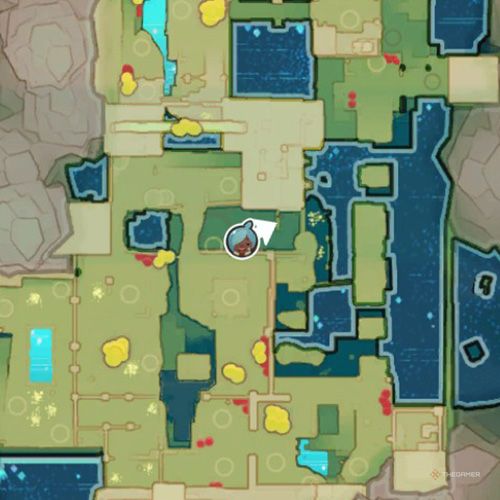
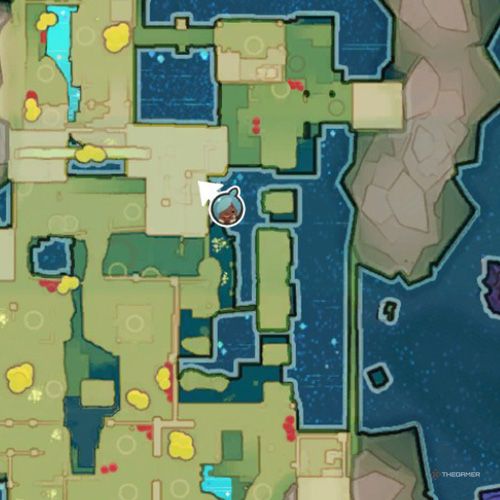
    The only place to find Wild Honey in Slime Rancher 2 is in the Starlight Strand. Located southwest of the Conservatory, this magical forest is filled with Cotton Slimes and Honey Slimes. Look up at the trees to spot various hives packed with resources.

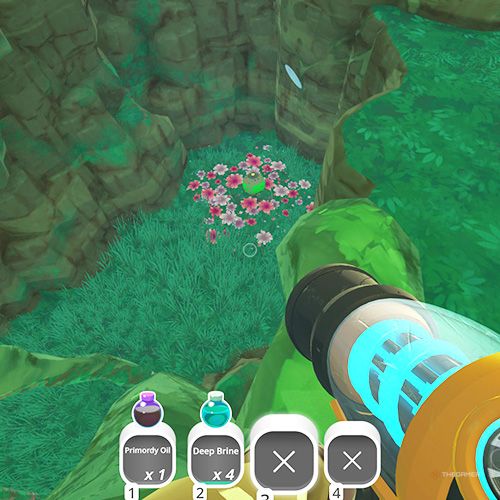
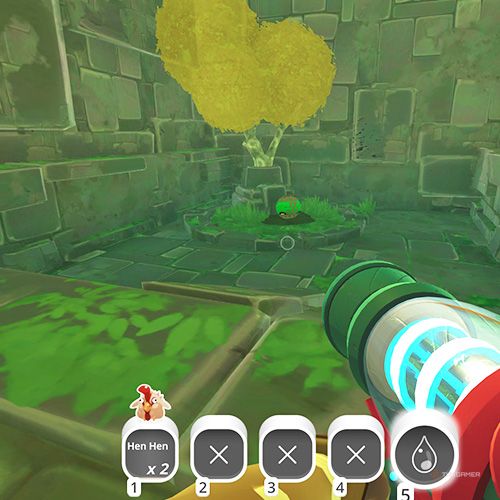
    Not all hives will give you honey, though. Beige hives produce Buzz Wax, so avoid those when searching for honey. Instead, focus on striped beehives with golden honey dripping from them. You’ll recognize the right hives when your resource harvester starts collecting small jars of honey with a smiling slime picture on the side, rather than wax chunks.

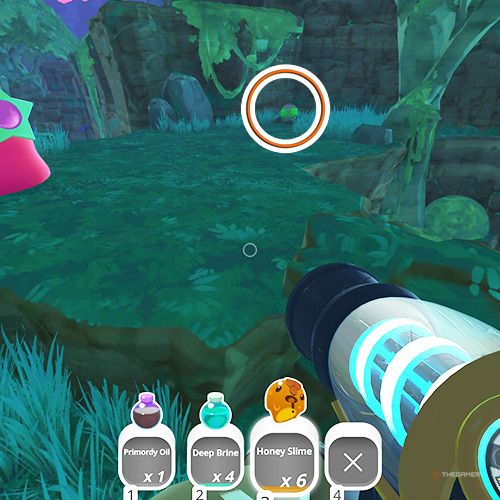
    There are multiple hives across the Starlight Strand, so keep your eyes open—some may hide in small cracks or on cliffs.

    If you’re having trouble finding enough Wild Honey, you can also send out a Quantum Drone to collect it for you. Once you have a steady supply in the Refinery, you can use Wild Honey to upgrade your gear. This includes increasing the speed of your Dash Boots, improving the Power Core, and upgrading your Jetpack for the second time.

    Wild Honey can also be used to craft decorations and warp tech items that enhance your island and help cut down on daily travel. It’s a good idea to search for Wild Honey whenever you can so you can prepare your ranch for continued progress.

  • Unlocking the Moss Blanket in Slime Rancher: A Guide

    Unlocking the Moss Blanket in Slime Rancher: A Guide

    In Slime Rancher, the Dry Reef serves as a good-sized starting area; however, it lacks diversity. If you’re growing weary of the constant sight of Pink Slimes, Rock Slimes, and Tabby Slimes, it might be time to explore new areas. The Dry Reef, as its name implies, appears dry and lifeless, so visiting a more vibrant and lively environment could be just what you need.

    If that sounds appealing, the Moss Blanket is your destination! You’ll discover a lush landscape filled with green vegetation and new slime types, which can be brought back to your ranch to collect unique plorts, allowing you to earn more Newbucks. Get ready for an adventure!

    How to Get to the Moss Blanket


    The Moss Blanket is a lush area found in the northwest part of your map, but it’s initially locked. If you’re on the hunt for Honey Slimes or Hunter Slimes, you’ll need access to this region. There are two ways to get there.

    Getting to the Moss Blanket with a Slime Key

    The first way is to pop a Gordo that contains a Slime Key. Gordos are large, stationary slimes. Feed them enough of their favorite food, and they will burst. However, not all Gordos provide Slime Keys, so you’ll need to target the ones that do.

    Once you have a Slime Key, leave your Ranch and head straight north. When you arrive at the spot with Pink Slimes, turn northwest and go under the rock archway. In the area where Pink Slimes and Rock Slimes are located, go west and navigate through the rock tunnel.


    The player moves towards the Moss Blanket's Slime Gate in Slime Rancher.

    Cross the petrified crystal area and head to the seaside region filled with Tabby Slimes and Pink Slimes. From there, continue north to find a dock. Follow the dock further north to reach the gate. Use your Slime Key to unlock it and gain entry to the Moss Blanket.
    Getting to the Moss Blanket Without a Slime Key

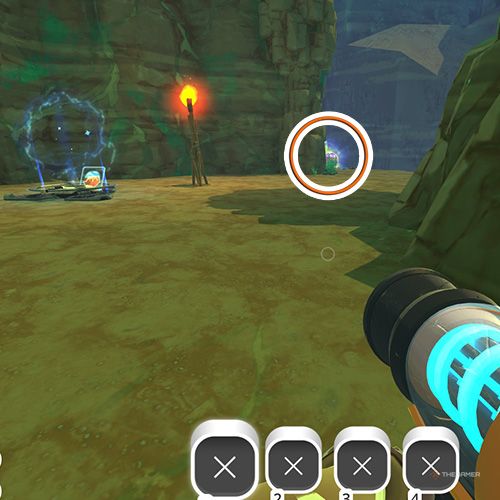
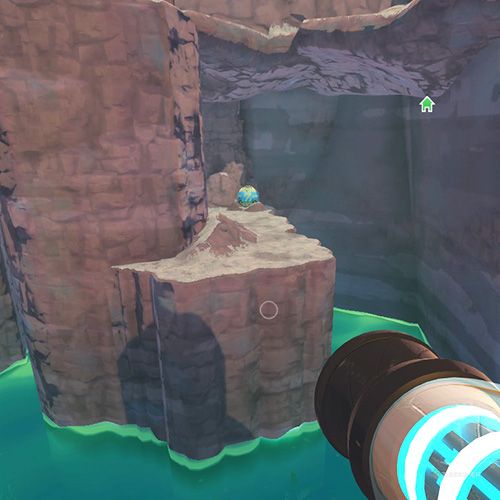
    If you don’t have a Slime Key, you can still access the Moss Blanket, but you will need a jetpack. To do this, stand at the locked gate of the Moss Blanket, then turn away from the gate and use your jetpack to jump onto the wooden planks to the left of the torch.

    From the planks, fly to the rock ledges on either side above the gate. Attempting to fly directly to the rock on top of the gate may not work. Once you’re on the rocks, you’ll be positioned behind the gate, giving you access to the Moss Blanket.
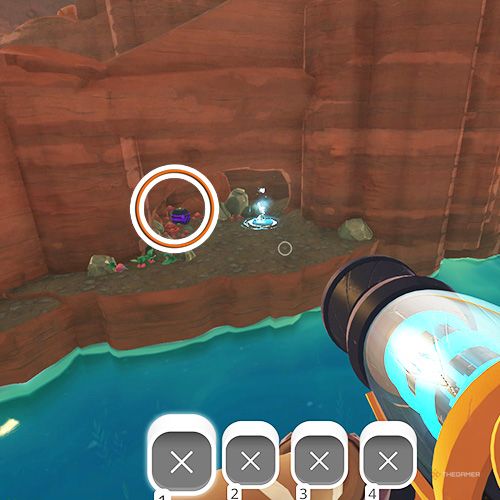
    Finding the Map Data Node in the Moss Blanket

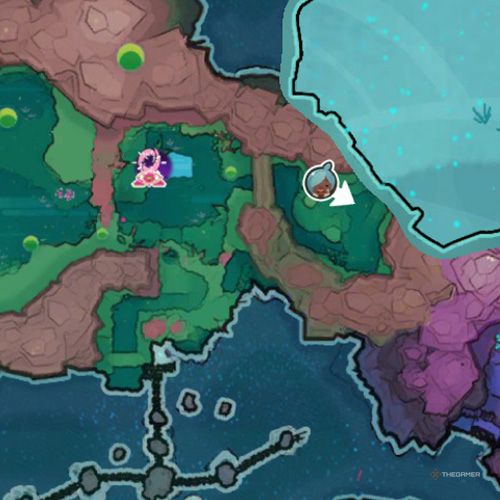
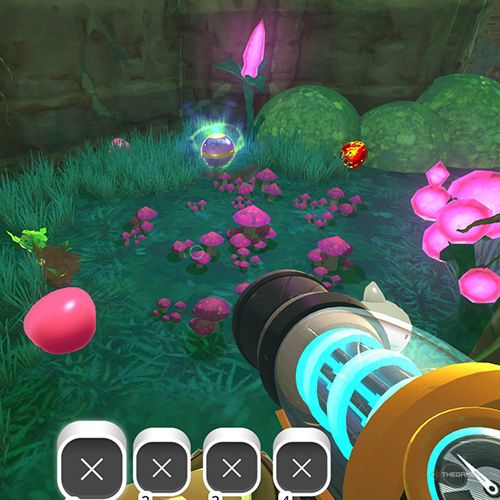
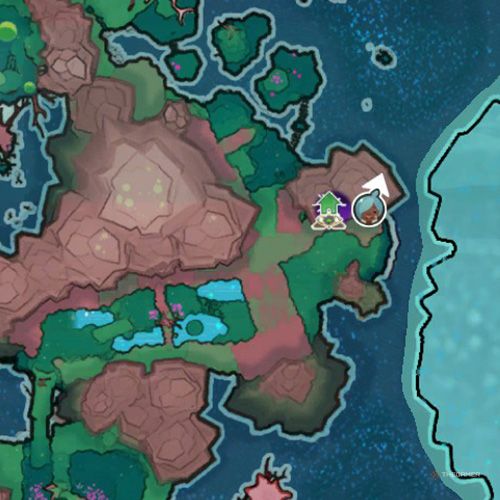
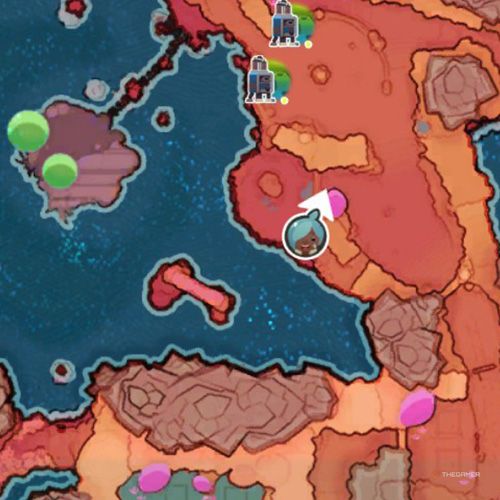
    As soon as you step into the Moss Blanket, the map will not be fully visible. To unlock it, you’ll need to locate the Map Data Node. After entering this area, go up the stairs and jump down through the opening. After you drop down, head toward the northwest section.

    Take the stairs on the left, and upon reaching the large moss-covered tree, look to the northwest. You will notice another tall, mossy tree situated on top of some rocks. You need to climb to the top rock where the tree is located.
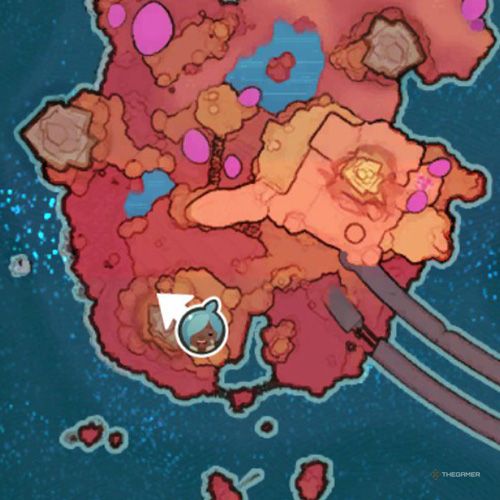
    If you have a jetpack, it’ll make getting to the top easier. If you don’t, keep the tree to your left and navigate around it, jumping over its roots until you reach the rock that holds the Map Data Node.

  • Complete Guide to Locating Treasure Pods in Slime Rancher

    Complete Guide to Locating Treasure Pods in Slime Rancher

    [gpt3]rewrite this content in american english and make it unique and make it human written and make it plagiarism free and please do not include the common chatGPT words and rewrite clearly without using complex words and do not include next post or related post details in the content

    It can’t be said that the map of Slime Rancher is small. There are many unique locations to explore, each home to different types of slimes, all requiring distinct strategies to handle. However, the game isn’t just about slimes; you can also engage with other elements like gadgets.

    In fact, if you craft enough gadgets, you can purchase an upgrade called the Treasure Cracker, which allows you to hunt for hidden treasure pods scattered throughout the game’s locations. With over 100 treasure pods to discover, finding them all can be challenging—that’s why we’ve prepared this guide for you!

    How To Unlock Treasure Pods


    Treasure Pods are chests that contain various loot, including materials for crafting gadgets, cosmetic items, and slime skins. They are divided into three categories: green, blue, and purple. You cannot open them directly. To open them, you first need to purchase the Lab expansion located to the south of your ranch for 10,000 Newbucks.

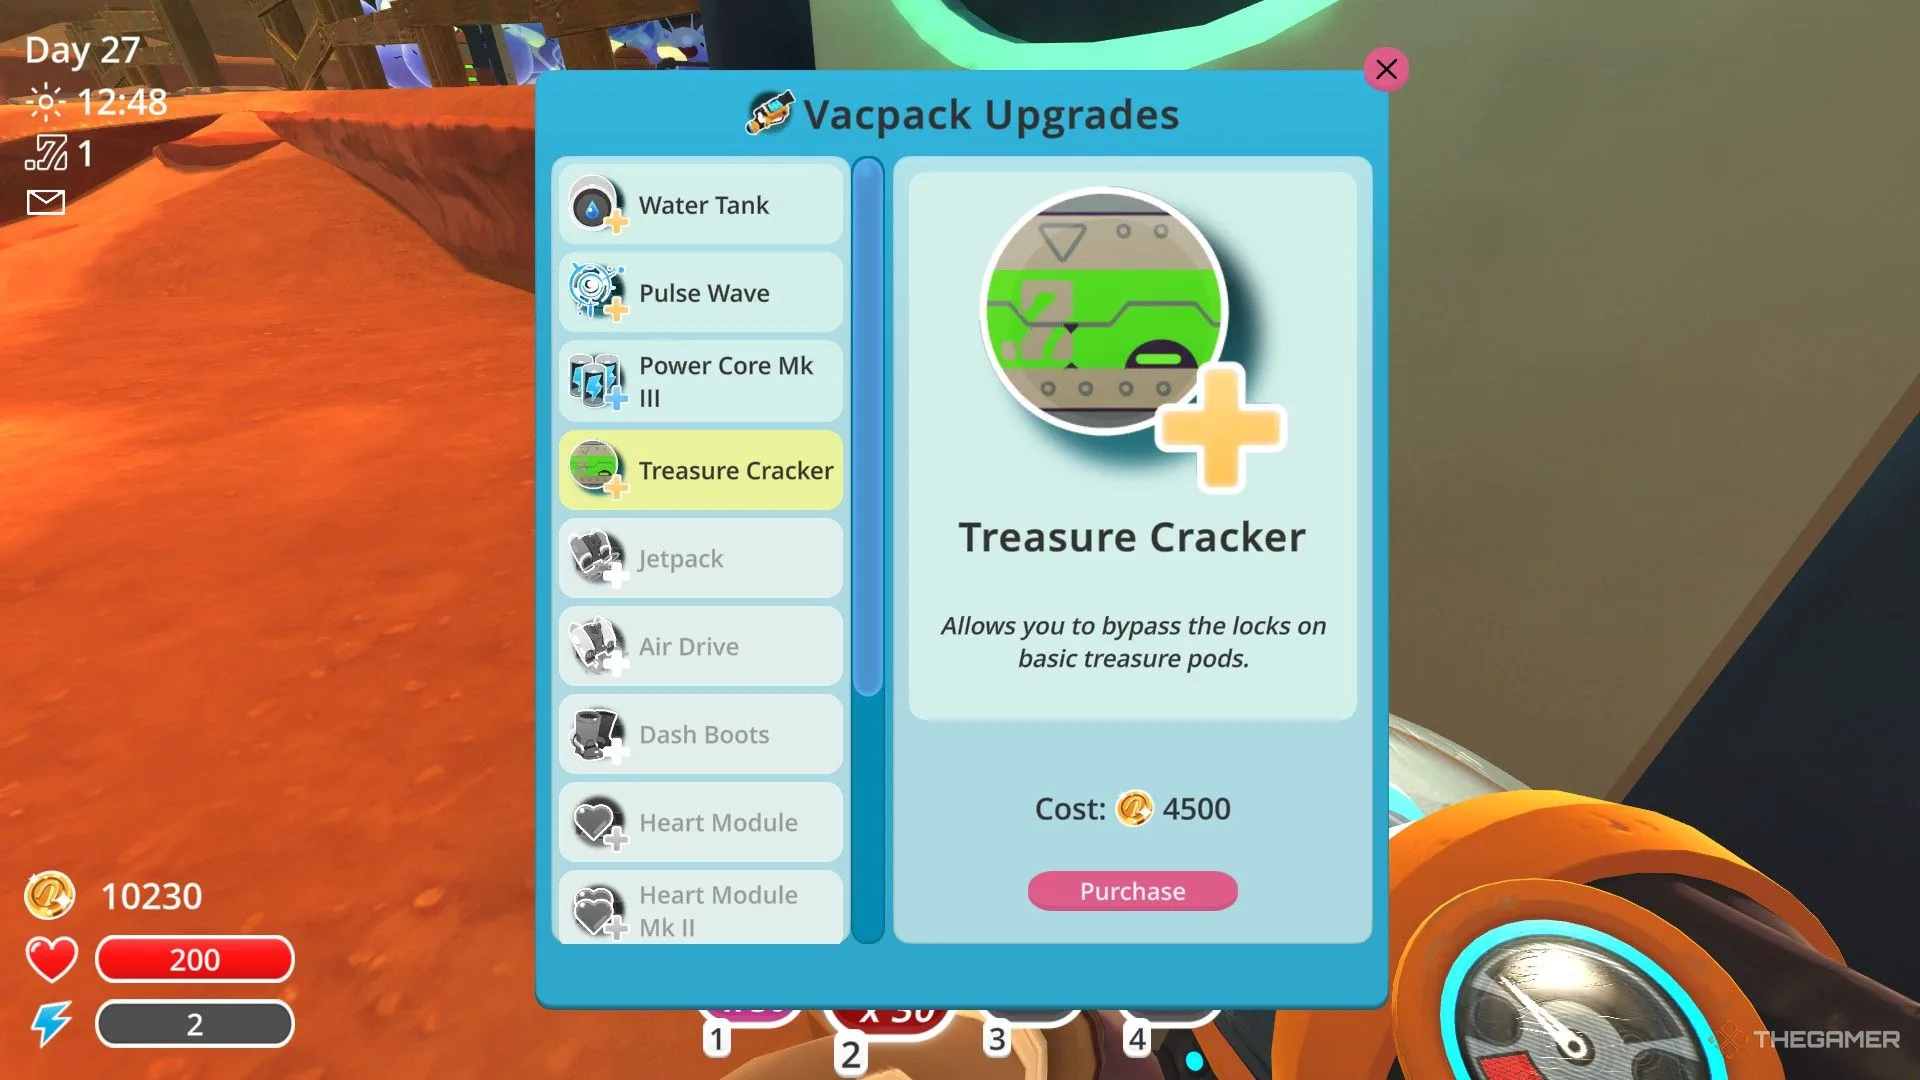
    After that, you need to craft a certain number of gadgets and purchase the Treasure Crackers, which allow you to open the pods, from the machine next to your house on the ranch.

    Treasure Cracker

    Treasure Pod

    Required Gadget Count

    Cracker Price

    Treasure Cracker MK I

    This cracker opens Green Treasure Pods.

    1

    4,500 Newbucks

    Treasure Cracker MK II

    This cracker opens Blue Treasure Pods.

    20

    9,500 Newbucks

    Treasure Cracker MK III

    This cracker opens Purple Treasure Pods.

    50

    25,000 Newbucks


    The player is standing next to a secret style treasure pod in Slime Rancher.

    In addition to these, if you have purchased the Secret Style DLC, some Treasure Pods will be added to your game. No cracker is required to open them, and they allow you to change the appearance of your slimes. After obtaining them, you can make these changes from the menu in your house on the ranch.

    All Treasure Pod Locations In The Ranch


    The player is looking at the house in Slime Rancher.

    There aren’t many treasure pods on the Ranch, only two. To collect them, you’ll need to purchase certain expansions.

    All Treasure Pod Locations In The Dry Reef


    The player is looking at the pink slimes in Dry Reef area in Slime Rancher.

    It wouldn’t be wrong to call Dry Reef the first area of the game, as you find the most common slimes here, and you need to pass through Dry Reef to reach most other areas. There are a lot of treasure pods here.

    All Treasure Pod Locations In The Moss Blanket


    The player is looking at the mossy trees inside the Moss Blanket in Slime Rancher.

    Moss Blanket is a lush, tree-filled area located to the northwest of Dry Reef. It is home to various types of slimes, and it can be considered a complex area. There are quite a few treasure pods here.

    All Treasure Pod Locations In The Indigo Quarry


    The player is located inside Indigo Quarry in Slime Rancher.

    Indigo Quarry is an area located to the northeast of Dry Reef. It is home to Rad Slimes, Boom Slimes, and Crystal Slimes. The area features volcanic landscapes, and you can also access an island called Ash Island from here. There are almost as many treasure pods here as in Dry Reef and Moss Blanket.

    All Treasure Pod Locations In The Nimble Valley


    The player is located inside the Nimble Valley's beginner track in Slime Rancher.

    To reach Nimble Valley, you need to purchase the Grotto expansion and unlock the slime door to The Indigo Quarry. You also have to complete a trade with Mochi Miles at least once through the range exchange and read the email she sends you. This will allow you to teleport from the Grotto to her ranch.

    From there, you can go to Nimble Valley, but you won’t have access to the map. There are two race tracks: the Beginner Track, which is closest to the teleporter, and the Advanced Track, which is farther away from it.

    All Treasure Pod Locations In The Wilds


    The player is located inside the Wilds in Slime Rancher.

    You can reach The Wilds from Ogden’s Retreat. To access it, you need to unlock Moss Blanket and purchase The Overgrowth expansion for your ranch. Additionally, you must complete at least one Range Exchange trade with Ogden Ortiz. Also, you cannot access the map in The Wilds.

    All Treasure Pod Locations In The Slimeulation


    The player is exploring the Slimeulation in Slime Rancher.

    To access the Slimeulation, you must unlock the Ancient Ruins slime gate and purchase the Lab expansion in your ranch for 10,000 Newbucks. After that, you need to buy the Treasure Cracker MK II. Finally, you must complete at least one Range Exchange trade with Viktor Humphries and read the starmail he sends you.

    Once you’ve done this, you can use the teleporter in the Lab to travel to Viktor’s Workshop, where you can teleport to the Slimeulation. Also, you cannot access the map in The Slimeulation.

    All Treasure Pod Locations In The Ancient Ruins


    The player is looking at a purple treasure pod in Slime Rancher.

    The Ancient Ruins are located north of the Indigo Quarry and east of the Moss Blanket. You’ll find Quantum Slimes here, and it’s also the passage you need to take to reach the Glass Desert. This area is quite large and contains many treasure pods.
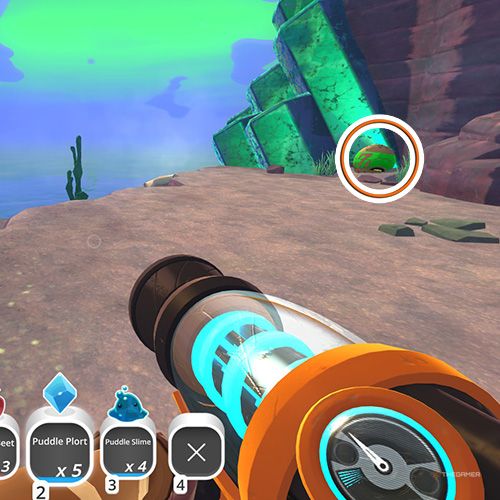
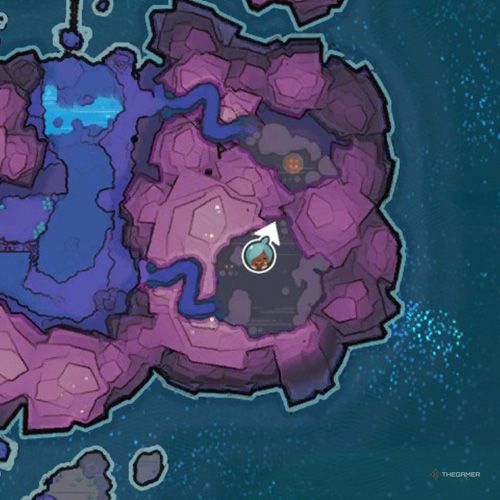
    All Treasure Pod Locations In The Glass Desert


    The player spots a trasure pod inside the Glass Desert in Slime Rancher.

    To reach the Glass Desert, you need to use the teleportation room at the end of the Ancient Ruins. You can activate the teleporter by placing Quantum Plorts into the mouths of the statues in the room. While the Glass Desert may appear desolate at first glance, it is home to several slimes that you won’t find elsewhere.

    Additionally, the area contains a large number of treasure pods, most of which are nearly impossible to access without a jetpack.

    All Treasure Pod Locations In The Slime Sea


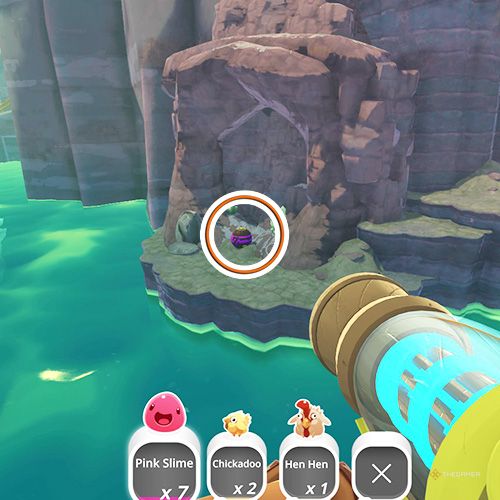
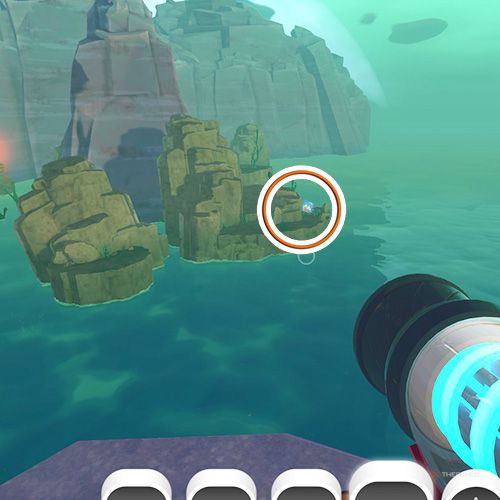
    The player spots a treasure pod at the Slime Sea in Slime Rancher.

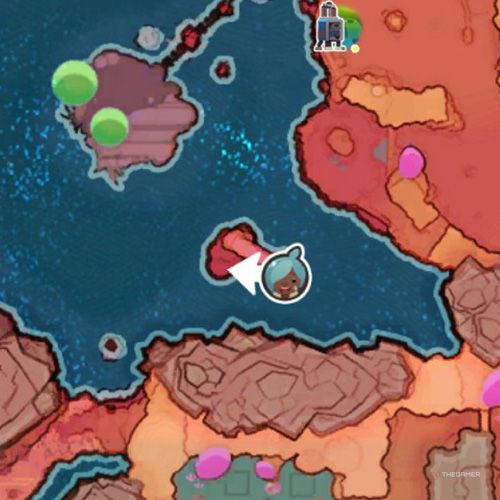
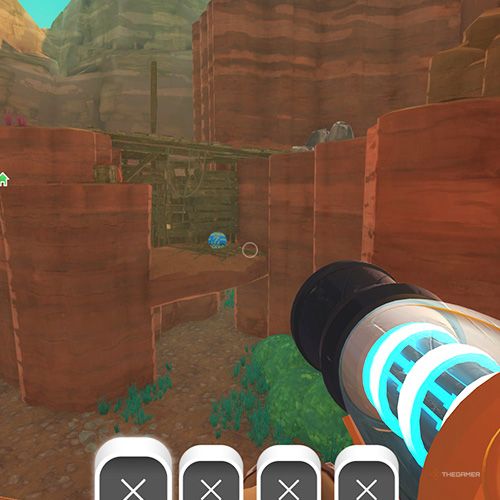
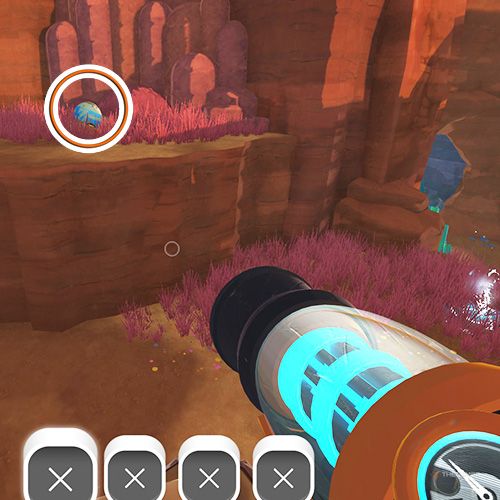
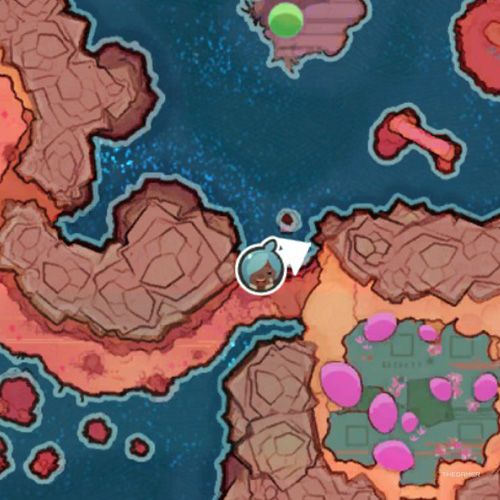
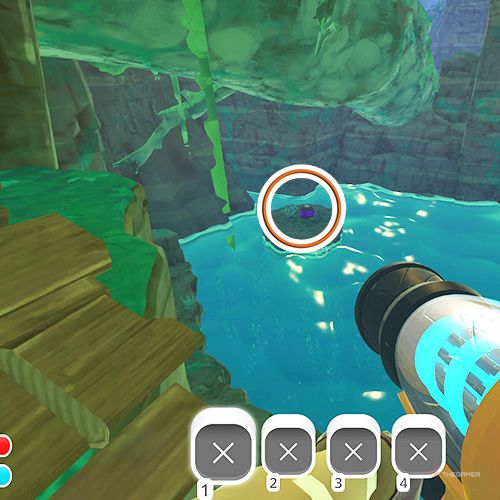
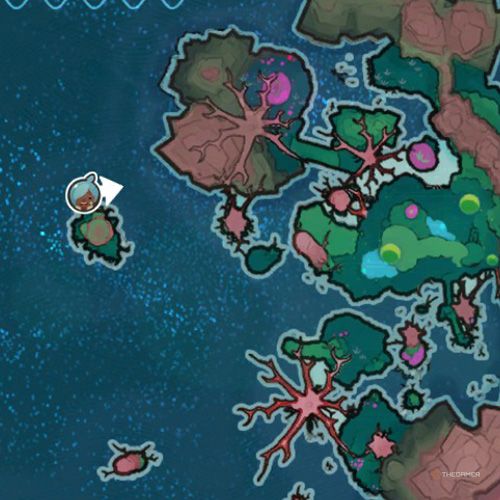
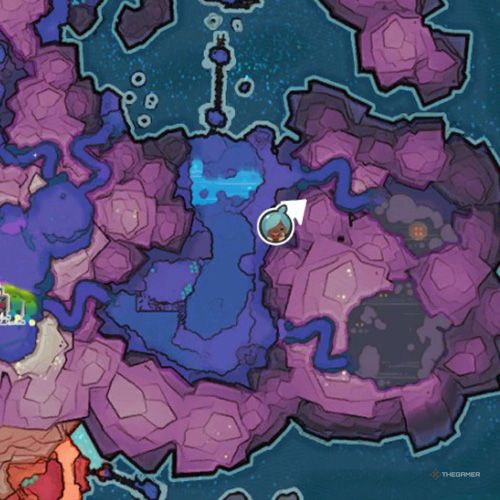
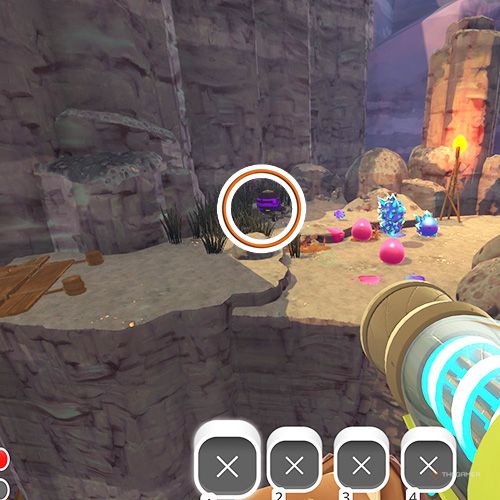
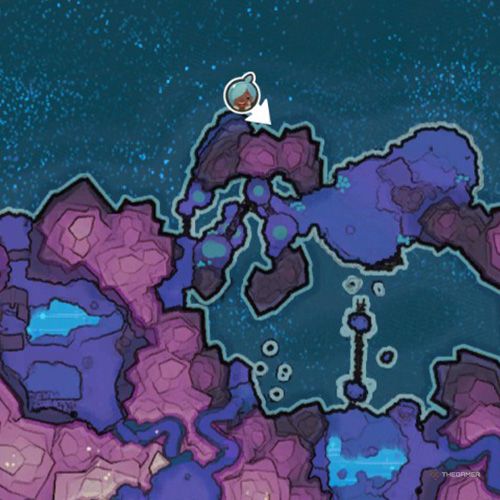
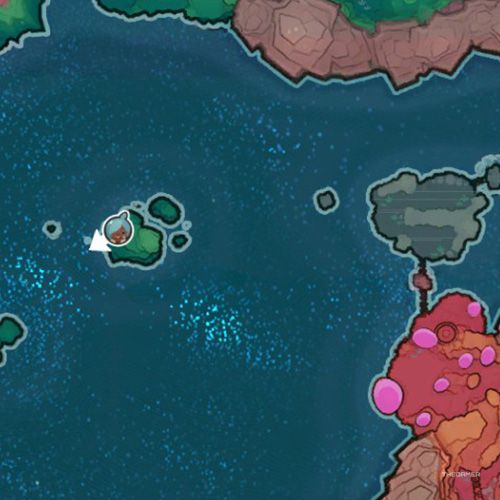
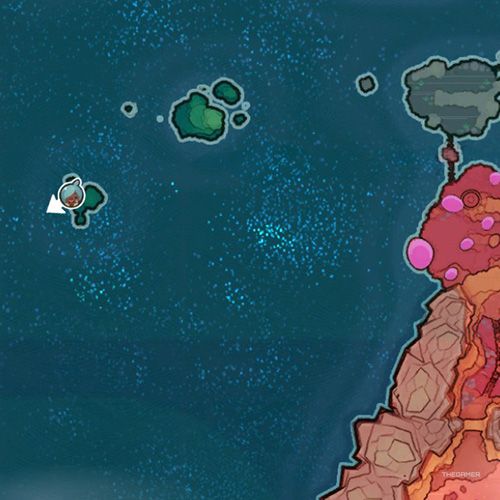
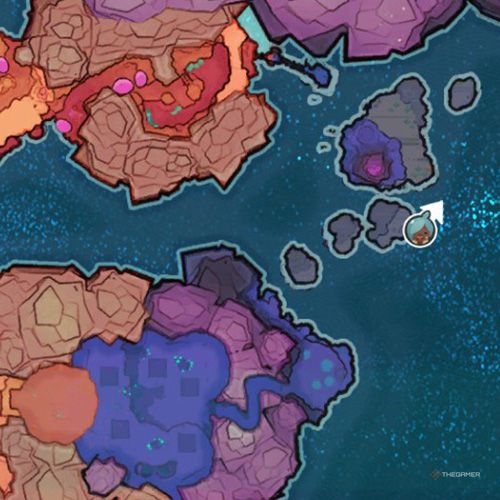
    Although the Slime Sea appears to be quite close to the Dry Reef, it is considered a separate area. As the name suggests, this vast blue expanse consists only of the sea and small rocky islets. There are just three treasure pods to be found here, and reaching them requires a jetpack—specifically, an upgraded one.

    [/gpt3]

  • Unlocking and Utilizing Viktor’s Workshop in Slime Rancher

    Unlocking and Utilizing Viktor’s Workshop in Slime Rancher

    In Slime Rancher, the main character, Beatrix, might seem isolated, but she’s actually not completely alone. You can receive messages from other ranchers or engage in trades via the Range Exchange system. These trades can yield beneficial items, including food or plorts you might need.

    One of the key characters you can trade with is Viktor. He is a scientist who has developed a unique simulation dubbed The Slimeulation, replicating the enchanting Far, Far Range. In this simulated world, you will come across a distinct kind of slime.

    Unlocking Viktor’s Workshop


    Viktor Humphries is another character you can communicate with through the Range Exchange. By engaging with certain ranchers, you can visit their locations, and the pathway to Viktor’s ranch involves a teleporter located in the Lab, although it remains inactive initially. To activate it, you need to fulfill several conditions.

    Buy The Lab

    The player spends 10,000 Newbucks to unlock the Lab in Slime Rancher.

    The initial requirement is to purchase the Lab, which is situated to the south of your ranch. You’ll need to gather a total of 10,000 Newbucks for this purchase.

    Once you have the Lab, the teleporter to Viktor’s Workshop will be located on the left side of the central Refinery inside the Lab. However, it will remain inactive until you meet the other requirements.

    Buy The Treasure Cracker MK II

    Vacpack Upgrade window shows the Treasure Cracker Mk II in Slime Rancher.

    After acquiring the Lab, here’s how the main components work:

    • Purchase blueprints from the machine on the left.
    • Launch plorts into the center machine.
    • Craft gadgets using the plorts in the machine on the right.

    Before you can get the Treasure Cracker MK II, you first need to buy the Treasure Cracker MK I from the upgrade station in front of your ranch. It’s crucial to note that you must craft a gadget in the Lab before purchasing the MK I.

    To acquire the Treasure Cracker MK II, you’ll need to create a total of 20 gadgets, then you can buy it for 9,000 Newbucks.

    Unlock The Ancient Ruins Slime Gate

    Another prerequisite for accessing Viktor’s Workshop is unlocking the slime gate leading to the Ancient Ruins. You can access the Ancient Ruins via either the Indigo Quarry or Moss Blanket routes. In both instances, a Slime Key is essential, which you can obtain by popping specific Gordo slimes.

    Route

    Description

    Indigo Quarry Route

    For the Indigo Quarry route, position yourself to the north of the large dark cave. You can either access from here or approach from the northwest where the puddle slimes are located. Climb one of the nearby pillars and fly towards the tunnel entrance. Pass through and go under a rock arch where you will find a ledge. After descending the slope, cross a wooden bridge and enter the tunnel by the fruit tree. Use your key to unlock the door and reach the Ancient Ruins Transition area.

    Moss Blanket Route

    The Moss Blanket route is simpler. After getting to Moss Blanket from Dry Reef, just climb the stairs and drop through the hole. Head east, cross the wooden bridge, and ascend the slope. You’ll find a Slime Gate to open with your Slime Key, leading you to the Ancient Ruins Transition area.

    The player stands in front of a statue with a plort in its mouth in Slime Rancher.

    However, simply reaching the Ancient Ruins Transition area won’t suffice. You’ll also need to unlock the door to the Ancient Ruins by shooting plorts from six different slimes (Tabby, Rock, Phosphor, Honey, Boom, and Rad) into their designated Plort Statues.

    Trade With Viktor Humphries

    The player engages in a trade with Viktor in Slime Rancher.

    If you’ve satisfied all prior requirements, your last task is to complete a trade with Viktor once. You can find the trade machine on the right side of the main northern gate of your ranch. Once the exchange is complete, you’ll receive a Starmail. Reading this Starmail will grant you access to the teleporter in the Lab.

    Using Viktor’s Workshop

    Once you teleport to Viktor’s Workshop from the Lab’s teleporter, you can return as often as you wish. The first thing you’ll want to do is use the Range Exchange machine to speak with Viktor. He will request your assistance in testing a simulated world in the Far, Far Range known as the ‘Slimeulation.’

    After your conversation with Viktor, enter the teleporter located in the area and press the button. This action will transport you into Slimeulation, where your task is to find Glitch Slimes. These unique slimes can shape-shift into other slimes and objects. If they mimic another slime, their faces will look different—similar to what you might call a ‘Ditto face.’

    A glitch slime transforms into a Pink Slime in Slime Rancher.

    Collecting these transformed slimes will cause Glitch Slimes to emerge, which you can then vacuum up. Make sure to capture them quickly; otherwise, they’ll vanish. Here’s a breakdown of how many Glitch Slimes are contained within different types of slimes:

    Slime Type

    Glitch Slime Count

    Pure Slime

    Contains 1 Glitch Slime

    Largo Slime

    Contains 3-5 Glitch Slimes

    Lucky Slime

    Contains 7-8 Glitch Slimes

    Gold Slime

    Contains 7-8 Glitch Slimes

    The player discovers the source of Debug Spray in Slime Rancher.

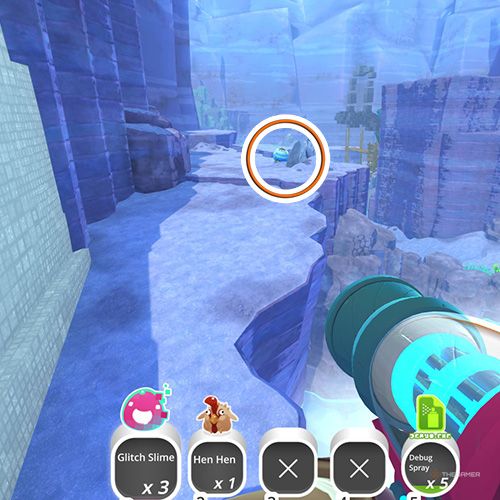
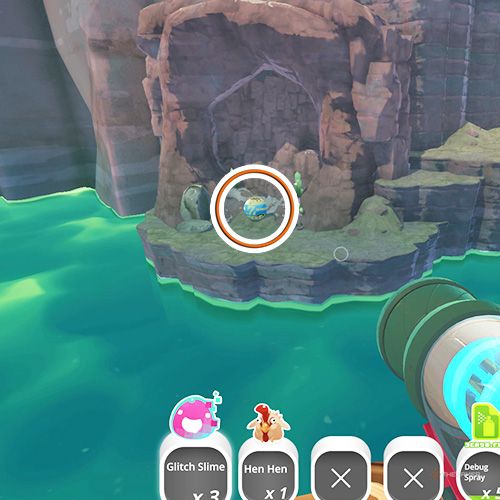
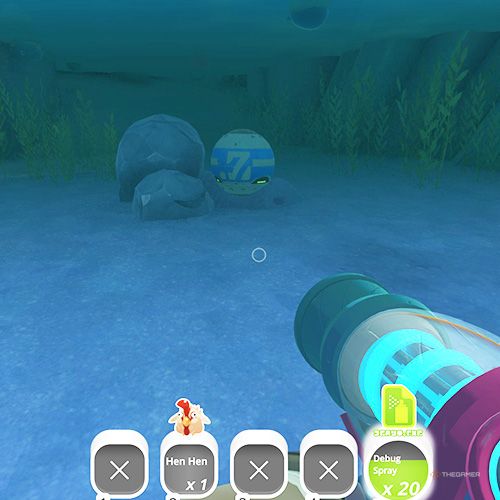
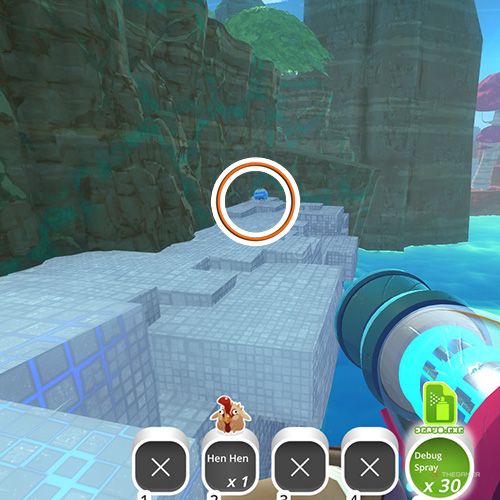
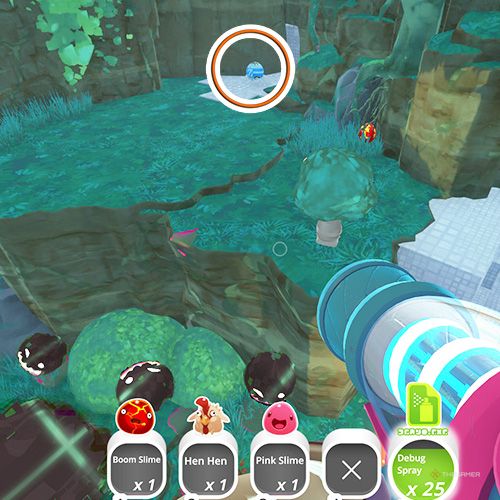
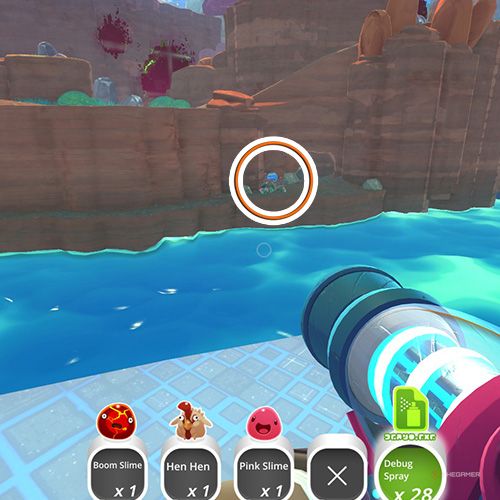
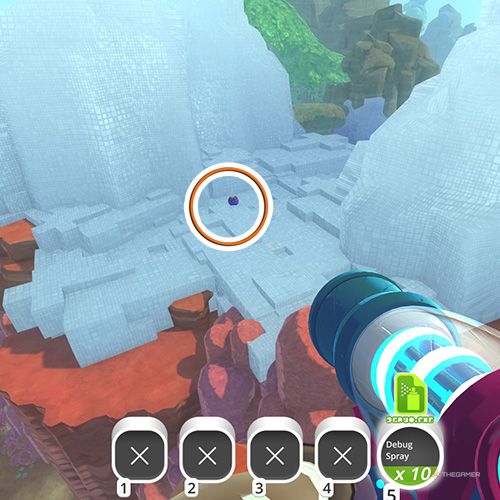
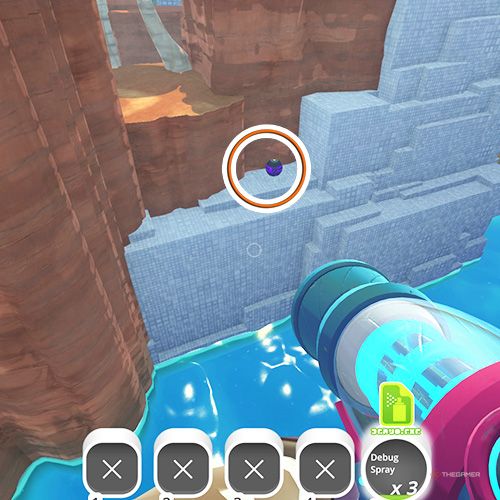
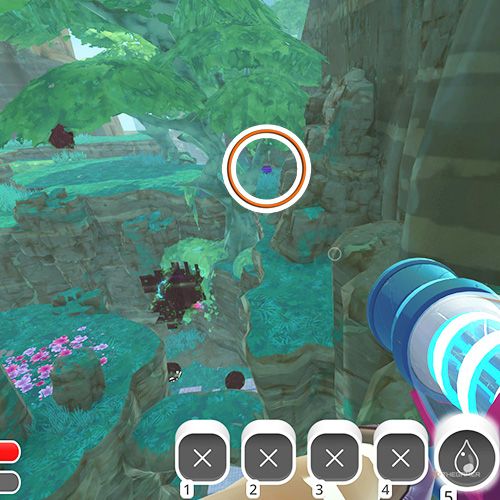
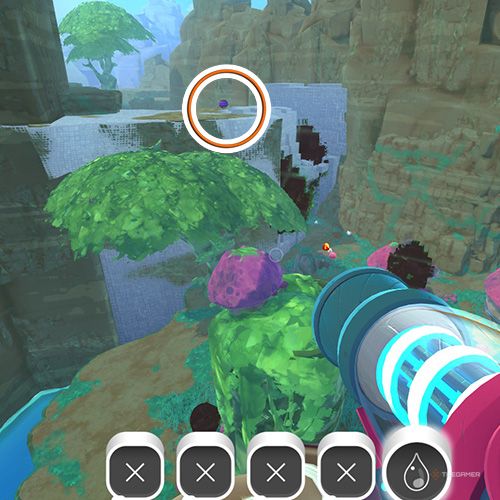
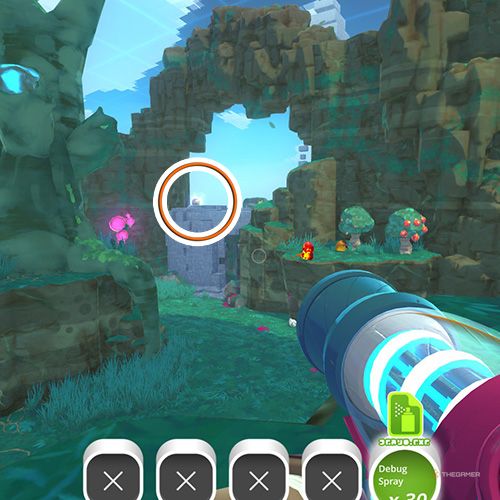
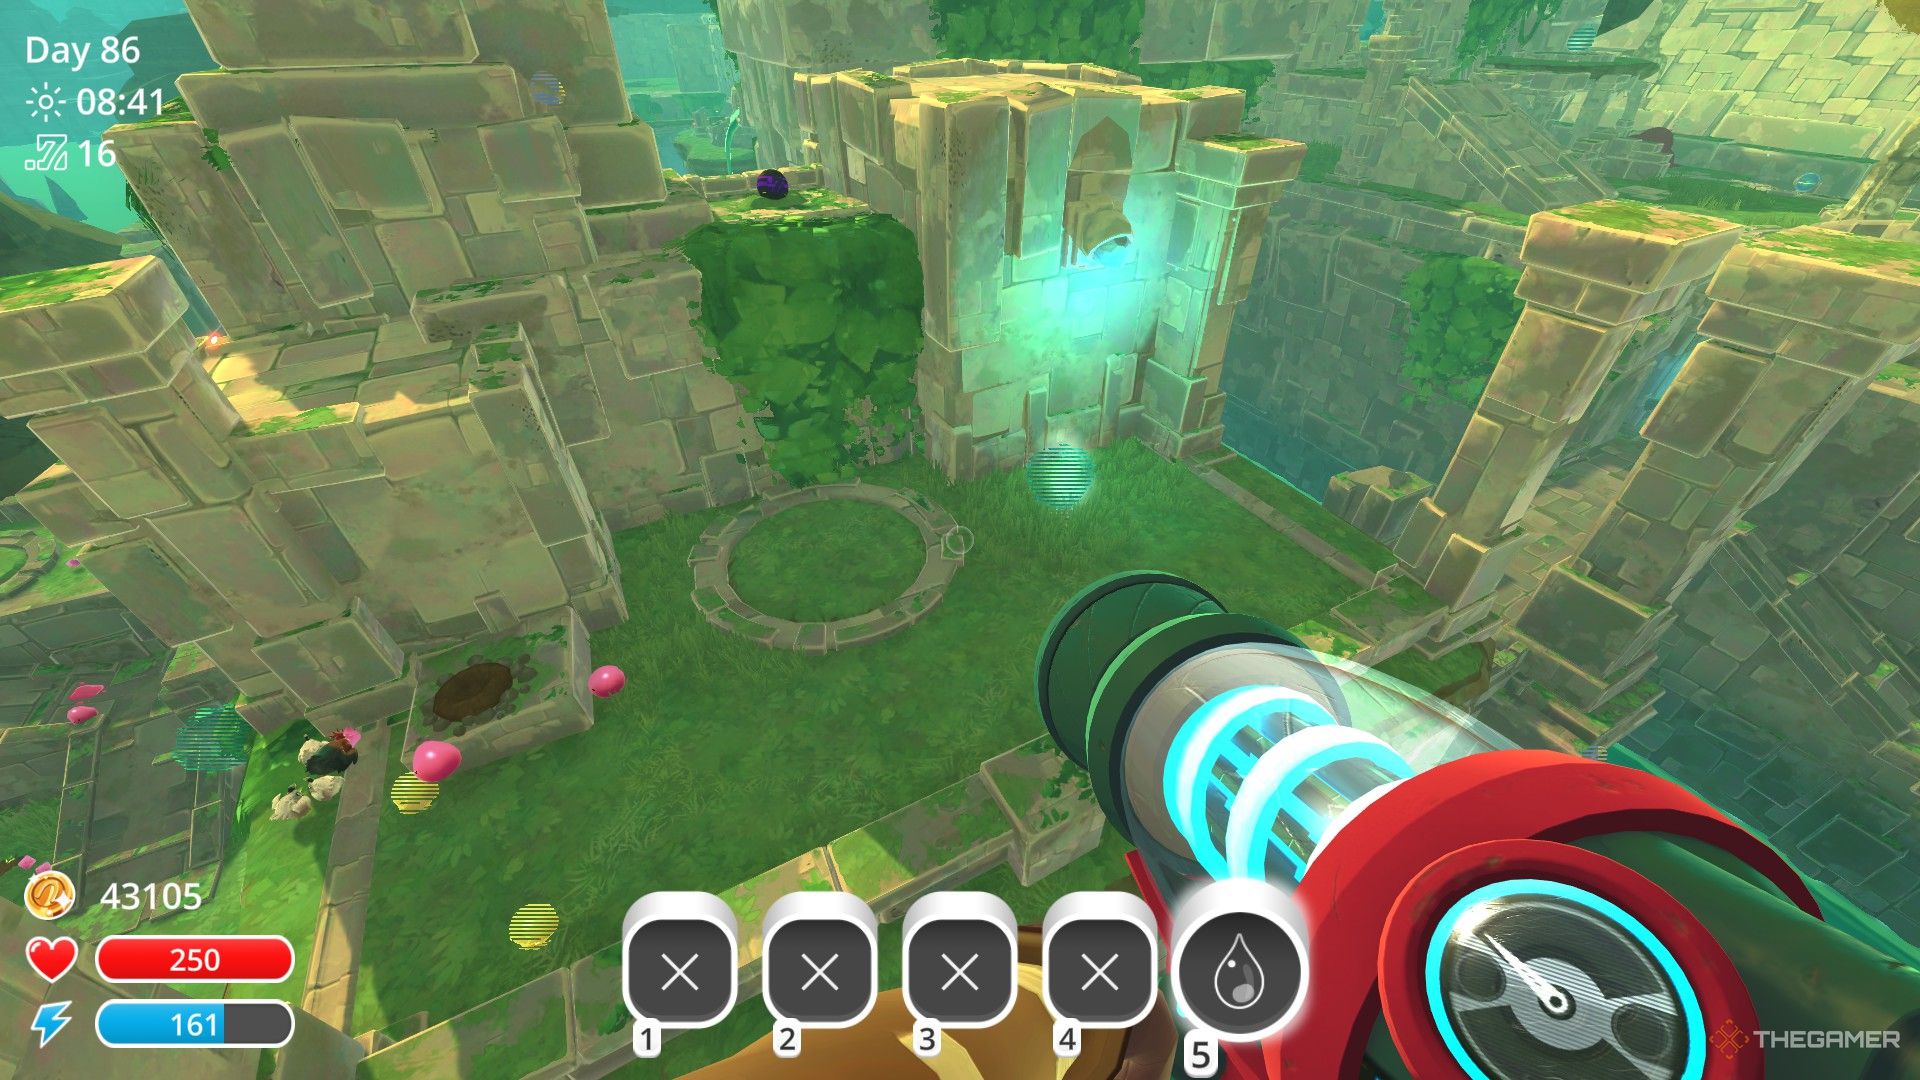
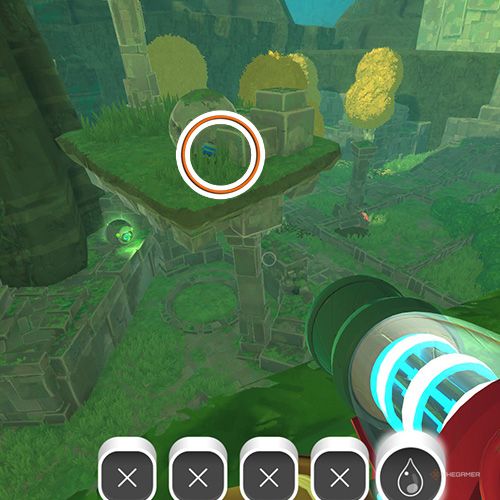
    While in Slimeulation, you will also encounter green glowing objects known as Debug Sprays, which are stored in your water tank inventory. Use the Debug Spray on unusual objects to reveal hidden Glitch Slimes. For example, a shaking rock may appear to be false, hiding Glitch Slimes within it. Likewise, check fruit trees for any abnormal fruit that shouldn’t be ripe; these could indicate the presence of Glitch Slimes. These objects can house a total of 12 Glitch Slimes.

    Tarrs appear from dark rifts in Slime Rancher.

    With enough time spent in Slimeulation, corrupted rifts will emerge, and you’ll be notified when the exit portal is active. These rifts will spawn Tarrs that are unique to Slimeulation. You can eliminate them with Debug Spray, though they will continue to come from the rifts. When they disappear, they might split into two, but otherwise behave like regular Tarrs.

    Be mindful that if Slimeulation Tarrs bite you, they can cause three or four Glitch Slimes to escape from your vacpack. Delaying your exit from Slimeulation once the exit portal is visible will result in more rifts appearing.

    The player follows the yellow arrows to reach the exit beacon in Slime Rancher.

    Once the exit portal is active, simply follow the yellow arrows to locate the Beacon. Interacting with this will teleport you back to Viktor’s Workshop. If you happen to perish in Slimeulation, you won’t faint and wait for the next day. Instead, you’ll be teleported back to Viktor’s Workshop.

    Upon returning to Viktor’s Workshop, any Glitch Slimes you’ve collected will transform into Bug Reports. You can submit these Bug Reports into the Range Exchange machine found in Viktor’s Workshop to earn various rewards:

    Reward

    Required Bug Reports

    Description

    Manifold Cube

    Every 20 Bug Reports

    Manifold Cube is necessary for various gadget recipes.

    Chicken Cloner

    100 Bug Reports

    This gadget has a 50% chance to duplicate the chicken you put inside, but there’s also a 50% chance it will destroy it.

    Advanced Drone

    360 Bug Reports

    This gadget works similarly to a typical drone but can perform two tasks at once instead of just one.

    Viktor’s Workshop

    600 Bug Reports

    This unlocks a previously unreachable section of Viktor’s Workshop, previously hidden behind a red barrier.

  • Complete Guide to Locating All Slimes in Slime Rancher

    Complete Guide to Locating All Slimes in Slime Rancher

    Slimes of Slime Rancher

    Pink Slime

    • Common Areas:
      • The Dry Reef
      • The Moss Blanket
      • The Indigo Quarry
      • The Ancient Ruins
      • The Glass Desert
      • The Wilds

    The Pink Slime is the most common and the first type you’ll encounter in your adventures.
    Favorite Toy: Beach Ball

    Rock Slime

    Rock Slime in Slime Rancher

    • Common Areas:
      • The Dry Reef
      • The Indigo Quarry
      • The Ancient Ruins
      • The Wilds

    Be cautious with Rock Slimes; their sharp spikes can cause harm.
    Favorites: Heart Beet (food), Big Rock (toy)

    Tabby Slime

    Tabby Slime in Slime Rancher

    • Common Areas:
      • The Dry Reef
      • The Moss Blanket
      • The Ancient Ruins
      • The Glass Desert
      • The Wilds

    Watch out for Tabby Slimes; they tend to snatch items from your ranch.
    Favorite Toy: Yarn Ball

    Phosphor Slime

    Phosphor Slime in Slime Rancher

    • Common Areas:
      • The Dry Reef
      • The Moss Blanket
      • The Indigo Quarry
      • The Ancient Ruins
      • The Glass Desert
      • The Wilds

    Phosphor Slimes are nocturnal and need to be kept in the dark to survive. You can do this by placing their corral in The Grotto or using a Solar Shield. Don’t forget to install Air Nets, as they can fly!
    Favorites: Cuberry (food), Night Light (toy)

    Rad Slime

    Rad Slime in Slime Rancher

    • Common Areas:
      • The Indigo Quarry
      • The Wilds

    Rad Slimes emit radiation, so be careful as being too close can hurt you.
    Favorites: Oca Oca (food), Power Cell (toy)

    Boom Slime

    Boom Slime in Slime Rancher

    • Common Areas:
      • The Moss Blanket
      • The Indigo Quarry
      • The Glass Desert
      • The Wilds

    Boom Slimes are prone to explosions. You can tell they are about to blow by the bright cracks on their bodies. Spraying them with water can help delay their eruptions.
    Favorites: Briar Hen (food), Bomb Ball (toy)

    Honey Slime

    Honey Slime in Slime Rancher

    • Common Areas:
      • The Dry Reef
      • The Moss Blanket
      • The Ancient Ruins
      • The Glass Desert

    These slimes produce Honey Plorts, which attract other slimes, increasing the risk of creating Tarr Slimes. Make sure to secure them in their corrals with High Walls and Air Nets.
    Favorites: Mint Mango (food), Buzzy Bee (toy)

    Puddle Slime

    Puddle Slime in Slime Rancher

    • Common Areas:
      • The Dry Reef
      • The Moss Blanket
      • The Indigo Quarry
      • The Ancient Ruins
      • The Glass Desert

    Puddle Slimes require water to thrive. They also only produce plorts if there are fewer than four other slimes nearby.
    Favorite Toy: Rubber Ducky

    Crystal Slime

    Crystal Slime in Slime Rancher

    • Common Areas:
      • Specific areas in The Indigo Quarry

    Similar to Rock Slimes, Crystal Slimes have sharp spikes that can cause damage and they grow spiky crystals around them. Use water to wash away these dangerous crystals.
    Favorites: Odd Onion (food), Crystal Ball (toy)

    Hunter Slime

    Hunter Slime in Slime Rancher

    • Common Areas:
      • The Moss Blanket
      • The Glass Desert
      • The Wilds

    Hunter Slimes can turn invisible and are very good at hunting. Be sure to keep them contained to protect your chickens.
    Favorites: Roostro (food), Stuffed Chicken (toy)

    Quantum Slime

    Quantum Slime in Slime Rancher

    • Common Areas:
      • The Ancient Ruins
      • The Glass Desert

    Quantum Slimes can create ghostly duplicates, so make sure you keep an eye on them to prevent escapes.
    Favorites: Phase Lemon (food), Puzzle Cube (toy)

    Fire Slime

    Fire Slime in Slime Rancher

    • Common Areas:
      • Incinerator areas

    Fire Slimes need ash to survive, which can be created by burning food in an Incinerator. They can cause damage to other slimes and should be kept carefully.
    Favorites: Charcoal Brick (toy)

    Dervish Slime

    Dervish Slime in Slime Rancher

    • Common Areas:
      • The Glass Desert

    Dervish Slimes can stir up cyclones, causing havoc on your ranch. Keep them secure to prevent any mess.
    Favorites: Prickle Pear (food), Gyro Top (toy)

    Tangle Slime

    Tangle Slime in Slime Rancher

    • Common Areas:
      • Appears when the Oasis in the Glass Desert is restored

    Tangle Slimes can stretch their vines to reach items outside their corrals, so it’s advisable to keep them apart from other slimes.
    Favorites: Painted Hen (food), Sol Mate (toy)

    Mosaic Slime

    Mosaic Slime in Slime Rancher

    • Common Areas:
      • The Glass Desert

    The sparkling appearance of Mosaic Slimes attracts others, so they should be kept in a safe location to avoid unwanted visitors.
    Favorites: Silver Parsnip (food), Disco Ball (toy)

    Saber Slime

    Saber Slime in Slime Rancher

    • Common Areas:
      • The Wilds

    All Saber Slimes found will be Largos, likely feral, so handle them with caution.
    Favorites: Stego Buddy (toy)

    Quicksilver Slime

    Quicksilver Slime in Slime Rancher

    • Common Areas:
      • Only present in the Nimble Valley minigame

    Quicksilver Slimes cannot be captured or held in corrals.
    Favorites: N/A

    Glitch Slime

    Glitch Slime in Slime Rancher

    • Common Areas:
      • Only found in the Slimeulation

    Glitch Slimes mimic other slimes but have distinct features. They cannot be captured or kept.
    Favorites: N/A

    Gold Slime

    Gold Slime in Slime Rancher

    • Common Areas:
      • Various locations

    Be wary of the elusive Gold Slime; it can flee quickly and is very rare.
    Favorite Food: Gilded Ginger

    Lucky Slime

    Lucky Slime in Slime Rancher

    • Common Areas:
      • Various locations

    You’ll hear a jingling sound when a Lucky Slime is near.
    Favorites: N/A

    Largo Slimes

    Largo Slime in Slime Rancher

    Largo Slimes result from a slime consuming a plort from another type, leading to hybrids that produce both plort types.
    Favorites: Same as base slimes

    Gordo Slimes

    Gordo Slime in Slime Rancher

    There are 16 Gordo Slimes across the game, and you can make them explode by feeding them until they burst.
    Favorites: Same as base slimes

    Party Gordo

    Party Gordo in Slime Rancher

    Party Gordo can be found during weekends and explodes when fed ten pieces of food.

    Twinkle Slime

    Twinkle Slime in Slime Rancher

    Twinkle Slimes are available during the Wiggly Wonderland event from December 18 to 30. They disappear when approached.

    Feral Slime

    Feral Slime in Slime Rancher

    Feral Slimes are hostile Largos that will attack you on sight but can be tamed through feeding.

    The Tarr

    Tarr Slime in Slime Rancher

    Tarr Slimes are created from Largos consuming different plorts and pose a significant threat as they attack and consume other slimes.

  • Eliminating Tarr in Slime Rancher: A Complete Guide

    Eliminating Tarr in Slime Rancher: A Complete Guide

    As you manage your ranch and nurture your cherished slimes in Slime Rancher, a persistent danger is always present: the Tarr. These menacing slimes pose a threat to the slimes you’re raising, devouring them, creating more Tarr, and even attacking you.

    You definitely don’t want these troublesome slimes hanging around your farm or out in the wild. So, where do Tarr come from, and how can you eliminate them? We’ve got all the details you need right here.

    Where Do the Tarr Originate?

    Tarr are generated when Largos consume foreign Slime Plorts. For instance, if a Pink Slime eats a Rock Slime plort, it becomes a Largo, a hybrid that shares traits from both types of slimes. But if that Largo consumes another kind of Slime Plort, it transforms into a Tarr Slime.

    To prevent the formation of Tarr on your ranch, keep your various Slimes and Largos secure in corrals so they can’t escape and interact with other types of Slimes (and their Plorts). This might entail investing in High Walls or an Air Net.

    Tarr can also emerge while you’re exploring beyond your ranch, as wild Slimes will naturally consume other Plorts, becoming Largos and risking transformation into Tarr. Stay alert and consider eliminating them or retreating to safety.

    How Do the Tarr Behave?

    The Tarr are troublesome for several reasons, but their greatest threat is that they consume your Slimes, replicating themselves in the process and causing even more mayhem on your ranch. They will also devour your chickens, ruin your crops, and can even attack you.

    They can rapidly devastate your entire ranch, so if an outbreak occurs, it’s essential to address it promptly!

    What Are Effective Ways to Eliminate Tarr?

    You can use your Vacpack to capture Tarr and throw them into the sea or an incinerator, but the simplest method to manage them is to spray water on them. A single splash from your Vacpack can stop Tarr from multiplying, and if you hit them repeatedly with water, you can destroy them.

    Is It Possible to Prevent Tarr in Your Gameplay?

    The only way to permanently stop Tarr from appearing in your game is to start a save file on Casual Mode, which allows for a more relaxed gameplay experience without Tarr Slimes.

    Currently, it seems there’s no way to change your Game Mode after starting a game, so be sure to make a careful choice when you begin your save file.