الوسم: room

  • How to Access the Secret Manager’s Office Shop Room in Repo by Completing and Solving

    How to Access the Secret Manager’s Office Shop Room in Repo by Completing and Solving

    With the big update in Repo, a lot of new secret spots in the shop have been added for you to find. Before, there was only one hidden hatch in the ceiling, but now there are several ways to access secret rooms, including the manager’s office.

    Most of these secret rooms are easy to spot by examining the walls, floors, and ceilings. However, the manager’s office is a bit more challenging, so here’s everything you need to know about unlocking the manager’s office and discovering all the other hidden rooms in Repo.

    All New Secret Shop Rooms in Repo

    The fun of Repo includes finding new items, valuables, and secrets. The latest update introduces two new chaotic vehicles, magical staffs, interactive team items like walkie-talkies, and completely redesigned shop layouts. Each new shop layout offers a slightly different way to reach hidden rooms. For example, the first shop style had a secret hatch in the ceiling above the health packs. Now, you might find secret rooms behind cracked walls, through hatches in the floors, behind posters or shelves, or upstairs in the manager’s office.

    How to Unlock the Manager’s Office

    The manager’s office is located upstairs in one of the randomly generated shop layouts. Look for a door with stairs leading up—if you see this, you’re in the right shop. The door to the manager’s office will be locked and will have a slot for a keycard on the left side. To get inside, you’ll need to find this keycard somewhere in the shop.

    The keycard is a small white card, which could be on the floor around a plant, behind the cash register, or hidden behind boxes. Carefully inspect every spot to find it. Once you have the card, use it to unlock the door and enter the office, where you’ll find usual secret room items like the Human Grenade, Duct-Taped Grenades, and the Duck Bucket.

    All Other Secret Shop Rooms

    Apart from the manager’s office, there are other hidden spots to explore:

    • Ceiling Hatch: Similar to the old secret room, this hatch can be spotted by a smoke alarm on the ceiling and usually leads to an extended space behind shelves or near the cash register.
    • Walls: Secret rooms behind suspicious cracks in the walls, which can be opened by breaking or exploding the wall.
    • Poster Walls: Hidden behind posters on the walls.
    • Fridge: There’s a secret room behind an opened fridge door.
    • Floor Hatches: Floor hatches are located in some shops, leading down to basement areas.

    How to Find Secret Hatches and Doors

    To find these hidden spots, look for where your grabber icon turns yellow—indicating an interactive point. Here are some of the known secret locations:

    • Basement through a floor hatch
    • Garage behind a simple wall door
    • Ceiling hatch in a shop with a smoke alarm
    • Walls with noticeable cracks, often requiring force to crack open
    • Behind posters or fridge doors in the shop
    • Walls with suspicious cracks that can be exploded or broken open

    Additional Secret Spaces Discovered

    Secret Room Access Method
    Basement Through a hatch in the floor
    Garage Behind a wall door, revealing a garage with a broken car on a platform
    Ceiling Hatch In a toilet cubicle, identified by a smoke alarm
    Wall Crack Behind cracked walls that can be exploded open
    Poster Room Hidden behind poster walls
    Fridge Room Behind an open fridge door
    Wall behind broken or cracked areas Usually revealed by suspicious cracks or explosion

    If more secret spaces are added or discovered in Repo, updates will be provided to keep players informed. Keep an eye out for new hidden rooms as you explore!

  • How to Open Otto’s Room in The Outer Worlds 2: Completing & Solving

    How to Open Otto’s Room in The Outer Worlds 2: Completing & Solving

    After you send the Vox Relay and escape Paradise Island in The Outer Worlds 2 to explore other planets, you’ll face two options: go to Dorado, which takes you to the next main story location, or visit the ACS Free Market. The market is operated by Sub Rosa, a black market organization that operates on the edges of the Arcadia system, trading with any side willing to make a deal. The market has a mysterious past that most people there aren’t keen to discuss, but some may still ask questions about it.

    How to Start The Last Voyage of the ACS Free Market Quest

    When you arrive at the ACS Free Market, you’ll notice tons of strange advertisements. There, you’ll overhear a conversation between Stallworth, a member of the Order, and Seybold, a Sub Rosa guard. Seybold refuses to share information with Stallworth because she’s associated with the Order, which makes her hesitant to speak openly.

    You don’t have to worry about her secrecy. You can approach Stallworth, chat with her, and even agree to help her find information. She claims it’s just for cataloging, since the market’s history is pretty unclear. Since no one else is willing to talk, she wants you to investigate for her.

    Gathering Information for Stallworth

    To begin your investigation, Stallworth recommends checking out several spots:

    • The saloon
    • The bazaar
    • The Sub Rosa headquarters
    • The wrecks around the ship

    These locations will give you clues, but progress might be slow. Here are some more direct avenues to explore:

    Interviewing Prospero

    The first person to talk to is Prospero, who’s in the 2nd Choice Saloon in the bazaar. It’s best to speak with Tristan and the bartender first to keep things quiet and avoid drawing too much attention. Prospero claims he knows about the station’s tragic history but will only tell you if you bring him his favorite drink: Glacial Age Icebery Aged Whiskey.

    If you have the right skills, you can bypass this requirement, but the easiest way is to find the whiskey nearby—behind the bar, sitting untouched. Once you grab it, bring it to Prospero, and he’ll share some dramatic but somewhat truthful details about the market’s past.

    Searching the Sub Rosa Terminal

    Next, you can investigate the Sub Rosa headquarters, located beneath the saloon. The entrance is through a locked door next to the bar—originally sealed, but accessible after completing Tristan’s first quest. You can also access a section earlier by sneaking through a vent in the toilets, which leads behind the door. The guard below is asleep, so you can move freely once inside.

    Access the terminal inside and retrieve data, which reveals that the ACS Free Market had taken out an insurance policy—possibly indicating someone planned to profit from the ship’s destruction. Plus, there’s a strange, unrelated entry about Milverstreet worth checking out.

    Getting Otto’s Information

    Otto is another key source of insight. He’s located in the bazaar, on the right side as you enter from the landing pad. His shop looks rundown, and he seems a bit odd compared to other vendors. You can ask him about the ship, though he’s pretty guarded. Using Engineering skills, you can get him to open up, or you can explore his personal room to find out more.

    Otto’s room is hidden behind a wall hole near the start area, and to open the safe, you need the N-Ray Scanner from Golden Ridge. The puzzle involves activating power boxes in a specific order, linked by invisible lines unless you use the scanner. There are three power lines that must be carefully traced to unlock the safe, which contains valuable items like an Advanced Decryption Key and Otto’s journal—detailing the ship’s history.

    Note: You can attempt the puzzle without the scanner, but it’s much harder to get right.

    Returning to Stallworth

    Once you gather all this info, go back and speak with Stallworth, who is waiting in the same spot as before. She reveals she’s been collecting this intel for the war effort against Auntie’s Choice. You can choose to betray her by killing her, object to her motives, or agree to her plans to increase your standing with the Order. That’s the end of the quest.

  • Exploring Every Biome, Area, and Boss in the Underschool

    Exploring Every Biome, Area, and Boss in the Underschool

    Mind Over Magic features an expansive underground dungeon that hosts most of the game’s non-management elements. As time goes on, managing your school will become more challenging unless you explore the various chambers and take on the bosses lurking in the underbelly of the school. The final showdown with the game’s last boss is located at the deepest levels.

    Not only is it essential to conquer this area to claim victory, but the underground also provides numerous valuable tools and ritual rooms that you cannot create on your own. To enhance wands, reroll relics, and trade surplus resources, you must venture deep into the depths.

    Overview of Underschool Facilities

    The underschool is organized into a variety of biomes, each providing unique crafting materials and useful rooms that are not available for personal construction.

    To make the most of your time, consider placing chests in the underschool rooms filled with everything needed for rituals: wands, motes, and portents are rendered useless above ground.

    Facility Biome Usage
    Wand Transfigurator Stone Ruins Upgrades for your mages require this; there’s one transfigurator for level two and another for level three wands, and they must be used in sequence.
    Voidcap Farm Fungal Cavern This room consistently produces voidcap mushrooms and is designed to keep mages from wandering through it accidentally.
    Warded Rooms Any These rooms let you refight challenges from that biome and level, making them ideal for combat and warding trials, with some appropriate loot dropping as well.
    Ember Dragon Roost Lava Mines The dragon will trade excess resources to help cover shortages with tough but manageable exchange rates; runewood is the easiest to farm at higher levels.
    Altar of Fate Nexus For a small fee, you can reroll the abilities of a relic, adjust trials on a student, or modify the relic slots on a mage, all of which become inexpensive later in the game.
    Infinite Halls Nexus These offer repeatable dungeons with varying levels; clearing these rooms within 24 hours rewards you with gnosis, mystic motes, and experience.

    The underschool also provides additional space for building your base, with rooms fittingly named with keywords like private, silent, and grounded for enhanced functionality. However, there are some restrictions:

    • Rooms cannot be resized or new walls and doors added.
    • Wall fixtures cannot be constructed, meaning you cannot create a room needing items like blackboards or incense burners.
    • Underground areas can reduce the morale of nature and darkness mages, who require natural light.

    Despite these limitations, you can utilize the space in several ways:

    • Store refining beasts that don’t need specific room types.
    • Keep storage rooms underground to prevent issues like oozes spawning from neglect.
    • Build a Sculpture Studio, which must be situated on or below the ground floor with no special wall requirements.
    • Early game simple workshops may not require wall fixtures or decorations, making space management less of a hassle.

    All Underschool Boss Fights

    Every boss battle in the game takes place in the underschool, allowing players to choose when to engage. Although urgency is necessary to manage the growing malice, you will have ample time to rest and prepare between fights.

    Each boss can be fought indefinitely, providing limited experience but offering a steady reward of loot with each victory. Particularly, the burrower larva is a reliable source of smokepearls, which are hard to harvest in bulk.

    To speed up farming a boss, consider placing a mana lantern right outside the effigy.

    Boss Location Strategy Elemental Weaknesses
    Burrower Larva Lava Mines This boss regenerates 5% of its health every round. If your team can’t defeat it quickly or maintain constant pressure, it could lead to defeat. It will burrow every few rounds and become untargetable, offering a chance to buff your team. Weak to water.
    Burrower Spitter Fungal Cavern The spitter summons frontline minions and can regenerate them when bloodied. Use a lightning mage to target it in the back to activate the second phase early, making the minions only need to be beaten once. Resists all (use abjuration to change resistances).
    Ancient Seal Nexus Collect four seal fragments to access the final boss fight. These fragments can be earned through dragon quests or crafted by level eight mages in different elements. Race seals are easier fights than most elemental guardians.
    Wretched Embodiment Nexus This boss can strike mages from any position and is invulnerable while its minions are present; so plan your attack scheme wisely. If you have level eight mages with powerful spells, you can breach its health quickly without worrying about defenses. No weaknesses or resistances (use the abjuration "nowhere to hide").

    Defeating the Wretched Embodiment frees all mages from the malice conviction penalty, lifting any time-based mood penalty. You will also receive a level 25 relic that any mage can use, enhancing their skills significantly and allowing them to float through walls like your founding ghost.

  • Adjusting Room Temperature in Two Point Museum: A Guide

    Adjusting Room Temperature in Two Point Museum: A Guide

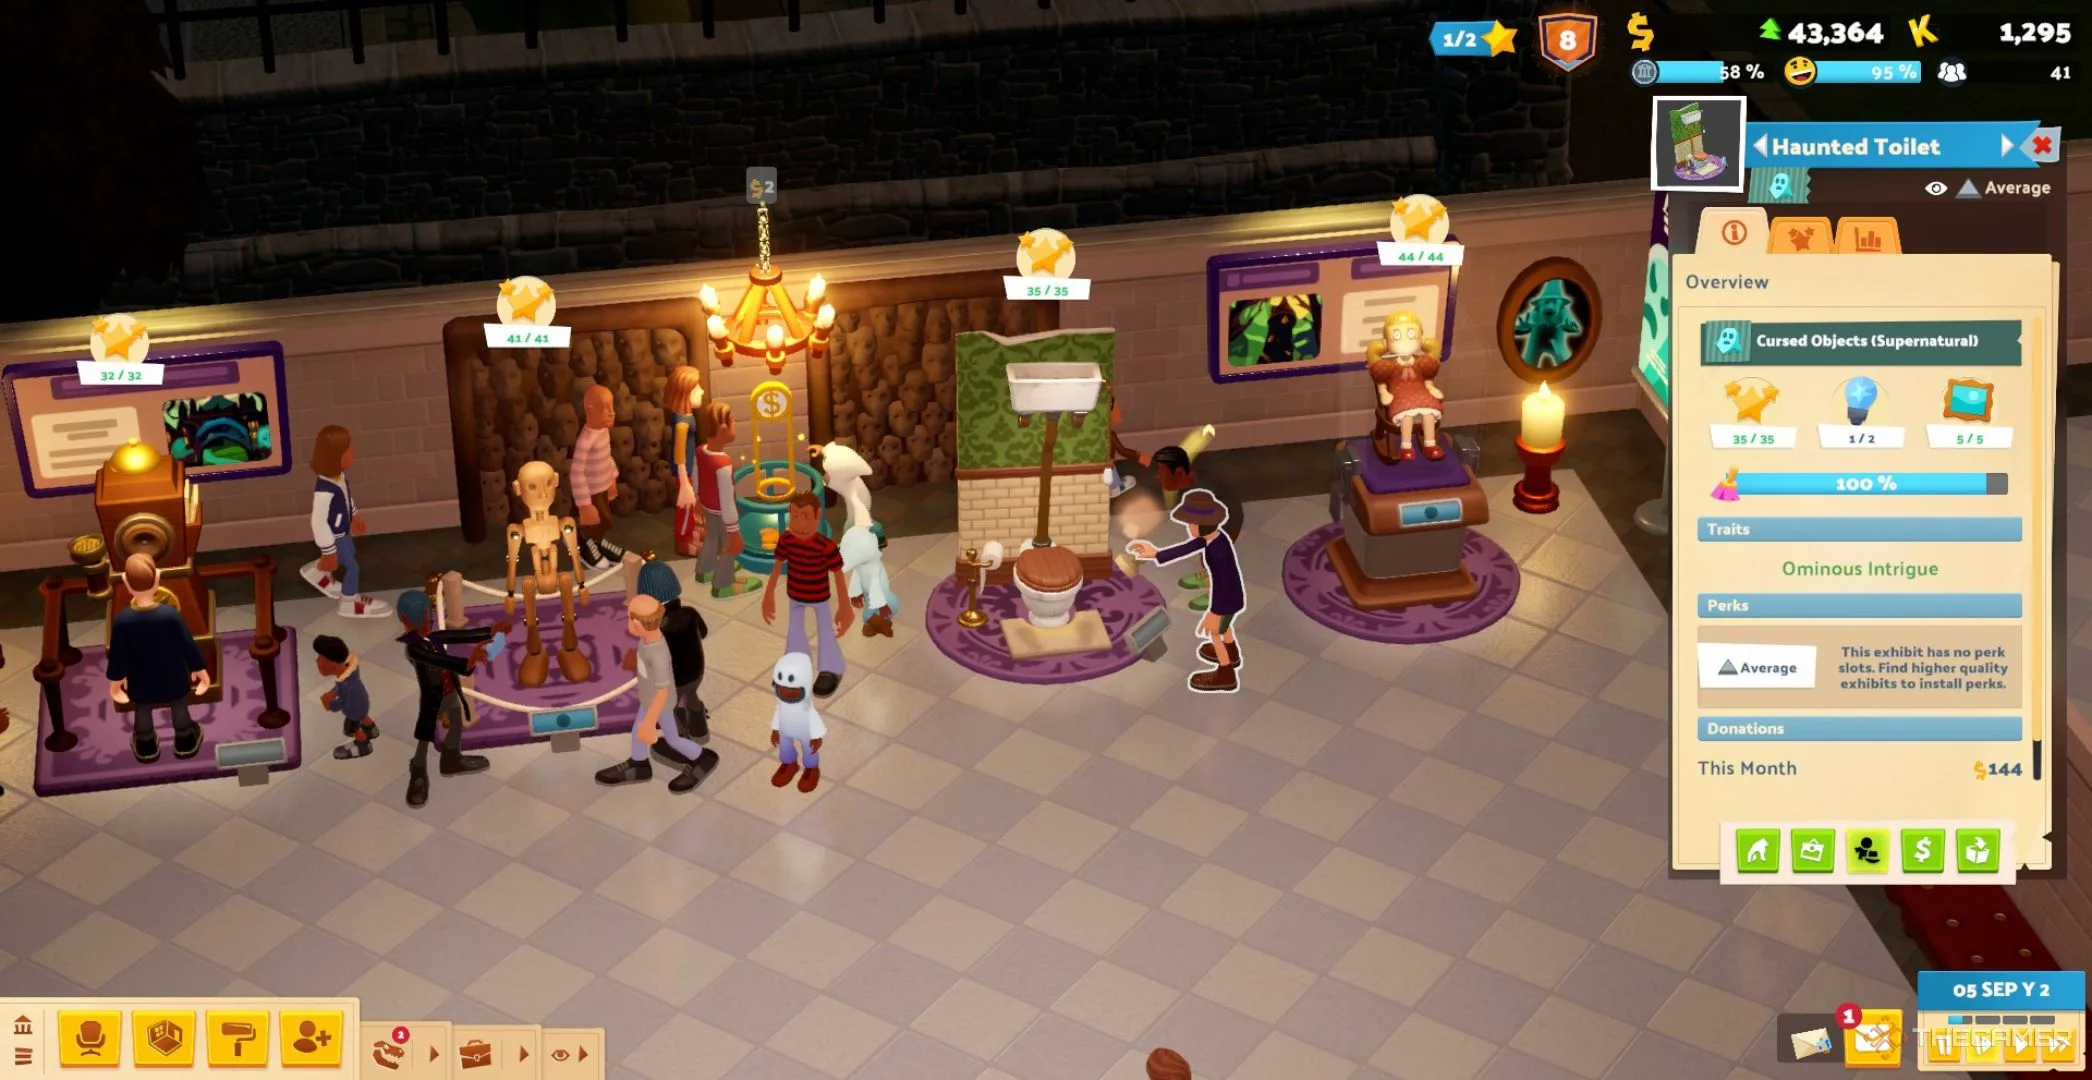
    Without exhibits, a museum loses its essence. In the aptly named Two Point Museum, that’s exactly what you’ll be managing. Whether you’re diving into Campaign mode or experimenting in Sandbox mode, your mission entails setting up various museums and populating them with unique exhibits.

    You’ll discover all kinds of treasures; from dinosaur bones and fossils to extraterrestrial artifacts, you have the freedom to place them wherever you like. Like in the real world, your exhibits require specific conditions to remain in good shape, especially if they are living specimens. It’s essential to maintain appropriate temperatures to avoid decay or deterioration.

    Caring for Your Exhibits

    As time passes, your exhibits will gradually lose one of four key stats: Grubbiness, Iciness, Health, and Maintenance. Each of these stats is represented by a meter ranging from 0 to 100. As these meters decline, various negative outcomes will emerge based on the specific stat in question.

    Meter Overview

    Meter Type Exhibits That Use It Consequences of a Low Meter
    Grubbiness Prehistory, Science, Marine Exhibits will lose their allure, eventually resulting in no interest.
    Iciness Frozen Finds Exhibits risk melting and may become damaged beyond repair.
    Health Botany, Aquarium (Marine) Exhibits may become ill and, if neglected, will die.
    Maintenance Space Exhibits may experience malfunction, posing potential fire hazards.

    If any stat falls below 70%, you face increased risks for your exhibits, your museum, or both. To mitigate these risks, having Experts for each exhibit type is crucial.

    Tip: Match the Expert’s specialization to the type of exhibit. Experts can only address the needs of the exhibits that align with their expertise.

    Experts will regularly tend to your exhibits, but if your museum has numerous exhibits and few Experts, you may need to check in manually and request restorations.

    To clean or restore an exhibit, you can either select it directly or utilize the Exhibit List option in the menu. Doing this will allow you to call on an Expert to take care of it promptly. It’s wise to stay vigilant, as even with automatic cleaning, you should keep an eye on the condition of your exhibits. If you notice that an exhibit’s meters are dropping too quickly, consider adjusting its climate for better stability.

    Understanding Exhibit Climate

    Each type of exhibit has a preferred climate for optimal performance. For example, Botany exhibits thrive best in Hot Climates. Changing a room’s climate involves adjusting the temperature in that area. You can view the Temperature Visualization through the menu to monitor different climate zones.

    Initially, every museum area has a Neutral Climate. To alter it, you must install specific machines that can modify the climate characteristics accordingly.

    Note: If you choose to remove a climate-altering machine, the area will revert to a slightly dry climate instead of a neutral one.

    Climate Types and Their Requirements

    Climate Type Temperature Needed Machinery Needed Preferred Exhibits
    Neutral Climate None None Prehistory, Supernatural, Space, Science
    Dry Climate Dry Dehumidifier, Small Dehumidifier, Wall Dehumidifier Prehistory
    Cold Climate Cold Freezer, Small Freezer, Wall Freezer Frozen Finds
    Hot Climate Hot Heater, Small Heater, Wall Heater, Botanical Heater Botany
    Humid Climate Humid Mister, Small Mister, Wall Mister, Botanical Mister Botany

    Keeping Dry Climate Exhibits

    Dry Climate Exhibits primarily encompass items from the Prehistory category, including fossils and dinosaur remains. These exhibits have a Grubbiness Meter, indicating that the surrounding area must remain completely dry. They cannot be placed near any machines that alter the climate, except for the Dehumidifier, which is specifically designed for dry conditions.

    Having this machine within the vicinity will not only convert the climate from Neutral to Dry but can also reduce the rate of Grubbiness decline by about 10%, allowing your prehistory experts more time to focus on other tasks.

    Maintaining Cold Climate Exhibits

    Cold Climate Exhibits primarily consist of items from the Frozen Finds category. Unlike others, these exhibits rely on an Iciness Meter. Surrounding areas must have a Cold Temperature maintained by at least one freezer unit. If these conditions aren’t met, your exhibits may quickly deteriorate.

    Bonus: Allowing certain Frozen Finds to melt can trigger a fun Easter egg, leading to an achievement.

    To prevent your Frozen Finds from deteriorating, keep nearby freezers over 50% operational to maintain the Iciness Meter effectively.

    Maintaining Hot and Humid Climate Exhibits

    While separate, most exhibits that require a Hot Climate, such as Botany ones, also need a Humid Climate to thrive. Ensure that the surrounding area is equipped with heat-pumping machines like heaters, and humidity-generating machines like misters. In most cases, exhibits need both heating and humidity to stay healthy, making multiple machines beneficial.

    These machines require regular maintenance from a Janitor, while an Expert should periodically tend to any exhibits requiring water or restoration, such as the vibrant Man-Eating Plants in the Botany category.

    Managing Aquatic Exhibits

    Aquatic exhibits have specific climate needs and often require unique water-based settings. Most start with a Temperate Climate, suited for temperate fish. However, various fish types, like the Lionhead, may require Tropical or Cold-water Climates.

    Adjusting any aquarium climate involves placing a Water Heater or Coldwater Cooler inside it. Typically, you only need one machine for each aquarium, unless it’s exceptionally large.

    For maintenance, a Marine Expert will be necessary since only they can service the equipment within the aquariums.

    With the right care and adjustments, your museums can be vibrant spaces full of life and learning. Embrace your role as a curator and create an engaging environment for visitors to explore.