الوسم: ReFantazio

  • Completing All Neuras Follower Ranks in Metaphor: ReFantazio

    Completing All Neuras Follower Ranks in Metaphor: ReFantazio

    The universe of Metaphor: ReFantazio is filled with potential allies, many of whom will become loyal partners in combat. Neuras, while not a traditional party member, plays a crucial role. As the quirky pilot of your ship with a kind heart, he’s an essential companion in your quest for the throne.

    This guide outlines how to make Neuras a follower and provides tips on how to respond to his queries correctly. While you could choose to role-play rather than answer accurately, doing so will result in missing out on valuable Magla. So, if you’re aiming for perfection, keep reading!

    How to Make Neuras a Follower

    On June 14, head to the Gauntlet Runner’s Central Corridor. Talk to Neuras to begin the ‘Providing a Spark’ side quest. No need to worry about forgetting this step, as it’s automatically added to your quest log.

    Next, return to Martira and speak with the Gloomy Youth. They can be found in Thoroughfare Square, near some barrels by the exit. Doing this will mark Komero on your map, so set your course and enjoy the scene you unlock.

    Completing this quest not only unlocks Neuras as a follower, but also gives you the Gunner Archetype!

    Neuras’ Follower Ranks and Rewards

    First off, be sure to check out our detailed guide on Neuras’ Relics. You’ll need to collect all of these to advance his Bond path, so keep that guide handy as you work to befriend this charming character.

    Rank Number

    Ideal Responses

    Rank Reward

    One

    N/A

    • Neuras becomes a follower
    • Unlocks Gunner Archetype

    Two

    • Anything is fine.
    • “I’m definitely motivated.”
    • “So, you got distracted.”
    • Bombardier ability
    • Gunner Enlightenment

    Three

    • “Wish that were me.”
    • “You’re perfect for each other.”

    Four

    • “Aren’t igniters convenient?”
    • Anything is fine.
    • “This is actually a step up.”

    Five

    • Anything is fine.
    • “That’s just growth.”
    • Bombastic Bombardier ability
    • Gunner Veneration

    Six

    • “Good job holding onto it.”
    • “To the end and beyond.”

    Seven

    • Anything is fine.
    • “Anything for you, Neuras.”

    Eight

    • Anything is fine.
    • “There must be a reason.”
    • “Let’s destroy it!”
    • Gunner Archetype: Elite
    • Scion’s Essence
  • Best Strategies for Completing Heismay’s Rank Up Events in Metaphor: ReFantazio

    Best Strategies for Completing Heismay’s Rank Up Events in Metaphor: ReFantazio

    Many popular RPGs feature an endearing mascot character who accompanies the main group on their adventures. In Metaphor: ReFantazio, this character is Heismay, a former knight of the Shadowguard haunted by the grief of losing his son too soon.

    Although Heismay is a small, bat-like Eugief, his backstory is one of the most intricate and sorrowful in the game, unfolding beautifully with each rank of his follower bond. This guide will help you unlock Heismay as a follower and navigate each rank effectively.

    How to Unlock Heismay as a Follower


    Like other follower bonds in the game, Heismay’s bond is automatically unlocked on July 4th when you return to the Martira Inn. This bond enables any party member to learn the Thief Archetype, focusing on stealthy magic and rapid strikes. To advance Heismay’s bond beyond the first level, however, you need to achieve at least level two eloquence to connect with this Eugief.

    All Heismay Follower Ranks and Rewards


    The bond rank up screen that appears at the end of each bond conversation in Metaphor: ReFantazio.

    While choosing specific dialogue options during Heismay’s bond conversations isn’t mandatory, doing so will provide you with extra MAG to use later. Below is a table outlining how to unlock each rank of Heismay’s follower bond, the best dialogue choices for maximizing MAG, and the rewards associated with each bond level.

    Bond Rank

    Prerequisites

    Best Dialogue Options

    Rank Rewards

    One

    • Reach July 4th in the main story to automatically unlock Heismay’s follower bond.
      • Thief Archetype – The party can now study the Thief.

      Two

      • Unlock Heismay’s follower bond.
      • Reach level two eloquence.
      • Any option is valid.
      • Any option is valid.
      • Any option is valid.
      • Any option is valid.
      • Any option is valid.
      • Any option is valid.
      • Thief Enlightenment – Reduces the MAG cost of studying the Thief Lineage.
      • Preternatural Hearing – Shows the location of strong enemies on dungeon maps.

      Three

      • Reach follower rank two for Heismay’s follower bond.
      • “Shall we look somewhere else?”
      • “Well, he’d not be lonely.”
      • “No problem.”
      • “But it is my concern.”
      • Any option is valid.
      • “I know it’s difficult.”
      • Any option is valid.
      • Any option is valid.
      • “Let’s go already.”
      • Thief Archetype: Adept – The party can now study the Assassin.

      Four

      • Reach rank three for Heismay’s follower bond.
      • “I don’t mind.”
      • Any option is valid.
      • Any option is valid.
      • Any option is valid.
      • Any option is valid.
      • Scion’s Skill – Increases skill inheritance slots for the Thief Lineage to 2.

      Five

      • Reach rank four for Heismay’s follower bond.
      • Talk to Heismay while traveling via the Gauntlet Runner.
      • “Is that why you left?”
      • Any option is valid.
      • “There’s nobility in that.”
      • Any option is valid.
      • Any option is valid.
      • Any option is valid.
      • Thief Veneration – Significantly reduces the MAG cost of studying the Thief Lineage.
      • Battle Aura – Increases experience gained by Heismay while in reserve.

      Six

      • Reach rank five for Heismay’s follower bond.
      • “Taken it out of the village.”
      • “Just as you deduced!”
      • Any option is valid.
      • “Let’s talk to them.”
      • Scion’s Merit – Increases skill inheritance slots for the Thief Lineage to 3.
      • Battle Hypnosis – Heismay gains experience at a normal rate while in reserve.

      Seven

      • Reach rank six for Heismay’s follower bond.
      • Achieve rank four in your Imagination stat.
      • Talk to Heismay at night on the Gauntlet Runner during a trip.
      • Any option is valid.
      • Any option is valid.
      • Thief Archetype: Elite – The party can now study the Ninja.

      Eight

      • Reach rank seven for Heismay’s follower bond.
      • Speak to Heismay while traveling on the Gauntlet Runner.
      • Any option is valid.
      • “I’m sure he’d want that.” or “That day’s fast approaching.”
      • “I’m honored.”
      • “I won’t let anyone die.”
      • Scion’s Essence – Increases skill inheritance slots for the Thief Lineage to 4.
      • Assassinate – Greatly boosts Heismay’s ambush damage against stunned foes.
      • Grand Fantasy – Heismay is primed to earn a new Heroic Embodiment.

      Once you’ve achieved the highest follower bond level with Heismay, your entire party will be able to access all Thief Lineage Archetypes. Moreover, Heismay will gain the ability to elevate to the Royal Thief Archetype, the game’s fastest and most powerful Archetype.

      Unlocking the Royal Thief Archetype requires significant effort. To realize his full potential, Heismay must reach level 20 in the Ninja Archetype and level 15 in both the Dragoon and Tycoon Archetypes, along with a cost of 30,000 MAG for the upgrade. However, this investment is well worth it, given the unmatched speed and power this Archetype offers.

      Ultimately, Heismay stands out as one of the most endearing and intricate characters in Metaphor: ReFantazio, showcasing a distinctive playstyle and character design. We hope this guide enhances your appreciation for this uniquely tragic yet charming Eugief during your journey.

    • Top Strategies for Completing Hulkenberg’s Rank Up Events in ReFantazio

      Top Strategies for Completing Hulkenberg’s Rank Up Events in ReFantazio

      As you dive into Metaphor: ReFantazio, one character that stands out immediately is Hulkenberg—a fierce woman with striking red hair and a massive, imposing sword. Once a knight who served the prince, she now joins your team as a loyal companion on your adventure.

      Hulkenberg’s follower bond becomes available early in your journey, but you have plenty of time to develop it throughout the game. This guide will help you meet her expectations as a warrior and strengthen your bond with one of your most powerful allies.

      How to Unlock Hulkenberg as a Follower

      Luckily for you, earning Hulkenberg’s allegiance doesn’t involve any challenging quests. She will automatically join your party as a follower on June 10th.

      By unlocking her follower bond, you gain access to the robust Knight Archetype and future bond conversations with her.

      All Hulkenberg Follower Ranks and Rewards

      Like other follower bonds in the game, Hulkenberg’s bond features eight ranks, each accompanied by a conversation and choices that can enhance your relationship. While your follower rank will increase after each interaction, some dialogue options will give you more MAG value than others. Below is a comprehensive table detailing each rank, its requirements, and the best dialogue options.

      Rank Number Prerequisites Best Dialogue Options Rewards
      One
      • Automatically unlock on June 10th.
      • Knight Archetype – Your party can now study the Knight.
      Two
      • Unlock Hulkenberg’s follower bond.
      • Complete the Grand Cathedral Dungeon, then talk to Hulkenberg at the Hushed Honeybee Inn.
      • “Sounds like a worthy opponent.”
      • Any option works.
      • “Are you okay?”
      • Knight Enlightenment – Lowers MAG costs for studying the Knight Lineage.
      • Guard Duty – Hulkenberg can protect the protagonist from damage to their weakness.
      Three
      • Achieve follower bond rank 2 with Hulkenberg.
      • Speak to Hulkenberg while traveling on the Gauntlet Runner.
      • “I’m good at staying versatile.”
      • “Push me harder!”
      • “This isn’t like you.”
      • Knight Archetype: Adept – Now you can study the Magic Knight.
      Four
      • Achieve follower bond rank 3 with Hulkenberg.
      • Any option works.
      • Any option works.
      • “I’m used to it.”
      • Scion’s Skill – Increases skill inheritance slots for the Knight Lineage to 2.
      Five
      • Achieve follower bond rank 4 with Hulkenberg.
      • Talk to Hulkenberg while traveling to a destination on the Gauntlet Runner.
      • Any option works.
      • Any option works.
      • Any option works.
      • Any option works.
      • Any option works.
      • Knight Veneration – Greatly reduces MAG costs for studying the Knight Lineage.
      • Battle Aura – Experience gain for Hulkenberg increases while in reserve.
      Six
      • Achieve follower bond rank 5 with Hulkenberg.
      • Talk to Hulkenberg while traveling on the Gauntlet Runner.
      • “A bold mood.” or “You’d risk your life?”
      • “You’ve got this.”
      • “You show him.” or “I know you can do it.”
      • “If only to witness your victory.”
      • Scion’s Merit – Increases skill inheritance slots for the Knight Lineage to 3.
      • Battle Hypnosis – Experience gain for Hulkenberg remains normal while in reserve.
      Seven
      • Achieve follower bond rank 6 with Hulkenberg.
      • Have at least rank 4 wisdom.
      • Approach Hulkenberg while not traveling on the Gauntlet Runner.
      • Any option works.
      • Any option works.
      • Any option works.
      • Any option works.
      • Any option works.
      • “You are a model knight.”
      • Knight Archetype: Elite – The party can now study the Paladin and Dark Knight.
      Eight
      • Achieve follower bond rank 7 with Hulkenberg.
      • Talk to Hulkenberg while traveling with the Gauntlet Runner.
      • “But it’s not over yet.”
      • “I’ll forge our path forward.”
      • Any option works.
      • Scion’s Essence – Increases skill inheritance slots for the Knight Lineage to 4.
      • Special Guard Duty – High chance for Hulkenberg to defend the protagonist from an attack on their weakness.
      • Grand Fantasy – Hulkenberg is ready to gain a new Heroic Embodiment.

      By completing Hulkenberg’s follower bond, your party gains access to the most powerful Archetypes from the Knight Lineage, and Hulkenberg can transcend those Archetypes to become a Royal Knight. This is one of the top Archetypes in the game, and it truly represents her peak potential.

      To elevate Hulkenberg to Royal Knight status, you’ll need to level her up significantly in several Archetypes. Specifically, she must achieve level 20 as a Paladin, level 15 as a Dark Knight, and level 15 as an Elemental Master. Additionally, you’ll need to pay a considerable fee of 30,000 MAG to unlock it officially.

      Hulkenberg stands out as one of the best companions in Metaphor: ReFantazio, both in character and combat. We hope this guide enhances your appreciation for her role in your party.

    • Conquering the Redscale Dragon in Metaphor: ReFantazio

      Conquering the Redscale Dragon in Metaphor: ReFantazio

      Metaphor: ReFantazio features a variety of intriguing late-game challenges, primarily in the shape of dragons. While the main storyline gives you only a brief view of these majestic beasts, as you delve deeper into the game’s final stages, you’ll encounter many more, each presenting unique trials and rewards.

      At the pinnacle of difficulty is the Redscale Apocalypse Dragon, a hidden superboss that represents one of the toughest challenges in the game. This fearsome creature can be quite daunting for the unprepared, yet it rewards players with valuable treasures upon victory. Just make sure to avoid getting caught under its claws during the fight.

      Unlocking the Redscale Apocalypse Dragon Boss Fight

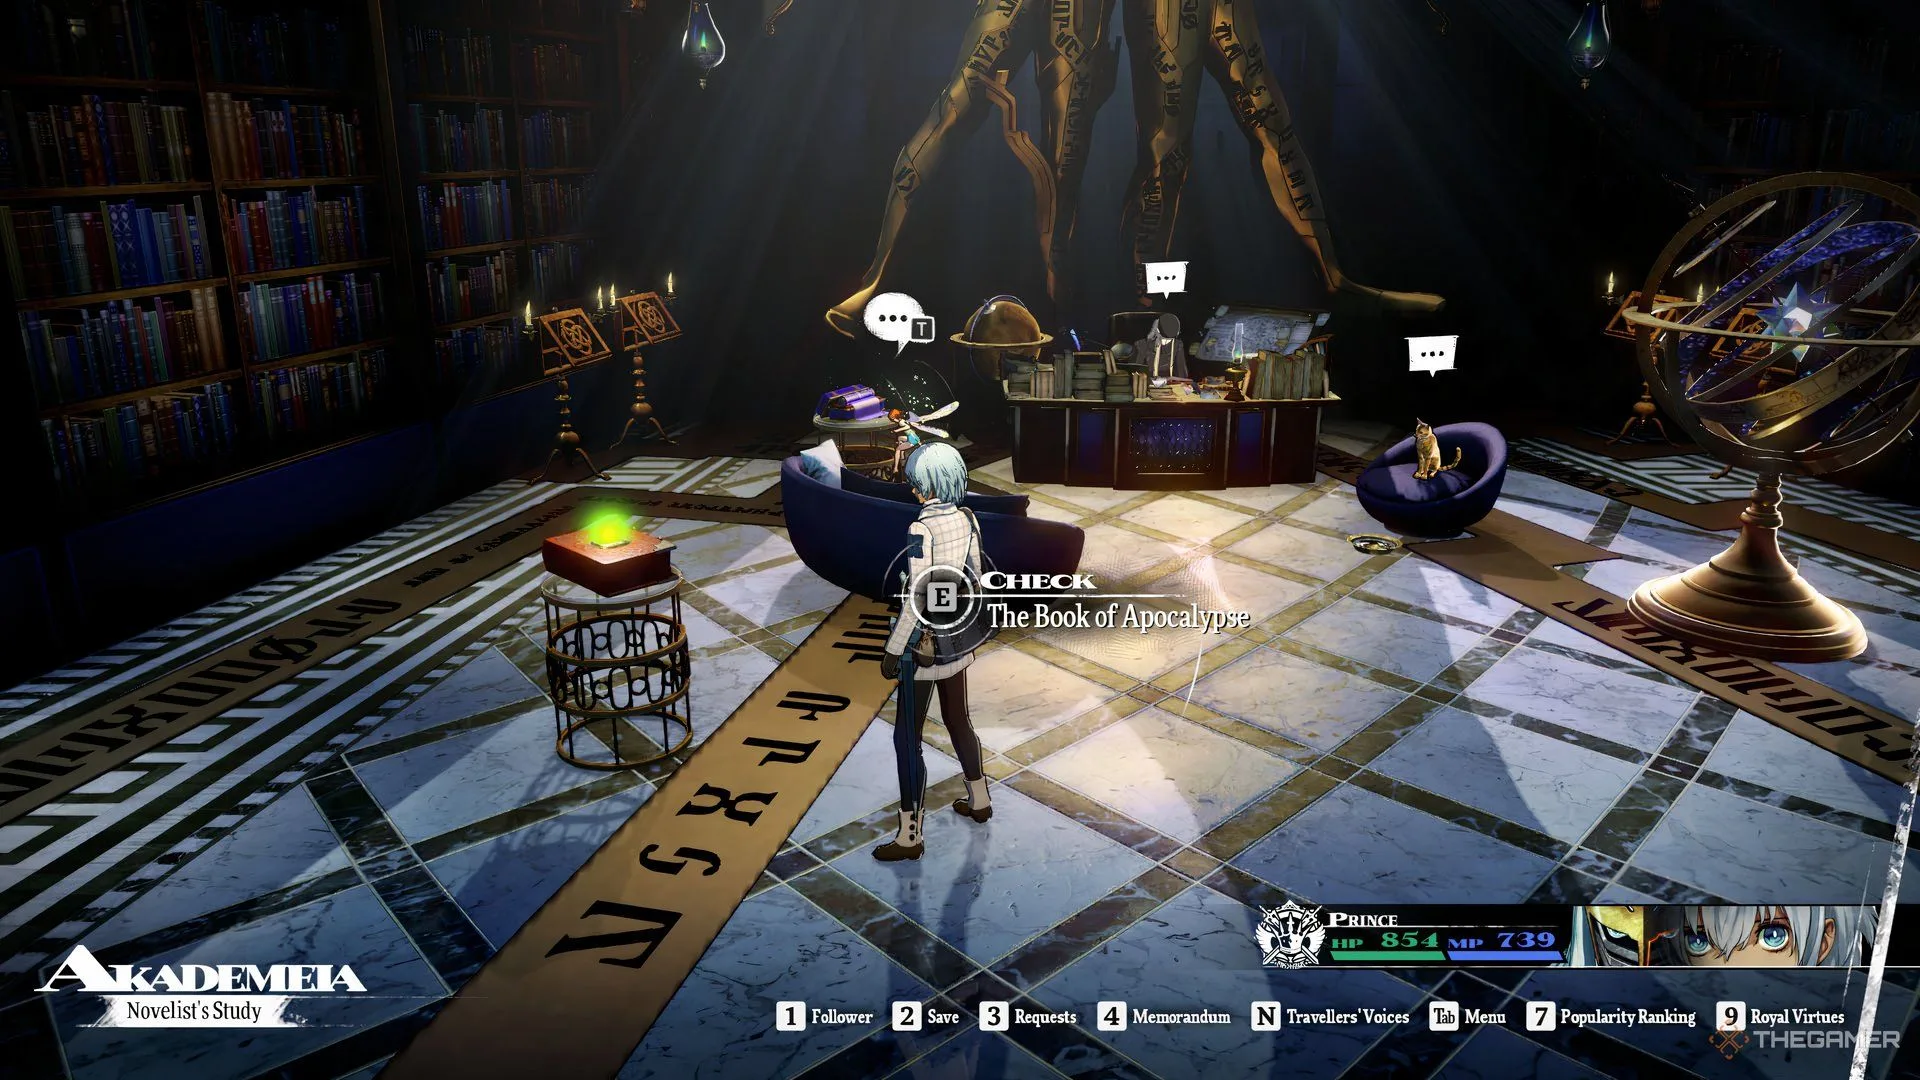
      The Redscale Dragon is exclusive to New Game Plus, meaning it’s a unique feature you can only access during a second playthrough, in addition to the new Regicide difficulty mode. If you’re seeking a serious challenge, you can initiate a fresh game on this difficulty and face the Dragon early on without much build-up. The moment you gain access to the Akademeia, look for a red unsealed book near Plato’s resting area. Interacting with this book will kick off the battle.

      Although this book can be seen during your first playthrough, More will prevent you from interacting with it for good reason.

      Details and Move Set of the Redscale Apocalypse Dragon

      This boss doesn’t have any specific weaknesses and shares some moves with other draconic foes you might have faced in the game. Here’s a breakdown of its attacks:

      Attack Effect
      Dragon’s Contempt Gains one extra Turn Icon permanently and two Half Turn Icons after each use.
      Great Dragon’s Wrath Increases Attack by 2 stages for 3 turns.
      Dekunda Removes all debuffs from itself.
      Heat Riser Increases Attack, Defense, and Hit/Evasion for 3 turns.
      Tetrakarn Reflects one Strike/Slash/Pierce attack.
      War Cry Decreases enemies’ Attack/Defense by 2 stages for 3 turns.
      Makarakarn Reflects one magical attack (non-Almighty).
      Hyper The next magical attack will inflict more than double damage.
      Exorcist’s Light Deals magical light damage to a single enemy.
      Hadean Icecrag Inflicts magical ice damage to all enemies.
      Whirlwind Tail Deals physical wind damage to all enemies.
      Crusher Tail Inflicts physical strike damage to all enemies.
      Icy Breath Inflicts magical ice damage to all enemies, with a chance to inflict frostbite.
      Boltbreath Causes magical electric damage to all enemies, with a potential shock effect.
      Toxin Breath Delivers magical dark damage to all enemies, possibly inflicting Forget.
      Puppeteer’s Claw Deals physical slash damage to one enemy, with a chance to confuse.
      Ripping Claw Inflicts physical fire damage to one enemy.
      Iceclaw Slash Deals physical ice damage to one enemy.
      Purple Toxiclaw Delivers physical slash damage with a chance to poison.
      Sturdy Darkclaw Inflicts physical dark damage to one enemy, reducing its Attack.
      Loathsome Claw Deals physical Almighty damage to one enemy.
      Bewitching Blaze Can charm all enemies.
      Distinct Black Howl Inflicts hex on all enemies.
      Ill Wind Deals 9999 Almighty damage to all enemies.

      While it seems overwhelming, keep a close watch on Dragon’s Contempt. After it uses it for the fourth time (at about 10% HP), the Dragon will use Ill Wind on its subsequent turn, ending the battle immediately. If anyone evades it, the Dragon will continue using it until you are defeated.

      Preparing for Battle

      The perfect time to confront the Dragon is on the final day, although you can challenge it whenever you are ready. Make sure to gear up by gathering essential food items and equipment throughout your playthrough.

      Here is a team setup and equipment suggestion for tackling this fight:

      Protagonist:

      • Weapon: King’s Sovereignty
      • Armor: Cardinal Dragon Armor
      • Gear: Reverent Crown
      • Accessory: Overlord’s Sash
      • Archetype: Prince (Arcane Unity, Sense of Kinship, Magic Circle, Unshaken Will)

      Hulkenberg:

      • Weapon: Save the King
      • Armor: Sunstalo Plate
      • Gear: Kaiser’s Pickelhaube
      • Accessory: Venomward Charm
      • Archetype: Royal Knight (Ironclad Bond, Item Connoisseur, Unshaken Will, Sturdy Stance)

      Junah:

      • Weapon: Heroine’s Fan
      • Armor: Cardinal Dragon Robe
      • Gear: Divine Light Gloves
      • Accessory: Trickster Mask
      • Archetype: Royal Masked Dancer (Sense of Kinship, Magic Circle, Unshaken Will, Formation of Vigor)

      Basilio:

      • Weapon: Axe of the Old God
      • Armor: Cardinal Dragon Armors
      • Gear: Rakshasa’s Hands
      • Accessory: Venomward Charm
      • Archetype: Royal Berserker (Sense of Kinship, Heat Up, Strike Boost, Unshaken Will)

      Important Tip: Avoid equipping items that repel attacks, as the Dragon will immediately counter with Ill Wind on its first move, defeating you instantly. Resistances and Blocks are viable, however.

      Strategy to Defeat the Redscale Apocalypse Dragon

      It’s advisable to be at Level 80 or above, with all Archetypes fully upgraded. Players can swap characters and items freely to adapt to various strategies. Ensure resistance to Charm and Confuse is established.

      Stock up on Ambrosia and prepare some Almighty Golden Stews for restorative help during the battle. Consider leveling all Royal Archetypes to Rank 20 and conversing with More to acquire Chronicle of the End, unlocking the Armageddon’s Final Sire Synthesis for additional damage.

      Don’t forget to bring at least one Sublime Spoonful, made from the following ingredients:

      • 1 Lord of the Lake
      • 3 Queen’s Honey Jars
      • 3 Gauntlet Shrooms

      You can obtain both the Lord of the Lake and Queen’s Honey Jar by fishing with a Rat’s Tail, while Gauntlet Shrooms can be found by checking the pantry daily on the Gauntlet Runner.

      Note: Ensure you complete item preparations before heading to the Tyrant’s Star, as cooking will not be possible once you enter.

      Winning the Fight

      Your battle plan should focus on Basilio dealing the majority of the damage, with the Protagonist as a secondary attacker and supporter, Hulkenberg acting as the shield and healer, and Junah providing additional support.

      In your first turn, follow this sequence:

      • Use Vidyartha with Junah.
      • Activate Hero’s Cry with the Protagonist for bonus turns.
      • Employ Wanton Destruction with Basilio.
      • Activate Holy Knight’s Proclamation with Hulkenberg.
      • Use Formation of Vigor with Junah.
      • Have the Protagonist use an Almighty Golden Stew.
      • Perform Charge with Basilio.
      • Execute Thunderstrike Thrust with Hulkenberg.

      If using Reverent Crown, opt for Hellfire Dance with Junah. If the Protagonist outpaces her, pass your turn.

      Basilio should continue using Wanton Destruction > Charge > Wanton Destruction to maximize damage. The boss will maintain its Strike weakness, facilitating the setup for successive attacks.

      During free turns, you can pass or use items as necessary. Junah should continue applying debuffs with Vidyartha while managing team buffs. If necessary, she can neutralize Heat Riser with Ruin’s Flameflower. Otherwise, Basilio can step in with Peerless War Cry.

      Hulkenberg’s role is vital for team durability by spamming Holy Knight’s Proclamation. She can also heal using Ambrosia effectively due to Item Connoisseur ensuring full health restoration.

      Maintain this cycle with Basilio relentlessly dealing high damage while the Protagonist assists from the sidelines. While it may get chaotic as the Dragon’s HP dwindles, keeping up buffs and debuffs should allow Hulkenberg to withstand numerous attacks and recover from AoE damage.

      Watch out for status ailments. However, with Unshaken Will, you can focus on draining the Dragon’s health. When Dragon’s Contempt appears for the third time, prepare for the finishing blow. Hit once more with Basilio and follow up with another Synthesis using the Protagonist to claim victory.

      If you want to play it safe, activate Armageddon’s Final Sire after using a Sublime Spoonful, which should deliver ample damage to secure your win.

      Rewards for Conquering the Redscale Dragon

      After defeating the Redscale Apocalypse Dragon, you will receive the Hero King’s Ring, alongside the Gaius Regalia as a reward from More. The Ring eliminates all damage types except Almighty, while the Regalia restores your HP and MP after each battle.

      The Gaius Regalia is invaluable for grinding, while the Hero King’s Ring is particularly useful for tackling the enhanced version of the game’s final boss, which could pose an even greater challenge than this formidable dragon.

    • Ultimate Guide and Walkthrough for Metaphor: ReFantazio

      Ultimate Guide and Walkthrough for Metaphor: ReFantazio

      In Metaphor: ReFantazio, players take on the role of a diverse group of disillusioned nobles, marginalized citizens, and (possibly) fallen knights, who must unite a conflicted nation to battle nightmarish creatures and the power-hungry figures behind them. This is no small task, as you’ll only have a limited number of in-game months to make it happen.

      This title is a major JRPG crafted by one of the top names in gaming, Atlus, which has loaded Metaphor: ReFantazio with engaging content alongside its compelling narrative. There’s a lot to discover on your journey to defeat Louis, and our thorough guide is designed to assist you every step of the way.

      The Basics

      Becoming an Eldan candidate for the throne is a challenging endeavor. At times, it’s a struggle just to find your place in such an unfair world.

      The Walkthrough

      While Metaphor: ReFantazio includes many shorter, stage-based segments, it also features several grand dungeons. This section is a work in progress, covering both types of experiences, with more details being added soon.

      Menu Screen in Metaphor: ReFantazio

      The Bosses

      Engage in thrilling encounters against the story-driven bosses throughout Metaphor: ReFantazio and survive to share your tales of victory.

      Homo Fulquilo in Metaphor: ReFantazio

      The Side Quests

      Dive into every aspect of the game with its extensive side quests, ensuring you experience all that Metaphor has to offer.

      Gallica in an Animated Scene

      Explainers

      Discover what makes the universe of Metaphor: ReFantazio captivating and unique.

      Main Character in Metaphor: ReFantazio

      Lists

      We’ve compiled numerous lists to help you navigate through the vast world of Metaphor, guiding you in your journey and choices.

      Louis Looking Up in Metaphor: ReFantazio

    • Echoes of the Past: The ReFantazio Legacy Adventure

      Echoes of the Past: The ReFantazio Legacy Adventure

      Preparing for Your Confrontation with Louis in Metaphor: ReFantazio

      As you gear up for your ultimate challenge against Louis, you have thirty days for preparation. One of the essential tasks to tackle before the final showdown is the Trial of the Dragon quests, which can significantly aid you when the time comes.

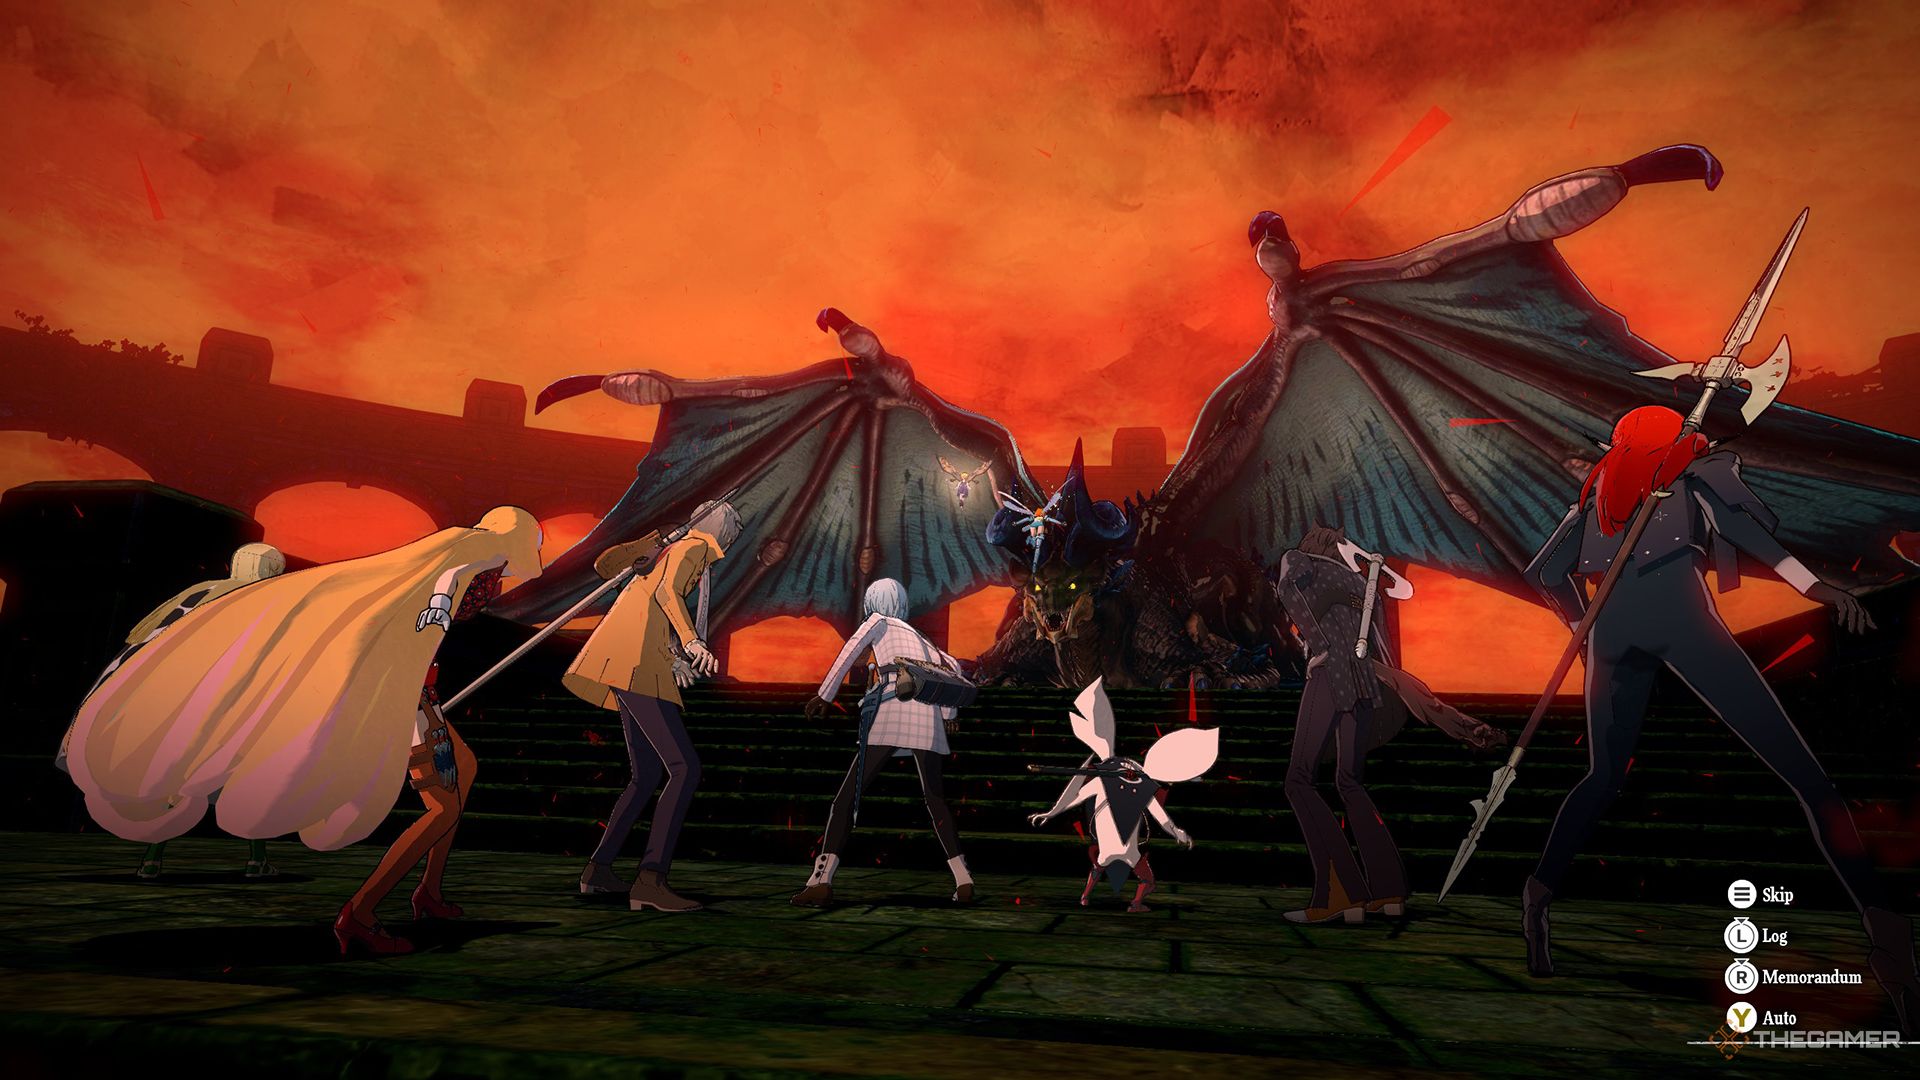
      One such quest, Bygone Legacy, involves a return to the Tower of Insolence to battle a dragon boss known as the Devourer of Stars. This fight is quite challenging, and the name itself is enough to send shivers down your spine. However, with a solid strategy and a bit of patience, you can conquer this powerful adversary.

      Starting the Bygone Legacy Trial

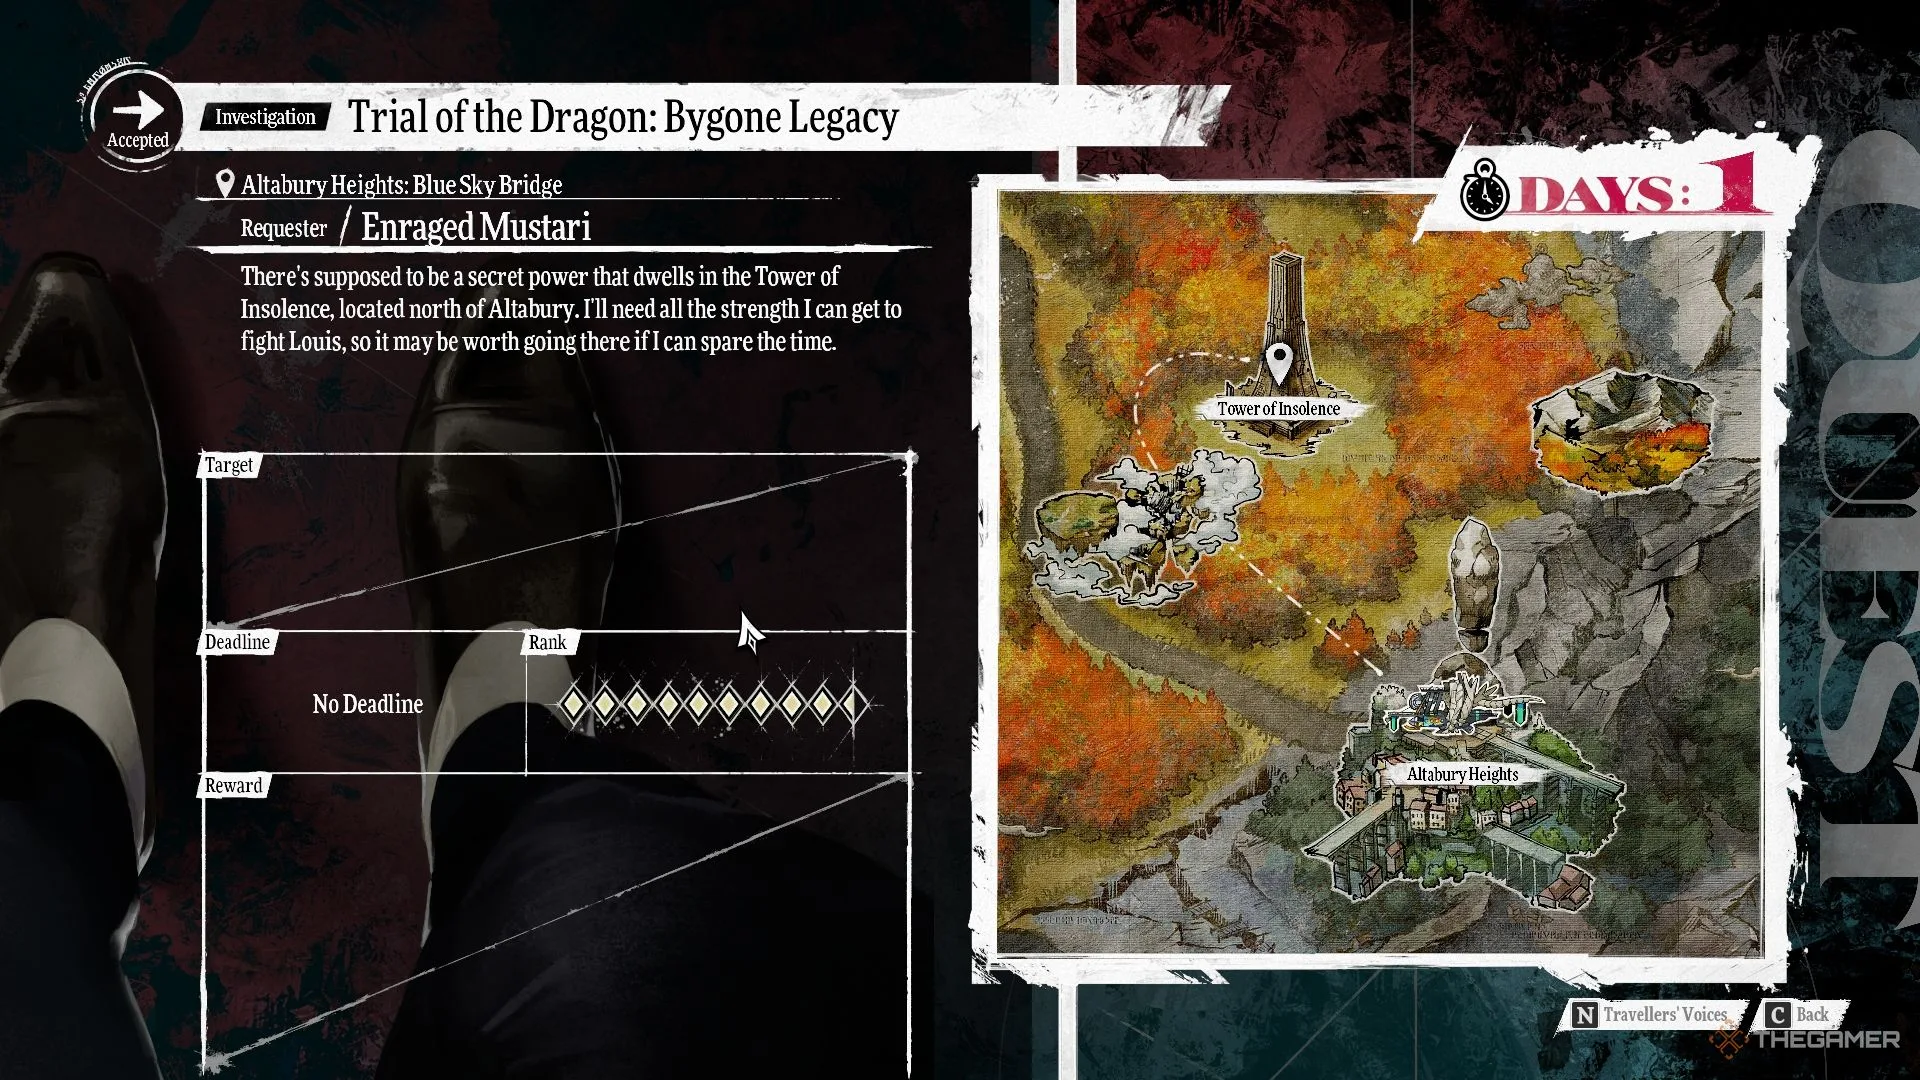
      To initiate the Bygone Legacy, go to the Upper Blue Sky Bridge in Altabury Heights and talk to the Enraged Mustari, marked with a quest indicator. This NPC will disclose that there is a forbidden power within the Tower of Insolence for those who prove themselves worthy.

      If you’ve previously visited this dungeon during the Proof of Power quest, you’ll find it mostly the same. However, be prepared; it is now filled with tougher enemies, and a formidable dragon boss awaits at the top.

      Preparing for the Devourer of Stars

      While you can attempt the Trials in any sequence, it’s advisable to save Bygone Legacy for last, as the boss at the dungeon’s peak is no lightweight. Before entering, ensure that your character is at least level 65. Additionally, it’s crucial to strengthen your Follower Bonds, as some of these bonds provide beneficial passive skills in dungeons.

      Catherina, in particular, becomes a vital ally during boss fights when she reaches Rank 7, as she provides an initial damage boost of 5,000 at the start of each encounter.

      Defeating the Devourer of Stars

      Once you’ve fought your way through various foes and reached the Tower of Insolence’s summit, you will confront the level 70 Devourer of Stars. Ensure you save at Plato’s Mirage before the encounter, and make any last-minute adjustments to your team composition.

      Affinities and Weaknesses

      The Devourer of Stars is immune to and repels all forms of damage, except for Almighty damage, which will be your primary method of attack. Certain Archetype skills and Synthesis attacks can temporarily bypass this resistance, providing a one-time weakness that can assist in whittling down its health.

      Type Damage Result
      Slash Repel
      Pierce Repel
      Strike Repel
      Fire Repel
      Ice Repel
      Electric Repel
      Wind Repel
      Light Repel
      Dark Repel

      Moveset

      The Devourer of Stars also has a formidable moveset:

      Attack Description
      Great Dragon’s Wrath Buffs its attack.
      Great Dragon’s Shriek Grants extra turn icons.
      Miasma Whorl Caps party HP at 300.
      All Reset Removes buffs from your party.
      Toxin Breath Inflicts Dark damage to all party members.
      Poison Tail Deals Strike damage that can inflict Poison.
      Loathsome Claw Slash damage that critically hits targets with ailments.
      Distant Black Howl May impose Hex on the entire party.
      Dekunda Removes debuffs from itself.
      Roar Debuffs the whole party, lowering various stats.
      Purple Toxiclaw Single-target damage that can induce Poison.

      Recommended Party Setup

      To effectively take down the Devourer of Stars, consider the following party composition:

      Character Archetype Formation Strategy
      Protagonist Prince Front Focus on party healing with Medicall and curing ailments using inherited skills while also dealing some damage.
      Hulkenberg Paladin/Royal Knight Front Acts as a tank and applies buffs to enhance party damage.
      Heimsay Ninja/Royal Thief Front Use agility to dodge attacks while applying debuffs.
      Strohl Tycoon Front Emphasize dealing Almighty damage and use passive skills for extra effectiveness.

      Recommended Strategy

      Begin by deploying Heimsay’s Vidyartha skill to apply a debuff on the boss, and have Hulkenberg use Formation of Vigor to amplify your attacks. This approach will prime Strohl and the Protagonist to maximize damage output right at the start. Keep an eye out for critical hits to gain an extra turn in the initial round.

      When the boss takes its turn, it will cast Miasma Whorl, limiting your HP but wasting its turns to remove your buffs. As you continue, focus on reapplying buffs, using Dekaja to strip the boss of its advantages, and be prepared for some heavy attacks in retaliation.

      After your setup is established, the boss will launch its Great Dragon’s Shriek for an onslaught of turn icons, but thanks to your preparation, you’ll manage to weather the storm. As you persist with buff and debuff cycles, you should be poised to land the final blow and claim your victory.

      Rewards for Defeating the Devourer of Stars

      Upon defeating the Devourer of Stars, you’ll receive experience points, Mag, A-XP, and Reeve. However, the crown jewel is the Cardinal Dragon Raiment, an impressive armor that boosts both Magic and Strength by +5 while providing immunity against Fire damage. This long-awaited reward highlights your tenacity and skill in overcoming the Bygone Legacy trial.

    • The Ultimate Guide to Finding Top Gardening Seeds in Metaphor

      The Ultimate Guide to Finding Top Gardening Seeds in Metaphor

      In Metaphor: ReFantazio, finding enjoyable activities in your free time is important for making progress towards your goals. Engaging in these pastimes helps you move closer to significant events in the story. As you journey through the Gauntlet Runner, new activities open up, including gardening, which becomes available as Nueras makes changes to the vessel throughout the narrative.

      Your first gardening experience begins when you receive some complimentary seeds, which introduces you to the fun of planting. It’s hard to ignore this side activity, especially since it provides consumables that enhance Archetype experience points (XP). Here’s everything you need to know about how to garden and where to get your seeds to get started.

      How To Garden

      Gardening becomes an option after you’ve completed your adventures in Martira and embarked on your journey to Brilehaven. To start gardening, ensure that the Gauntlet Runner is active and moving, then head to the lounge and interact with the Plant Culture Chamber’s Igniter.

      Initially, you’ll need seeds to start your gardening journey. Your first interaction with the Igniter will provide you with a free Hero’s Fruit Seed. Gardening will take one time block, and your crops will be ready for harvest the following day. Fortunately, collecting the harvest does not consume any time, and the Gauntlet Runner doesn’t need to be operational during the collection.

      How To Get Seeds

      There are three varieties of seeds available for your gardening, each producing items, or fruits, that help increase Archetype XP. While these seeds can be purchased indefinitely, you won’t find all of them in a single location.

      The higher the quality of the seed, the greater the XP boost from its fruit. To maintain game balance, higher-quality seeds become available only in later regions, with the best seeds reserved for the endgame.

      As you move forward in the game, you’ll likely swap out lower-quality seeds for better ones, since there isn’t much reason to use weaker options once superior seeds become available. Below is a list of where to find each type of seed and their corresponding yields.

      Seed

      How To Get

      Produce

      Hero’s Fruit Seed Available for purchase from the Greengrocer Girl on Cattleracket Road in Martira for 500 Reeve. Yields two to three Hero’s Fruit consumables, granting 500 Archetype XP.
      Heroe’s Leaf of Light Seed Sold by the Elderly Seed-Seller in the Dragon Statue Plaza, Virga Island, for 2,500 Reeve. Yields two to three Hero’s Leaf of Light consumables, granting 1,000 Archetype XP.
      Hero’s Jewelled Root Seed Available from the Flower-Selling Woman on Upper Dia Franco Street, Altabury Heights, for 5,000 Reeve. Yields two to three Hero’s Jewelled Root consumables, granting 3,000 Archetype XP.
    • Defeating the Devourer of Nations in Metaphor: ReFantazio

      Defeating the Devourer of Nations in Metaphor: ReFantazio

      With your memories restored and your Royal Archetype awakened, you are about to embark on the final month of Metaphor: ReFantazio. Your mission is to stop Louis, but first, you’ll need to strengthen your character each day to get ready for this ultimate showdown.

      A variety of new quests and optional dungeons will open up, including the Trials of the Dragon. Here, we will delve into the Mad Mischief Trial of the Dragon, where you’ll return to the Forsaken Tower in Oceanus to obtain a powerful reward.

      Starting the Trial of the Dragon: Mad Mischief

      To kick off the Trial of the Dragon: Mad Mischief, talk to Gabby Mustari near the Greatest Catch in Port Brilehaven. She’ll inform you about a hidden, mysterious power within the tower, waiting for you to claim it if you can conquer its challenges.

      Once you’re prepared, head to the Forsaken Tower via the Gauntlet Runner.

      Heading Back to the Forsaken Tower

      The layout of this dungeon remains the same as the first time you ventured here during the Superior Scrimshaw Bounty earlier in the game. However, you’ll encounter new, tougher enemies this time around.

      It’s advisable to be at least level 65 before attempting this quest, but the higher your level, the better. The final boss is level 70 and can be quite a challenge.

      The new foes include the tough Sword Scourge Malmorta Undead and the Bloodcoin Imitec Mimics. The Undead are vulnerable to Strike and Light attacks, while Mimics are weak against Light. Having the Protagonist’s Prince, Savior, or any Archetype that possesses Light magic will assist you in navigating through the tower.

      Overall, the dungeon exploration in this quest is fairly standard; however, it’s the boss encounter at the top of the tower that you need to adequately prepare for.

      Defeating the Devourer of Nations

      The party facing the Devourer of Nations boss at the top of the Forsaken Tower.

      The final adversary of the Forsaken Tower and the Mad Mischief quest is the Devourer of Nations Dragon.

      Weaknesses and Resistances

      Slash

      –

      Pierce

      –

      Strike

      –

      Fire

      Repel

      Ice

      –

      Electric

      –

      Wind

      –

      Light

      –

      Dark

      –

      Attacks and Abilities

      Great Dragon’s Wrath

      Increases Attack by 3 stages.

      Great Dragon Shriek

      Grants 6 additional Turn Icons.

      Puppeteer’s Claw

      Deals Slash damage to one target with a chance to inflict Paralysis.

      Boneclaw Slash

      Deals Slash damage to one target.

      Infernal Breath

      Deals Fire damage to all party members with a chance to inflict Burning.

      Great Fireball

      Deals Fire damage to one target with a chance to inflict Burning.

      Crusher Tail

      Deals Strike damage to all party members.

      Icy Breath

      Deals Ice damage to all party members with a chance to inflict Frostbite.

      Character

      Archetype

      Position

      Strategy

      Protagonist

      Prince

      Front

      Heal and support the team.

      Heismay

      Royal Thief

      Front

      Debuff the boss’s agility and avoid attacks to remove Turn Icons.

      Strohl

      Warlord

      Front

      Provide buffs for offense and defense.

      Junah

      Royal Masked Dancer

      Front

      Deal damage and exploit vulnerabilities for more damage.

      Combat Tactics

      The Devourer of Nations is a formidable foe, capable of attacking up to nine times in succession, so plan each turn wisely. The key to your approach is Heismay, whose high agility combined with the Royal Thief’s Rank 20 passive, Noble Thief’s Soul, can help dodge attacks and eliminate enemy Turn Icons.

      Using Royal Thief’s Adamant Nightblade to debuff the boss’s agility while buffing your party with Masukukaja will significantly enhance your chances of avoiding attacks. Additionally, inheriting the Fire Dodge passive from the Merchant will assist your entire team.

      The other team members should focus on enhancing attack and defense and healing when needed. This encounter is largely about endurance, so always consider whether to heal or not cautiously.

      It may also be wise to carry some MP potions or ensure your MP-intensive members utilize the Wizard’s Shield Blessing passive to regain MP throughout the battle.

      The boss will consistently start its turn with Great Dragon’s Wrath, increasing its attack by three stages unless it already has this buff. Thus, if you attempt to remove this buff, the boss will use its first turn to reapply it.

      The most crucial ability to look out for is Great Dragon Shriek, which grants the boss six extra Turn Icons. Even with full health and maxed buffs, you should expect considerable damage when this ability is enacted. This is where Noble Thief’s Soul becomes invaluable, as dodging just once with Heismay can remove all these extra Turn Icons.

      Overall, as long as you maintain your health, deploy buffs at the right moments, and keep the boss’s abilities in check, you will eventually triumph over it.

      Rewards for Completing the Quest

      By defeating the Devourer of Nations and finishing this quest, you’ll receive experience points, Archetype experience, MAG, reeve, and the Cardinal Dragon Raiment, which grants a boost of five to Strength and Magic while nullifying Fire.

    • Claiming the Deed from the Arrogant Noble in Metaphor: ReFantazio

      Claiming the Deed from the Arrogant Noble in Metaphor: ReFantazio

      Your adventures in Martira have truly paid off in Metaphor: ReFantazio. After showcasing the actual kidnapper’s head on exhibition day in the bustling port city of Brilehaven, you’ve garnered a lot of admiration. With your growing reputation, you can expect additional side quests to arrive. One of these tasks is Deeds and Diversions.

      Securing the Deed from the arrogant Ishkia noble might look like an easy task, but, as is often the case, it’s not straightforward. You will need to engage in some negotiations and dive deep into the Forsaken Tower to rectify the situation.

      How to Begin Deeds and Diversions


      On July 23rd, the day after the Exhibition of the Brave, you will be free to explore Brilehaven at your leisure, where you will find several NPCs offering quests. The Overfamiliar Man outside Nightprowler will present you with the Deeds and Diversions quest, requesting your assistance in reclaiming his Deed from an Ishkia noble.

      How to Obtain the Deed


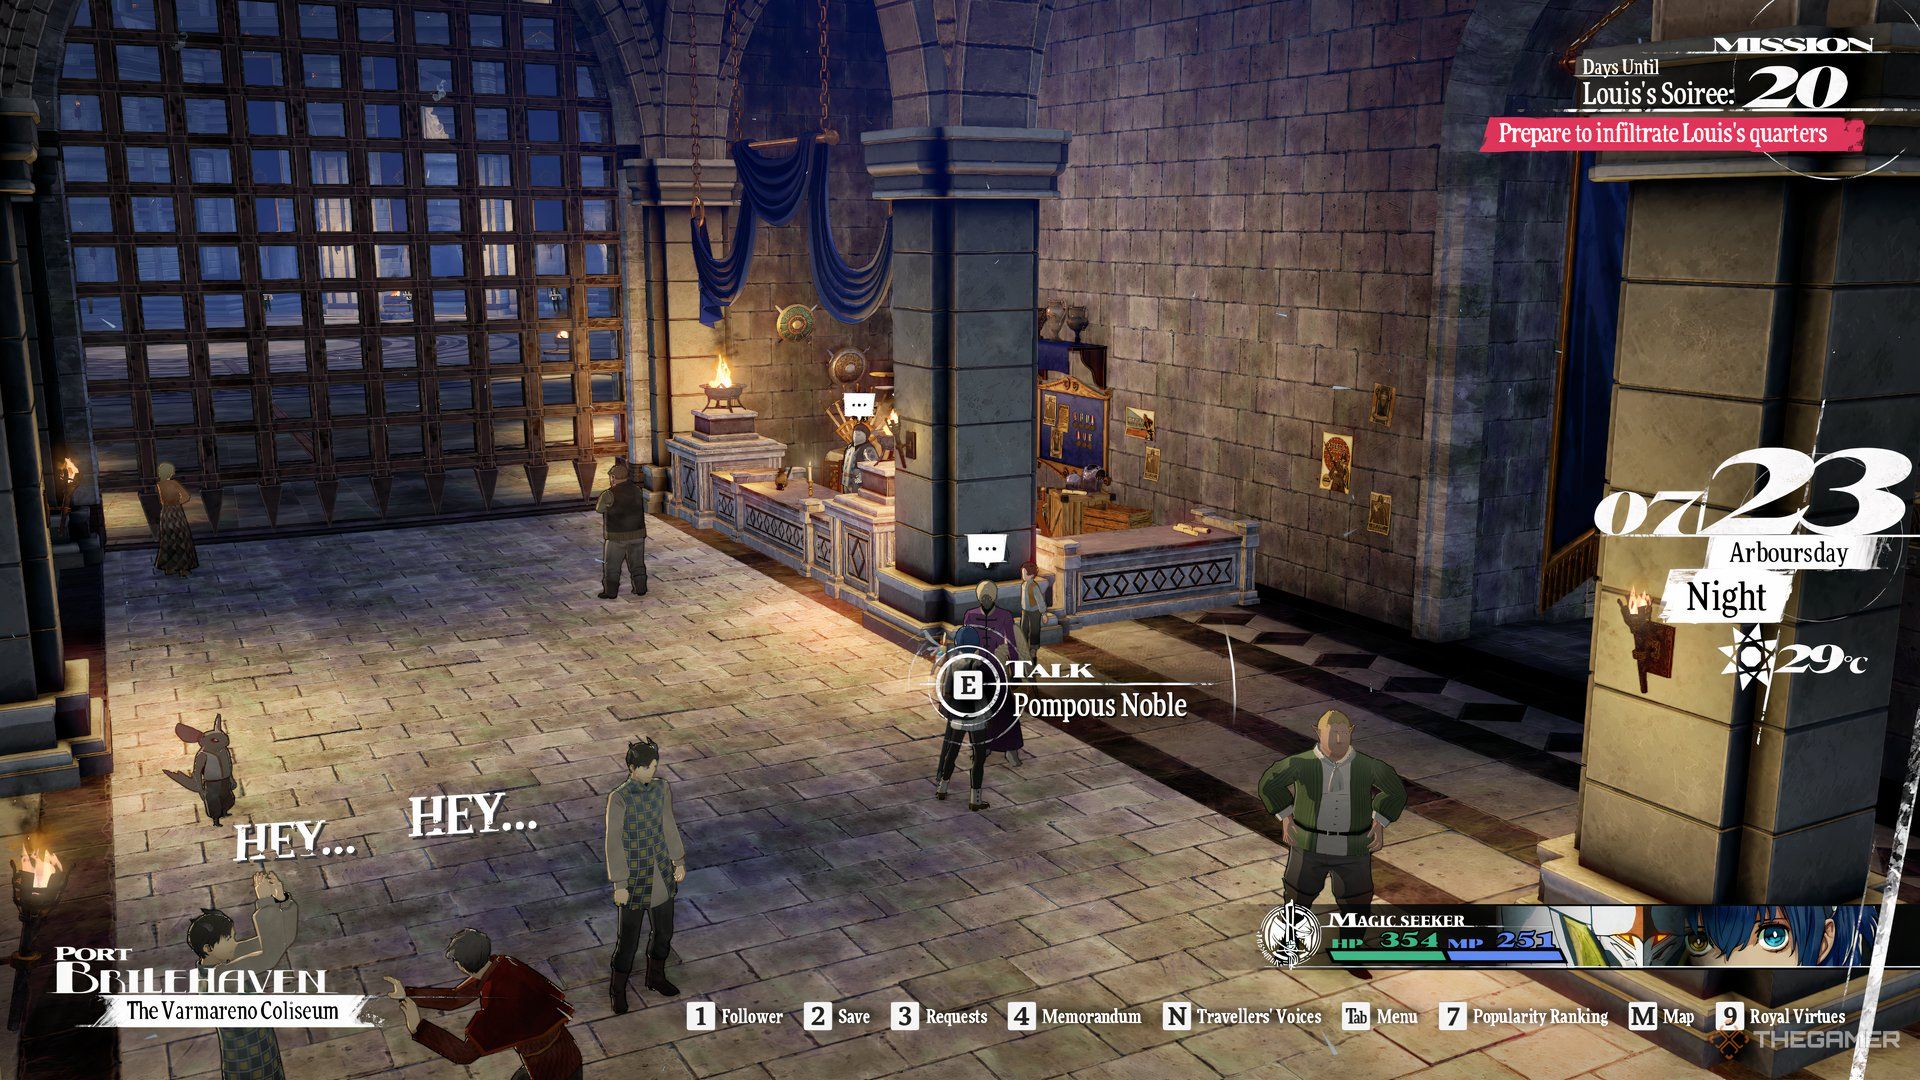
      The Metaphor: ReFantazio protagonist before a Pompous Noble in the Varmareno Coliseum.

      The noble you seek is notorious for his passion for bloodsports, as the quest-giver suggested. You’ll typically find him near the Varmareno Coliseum in Arenafront Wharf, dressed in purple.

      When you approach him, avoid being blunt about the Deed. Instead, choose your dialogue wisely to gently steer the conversation toward the Deed.


      An NPC asking the Metaphor: ReFantazio protagonist to bring him an Ebony Horn.

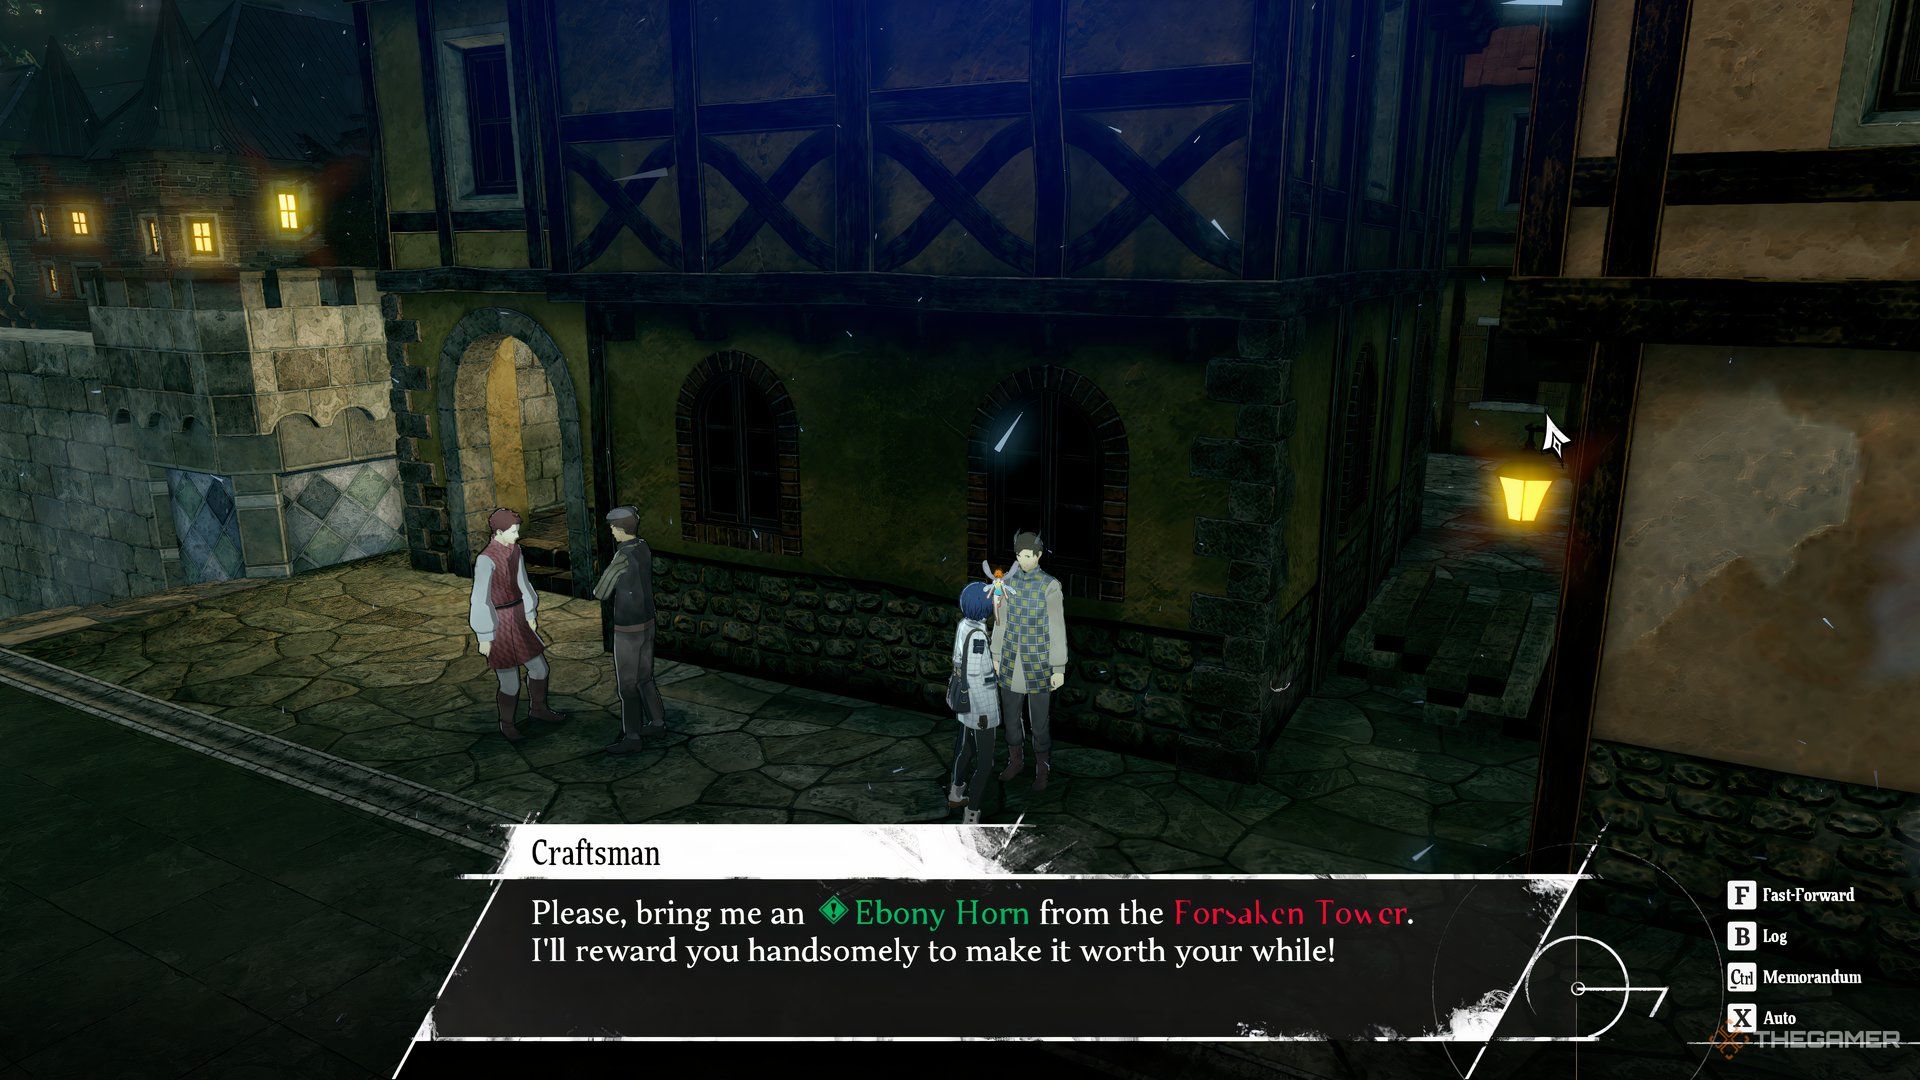
      Regrettably, you’ll encounter a problematic conversation unless you have already defeated the Orgas in the Forsaken Tower. This boss fight is also linked to the Superior Scrimshaw quest from the Craftsman in the Merchant Bazaar, where you’ll need to obtain an Ebony Horn by defeating the Orgas.

      Defeat Orgas in the Forsaken Tower


      The Metaphor: ReFantazio protagonist purchasing the Fiends of the Forsaken Tower information.

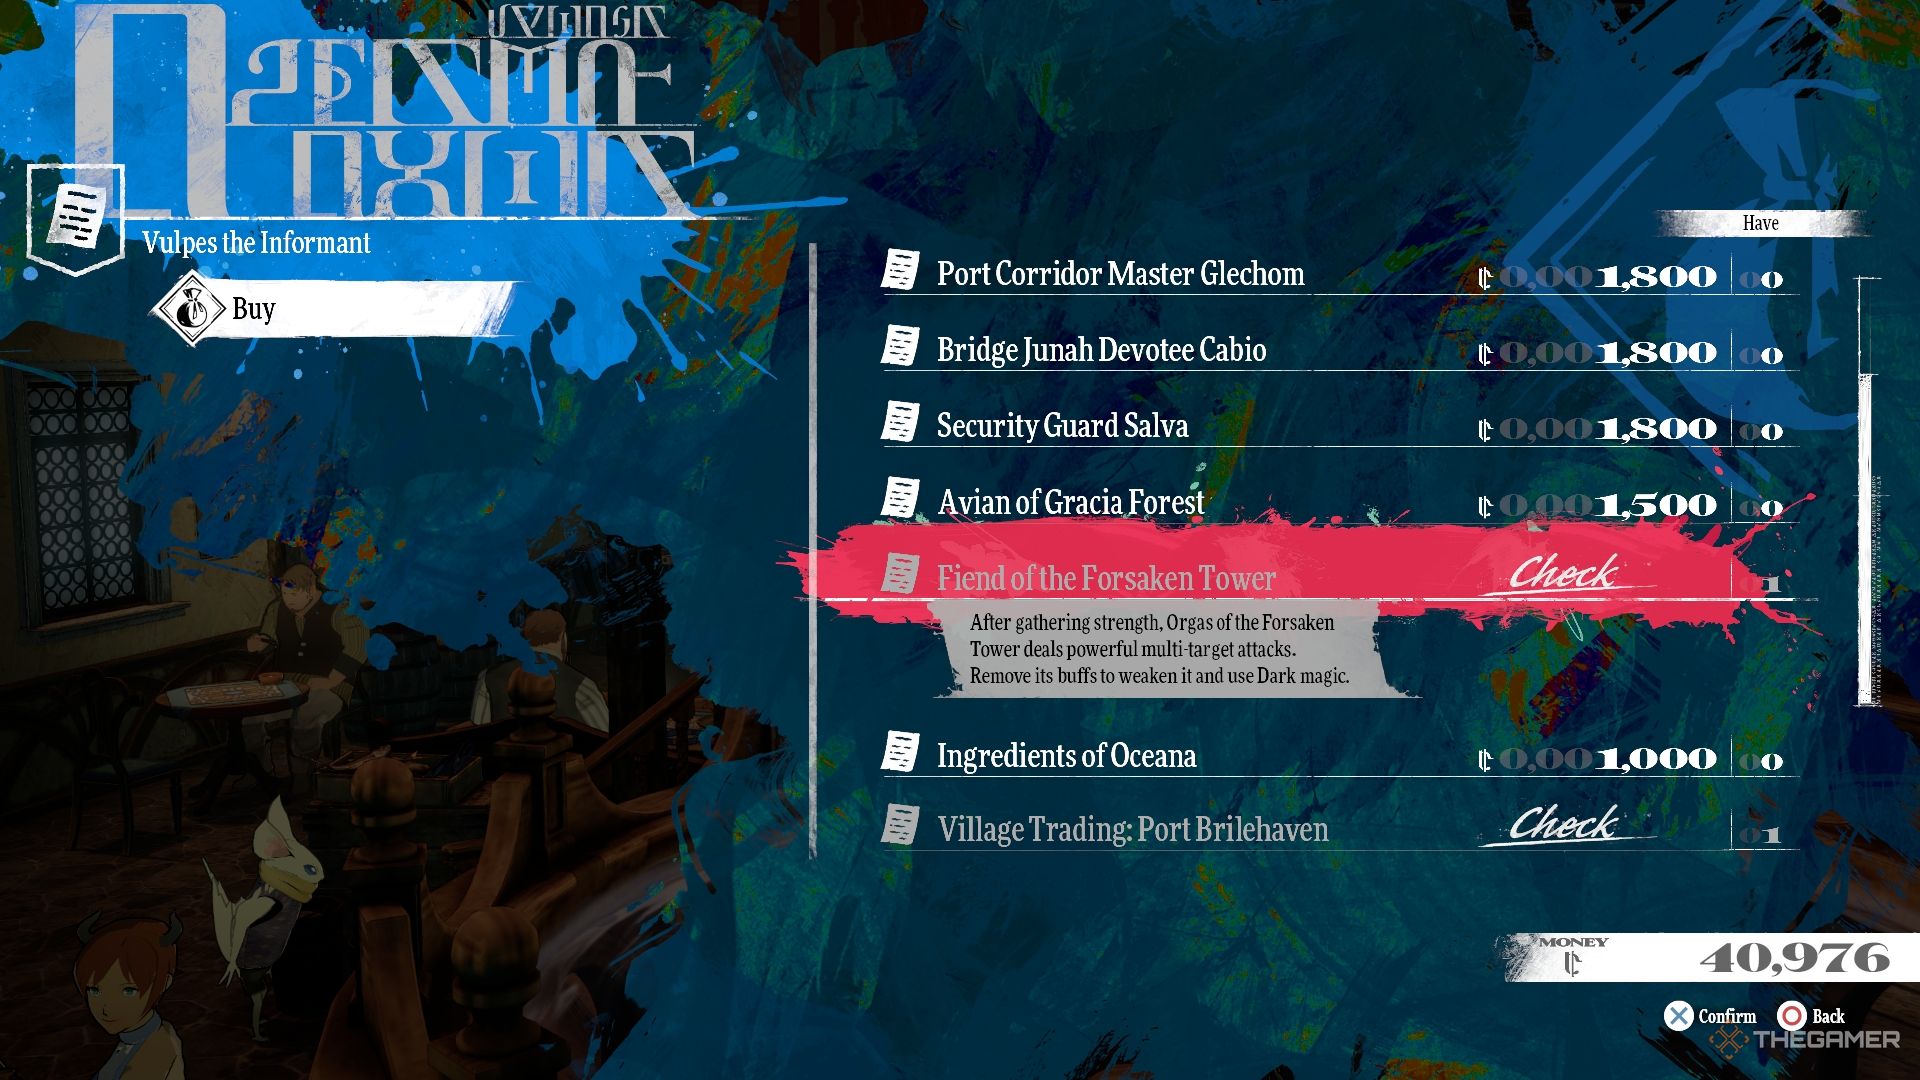
      To gain access to the Forsaken Tower, talk to the Seasoned Man in the Greatest Catch Tavern and spend 1,800 Reeve to acquire the Fiend of the Forsaken Tower information. This will grant you the ability to travel to the tower using your Gauntlet Runner – a three-day journey filled with challenges from competing Gauntlet Runners, along with a stop at Gracia Forest.

      While in Garia Forest, consider completing the Soldier’s Solace quest given by the Exhausted Woman in Angler’s Inn Square. It’s a great opportunity to accomplish more during your trip.


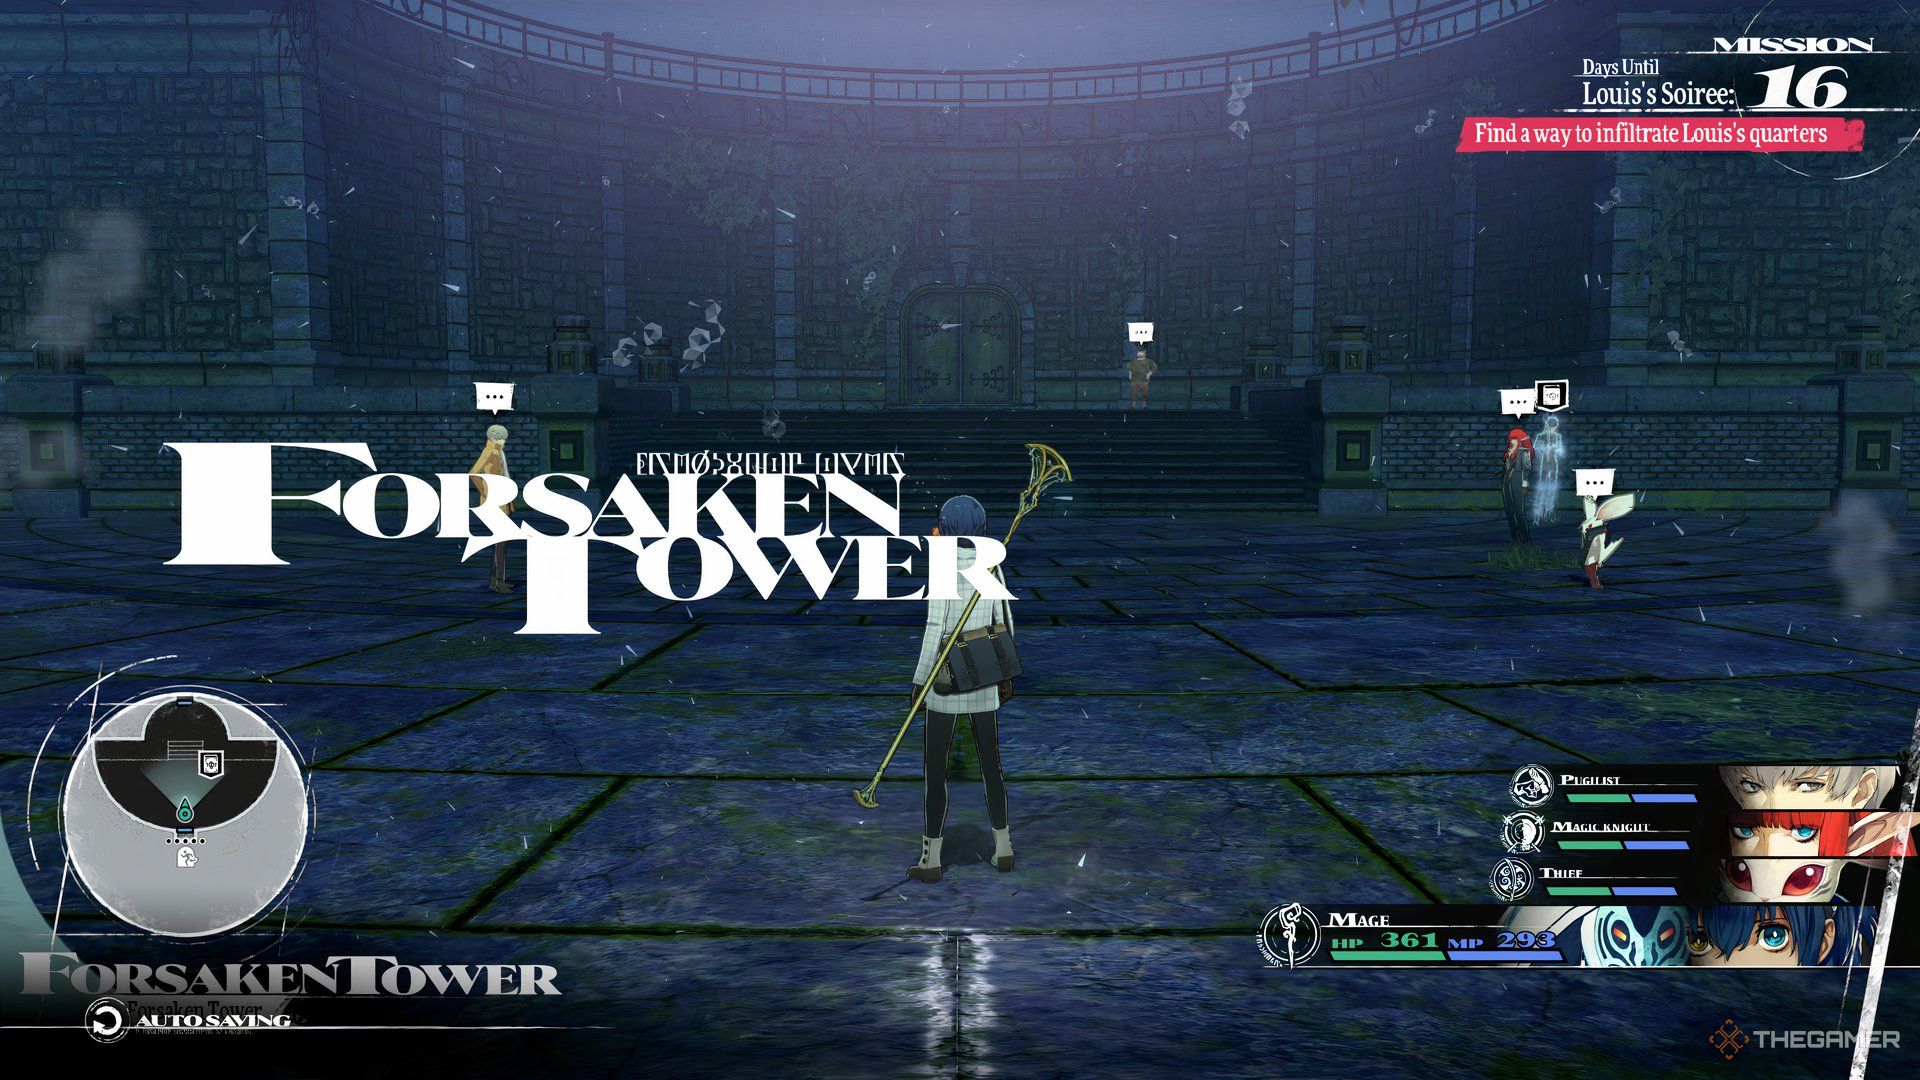
      The Metaphor: ReFantazio protagonist and their gang arriving at the Forsaken Tower.

      The Forsaken Tower has a straightforward layout, but the creatures inside are definitely challenging. Once you reach the top, you’ll confront Orgas, an incredibly tough boss. To give yourself the best shot at victory, having the Healer, Thief, and Faker archetypes is highly recommended.

      Effective Dialogues for the Pompous Noble


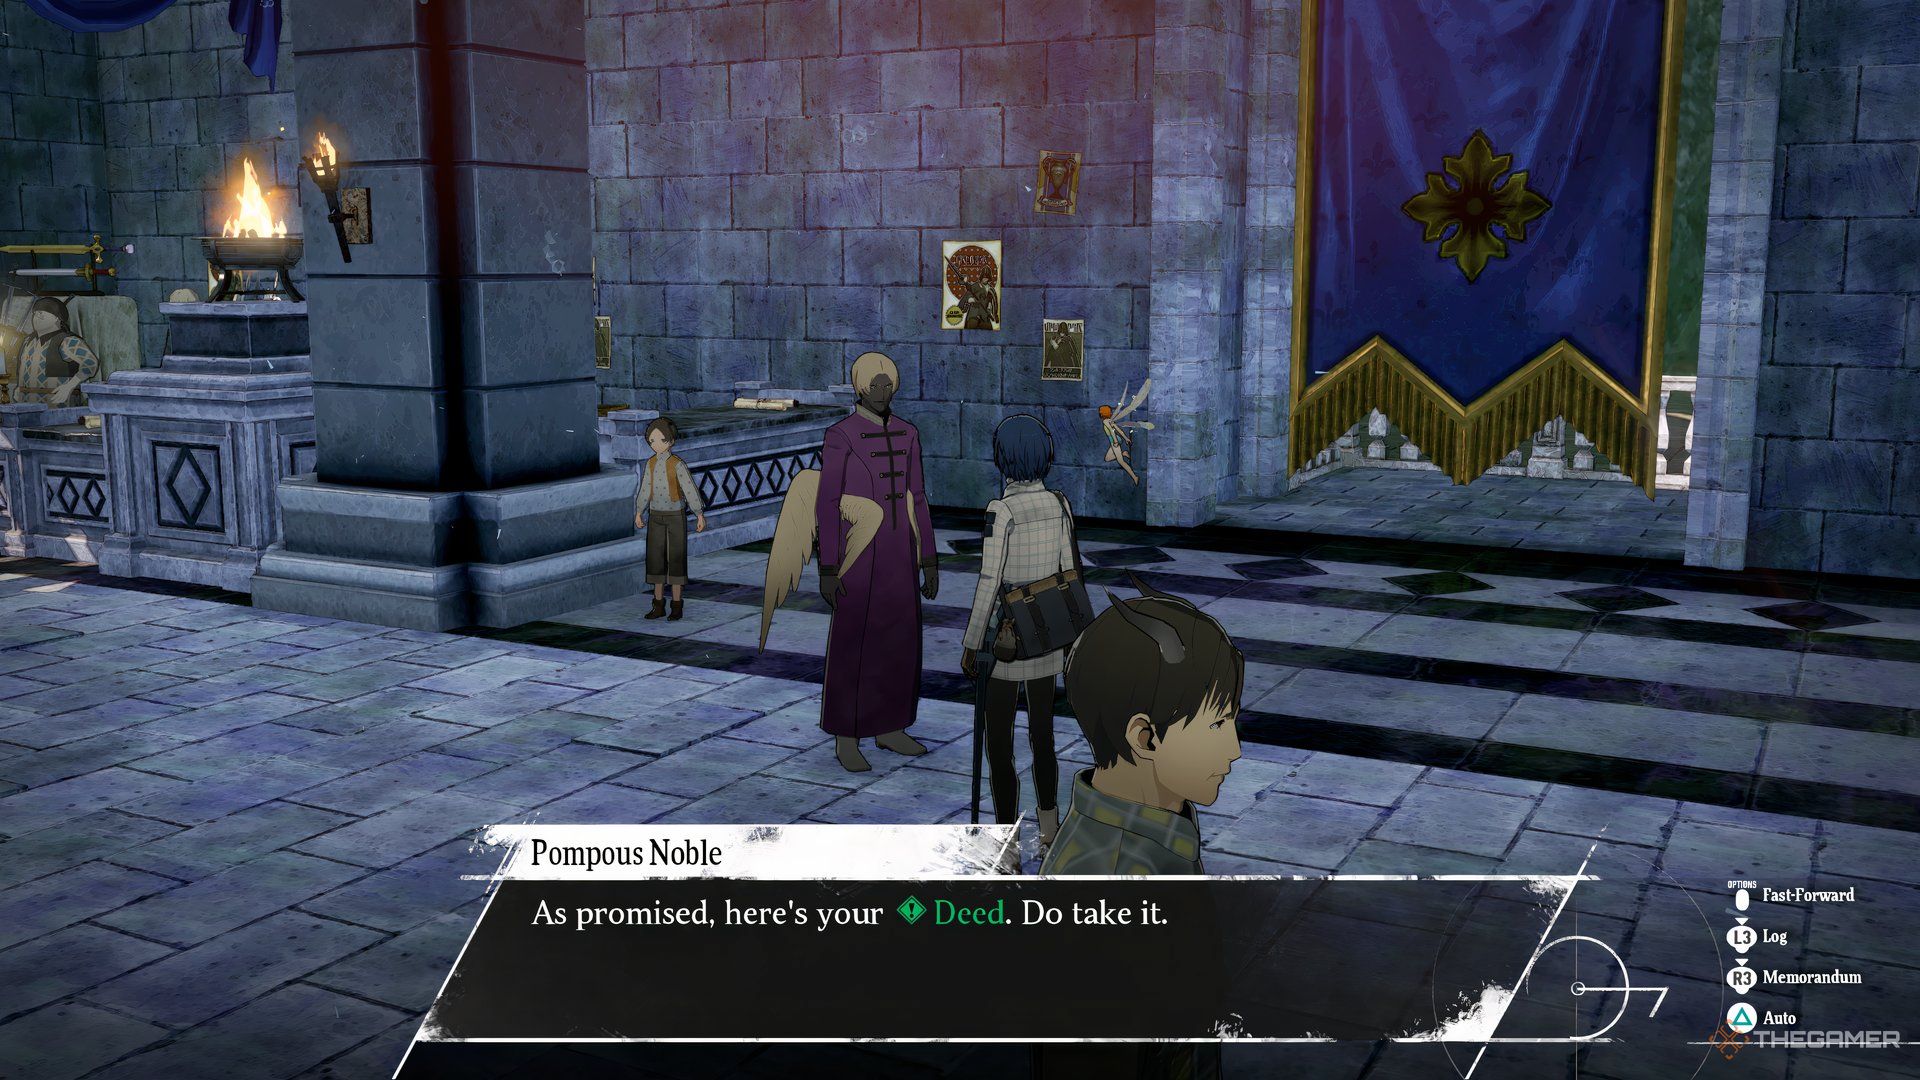
      The Metaphor: ReFantazio protagonist before The Pompous Noble who is returning the Deed.

      After conquering Orgas and securing the Ebony Horn, you can return to the port city the next day to complete the craftsman’s request. Afterward, head back to the noble and use these dialogue options to keep the conversation on track towards the Deed:

      1. You know me, I trust? (3rd Option)
      2. Such a tawdry arena. (2nd Option)
      3. Any option.
      4. You know the forsaken tower? (3rd Option)
      5. I’d like the Deed. (5th Option)

      Rewards for Deeds and Diversions


      Quest rewards for completing Deeds and Diversions in Metaphor: ReFantazio.

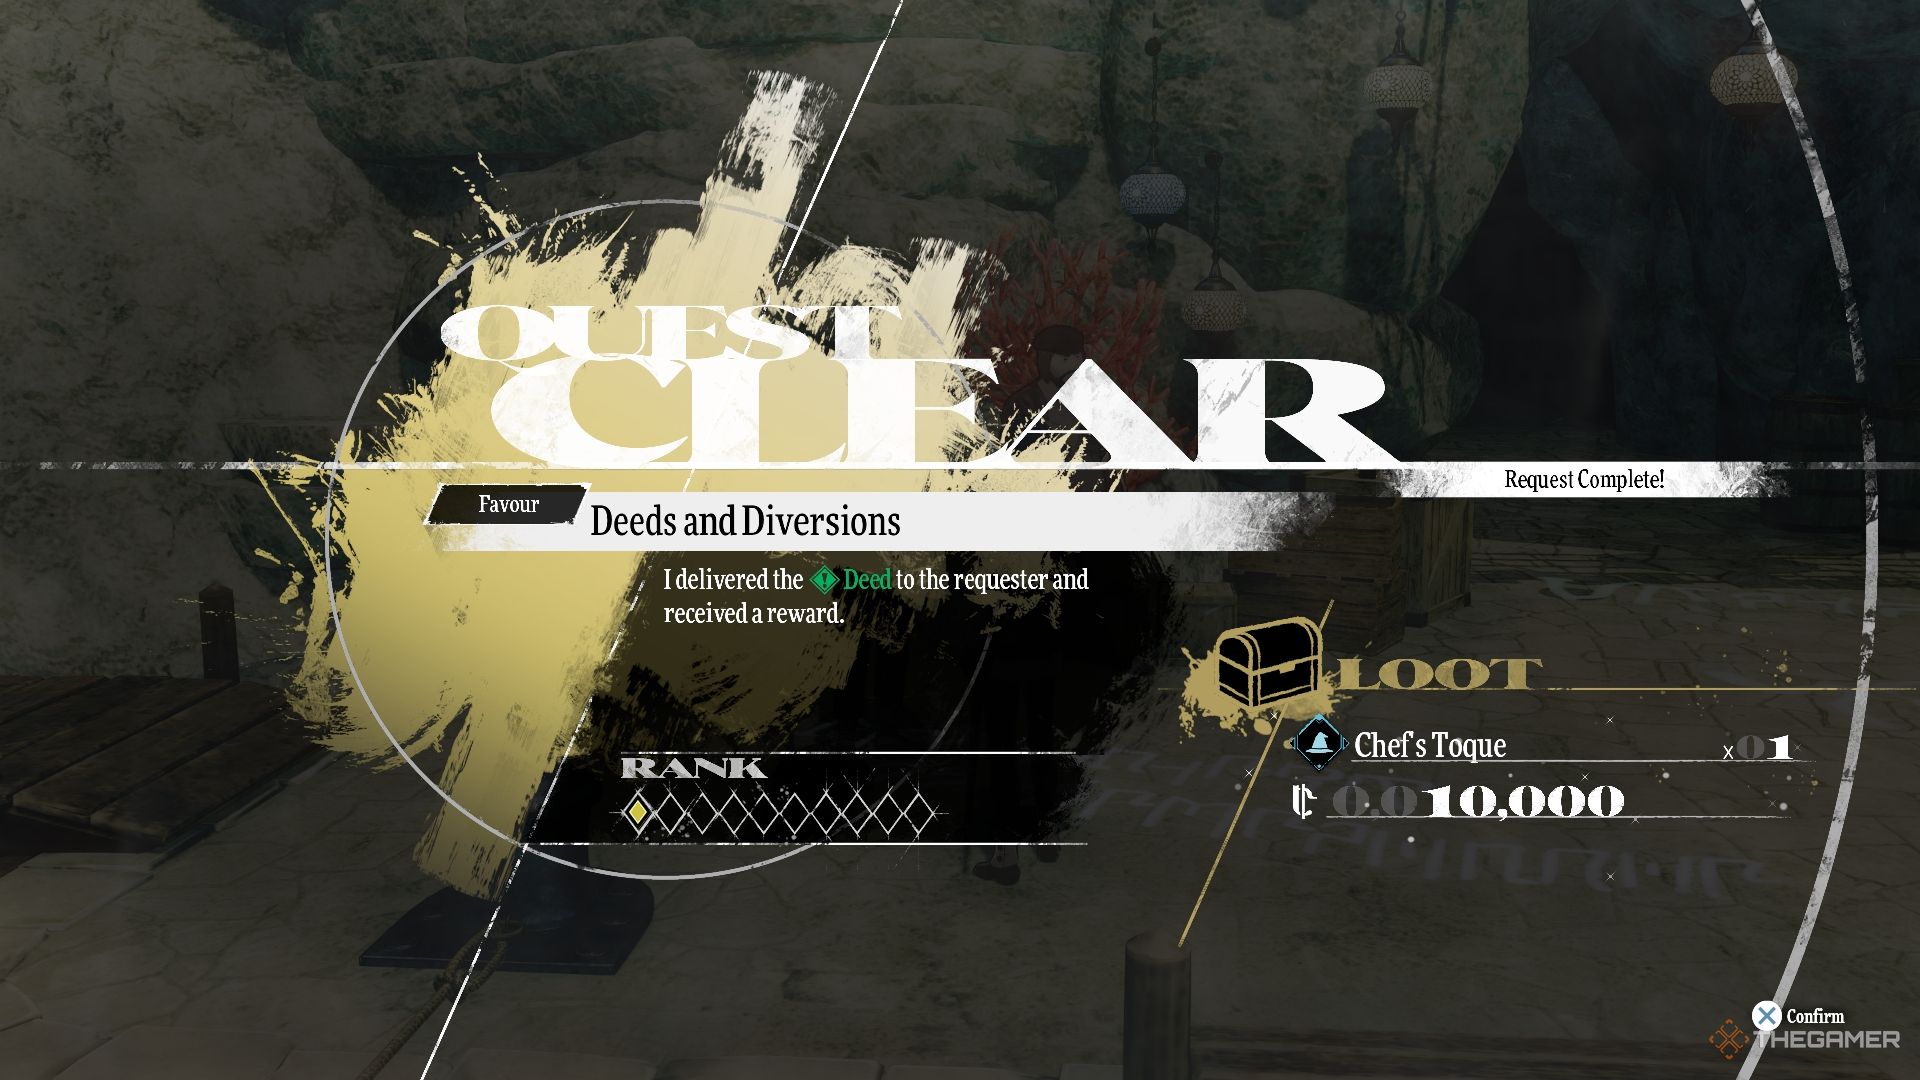
      After the conversation, the noble will finally hand over the Deed, allowing you to return it to the Overfamiliar Man to finish the Deeds and Diversions quest. He will reward you with a Chef’s Toque and 10,000 Reeve as promised.

    • Quick Guide to Efficiently Farm Magla in Metaphor: ReFantazio

      Quick Guide to Efficiently Farm Magla in Metaphor: ReFantazio

      In Metaphor: ReFantazio, you need to collect various currencies to advance in the game. Much like Reeves, Magla has its own purposes. If you aim to enhance your Archetypes, gathering plenty of Magla is essential. You can engage with Archetypes for your allies and inherit valuable skills to make them stronger.

      Here are some simple methods to quickly stock up on Magla. Facing tough enemies in Dungeons is always a reliable way to earn it. Additionally, you can optimize your resources by joining bond events and gathering Magla from the King’s Rock.

      Exploring Dungeons


      The quickest way to earn Magla is by exploring Dungeons where you encounter various enemies. Focus on achieving as many Unscathed Triumphs as possible for extra rewards, so ensure you’re strong enough to defeat opponents before they strike.

      If you find Trance Crystals, take advantage of them to farm Magla by defeating the enemies that spawn. You may also encounter Elmenta, which you’ll need to defeat in one turn for substantial rewards.

      It’s wise to tackle weaker foes around the Trance Crystals using your melee weapon, avoiding starting a Squad Battle.

      Connecting with Followers


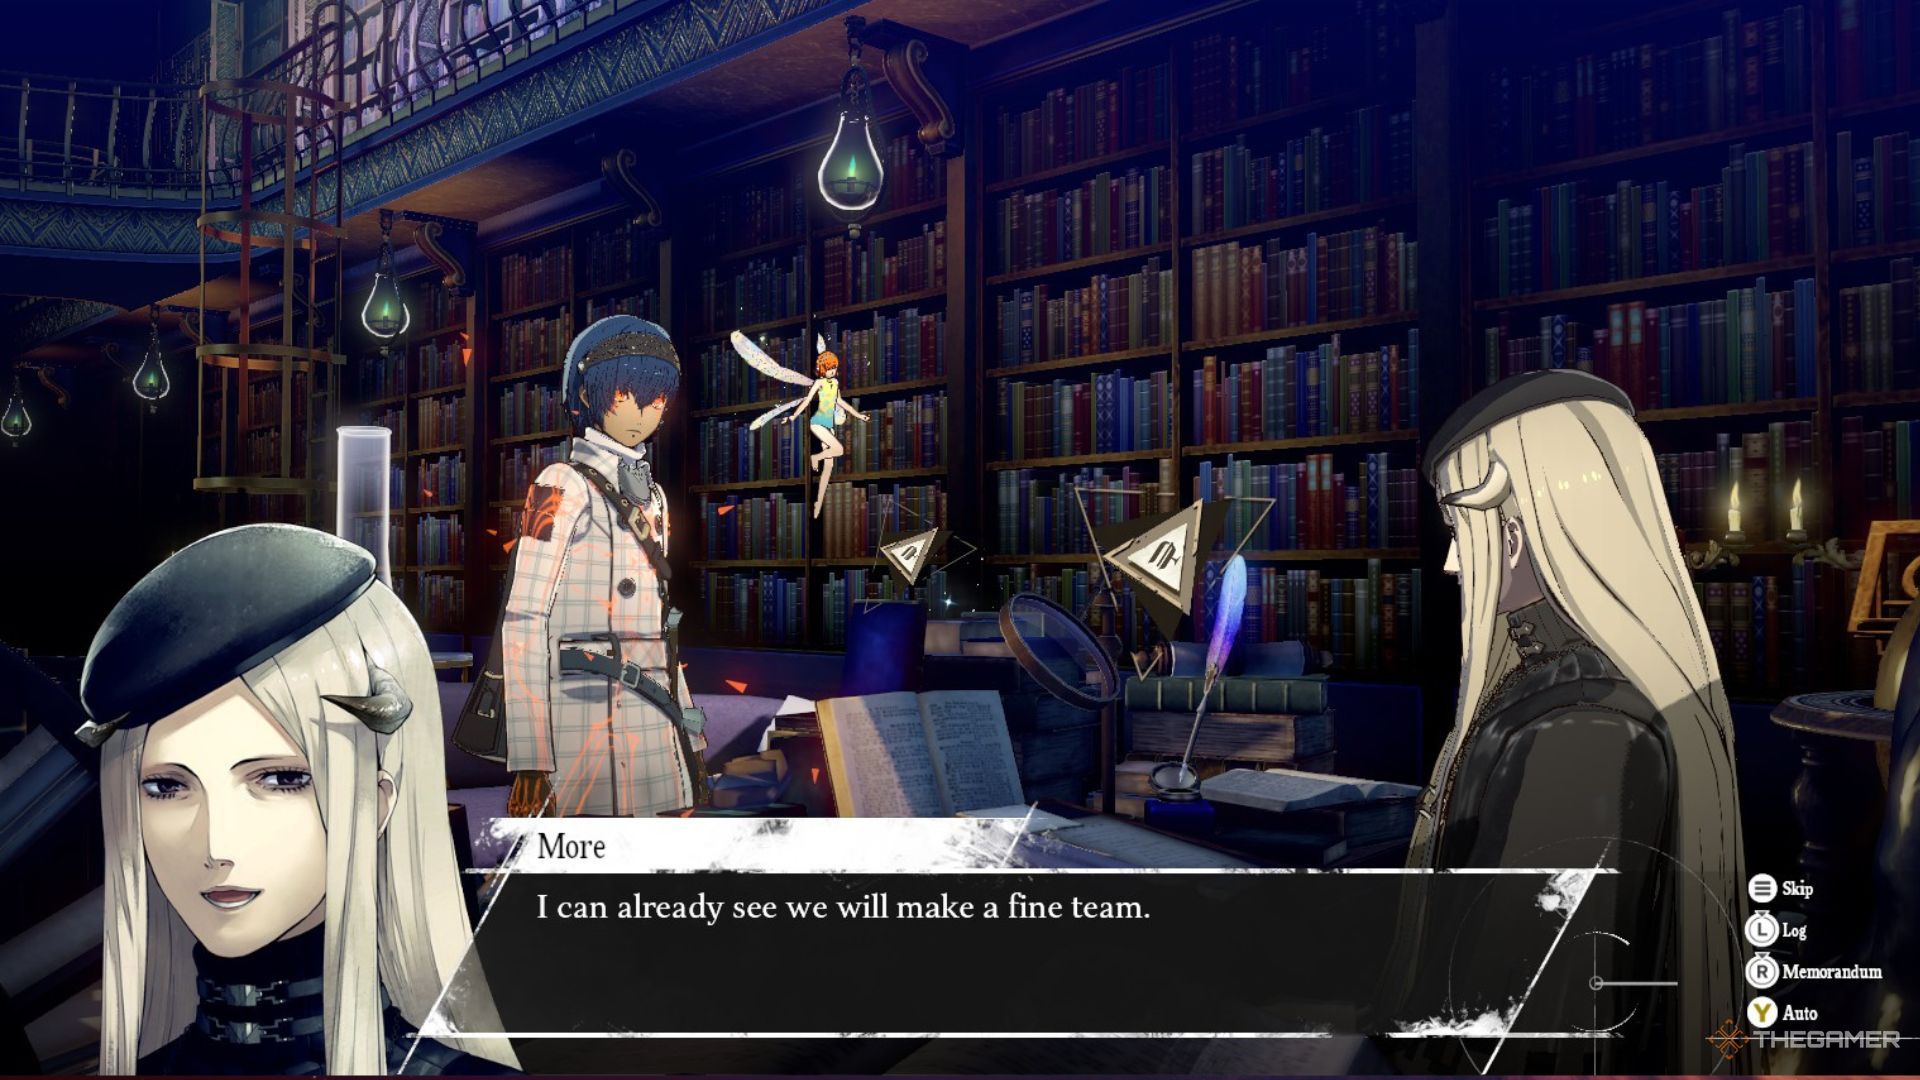
      Extra Magla is obtained during a bond event with More in Metaphor: ReFantazio.

      When participating in Bond events with Followers, you can earn extra Magla by selecting the most appropriate responses. Aim to impress them during discussions.

      Once you unlock the Gauntlet Runner, you can spend quality time with your companions to enhance your Kingly Virtues. They will engage you in conversation, and if you choose the right replies, you’ll earn additional Magla.

      Gathering Magla at King’s Rocks


      The protagonist is standing in front of the King's Rock in Metaphor: ReFantazio.

      Each town features a King’s Rock displaying popular candidates for kingship. Although your name might not be on the rock, you can earn Magla by increasing your popularity among local residents.

      You can boost your popularity through various activities, such as completing quests and bounties, which will endear the townsfolk to you for your help.