الوسم: Ravenswatch

  • Top Scarlet Enhancements and Builds in Ravenswatch

    Top Scarlet Enhancements and Builds in Ravenswatch

    In the game Ravenswatch, you initially have access to four characters, but there are actually eight playable characters in total. One of the characters you can start with is Scarlet. She stands out as one of the top choices for several reasons, particularly because she is easy to learn.

    Scarlet packs a punch with her powerful attacks and offers a variety of strategies to tackle different enemies. You’ll discover her unique playstyle as you progress through the 18-minute chapters, making it clear why she’s unlike any other character in the game.

    Understanding Scarlet’s Two Forms

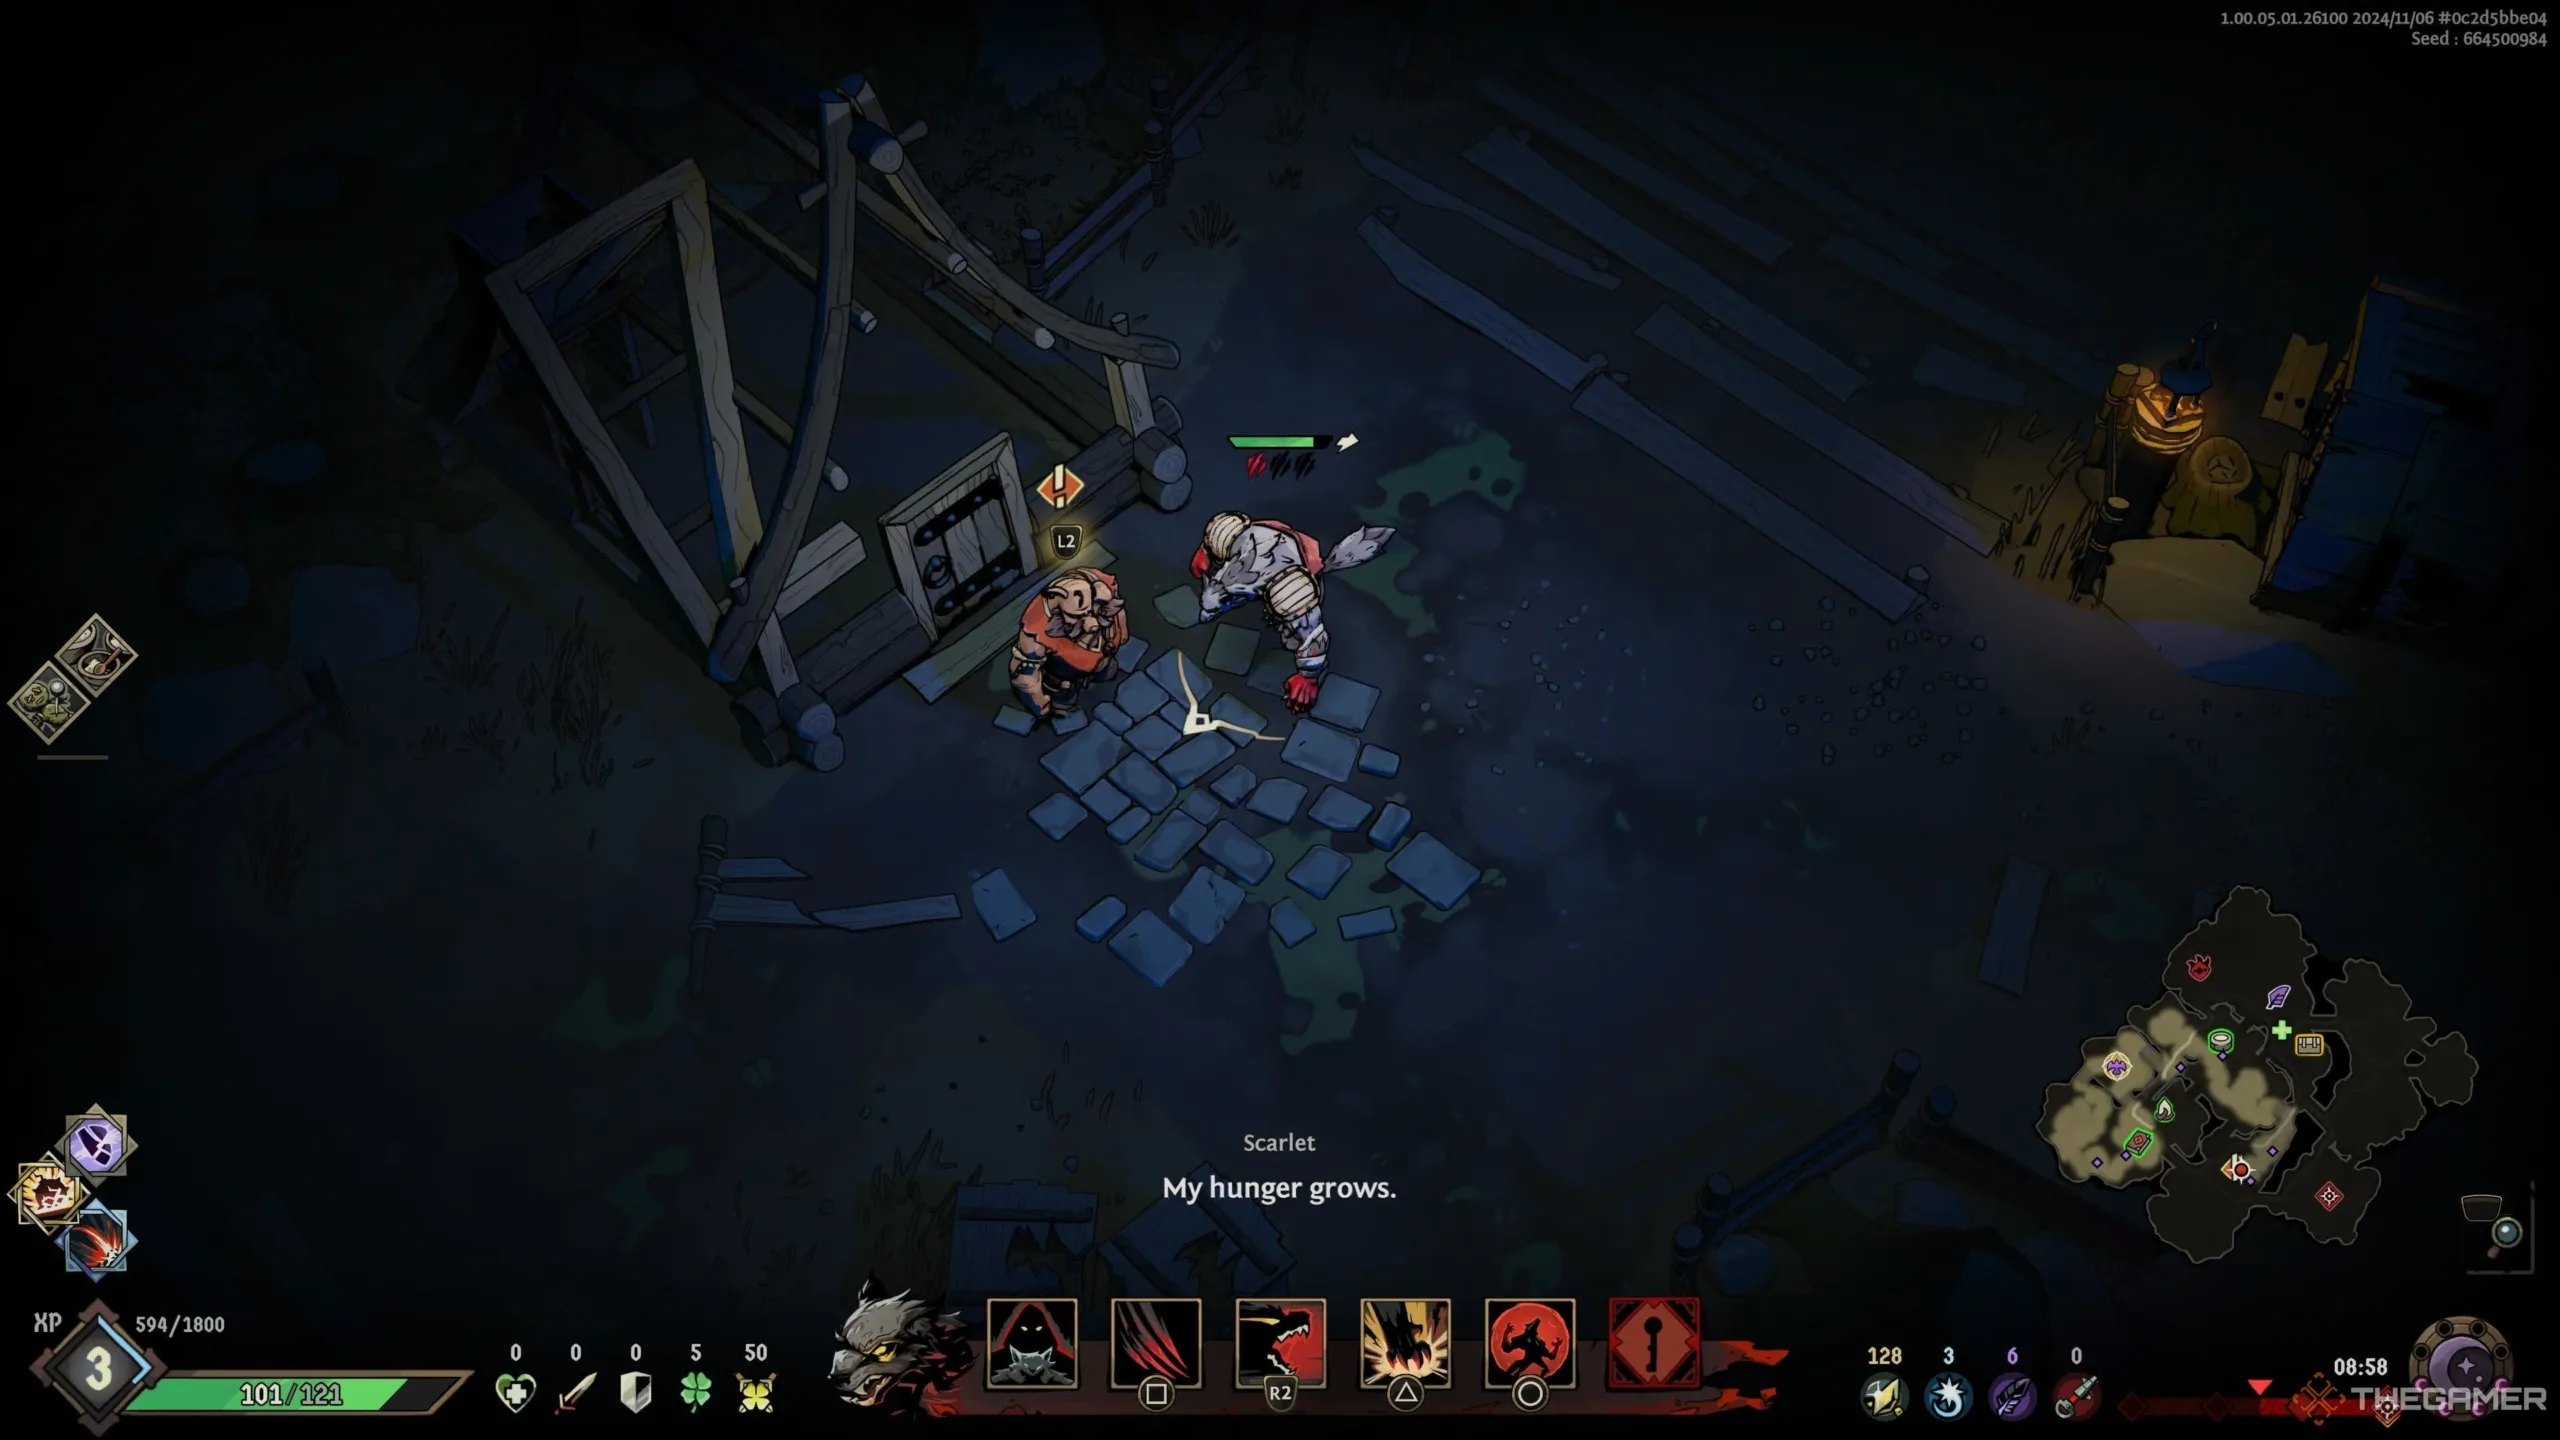
    What makes Scarlet especially interesting is that she can transform between two distinct forms. During the day, she is in her Human form, where she attacks using quick slashes and can throw bombs that detonate after a brief period.

    At night, she transforms into a massive creature and moves at a slower pace. Although her basic attacks remain similar, her special move changes into a powerful leap that delivers damage immediately, unlike the delayed bomb in her human form.

    Scarlet undergoes three transformations in each chapter.

    Combat requires a different approach depending on Scarlet’s form. In her monster form, you can adopt a much more aggressive style, while her human form allows you to leverage her speed to your advantage.

    Tips for Playing Scarlet
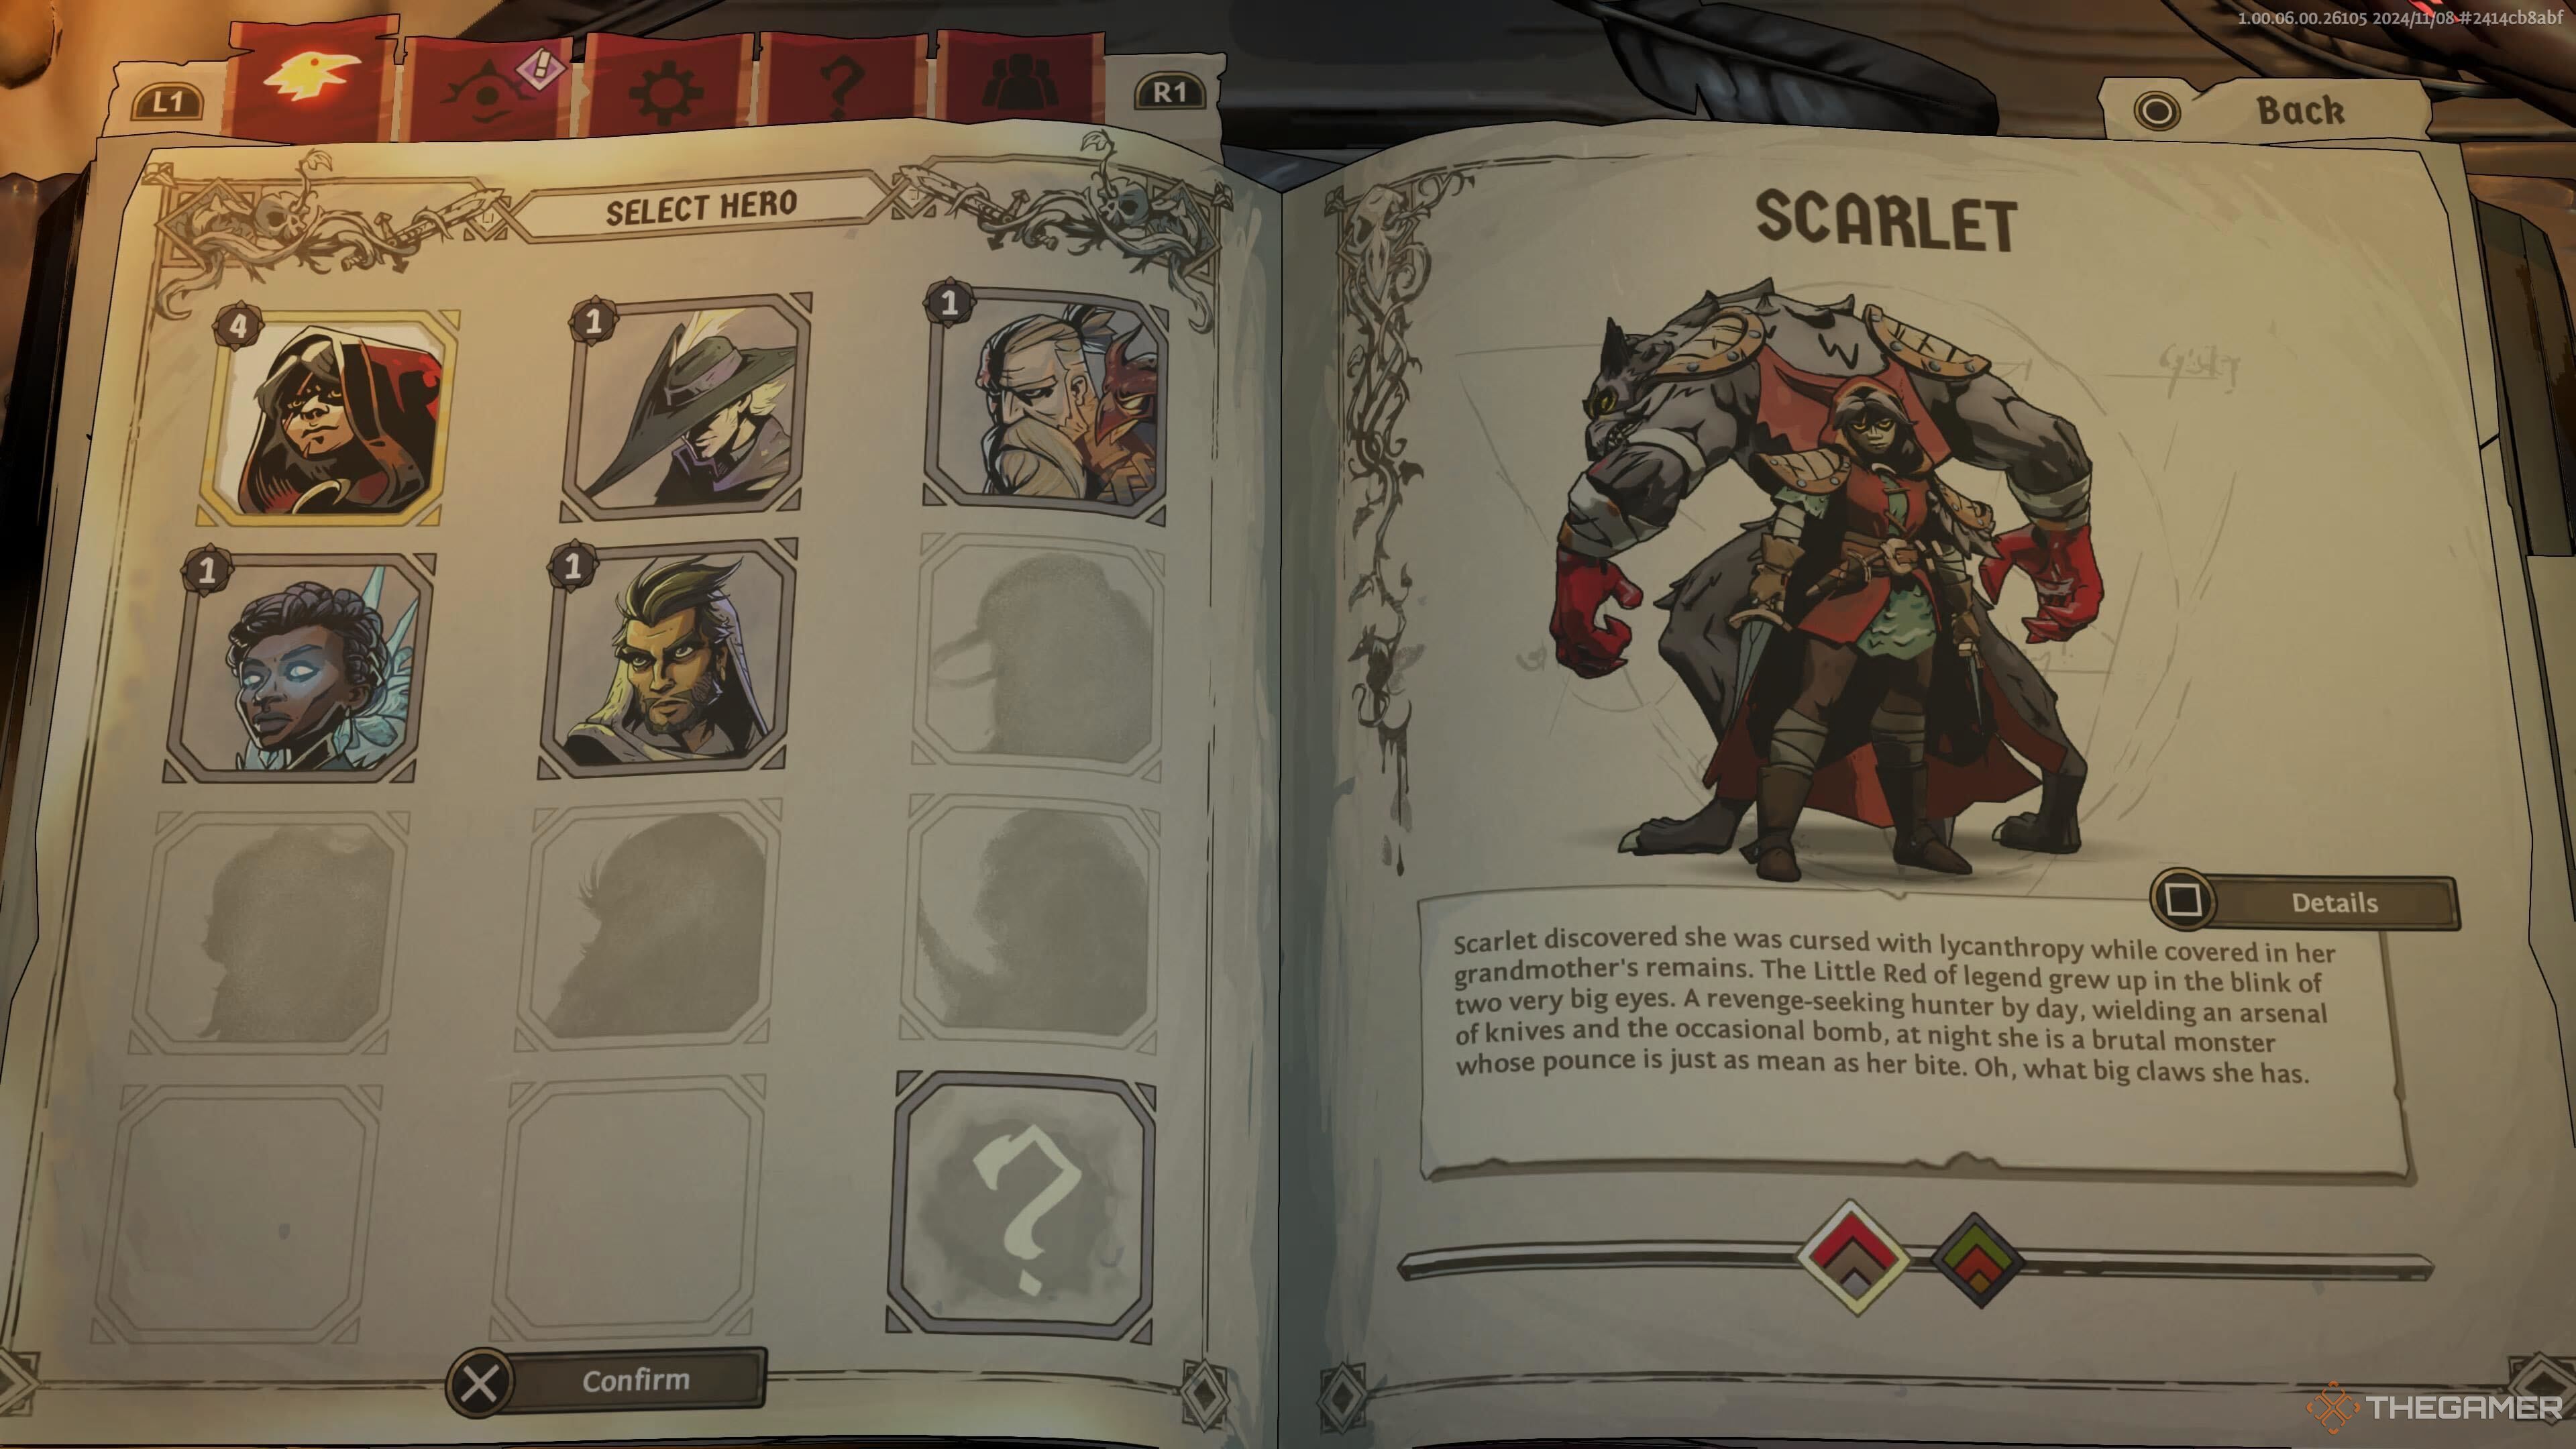

    The character select screen in Ravenswatch.

    To maximize your effectiveness with Scarlet, focus on her Power and Special attacks, and seek upgrades that lower the cooldowns on both actions.

    This will allow you to quickly engage and disengage from combat using a mix of Power slashes and ranged special moves. Since most enemies are more dangerous at close range, keeping your distance is crucial to avoid using up precious revival items.

    As you level up Scarlet, feel free to become bolder with your attacks.

    If you can stun enemies with your ranged attacks, you can then close the distance to unleash your melee strikes, dealing substantial damage in a brief window.

    Top Scarlet Build and Upgrades


    Scarlet's build screen in Ravenswatch.

    There are specific upgrades and Talents that enhance Scarlet’s gameplay greatly. Make an effort to secure the following upgrades, as they will provide significant advantages against tough bosses.

    Upgrade Details and Benefits
    Distant Explosions This upgrade increases the targeting range and damage of both specials by 40%. It’s beneficial in both forms, allowing you to attack from a safe distance.
    Short Wick While in human form, Scarlet’s bomb special explodes instantly without affecting her. Additionally, her special attack cooldowns are reduced by 20%, making them much more effective for aggressive play.
    Slash Flurry Using a Power attack triggers a following attack that unleashes five slashes with 20% increased damage within three seconds. This can culminate in significant damage, especially if enemies are made vulnerable.
    Wide Attacks Standard attacks gain a 40% range increase and deal 20% more damage. This upgrade makes Scarlet’s basic attacks much more effective and grows stronger with enhancements.
    Double Strike Attacks directly after a Dash initiate a double strike, delivering 400% damage and earning one Combo Point.
  • Team Up with Friends: Co-Op Play in Ravenswatch

    Team Up with Friends: Co-Op Play in Ravenswatch

    Quick Links

    Ravenswatch shares several features with games like Hades, but it distinguishes itself by allowing solo play or online teaming with up to three other players.

    Playing alone can be enjoyable, but teaming up with friends enhances the experience. You’ll have the advantage of distributing enemy attacks since not every foe will be targeting you. Plus, exploring more of the map in each chapter becomes easier with additional players. However, setting up multiplayer—whether with friends or in public games—can be a bit tricky and requires navigating through several options in Ravenswatch’s menus.

    How To Invite Friends

    To get your friends into your Ravenswatch lobby, open the game’s menu, which resembles a book. You’ll notice three plus icons under your character on the left page.

    Click on one of these icons, and a list of your friends will appear. Simply choose a friend to send an invitation to join your game, then wait for them to accept.

    Note: The menu only shows friends who are online and currently playing Ravenswatch.

    Alternatively, you can share your lobby code found at the bottom of the right page on the same screen. This code is a six-digit number.

    How To Join Friends

    If you want to enter a friend’s lobby using their code, go to the multiplayer menu and type their code into the designated box. This action will connect you to their lobby, where you can wait for them to kick off the game.

    You can also wait for your friend to invite you if you prefer not to use the code.

    The lobby code is particularly helpful when you want to join a game hosted by someone you know but aren’t friends with on the gaming platform.

    How To Play Public Multiplayer

    Another way to join multiplayer sessions in Ravenswatch is by entering a public lobby. This process is straightforward. Simply press triangle/Y or select the respective menu option to launch a search for public lobbies.

    Make sure to choose your desired difficulty level before starting the search, as this will affect your potential matches.

    Enjoy your adventures in Ravenswatch, whether you go solo or with friends!

  • Quick Tips for Scoring Dream Shards in Ravenswatch

    Quick Tips for Scoring Dream Shards in Ravenswatch

    In Ravenswatch, as with other roguelikes, your main goal is to gather as much of the essential currency as possible. This currency helps you enhance your hero, making it easier to tackle the challenging foes and powerful chapter bosses you’ll face during your playthrough.

    In this game, the primary currency is known as Dream Shards. You can use these shards for various upgrades that will assist you both between chapters and during them. Thus, it’s important to know how to efficiently gather Dream Shards to ensure you have plenty to spend whenever you need them.

    How to Collect Dream Shards

    While there are small and medium Dream Shard crystals scattered throughout each chapter, smashing these crystals isn’t the fastest way to amass shards. They provide a minimal return for the time spent battling nearby enemies and breaking them apart.

    Instead, focus on locating the larger Dream Shard crystals. On your mini-map, look for a glowing green crystal icon, which marks the location of a large Dream Shard crystal. When you find one, break it to receive a significant boost of 100 shards.

    When you head to these large crystals, be prepared to defeat a group of enemies, just as you do for other events around the map.

    Uses of Dream Shards

    Once you’ve gathered some Dream Shards, you can spend them in various ways, depending on what will benefit you most for that particular run. Here are some options:

    • Purchase additional Revive Feathers.
    • Invest in upgrades between chapters.
    • Acquire consumable items.
    • Exchange 100 shards for a Magical Object at the Wishing Well.

    It’s generally advisable to spend all your Dream Shards at the beginning of a chapter rather than saving them. This strategy will make it easier to face tougher enemies.

    You can monitor your current Dream Shard count at the bottom right of the screen, next to the mini-map. This way, you can keep track of your resources and make informed decisions during your adventure.

  • Discover Raven Eyes: How to Spot Them in Ravenswatch

    Discover Raven Eyes: How to Spot Them in Ravenswatch

    In the game Ravenswatch, each chapter features a procedurally generated map, and the mini-map starts out mostly covered in fog. This makes navigation one of the major challenges as players strive to grow stronger as they progress.

    During the allotted 18 minutes to explore each chapter before facing the boss, players must defeat enemies, discover health pickups, open treasure chests, and assist local characters. Knowing the locations of useful items on the map can significantly enhance your efficiency, rather than relying on chance to find them.

    How to Locate Raven Eyes

    When you enter a chapter for the first time, you’ll notice several icons appear on the mini-map in the lower right corner. Common icons include chests outlined in green, a well symbol, and plus signs indicating where to increase your health.

    Keep an eye out for small eye symbols on the mini-map. If you spot one, make your way to it. Upon arrival, you’ll need to defeat nearby enemies to activate the eye. After that, look for a glowing purple object covered by a cloth; interacting with it will uncover the eye for activation.

    However, don’t expect the Raven Eye icon to be present every time you begin a chapter. There will definitely be at least one somewhere in the area, so explore until you find it, particularly in places where other icons aren’t visible.

    What Raven Eyes Do

    Once you’ve activated a Raven Eye, you’ll see its effect: these eyes clear a portion of fog from your mini-map, revealing nearby features. This includes locations of mini-bosses, other Raven Eyes, and healing spots.

    Finding Raven Eyes is crucial because they enable you to plan your path more effectively in each chapter, preventing wasted time searching for objectives and battling enemies. This optimization allows you to maximize your gameplay experience.

    It’s worth noting that each chapter requires you to find new Raven Eyes. Their effects do not carry over, so aim to locate them early in the chapter to get the most out of their revelations, as you’ll likely have explored enough by the time you find them later on.

  • Locating Boss Keys in Ravenswatch: A Complete Guide

    Locating Boss Keys in Ravenswatch: A Complete Guide

    In Ravenswatch, you’ll find that interacting with most elements on the map is straightforward. To kick off mini-boss fights, commence quests, or increase your maximum health using fountains, simply hold down one button after defeating a group of foes.

    However, there are some red glowing locks that you won’t be able to engage with right away. These locks require keys that you may not know how to find, but they’re worth your effort because the rewards for defeating the mini-boss that appears are significant and beneficial for your battle against the chapter boss.

    How to Locate Keys

    Once you discover a locked area, you won’t find the key marked on the mini-map. This means you’ll have to look for it yourself. Since the layout of the map changes with each run, the keys are never located in the same spot. Therefore, I can’t provide you with a specific location.

    Keys may not be positioned near their corresponding locks. Generally, you can find keys in regions close to mini-bosses or around other notable events featuring mini-bosses.

    Keep an eye out for a small glowing brown object nearby. You’ll often find enemies circling the key. Your best bet is to explore the map thoroughly, trying to stumble upon a key along the way.

    The most effective strategy for dealing with keys and locks in Ravenswatch is to simply wait until you come across a key before heading to unlock the boss.

    Boss Encounter and Rewards

    Once you find a key, return to the lock and interact with it to initiate a fight with a mini-boss.

    This battle can be quite tough, comparable to fighting chapter bosses, so make sure your character is well-prepared. You’ll have a tight three-minute limit to defeat the boss, requiring swift damage-dealing. Failing to defeat the mini-boss in this time frame means missing out on rewards.

    Even if you don’t succeed in defeating the mini-boss within three minutes, you’ll still need to continue battling it until either you win or the chapter reaches its 18-minute cap.

    If you manage to conquer a locked mini-boss, you’ll earn experience points (XP) and can choose from three legendary or cursed magical items to aid you in the remainder of your game session. To collect your reward, you’ll need to open a chest that appears after you defeat the boss.

  • Mastering The Pied Piper Role in Ravenswatch

    Mastering The Pied Piper Role in Ravenswatch

    In Ravenswatch, players can choose from various characters inspired by well-known figures from fairy tales and legends. One of these is The Pied Piper, renowned for using his music to attract rats and children. Fortunately, in this game, he’s solely recognized for his ability to command rats, as there are no children involved.

    Players can harness the powers of The Pied Piper and his unique flute to navigate through the game. Below is a comprehensive overview of his playstyle and the skills that enhance his effectiveness.

    How to Play as The Pied Piper

    The Pied Piper wields a remarkable flute that sends musical notes flying towards his enemies. He excels in ranged attacks, which means you don’t have to put yourself in danger by getting too close. Maintain your distance and let the music do the work.

    Since many enemies inflict damage from close range, they will relentlessly approach you. A smart strategy is to keep retreating while firing at them. This allows you to inflict damage before they can reach you.

    What’s even better is that The Pied Piper’s flute doesn’t require reloading—you can continuously unleash notes, only pausing to activate an ability. During encounters, it’s crucial to keep launching attacks without interruption.

    The Pied Piper isn’t fighting solo; he commands a horde of rats. You start with a few, and as you progress, more will spawn. Most of the time, these rats remain calm until summoned. Effectively utilizing these rats is essential to maximize your damage output as they can become formidable over time.

    The Pied Piper’s Abilities and How to Use Them

    Like all characters, The Pied Piper possesses a set of skills that can be upgraded during gameplay. Below are his abilities along with tips for optimal use.

    Ability Type Function Usage Tips
    Infestation Trait Commands your rats to attack enemies. They wreak havoc for a short time before they perish. Wait until you have a larger number of rats before using this ability to maximize damage.
    Flute Attack Fires musical notes continuously at enemies. Use this all the time, ensuring you maintain distance when attacking.
    Solo Power Releases waves of potent notes effective against tougher foes. With only a four-second recharge, use this frequently in battles.
    Fortissimo Special Creates a circle making enemies within it more vulnerable to damage. Ideal for boss fights and can be combined with Infestation for great effect.
    Acoustic Blast Defense Emits a shockwave that pushes enemies back and makes you briefly untouchable. Utilize this to enhance an enemy’s stagger gauge and stun them for tactical advantages.
    Unchained Melody Ultimate Moves swiftly while firing powerful, auto-targeting notes. Great for quickly handling smaller enemies during pivotal battle moments.
    Plague of Rats Ultimate Summons a large swarm of rats under your control to deal tremendous damage to foes. Effective for damaging multiple enemies simultaneously.

    The Best Talents for The Pied Piper

    During your runs, you can acquire various upgrades known as talents that enhance The Pied Piper and his abilities. Each time you receive a talent, you will choose from several options. Here are some excellent selections to consider:

    Upgrade Effect
    Explosive Rats When your rats attack, they explode upon dying, enhancing their lethality.
    Grand Finale Causes your Fortissimo ability to explode upon expiring, damaging and making enemies vulnerable as a bonus.
    Sniper Increases the range of your standard attacks, making you an even more dangerous long-range fighter.
    Explosive Blast The Acoustic Blast now deals significant damage, both stunning and impacting enemies.
    Sforzando Pulls enemies into the center of the Fortissimo area to assist with crowd control and setups for area attacks.
    Stimulant Vibes Makes rats invulnerable while in the Fortissimo zone, leading to a stronger combination of attacks.
    Leeching Charm Grants you and nearby allies health based on the number of attacks made by your rats, providing a helpful boost.

    Equipping the right talents can drastically improve your gameplay experience with The Pied Piper, allowing you to effectively manage battles and enhance your overall performance.

  • Discovering and Completing Quests in Ravenswatch

    Discovering and Completing Quests in Ravenswatch

    During each chapter of Ravenswatch, you have just 18 minutes to tackle as much as you can. The map is dotted with various icons, but with limited time, you’ll need to choose wisely which tasks to take on.

    One of the most rewarding activities you can engage in is completing quests for the locals. These quests offer valuable rewards and are often encountered early in the game. Although the game doesn’t provide much explanation about them, understanding how they work and the benefits they offer will help you decide if they’re worth your time compared to other options.

    How to Discover Quests

    When starting a session in Ravenswatch, you won’t find any tutorials on discovering quests, but they’re fairly easy to locate. Keep an eye on the mini-map located at the bottom right of the screen and look for an exclamation mark icon. Once you’ve spotted it, make your way to that location.

    If you can’t see an exclamation mark, try searching for Raven Eyes to unveil additional parts of the map. These will help make the quest icons visible to you.

    Once you arrive at the quest location, you’ll typically find an NPC who needs assistance. In some cases, however, the quest could involve a different task, like rescuing someone.

    Completing Quests

    The specifics of how to complete a quest can vary. Most quests involve fetching items, which can range from gathering about 15 pieces of wood to complete a task or another item type entirely.

    The location of the required materials will be marked on your mini-map, leading you to the right spot for collection. After you have gathered everything, return to the NPC to deliver the items. Be mindful of your time—if you take too long, the NPC may come under attack, and you’ll need to step in to protect them.

    Not all quests are purely about fetching. Some may require you to rescue an NPC by defeating multiple enemies, including a mini-boss. These missions are significantly more challenging, but the rewards tend to be greater. As before, you’ll need to complete these tasks quickly to prevent the NPC from getting harmed.

    Rewards for Quests

    Completing any quest will earn you some experience points (XP), but the real incentive lies in the choice of rewards. After finishing a quest, you will be offered a selection of three consumables to aid you further in your adventure.

    It’s important to note that the consumables available to you will always be of Legendary quality, ensuring they will be beneficial for your upcoming challenges. Choose whatever you feel will be the most helpful, and then continue your quest to bolster your skills before facing the chapter’s boss.

  • All Mini-Boss Locations & Defeat Strategies in Ravenswatch

    All Mini-Boss Locations & Defeat Strategies in Ravenswatch

    As you navigate the procedurally generated landscape in each chapter of Ravenswatch, you’ll encounter many options on how to use your 18 minutes. Will you enhance your health, hunt for Dream Shards, or challenge mini-bosses for valuable rewards?

    Taking on mini-bosses can be quite the challenge, as they pit you against formidable foes earlier in the game than you might expect. You typically have just a few minutes to defeat them, but the gains, including experience points and hero upgrades, make the effort worthwhile.

    How to Locate Mini-Bosses

    You can find mini-bosses in various locations throughout Ravenswatch by looking for specific icons on your mini-map.

    First, mini-bosses are often tied to Quests, marked by an exclamation point. Instead of gathering materials for someone, your task will be to rescue an NPC from a mini-boss encounter. Prepare yourself, as you’ll need to defeat this tough adversary within a three-minute time frame to earn your rewards.

    Another way to find mini-bosses is by locating the skull and crossbones icon on the map. To access this, you’ll need to locate a key hidden somewhere in the surroundings. Once unlocked, you’ll have a limited time to confront and defeat the boss.

    If you succeed, you’ll receive a choice of three items: either a Legendary or Cursed Magical Object. Keep in mind that failing to defeat the boss within the time limit means you walk away empty-handed.

    If you can’t spot either icon at the start of a chapter, seek out Raven Eyes, which can uncover more of the map for you. There is guaranteed to be one Quest and one mini-boss battle available; you simply need to find them.

    All Mini-Bosses

    In Ravenswatch, there are five mini-bosses scattered throughout various events on the map in each chapter. Most of these mini-bosses are essentially stronger versions of regular enemies but come with enhanced health and improved attacks.

    The list includes:

    • Brigit, the White Lady
    • Marsh Ghoul Boss
    • Karkinos, Scourge of the Reefs
    • Steropes, the Cyclop
    • Arthur, the Fallen King

    After defeating a mini-boss, you’ll earn significant XP as well as a Magical Object from a chest. You might even gain enough experience to unlock a new Talent and level up your character.

    There’s also a trophy/achievement called Giant Slayer, which you’ll unlock by defeating three optional mini-bosses in a single run. This achievement is a Bronze trophy for PlayStation gamers.