الوسم: Rail

  • UAE’s First 5-Star Luxury Train Launches in 2028

    UAE’s First 5-Star Luxury Train Launches in 2028

    Dubai is on the verge of unveiling a new luxury travel experience that’s like having a five-star hotel on wheels. The UAE is gearing up to introduce a high-end train journey that promises to transform rail travel in the region.

    Scheduled to launch in 2028, the Etihad Rail luxury train will whisk passengers from the coast of Fujairah through stunning landscapes, ending amidst the golden dunes of Liwa Desert in Abu Dhabi. Crafted by Italy’s Arsenale Group, the train will boast 15 lavish carriages, including private suites, gourmet dining options, a presidential suite, and a VIP lounge styled in traditional Arabian elegance.

    Dubbed a “five-star hotel on rails,” this luxury service offers travelers a blend of comfort and adventure—waking up to mountain vistas in Hatta, or dining under the stars in the desert. The regular Etihad Rail passenger line is expected to start operating next year, laying the groundwork for this elite experience that could revolutionize how visitors explore the UAE.

    Initially, the train will connect 11 locations within the country, but over time, it’s set to link all seven emirates, significantly enhancing the nation’s transportation system and offering a new way to see the Emirates in style.

  • Top Evernight Builds, Light Cones, And Relics For Completing Honkai: Star Rail

    Top Evernight Builds, Light Cones, And Relics For Completing Honkai: Star Rail

    Honkai: Star Rail has consistently released five-star characters that fans eagerly anticipate. There’s something particularly exciting about finally obtaining a five-star version of a character you’ve known and loved for a long time. That’s exactly what happened in the Version 3.6 update.

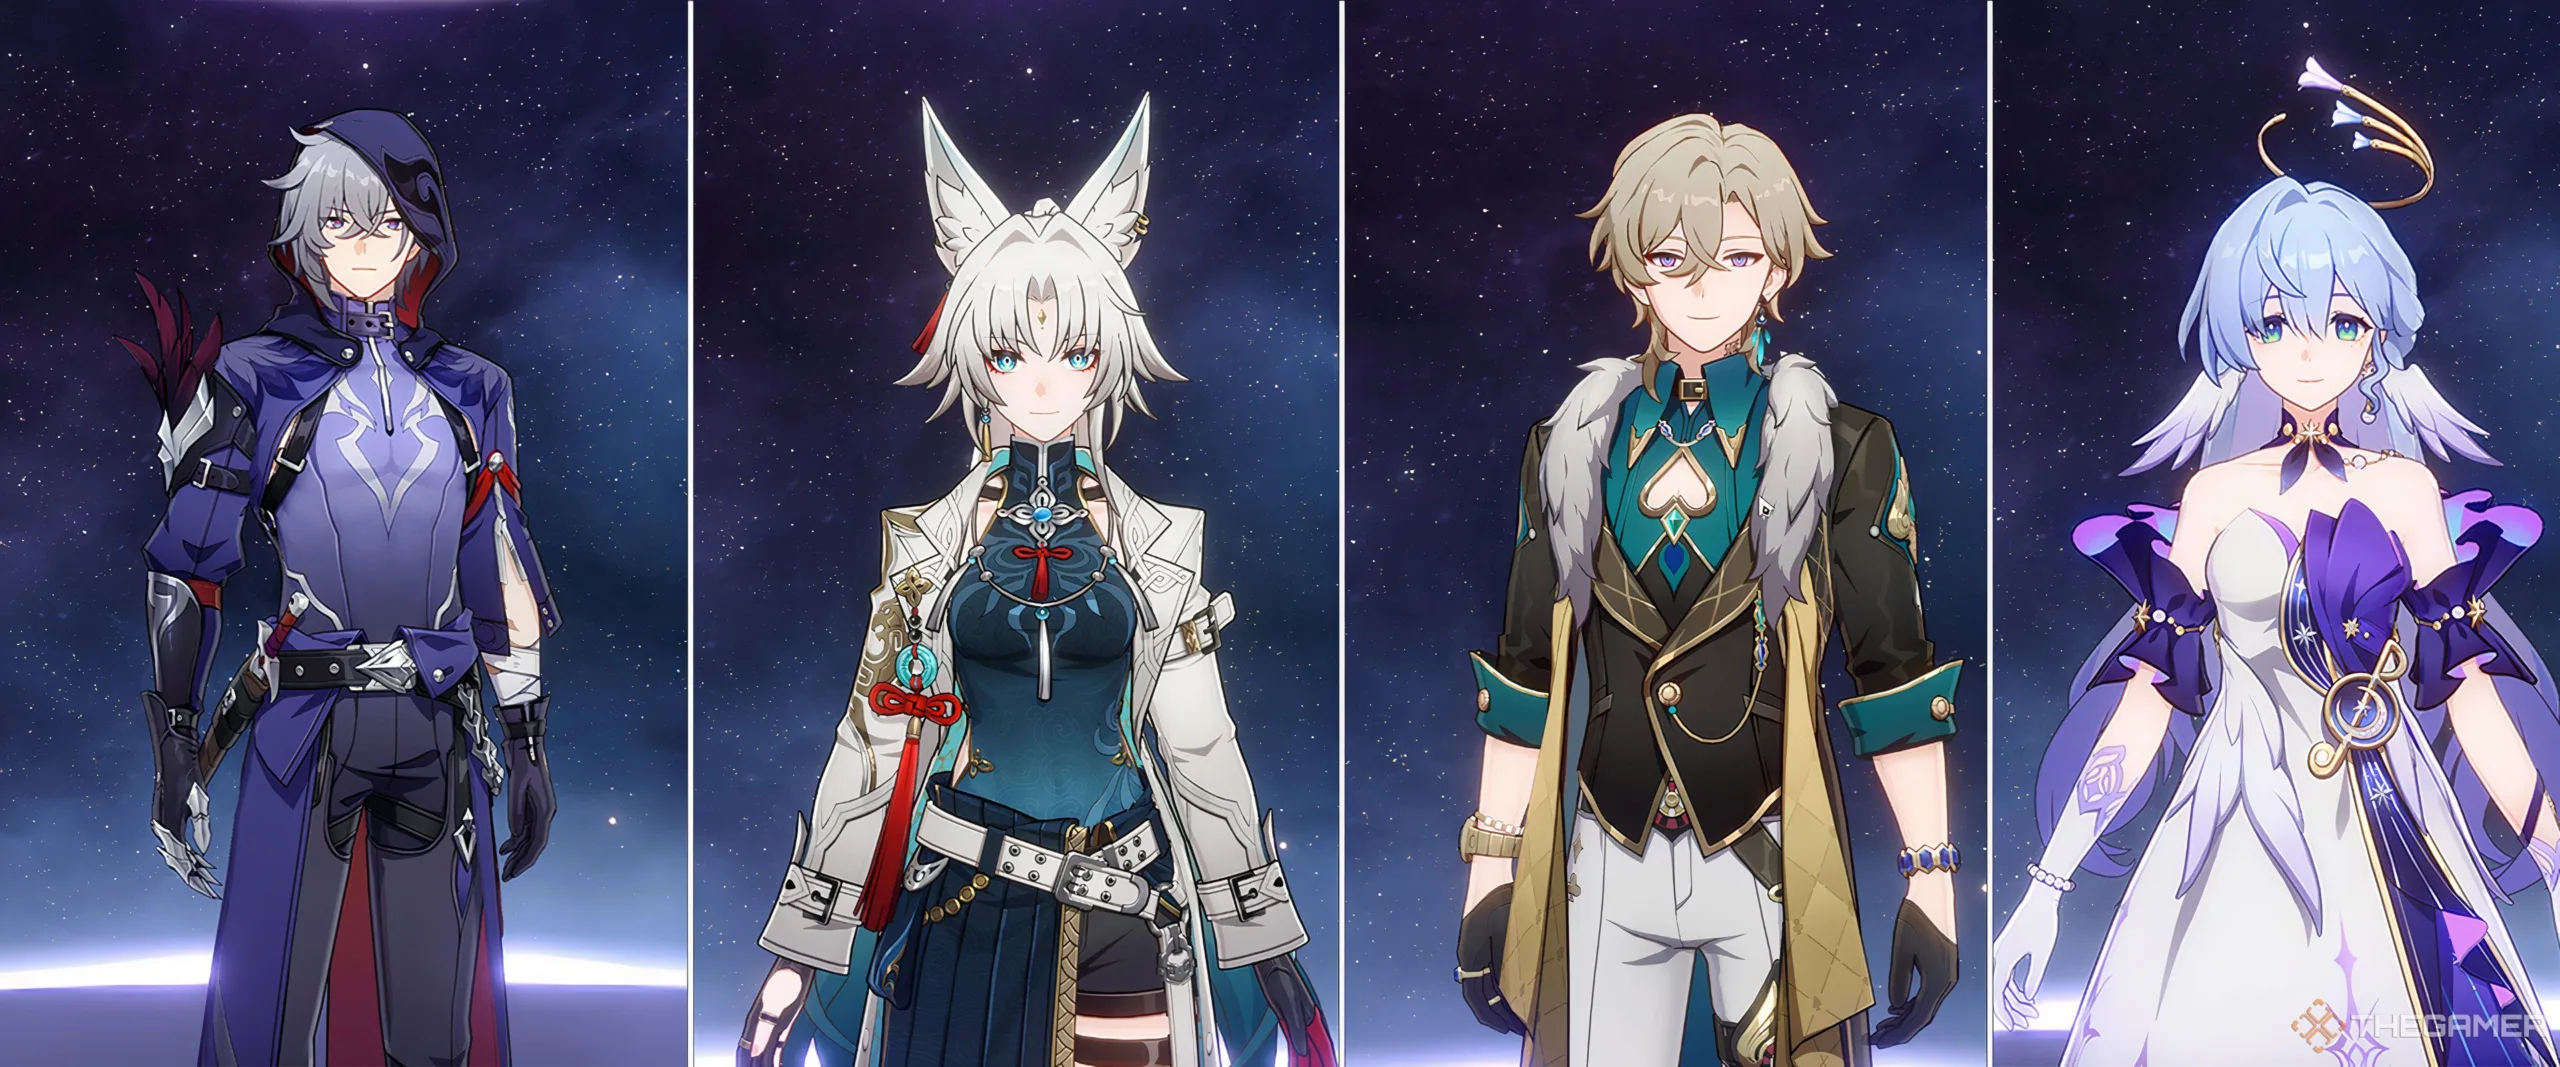
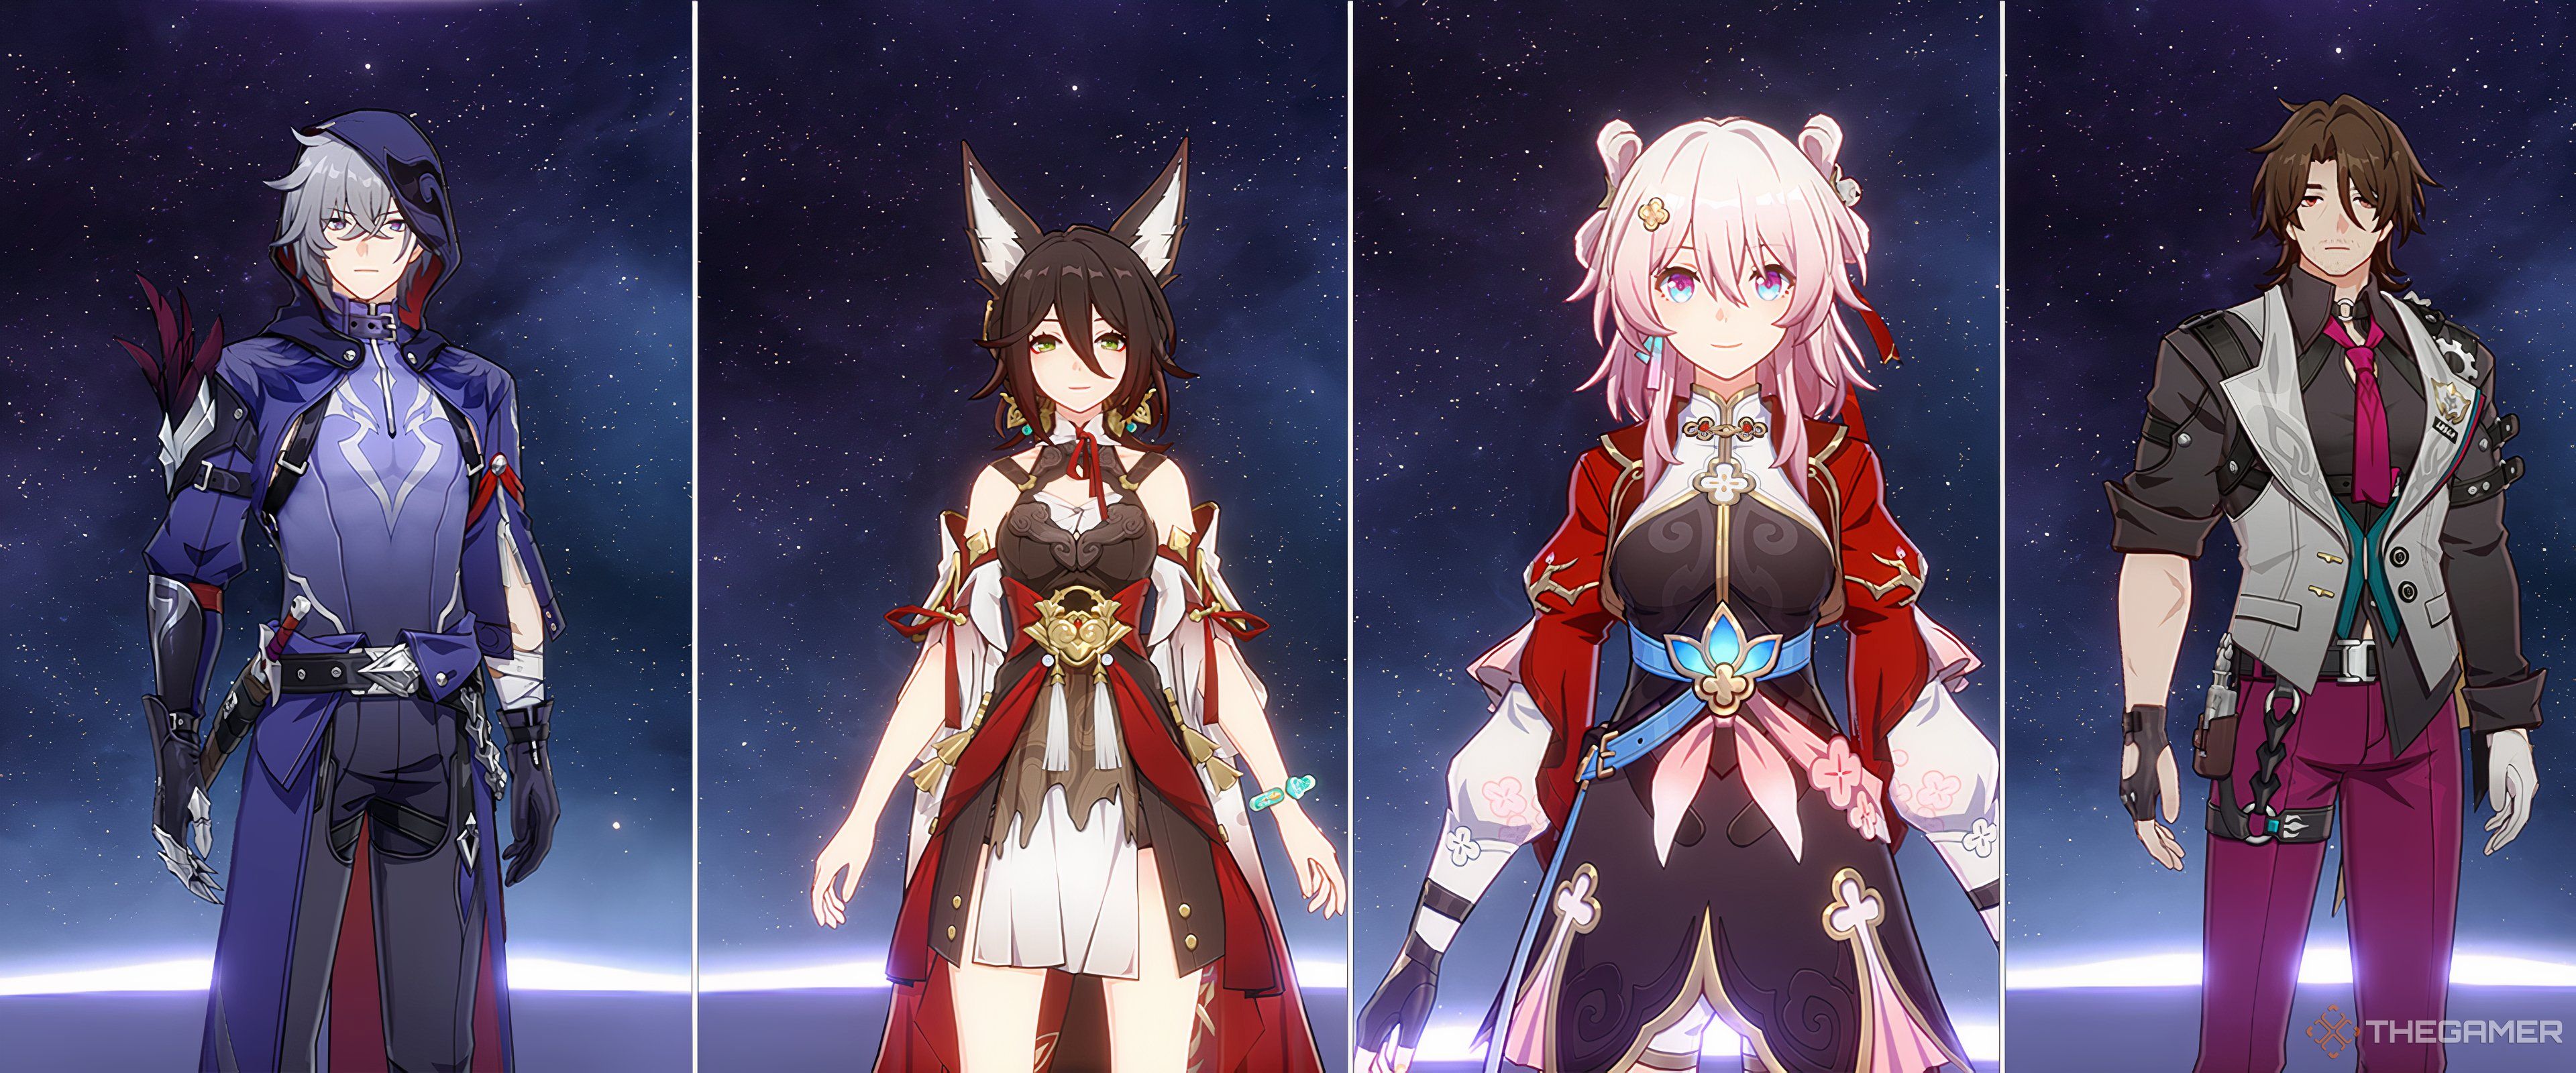
    In the first half of this update, Evernight was introduced as a playable character. She’s a different version of March 7th, following the Remembrance path. Her abilities clearly reflect her devotion to this path, but they also make her quite difficult to use effectively.

    Best Light Cones for Evernight

    The light cone plays the most crucial role in any character’s kit in Honkai: Star Rail, and Evernight is no exception. While she has several good light cone options, her signature one, called To Evernight’s Star, is undoubtedly the best. It provides impressive benefits like increasing her HP and damage by 30%, and she also regenerates energy when her memosprite disappears. When her memosprite uses any skill, all her memosprites ignore 20% of the enemy’s defense.

    Other good choices include:

    • Make Farewells More Beautiful: Best if you want Evernight to serve as a damage dealer. It allows her to ignore 30% of the enemy’s defense when she loses HP with her skill, along with the standard 30% HP boost. Plus, her actions can be advanced when her memosprite vanishes.

    • Memory’s Curtain Never Falls: A decent all-rounder that boosts her speed and enhances her allies’ damage after she uses her skill. This light cone is especially friendly for free-to-play players.

    • The Flower Remembers: This is a four-star battle pass light cone, increasing her Crit Damage by 24% and also boosting her memosprite’s Crit Damage by the same amount. It’s her strongest four-star option.

    Best Relics and Planar Ornaments for Evernight

    Grouping two or more relics and ornaments from the same set provides powerful bonuses. The top sets for Evernight are:

    • World-Remaking Deliverer: This set increases her Crit Rate by 8% with two pieces and grants a 24% max HP boost when she uses her basic attack or skill with her memosprite present. It also boosts all allies’ damage by 15% under the same conditions.

    • Bone Collection’s Serene Demesne: Offers a 12% Max HP boost and, when her HP exceeds 5,000, grants her 28% Crit Damage. This is excellent for consistent damage output.

    Other viable options include:

    • Hunter of Glacial Forest: Good early-game relic for Crit Damage and Ice Damage boosts, but better to replace it later.

    For planar ornaments:

    • Bone Collection’s Serene Demesne is highly effective, providing a 12% Max HP boost and 28% Crit Damage when her HP is above 5,000—a condition that’s usually met.

    • The Wondrous BananAmusement Park: Offers up to a 48% Crit Damage boost when her memosprite is active, making it ideal for maximizing her damage potential.

    • Arcadia of Woven Dreams: Potentially increases her damage by up to 36% if your team includes four Remembrance characters, making it a solid choice for DPS-oriented builds.

    Stat Priority for Evernight

    • Focus first on Crit Damage and Crit Rate.
    • Then prioritize HP percentage on her Feet, Sphere, and Rope.
    • Substats should aim for Crit Rate or Crit Damage, followed by HP percentage, then Speed.

    It’s recommended to aim for around 70% Crit Rate, with as much Crit Damage and HP as possible.

    Team Composition for Evernight

    Currently, Evernight fits best in teams with Castorice, Remembrance Trailblazer, and Hyacine. Hyacine is somewhat replaceable, but using her light cone, which reduces team HP with each Hyacine attack, allows Evernight to gain free memosprite stacks. Without Hyacine, alternatives like Luocha or Lingsha can work to some extent. However, if you lack Castorice, her practical use drops significantly, although she can still be paired with characters like Aglaea for lesser impact or waited for upcoming Remembrance DPS characters.

    Overview and Trace Priority

    Evernight’s kit is complex, especially with her memosprite interactions. Her abilities include boosting all memosprites’ Crit Damage based on her Crit Damage, and her ultimate puts her in the Darkest Riddle state, increasing enemies’ damage taken by 30% and herself and her memosprite’s damage by 60%. Maintaining this state requires managing stacks, which are consumed with her self-destruct attack.

    She has a memosprite called Evey, summoned at battle start, and through her skill or ultimate. Evey’s attacks are powerful, especially when she has 16 or more Memoria stacks, which can be gained by her skill, her memosprite’s actions, or HP loss. Her kit revolves around summoning Evey repeatedly, using its enhanced attacks to deal damage and buff allies.

    Her trace upgrades should follow this order:

    1. Skill
    2. Ultimate
    3. Memosprite Skill
    4. Memosprite Talent
    5. Talent
    6. Basic Attack (less priority)
  • Top Mydei Builds and Light Cones for Honkai: Star Rail

    Top Mydei Builds and Light Cones for Honkai: Star Rail

    Once you arrive at the Amphoreus planet while journeying in Honkai: Star Rail, chaos quickly envelops both the Trailblazer and Dan Heng. As the narrative progresses, you’ll encounter various members of the Chrysos Heir organization along with other allies who can assist you in your adventure.

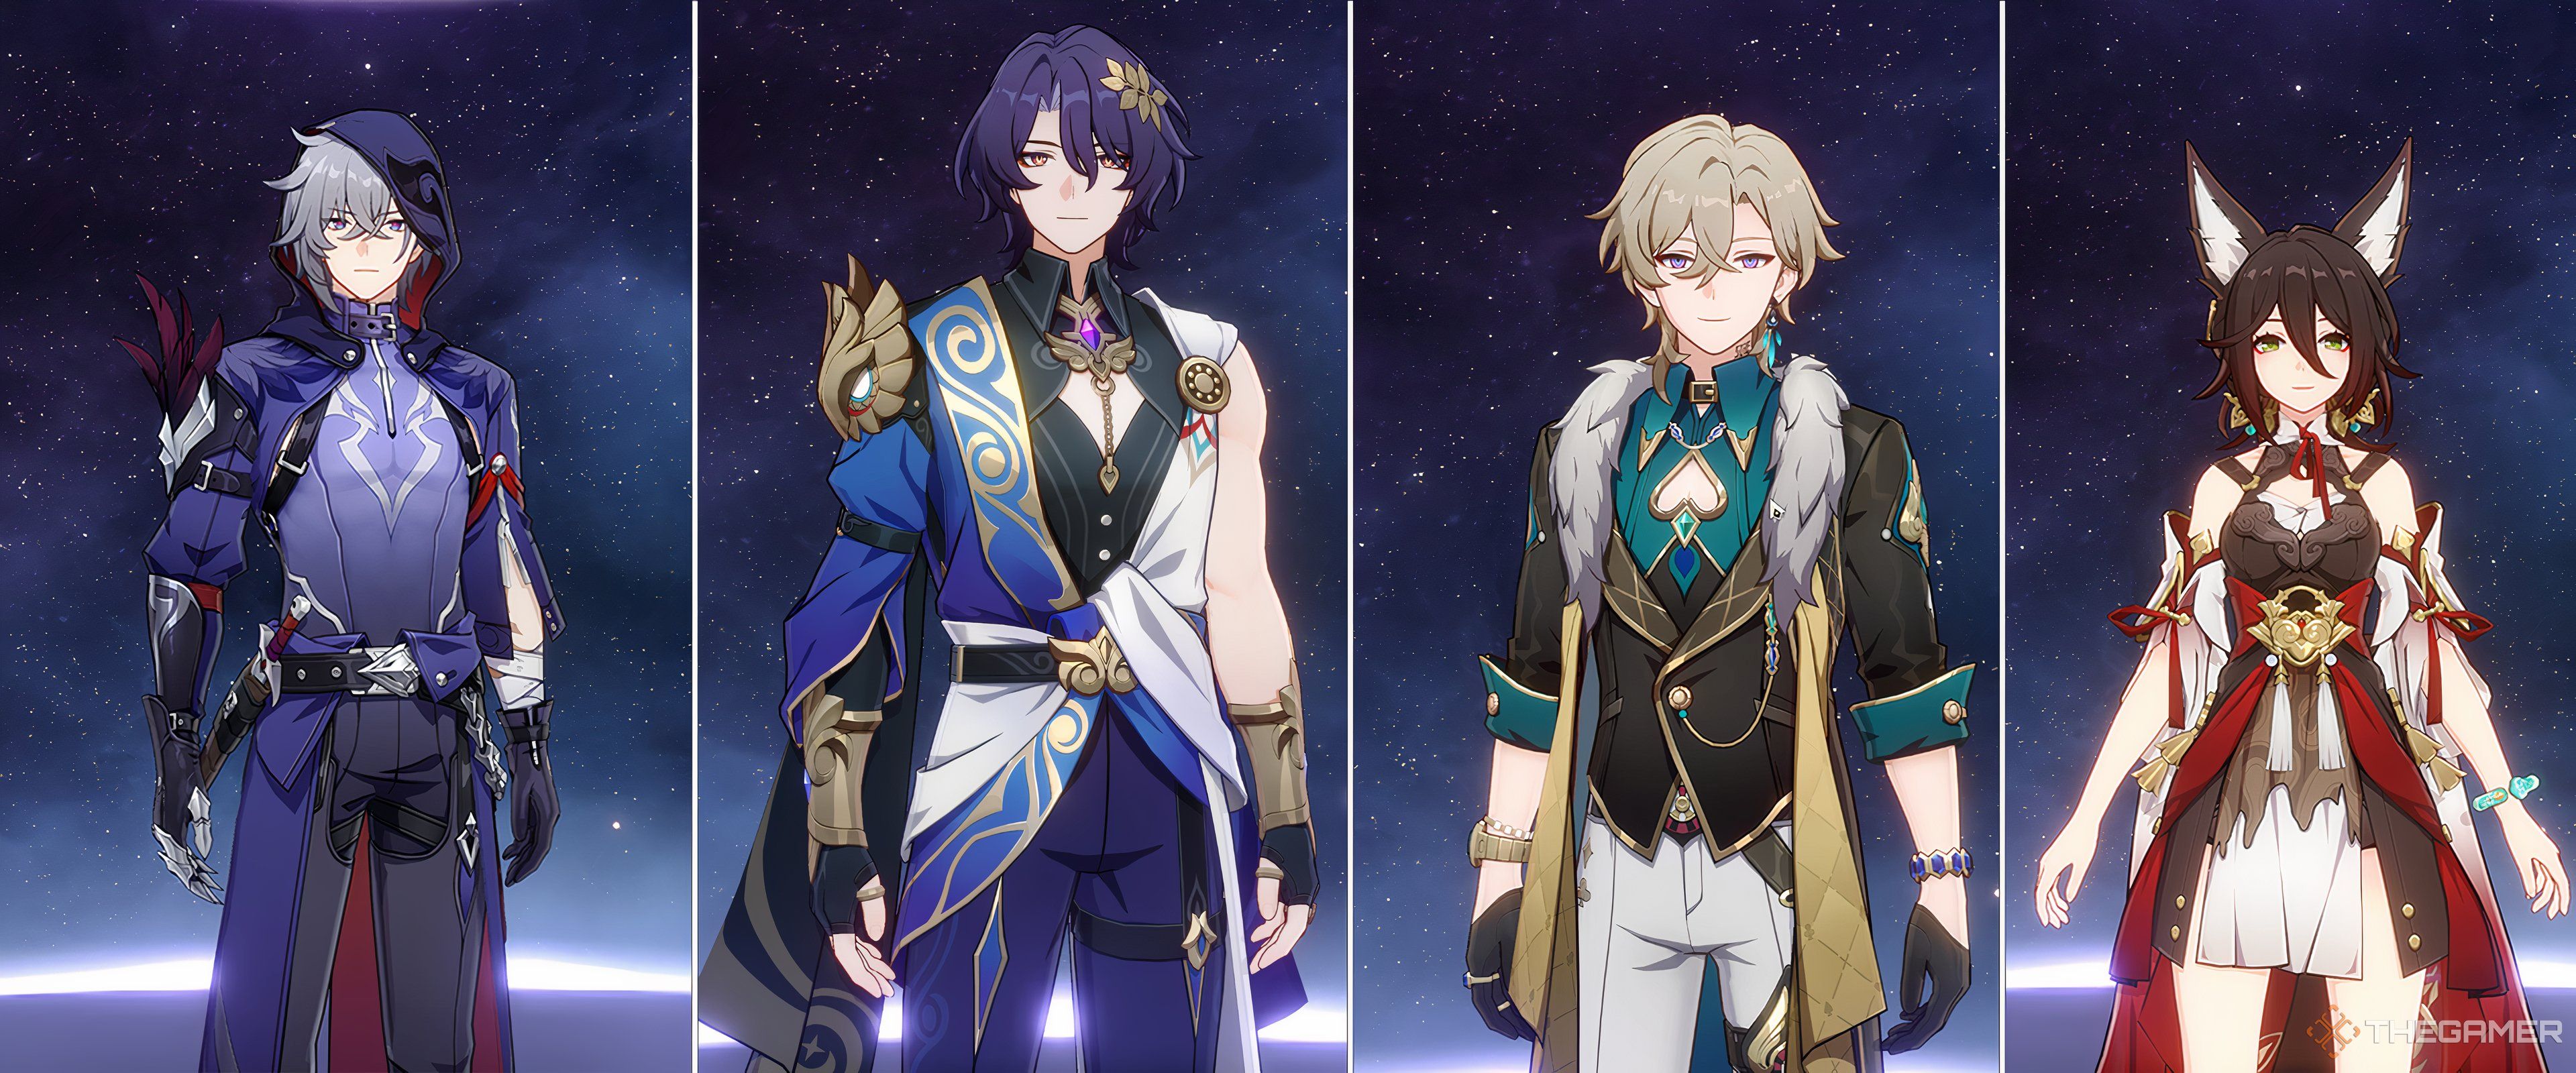
    Among these characters, some like Mydei become playable units, particularly introduced in the latter half of the Version 3.1 update. His gameplay abilities align well with his character traits, making him an interesting choice for players. Here’s a complete guide on how to build him effectively.

    Mydei Overview

    Attribute Details
    Rarity Five-Star
    Path Destruction
    Combat Type Imaginary
    Overworld Rating S Tier
    Memory of Chaos Rating S+ Tier
    Pure Fiction Rating A Tier
    Apocalyptic Shadow Rating S Tier

    Belonging to the formidable Chrysos Heir organization, Mydei serves as a primary DPS character, inflicting significant damage on foes weak to Imaginary attacks. A unique aspect of his playstyle is that he remains in auto-battle mode during fights, even if you are manually controlling other characters.

    While this might seem underwhelming, it can be satisfying when done correctly. With the right team composition and upgrades, you can significantly enhance Mydei’s efficiency. Before diving into his light cones and relics, it’s essential to grasp his skill set:

    Mydei’s Kit Explained

    Ability Name Type Description
    Vow of Voyage Basic Attack Deals Imaginary damage to a single enemy but is seldom used.
    Deaths are Legion, Regrets are None Normal Skill Consumes 50% of Mydei’s HP to deal damage to three adjacent enemies, with the primary target receiving the most damage.
    Throne of Bones Ultimate Damages three adjacent enemies, restores Mydei’s HP, and taunts those enemies for two turns, also granting him 20 charge. The next skill will focus on the main enemy targeted here.
    Blood for Blood Talent Gains charge based on HP lost and enters a Vendetta state at 100 charge, restoring and increasing his HP but reducing defense to zero. Can auto-use a special skill during this state.
    Kingslayer Be King Second Skill Sacrifices 35% of Mydei’s HP to deal more damage to adjacent targets than his normal skill.
    Godslayer Be God Final Skill Consumes 150 charge to unleash massive damage on three targets, making it his most powerful move.
    Cage of Broken Lance Technique Pulls in enemies and applies Dazed for ten seconds, dealing damage at the start of a battle while taunting and gaining charge.
    Earth and Water Bonus Ability Prevents exiting the vendetta state even after a fatal blow three times in a battle.
    Thirty Tyrants Bonus Ability Grants immunity to crowd control during the vendetta state.
    Bloodied Chiton Bonus Ability Each 100 HP above 4,000 increases Crit Rate, charge accumulation, and healing received, capping at 8,000 HP with impressive bonuses.

    Mydei proves to be a somewhat self-sufficient fighter. He can heal and even revive himself multiple times without any drawbacks. Despite his boosts in Crit Rate from his abilities, this can complicate the ideal relic stats needed for an effective build.

    Mydei’s Eidolons Explained

    Achieving Eidolons enhances Mydei’s damage capabilities. Here’s what each Eidolon brings:

    1. First Eidolon: The Final Skill deals 30% more damage and hits all enemies rather than just three.
    2. Second Eidolon: Grants Mydei 15% DEF penetration during vendetta, allowing for charge gain upon healing.
    3. Third Eidolon: Further boosts Skills and Basic ATK levels.
    4. Fourth Eidolon: Provides an extra 30% Crit DMG and 10% HP restoration when struck during vendetta.
    5. Fifth Eidolon: Enhances Ultimate and Talent levels.
    6. Sixth Eidolon: Begins battles in the Vendetta state, enabling the use of Final Skill with just 100 charge.

    Best Builds for Mydei

    When constructing a build for Mydei, focus on his light cones, relics, and planar ornaments since each light cone carries unique passives. The best light cone for him is Flame of Blood, Blaze My Path, which enhances his max HP and healing while providing additional charge based on HP consumed through Skills and the Ultimate. Here are some other solid alternatives if you don’t have this specific one.

    Best Light Cones

    Light Cone Effect
    Flame of Blood, Blaze My Path Boosts Max HP, improves damage based on consumed HP.
    The Unreachable Side Raises Crit Rate, Max HP, and damage upon losing HP, though may lead to over-critting.
    Flames Afar Triggers healing and damage boosts when Mydei loses a significant amount of HP.
    Ninja Record: Sound Hunt Raises HP and Crit DMG with any HP change, making it accessible for F2P users.
    Collapsing Sky Offers a decent damage increase for basic attacks, if no better options are available.

    Mydei’s Best Relics

    For relics, the focus should be on enhancing Mydei’s destructive capabilities:

    Relic Effect
    Scholar Lost in Erudition Increases Skill and Ultimate DMG along with a small Crit Rate boost.
    Longevous Disciple Provides an HP increase and additional Crit boosts during HP loss.
    Wastelander of Banditry Desert Functions well in early-game to improve damage output.

    Mydei’s Stats Priority

    When prioritizing Mydei’s stats, the following should be noted:

    Position Main Stat Sub-Stat Priority
    Head HP Crit DMG > HP% > Crit Rate > SPD
    Hands ATK Crit DMG > HP% > Crit Rate > SPD
    Body Crit DMG HP% > Crit Rate > SPD
    Feet SPD Crit DMG > HP% > Crit Rate
    Planar Sphere Imaginary DMG Bonus Crit DMG > HP% > Crit Rate > SPD
    Link Rope HP% Crit DMG > Crit Rate > SPD

    Mydei’s Trace Priority

    To maximize Mydei’s potential, prioritize upgrades in this order:

    1. Skill
    2. Ultimate
    3. Talent (at least level 8, do not further upgrade)
    4. Basic Attack (ignore entirely)

    As for his bonus abilities, focus on them in this order: Bloodied Chiton > Thirty Tyrants > Earth and Water.

    Is Mydei Worth Pulling?

    Mydei stands out as one of the best DPS characters available at his launch, but the urgency of his pull is mitigated by the anticipation for other characters like Castorice and Anaxa. The game tends to introduce new high-powered DPS options quickly, so while Mydei is currently strong, you may want to consider your long-term strategy.

    Ultimately, you should only pursue characters you enjoy, as the meta in Honkai: Star Rail shifts rapidly.

  • Ultimate Guide to the Protean Hero in Honkai: Star Rail

    Ultimate Guide to the Protean Hero in Honkai: Star Rail

    The Simulated Universe is a key element in Honkai: Star Rail, consistently updated and revamped in each version of the game to reflect the latest gameplay tweaks and the introduction of new characters. You can look forward to a fresh version being released approximately every few patches.

    The recent Amphoreus update followed this trend. Initially unveiled during the Penacony update, the Divergent Universe has been rebranded as Protean Hero and revamped entirely. Players familiar with the previous Divine Comedy version will find some comfort in this new iteration, yet the numerous changes and enhancements will make it feel like an entirely new game experience.

    Unlocking the Divergent Universe: Protean Hero

    Before you dive into the new challenges that this game mode offers, you need to have previously unlocked Divergent Universe. To do so, you must complete the standard Simulated Universe World 3 along with the “Farewell, Penacony” Trailblaze Quest.

    After completing these tasks, you’ll gain access to the Divergent Universe: Terminal Interface at the Radiant Feldspar.

    Depending on your choices in the quest, the Radiant Feldspar may be referred to as Trailblaze’s Stern, The Tatalov, or The Soaring Clock Hand!

    To finalize the unlock process, complete the “Light Slips the Gate, Shadow Greets the Throne” Trailblaze Quest. Additionally, players have the option to utilize the Finality’s Vision feature if they wish to access it sooner.

    Once all prerequisites are met, head back to the Radiant Feldspar to finish the “Divergent Universe: Hymn of Value” quest. After a few straightforward dialogues, you’ll be all set to explore the divergence.

    Overview of Protean Hero Rules

    Protean Hero serves as an enhanced version of the main Simulated Universe, featuring several notable distinctions. The core objective remains the same: progress through stages with your chosen team while collecting Blessings, Curios, and Cosmic Fragments to boost your strength.

    You will navigate through 13 rooms (18 in higher difficulty settings) spread across three Planes. These rooms may host enemies (Combat, Encounter, and Boss), special events (Occurrence, Adventure, and Wealth), or be completely safe (Respite, Store, and Escapade).

    Each Plane comprises random room selections, but always includes a Boss room at the end, while the final room of the third Plane is consistently a Respite room.

    Older features from the Divergent Universe, such as Equations and Weighted Curios, continue to exist in this mode. If you are familiar with these mechanics, you’ll feel comfortable, though many have received balance adjustments.

    All your characters start at Level 80 with temporarily enhanced Traces, Light Cones, and Relics strong enough to complete a run. However, your custom builds are often more powerful. Characters can be switched out at any time during the gameplay.

    Upon finishing a run, you can save your current Blessings, Curios, Equations, and other enhancements into a Save File. This Save File can later be utilized in Planar Extraction.

    Understanding the Day and Night System

    Combat in the Divergent Universe: Protean Hero alternates between Day and Night states. Similar to Amphoreus’s Dawn and Evernight versions in certain areas, the same concept applies here.

    The Day and Night states provide different buffs to active participants in battle:

    • Day: Allies recover 30% of their maximum HP when Day starts and heal 5% HP at the beginning of each turn.
    • Night: Allies deal 30% more damage, but enemies also inflict 15% more damage.

    Every battle begins with the chosen period, with the other state appearing after a few turns. This is akin to the Memory of Chaos’s cycles but with slightly different durations. Golden Blood’s Boons can introduce new effects for these periods.

    Day and Night each have a 50 percent uptime initially, although this can shift as the run progresses. Their effects ramp up based on your current Threshold (difficulty), enhancing the buffs to help manage the substantial HP pools seen in endgame content.

    Explaining Golden Blood’s Boons

    The primary damage mechanism in Protean Hero is the Golden Blood’s Boons. When you enter this game mode, you select a Day or Night-enhancing effect to greatly assist you during your run.

    Some effects can increase Final Damage during Day or reduce HP consumption during Night, and even extend each cycle’s duration.

    After passing through four rooms, you receive an Enhancement for your existing Golden Blood’s Boons. These upgrades are highly beneficial, so it’s wise to plan your run around a favorable enhancement you encounter.

    A Golden Blood’s Boon can reach a maximum of Enhancement Level 3. When you reach a third Enhancement room, you can opt for a new Boon, which can be either a Day or Night Boon.

    Be sure to consider Enhancements that complement your current team/build. Since you can freely switch out characters, feel free to adjust your team to take advantage of a powerful upgrade.

    Overview of Trait Effects

    A new addition to this mode is Traits. Much like Path Resonances in the Simulated Universe, Traits activate once you acquire Blessings with specific Keywords, granting unique effects to your team.

    Each Path has one Trait, providing significant boosts even if it’s not your primary focus. Each Blessing from that Path enhances the Trait effect.

    Here’s a list of all available Traits and their effects:

    Blessing Path

    Trait Name

    Description

    Remembrance

    Obsession

    Entering a battle or summoning a Memosprite grants you stacks of Obsession. When you take an action, there’s a chance to gain an extra stack. Each stack boosts your allies’ ATK by 1% and HP by 0.5%, with a maximum of 20 stacks, and you lose 2 stacks every turn.

    Nihility

    Murmur

    Murmur charges when enemies suffer from Damage over Time (DoT) effects. Enemies entering battle are affected by Murmur, which counts as Wind Shear damage. Murmur deals damage based on your allies’ ATK, reaching up to 4,000% depending on charges.

    The Hunt

    Critical Boost

    Using an ability grants your allies 1 stack of Critical Boost. Each stack increases Crit Rate by 6% and Crit Damage by 12%, capping at 8 stacks. The next ally to attack inherits these stacks, but they disappear if you get attacked.

    Destruction

    Blazer

    30% of your HP recovered/lost or Shield damage reduction turns into Blazar Charges. You lose 60% of your charge at the start of each turn. When allies attack, they deal extra damage equal to 40% of your total Blazar, although this damage cannot defeat an enemy.

    Elation

    Aftertaste

    Follow-Up attacks deal Aftertaste damage equal to 50% of the target’s ATK. This damage type is random and considered follow-up Attack Damage.

    Propagation

    Soul Chrysalis/Butterfly Soul

    Soul Chrysalis starts at 60% charge at the beginning of the battle and increases by 8% for each Skill Point used. Once it hits 100%, the next 8 Basic Attacks or Skills inflict an additional 50% True damage.

    Erudition

    Brain in a Vat

    Using Ultimates enhances your Brain in a Vat. When it reaches 100%, your Ultimate will be charged again immediately after usage.

    Harmony

    Harmonize

    Boosts your Weakness Break Efficiency. Breaking enemies applies Harmonize to them, which increases the Break DMG they receive and deals Quantum Break Damage.

    Strategy Guides and Build Planning


    You can select a Strategy Guide for your Protean Hero sessions. These guides suggest a team and highlight many recommended Equations that complement your setup. Recommended Blessings and Equations will be marked whenever you encounter them.

    The guides are created by other players, and you have the option to make your own via the official site.

    You can opt for a Guide as soon as the run starts, but feel free to swap to others at any time by clicking the Guide icon in the upper left corner.

    Using a Guide isn’t compulsory but can be quite beneficial for understanding the mode. You might even discover fresh ways to optimize your compositions, so consider giving it a shot.

    Returning Features


    Some of the Occurrences in Honkai: Star Rail.

    Numerous features introduced in previous iterations of the Simulated Universe and Divergent Universe make a comeback in Protean Hero, albeit with slight adjustments. Below is a summary of these features and what has changed:

    Equations and Weighted Curios

    Equations and Weighted Curios function as before, with many new additions. Some have been revamped or removed entirely to better fit the game mode.

    Notably, since the Remembrance Blessings have undergone significant revisions, its Equations are mostly brand new. The Harmonious Equations have taken the place of the Abundance and Preservation Equations.

    Inspiration Circuit


    Honkai Star Rail Inspiration Circuit Screen.

    Upgrades from the Divergent Universe are universally applicable, meaning all enhancements made during Divine Comedy carry over. Moreover, you can now access Titan Odes, which unlock additional bonuses during Day and Night cycles.

    Ordinary and Cyclical Extrapolation

    These two modes operate similarly to past iterations of the Divergent Universe:

    • Ordinary Extrapolation provides one-time rewards across each of its five difficulty levels. The additional Torturous Difficulty increases each time you clear it.
    • Cyclical Extrapolation resets weekly and awards extra Synchronicity Level points. You will receive specific Equations, Curios, and Day/Night effects needed to complete the stage.

    You should complete the weekly Cyclical Extrapolation to earn rewards and fulfill your weekly Nameless Honor missions.

    Excessive Conversion

    Higher difficulty levels will feature Excessive Conversion stages, where the battle lasts only two cycles. Instead of bosses, more enemy waves will appear. Rewards also depend on how many enemies you defeat after the second wave.

    Rewards from Protean Hero


    The Rewards screen for Synchronicity Level in Protean Hero in Honkai: Star Rail.

    In addition to numerous Stellar Jades, you can earn a wealth of Materials, Experience Books, Credits, and other rewards from the Protean Hero mode. Many of these rewards come from various categories within this game mode.

    Reward Category

    Description

    Herta’s Store

    Similar offerings as those in the regular Simulated Universe; you can acquire Light Cones, Star Rail Passes, icons, and Probability Museum exhibit items.

    Gallery Of Possibilities

    Every Blessing, Equation, Golden Blood’s Boon, Curios, and Occurrences you collect are tracked here. Accumulating certain amounts of these yields Stellar Jades.

    Stable Computing Array

    One-time achievements pertaining to the Protean Hero Divergent Universe. Play through various difficulties with different Equations to earn these rewards.

    Synchronicity Level

    Synchronicity Points are granted for each run, irrespective of whether you succeed or not. Each Level renders different rewards, prominent items of which include Wishful Resin, Self-Modeling Resin, and Stellar Jades.

    Weekly Reset

    Completing the weekly Cyclical Extrapolation (or any other mode) allows you to claim your weekly Simulated Universe rewards.


    Honkai Star Rail Planar Ornament Extraction Screen

    Planar Extraction is also accessible within the Protean Hero version of the Divergent Universe. This mode allows you to collect Planar Ornaments efficiently, utilizing your Save Files from preceding regular runs.

    You will only face the relevant boss without going through its Simulated Universe world and can repeat this process as long as you have Trailblaze Power. This serves as the most straightforward way to acquire the 2-piece sets for your characters.

  • Top 5-Star Character Picks for Express Gifts in Honkai: Star Rail

    Top 5-Star Character Picks for Express Gifts in Honkai: Star Rail

    The standard 5-star characters in Honkai: Star Rail may not be as powerful as they once were at launch, but they can still greatly enhance your gameplay. With the Express Gift event, you have the chance to choose one of these characters for free. Your selection will depend on what you need for your account, and some characters are particularly noteworthy.

    There are also certain characters in the Express Gift 5-star selection that you should avoid due to significant power shifts and reduced usefulness in the current game environment. We’ll break down everything you need to know right here.

    The Top Choice for Express Gift: Bronya

    Some 5-star characters from the standard banner have remained relevant since the release of Honkai: Star Rail, while others have become less useful over time. Nonetheless, Bronya stands out as the best pick from the Express Gift. Here are the key reasons why:

    • Bronya’s Skill enables any character to act immediately, regardless of their turn order.
    • Her Skill also removes one debuff from the chosen character, ensuring they can act faster and with fewer negative effects.
    • Bronya’s Ultimate provides a team-wide Crit damage boost, which is incredibly valuable and easy to activate.
    • She can be integrated into nearly any team composition, with a few exceptions for very niche characters.
    • Bronya is hard to surpass in terms of power. Even though others, like Sunday, perform similar roles slightly better, she remains an invaluable asset as a secondary support character.

    Additionally, Bronya’s abilities make her useful across all game modes, as her buffs are applicable to various damage types, and her ability to grant immediate action is extremely potent.

    Another Worthy Option for Express Gift: Himeko

    If you already have Bronya, another solid choice from the selection is Himeko. While not as versatile as Bronya, she excels in the Pure Fiction game mode, especially when teamed with Herta.

    Himeko also works well in Break and Follow-up Attack teams, as her skills rely on these mechanics to function optimally. Here are some additional reasons to consider adding Himeko to your roster:

    • She will become increasingly valuable with new Erudition characters like Herta, enhancing her already fantastic capabilities in Pure Fiction.
    • Her Break-focused abilities are effective in the Apocalyptic Shadow game mode.
    • Characters like Fugue will improve Himeko’s Break damage potential, making her even more useful.

    Building for Pure Fiction can be challenging if you lack characters specializing in area-of-effect (AoE) damage, but adding Himeko dramatically changes your options.

    The Remaining Express Gift Characters

    The other characters available through the Express Gift have generally fallen behind, as newer limited 5-star options have surpassed them in many aspects. If you’re a newer player fortunate enough to already have Bronya and Himeko, selecting any of the following characters could still be beneficial.

    Character

    Path

    Description

    Clara

    Destruction

    Clara is arguably the best alternative from the Express Gift. Her counter-attacking kit remains effective since Star Rail updated her mechanics alongside Yunli. She’s a reliable choice for all endgame modes, especially in Pure Fiction where she can continuously act if enemies take their turn.

    Gepard

    Preservation

    Gepard does have some flaws, like his shields being dependent on his Ultimate and the existence of Aventurine. However, if you haven’t acquired Aventurine, Gepard can still serve as a decent sustain option, although he feels somewhat clunky when compared to more recent characters.

    Welt

    Nihility

    Welt found himself in a peculiar position soon after his release. While his skill to delay enemies is useful, it doesn’t compare to providing more actions for your team like Bronya does. Adding Welt to your lineup is more about personal choice than a strategic decision at this point.

    Bailu

    Abundance

    Bailu has also seen her worth diminish over time as Honkai: Star Rail has progressed. While her ability to revive fallen characters is strong, her healing has become inconsistent, lacks a reliable debuff clearance ability, and is outclassed by many newer healers.

    Yanqing

    Hunt

    Yanqing has often struggled to be a top DPS choice, even during the launch when Seele was dominating. His damage is adequate but fails to stand up to newer powerful damage dealers introduced shortly after. Additionally, he tends to be somewhat fragile, limiting his viability even with supports like Aventurine.

    If you have all the 5-star characters available in Honkai: Star Rail, the Express Gift lets you obtain one of their Eidolons for free. For optimal choices, consider between Bronya, Himeko, and possibly Clara’s Eidolons:

    • Bronya’s E1 and E2 significantly enhance her effectiveness. E1 improves her Skill Point economy with a 50 percent chance to regain points spent on her Skill. E2 boosts the Speed of the character affected by her Skill by 30 percent for one turn, which can be extremely powerful.
    • Himeko’s E1 grants a 20 percent Speed increase after any Victory Rush, and her E2 enhances her damage against enemies at half health or lower by 15 percent.
    • Clara’s E1 allows her to use her Skill without consuming a Mark of Counter, and her E2 adds a flat 30 percent damage boost to her Ultimate for two turns.

    One last thought: if picking Eidolons or chasing meta options isn’t what you’re after, and there’s a character you prefer or are missing, don’t hesitate to select based solely on your interests. You might not have the best endgame team as a result, but you should always feel free to add a character that resonates with you.

    Acquiring a character you lack has its advantages too. Should you pull them later from the standard banner or miss out on a limited banner by losing a 50/50, having that character already unlocked earns you Undying Starlight, which you can use for future pulls.

  • Ultimate Sunday Party Guide for Honkai: Star Rail

    Ultimate Sunday Party Guide for Honkai: Star Rail

    Honkai: Star Rail frequently introduces powerful characters, but even the strongest members can fall short if they aren’t paired effectively. Forming a successful team hinges on the right combination of up to four characters, ensuring their strengths complement one another to secure victory in battles.

    One noteworthy addition is Sunday, a five-star Imaginary unit introduced in the Version 2.7 update, known for being part of the Harmony path. Despite his strengths, he faces limitations with team options, apart from a handful of clear pairings.

    Teaming Up with Jing Yuan

    One of the most discussed aspects of the community post-Sunday’s introduction is how Jing Yuan is set to make a comeback in the game’s meta. Sunday introduces the unique ability to advance the turn of a summon, which is exactly what Jing Yuan needs. His previous drawback was the lengthy wait between Lightning Lord attacks.

    With Sunday on your team, clearing high-level content becomes much easier, particularly in Pure Fiction and Memory of Chaos, thanks to the consistent damage output. While Robin typically doesn’t synergize with Jing Yuan, the frequent Lightning Lord attacks facilitated by Sunday make her a viable option, although energy regeneration can still be an issue.

    Tip: When assembling this team, ensure Sunday has just slightly lower speed than Jing Yuan, allowing the latter to take two turns in succession.

    You can also swap out Robin for Jade to provide buffs to Jing Yuan, significantly increasing damage and allowing for extra turns, particularly beneficial in Pure Fiction. Finally, Aventurine rounds out the team, generating additional follow-up attacks, aiding Robin’s energy recovery, and keeping everyone alive.

    A DPS with Lingsha

    Contrary to expectations, an Abundance character like Sunday can serve as a central DPS. When included in a Break-focused team with ample Break effects, Lingsha offers substantial damage output. Even when not in a specialized team, she consistently inflicts damage across all enemies using her Skills, Ultimate, and follow-up attacks. If tailored for critical hits, her capabilities can shine, although accessing the right supporting characters might be challenging.

    Note: Since Sunday enhances both Crit Rate and Crit Damage, forming a competitive team is definitely achievable, even without a perfect supporting Light Cone.

    Argenti, Sunday’s Alternative Team

    While the Lingsha team has its quirky elements, another viable option exists for endgame content. Argenti, much like other Erudition characters, came with an impressive kit but had limitations due to support dependencies and the energy requirements for his Ultimates. Thankfully, with Sunday’s release, Argenti gains indispensable energy assistance as well as repeated turns, significantly enhancing his gameplay.

    Advisory: Similar to the Jing Yuan configuration, it’s ideal for Sunday to have a slightly lower speed than Argenti to maximize the team’s effectiveness.

    Conclusion

    The synergy between characters in Honkai: Star Rail can make a significant difference in performance. Selecting the right combination and understanding each character’s strengths is key to overcoming the toughest challenges in the game.

  • Top Moze Team Setups in Honkai: Star Rail

    Top Moze Team Setups in Honkai: Star Rail

    Using follow-up attacks is one of the most efficient strategies in Honkai: Star Rail. This approach has continually evolved, with new characters introduced to enhance this gameplay element. Moze, a standout four-star character, is an excellent addition to any team focused on follow-up attacks, capable of boosting his squad’s performance or shining on his own when the situation demands it.

    Moze integrates seamlessly into various follow-up attack team setups, but he performs best with certain combinations that experienced players will likely recognize.

    Premium Moze Follow-Up Attack Team

    Character Role
    Moze Sub-DPS
    Feixiao Main DPS
    Robin Support
    Aventurine Sustain

    Moze and Feixiao have fantastic synergy; they complement each other perfectly as longtime teammates. While Feixiao takes the lead as the main DPS, Moze provides substantial secondary damage, particularly effective against single targets.

    With the inclusion of Robin and Aventurine, players can engage in battles that essentially run on autopilot, even without the auto-battle feature. Moze and Feixiao can quickly set up multiple follow-up attacks before the enemy has a chance to retaliate.

    A suggested rotation for this team might look like this:

    1. Activate Robin’s Skill to boost the team’s damage.
    2. Have Moze and Feixiao use their Skills on one target. Moze will label that enemy as Prey, enabling follow-up stacks each time they are attacked.
    3. Utilize Moze’s Ultimate when available for added damage, stack accumulation, and to enhance Feixiao’s Ultimate stacks.
    4. Deploy Feixiao’s Ultimate when it’s necessary for massive damage and Weakness Break.
    5. Use Aventurine’s Basic Attack or Skill as needed for Skill Points or to maintain shields.
    6. Trigger Robin’s Ultimate to accelerate the team’s actions for new turns and additional buffs.

    If Aventurine is unavailable, Lingsha and Gallagher can serve as effective substitutes, with Lingsha being the preferred option due to her synergy with follow-up attacks.

    Alternate Moze Follow-Up Attack Team

    Dr. Ratio Moze Team

    Character Role
    Moze Sub-DPS
    Dr. Ratio Main DPS
    Tingyun Support
    Aventurine Sustain

    When teaming Moze with Dr. Ratio, the approach shifts slightly, as Dr. Ratio’s follow-up attacks hinge more on applying debuffs and utilizing his Ultimate for additional follow-ups. This formation can be considered a dual-DPS setup since Moze’s abilities complement Dr. Ratio’s need for buffing and stacking charges to maximize his follow-up attacks.

    A potential rotation could include:

    1. Use Tingyun’s Skill to buff Dr. Ratio. Use her Ultimate if available to provide him with additional energy and buffs.
    2. Apply Moze’s Skill to activate the Prey status on a targeted enemy.
    3. Cast Dr. Ratio’s Skill to inflict an extra debuff.
    4. Activate Dr. Ratio’s Ultimate for two follow-up charges.
    5. Alternate between Dr. Ratio and Moze’s Skills for substantial follow-up attack damage.
    6. Aventurine and Tingyun should focus on Basic Attacks, reserving their Skills to reapply buffs and shields when required.

    In this configuration, Tingyun’s role is crucial; she enables Dr. Ratio to use his Ultimate frequently, enhancing his follow-up attack capabilities. Her Skill provides lasting damage boosts, effectively lasting multiple turns even as follow-up attacks occur outside the usual turn cycle.

    Free-To-Play Moze Team

    Free-To-Play Moze Team

    Character Role
    Moze Main DPS
    Imaginary March 7th Sub-DPS
    Tingyun Support
    Gallagher Sustain

    Moze is not just an excellent secondary DPS; he can also take the spotlight as the primary damage dealer, especially if you lack strong five-star characters like Feixiao or Dr. Ratio.

    The damage rotation for this setup focuses more on Moze’s role as a hypercarry, with the rest of the team designed to support and amplify his abilities.

    A possible cycle may include:

    1. Activate Tingyun’s Skill (and Ultimate if available) on Moze for powerful buffs and Ultimate Energy.
    2. Use Imaginary March 7th’s Skill (and her Ultimate, if available) on Moze to further increase buffs and enhance her Basic attack.
    3. Have Moze use his Skill and Ultimate to start racking up his follow-up attack stacks.
    4. Deploy Gallagher’s Basic Attack or healing as necessary, and utilize his Ultimate for AoE Fire damage or as an emergency heal.

    If you have her, Tingyun can be replaced by Robin or even Bronya, as any solid support will work well. The aim of any hypercarry setup is to maximize the power of your main DPS, which is precisely what Tingyun and Imaginary March 7th do for Moze.

    Although Gallagher can be an unconventional sustain choice, he remains the top four-star healer and can often outperform older five-star characters in this role.