الوسم: Poison

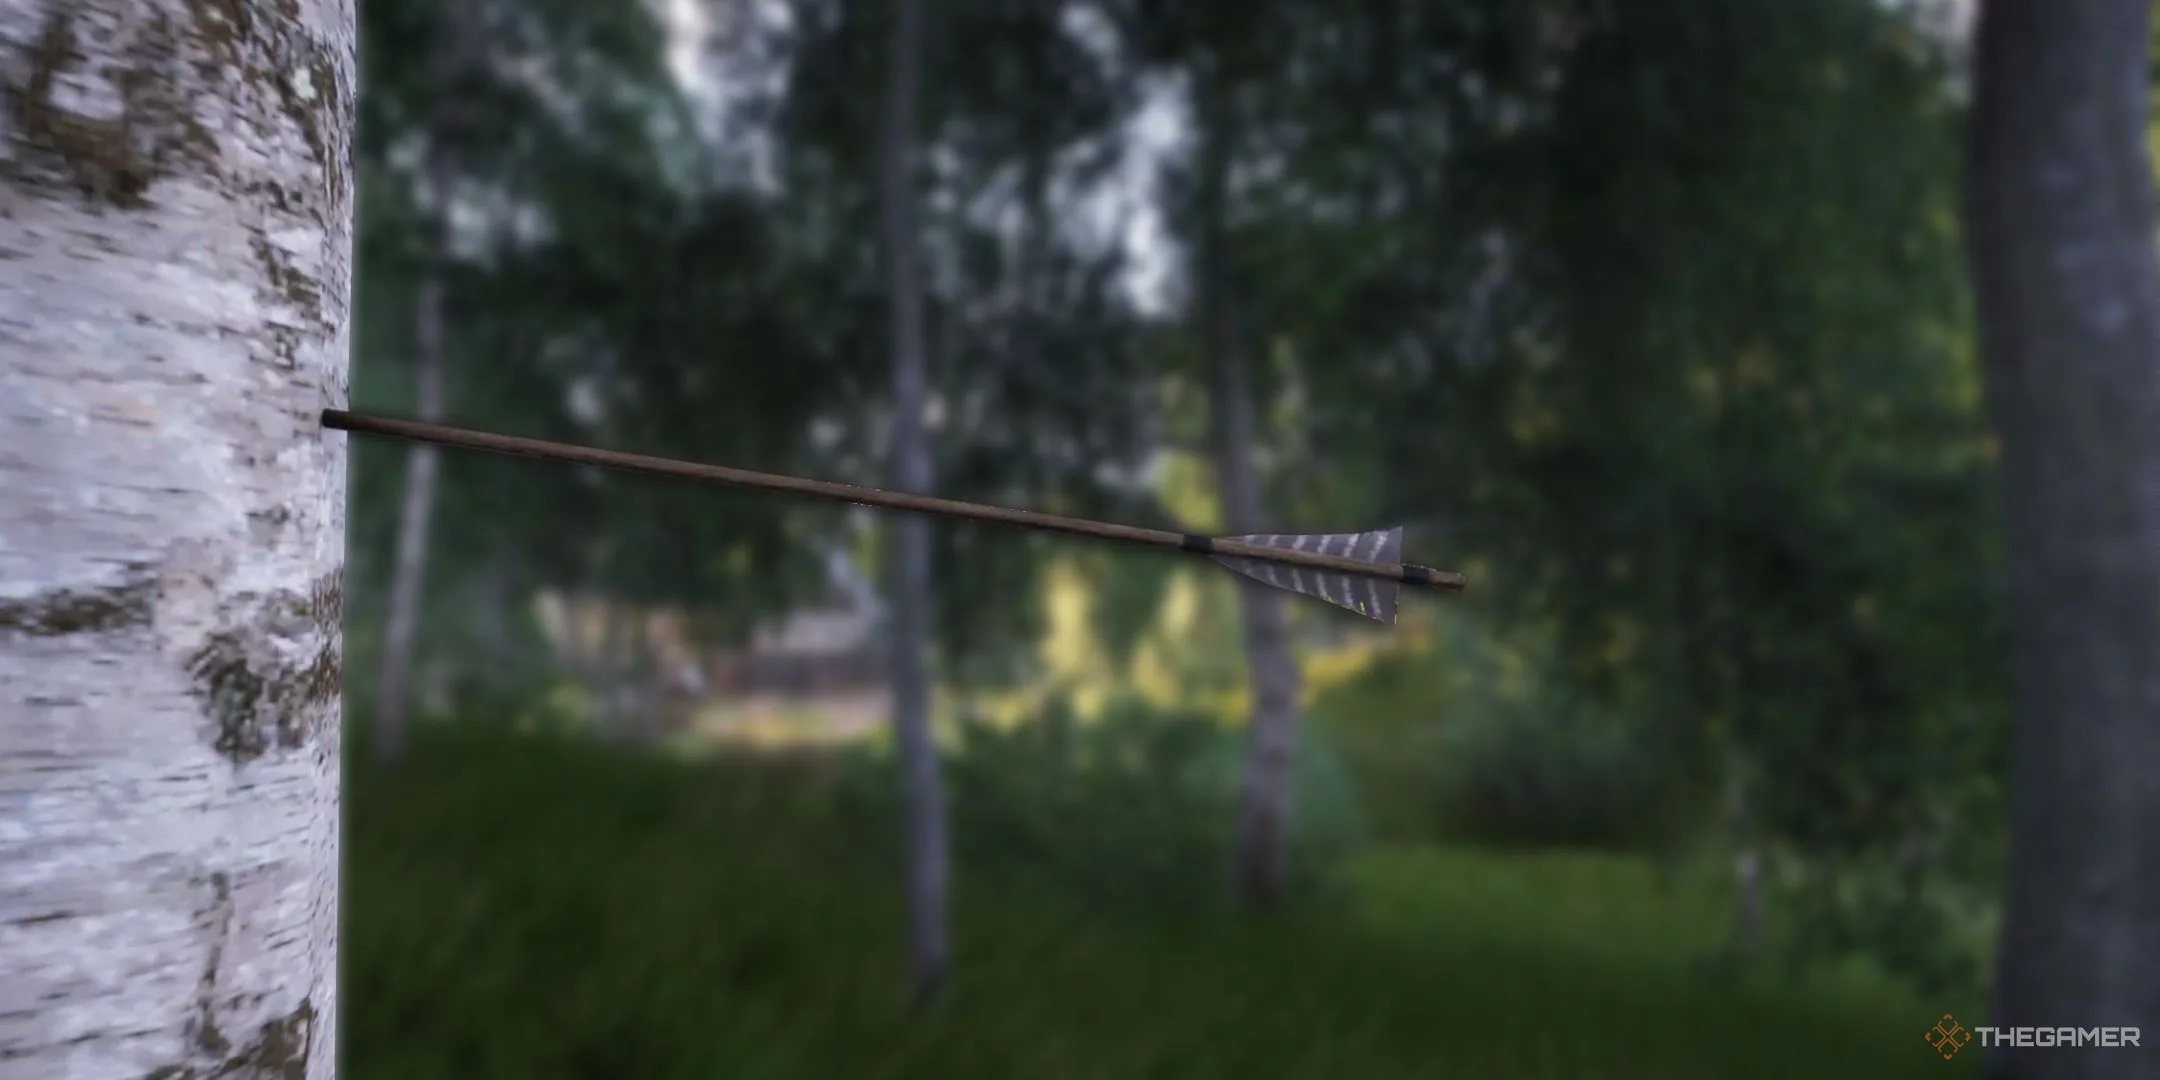
  • Poisoning Arrows and Bolts in Kingdom Come: Deliverance 2

    Poisoning Arrows and Bolts in Kingdom Come: Deliverance 2

    In Kingdom Come: Deliverance 2, you might think that honor and knighthood are the only paths to take, but the game offers you plenty of options for how to tackle your adventures. Whether you prefer to charge in wearing armor, sneak around with a dagger, or concoct ruthless poisons for stealthy attacks, the choice is yours.

    If you’re interested in the poison route, you’re in for a treat. You can apply poisons to your arrows and bolts, letting you shoot from afar into enemy camps or along castle walls, ensuring that your targets meet their fate. Here’s a detailed guide on how to become a master of stealthy takedowns with poisons.

    How to Apply Poison to Your Arrows and Bolts in Kingdom Come: Deliverance 2


    To use poisons in Kingdom Come: Deliverance 2, first locate the poison in your inventory. Choose it to apply, and you’ll see an option to select what you want to poison.

    In addition to arrows and bolts, you can also poison various potions, foods, drinks, or melee weapons.

    Pick the arrows or bolts you want to treat with poison, then decide how much poison to use, as this will determine how many poisoned arrows or bolts you can craft.

    Stronger poisons will let you poison more arrows and bolts, whereas weaker poisons are less effective.

    After applying poison to your ammunition, ensure you equip the poisoned arrows or bolts in your weapon slot instead of any remaining unpoisoned ones.

    Best Poisons for Ranged Weapons in Kingdom Come: Deliverance 2

    You can find various poisons in Kingdom Come: Deliverance 2, so understanding when to use each one is essential.

    You can equip the same bow in different weapon slots with various poisoned arrows, giving you quick access to different options based on your strategy.

    Bane

    Bane will immobilize your target and slowly reduce their health over 30 seconds, depending on its potency. While it’s often better to apply it to food for a stealthy kill, it can work just as effectively on ranged weapons.

    Lullaby

    The name says it all—Lullaby puts enemies to sleep, rendering them unconscious for your own purposes. You might attack a formidable foe first to temporarily remove them from the fight or quietly bypass someone you want to avoid harming. If it’s an innocent bystander, food might be a gentler option.

    Dollmaker Potion

    In contrast to Bane, this poison is particularly effective with weapons. It can stop an enemy from running, reduce their weapon skills, and high-quality versions can also decrease health.

    How to Get Poison in Kingdom Come: Deliverance 2

    The simplest way to obtain poison and recipes is to check Apothecaries and Herbalists. They often sell these items, providing a reliable source compared to stumbling upon them by chance.

    However, keep your eyes peeled when exploring storage containers in bandit camps, hunters’ lodges, and kitchens—you might just find what you need.

    Some side quests may reward you with poisons relevant to your objectives, though these occurrences are rare. Remember the old saying: giving someone poison gives them one dose, but teaching them to make it means they can brew a whole stock!

  • Unlocking the Poison Element in Tails of Iron 2: Winter’s Whiskers

    Unlocking the Poison Element in Tails of Iron 2: Winter’s Whiskers

    After the devastation of Winter’s Edge, your mission in Tails Of Iron 2: Whiskers Of Winter is to restore your shattered kingdom from the ground up. You’ll need to gather, manage, and develop the essential resources for your realm to flourish.

    This ambitious job requires assistance, so your first step is to recruit a builder. With a chef and a blacksmith on standby, you also need to confront the Darkwing menace threatening the nearby settlements at the Outskirts. Being the Warden just got a lot more challenging.

    Getting Started with a Builder’s Yard

    After finishing the missions to Recruit Chef and Recruit Smith, head back to your throne in Winter’s Edge to begin A Builder’s Yard.

    Leif suggests venturing to Mossbug Farm in The Outskirts to locate a builder. You can reach it via the docks or by leaving through the main gates of Winter’s Edge.

    Upon arrival, turn left and pick up a Silver Runestone key on the ground. Place it into the receptacle in front of a nearby tomb.

    There are three other receptacles, but you don’t have all the Runestones yet.

    Continue left towards Mossbug Farm. Enter the building on the left and speak with the Elder.

    You’ll be instructed to find a Beaver nearby whose building permits need verification.

    Progress further left, exit the village, and defeat a Bird Beast Chick to rescue a frightened farmer.

    Keep moving left and upwards through some ruins to get to the next marker where the Beaver is located.

    Acquiring the Poison Elementa


    You will encounter a magical statue that grants Arlo a new ability: the Poison Elementa. As always, some foes will be present for you to test your skills.

    The Poison Elementa generates a toxic branch that will poison your targeted enemy.

    Continue left and defeat another Backstabber while tracking the possibly hurt beaver.

    Before entering the final area, you’ll find a merchant to restock supplies for the upcoming encounter.

    Strategies to Overcome the Backstabber Mother

    Your chase for the beaver will lead you to the far left side of the map, where a Backstabber Mother awaits your arrival.

    This adversary is vulnerable to poison, so make good use of your new poison magic or any poisoned weapons you have equipped.

    Be sure to dodge the Backstabber Mother’s ground slams and watch out for the electric residue on the ground while delivering counterattacks after her moves.

    Once you manage to poison this enemy, it won’t be difficult to defeat her.


    A Builders Yard Menu tutorial in Tails Of Iron 2: Whiskers Of Winter.

    After defeating the Backstabber Mother, collect the Backstabber Fang and then examine the Beaver who was pretending to be dead during the fight.

    Rewards from the Builder’s Yard


    A Builders Yard Complete in Tails Of Iron 2: Whiskers Of Winter.

    Upon completing your conversation, you’ll receive the Backstabber Blueprint along with the following items:

    • Old Hunter’s Spear
    • Natural Hunter Shield
    • Natural Hunter Cap
    • Rough Hunter Armor

    Return to Winter’s Edge and meet the Beaver near the castle door to discover the four areas available for construction and upgrades in Winter’s Edge.

    Establish your Builder’s Yard Base to complete your quest.