الوسم: Odyssey

  • Completing Fishing in RimWorld: An Odyssey Guide

    Completing Fishing in RimWorld: An Odyssey Guide

    One of the biggest challenges in Rimworld is keeping your colony fed. You might start with a good supply of meals, but they’ll run out quickly. If you begin with no provisions at all, you’ll need to secure a food source fast. While farming and hunting are options, there’s also an often-overlooked solution right in front of you.

    I’m referring to the water bodies—oceans, lakes, rivers, and ponds. Fish can be a reliable food source if you have access to water, making fishing a great early-game strategy.

    Unlocking Fishing

    Fishing isn’t automatically available: you have to research it first. Depending on your starting scenario (like Tribal starts), it might be unlocked from the get-go.

    To unlock Fishing, set up a Research Table and start the Fishing project in the Research menu. You’ll find it in the second column, requiring only 600 research points, so it’s easy to complete even if your researcher isn’t highly skilled. There are no prerequisites for this, so you can begin as soon as you have a Research Table.

    Fishing Basics

    Once you’ve researched Fishing, you can create a Fishing Zone, which is located next to the Growing Zone in the Architect menu. Drag this zone over a body of water to designate it as a fishing area; your pawns assigned to the Hunt task can then fish there.

    When a pawn finishes fishing, they usually catch a bundle of fish, which can be stored as raw meat. Occasionally, you might also reel in carcasses or even rare items.

    By clicking on the Fishing Zone, you can view details like setting fish population minimums, which indicates how many and what types of fish are present. Maintaining a healthy fish population is crucial; if the zone becomes depleted, it will no longer be usable.

    If you don’t plan on staying in the area long-term and just need food, don’t hesitate to fish out an entire lake!

  • Completing the Class and Combat Guide for Chrono Odyssey

    Completing the Class and Combat Guide for Chrono Odyssey

    Chrono Odyssey is a forthcoming action-combat MMORPG from Chrono Studio, a new team made up of seasoned South Korean MMO developers. The game currently features six confirmed classes: Swordsman, Ranger, Sorcerer, Paladin, Berserker, and Assassin.

    Each class can wield three different types of weapons, though players can only equip two at any given time. This dual-weapon system allows for exciting weapon swapping and the ability to create diverse attack combos to tackle tough bosses and hordes of enemies while exploring the expansive world. Importantly, none of the classes are restricted by gender, letting players choose any class for any character they create.

    Combat Overview

    The combat in Chrono Odyssey is action-oriented, reminiscent of games like Dark Souls. It emphasizes precise parries, dodges, and weapon combinations, allowing skilled players to skip the usual MMO grinding if they master their class quickly.

    This is particularly noticeable in the early stages, where enemies can deal significant damage rapidly. Players who learn their class and its abilities early on will progress much faster than those who struggle against mobs. The initial boss, known as the Thousandfold Piercer, proved to be a formidable challenge until we upgraded our gear and sharpened our timing on parries.

    Targeting Mechanics

    A major point of discussion regarding Chrono Odyssey is its targeting system. In PvP, there is no target lock; targeting is optional in PvE and does not include tab-targeting.

    While you can lock onto enemies with ranged weapons in PvP, the target lock tends to lag behind opponents, making it less effective.

    This makes aiming for skills and regular attacks reliant on player skill and timing. If executed properly, this approach can be more rewarding than traditional tab-targeting systems, provided the game’s servers are stable and movements feel fluid. Ranged attacks even feature a headshot damage bonus.

    The Six Classes of Chrono Odyssey

    Swordsman

    The Swordsman is a melee class designed with a blend of tank-like skills and offensive capabilities. They can utilize the Greatsword, Twin Blades, or Sword and Shield in battle.

    Berserker

    The Berserker class focuses on unleashing Bloodlust to become a chaotic force on the battlefield. This melee-centric class employs Chain Blades, Twin Axes, and a Battle Axe.

    This class feels similar to using the Hatchet in New World, for those familiar with that experience.

    Ranger

    As a ranged class, the Ranger wields a Crossbow and Bow, while also being adept with a Rapier for close combat. It remains unclear if a purely ranged build will be effective, but the game offers room for creative builds.

    Sorcerer

    The Sorcerer serves as the classic mage class, using a Staff, Manasphere, and Grimoire. It’s likely that this class will have healing abilities, although the traditional roles (Healer/DPS/Tank) commonly found in other MMOs are not fully confirmed yet, partly due to the solo content available in the game.

    Paladin

    The Paladin is a beloved classic, equipped with heavy weaponry such as the Mace, Lance, and Halberd. Probably a support-focused character, the Paladin can cast buffs for allies using Mana.

    Assassin

    The Assassin is a stealthy and speedy class armed with a Wrist Blade, Sabre, and Musket. With unique mechanics like Vigor and Bloodlust, strategic skill rotation will be crucial to maximize damage output, possibly making this class one of the more challenging to master.

    Abilities and Builds

    Each weapon in the game offers a total of eight possible abilities, but only four can be active at any time. Players enhance these abilities via mastery trees linked to each weapon, unlocking both skills and passive enhancements.

    Managing cooldowns is essential, as many abilities have long recharge times, which brings the time manipulation mechanics into play, lending that “Chrono” flair to the game.

    Manipulating Time in Combat

    One of the most captivating features in Chrono Odyssey is its time-manipulation device, the Chronometer. Players obtain this right at the beginning and it acts like a class ultimate ability, independent of character class.

    The Chronometer allows players to pause, fast-forward, or rewind time, giving them the ability to freeze enemies, dodge strong attacks, or combine skills through rewinding. While we haven’t yet explored this mechanic in depth, we anticipate it will play a significant role in gameplay in the future.

  • Key Insights We Wish We Had Before Lego Fortnite Odyssey

    Key Insights We Wish We Had Before Lego Fortnite Odyssey

    Survival crafting games typically have key elements you’ll need to grasp if you’re looking to build your village from scratch and navigate various challenges. Lego Fortnite Odyssey follows this trend. Though it appears cheerful, the game is filled with perilous creatures and unpredictable weather that can catch you off guard.

    Getting comfortable with basic crafting is straightforward, but the game includes some unique items and tactics worth your time. Thoroughly understanding the fundamentals lays a solid groundwork for bold explorations and effective coordination with NPCs and resources on your journey through Lego Fortnite Odyssey.

    Upgrade Your Village as Soon as You Can

    Whether you’re relying on your starting village or expanding it, upgrading your village is essential. These designated safe zones serve as your hub for utility stations, a place to rest at night, and store all the valuable items you’ve collected.

    Your Village Hub tower can be upgraded based on your level and its location, but it requires you to complete various tasks to unlock improvements. Most upgrades will involve local materials or crafted items.

    Each upgrade brings new advantages, like the possibility of recruiting more NPCs and acquiring new furniture. It’s wise to enhance your village to increase how many villagers can assist you since they can take on different roles such as gathering resources or preparing food. This means you won’t be stuck doing all the tasks yourself.

    Establish a Bus Station in Your Village

    You can spot Bus Stations throughout the island, and when you destroy one, you’ll unlock the crafting recipe for it. Be sure to dismantle the first station you encounter, gather the necessary materials, and reconstruct it in your main village to create a convenient fast travel spot.

    Once you’ve gathered enough Rift Shards to craft more Bus Stations, you can establish a network for quick travel when necessary.

    Bring NPCs Along on Long Trips

    Whether you’re adventuring solo or with friends, consider bringing an NPC villager if you have an extra one available. While they automatically wield swords back at your base, you’ll need to equip them with tools for explorations.

    Their tools will degrade just as yours will, so ensure they have the appropriate item, whether it’s a pickaxe or sword. When they’re with you, NPCs will engage in tasks like breaking rocks or trees when you initiate the action, and they will defend you from aggressive creatures.

    Remember to upgrade their gear as you enhance your own to facilitate smoother battles and resource collection!

    NPC villagers can meet their end, but they’ll respawn beside you after a certain period, so you can take a break or hide until they return.

    Cultivate Spicy Peppers and Chillberries

    Some biomes can be quite hazardous even before encountering lurking creatures. For example, stepping into the Frostlands can lead to cold injuries, while the Dry Valley can expose you to extreme heat. These conditions can gradually drain your health.

    To counter these effects, you can wear armor charms or consume specific foods. Spicy Peppers can mitigate cold-related issues, while Chillberries help with heat-related ailments.

    Spicy Peppers are found in the Dry Valley, and Chillberries grow in the Frostlands. Once you’ve gathered some, you can create seeds with your Grain Mill and cultivate them in your village.

    Follow the Fairy

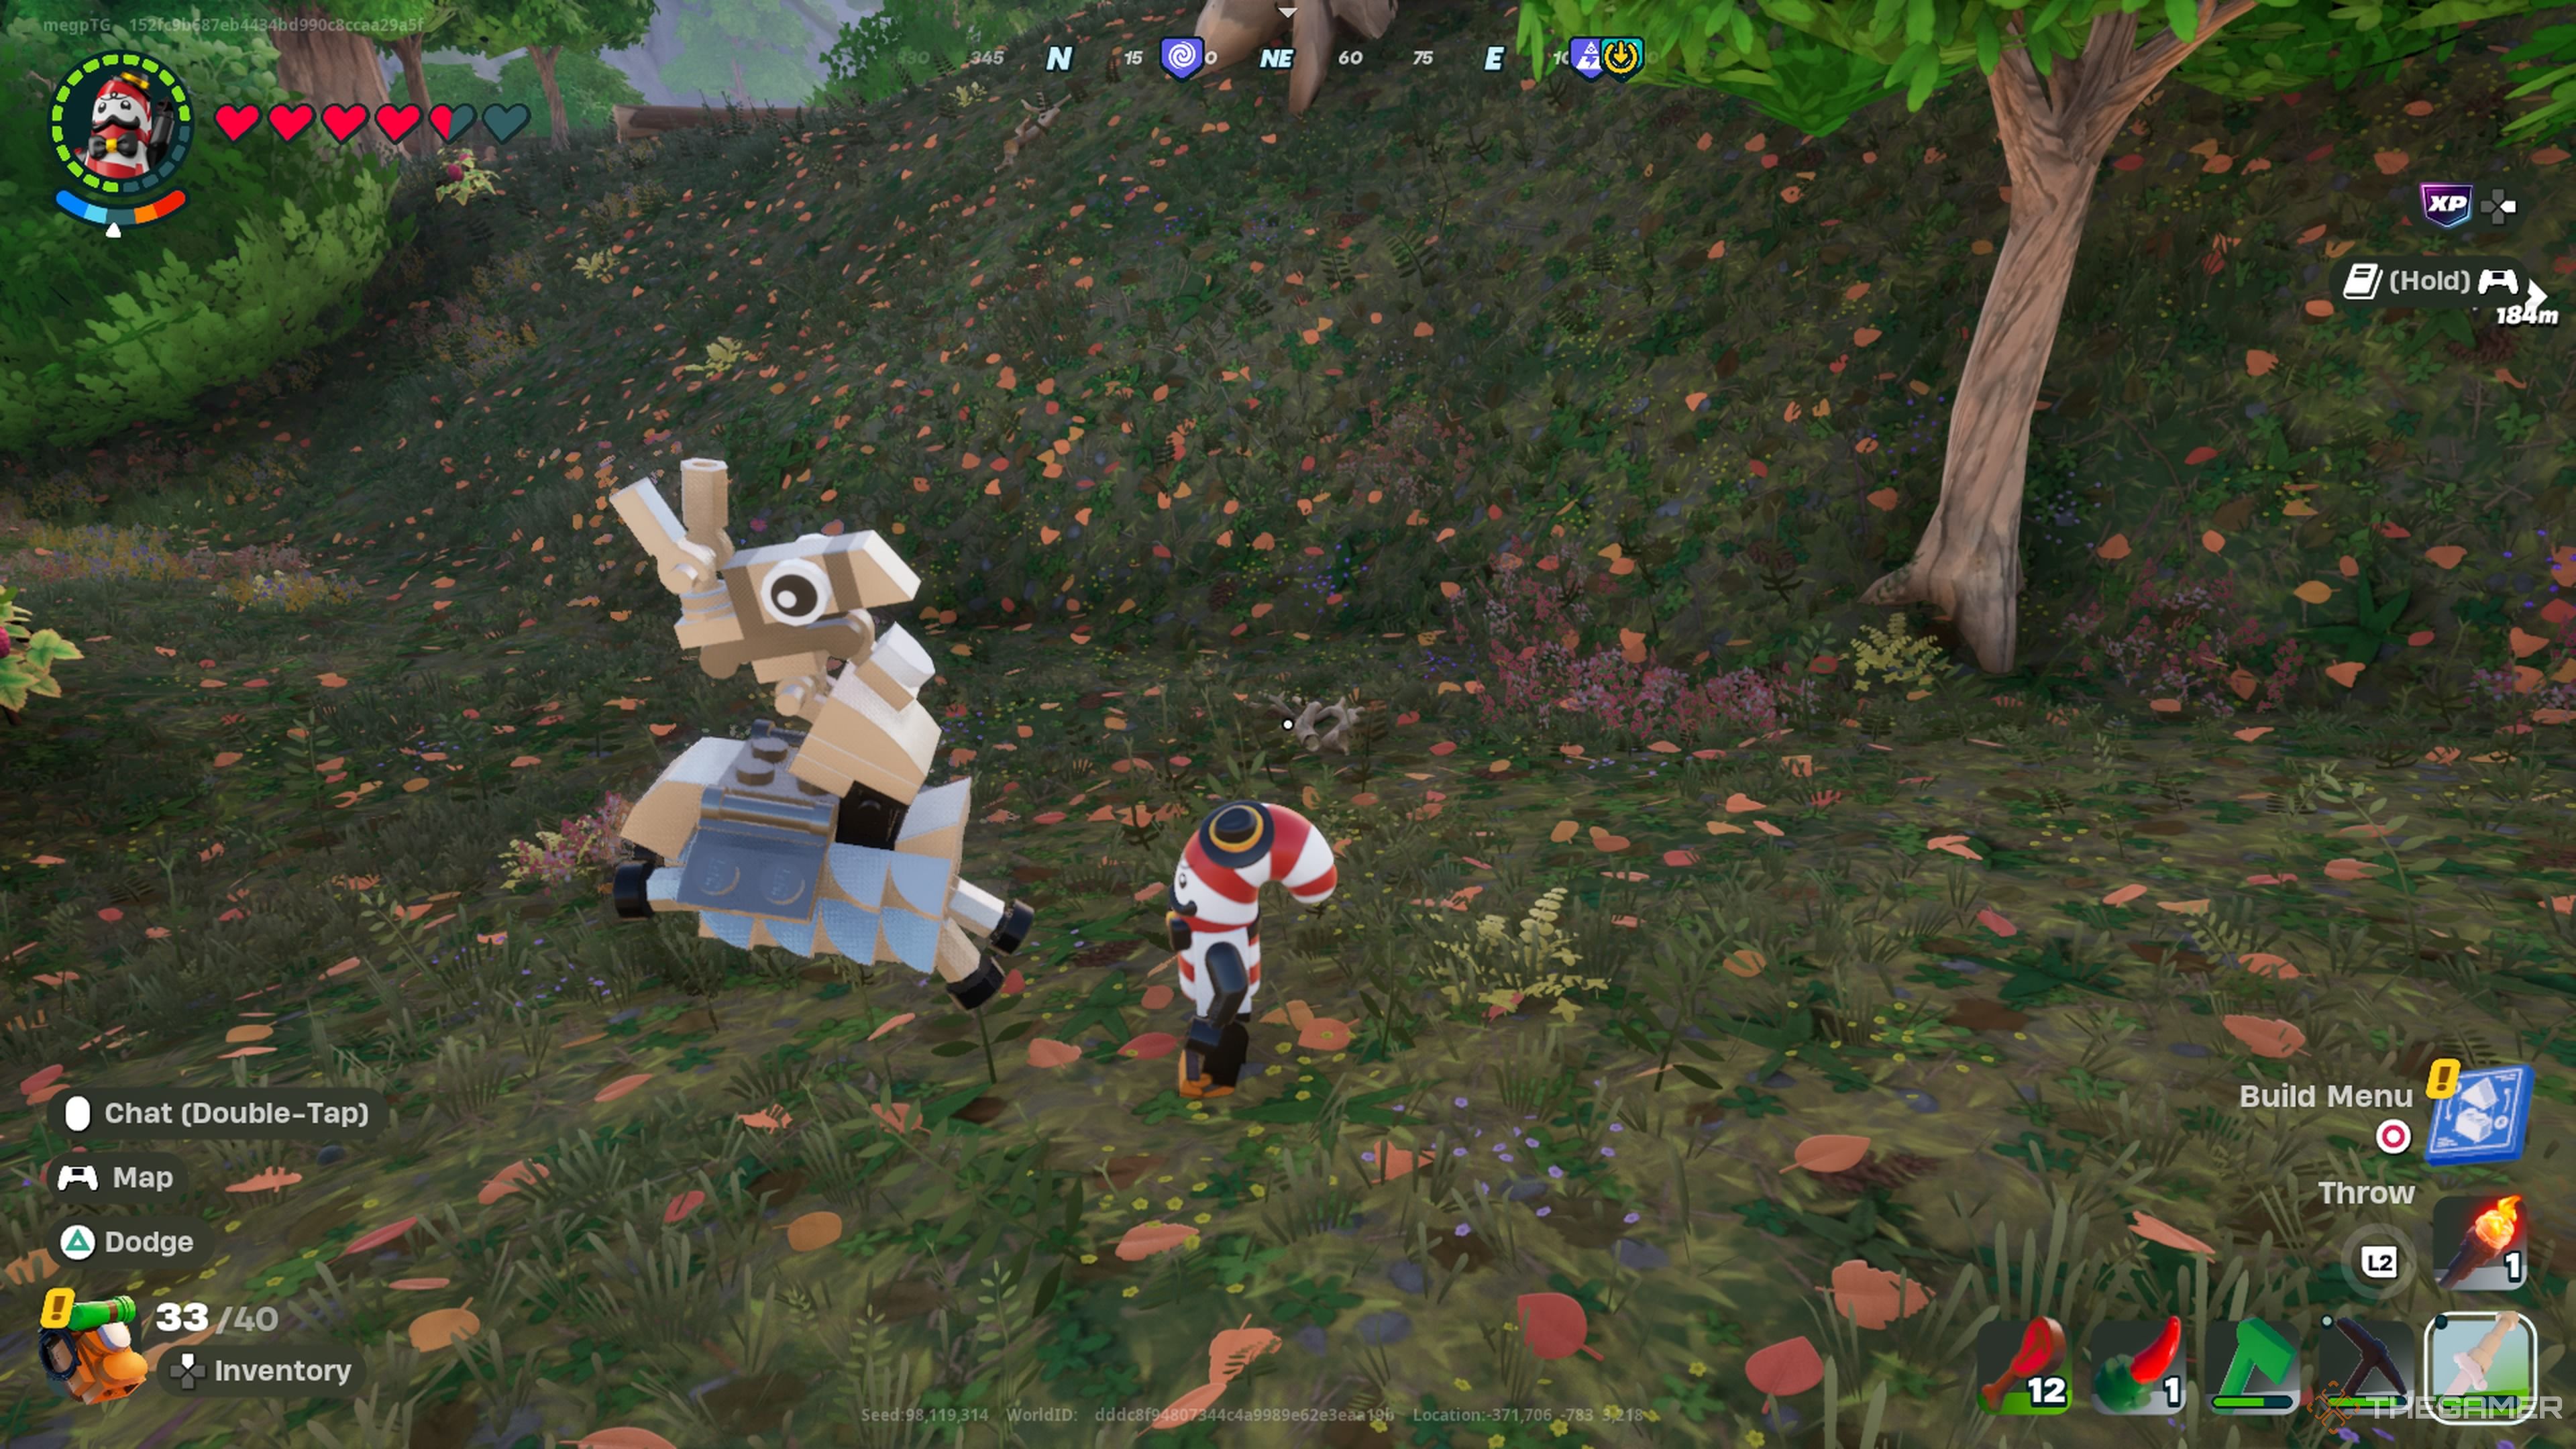
    Just like in the standard Fortnite experience, you can come across rare Loot Llamas containing valuable resources. As you explore, keep an eye out for a fairy—these glowing entities that sparkle and shift colors.

    When you spot a fairy, follow it for a chance at rare rewards. They may guide you to a Loot Llama or a golden treasure chest that holds unique items.

    When Lego Fortnite Odyssey first launched, tools and weapons found in chests were often nearly broken and not worth keeping. However, the latest updates ensure that items dropped by enemies and found in chests now come in full health, allowing for a chance to discover exceptional equipment. Whether you need them for yourself or as an upgrade for your NPC companions, don’t forget to grab these items!

    Vary Your Combat Tactics

    You don’t have to rely solely on melee attacks; mixing up your approach can significantly improve your chances of survival. Make sure to have a shield for blocking substantial damage along with a decent melee weapon, but remember there’s more to combat.

    You might want to use an NPC as a decoy, letting them draw fire while you attack from a distance with a ranged weapon.

    Look into using pistols since they have a knockback effect, allowing you to evade danger by pushing you away from threats when fired. Additionally, dodging is a valuable skill—use it frequently, especially against larger enemies with area-of-effect attacks.

    Craft Map Markers

    The map in Lego Fortnite Odyssey is quite expansive, filled with different biomes. Keeping track of where you are can be tricky. Some locations, like caves, will automatically appear on your map, but others won’t.

    Utilize Map Markers to signify important areas of interest—for instance, where you notice Brutes frequently appear or ideal fishing spots. The Map Marker recipe is available early in the game after you craft and place a campfire and Village Hub Square.

    They’re not only beneficial but also cheap to make, requiring just two Granite!

    Always Keep Wood in Your Inventory

    As you venture further, you may find the need for Wood and Planks, especially in caves. Rare resources or chests may be positioned high above where you can’t reach them, which is why it’s crucial to have both raw Wood and prepared Planks on hand.

    Having these materials will let you build stairs quickly, providing access to otherwise unreachable spots or serving as a platform during a fight. If you build stairs or any structure, you can easily dismantle it later with a pickaxe to recover your materials.

    Customize Settings to Fit Your Playstyle

    There’s no point in playing a game if you’re not enjoying it. Fortunately, Lego Fortnite Odyssey allows for significant customization. You can adjust various aspects of gameplay, including enemy presence, difficulty, hunger mechanics, stamina requirements, and much more. Set the game to match your preferred level of challenge and enhance your overall enjoyment!

  • Unlock Every Crafting Recipe in Lego Fortnite Odyssey!

    Unlock Every Crafting Recipe in Lego Fortnite Odyssey!

    In Lego Fortnite Odyssey, reaching milestones is essential to earn rewards and unlock new recipes. If you’re looking to upgrade your surroundings, you probably want to know how to create aesthetically pleasing homes for your villagers.

    The game offers more than just basic shacks; you can unlock over ten house designs. This guide will explain how to unlock these various houses to enhance your creativity and decoration options.

    Updated January 16, 2025 by Connie Watson: Since its release, Lego Fortnite Odyssey has introduced several updates, adding new pre-built designs achievable through Village Upgrades or Lego Passes. This guide has been revised to assist you in unlocking each one!

    Complete Guide to In-Game House Crafting Recipes and Their Unlocking Methods

    Lego Fortnite features five categories of pre-built homes, each with its own themed building options. You start with the Starter Shacks category upon entering the game, allowing you to shelter a bed and crafting bench before moving on to develop a Village Hub.

    A Village Hub establishes your area as an official gathering spot for NPCs, enabling you to create a town and recruit characters.

    As you unlock more categories, you will find options like the self-explanatory Log Cabin, the modern-style Pleasant Park houses, the grand Majestic Manor, and the traditional Shogun Palace, among others.

    Pre-Build Category

    Recipes

    Starter Shacks

    • Log Lookout
    • Simple Shack
    • Double Shack
    • Roomy Shack
    • Porch Shack

    Fishin’ Docks

    • Simple Dock
    • Dock House
    • Double Dock House
    • Deluxe Dock House

    Log Cabin

    • Log Shed
    • Palisade Gate
    • Log Cabin
    • Log Watch Tower
    • Log Home
    • Jumbo Lodge
    • Lonely Lodge

    Pleasant Park

    • Bungalow
    • Pleasant Pavilion
    • Detached Garage
    • Roomy Home
    • Spacious Home

    Majestic Manors

    • Humble Manor
    • Manor Gates
    • Manor Stables
    • Tower Manor
    • Noble Manor
    • Grand Manor

    Shogun Palace

    • Starter Palace
    • Palace Pavilion
    • Palace Gates
    • Tiered Palace
    • Palace Tower
    • Grand Palace

    Imperial Survival

    • Imperial Outpost
    • Galactic Lodge
    • Imperial Castle

    Rebel Survival

    • Rebel Castle
    • Rebel Lookout
    • Rebel Workshop
    • Rebel Farm
    • Rebel Command Center
    • Rebel Stables

    Salty Seaport

    • Tudor House
    • Tudor Workshop
    • Tudor Tavern
    • Tudor Mansion

    How to Unlock

    To access these various house crafting categories, you need to establish a village across different biomes. The specific biome where your Village Hub is situated will influence the rewards when upgrading that hub, linking each hub to a unique category.

    Upgrading your Village Hub provides multiple benefits, including the number of NPCs you can house or the crafting recipes you can unlock. For instance, recipes for Log Cabin houses are available only by upgrading a Village Hub located in the Grasslands.

    To enhance a Village Hub, you must create a town and integrate new elements like additional housing and decorations. To unlock all pre-built crafting recipes, you’ll need a Level Ten Village Hub in nearly every biome.

    Buildings

    Village Hub Biome

    Starter Shacks

    Anywhere

    Fishin’ Docks

    Shore or Grasslands

    Log Cabin

    Grasslands

    Pleasant Park

    Grasslands

    Majestic Manor

    Dry Valley

    Shogun Palace

    Frostlands

    Imperial Survival

    Rebel Village

    Rebel Survival

    Rebel Village

    Salty Seaport

    Lost Isles

    Comprehensive List of Lego Pass Building Crafting Recipes

    Arcade Tent from the Chill and Thrill Lego Pass in Lego Fortnite Odyssey.

    The Lego Pass serves as Lego Fortnite Odyssey’s equivalent of a Battle Pass. While a Lego Pass is active, you can earn rewards using the Battle Stars you gain by leveling up during its duration.

    Typically, each Lego Pass includes one or two exclusive house builds that you can unlock simply by playing the game and leveling up while the pass is active.

    Be cautious! If you take too long and let the Lego Pass expire, you will miss out on those builds.

    Building Sets

    Buildings

    Lego Pass

    Wastelander’s Rampart Set

    Chapter 5: Season 3 Battle Pass

    Mos Eisley

    • Mos Eisley Marketplace
    • Mos Eisley Homestead
    • Mos Eisley Garage
    • Mos Eisley Emporium
    • Mos Eisley Tower
    • Mos Eisley Large Garage
    • Mos Eisley Cantina
    • Dusty Durr Burger

    Rebel Adventure

    Nana

    • Nana Plaza
    • Nana Hall
    • Nana Manor
    • Nana Hut
    • Nana Gate

    Tropical Treasures

    Tomato Temple

    • Tomato Temple
    • The Hothouse
    • Zesty Ziggurat
    • Uncle Pete’s Pizza Pavilion

    Tropical Treasures

    Haunted

    • The Creaker on Bleeker Street
    • The Ruin of Rue Royale
    • The Eyesore of Eerie Avenue
    • The Dump on Old Durr Drive

    Brick or Treat

    Fortnite Forever Festival

    • Juice Tent
    • Arcade Tent
    • Lounge Tent
    • Main Stage

    Chill & Thrill

    Raven’s Roost

    • Raven’s Abode
    • Raven’s Workshop
    • Raven’s Apothecary
    • Raven’s Mausoleum

    Chill & Thrill

  • Discovering Rift Shard Locations in Lego Fortnite Odyssey

    Lego Fortnite Odyssey combines the excitement of Fortnite with the creativity of Lego. Players can wander through a vast open world featuring over five distinct biomes, face numerous foes, and construct anything they can imagine. With so much land to explore, it can be a challenge to uncover everything. Simplifying that journey could be a great idea!

    Rift Shards serve as a unique resource vital for crafting two important utility stations: the Battle Bus Station and Legendary Forge. Whether you’re trying to travel faster or enhance your gear, Rift Shards are crucial, and this guide will show you how to obtain them.

    How to Get Rift Shards

    Rift Shards can be collected in two primary ways: defeating one of the three types of Golems found on the Lost Isles, and destroying Battle Bus Stations.

    Locating Golems in the Lost Isles can be tricky if you’re not familiar with their whereabouts. You can find sleeping Golems near Jungle biomes, typically positioned by a chest at the base of a large fruit statue. When you open the chest, the Golem will wake up and engage in combat.

    These foes are incredibly strong and can easily overpower you if you’re not ready.

    You can find Storm-wild and Tomato Golems floating above the Lost Isles, and they are substantially more challenging to defeat. Each of these will generally drop one Rift Shard upon defeat.

    Using a high-level pickaxe will make taking down Golems much easier.

    Lastly, Battle Bus Stations can be located throughout the overworld and are susceptible to destruction by an Epic pickaxe or higher. Once discovered, they’ll be represented by letters on your map and can be tracked by following blue pillars of light.

    Upon destruction, these stations will yield three Rift Shards, along with other resources necessary for their creation.

    What Are Rift Shards Used For?

    Rift Shards are instrumental for crafting both a Battle Bus Station, which enables faster travel, and a Legendary Forge that allows you to upgrade your tools to Legendary quality. To create these structures, you’ll need the following materials:

    Battle Bus Station

    • 4x Metal Bar
    • 2x Granite Slab
    • 6x Planks
    • 3x Rift Shard

    Legendary Forge

    • 3x Rift Crystal
    • 8x Iron Bar
    • 6x Cut Ruby
    • 5x Rift Shard
  • Mastering Klombos: A Guide to Riding in Lego Fortnite Odyssey

    Mastering Klombos: A Guide to Riding in Lego Fortnite Odyssey

    Lego Fortnite Odyssey offers an expansive environment for players to discover. With more than five biomes featuring distinct creatures, you can spend countless hours uncovering every detail. Once you’ve fully explored these areas, you can venture to the Lost Isles to enjoy even more adventures.

    Klombos, the gentle giants, are exclusively found on the Lost Isles and can be easily tamed and ridden to utilize their abilities. If you’re eager to encounter Mama Klombo and perhaps feed her, this guide will help you out.

    Where To Find Klombos

    Klombos are located solely on the Lost Isles, roaming either the lagoon areas in the Jungle biome or the Plains biome, and they are typically non-aggressive towards players.

    The most straightforward way to reach the Lost Isles is via a Bus Stop, where you can choose the Lost Isles as your destination at any moment.

    Where To Find Mama Klombo


    The Mama Klombo is located in the Jungle biome, particularly in the striking blue lagoons. You’ll notice Klombo statues in the vicinity, as she will emerge from the water near these statues. To summon her, simply approach the statues.

    You can feed Mama Klombo nearly any item, though she has a preference for Klomberries and Pineapples. In return, she will reward you with a variety of items ranging from Mahogany Wood to Stink Glands. After a while, she will return to the lagoon when left undisturbed.

    How To Tame Klombos

    You can tame Klombos by giving them Klomberries, which are found scattered throughout the Lost Isles. Additionally, you can plant Klomberry seeds in a designated area to ensure a perpetual supply. To feed a Klombo, simply drop the Klomberries nearby, and once it eats, it will become tamed and rideable.

    If your tamed Klombo exhausts its stamina or becomes upset due to excessive damage, you will need to tame it again.

    Klombo Abilities


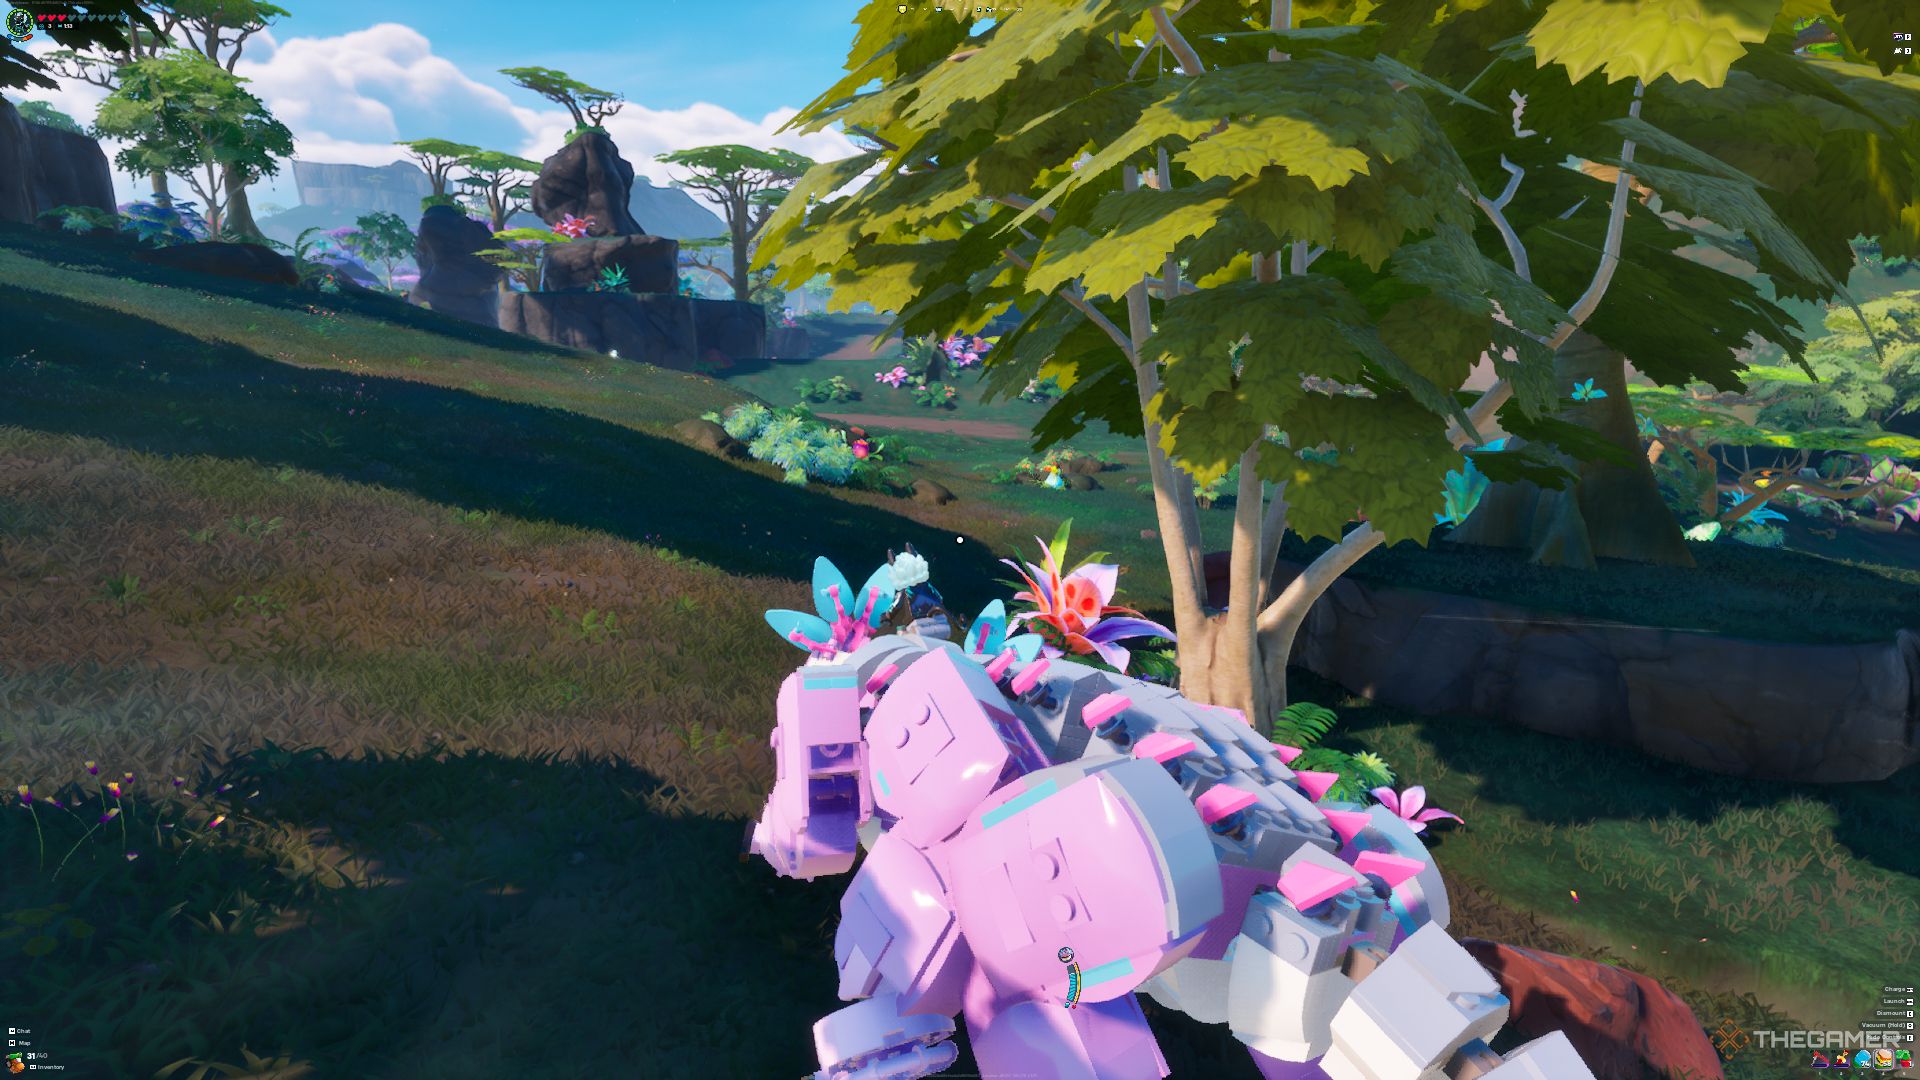
    Klombo charging while the player is riding it in Lego Fortnite Odyssey.

    As soon as you hop on your Klombo, you can perform various actions. You’ll see that the Klombo has its own stamina and health indicators displayed on your screen:

    • The stamina will decrease as you run into obstacles and will also naturally diminish over time.
    • The health will drop when you take damage from enemies.

    Klombos are capable of breaking through various obstacles, from trees to large rocks, and even can take down enemies.

    You can also utilize several abilities while riding the Klombo. Below are the controls for riding:

    Mount/Dismount

    (E/X/Square)

    Vacuum

    (Hold Q/B/Circle): The Klombo will suck up nearby items to eat and recover health.

    Launch

    (Ctrl/Y/Triangle): The Klombo will launch you, giving you the ability to use the Glider.

    Charge

    (Shift/LS/L3): The Klombo will charge continuously until it either runs out of stamina or runs into an unbreakable object.

  • Discovering Brightcore in LEGO Fortnite Odyssey: A Guide

    When you dive into Lego Fortnite Odyssey, you’re stepping into a vibrant world filled with diverse landscapes, from snowy peaks to sandy shores and blistering deserts. You’ll face enemies, manage hunger, and construct a village made of Lego bricks. As you explore, you’ll collect various materials along the way.

    Some of these materials are essential for improving your gear or upgrading your crafting station. Others will assist you in creating your ultimate Lego paradise. One valuable item used in crafting is Brightcore. Here’s how to find it.

    Where To Find Brightcore

    Lava Caves

    You can discover Brightcore in the Lava Caves located in the Dry Valley, where it can be seen protruding from the cave walls. Any type of Pickaxe, even a Common one, will be effective for mining Brightcore.

    Typically, you will find Brightcore near the lava itself. Make your way down or glide to the spots where you can see ore deposits adjacent to the lava pools. Look for Brightcore pieces that have an orange tint, contrasting with the gray stone around them.

    Miner Skeletons

    If braving the heat of the Lava Caves isn’t your style, there’s another method to obtain Brightcore. While it’s not located outside the Dry Valley, Miner Skeletons will drop Brightcore upon defeat, and these skeletons can be found quite easily in caves throughout the Grasslands.

    Once you enhance your village, you can speak to one of the villagers and assign them a task to gather resources. They might reward you with some extra Brightcore. Additionally, you can occasionally find Brightcore in chests scattered across the world.

    What Is Brightcore Used For?

    Brightcore is primarily needed for crafting the Oven Utility Station, which allows you to make better food items. It’s also used in various furnishing recipes, particularly for creating light fixtures.

  • Mastering Story Creator Mode in Assassin’s Creed Odyssey

    Mastering Story Creator Mode in Assassin’s Creed Odyssey

    Assassin’s Creed Odyssey maintains an active community even years after its launch. With many players having completed all available quests, experiencing new stories brings added excitement, and some may even feel inspired to create their own.

    This is where Story Creator Mode shines, allowing you to craft quests in the style of Assassin’s Creed. Whether your stories are lighthearted, intricate, or simply meant to amuse players, exploring quest creation is a fantastic option for those who love storytelling.

    How to Access the Story Creator Mode


    To get started, simply visit Ubisoft’s official site in the Story Creator section. From there, scroll down and click on ‘Create A Story’ to log into your account.

    Be sure to use the Ubisoft Account associated with your Assassin’s Creed Odyssey gameplay. For instance, sign in via the PlayStation Network if you’re playing on PlayStation.

    Once you’ve logged in, you’ll be directed to another page. Click ‘Create New Story’ in the drafts section, and you’ll be taken to the main interface for crafting your stories.

    How to Make Stories

    The initial step in story creation is to name your story, select a starting location, and provide a brief overview. Then, add a new quest from the left sidebar. After adding your quest, click the three downward dots next to it and select ‘Edit’.

    In the quest editing interface, you’ll have access to a variety of blocks and assets that serve as your building components. We recommend beginning with a Quest Starter block, such as a ‘Talk’ block, where you can include a character and introductory dialogue for your quest.

    Next, consider using a ‘Sequence’ block to introduce another character and facilitate a conversation. The ‘Choice Hub’ block allows for player decisions, giving them more control over the experience.

    Always remember to ‘Validate’ your changes after filling out each block, which means confirming your adjustments. You can connect blocks by dragging the golden circle icons when hovering over them to link them together.

    Every quest should include a ‘Quest Success’ block at the end. After connecting a previous block to this completion block, you can return to the story overview menu by clicking on the main story at the top of the screen.

    Drag your quest from the left sidebar onto the canvas and link its input node to the story start and output node to the story end once finished. You can then click on ‘Publish’ if you’re satisfied with your story or save it as a draft for later.

    Tips and Tricks for the Story Creator

    A key tip for using the story creator is to constantly test your drafts by accessing them in-game. You can find your stories in the ‘My Stories’ section of the main menu and play through them.

    Additionally, utilize the ‘Assets’ tab in the Story Creator to create and add items to your quests, enhancing the lore and storytelling value. Here are some other suggestions:

    • Utilize variables and conditions. For instance, implement boolean checks (if statements) to ensure players complete specific tasks before progressing.
    • Assign behaviors to select characters for added depth and narrative logic in your quest.
    • Add Visual Presets to dialogue to create different atmospheres, like the Vintage filter for a more nostalgic feel.
    • Include a Transaction block to give players items from NPCs.
    • Right-click on the canvas and press ‘Save’ to save your work manually.

    Consider creating boss battles in your quests by using the ‘Kill’ objective block and incorporating characters like the ‘Order’s Guardian: Protector’, making them ‘Elite’ for increased challenge.

    You can also include additional enemies to eliminate as part of your objectives, crafting an exciting wave-based segment in your quest.

    If you’d rather explore stories made by others, check out the ‘Discover Story’ tab on the Story Creator website. For any quests that catch your eye, you can add them to your game using the ‘Add to Story Log’ button.

    Launch the game and continue/load a save from the main menu. Ensure that your save is beyond Episode 1 and that you’ve reached Megaris to access story creator content.

    Open the quest menu and select ‘See Stories’. Your story log quests will be listed at the top, marked on the map for easy access.

    You’ll also see other suggested stories listed, allowing you to find new content without always needing to browse the website. This provides an effortless way to keep engaging with community-created stories while enjoying the game.

  • Building the Epic Forge in Lego Fortnite Odyssey: A Guide

    Building the Epic Forge in Lego Fortnite Odyssey: A Guide

    Lego Fortnite Odyssey features an expansive world with ten distinct biomes, numerous hostile enemies, and friendly creatures, offering plenty of resources for players to gather. It’s clear that tools like pickaxes and swords are essential in the game, so why not ensure they’re the best they can be?

    The Legendary Forge serves as a crafting station that upgrades your Mythic tools to Legendary status, greatly enhancing their abilities. While the path to creating these Legendary tools can be challenging, the rewards are definitely worthwhile.

    Crafting the Legendary Forge

    To craft the Legendary Forge, you’ll need four different materials:

    While rubies can be found in the Dry Valley and iron in the Frostlands, the Rift Crystals and Shards may require a bit more effort to obtain.

    Rift Crystals can be collected from a few key sources, including Storm Dungeons, Storm Enemies, and Raven’s Hideout. You can find Rift Crystals in the chests within Storm Dungeons and from the foes around these areas. Additionally, defeating Raven and opening the chest afterward may yield some Rift Crystals.

    Rift Shards are primarily dropped by Golems, formidable enemies located on the Lost Isles. Be cautious, as they can be quite dangerous if you’re not well-prepared.

    Rift Shards may also drop as a rare reward when you feed Mama Klombo Klomberries on the Lost Isle, but this is uncommon.

    Using the Legendary Forge

    After acquiring your Legendary Forge, the upgrade process is straightforward. Just take any Epic tool to the forge and select which one you want to upgrade, which will cost three Rift Crystals for each upgrade. However, once upgraded, the tool will not yet be legendary; there’s one more step to complete.

    Transforming a Tool into Legendary

    To transform your upgraded tool into a Legendary one, you’ll need to use the item a specific number of times in order to fill the progress bar that appears at the bottom, replacing the durability bar. This process can take quite some time, so be ready for some effort. Once you have filled the bar, the tool will automatically upgrade to Legendary.

  • Unlocking Seeds in Lego Fortnite Odyssey: A Complete Guide

    Unlocking Seeds in Lego Fortnite Odyssey: A Complete Guide

    While Lego Fortnite Odyssey isn’t primarily about farming, having a small farm is essential in any survival game. It ensures you have a reliable food source. Understanding how to plant and maintain crops for your survival is crucial.

    By planting crops, you gain immediate access to raw food. Your NPC villagers can help take care of these crops, and they may even begin cooking for you. Establishing a small farm is a key strategy to prepare for confrontations with bosses and to keep your village content.

    Last updated December 31, 2024: This guide has been revised to include the latest changes from the Odyssey update.

    Planting Crops


    To begin planting crops, you’ll first need a Garden Plot. You can unlock the recipe for the garden plot after you craft a Shovel for the first time.

    Once you’ve crafted a Shovel, dig up some dirt, and you will unlock the Garden Plot recipe. There are three types of Garden Plots to unlock, requiring you to dig up specific soil types for each one.

    Garden Plot Snow Garden Plot Sand Garden Plot
    Soil can be found in grassy areas like the Grasslands. Snow can be dug up in the Frostlands. Sand can be collected in the Dry Valley or at the Shore.

    With your Garden Plots established, you can place seeds from your inventory into the plots to grow crops. You can also put multiple seeds in one plot, allowing for longer harvest times without needing to refill the plot after each harvest.

    Harvesting Crops

    Doughberman beside some Garden Plots in Lego Fortnite Odyssey.

    You don’t need to water your crops. They grow on their own, though you can assign an NPC to harvest them for you.

    When an NPC harvests your crops, they won’t deplete the supply but rather generate more produce.

    Once your crops are fully matured, they can be harvested. If seeds remain in the Garden Plot, it will automatically begin growing the next batch.

    Acquiring Seeds

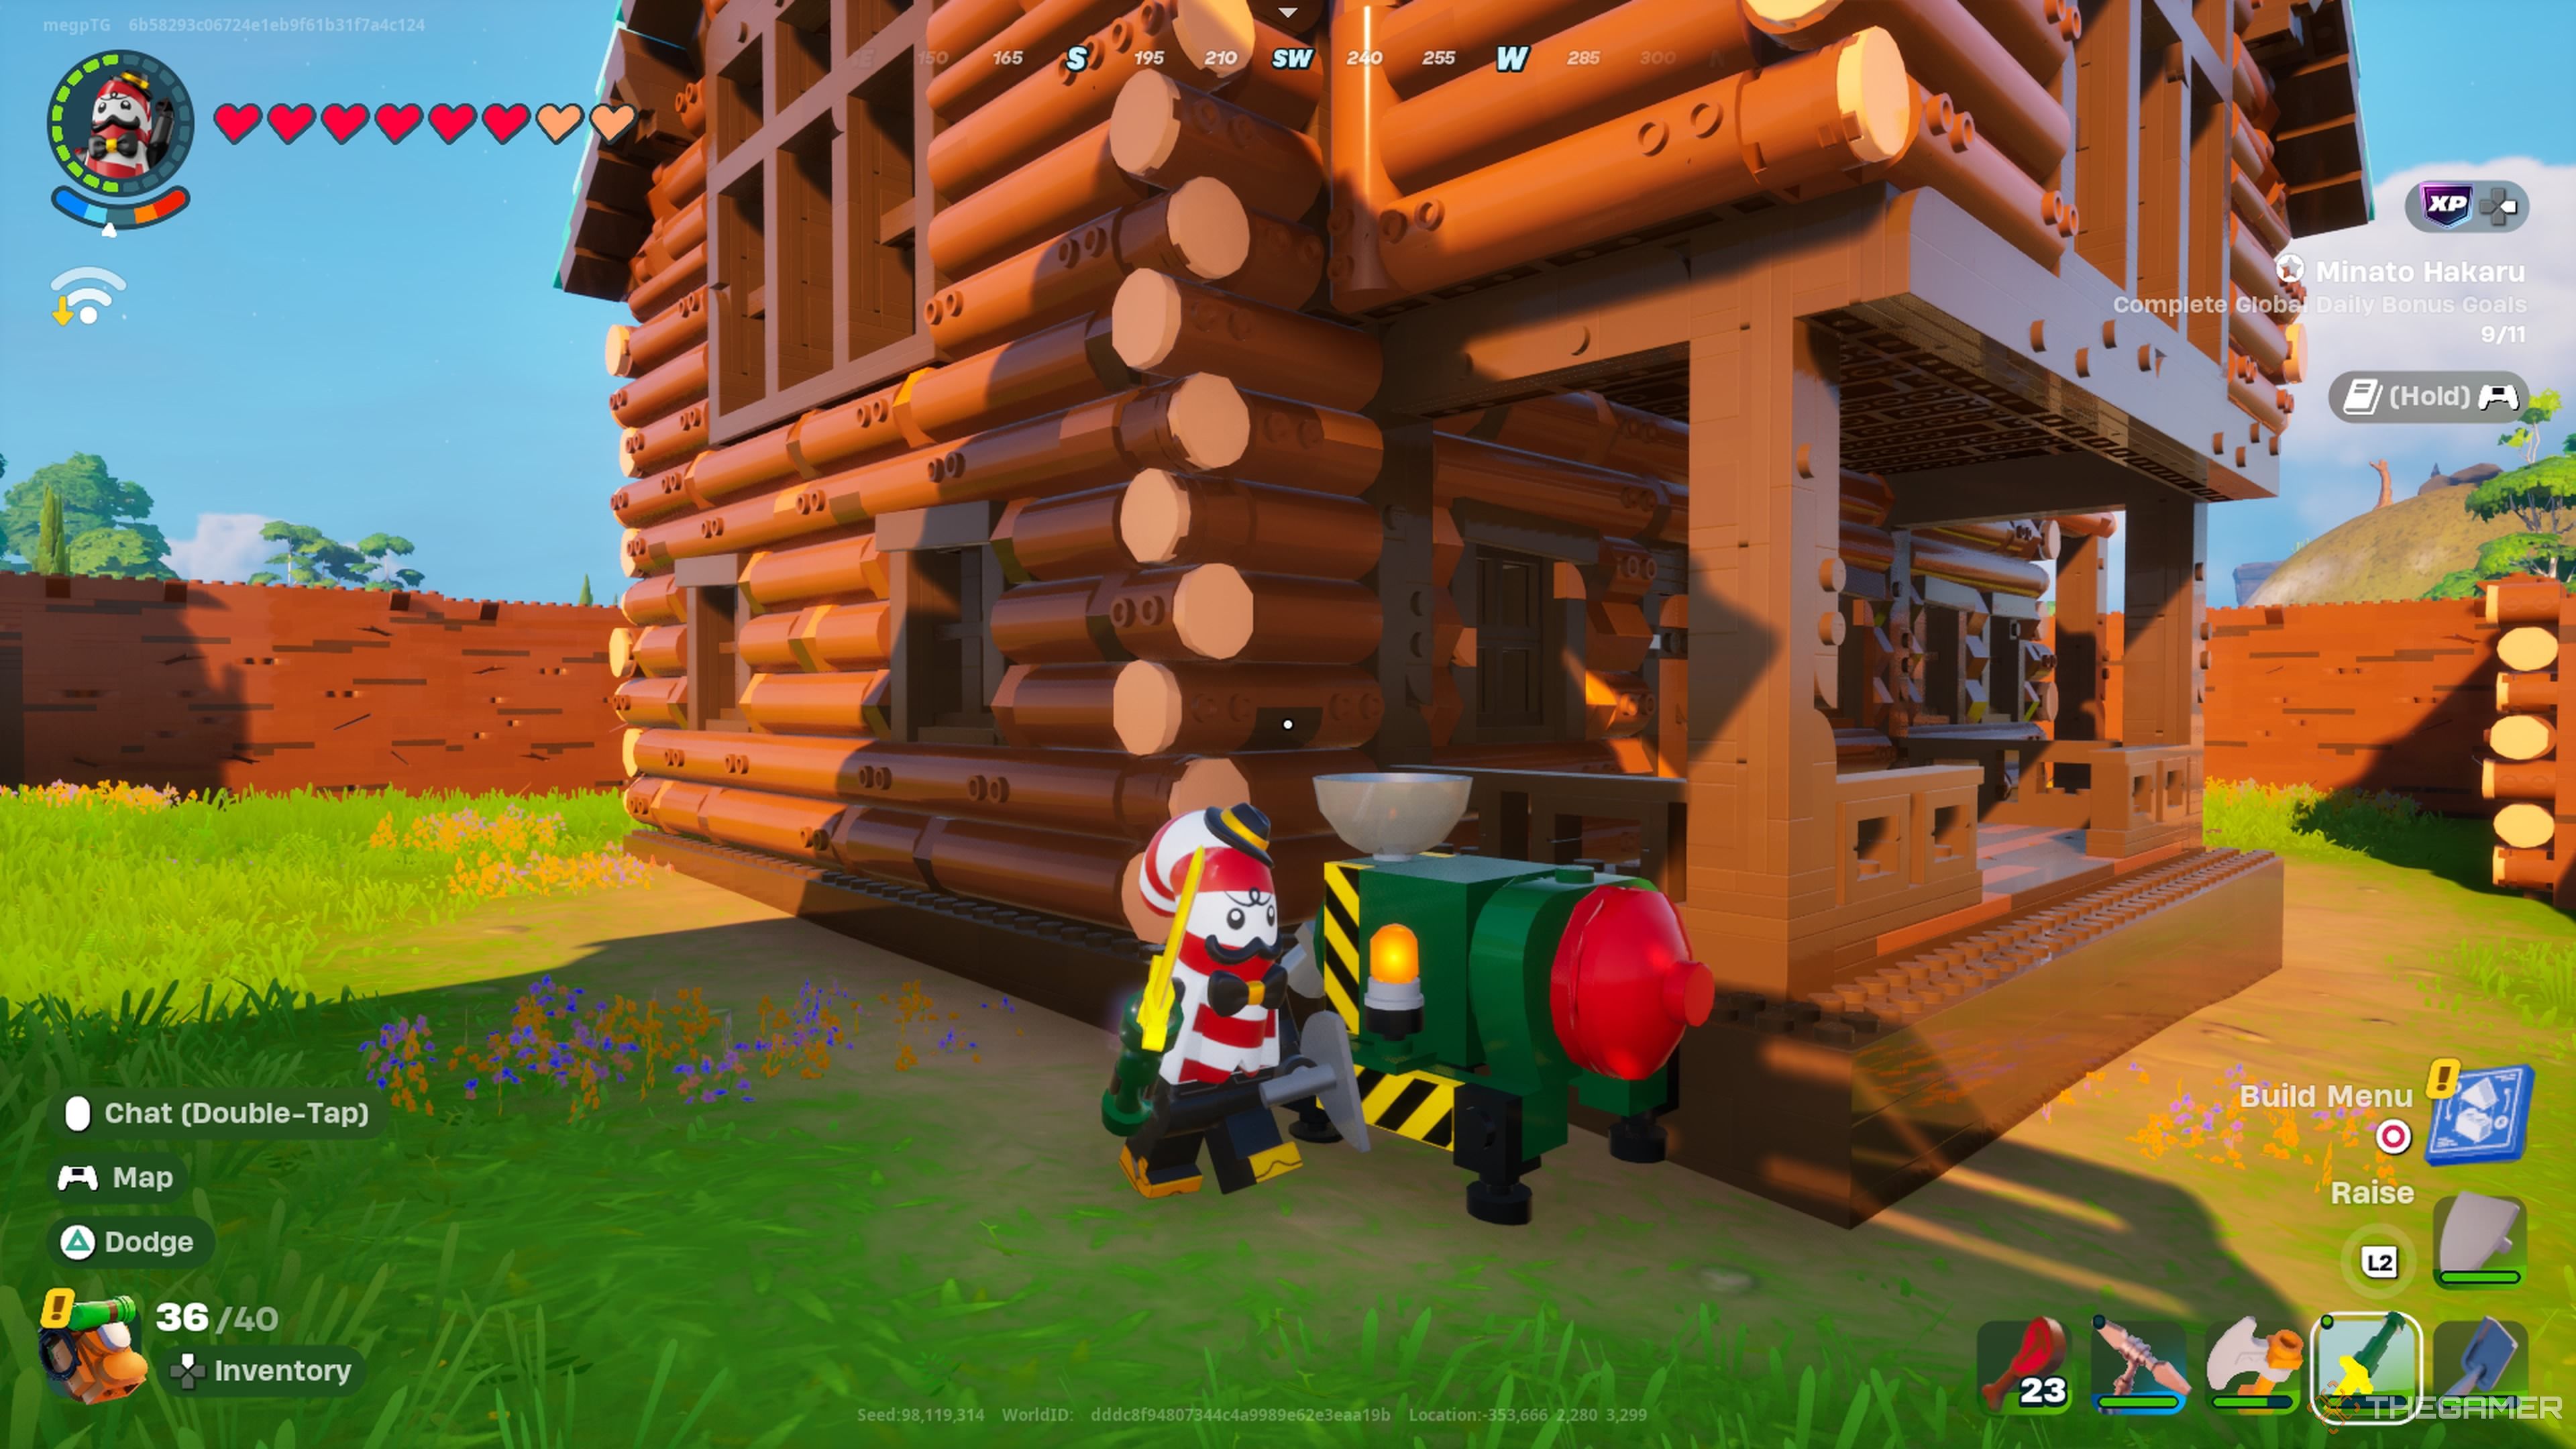
    Mr. Dappermint by the Grain Mill in Lego Fortnite Odyssey.

    Now that you have your garden plots, you’ll need seeds. You may find some seeds in chests, but the most reliable way to obtain them is by crafting a Grain Mill.

    Grain Mill Recipe
    10x Wooden Rod
    20x Granite Slab
    3x Sandstone

    Assign NPCs from your village to work at the Grain Mill to create seeds.

    All Seed Types and Their Functions

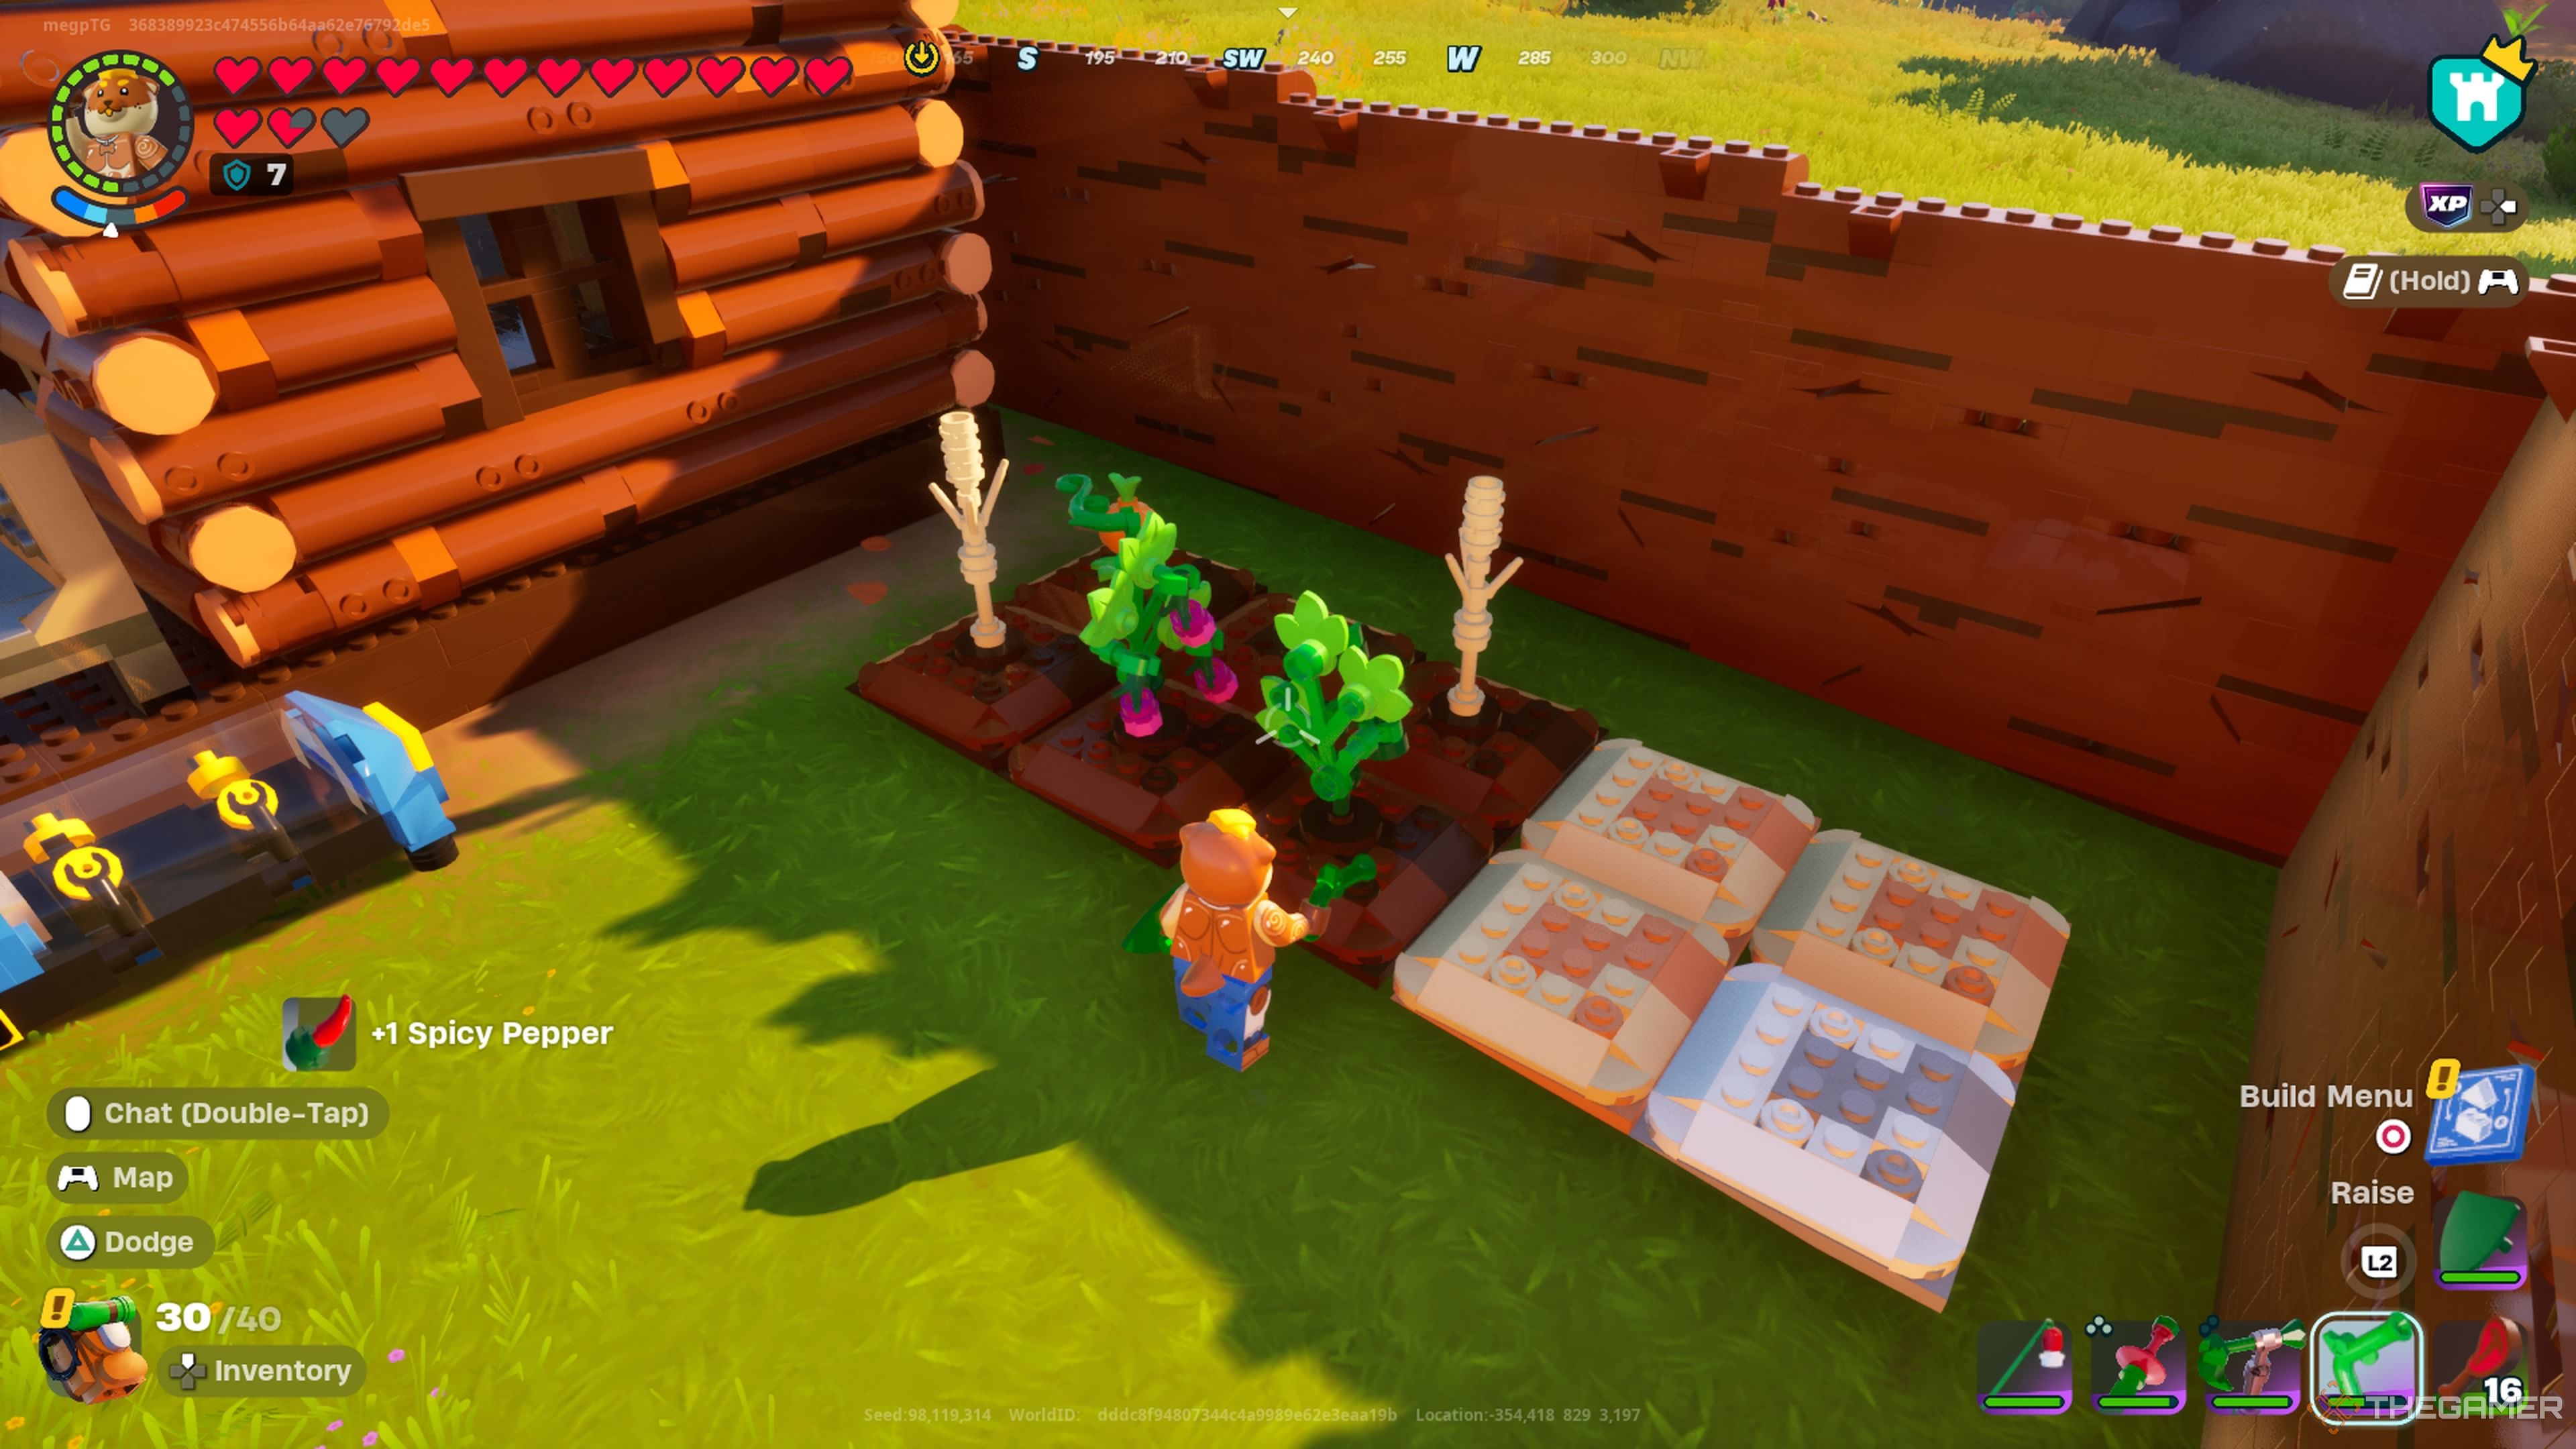
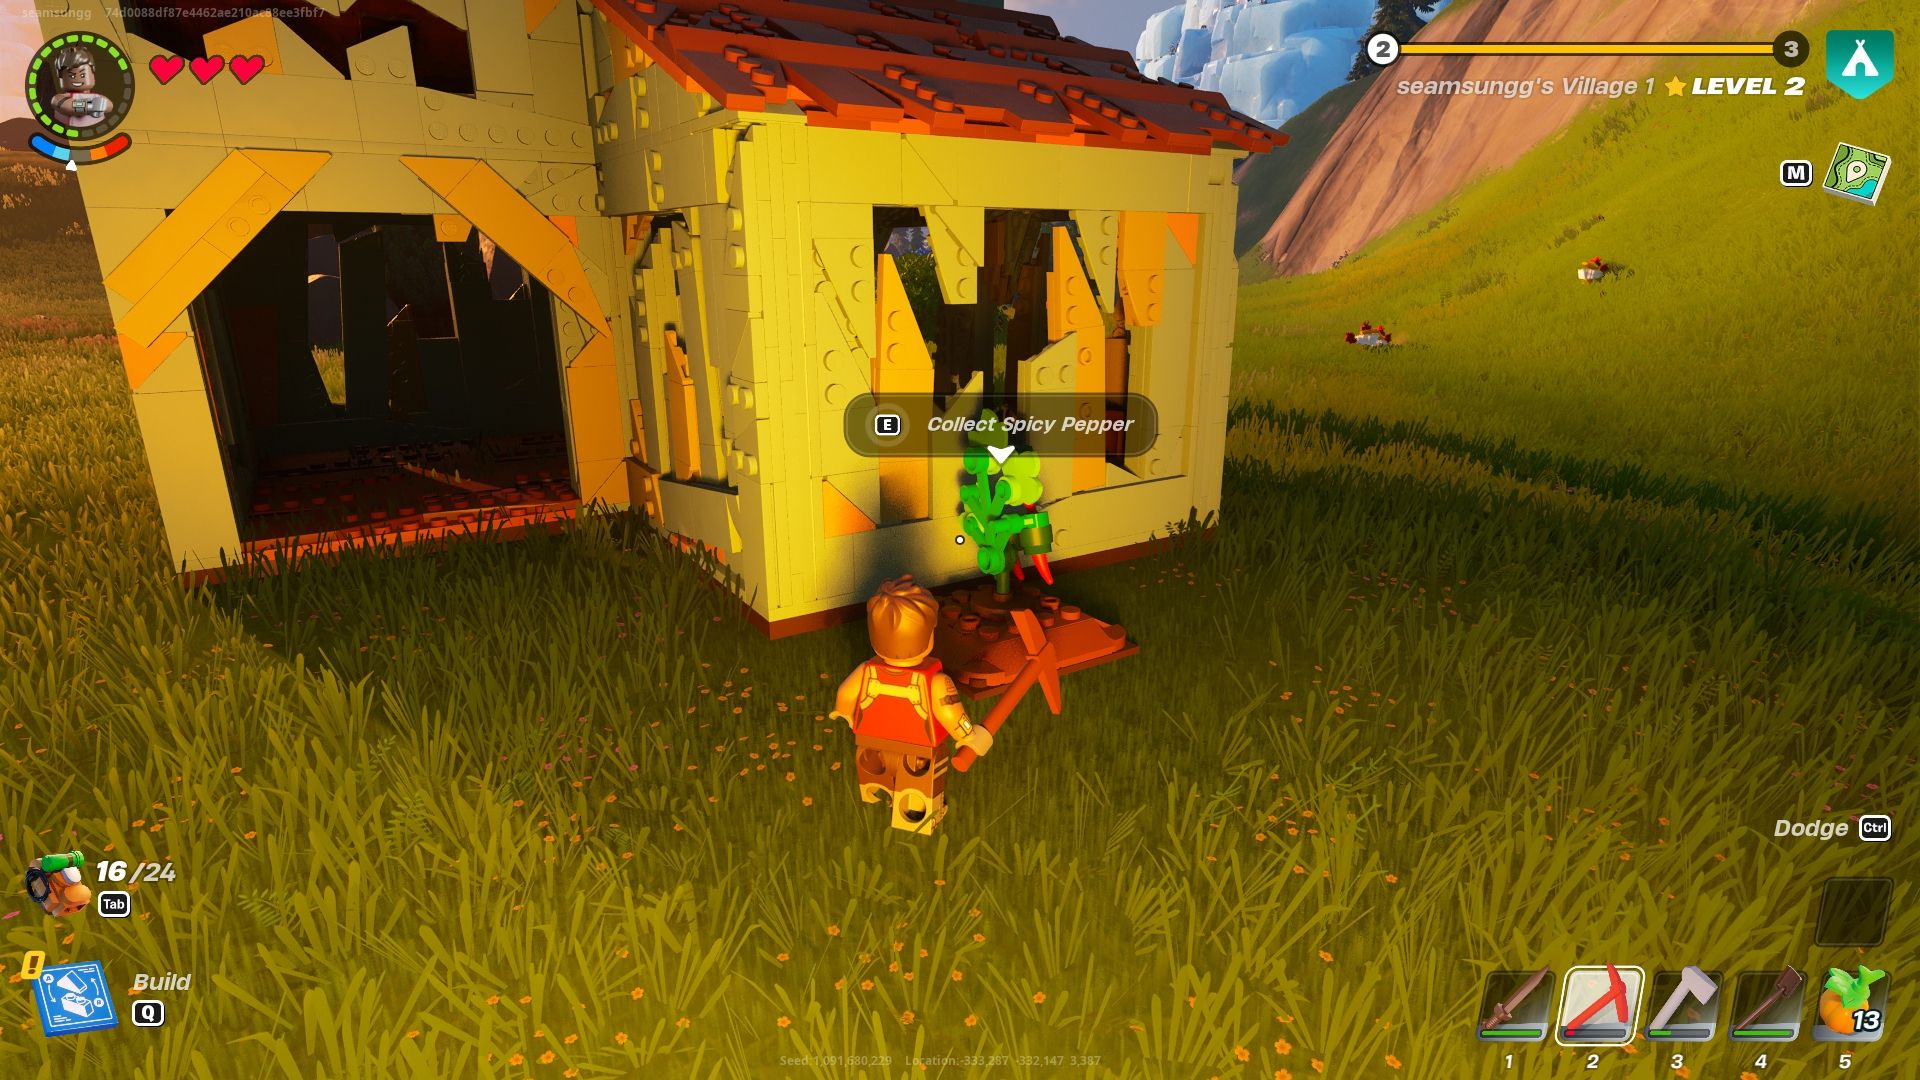
    Player selecting spicy pepper ready for harvest.

    Throughout the game, you will encounter various seeds. Although seeds themselves cannot be eaten, the foods produced from them provide different benefits based on the type of food. All consumable fruits and vegetables will restore health and alleviate hunger, with some providing additional perks.

    Seed Food Benefits Location
    Chillberry Seed
    • Heals 1/2 heart.
    • Reduces hunger by 2.
    • Grants 2 minutes of heat resistance.
    • Used to create various foods in other utilities.
    Frostlands
    Corn Kernel
    • Heals 3/4 heart.
    • Reduces hunger by 3.
    • Used in various food recipes.
    Grasslands
    Klomberry Seed — Lost Isles Jungle
    Pepper Seed
    • Heals 1/2 heart.
    • Reduces hunger by 3.
    • Grants 2 minutes of cold resistance.
    • Used to create various foods in other utilities.
    Dry Valley
    Pumpkin Seed
    • Heals 1 heart.
    • Reduces hunger by 5.
    • Used in various food recipes.
    Grasslands
    Raspberry Seed
    • Heals 1/2 heart.
    • Reduces hunger by 2.
    • Used in various food recipes.
    Grasslands
    Slapberry Seed
    • Heals 1/2 heart.
    • Reduces hunger by 2.
    • Increases stamina regeneration for 2 minutes.
    • Used to create various foods in other utilities.
    Shore
    Tomato Seed
    • Heals 1/2 heart.
    • Reduces hunger by 3.
    • Used in various food recipes.
    Lost Isles Jungle
    Wheat Grain
    • Used to make various foods, such as flour.
    Grasslands
  • Mastering Brute Scales in LEGO Fortnite Odyssey: A Complete Guide

    Mastering Brute Scales in LEGO Fortnite Odyssey: A Complete Guide

    Making it through Lego Fortnite Odyssey isn’t going to be simple. You’ll have to manage your hunger, gather materials for crafting upgraded items, and protect yourself from harsh weather conditions. As you progress, you’ll face a variety of enemies, from skeletons that roam at night to wild wolves and beyond.

    One of the toughest foes you’ll encounter is the massive Brute. In the beginning, meeting one of these giant creatures will likely send you straight back to your last checkpoint. But as you upgrade your gear and weapons, you’ll want to hunt them down for their valuable loot. Here’s how to take down Brutes and collect Brute Scales.

    Updated December 31, 2024 by Meg Pelliccio: This article has been revised with new details from the Odyssey update.

    Where to Find All Types of Brutes

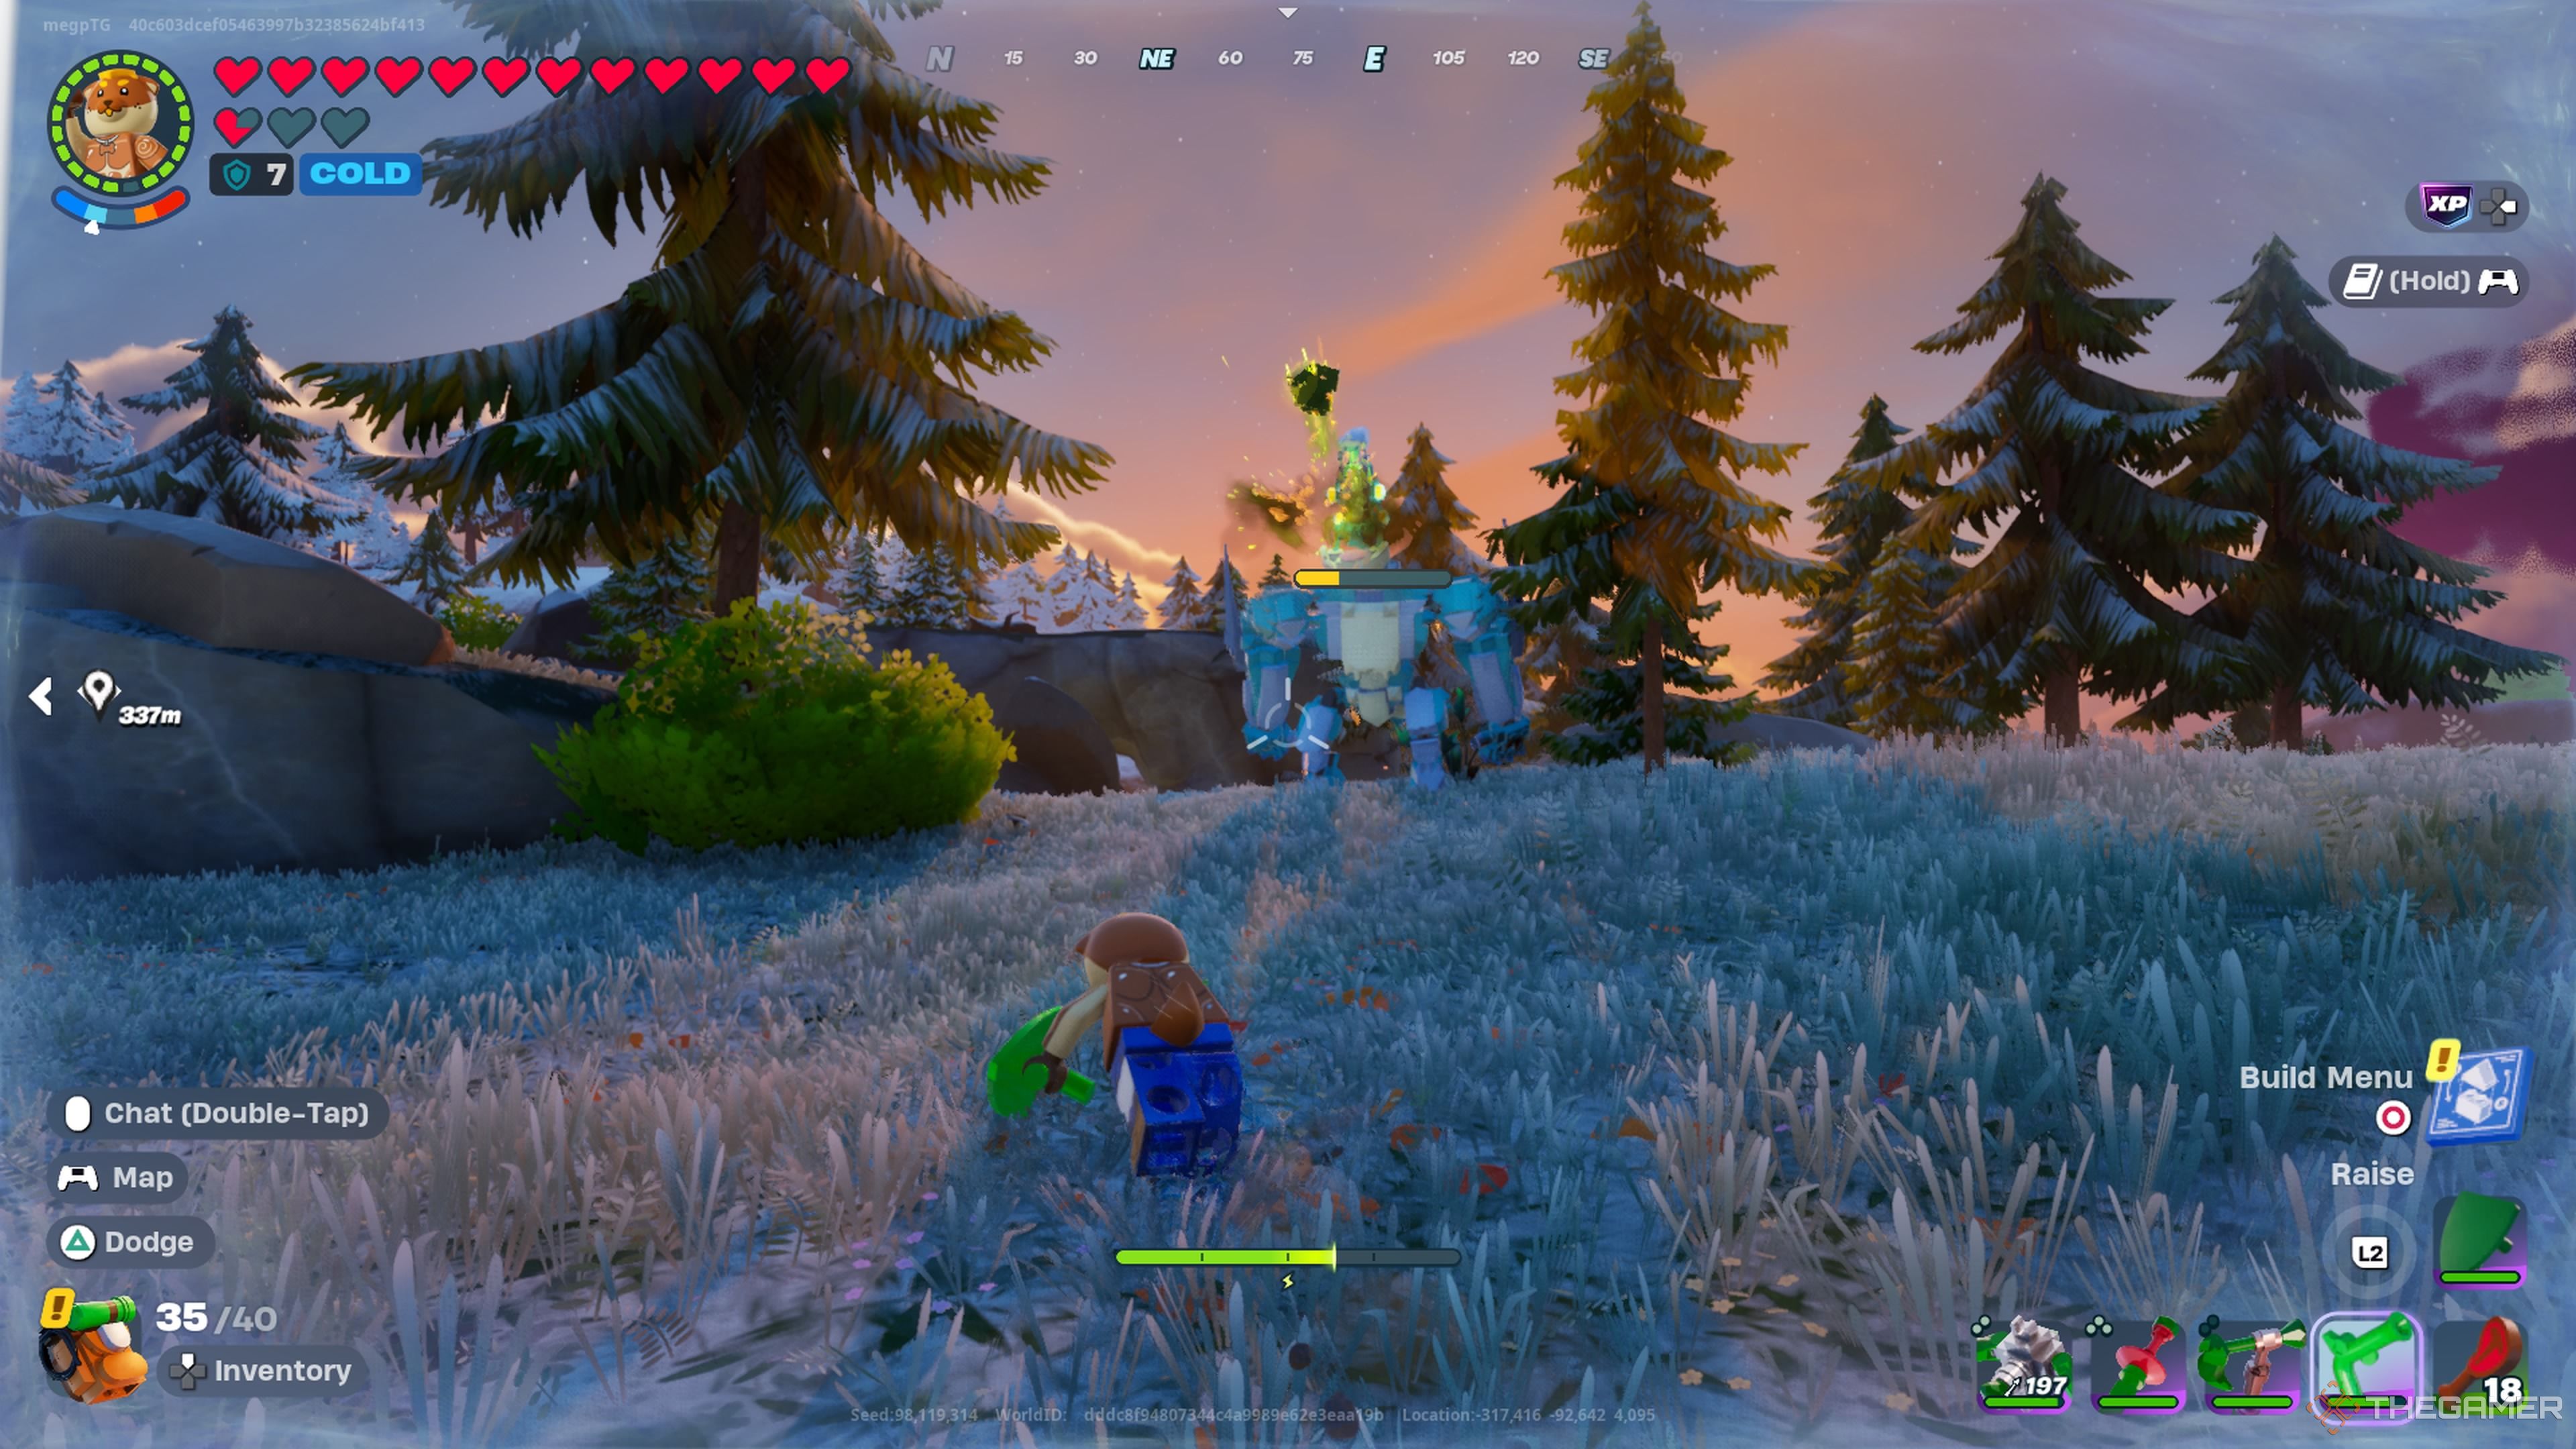
    While exploring the Grasslands, which acts as your starting area in the game, you may stumble upon regular Brutes. They have glowing green eyes, spiky skin, and large arms resembling hammers. It’s best to steer clear of these Brutes until you’ve got better equipment.

    In total, you’ll find three distinct types of Brutes as you explore various biomes.

    Brute

    Location

    Drop

    Brute

    Brute Scale

    Sand Brute

    Frost Brute

    Frost Brute Scale

    The Brutes don’t have specific spawn points, so you’ll have to find them as they roam their territories. If you’re playing in a Sandbox world, you can easily spawn them at will.

    If you’re in Expert Mode or have chosen to activate Storm-wild enemies in your settings, you might face Storm-wild Brute variants.

    These look like their standard counterparts but feature purple-glowing eyes and joints. Storm-wild enemies inflict much more damage, have greater health, and move considerably faster than regular foes.

    How to Defeat Brutes


    While the types of Brutes differ, the strategy to defeat them remains consistent. They share the same attack patterns, but the Sand Brutes (and Frost Brutes) are tougher, boasting higher health and inflicting more damage.

    Preparation

    If you’re planning a Brute hunt, here are some tips:

    • Bring a villager with you. Have a villager tag along during your hunt. They can sometimes distract Brutes, taking most of the damage while you strike.
    • Equip Charms that enhance Health and Defense.
    • Ensure your weapons are the strongest available. It’s wise to carry melee and ranged weapons, along with a shield. Don’t forget to arm your NPC companion, too.
    • Carry consumables like food. These can help restore health if things get dicey.

    Brute Moveset

    It’s essential to know the Brute’s attack patterns. They can execute four primary attacks:

    • A sweeping punch with its massive arms.
    • A powerful slam that sends shockwaves.
    • A forward earthquake-style attack.
    • A projectile poison attack.

    Most of these attacks can be avoided with a timely dodge. Watch for the Brute to wind up its attacks, which signals what’s coming next. Wait for the perfect moment to hit back with your most powerful weapons.

    Battle Strategy

    Doughberman being shot at by a Brute in Lego Fortnite Odyssey.

    Since Brutes can deal a lot of damage with a single hit, your best strategy is to let your NPC engage first as a distraction. This approach helps keep the Brute occupied while you attack from a distance with ranged weapons, particularly pistols, which have a recoil benefit that can push you away from danger.

    You can distract Brutes by dropping food items; they will stop to eat them.

    However, maintaining distance may cause Brutes to use their poisonous projectiles, which create harmful AoE zones for a brief time—so step carefully! If you’re feeling confident about your health and defense, or if the Brute is low on health, you can rush in for a melee attack.

    What Are Brute Scales For?

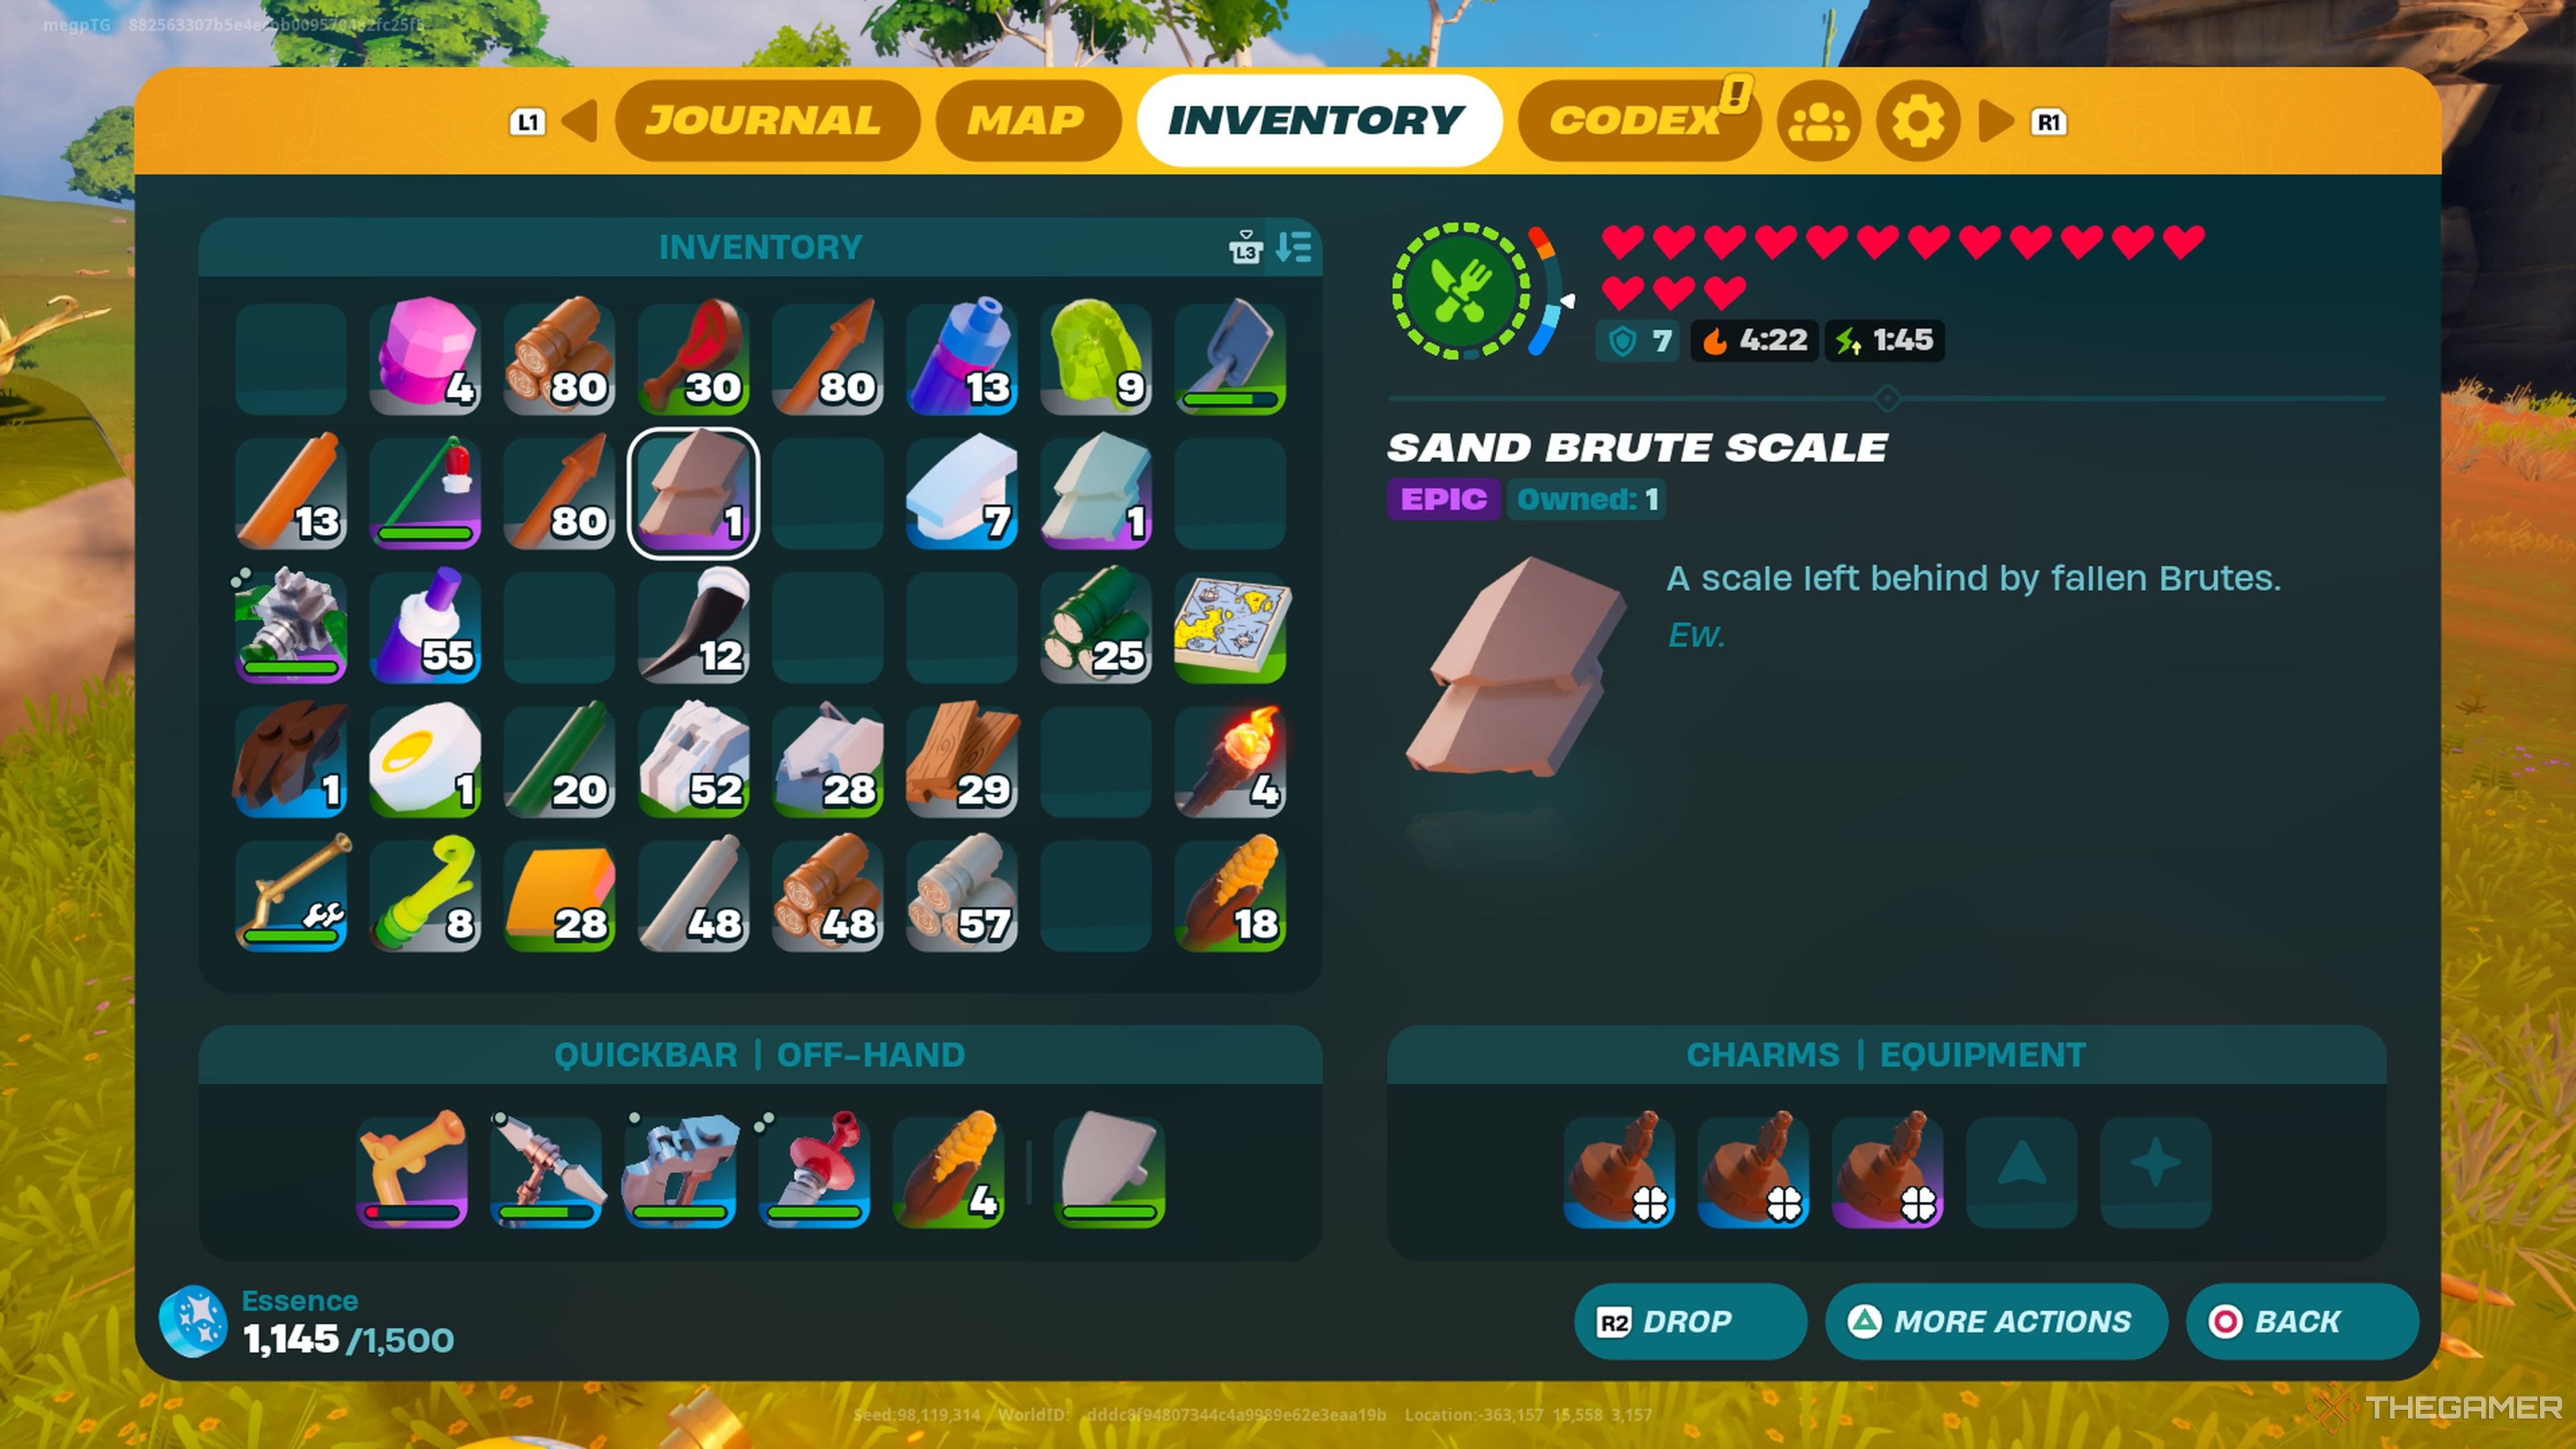
    A Sand Brute Scale in an inventory in Lego Fortnite Odyssey.

    Brute Scales are essential for crafting superior gear and charms. In Odyssey, crafting relies on components, meaning the rarer materials you use, the better your equipment will turn out—so it’s vital to gather those valuable Brute Scales.

    Keep an eye out for Brute Scales in treasure chests. This can be a lucky way to collect them without facing the Brutes directly.

  • All Charms Explained: Effects in Lego Fortnite Odyssey

    Inner Fire Charm (Uncommon)

    • Grants one health Heart
    • Provides one defense Shield
    • Boosts cold weather resistance

    Inner Fire Charm (Rare)

    • Grants three health Hearts
    • Provides one defense Shield
    • Boosts cold weather resistance

    Health Charm (Common)

    • 3 x Cord
    • 3 x Bone
    • 5 x Wolf Claw

    Health Charm (Uncommon)

    • Grants two health Hearts
    • Provides one defense Shield

    Health Charm (Rare)

    • 3 x Wool Thread
    • 8 x Metal Plate
    • 2 x Any Pelt
    • Grants three health Hearts
    • Provides two defense Shields

    Health Charm (Epic)

    • 3 x Wool Thread
    • 5 x Cut Amber
    • 1 x Brute Scale
    • Grants four health Hearts
    • Provides three defense Shields

    Cool-Headed Charm (Uncommon)

    • Grants one health Heart
    • Provides one defense Shield
    • Boosts hot weather resistance

    Cool-Headed Charm (Epic)

    • 3 x Heavy Wool Thread
    • 5 x Cut Sapphire
    • 1 x Frost Brute Scale
    • 2 x Frost Bear Pelt
    • Grants three health Hearts
    • Provides three defense Shields
    • Boosts hot weather resistance

    Hearty Totem (Uncommon)

    • 3 x Wool Thread
    • 5 x Marble Slab
    • 2 x Shell
    • 8 x Bone
    • Grants one health Heart
    • When at full health, gain extra health after a few seconds

    Hearty Totem (Rare)

    • Grants two health Hearts
    • Provides two defense Shields
    • When at full health, gain extra health after a few seconds

    Charm of Resilience (Common)

    • 3 x Cord
    • 5 x Mahogany Rod
    • 3 x Stink Gland
    • 5 x Bone
    • Grants one health Heart
    • Provides temporary bonus armor after taking damage

    Charm of Resilience (Rare)

    • 3 x Heavy Wool Thread
    • 8 x Iron Bar
    • 3 x Frost Bear Pelt
    • 5 x Blast Core
    • Grants two health Hearts
    • Provides one defense Shield
    • Provides temporary bonus armor after taking damage

    Reflection Charm (Common)

    • 3 x Silk Thread
    • 10 x Glass
    • 5 x Vendetta Flopper
    • Grants one health Heart
    • Provides one defense Shield
    • Reflects some damage back to the attacker

    Reflection Charm (Rare)

    • 3 x Silk Thread
    • 30 x Glass
    • 10 x Vendetta Flopper
    • 5 x Blast Core
    • Grants two health Hearts
    • Provides two defense Shields
    • Reflects a moderate amount of damage back to the attacker

    Regeneration Charm (Uncommon)

    • 3 x Silk Thread
    • 5 x Red Rock Slab
    • 1 x Bear Pelt
    • 10 x Slurp Mushroom
    • Grants one health Heart
    • Provides one defense Shield
    • Regenerates health over time

    Regeneration Charm (Epic)

    • 3 x Wool Thread
    • 5 x Cut Emerald
    • 15 x Slurp Juice
    • 1 x Rift Shard
    • Grants three health Hearts
    • Provides three defense Shields
    • Regenerates health over time

    Totem of Return (Common)

    • 50 x Storm Core
    • 5 x Any Thread
    • 8 x Any Claw
    • 3 x Any Shell
    • Revive at your bed without losing your items; charm is destroyed after use

    Totem of Return (Uncommon)

    • 50 x Storm Core
    • 5 x Any Thread
    • 12 x Any Slab
    • 3 x Cursed Bone
    • Grants one health Heart
    • Revive at your bed without losing your items; charm is destroyed after use

    Totem of Return (Rare)

    • 50 x Storm Core
    • 5 x Any Thread
    • 10 x Metal Plates
    • 3 x Any Pelt
    • Grants two health Hearts
    • Revive at your bed without losing your items; charm is destroyed after use

    Totem of the Immortal (Rare)

    • 3 x Silk Thread
    • 5 x Copper Bar
    • 5 x Blast Core
    • 3 x Curse Bone
    • Grants two health Hearts
    • Provides two defense Shields
    • Can revive at the current location; charm is destroyed after use

    Storm Charm (Rare)

    • 3 x Silk Thread
    • 6 x Copper Bar
    • 3 x Storm Shell
    • 2 x Greater Storm Core
    • Grants two health Hearts
    • Provides two defense Shields
    • Increases Storm timer moderately
    • Reduces damage from Storm energy attacks

    Storm Charm (Legendary)

    • 3 x Silk Thread
    • 8 x Cut Amber
    • 5 x Rift Crystal
    • 1 x Shatterhorn Fragment
    • Grants four health Hearts
    • Provides three defense Shields
    • Greatly increases Storm timer
    • Reduces damage from Storm energy attacks

    Wavebreaker Charm (Common)

    • 3 x Cord
    • 5 x Plank
    • 5 x Any Flopper
    • Grants one health Heart
    • Boosts swim speed

    Wavebreaker Charm (Rare)

    • Grants two health Hearts
    • Provides two defense Shields
    • Boosts swim speed

    Good Luck Charm (Rare)

    • 3 x Wool Thread
    • 5 x Gold Bar
    • 8 x Sandstone
    • 1 x Rift Shard
    • Grants two health Hearts
    • Provides two defense Shields
    • Enhances the likelihood of finding rare loot while digging
  • Discovering Blast Powder Locations in Lego Fortnite Odyssey

    As you delve deeper into Lego Fortnite Odyssey and unlock an array of exciting crafting options, especially Activation Switches and Thrusters, you’ll soon realize that you’ll need Blast Powder. But where can you actually locate this elusive crafting material?

    Blast Powder can’t be created through crafting, so you’ll have to obtain it by either looting chests (if luck is on your side) or by defeating certain enemies known to drop it.

    Updated December 27, 2024: This article has been revised to reflect the newest information from the Odyssey update.

    Where To Find Blast Powder

    Since Blast Powder can’t be crafted, your options for acquiring it boil down to looting chests or defeating specific enemies that drop it.

    You can gather materials by breaking down items and structures scattered throughout the world.

    But watch out! Destroying Boom Barrels will cause them to explode instead of yielding Blast Powder.

    You can find Blast Powder in the following areas:

    Location How To Get
    • The Shore (any beaches)
    • The Drylands (desert biome)
    • The Lost Isles
    Be sure to visit these places at night and hunt down the pirate and cowboy skeletons that appear at dusk; they frequently drop Blast Powder.
    You can also find Blast Powder from skeletons lurking in caves.

    Since these skeletons appear every night and in large groups, you can easily farm them for plenty of Blast Powder.

    Just make sure you’re equipped with a good weapon, some charms, and a few health items.

    What Is Blast Powder Used For?

    Blast Powder is essential for creating some of the game’s most fun items — like Thrusters and Activation Switches for use with Dynamic Platforms.

    Item Recipe
    Activation Switch
    Boom Barrel
    Small Thruster
    Large Thruster
    Pressure Plate
    Trigger Plate

    You can also use Blast Powder at the Crafting Bench to create the following items:

    Item Recipe
    Dynamite
    • 3x Any Rod
    • 1x Blast Powder
    Cannonball
    • 2x Any Stone
    • 1x Blast Powder
    Grappler
    • 3x Any Rod
    • 3x Blast Powder
    • 10x Cord
    Slurp Launcher
    • 6x Any Rod
    • 3x Blast Powder
    • 5x Slurp Juice
  • Unlocking Treasure Maps and Hidden Loot in Lego Fortnite Odyssey

    In the world of Lego Fortnite Odyssey, you’ll discover plenty of treasure chests tucked away, but there’s something even more exciting waiting at the conclusion of a treasure hunt! Before you can claim this prized loot, you’ll need to track down a Treasure Map.

    If you’re curious about how to obtain Treasure Maps and ultimately find your treasure chest, you’ve come to the right place. Happy hunting!

    How to Get a Treasure Map

    There are a few effective ways to acquire Treasure Maps. The best method is to visit a Bus Station and travel to Lost Isles, where you can defeat pirates until one drops. Alternatively, you can sometimes catch a Treasure Map while fishing, and this can be done anywhere, not just in Lost Isle locations.

    Keep in mind, Treasure Maps are quite rare when fishing.

    How to Use Treasure Maps

    After you have a Treasure Map, you’ll need to equip it in your offhand from your inventory. Once activated, it will show a red arrow directing you toward the treasure.

    An ‘X’ will be marked on your map and on the compass at the top of the screen, so you won’t need to keep pulling up the map to see the arrow.

    When you arrive at the ‘X’ spot, you’ll need a Shovel to dig up the treasure. Inside, you’ll find various resources and materials, often including some particularly rare items!

  • Gathering Sand for Sandstone in LEGO Fortnite Odyssey Guide

    Gathering Sand for Sandstone in LEGO Fortnite Odyssey Guide

    As you dive into the exciting universe of Lego Fortnite Odyssey, building your village and character to become invincible, gathering various resources is essential to your progression. Discovering new materials not only aids your development but also unlocks fresh recipes for crafting.

    One resource you may struggle to find early on is Sandstone. You’ll probably need to create it yourself, but keep an eye out for a rare chance to find it in chests, or perhaps one of your in-game villagers will gift it to you. Here’s what you need to know.

    How to Gather Sand

    First, you’ll need Sand. You can dig it up with a Shovel, which you can use either in the Dry Valley or by the Shore. Once you unearth your first piece of Sand, you’ll unlock the crafting recipe for Sandstone.

    Tip

    Using a higher-quality Shovel will yield more Sand when you dig.

    Additionally, you’ll also need Granite, which is plentiful and can be found almost anywhere in the game.

    How to Craft Sandstone

    After collecting the necessary resources and obtaining the Sandstone recipe, you’ll need to construct the Stone Breaker to begin making Sandstone. Here’s what you’ll require to build the Stone Breaker:

    Once you’ve gathered these materials, you’ll be able to make Sandstone at the Stone Breaker using your recipe. Happy crafting!

  • Discover the Firefly Fairies in Lego Fortnite Odyssey!

    Discover the Firefly Fairies in Lego Fortnite Odyssey!

    You didn’t really think Epic Games would introduce a fantastic Lego Fortnite Odyssey mode and leave out those charming Loot Llamas, did you? It’s easy to assume they didn’t get a Lego makeover since they’re a bit tricky to spot, but they’re definitely worth the search!

    If you’ve noticed the sparkly rainbow firefly fairies fluttering around in the game, that’s your hint. Here’s everything you need to know about finding Loot Llamas in Lego Fortnite, including their locations and benefits.

    Updated December 21, 2024: We’ve added information on the rarer types of Llamas.

    What Are The Colorful Firefly Fairies And What Do They Do?

    In the video above, it may seem like we found both a Loot Llama and a Treasure Chest simultaneously, but that’s not quite accurate.

    It turns out the firefly led us to the same spot, and the chest was previously emptied. Sorry, we aren’t that lucky!

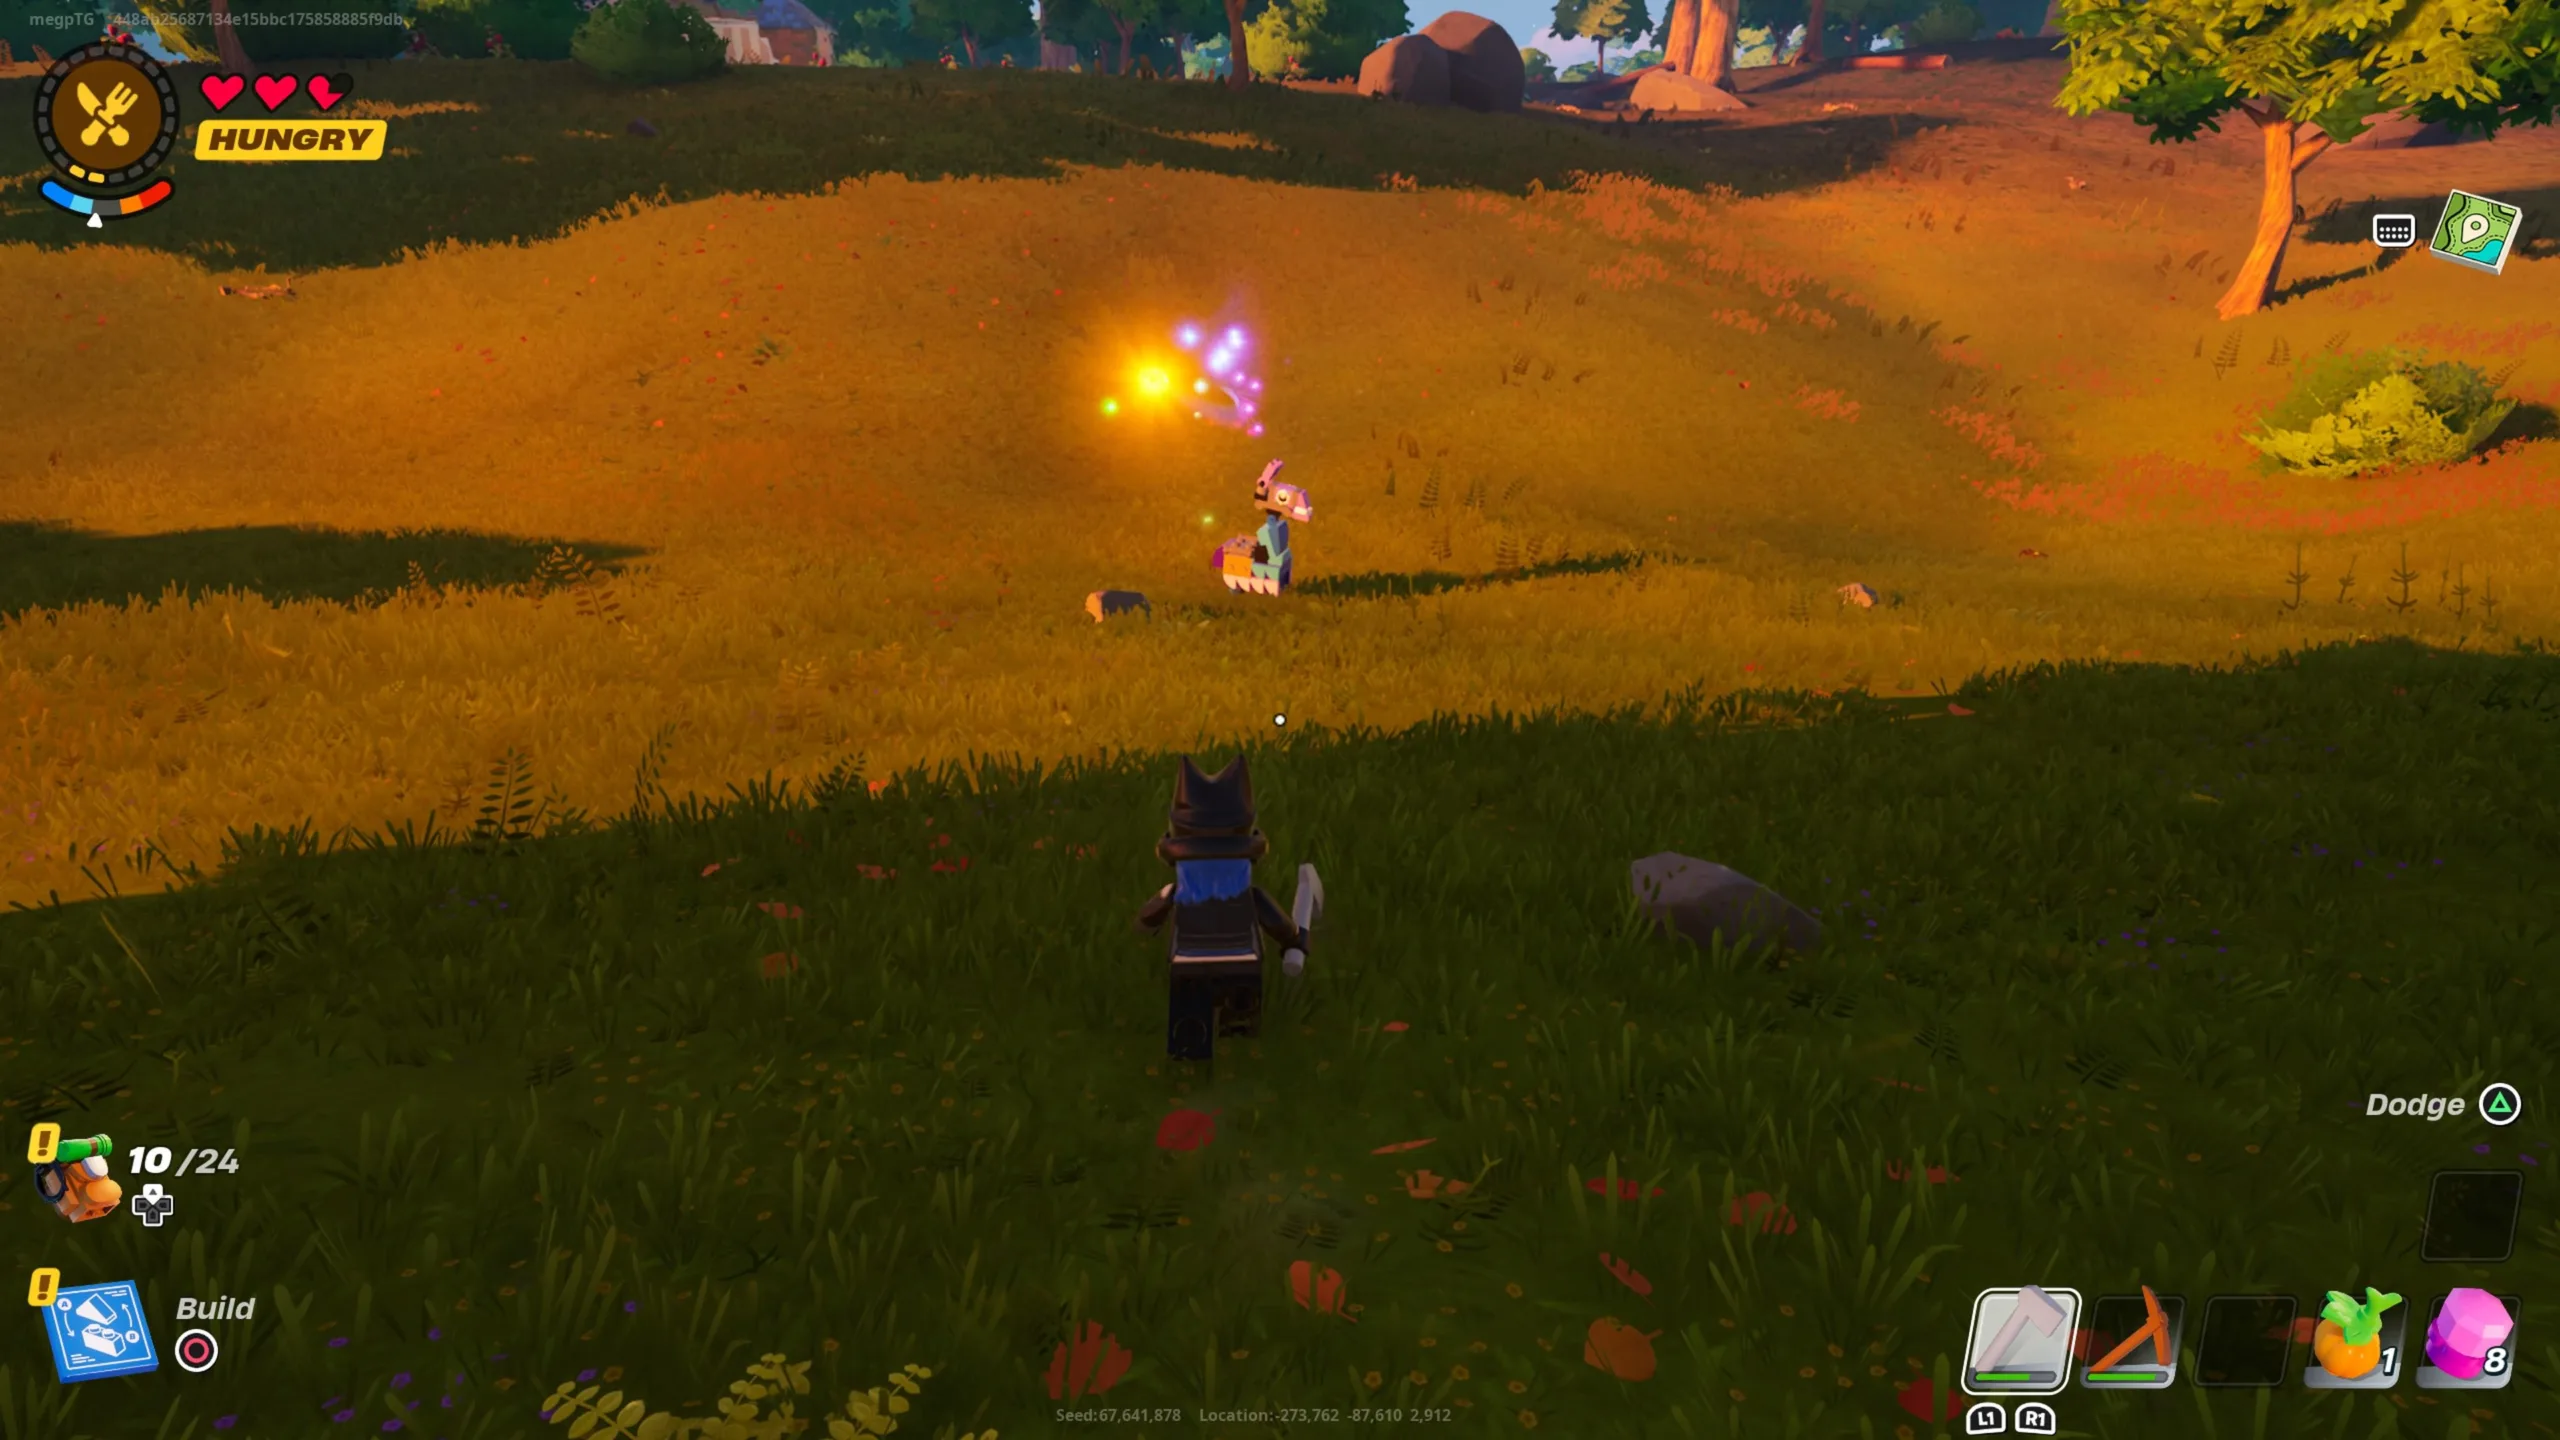
    You might have seen a firefly in Lego Fortnite Odyssey and tried to catch it. However, these little guys can’t be caught, as they flit out of reach too quickly. The objective is to follow them.

    They show up infrequently, so be on the lookout for them. You can also listen for a distinctive tinkling sound when they appear, which you can hear in the video above.

    Fireflies can lead you to either Loot Llamas or Treasure Chests, both of which will offer you a range of items, including rare materials and gear. Be sure to chase after them whenever you spot one!

    Keep in mind that following fireflies may take you through dangerous areas or past hostile enemies, so ensure you’re well-prepared to handle any threats.

    How To Get Items From Supply Llamas


    When you find a Loot Llama, approach it and select the option to pet it, and it will burst open, showering you with items for you to gather.

    Whatever you do, don’t attack the Loot Llama. This will cause it to flee, remove the ‘Pet’ option, and eventually it will disappear.

    While defeating Llamas can still yield items if you’re intent on battling them, or if a bear or wolf gets to them, it tends to provide fewer rewards.

    How Rare Are Gold And Silver Supply Llamas?


    A silver llama in Lego Fortnite Odyssey.

    There is a very slim chance— only about 0.001 percent— that you’ll come across the rarer Llamas. You can find Silver and Gold Llamas in Lego Fortnite Odyssey, both of which reward you with much more unique items.

  • Conquer Blasters and Collect Blast Cores in Lego Fortnite Odyssey

    Conquer Blasters and Collect Blast Cores in Lego Fortnite Odyssey

    How to Find Blast Core in Lego Fortnite Odyssey

    Blast Core is a crafting resource in Lego Fortnite Odyssey that can be challenging to find. Its rarity, combined with the danger of acquiring it, makes it a sought-after item in the game.

    Don’t worry, Lego adventurer! You’re in the right spot to learn how to locate Blast Core and pick up some strategies to help you survive the process, or at least minimize how far you need to run to reclaim your gear.

    Updated December 21, 2024: This guide has been revised to include new locations for finding Blasters after the Odyssey update.

    Locating Blast Core

    To get Blast Core, you need to defeat Blasters. Like their counterparts, Rollers and Sand Rollers, these little crab-like creatures drop Blast Core when defeated, though they pose a greater threat than the others.

    After the latest update, Blasters can be spotted in the Dry Valley and can also be found in caves across all biomes. This means you can now collect Blast Core earlier in the game by exploring Grasslands caves, which present a safer option.

    Warning: The Dry Valley area is home to tougher enemies and Lava Caves that can be particularly perilous. The intense heat and skeletons throwing dynamite make these caves hazardous. We recommend farming for Blast Core in the Grasslands caves instead.

    Much like other Rollers, Blasters will emerge from the ground when you get close. You can identify them by the twitching black mounds with glowing embers on top.

    Tip: You may also find Blast Core while looting treasure chests.

    Strategies for Defeating Blasters

    When facing Blasters, it’s crucial to be prepared. Equip yourself adequately, especially if you venture into the Drylands and Lava Caves. Bring a Cool-Headed Charm, ensure your health is at full, and stock up on good gear and consumables.

    By now, you should be familiar with the Blasters’ attack patterns, which include rolling toward you and hurling projectiles. They are particularly dangerous because they can explode upon defeat, potentially taking you down with them.

    To handle these foes, attack quickly or keep your distance, using ranged weapons or allowing your Explorer NPC to assist with the fight.

    Tip: Blasters, similar to Rollers, have a soft spot for Bones. If you drop a Bone nearby, they will rush over to investigate. This distraction gives you the perfect chance to strike while they’re occupied.