الوسم: madness

  • Chapter Four Guide: The Gate of Saint Jerome in Stone of Madness

    Chapter Four Guide: The Gate of Saint Jerome in Stone of Madness

    In the last chapter of The Stone of Madness campaign, The Gate of Saint Jerome, you encountered Shadow and learned about her tragic history. After Mother Superior found out about her love, Shadow was locked away in a cell with her infant until she passed away.

    You said goodbye to Shadow by either killing Mother Superior or giving her baby’s toy. In return, she handed you the emblem. However, it was damaged, and now you must find a great fire to fix it. This chapter marks the start of your quest for that fire. If you’re ready, the final part of the campaign lies ahead.

    How to Repair the Emblem

    Your first task in this chapter is to repair the emblem given to you by Shadow. To do this, you’ll need a strong fire. There are two potential fire sources: the central fire in The Cells or the kitchen oven in the Refectory. If you choose the fire in The Cells, a cutscene will trigger when you approach it, revealing that the fire has extinguished and an inmate is trapped there.

    First, talk to the Doctor about the situation. To free the inmate, use Alfredo’s Investigate skill to follow the tracks next to the jailed inmate. The tracks will lead you to a first-floor cell in the north, ending near a mirror. Interact with these tracks to unlock the barred door where the inmate is held.


    Once the inmate is free, press the button again to close the door. Next, go up to the second floor of the western section of The Cells and activate the switch. This will reignite the fire that the inmate was previously held near.

    Finally, activate the fire area, then hand over the emblem to either Eduardo or Agnes, and interact with the fire to finish your objective and trigger a cutscene.

    Alternatively, you can utilize the oven in the Refectory. However, to do this, you first need to secure a key from the friar working in The Great Wall area.

    Where to Find Three Moonshine Barrels

    Your next goal is to create a distraction for your escape by lighting the large apple tree in The Great Wall area. To accomplish this, you need to collect three Moonshine Barrels and bring them to the apple tree. You can either hunt for barrels or gather sugar cane to make moonshine.

    You can craft Moonshine Barrels at night in your cell using Agnes’s Witches Cauldron skill combined with the sugar canes you’ve collected.
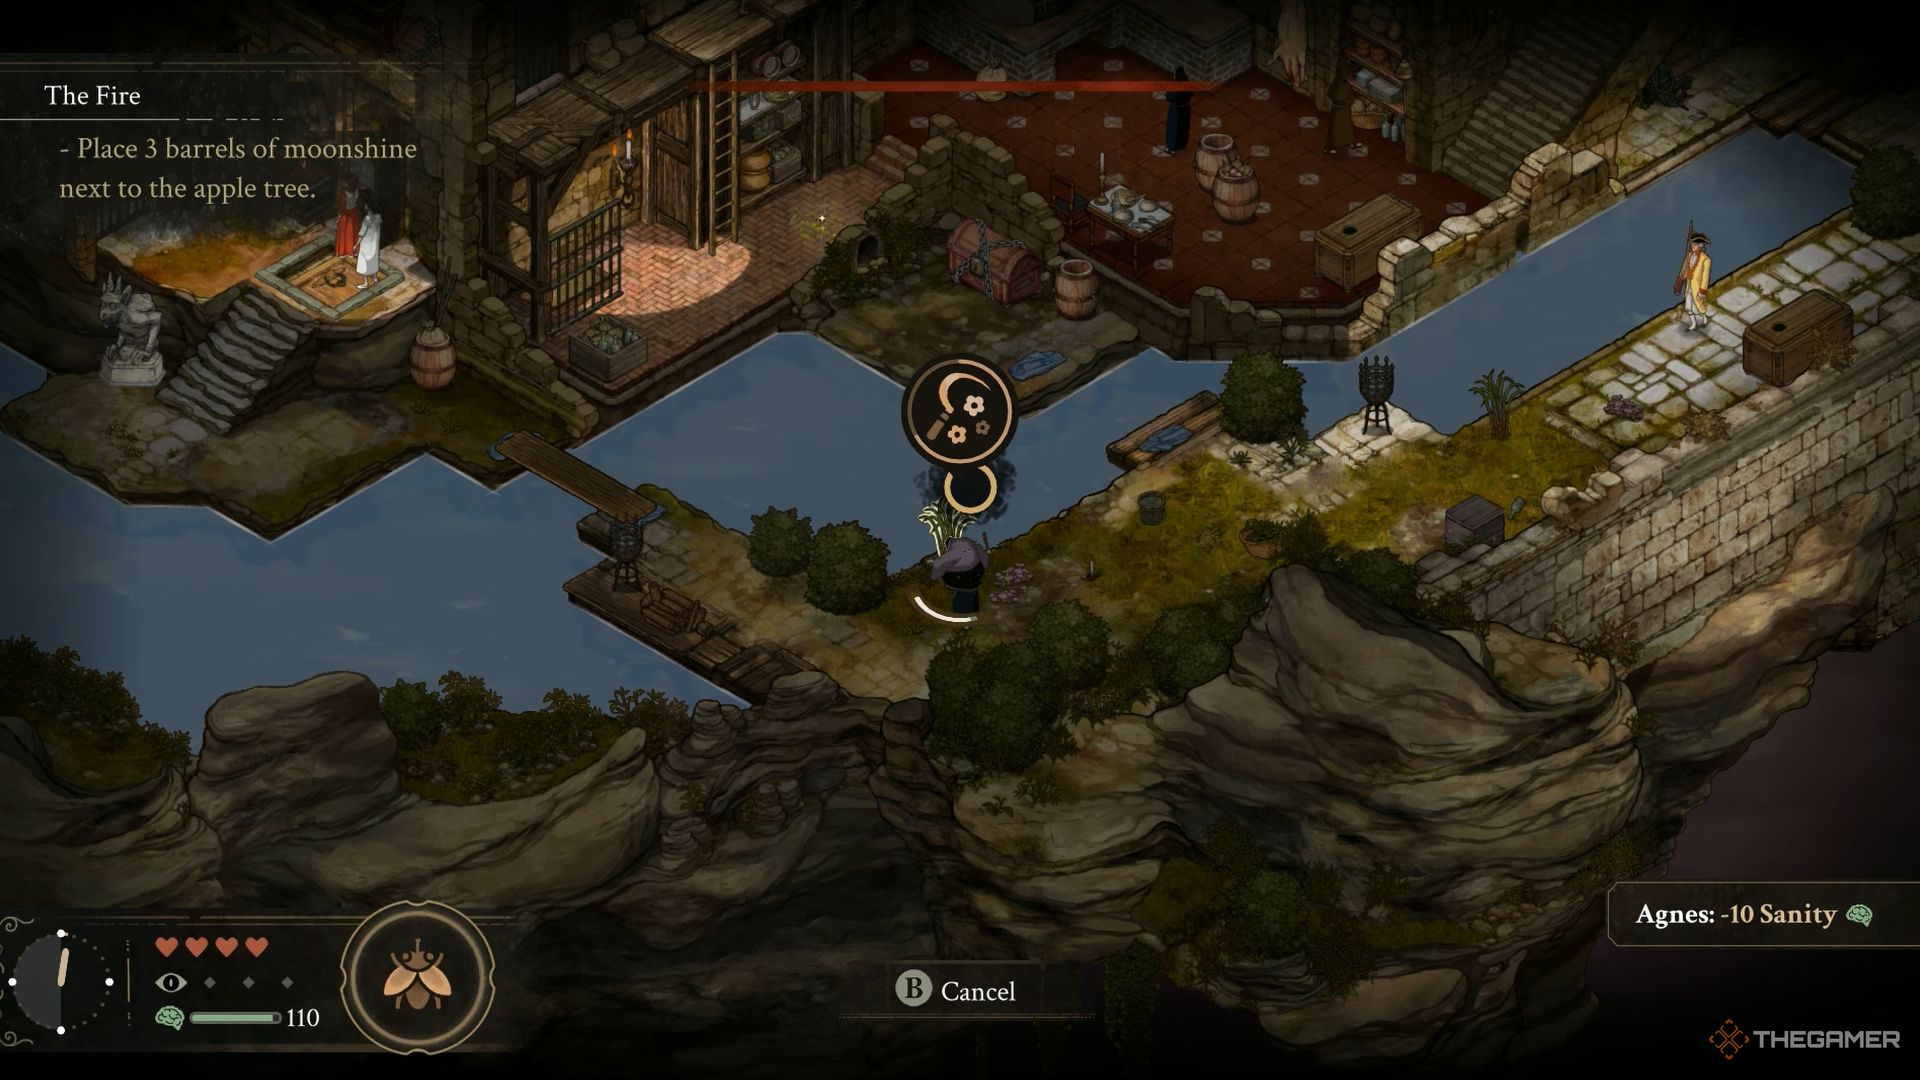

    Agnes collects sugar canes next to the river in The Stone of Madness.

    To gather sugar cane, look for it near the river east of the Refectory. There are two sugar canes here—use Agnes to collect them while avoiding the Nun and the soldier. After that, go to the Shed cellar door in The Great Wall, descend the stairs, and find two more sugar canes near the river.

    Across the river, you’ll see another sugar cane, but Eduardo will need to place a plank across the water to reach it. You can also find sugar cane in The Cells’ Apothecary area, specifically in the room on the west side with vases.
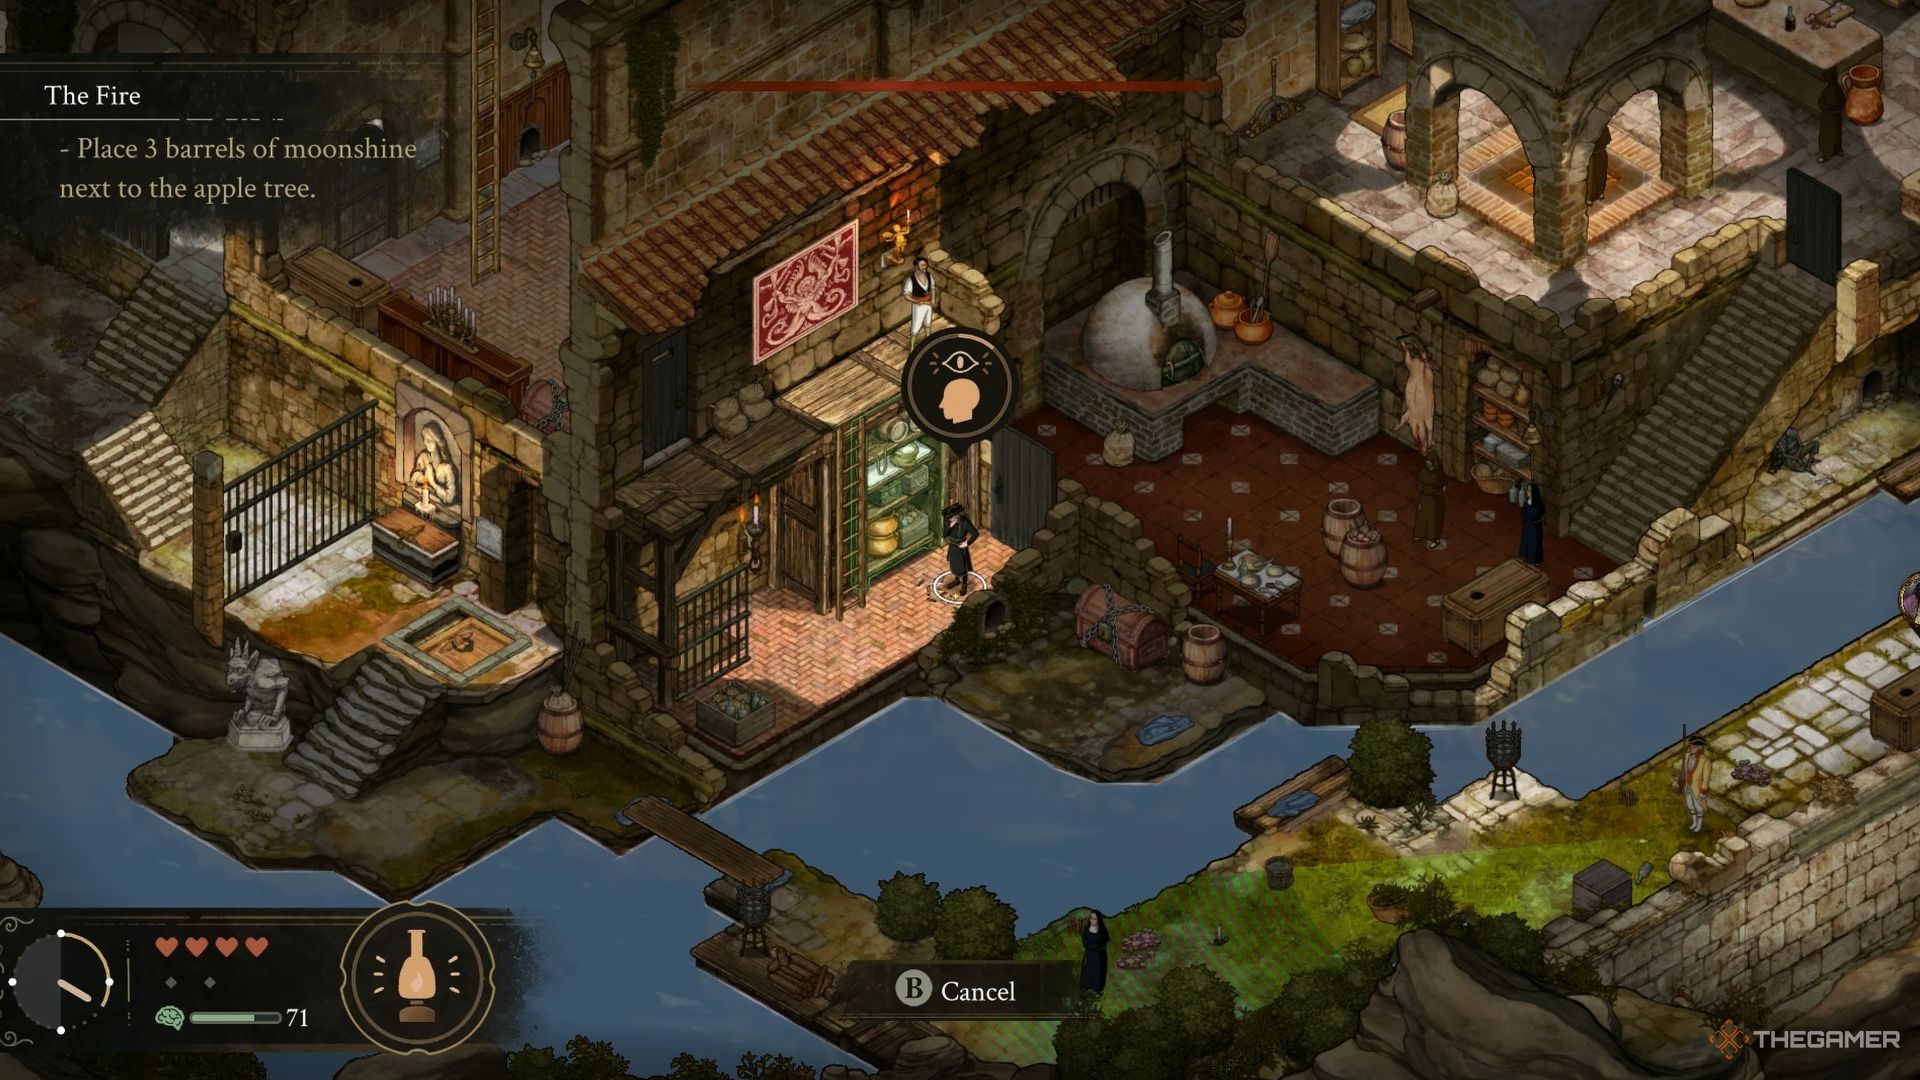

    Alfredo investigates the tracks next to the river in The Stone of Madness.

    One Moonshine Barrel is located in the Pianist’s room, and another can be found in the Refectory’s kitchen. To locate the one in the kitchen, employ Alfredo’s Investigate skill to follow the tracks on the lower floor. They will lead you to a hidden barrel behind a wall crack.

    Once you gather all three Moonshine Barrels at the apple tree, your mission will be complete.

    How to Rescue Alfredo

    While attempting to ignite the fire, Alfredo was captured, and your current mission is to rescue him. He’s imprisoned in the Inmate Courtyard, where a cutscene plays when you arrive.

    First, buy the Silver Key from Panecillo for 50 coins. You can find him near the stairs in the northern section of The Cells.

    Next, ascend the stairs and unlock the large wooden door to gain easy access to Mother Superior’s office.

    Alternatively, you can skip getting the key from Panecillo by starting from the cellar door in the Old Storeroom. This method lets you reach Alfredo directly without needing the key.
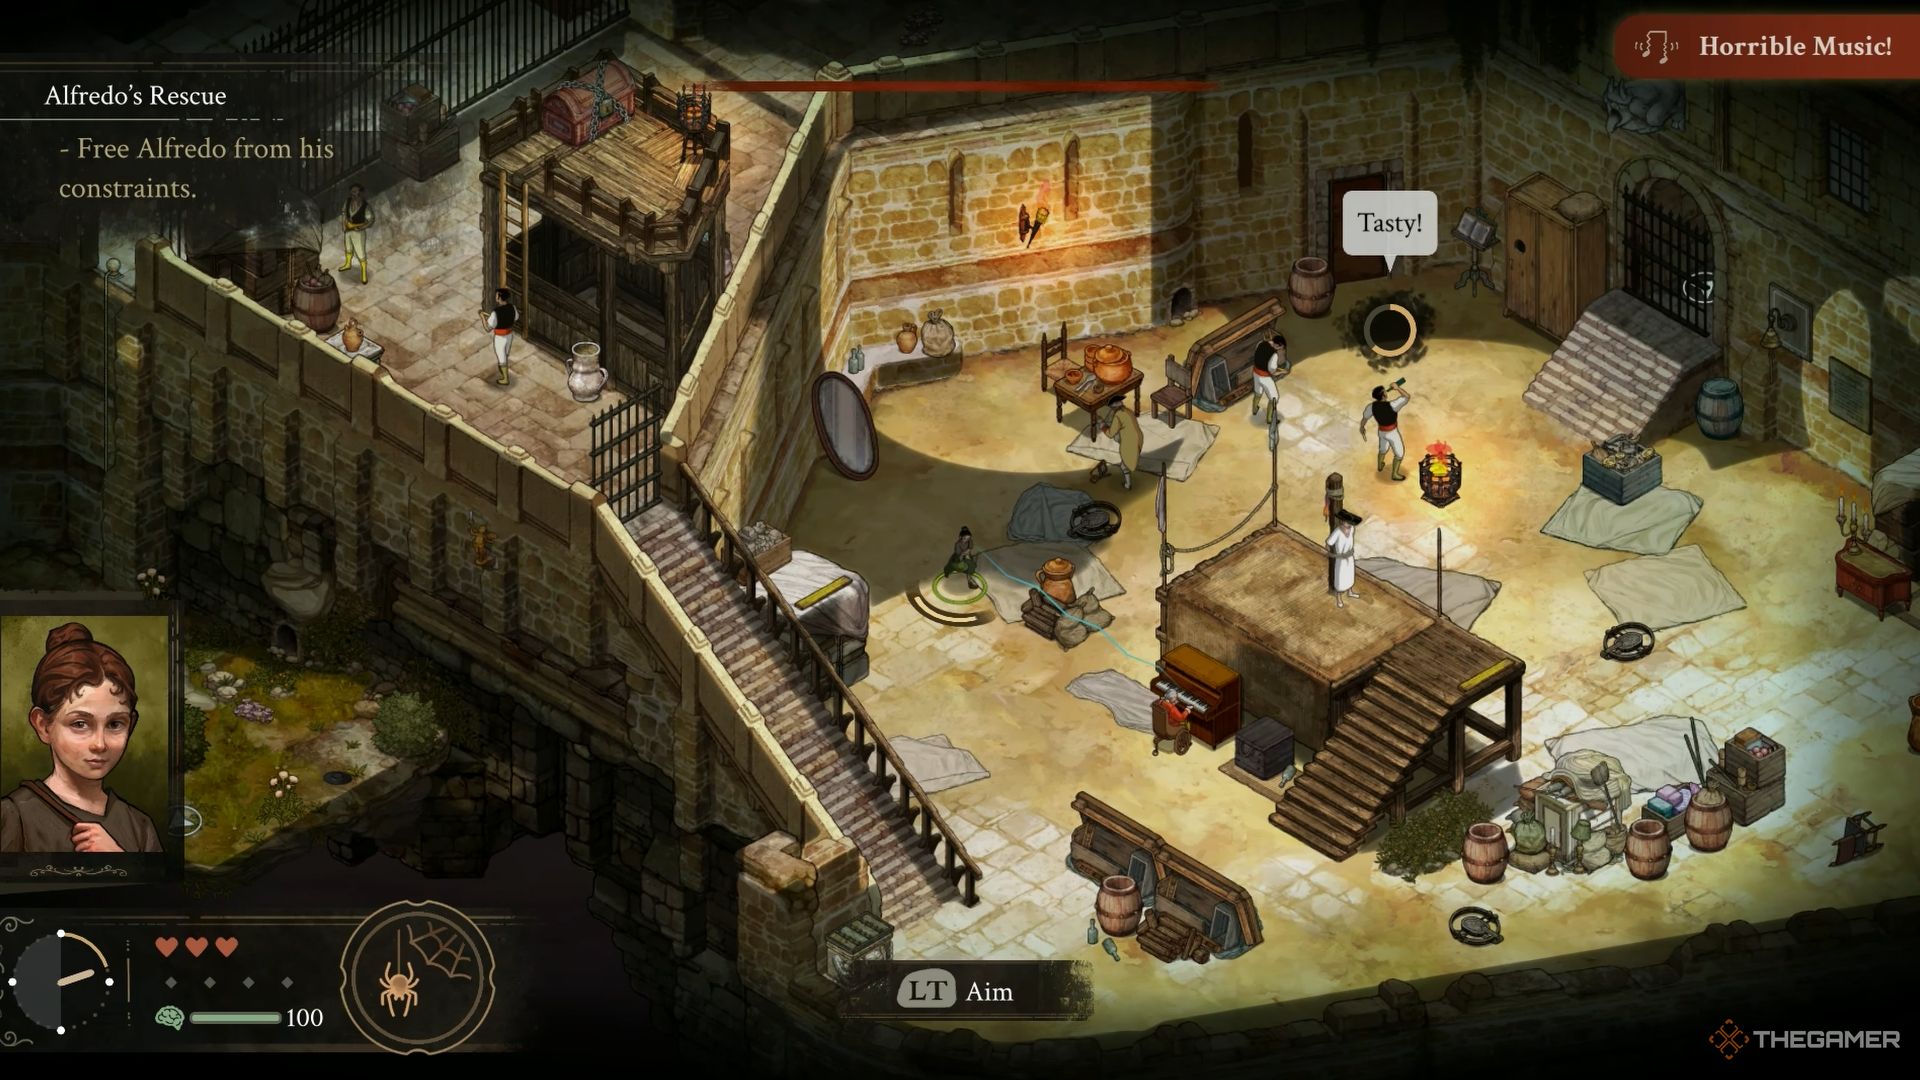

    Guards capture Alfredo inside the inmate courtyard area in The Stone of Madness.

    In the garden outside Mother Superior’s office, look for a place to tie a rope. Lower Amelia down using the rope, then help her navigate through the hole to Alfredo’s location. Use shadows and barrels strategically to guide Amelia towards Alfredo.

    A guard will periodically patrol the wooden platform where Alfredo is being held. Hide behind the barrel near the bear trap when the guard moves down. Use Sleeping Chocolate to put regular guards to sleep and distract the soldier with a Mousetrap. While they’re occupied, free Alfredo. Once you rescue him, this task will be accomplished.

    How to Escape the Monastery

    Your ultimate mission is to escape the monastery. To do this, all three characters must exit through the large gate at The Great Wall. First, eliminate the guard positioned at the top of the stairs with Leonora. Next, take care of the armed soldier and the other guard near the metal gates—if you can, use Agnes’ Goetia skill to eliminate them.

    Once the patrolling guards are dealt with, climb the ledges on the wall using Leonora and take down the soldier posted there. After interacting with the switch on the wall, guide Leonora and Agnes to the gate. Finally, escort Alfredo, disguised as a priest, to the gate without alerting Mother Superior.

    Alternatively, access the gate via the area where you previously interacted with Shadow. For this, have Eduardo break the planks in the dark passage, then use the switch inside to lift the bars. This will allow you to guide each character to the gate one by one.

  • Chapter Three Guide: The Church’s Corruption in Stone of Madness

    Chapter Three Guide: The Church’s Corruption in Stone of Madness

    In the last chapter of The Stone of Madness, Brother Guillermo revealed that the Inquisitor was performing horrible experiments on individuals—surgically altering their brains while searching for the Stone of Madness. Outraged by these cruel actions, the group resolved to put an end to these appalling practices.

    This led you to the monastery’s Wine Cellar, where the group systematically destroyed the tables used for these heinous experiments to foil the Inquisitor’s plans. Just as you were about to rejoice in your victory, Sister Elvira brought alarming news: the Abbot has been poisoned. In this chapter, let’s determine whether you can eradicate this corruption for good.

    Accessing the Library

    Your primary goal in this chapter is to enter the Library. Start your journey in the Cloister area. In the northeast corner of the Cloister, you will find a room with a green door that you need to open. This room is situated to the right of the one where Brother Guillermo inspected the mirror in the initial chapter.

    To avoid detection by the monks, have Alfredo don the priest robes. Then, use the other door in the area to access the Library. Upon entering the Library, you’ll encounter a doctor dressed in green. Typically, this area is off-limits, but staying close to the doctor will activate the ‘Protection of the Doctor’ effect, turning it into a safe zone.

    This means you need to stay near the doctor while completing your task. If Alfredo is wearing the priest robes, you can wander freely without relying on the doctor’s protection.

    Finding the First Large Volume

    On the first floor, your objective is to shatter the mirror. Utilize Leonora for this task. Wait until the doctor is on the first floor, then quickly break the mirror and hide Leonora. Use Alfredo to retrieve the key hidden behind the shattered glass. This key will grant access to the chapel area on the west side of the Library, near the staircase leading to the second floor.

    You’ll also discover a cellar door in this location, making future visits easier. Next, take down the guard who patrols near the stairs to the second floor. Either knock him out or eliminate him using Leonora, and then drag his body to the small section with red curtains. Open the iron-barred door adjacent to the stairs, then deal with the guard behind those bars.

    Descend the ladder, and without attracting the soldier’s attention, activate the switch. This will create two shortcuts leading to the soldier’s room: one from the cellar door area and another from the main Library hall. Lastly, read the volume found in the soldier’s room to advance your objective.

    Locating the Second Large Volume

    To find the second volume, exit the Library’s first floor. Look up near the armed guard outside to identify a spot where you can throw a rope. Climb up using the rope, and then use a lockpick or crowbar to open the balcony door above. Next, have Alfredo ascend to the second floor via the rope.

    For added safety, make sure Alfredo is dressed in the priest robes while you explore the upper level.


    You can also access the second floor from within the Library by moving a large wooden crate on the first floor with Eduardo, though this method carries more risk.

    Once on the second floor, read the volume found in the southernmost part. Use the switch here to create a bridge that acts as a shortcut to the opposite side of the second floor. After this, you won’t have any tasks pending except to advance to the next day. For the following day, your first task will involve gathering several materials, which include:

    • Two Mandrakes
    • Two Gold Teeth
    • Five Medicines

    Obtaining Two Gold Teeth


    An orange circle shows the location of the first gold tooth in The Stone Of Madness

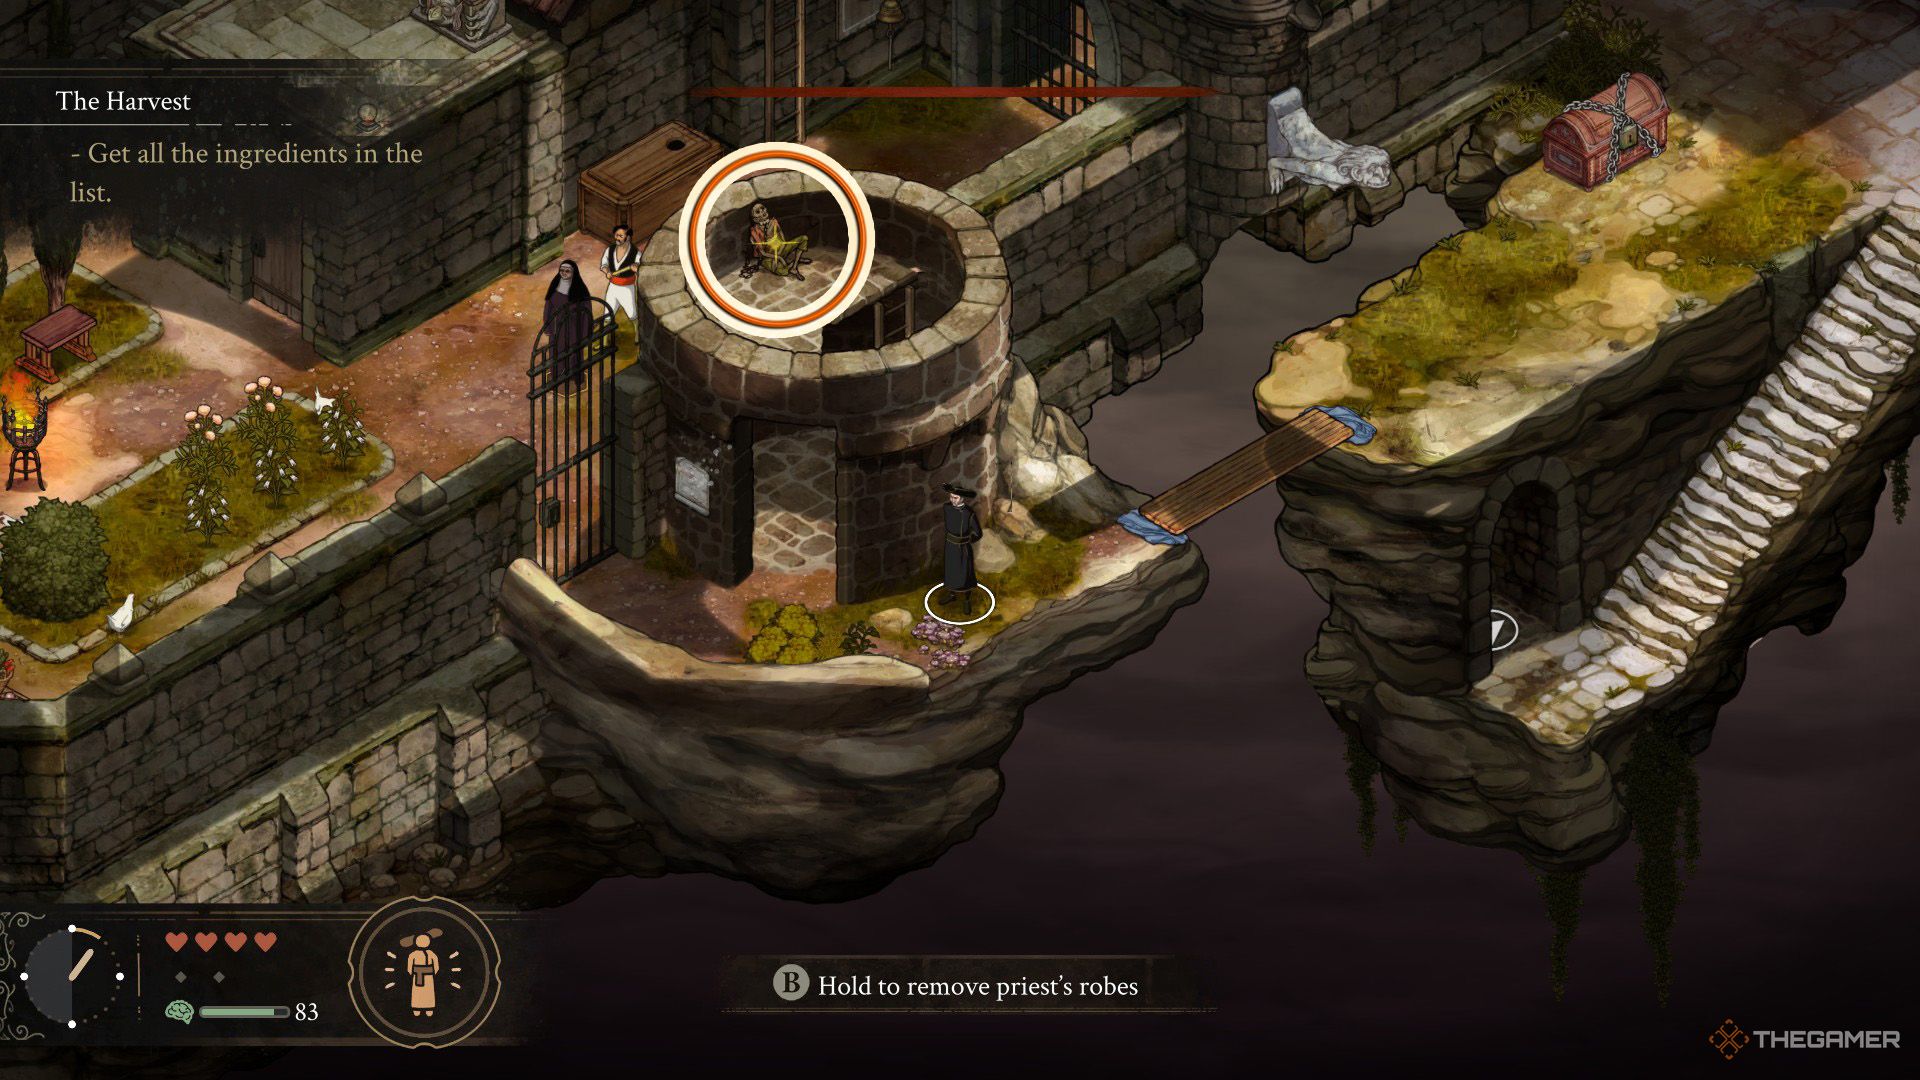
    The first Gold Tooth can be found in the Nuns’ Garden, just east of the Laundry area. Here, you’ll notice a corpse at the top of the tower near the barn where you previously saw Brother Guillermo. However, the Nuns’ Garden presents challenges since Mother Superior is actively patrolling the area.

    To avoid detection, enter the Nuns’ Garden from the Wine Cellar (Latrines). This way, you can access the upper level of the tower without being seen and find the first Gold Tooth.

    The second Gold Tooth is situated in the area above the Wine Cellar, just south of where the guard is stationed. You’ll notice an iron gate there, which triggers a cutscene. Have Amelia sneak through the iron bars to activate the switch that opens the gate.

    After that, bring Eduardo to this area and push the wooden crate towards the hanging cage that contains a skeleton. If any inmates obstruct your path, use Leonora to knock them out with a plank and drag them away.

    Collecting Two Mandrakes

    To find the first Mandrake, head over to the Cloister and descend the right staircase in the southern section. There, you will see a statue of a woman holding a vase on her head. Use Eduardo to move the statue to the opposite side of the room.

    It would be wise to subdue or eliminate the nearby guard to make this process easier.

    Once the statue is repositioned, use Leonora to throw a rope to the higher section nearby. Climb up and examine the vase atop the statue’s head to collect the first Mandrake.

    The second Mandrake can be found near the entrance of the Wine Cellar, where you will also meet the Doctor. As you approach, a cutscene will reveal the Mandrake’s position. While near the Doctor, you are still under his protection. Your first task is to eliminate the two guards around him. Then, have Eduardo move the large crate southward.

    Once it’s in place, get Agnes to climb onto the crate. Since the guards may interrupt your plans, it’s advisable to deal with them first. After Agnes is on the crate, push it over the spikes and use a sickle to gather the Mandrake. If you lack a sickle, Panecillo, situated near the Nuns’ Garden, will provide you with one for free.

    Also, to craft five Medicines, use Agnes’ Witches Cauldron skill at night. After you’ve gathered all your materials, wait for nightfall to proceed.

    How to Access the Laboratory and Create the Medicine

    The next day, start by talking to the Doctor located on the second floor of the Cloister. He’s situated in the room near the red-carpeted area, but you’ll need to unlock the door with either Eduardo or Leonora. Be careful of the Inquisitor and the armed guard on patrol during this operation. When you enter the room, ensure Alfredo is in his priest robes.

    The Doctor will instruct you to find the laboratory keys, which are hidden in the Cloister’s garden. Check the weeds near the locked chest to locate the key. After that, head to the library, where chickens will have taken over the place. Go up the stairs by the cellar door and take out the guard there.

    Speak with Tia del Nido; she will divulge the laboratory’s location in exchange for an egg. She’ll also inform you that the secret door to the laboratory can only be unlocked using the Inquisitor’s ring, which one of her chickens has swallowed.

    To retrieve the Inquisitor’s Ring, throw a rope with Leonora to the area above the cellar door inside the library, and then climb up with Amelia. Crawl through the gap to reach the space above Tia del Nido. Proceed carefully and use Amelia’s Pickpocketing skill to steal the ring from the chicken.

    Reaching the laboratory is simple. Go to the entrance of the Wine Cellar and head south to find it. A cutscene will reveal its location once you’re within the Wine Cellar. Just be careful of Mother Superior, who will be close to the entrance. The easiest way to distract her is to have Amelia throw chocolate, giving you the opportunity to slip into the laboratory.

    Enter the laboratory with either Alfredo or Agnes. Be cautious of the guard inside, and create the medicine without being caught.

    How to Administer Medicine to the Abbot

    Your next task is to deliver the medicine to the Abbot, who is located in the red-carpeted area on the second floor of the Cloister. You can use Eduardo to place a plank as a shortcut to reach this area. Alternatively, bring Leonora to the room across from the red carpet, where the prisoners and the doctor were previously met. Eliminate the guard in this area.

    Wait for the Inquisitor to move out of the way from the red carpet, and then unlock the iron-barred door leading to that area. Quickly enter the Abbot’s room and administer the medicine. This will provide him some relief, and he will outline the next steps in the strategy to stop the Inquisitor. With this, the chapter comes to a close.