Tag: Life is Strange: Double Exposure

  • To Rush or Tame Safi in Life Is Strange: Double Exposure?

    To Rush or Tame Safi in Life Is Strange: Double Exposure?

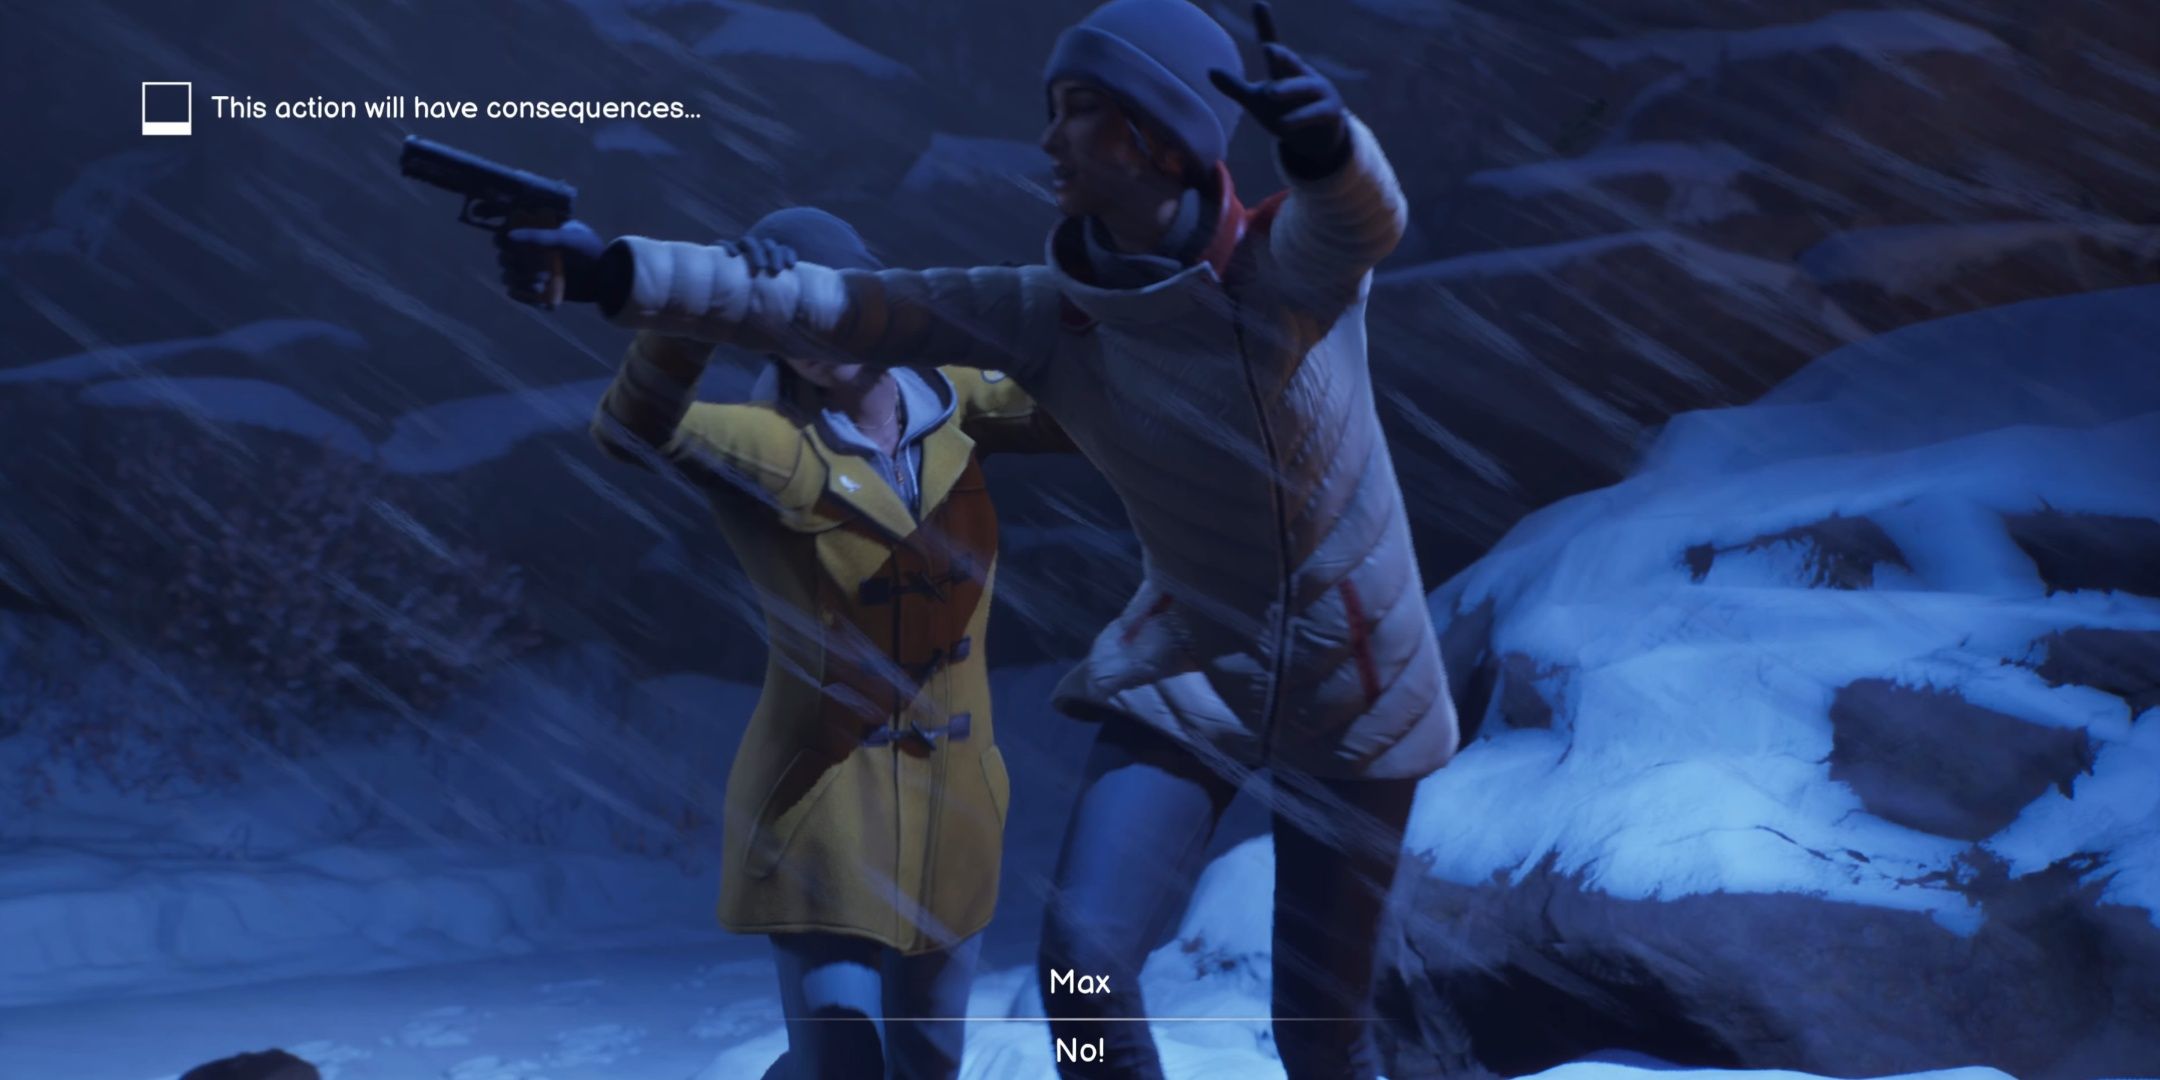
    In the fourth chapter of Life is Strange: Double Exposure, the story intensifies. Max discovers Safi’s shapeshifting abilities as they join forces to reveal Lucas as a fraud who steals others’ work. In a dramatic moment, Safi confronts Yasmin at gunpoint, blaming her for Maya Okada’s death. While the story has had its twists and turns, this is where the tension truly escalates.

    When you see Safi confronting Yasmin, you face a crucial decision: should you charge at Safi or try to reason with her? This choice has its significance, and we’ll explore the implications below.

    Should You Charge at Safi or Try to Reason with Her?

    If you decide to forcefully intervene with Safi, the gun goes off, grazing Yasmin’s shoulder.

    Max pushing Safi aside as she holds a gun with a warning about consequences

    On the other hand, if you choose to talk Safi down, Yasmin still gets shot. In this case, Safi exclaims, “This gun was the only option I ever truly had,” and in a surge of emotional turmoil, she unintentionally shifts shape and fires at Yasmin’s shoulder.

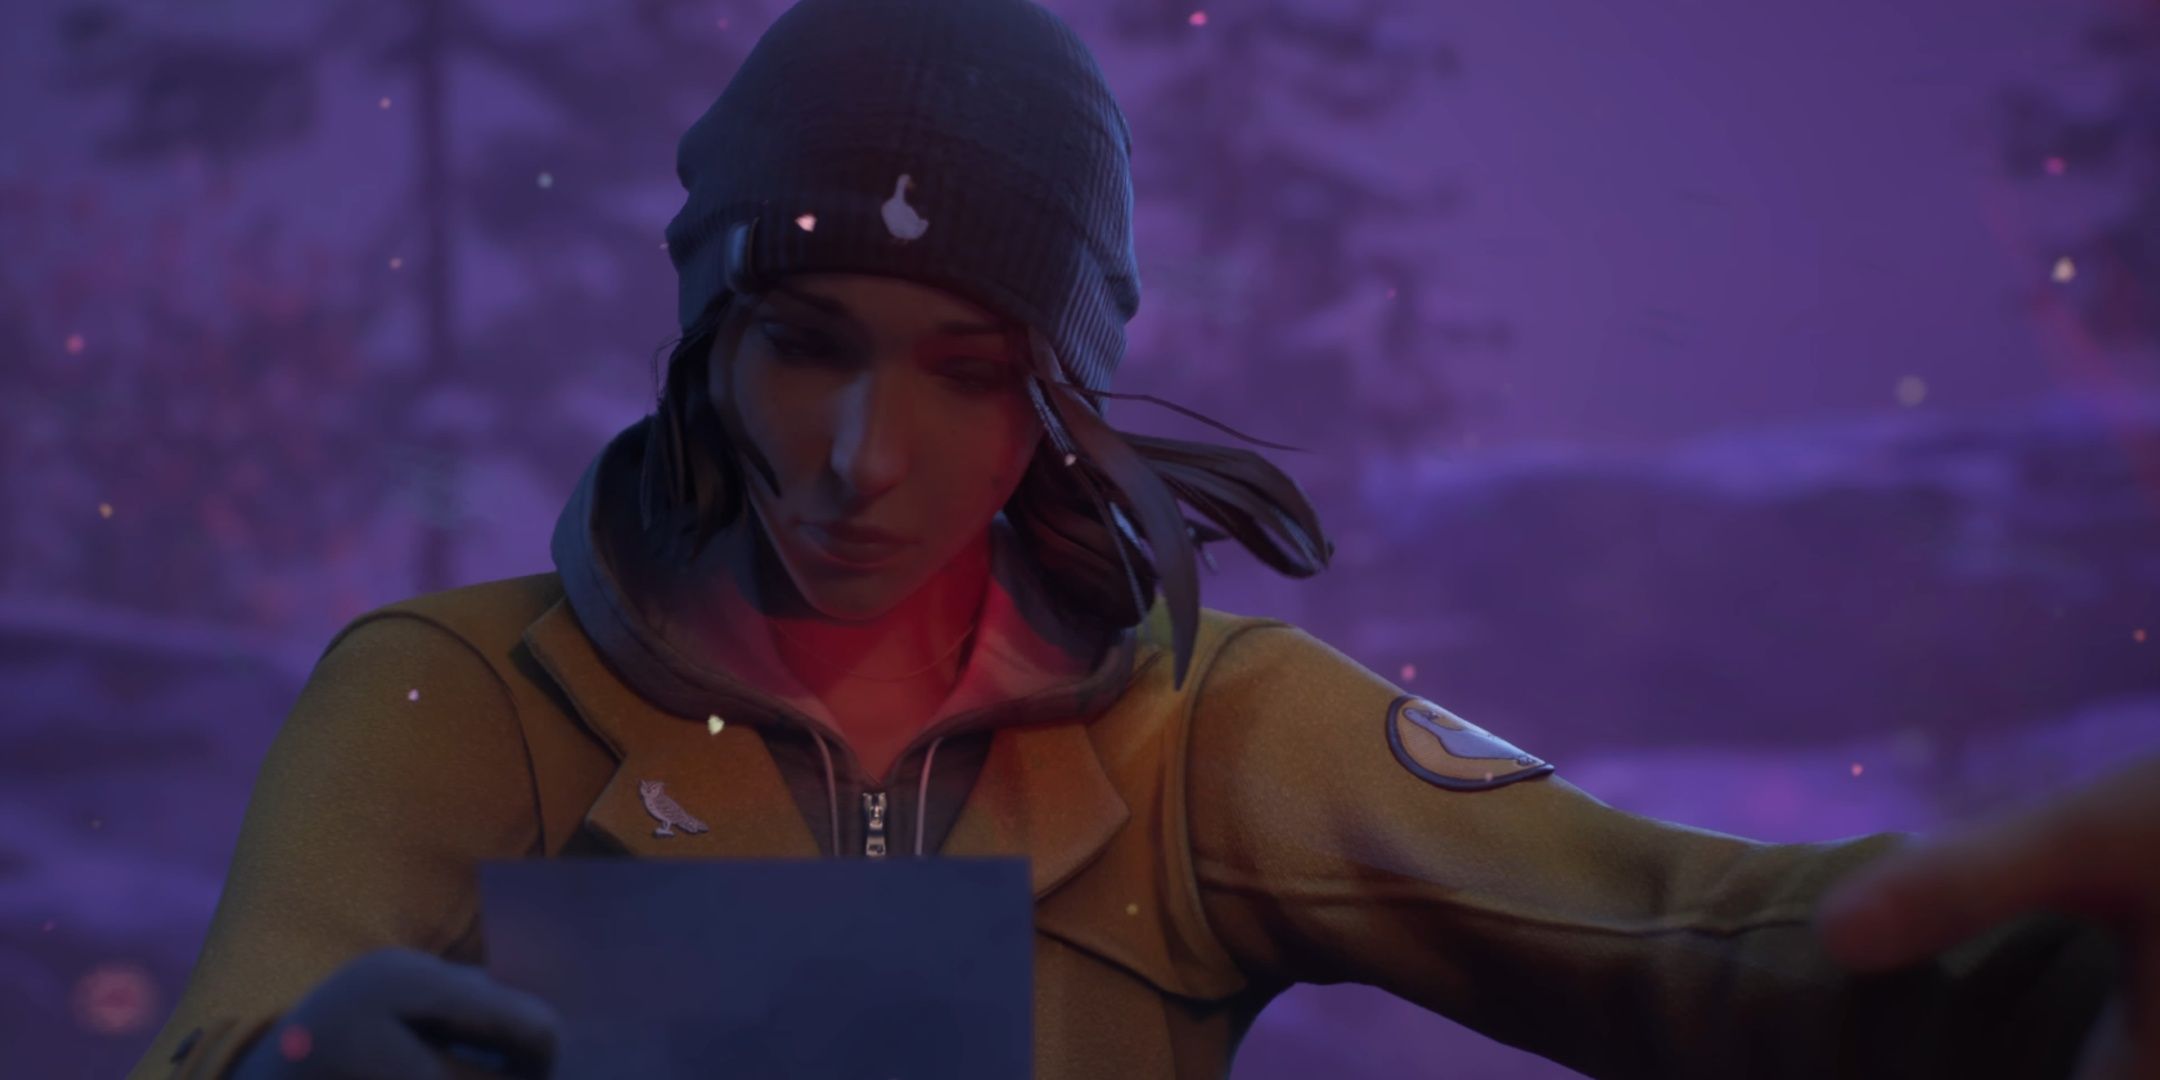
    Max looking out a photo in Life is Strange Double Exposure

    In either scenario, Safi’s abilities spin out of control, and the chapter concludes with Max gazing at a photo in an attempt to rewind events. Ultimately, Yasmin is left shot and bleeding. At first glance, Max’s choice may appear unimportant, but…

    …to grasp the true impact of this decision, we need to reveal some details from the game’s conclusion.

    Aside from how Yasmin was shot, this choice also influences whether she will resign as the president of Caledon University by the end of the game. In the playthrough where we attempted to talk Safi down, Yasmin informed Max that the college board had pressured her to step down. Conversely, in the scenario where we rushed Safi, Yasmin was still facing a difficult board but resolved to stand her ground.

    Additionally, there is a possibility for Yasmin to remain president. This option may be connected to whether you confront Yasmin about her falsehood regarding Safi and Maya in chapter three.

  • Should Safi Confront Lucas as Herself or Vinh in Life is Strange?

    Should Safi Confront Lucas as Herself or Vinh in Life is Strange?

    Quick Links

    It’s time to call out Lucas Colmenero for the cheating scammer he really is! In Life is Strange: Double Exposure, during the Krampus on Campus event, Safi prepares a slideshow to make her case against Lucas. He indeed copied Maya Okada’s work and played a role, at least in part, in her tragic death.

    However, just presenting the facts at the Snapping Turtle won’t be enough to sway the crowd. Lucas has already come this far and won’t let the upcoming movie Wilder Beasts Than These slip away without a confrontation. He even manages to persuade Vinh to back down. Safi is determined to deliver a powerful closing statement, but Max must help her figure out whether she can make a stronger argument as herself or as Vinh.

    What Happens If You Confront Lucas As Vinh?

    If you advise Safi to confront Lucas as Vinh, she takes the stage and boldly challenges him. This approach works well; Safi channels Vinh’s charisma as the Master of Ceremonies. Lucas, angered, inadvertently admits to plagiarizing Maya’s work, claiming they intended to collaborate.

    What Happens If You Confront Lucas As Safi?

    On the other hand, if you convince Safi to go up as herself, she feels apprehensive, admitting that honesty isn’t her forte. Nonetheless, she takes the plunge and accuses Lucas of causing Maya’s death. By presenting herself authentically instead of as Vinh, Safi opens herself up to new vulnerabilities. Lucas counters her claim by questioning why she didn’t speak out sooner if she felt so strongly about it.

    Safi remains resolute and sways the crowd to turn against Lucas. Instead of his usual excuses, Lucas attributes his actions to his divorce and obligations as a father. Despite his attempts to justify himself, he gets booed off the stage. This moment showcases that Safi can outshine Lucas without relying on any powers; she stands her ground as herself.

    Regardless of the outcome, as Safi enjoys her triumph with Max, Lucas makes his way over, asking for a private conversation. This could spell trouble ahead.

  • Locating Moses’ Gingerbread House Chimney in Life Is Strange: Double Exposure

    Locating Moses’ Gingerbread House Chimney in Life Is Strange: Double Exposure

    Quick Links

    In Chapter 4 of Life Is Strange: Double Exposure, the character Dead World Moses is attempting to construct a gingerbread house, a tradition he used to share with Safi every holiday season. Unfortunately, this year he finds himself alone following Safi’s tragic death.

    While interacting with Moses, the chimney of his gingerbread house breaks. He expresses his disappointment because this was the last gingerbread house kit Amanda had. Max reassures him that she will return, and this sets up the secondary objective of finding a new chimney for Moses. If you’re feeling lost, we’re here to guide you on how to help lift Moses’ spirits.

    How to Find a Chimney for Moses

    To trigger the moment when Moses’ chimney breaks, make sure you have successfully set up Living World Moses to run the projector for you.

    Earlier in the Krampus Party scene, Living World Safi was seen assembling a gingerbread house while chatting with Max. After the incident with Dead World Moses’ chimney, switch back to Living World. You’ll be able to interact with Safi’s gingerbread house, but you must talk to her first before you can take the chimney.

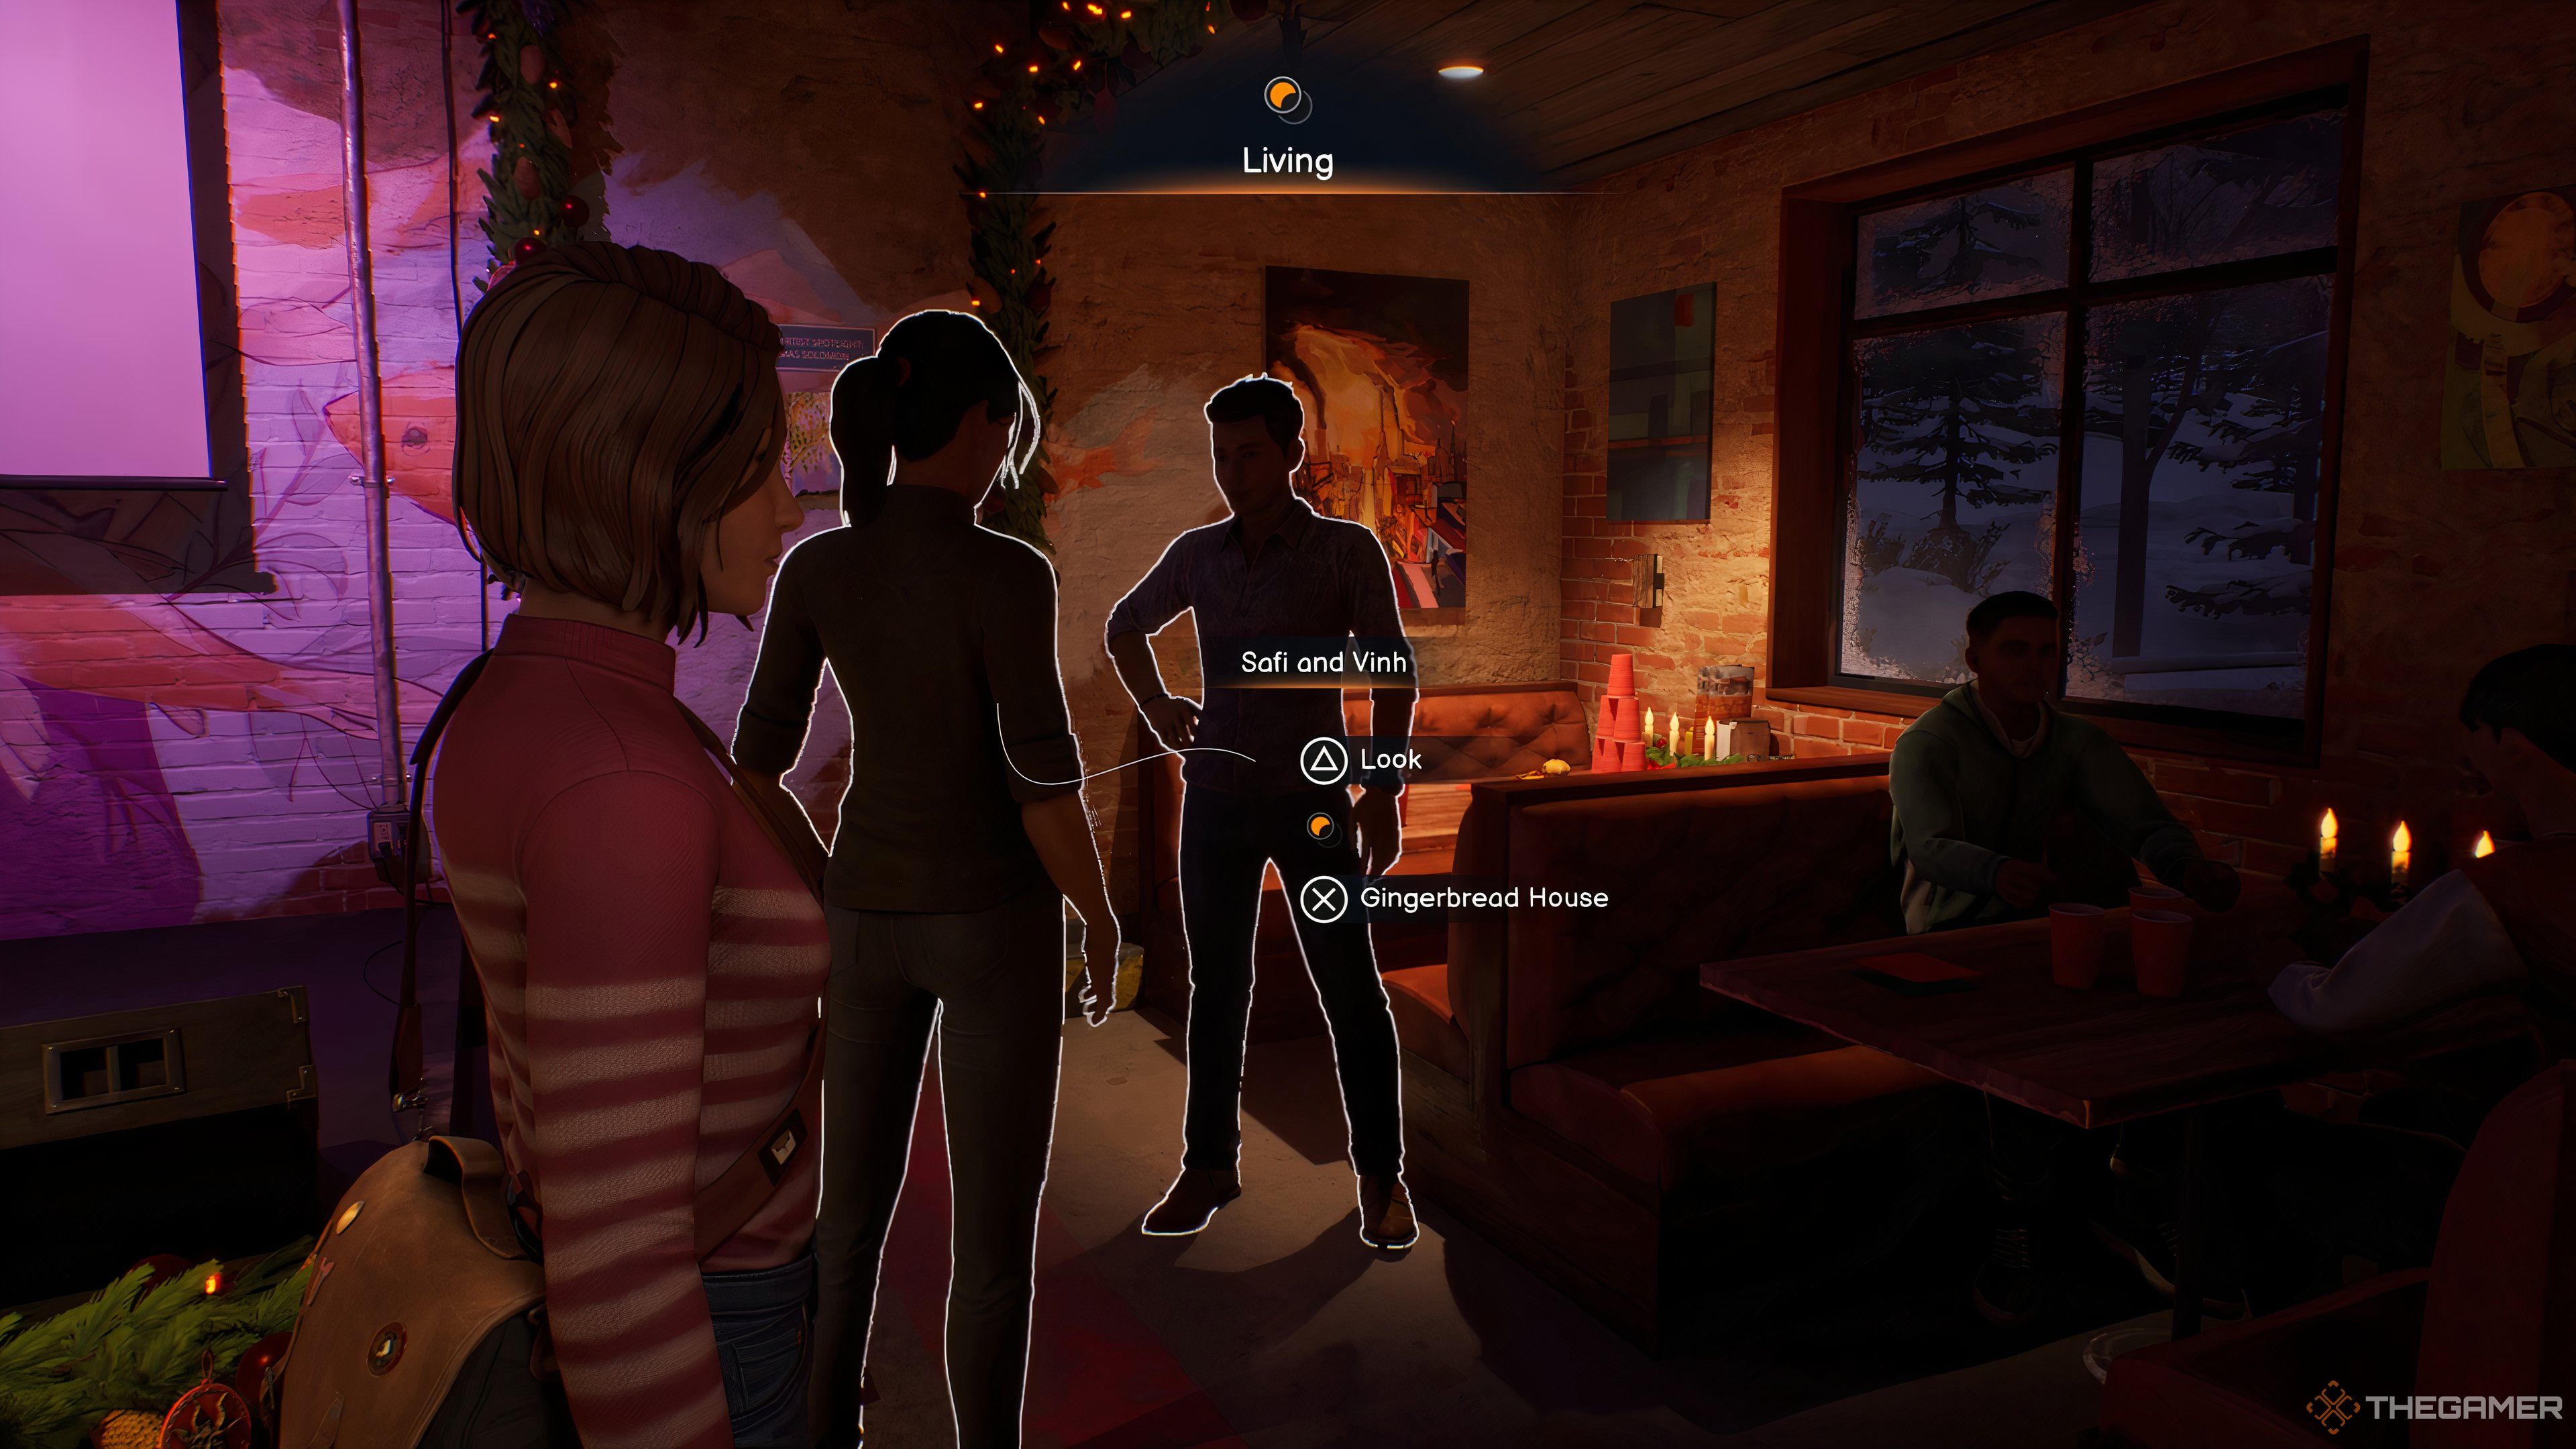
    Safi and Vinh with Prompt

    Find Safi by the stage with Vinh. Approach her, and a prompt will allow you to ask about the gingerbread house. Select it, and Max will pull Safi aside for a private conversation.

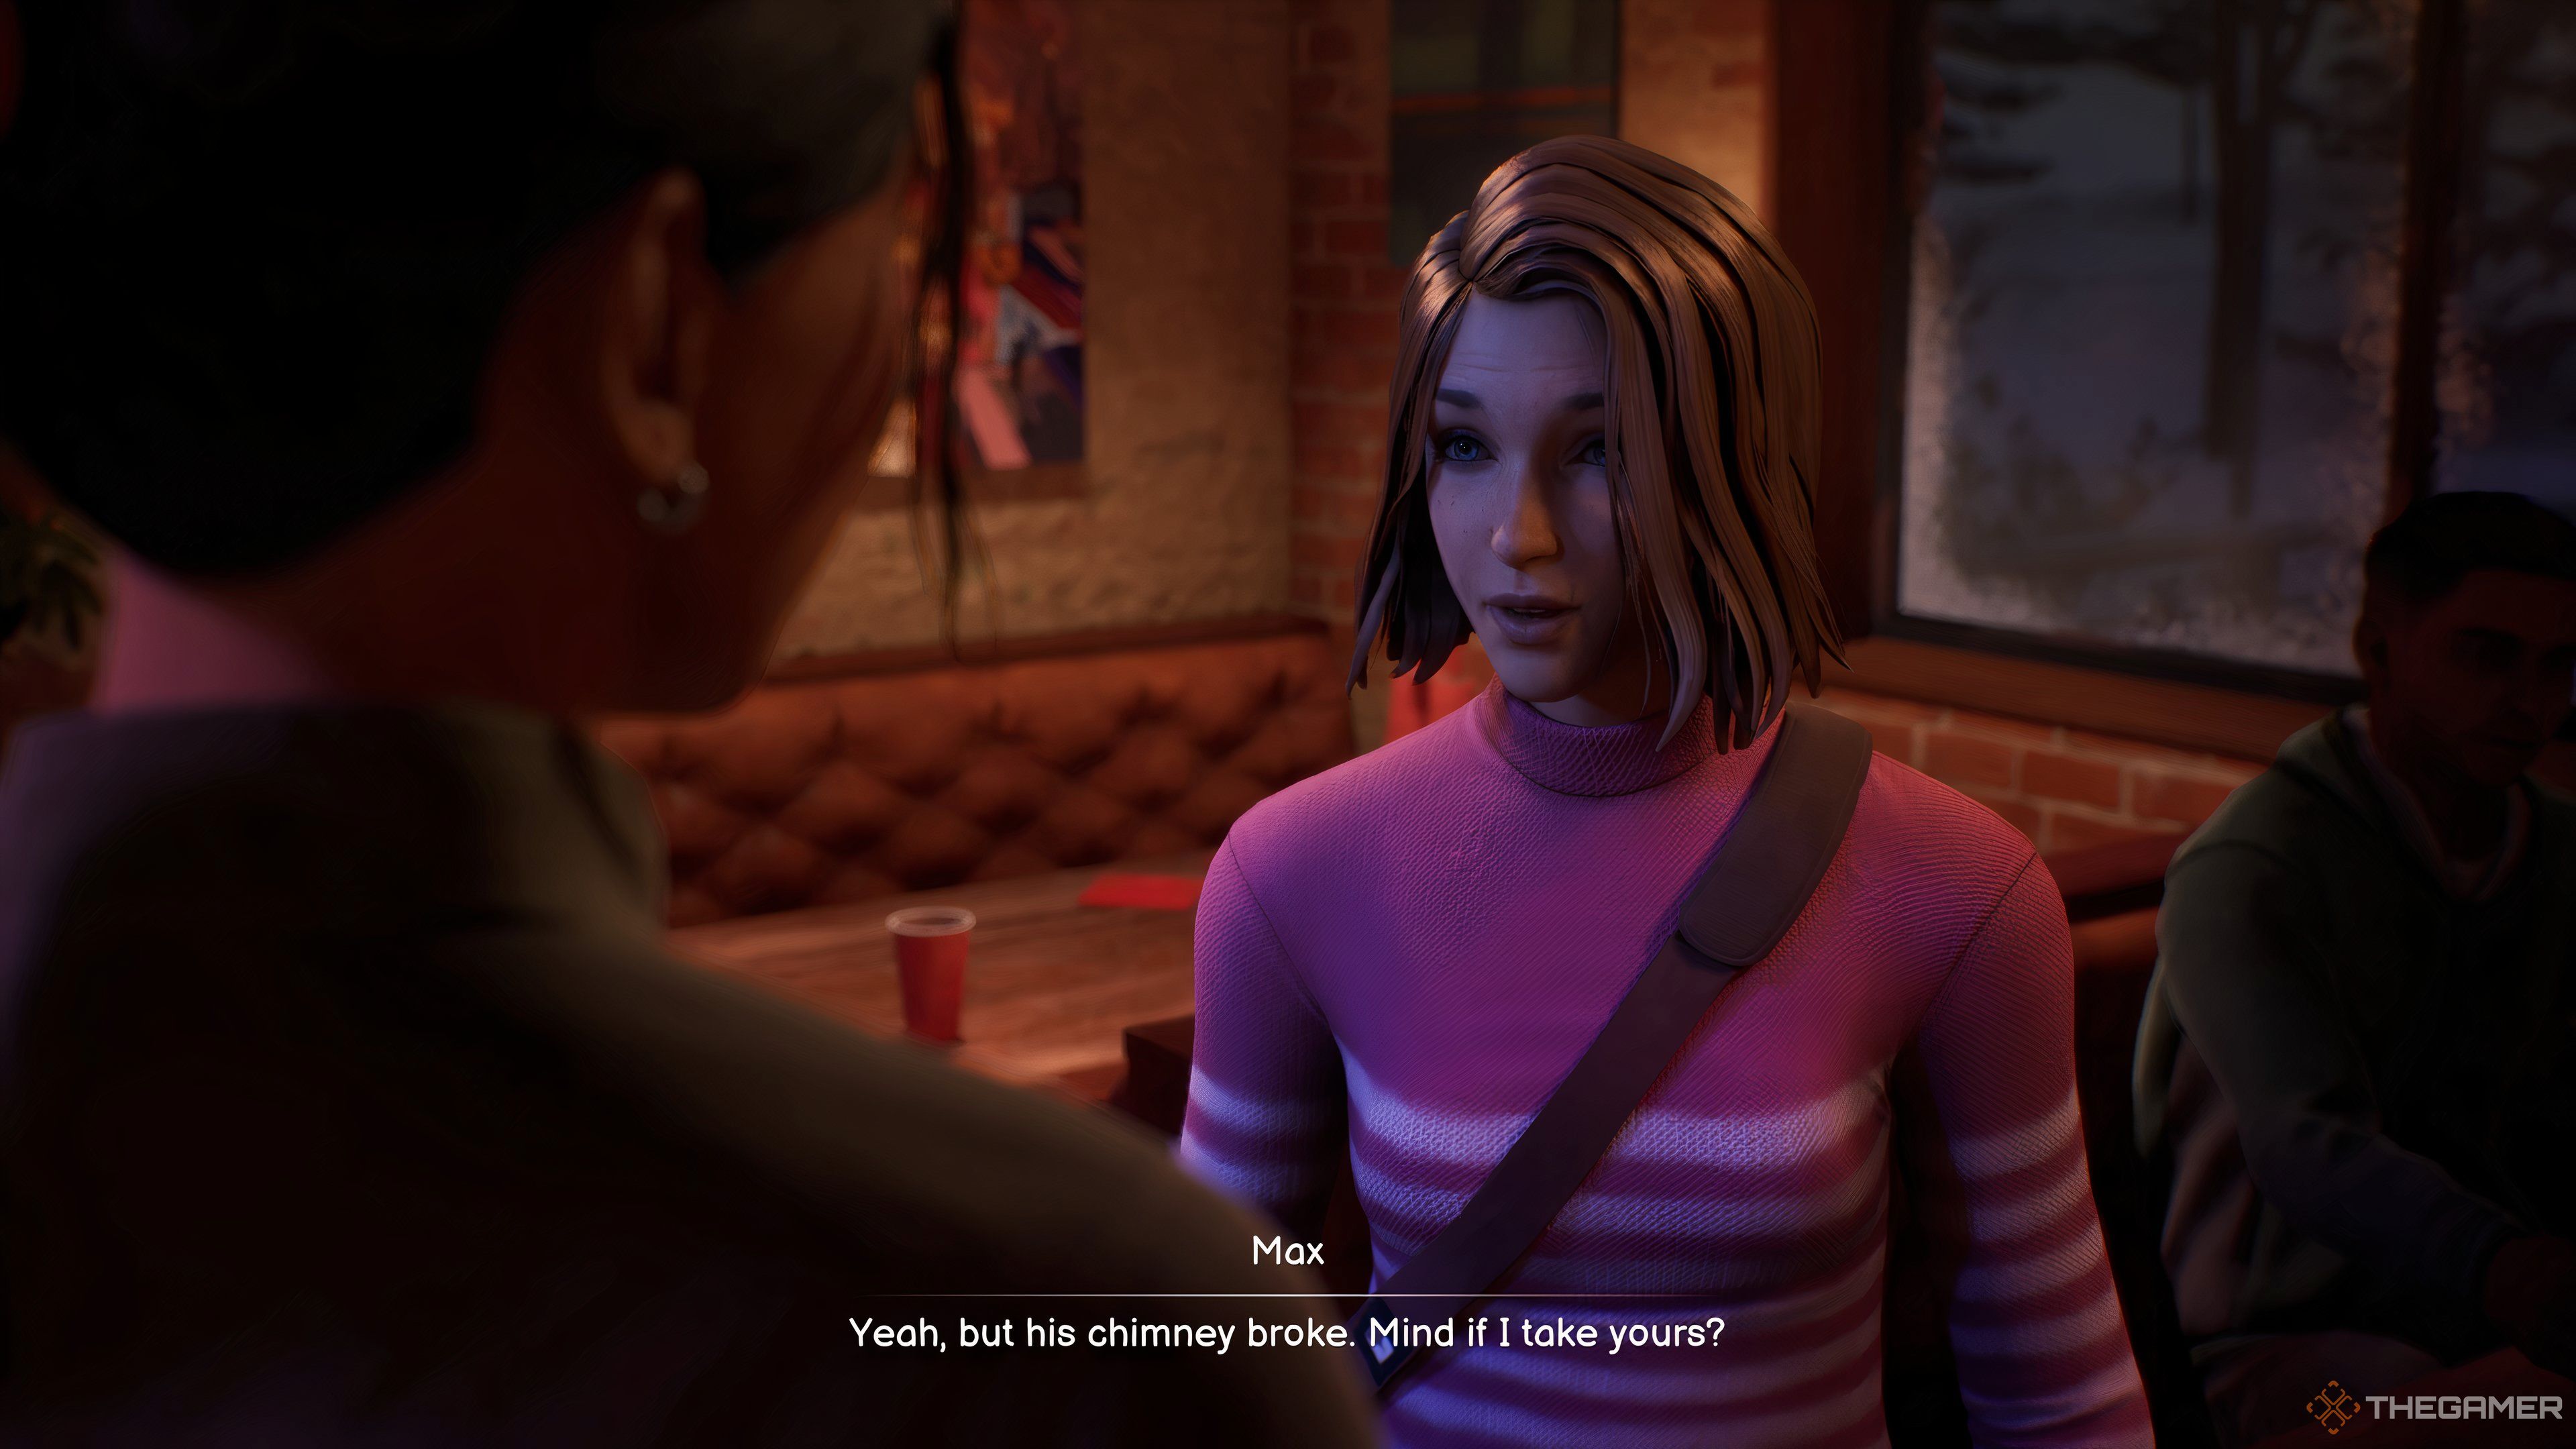
    Max explains Moses’ predicament and asks if she can borrow the chimney from her gingerbread house. Safi is not only agreeable but also adds her own personal touch to it.

    Max Asking Safi

    Once you have Safi’s chimney, return to Dead World and present it to Moses. Watch as he joyfully places the chimney on top of his gingerbread house, completing the project that holds so much meaning for him. This small act of kindness makes a big difference in his day.

  • A Guide to Helping Phone Guy Succeed in Life Is Strange: Double Exposure

    A Guide to Helping Phone Guy Succeed in Life Is Strange: Double Exposure

    Life Is Strange: Double Exposure includes various side tasks that don’t alter the main storyline but can brighten the day of certain NPCs. Who wouldn’t want a time-traveling friend to boost their failing grade to an A?

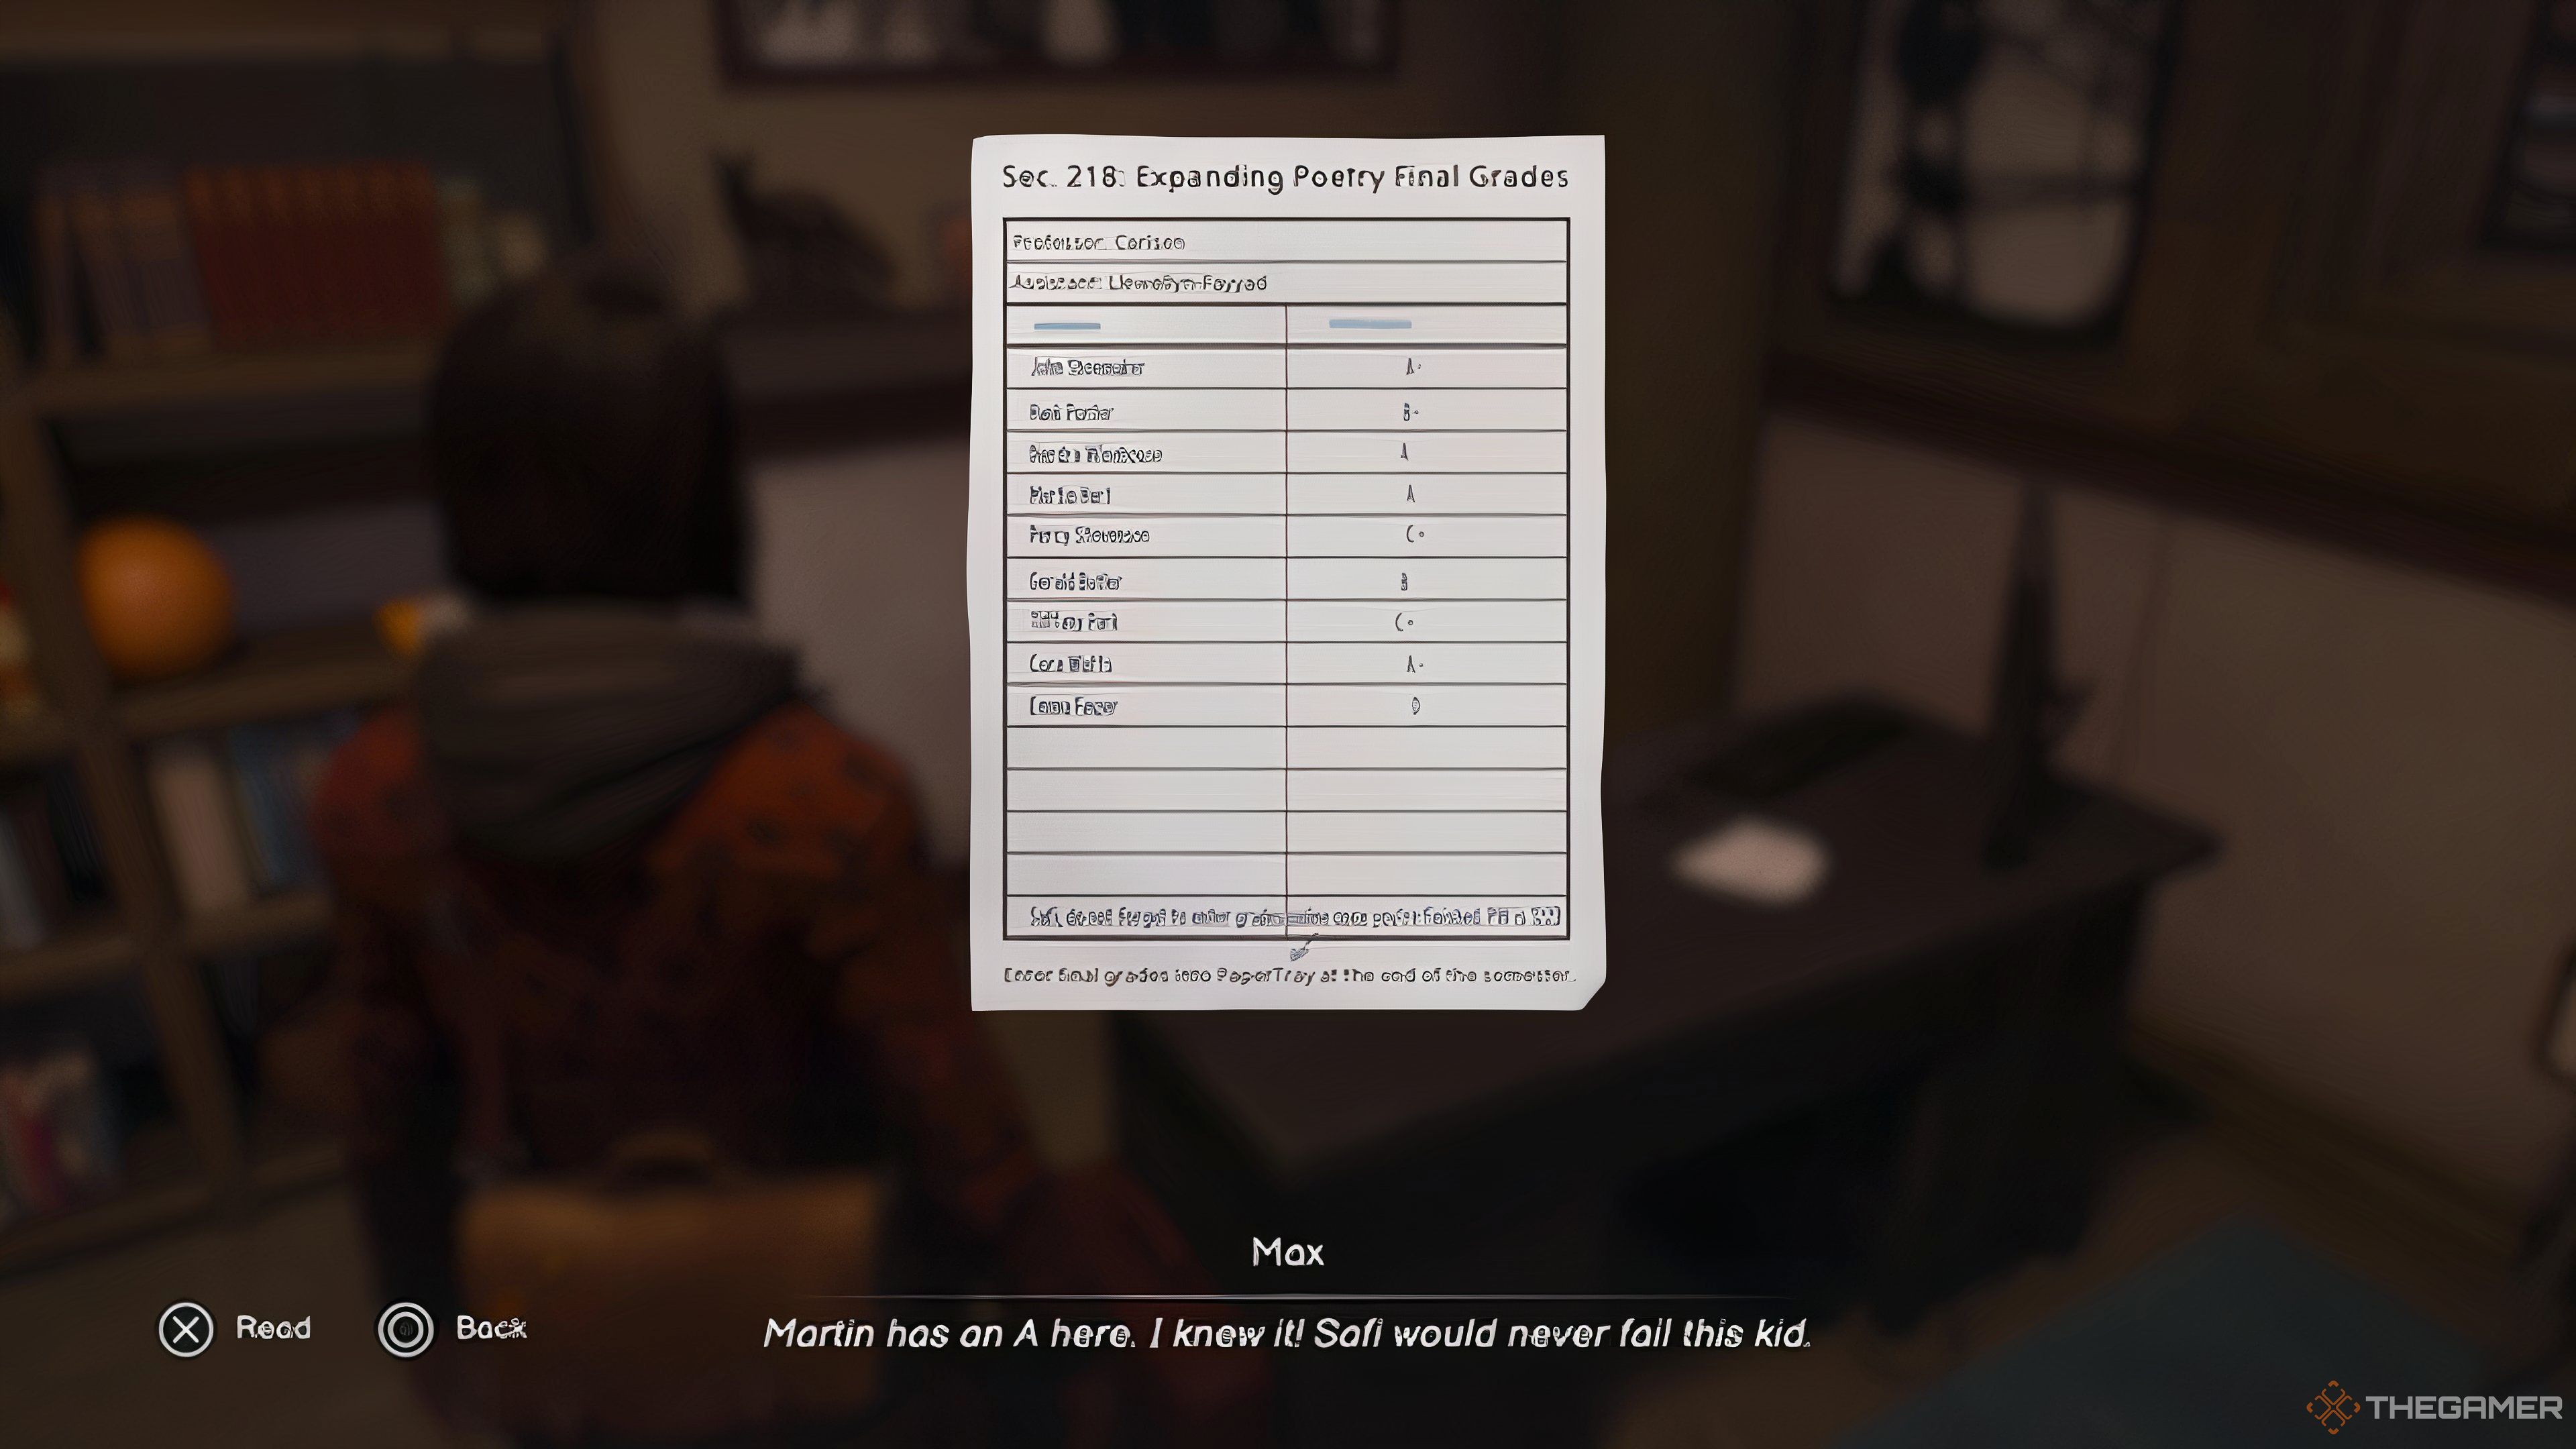
    In Chapter 3, you discover that a student named Martin Hart is having a hard time in Professor Darren Carlsen’s class, where Safi served as a Teacher’s Assistant. In the Living World, Safi ensured Martin passed with an A. However, in the Dead World, without Safi’s help, he finds himself with a failing grade. Continue reading to find out how to help Martin improve his grade.

    How to Change Martin Hart’s Grade


    In the game, Martin is sometimes called “phone guy.” As you explore the FAB during Chapter 3 in the Dead World, you might overhear him discussing how his professor seems to be targeting him. However, you don’t need to hear this to start the task.


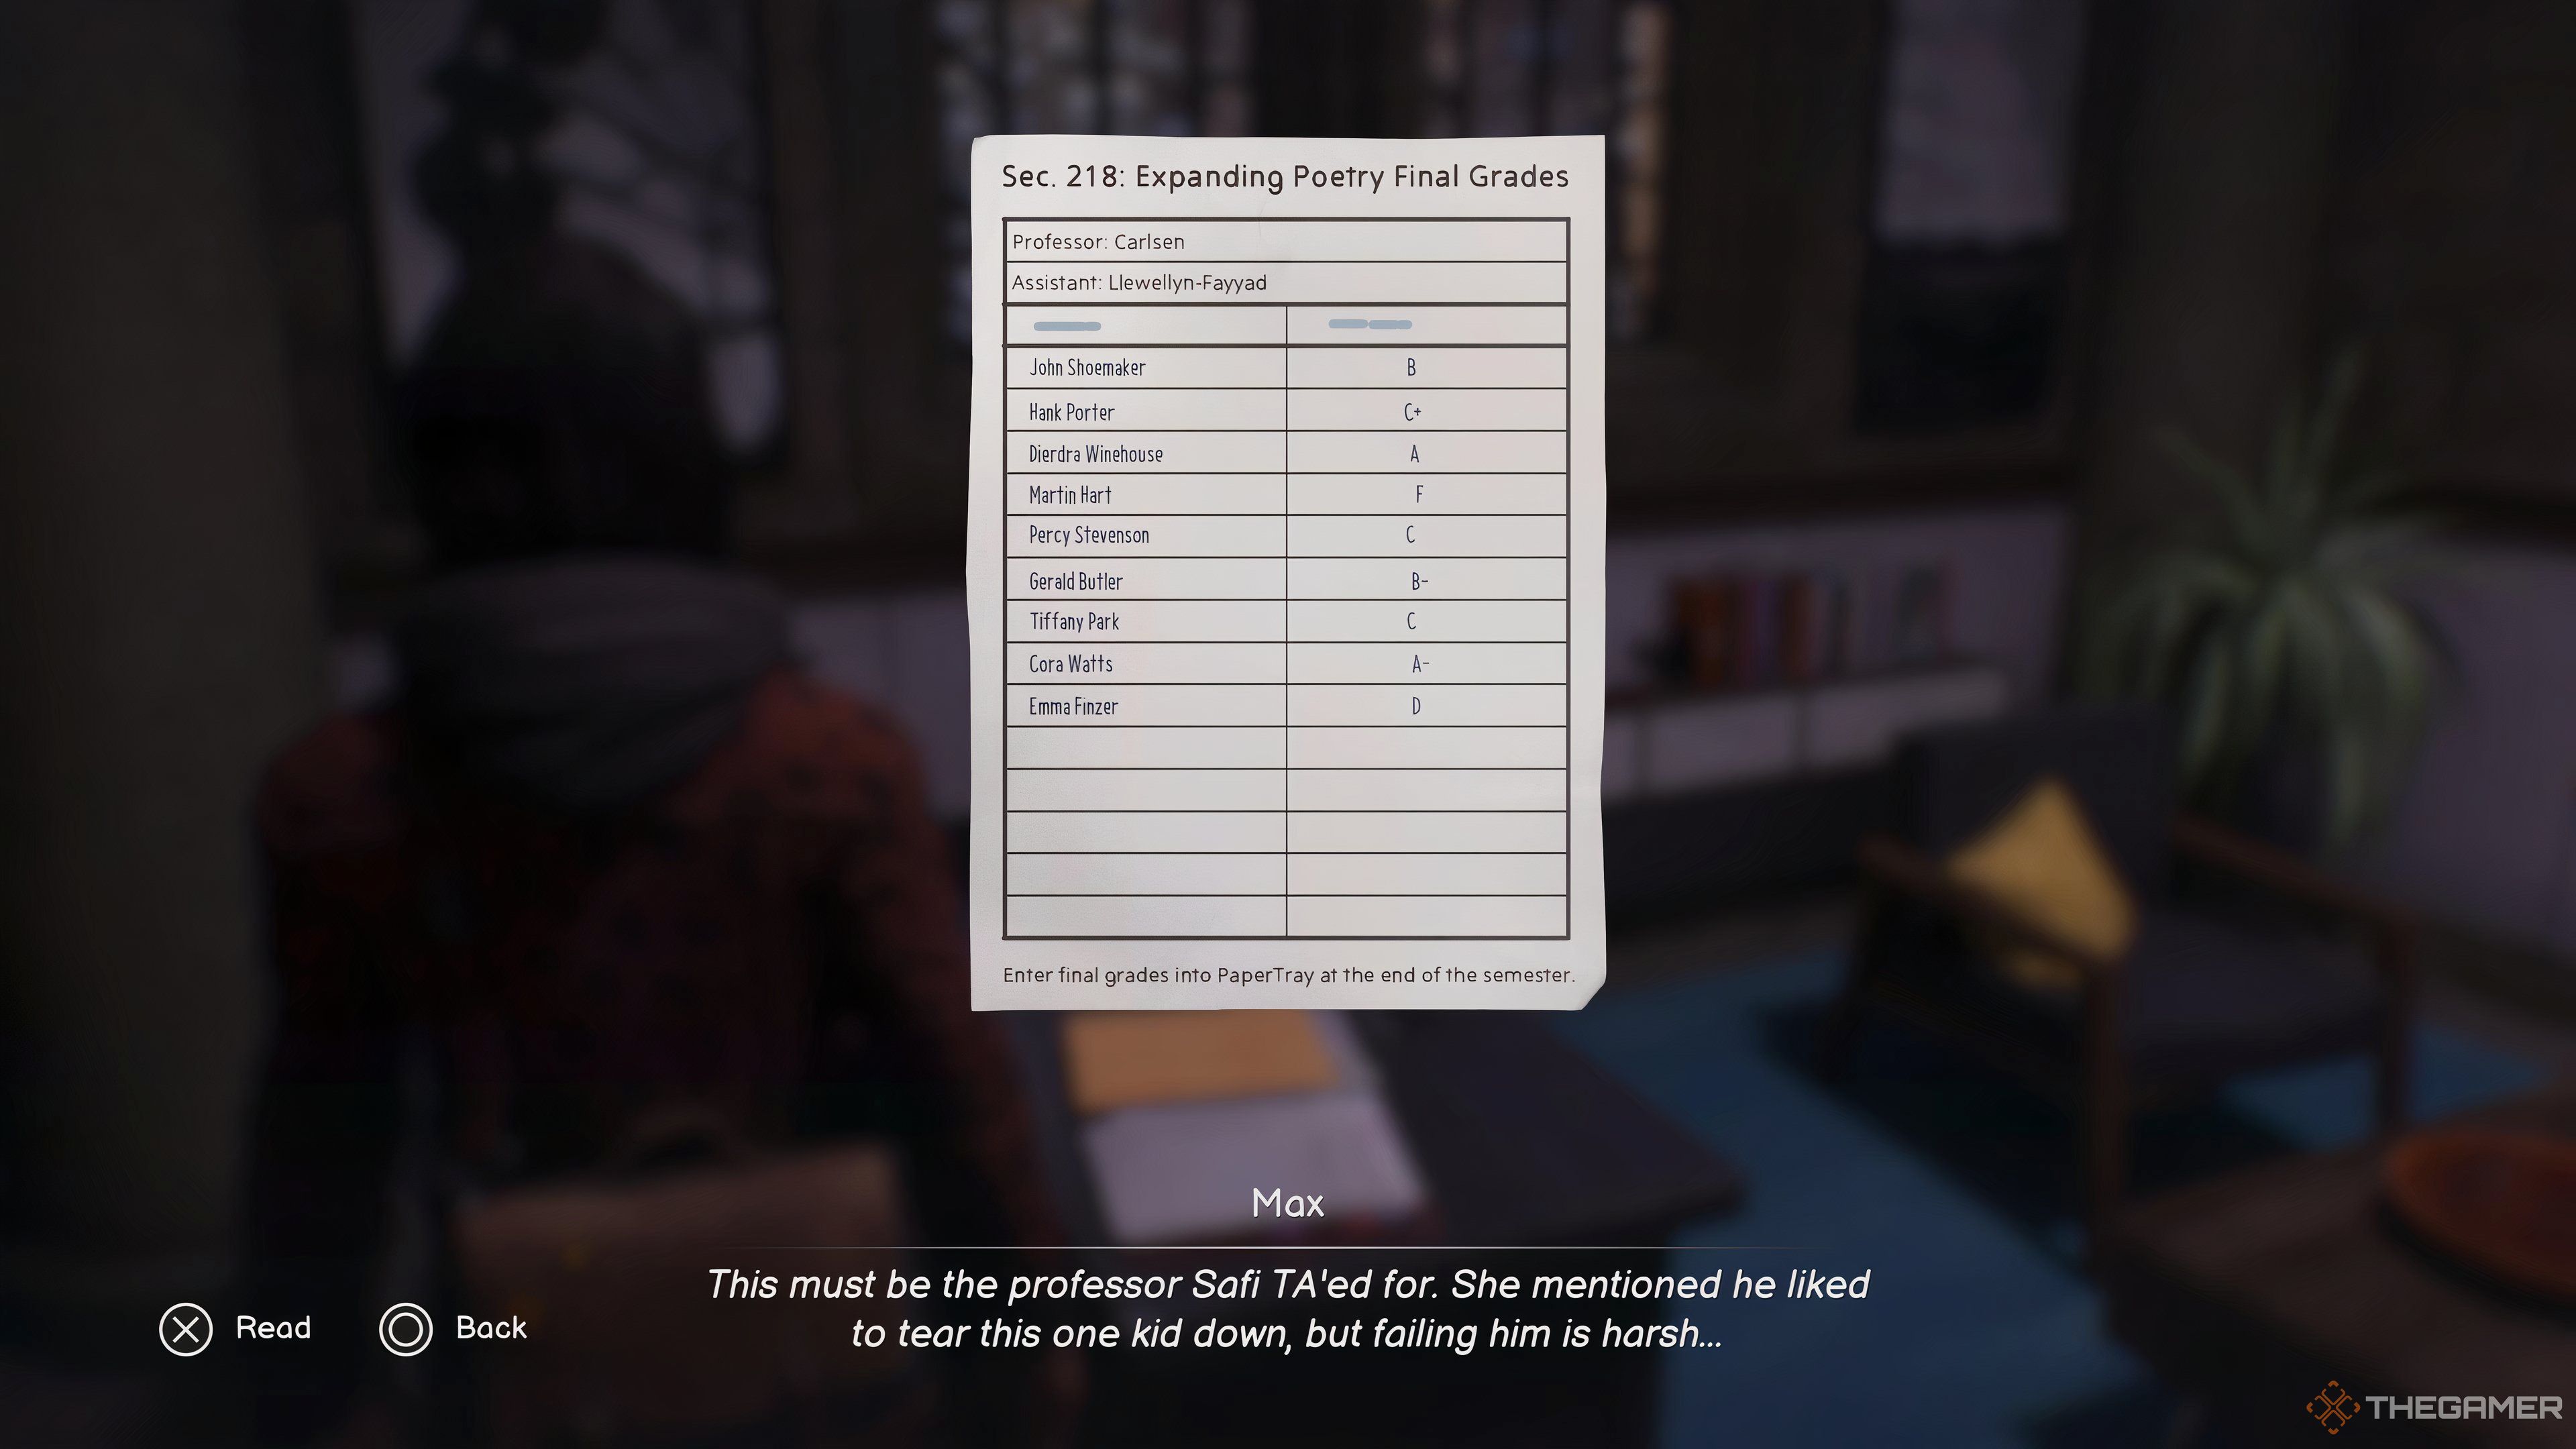
    Checking Martin Hart's Grade In Life Is Strange: Double Exposure.

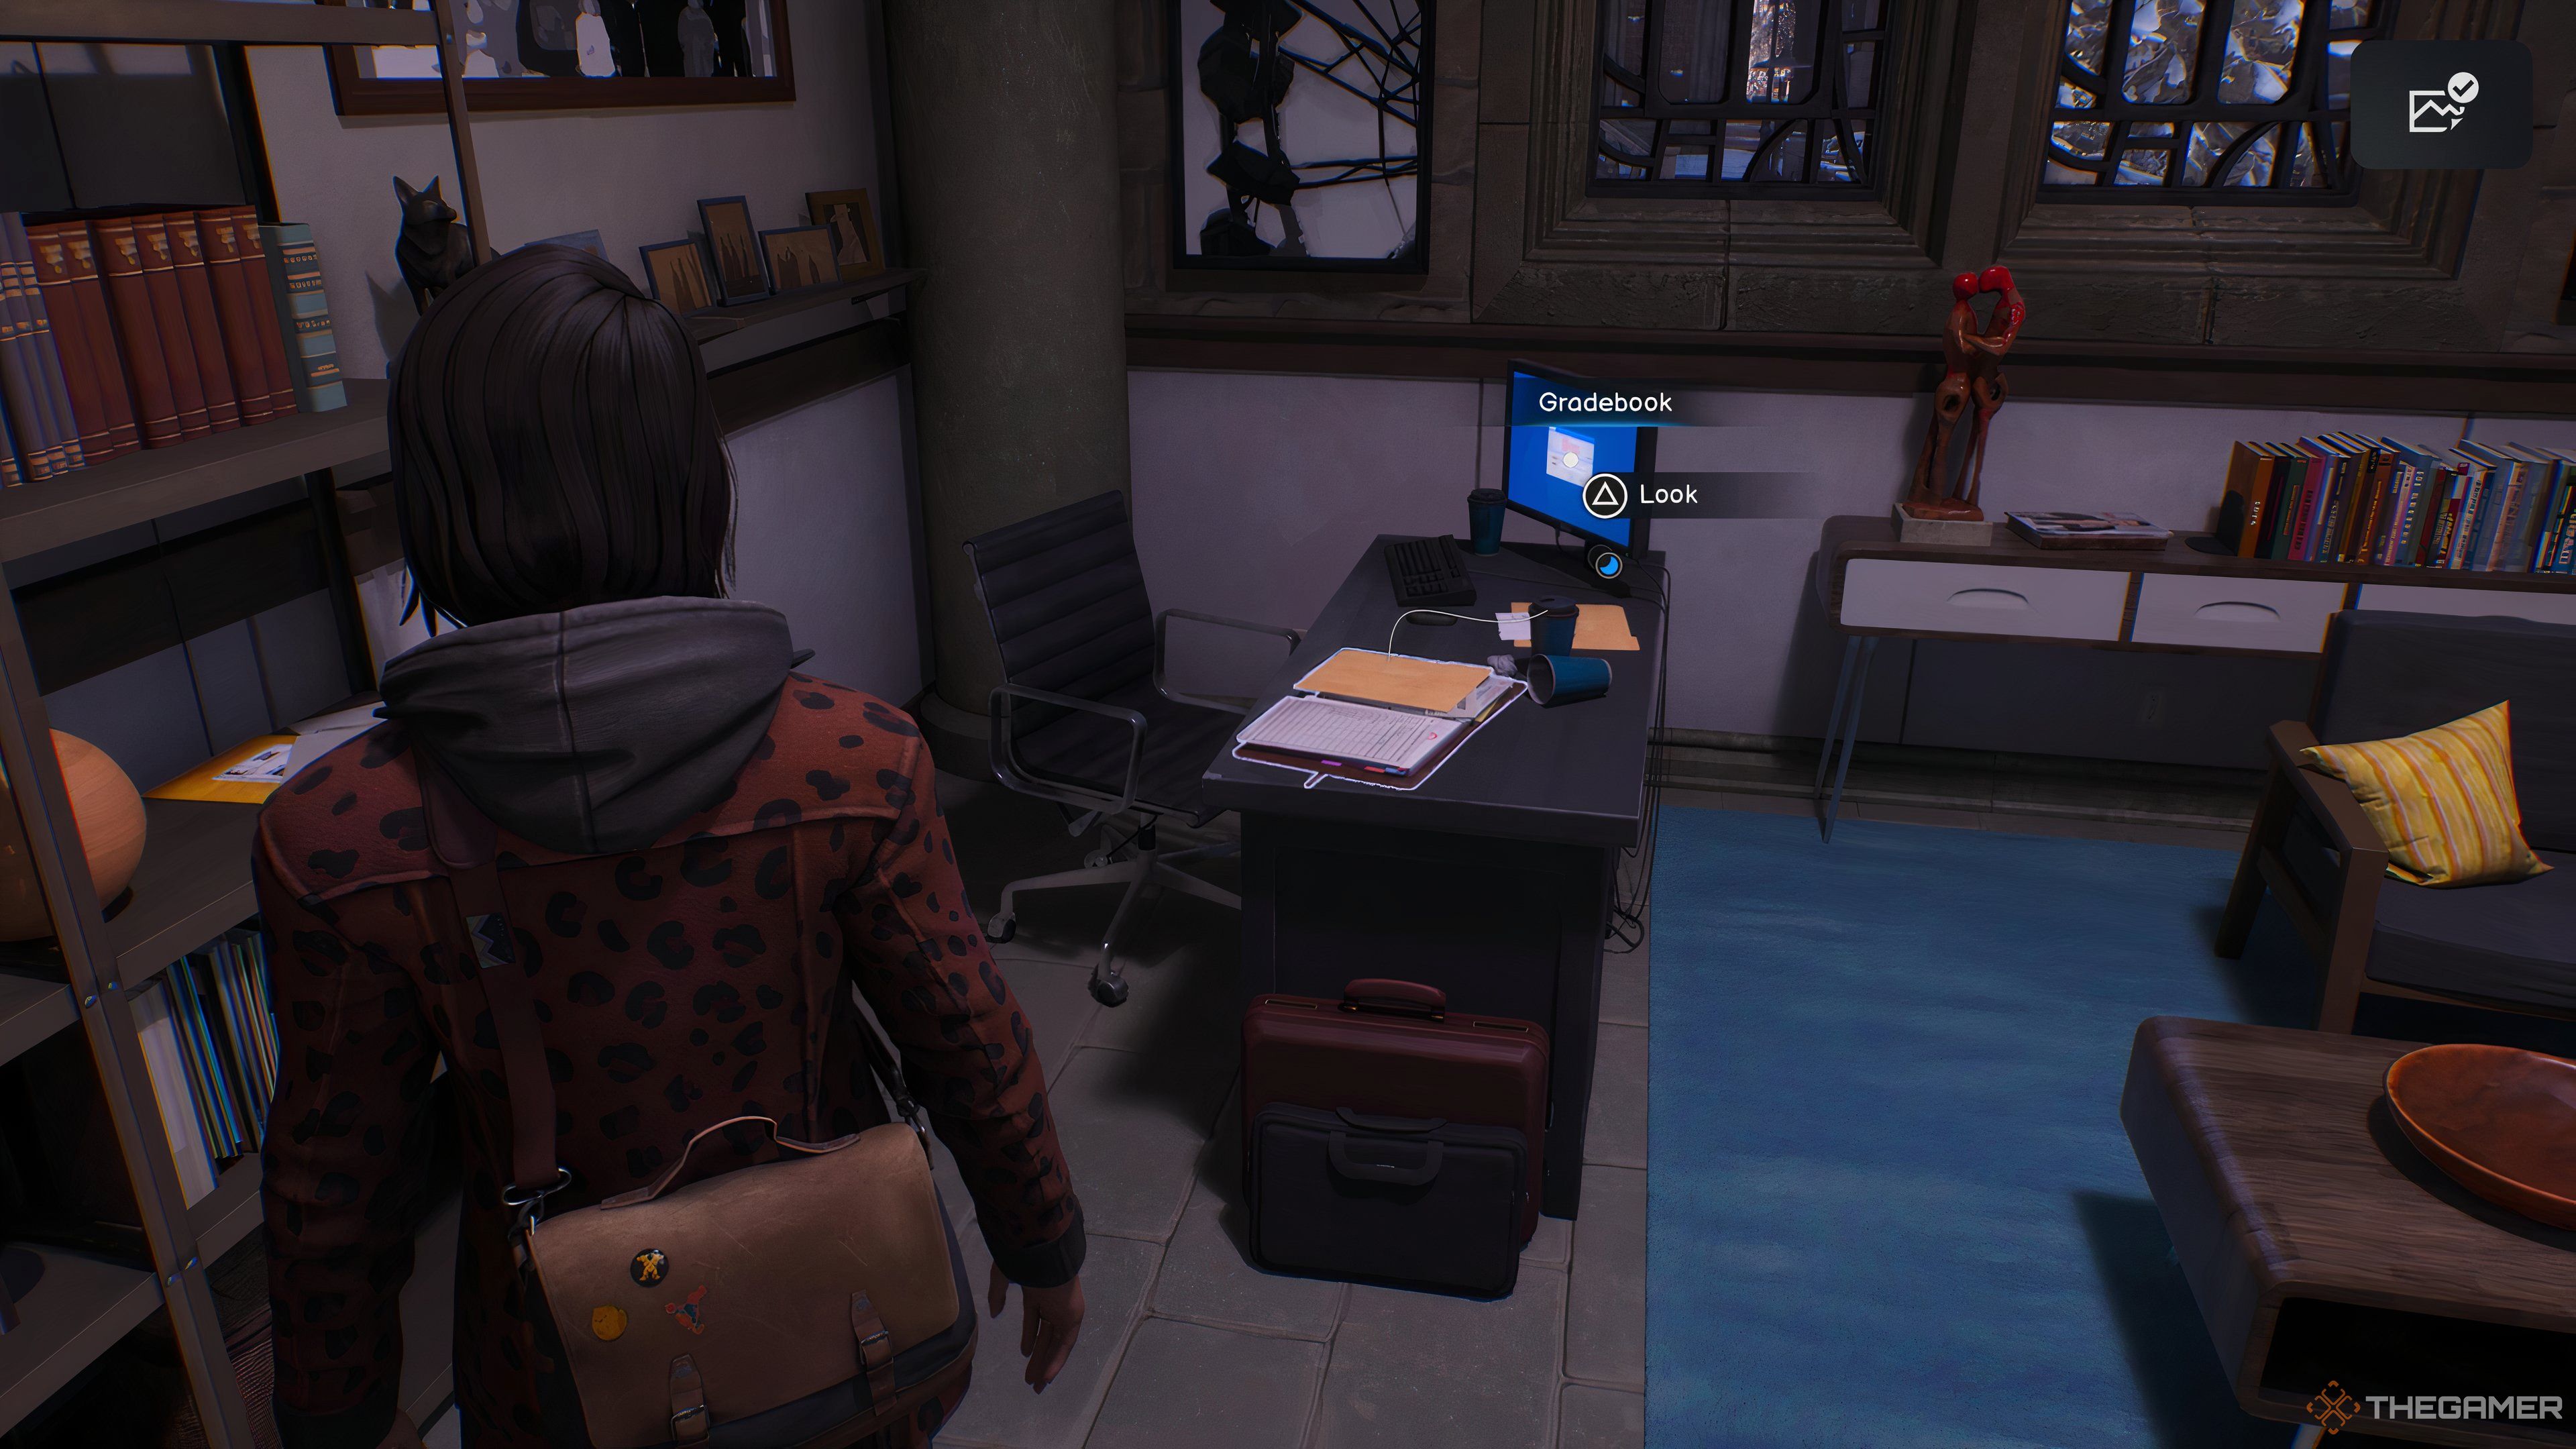
    The office next to Lucas’ belongs to Professor Carlsen. You can go inside and check the grades on his desk. Max recalls Safi mentioning that the professor had a bias against this one student, but failing him seems quite unjust.

    If you attempt to interact with the computer to modify the grade, Max notes that she needs a password first, which you can find in the Living World.


    Living World Martin Hart's Grade In Life Is Strange: Double Exposure.

    To obtain the password, use the shift point located by the FAB cafe to switch to the Living World, and then check the same grade sheet. In this instance, Martin has an A, and the password is noted at the bottom.


    Professor Carlsen's Desk And Computer In Life Is Strange: Double Exposure.

    Finally, return to the Dead World and interact with the professor’s computer to update Martin’s grade.

    When you use the Dual Tone Phone Booth in the Living World, the first message you’ll hear from the past is from Phone Guy.

  • The Impact of Answering Loretta in Life Is Strange: Double Exposure

    The Impact of Answering Loretta in Life Is Strange: Double Exposure

    In classic *Life Is Strange* style, Life Is Strange: Double Exposure is packed with critical choices that shape the narrative. One of the first significant choices comes toward the end of Chapter 1, just a few days after Safi’s tragic passing.

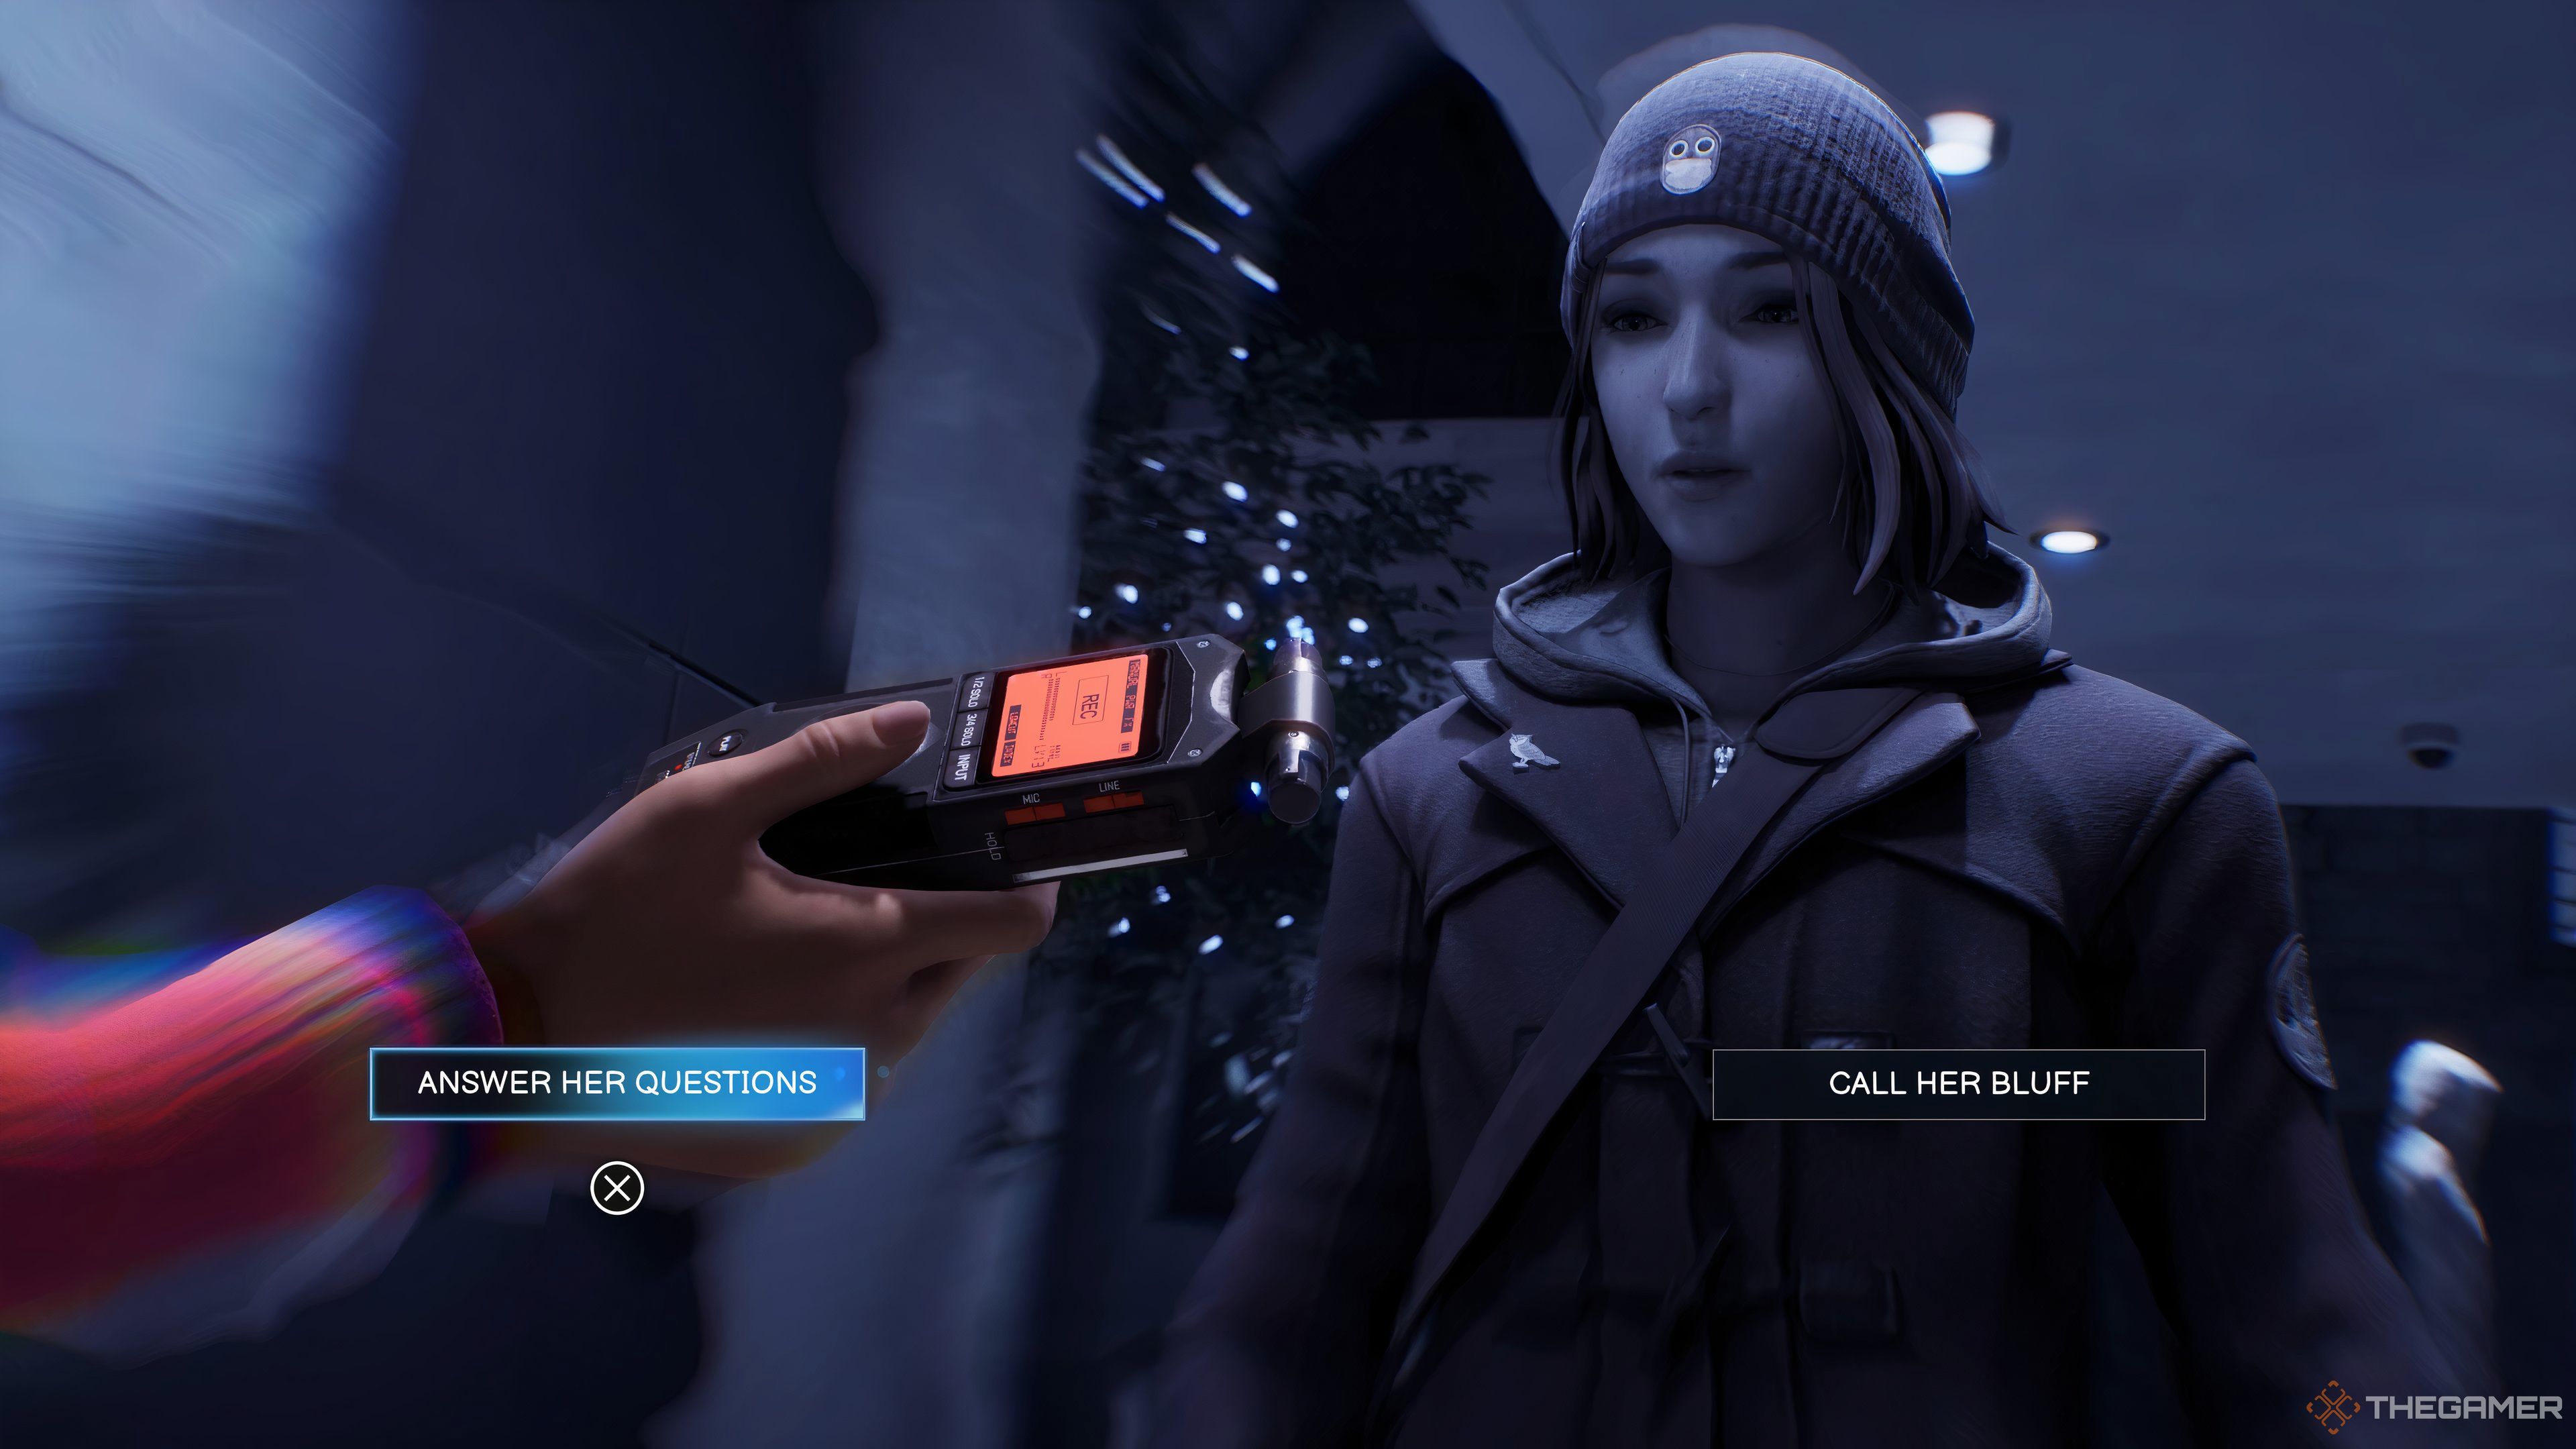
    When you first enter the Fine Arts Building following your conversation with Yasmin, Safi’s mother, Max overhears a phone call from Gwen Hunter. Loretta, the local true crime podcaster, discovers you eavesdropping. You face a choice: do you respond to her questions or call her bluff, letting her inform Gwen about your snooping?

    This choice only arises due to Safi’s death and will solely influence your interactions with Dead World Gwen.

    What Happens If You Call Loretta’s Bluff?

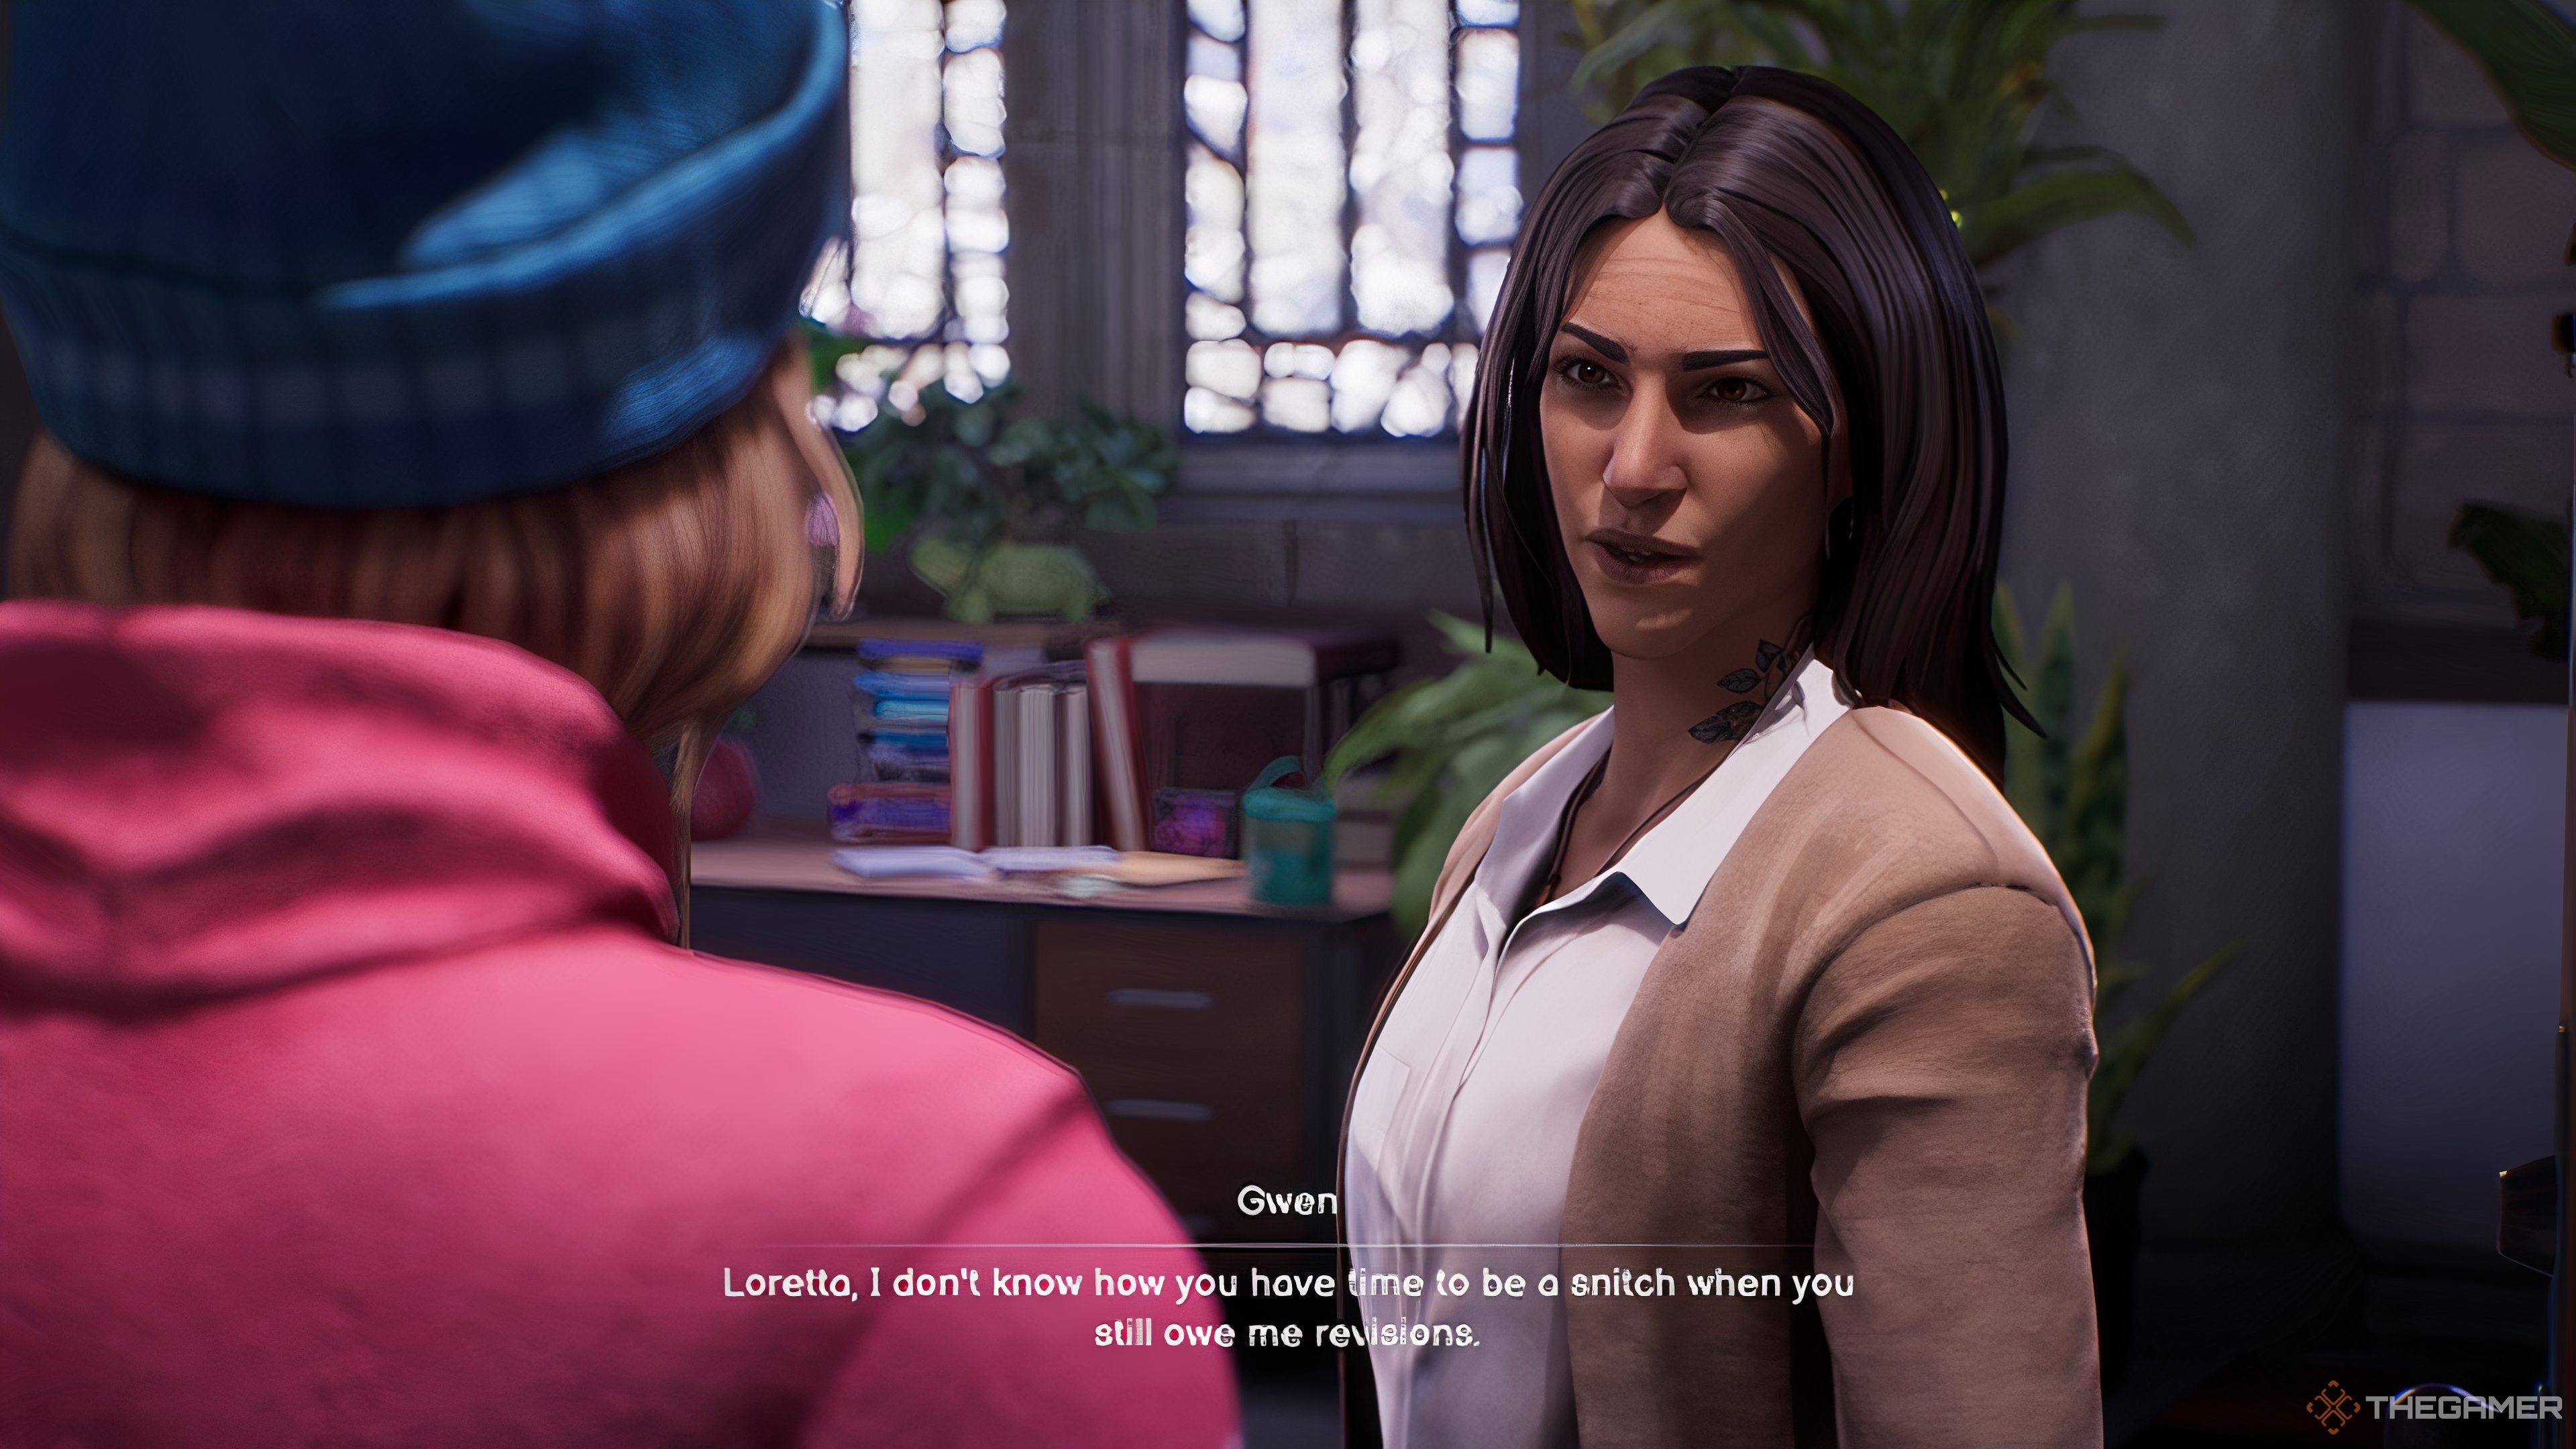
    If you choose to call Loretta’s bluff, she hurries to Gwen’s office and reveals that you were eavesdropping. Gwen quickly dismisses Loretta’s claim, yet once Loretta steps out, she questions you about your eavesdropping. Regardless of your response, she will express disappointment and ask you to keep your distance from her.

    Gwen Shooting Loretta Down In Life Is Strange: Double Exposure.

    <p_Later, in Chapter 3, when you arrive at Gwen’s office, she greets you with, “No conversations for you to conveniently overhear this time” and reluctantly agrees to discuss Safi’s book and Maya Okada with you. However, she will not let you read Safi’s manuscript when asked.

    To access Safi’s manuscript from Gwen, you’ll need to shift into Living World Gwen’s office, which is empty, and retrieve the manuscript from the drawer you saw Dead World Gwen use.

    While exploring Gwen’s office, you can snap a photo of her vintage record player and share it on your Crosstalk page. If you previously called Loretta’s bluff and Gwen knows about your eavesdropping, she’ll comment on your post, noting that she didn’t give you permission to rummage through her belongings.

    What Happens If You Answer Loretta’s Questions?

    Choosing Answer Loretta's Questions In Life Is Strange: Double Exposure.

    If you decide to engage and answer Loretta’s questions, you might tell her that you really don’t know much and suggest she speak to someone who has known Safi longer than six months.

    Choosing What Name To Give To Loretta In Life Is Strange: Double Exposure.

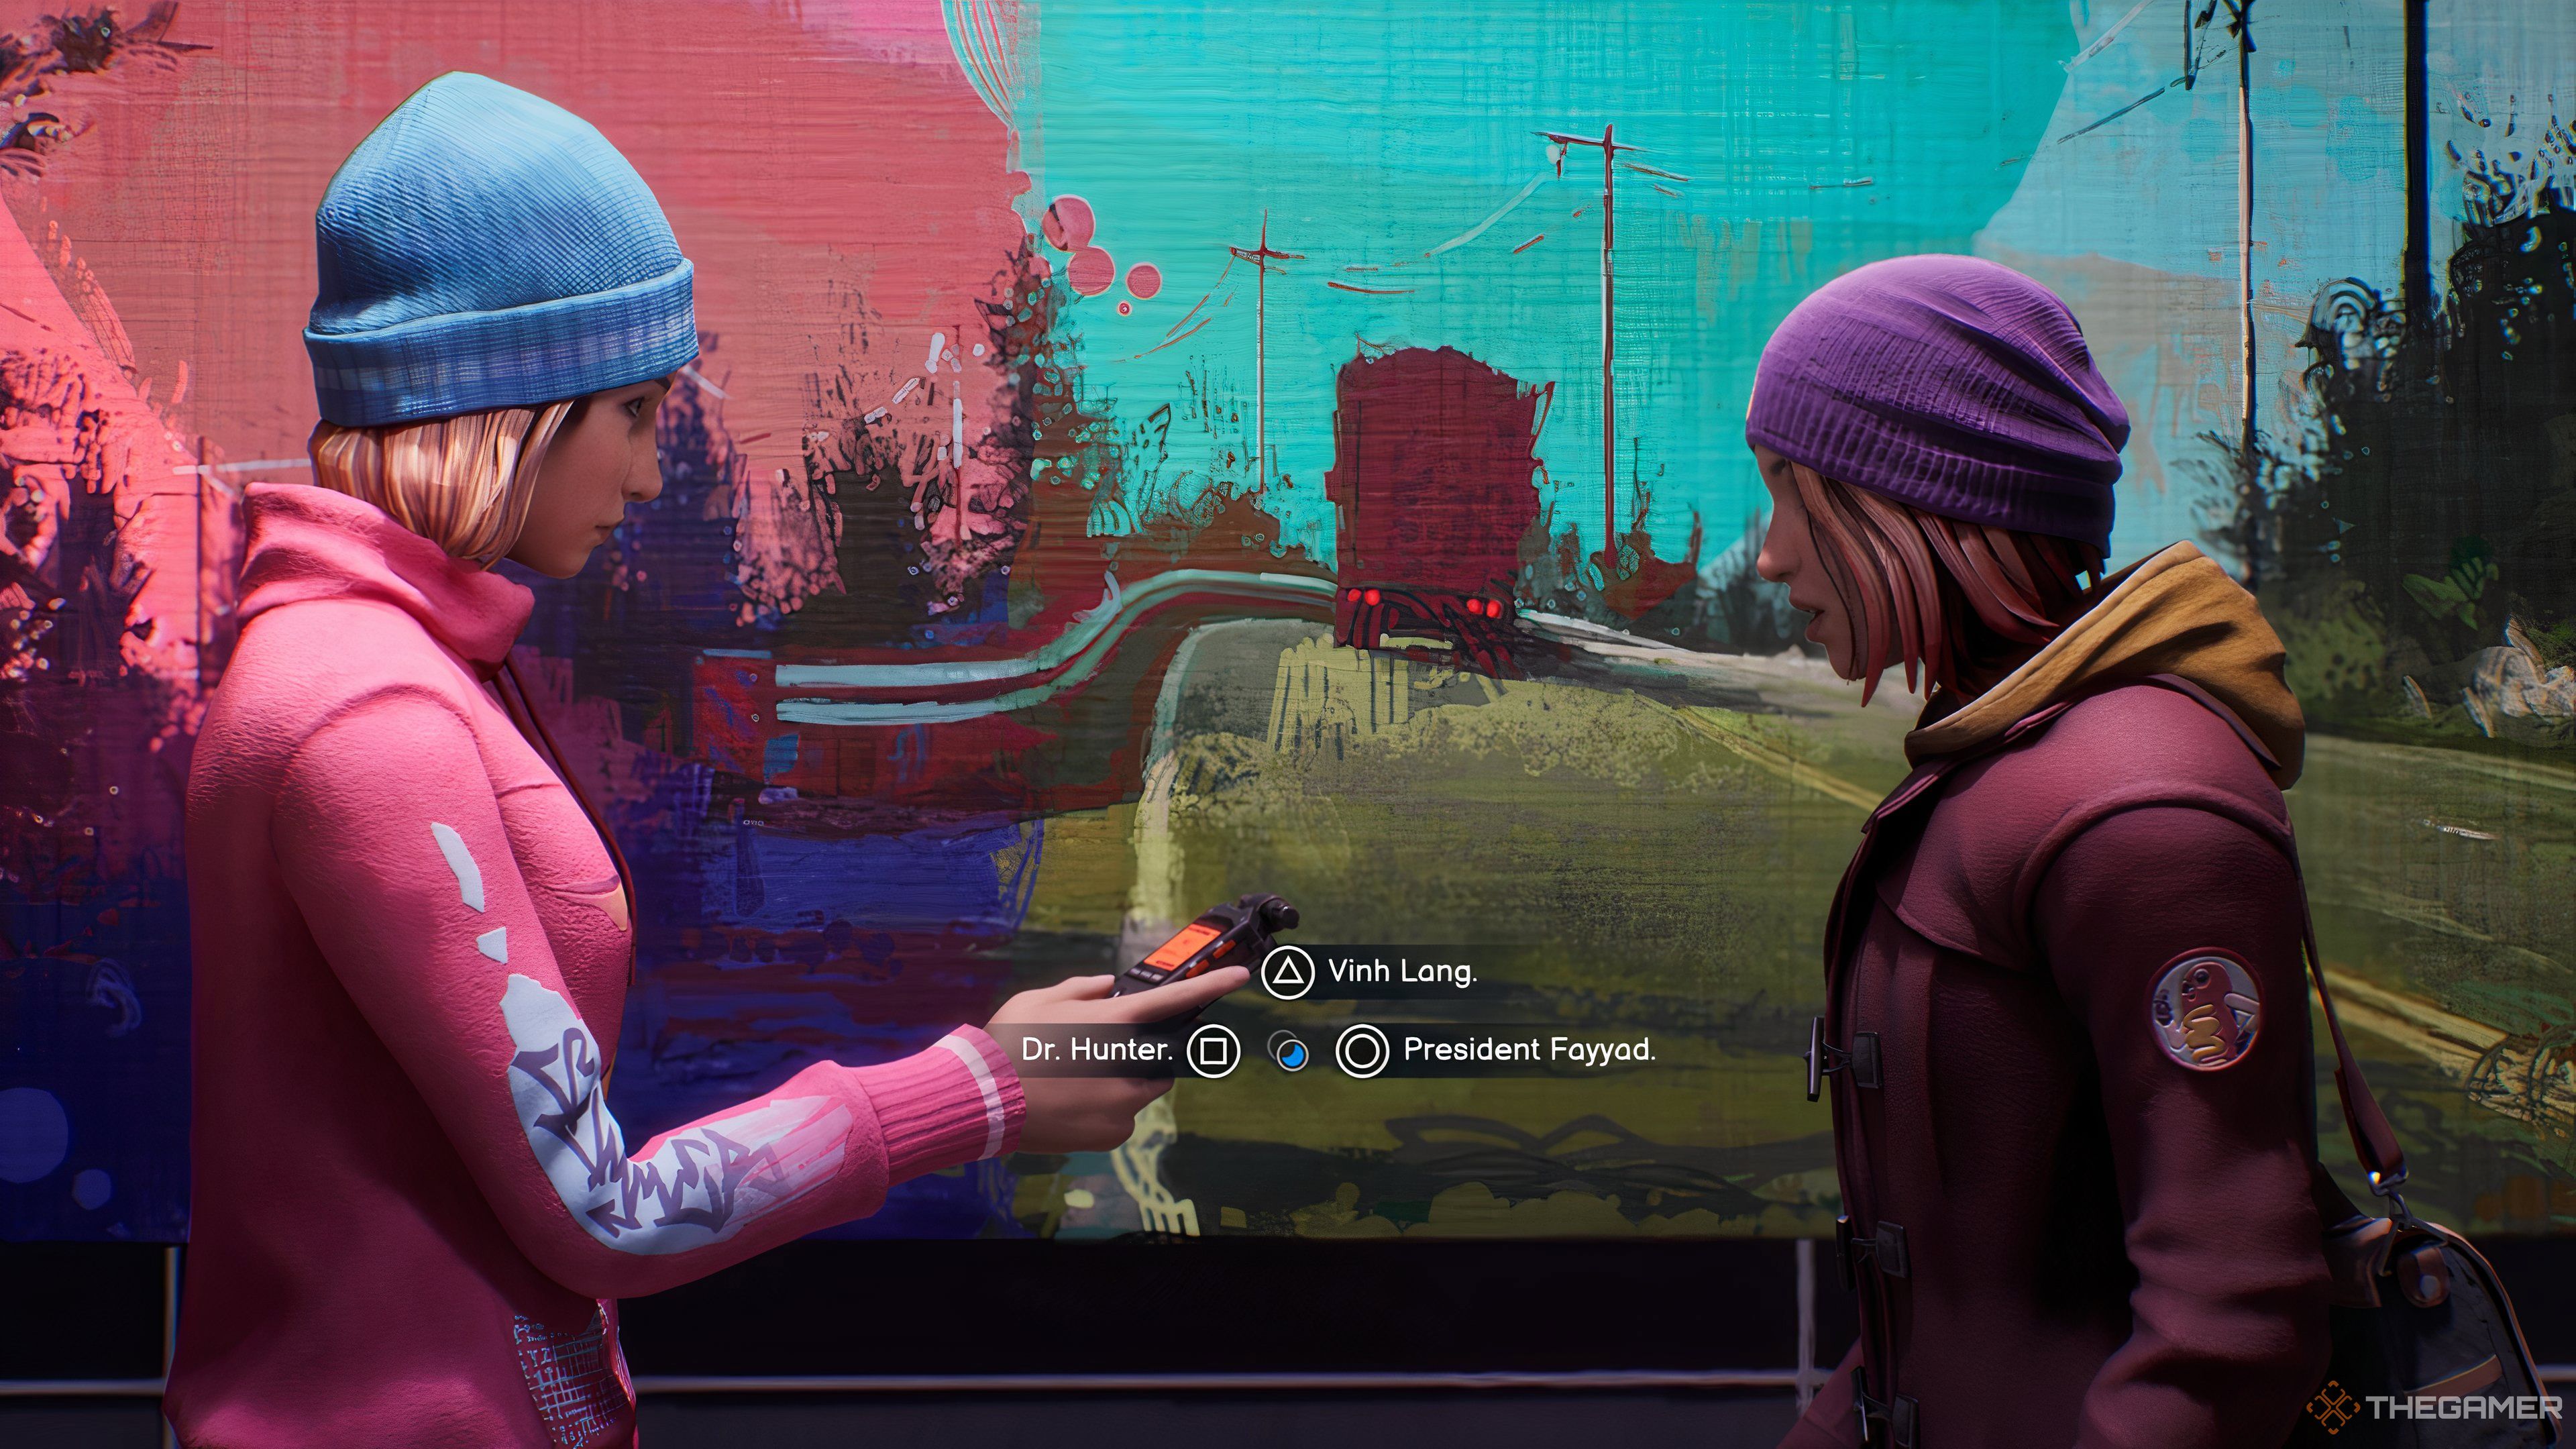
    Loretta will then request a lead on who else to interview, with options including Gwen, Safi’s mother, or Vinh. No matter which name you provide, Loretta will express gratitude and leave.

    Gwen Letting You Read Safi's Manuscript In Life Is Strange: Double Exposure.

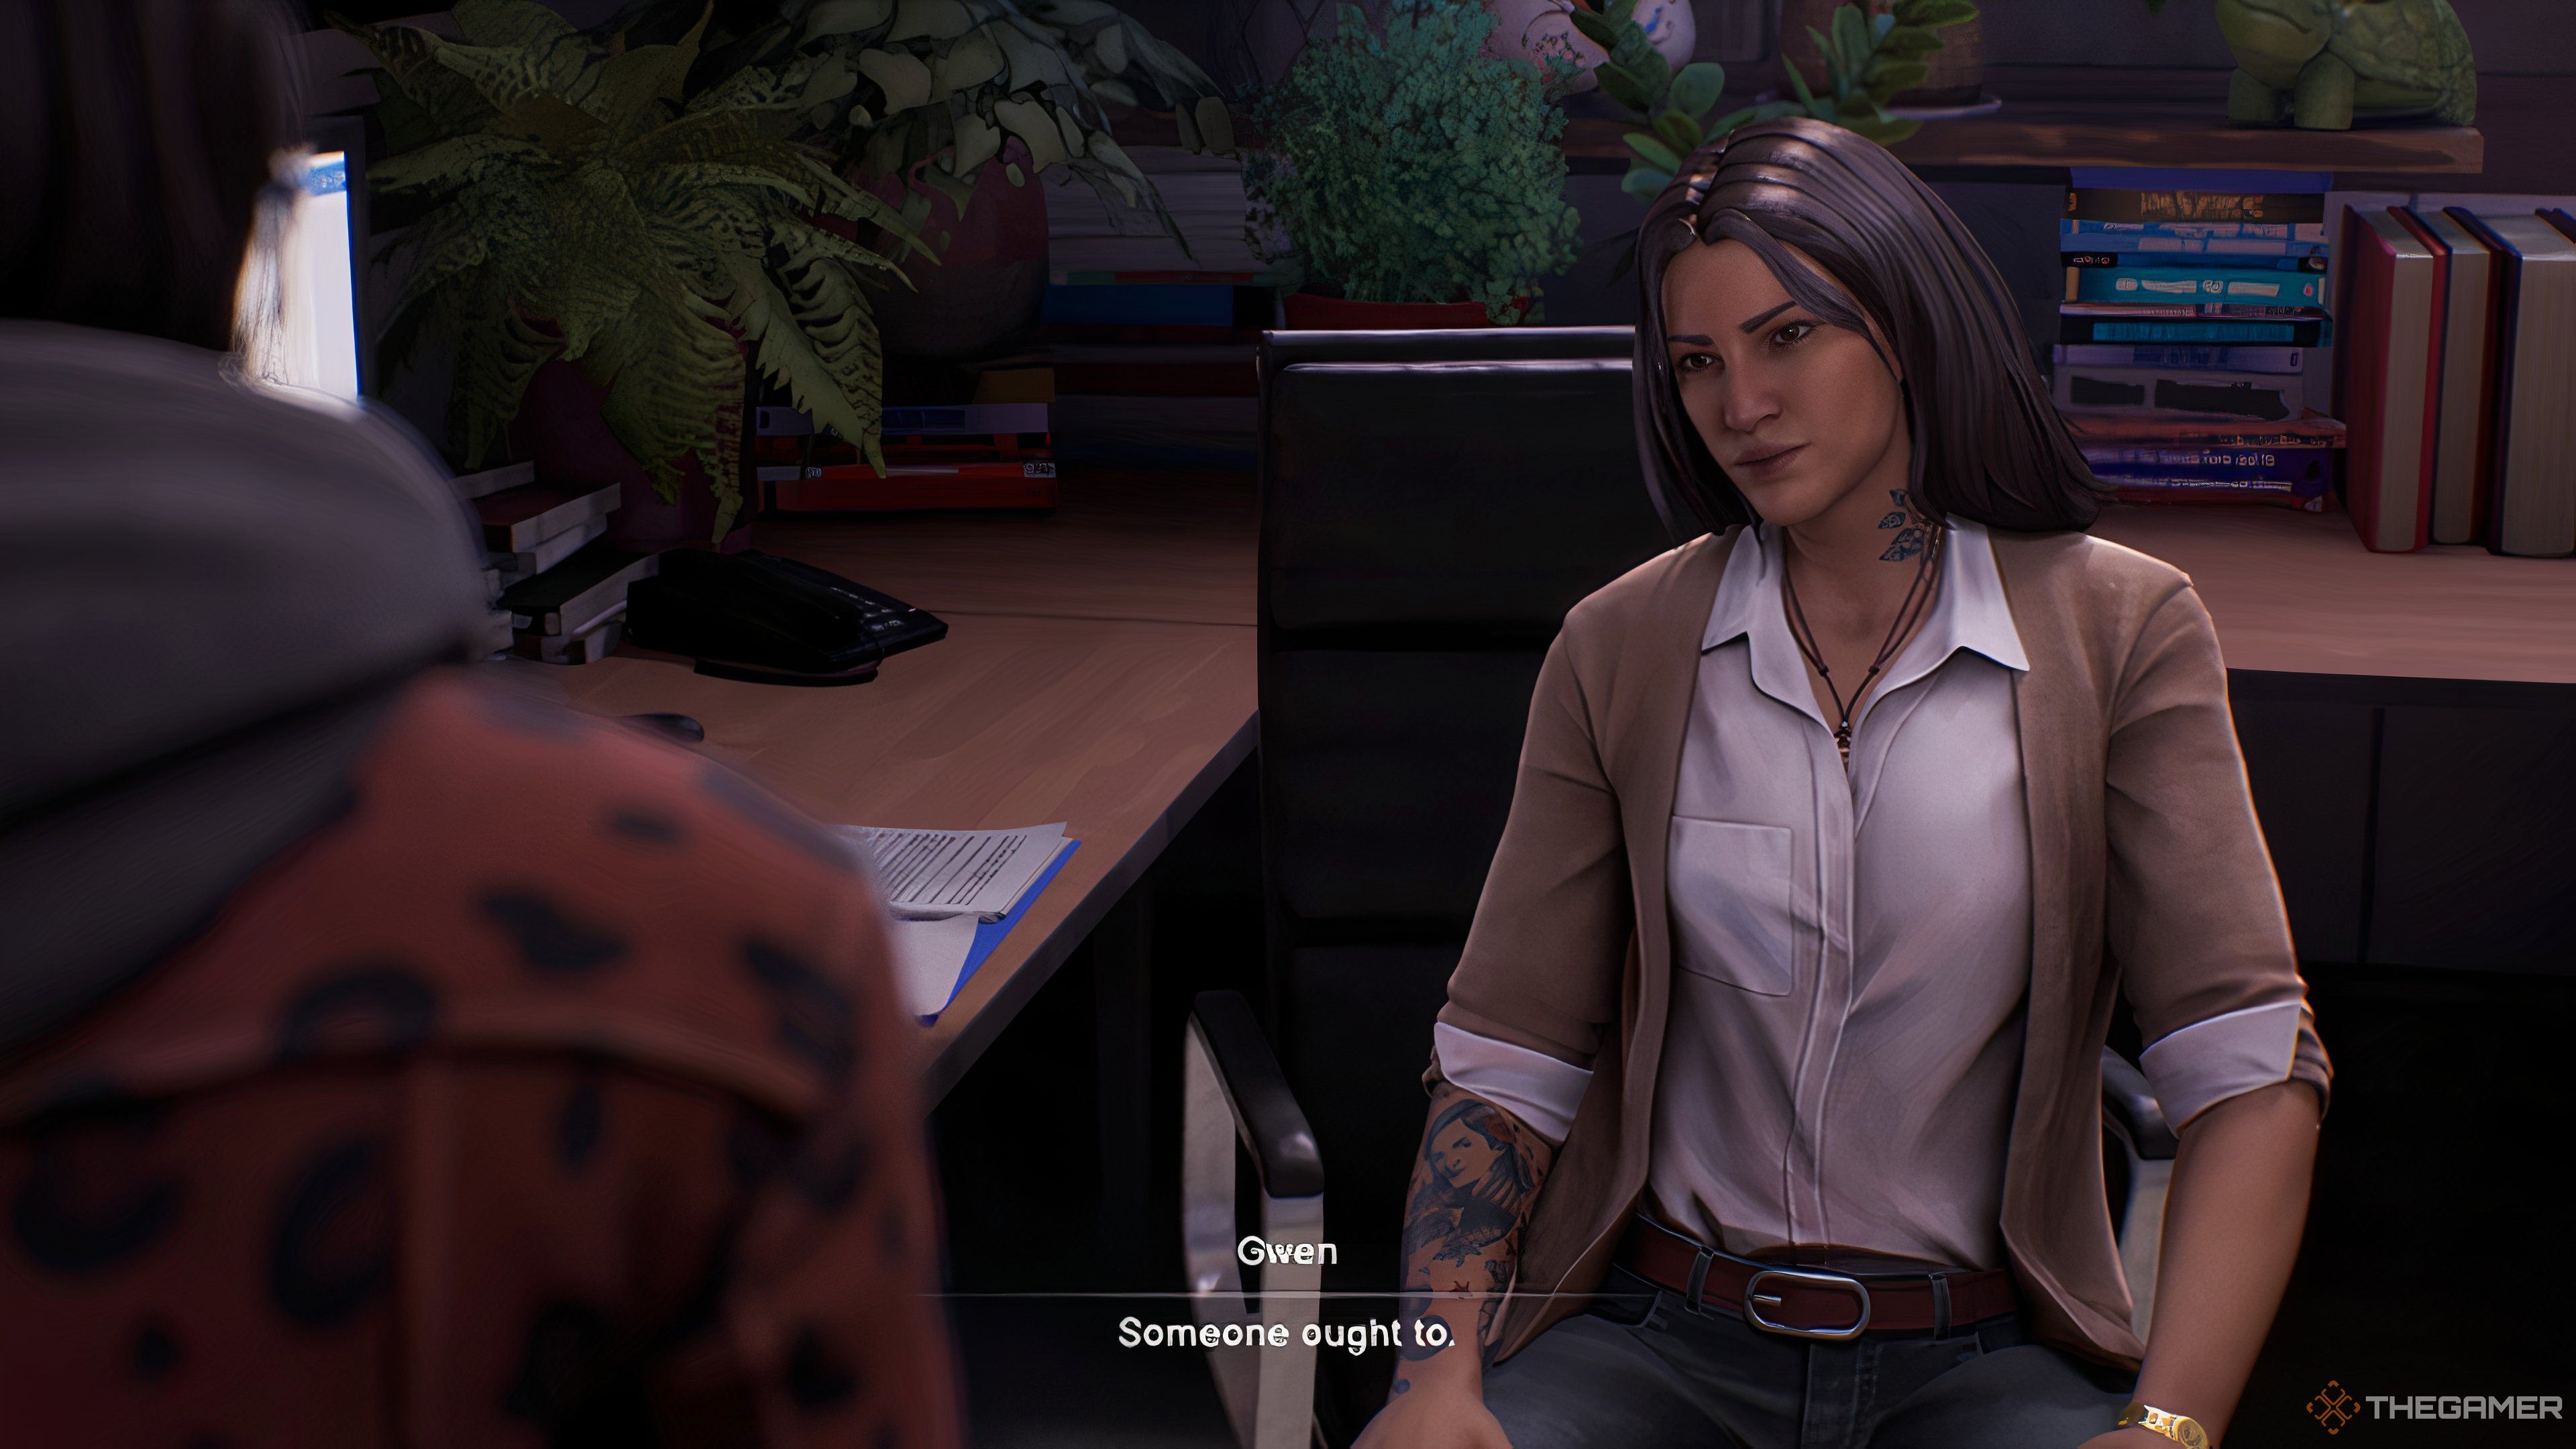
    Later in Chapter 3, Dead World Gwen will surprisingly welcome your arrival when you inquire about Safi’s work and Maya. She’ll permit you to read Safi’s manuscript, stating that “Someone ought to.”

    If you choose to post a snapshot of her vintage record player in this instance, she’ll leave a positive comment for you.

  • Discovering Maya’s Clues in Lucas’ Office – Life Is Strange: Double Exposure

    Discovering Maya’s Clues in Lucas’ Office – Life Is Strange: Double Exposure

    In Chapter Three of Life is Strange: Double Exposure, Max takes on a detective role to uncover the link between Safi and a former student from Caledon University named Maya Okada. According to Vinh, Lucas Colmenero holds the key to understanding what happened to Maya, so it’s time to pay a visit to our favorite self-important literature professor.

    You’ll find Lucas in the Fine Arts Building, sitting in his office in the Living World. You can talk to him here, but his evasive responses won’t reveal much. When you switch to the Dead timeline, however, you can start uncovering the truth.

    Investigation of Lucas’ Office in the Dead World


    To access Lucas’ office, simply switch to the Dead World and open the door. Once you’re inside, it’s time to uncover his secrets.

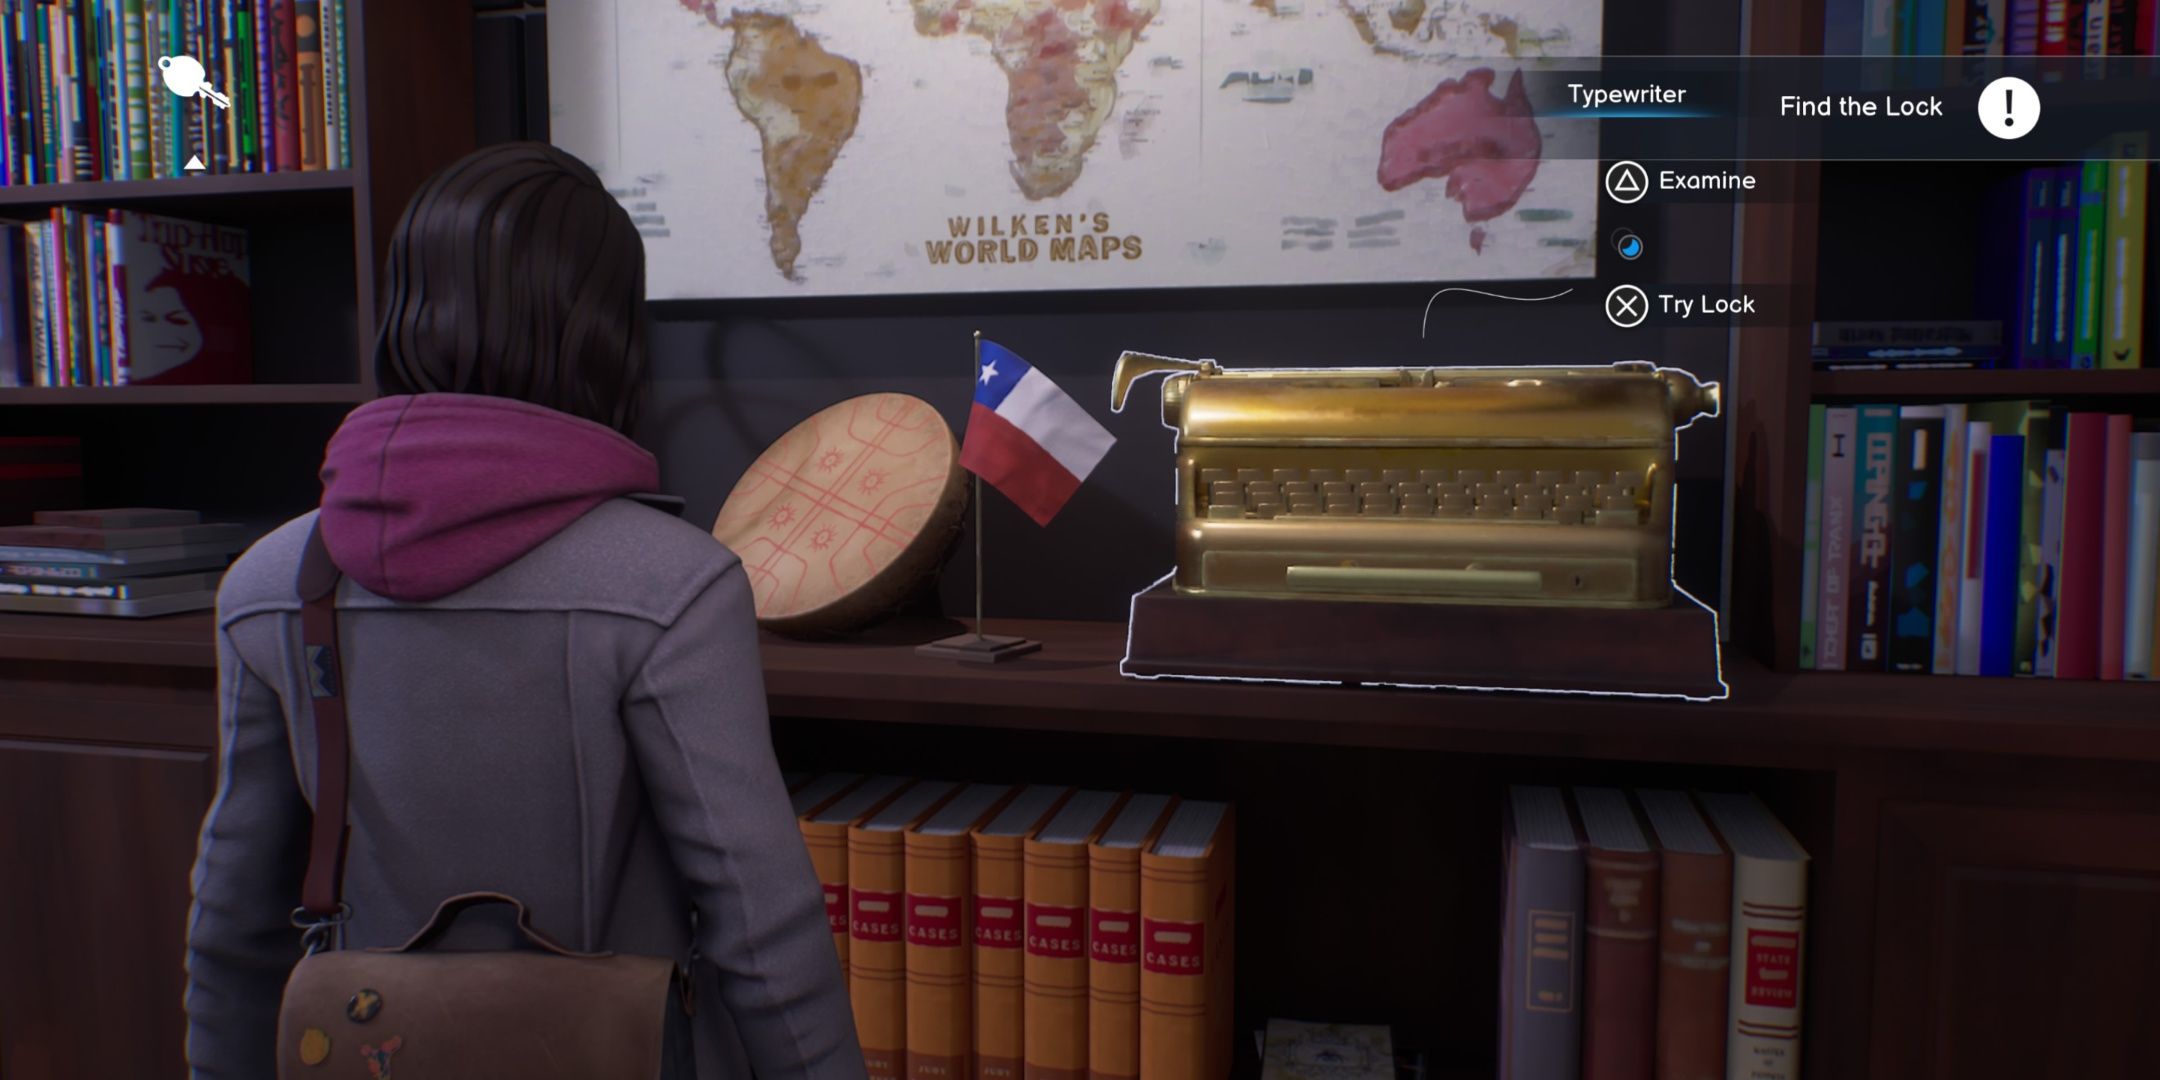
    The large golden typewriter might catch your attention, but you can’t interact with it just yet. Instead, check the bottom drawer of the filing cabinet near the entrance. Doing so will lead Max to collect several documents and lay them out on Lucas’ desk. These papers will confirm Maya was a student in Lucas’ class, regularly meeting him for writing mentorship.

    The crucial detail to crack the case lies on Lucas’ desk. Examine the family photo positioned there. You may not realize at first that you can rotate the photo, but you can—so do it. You’ll find a key taped to the bottom.

    During the pre-release phase, many players encountered a glitch in this section. While this issue may have been resolved by the time you play, if you’re experiencing audio cuts or notice the “Talk to Lucas” task reappearing after you’ve completed it, finding the key should help address these problems.

    Take the key, but strangely, it doesn’t unlock any drawers in the room. It’s time to check out the golden typewriter again.


    Max looking at Lucas' golden typewriter in Life is Strange Double Exposure.

    Open the typewriter, and you’ll uncover all the evidence you need. Just a heads up: you might not feel very fond of Lucas after this.

  • Unlocking the Thinking Outside the Box Trophy in Life is Strange: Double Exposure

    Unlocking the Thinking Outside the Box Trophy in Life is Strange: Double Exposure

    At Caledon University, there’s a mysterious group called Abraxas in Life Is Strange: Double Exposure. While the full details of their activities are still vague, it appears that most of their members are students in the arts. Those involved with Abraxas often have over-the-top personalities, engaging in everything from pranks to intricate puzzles.

    One of these intriguing puzzles can be encountered in the final scene of Chapter 1, and you’ll have the chance to crack it. If you’re interested in discovering how to locate and solve this engaging puzzle box to uncover its hidden treasures, keep reading. Don’t worry; we won’t overwhelm you with more riddles from Abraxas!

    Locating the Abraxas Puzzle Box

    In the concluding scene of Chapter 1, Max heads to Caledon’s campus to chat with Yasmin, Safi’s mother. You’ll begin in the North Quad, and by walking past the Pergola on your left, you’ll trigger a cutscene featuring Reggie.

    During the cutscene, you’ll see him frustrated with a puzzle box that he throws onto the ground. After the scene ends, pick up the puzzle box and ask Reggie about it. He explains that it’s an Abraxas Puzzle Box designed to test a crucial principle of Abraxas, known as “The Eye for Detail”.

    You’ll then enter examination mode, where you can rotate and interact with the box. You can choose to attempt solving it or walk away.

    Solving the First Layer of the Abraxas Puzzle Box

    The initial layer of the puzzle box is quite straightforward if you pay attention to Max’s dialogue hints.

    As you turn the box, you can interact with three visible sides:

    • The eye
    • Thomas Caledon
    • The crow

    The eye doesn’t trigger anything significant, but clicking on the Thomas Caledon side leads to a conversation between Max and Reggie about how he’s missing a bird, since the statue has two birds perched on his shoulders.

    Next, turn the box to the side with the crow and click on it. Max will notice wax around the crow, prompting a cutscene where Reggie melts the wax with a lighter.

    When the crow medallion drops into Max’s hand, you’ll switch back to examine mode. Turn the box back to Thomas Caledon and interact with it to position the bird on his vacant shoulder.

    This action causes the box to open, revealing another smaller box, the second layer of the puzzle. Reggie tells you to keep it, and Max adds the box to her bag.

    Solving the Second Layer of the Abraxas Puzzle Box

    You won’t get another chance to check the puzzle box until the end of Chapter 2, during a scene where Moses waits for you in the dark room. Before you go downstairs, head to the kitchen where the box is on the counter near the sink.

    The second layer of the Abraxas puzzle box is a bit more challenging than the first. You can interact with several faces of the box, but only the constellation face and the Abraxas logo face are needed.

    Initially, the dial won’t be usable, so turn the box to the constellations and click on it to get a close-up where you can manipulate the pegs.

    Your goal here is to use the pegs to form points of a constellation.

    To solve the constellation face:

    • Move the first peg down two notches.
    • Move the second peg down two notches.
    • Position the third peg down one notch.
    • Move the fourth peg down two notches.

    A panel on the Sense of Justice face will open and a dial will emerge. Take the dial and switch the view back to the Abraxas Logo face, then attach the dial to it. You can now examine this face and adjust the dials.

    You can pick either dial and rotate them left or right, but the solution is easier than it seems. Leave the outer dial untouched, and focus on the inner dial you just affixed to the face. Then, turn the inner dial to the right twice.

    A new panel will open. Turn the box to the opened panel and remove the lid to reveal a pin associated with the Abraxas Society.

    Completing the Abraxas puzzle box will unlock the “Thinking Outside The Box” achievement.

    What Happens After Solving the Abraxas Puzzle Box?

    Unfortunately, the outcome of solving the puzzle box is somewhat anticlimactic. Max will add the pin to her bag, and while speaking to Vinh and Diamond in Admin during the third scene of Chapter 3, she’ll receive a text from an unknown number in Dead World, commending her on solving the puzzle box and welcoming her into Abraxas.

    Max doesn’t seem particularly excited about this, and the topic only reappears at the Krampus party in Chapter 4. After collaborating with Safi, as you walk past two kids by the pirate mural, one will shout, “ONE OF US!”

  • Should You Hand Vinh His Package in Life Is Strange: Double Exposure?

    Should You Hand Vinh His Package in Life Is Strange: Double Exposure?

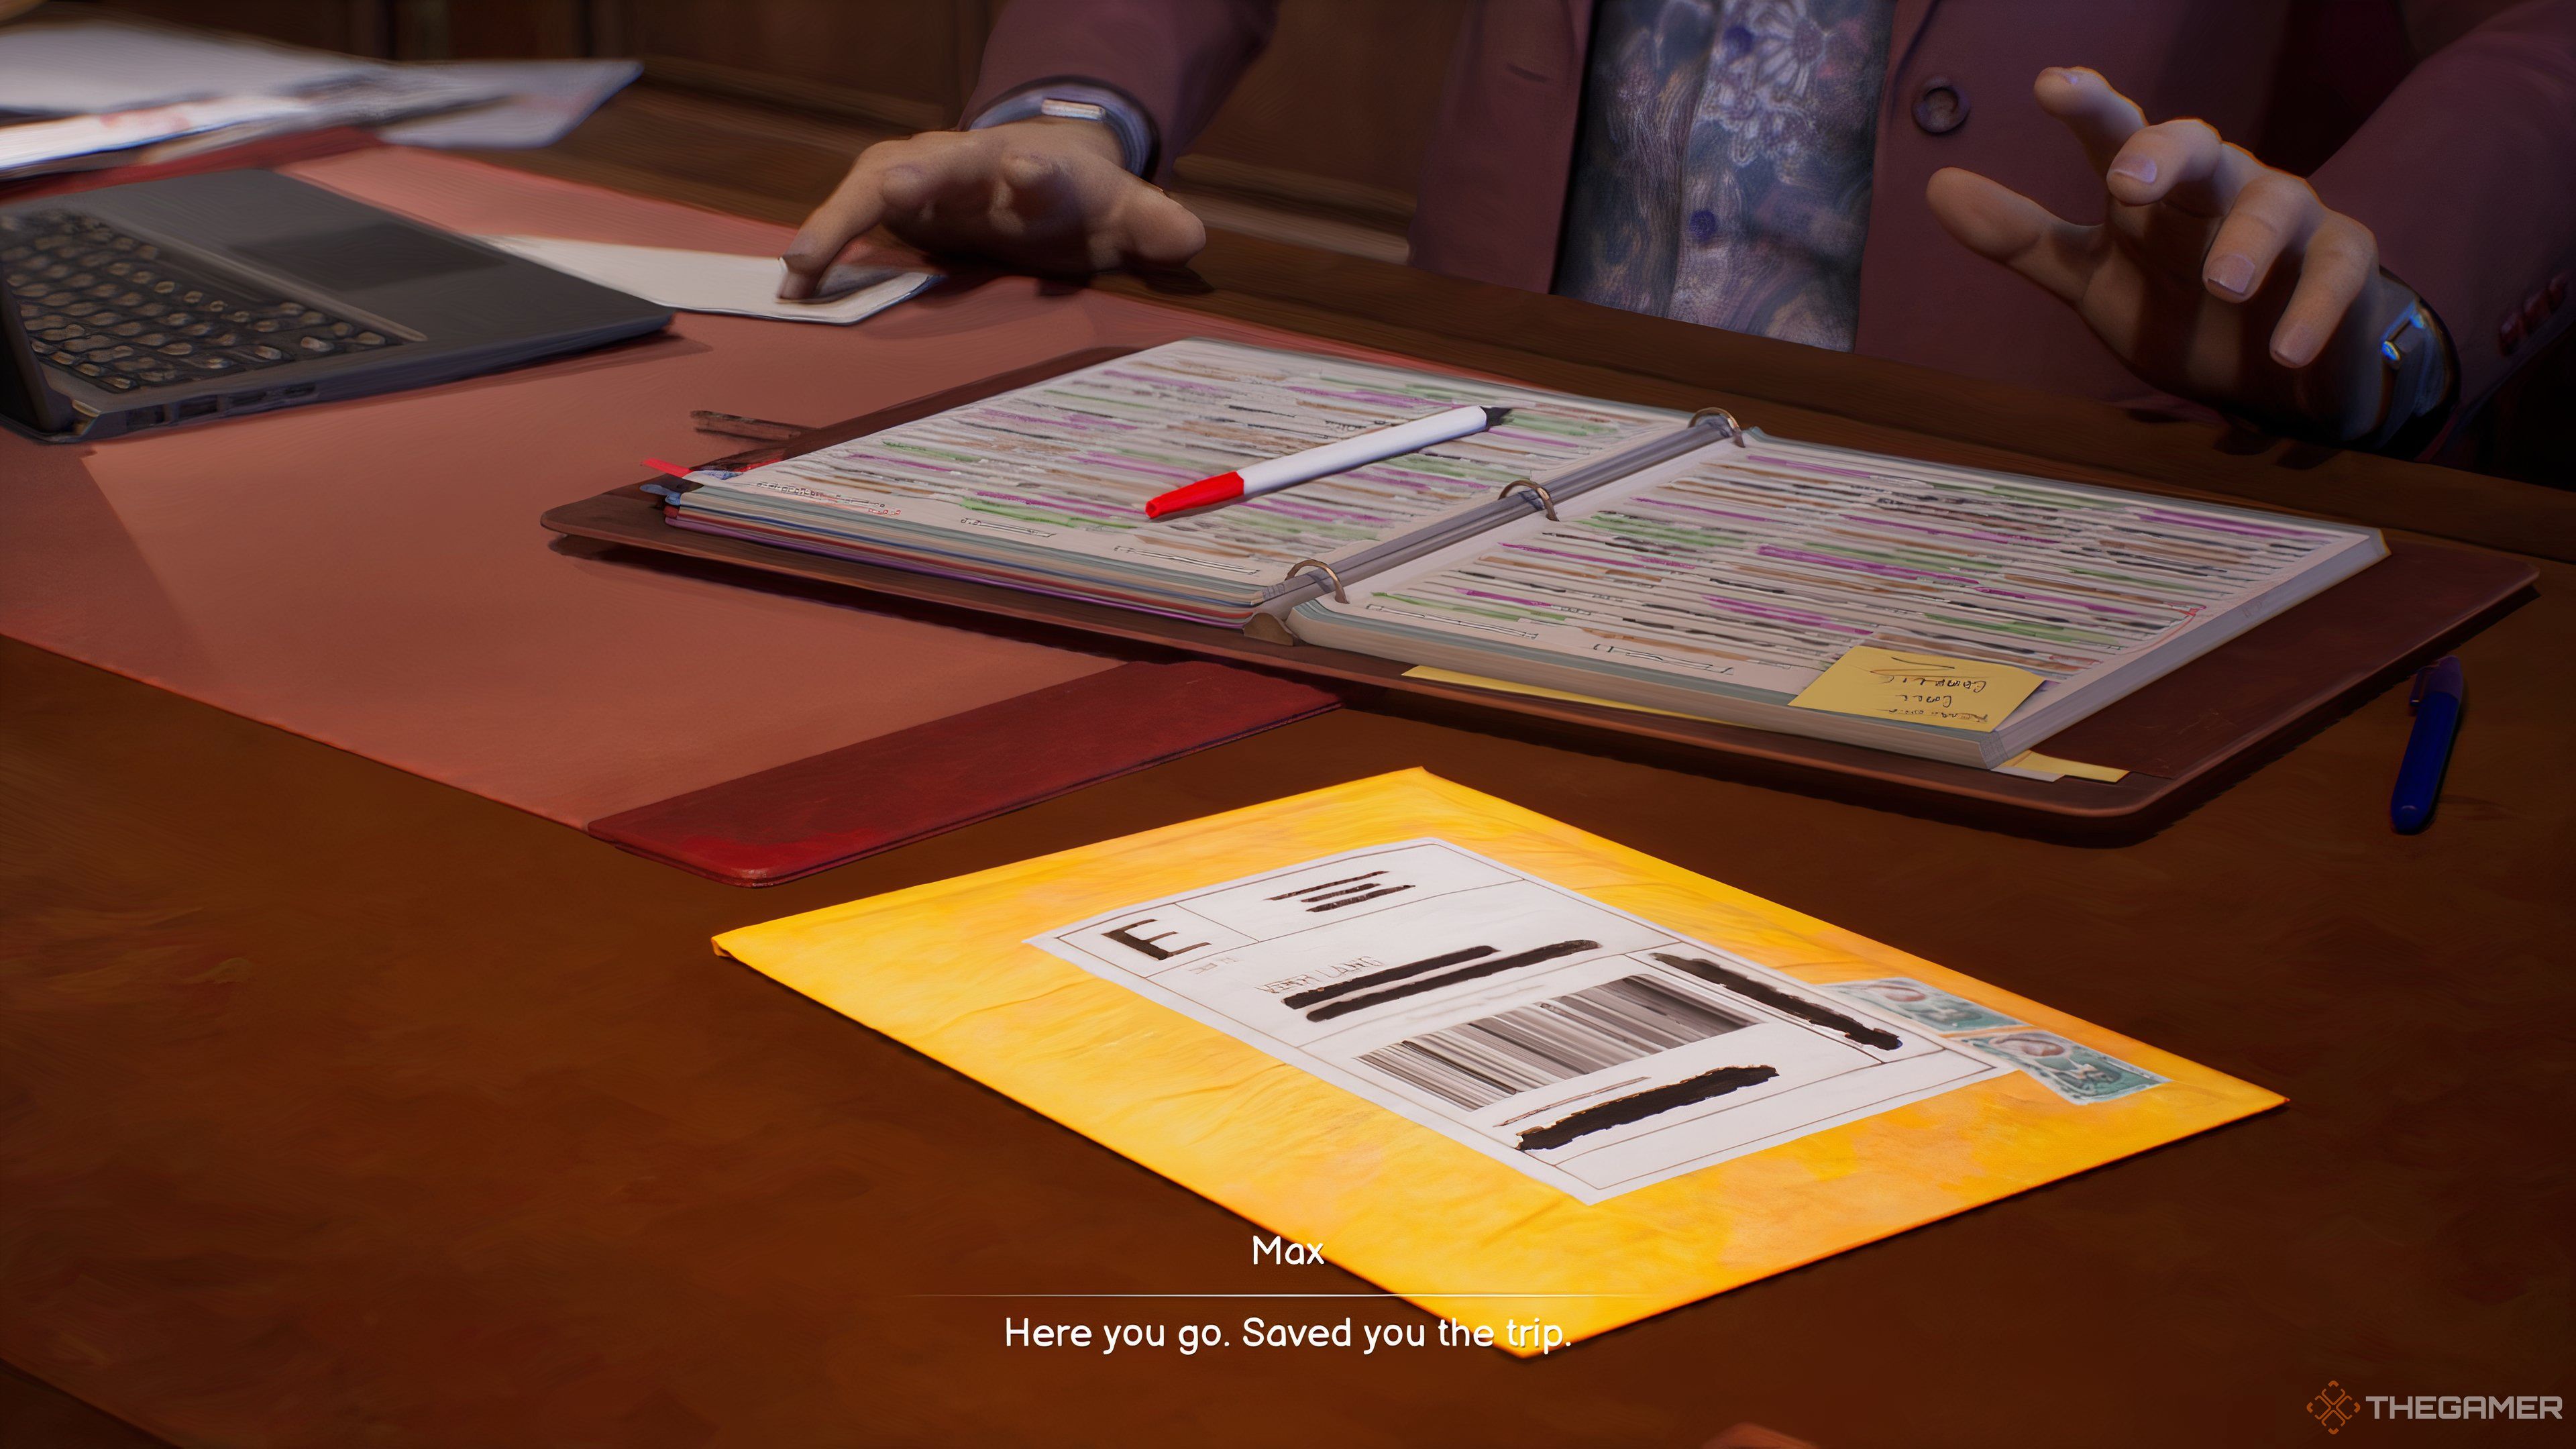
    In Chapter 1 of Life Is Strange: Double Exposure, Yasmin, Safi’s mother, requests a meeting with you in her office. Upon arrival, Vinh Lang, Yasmin’s assistant, informs you that she is currently occupied. He mentions he’s expecting a package and suggests you retrieve it while you wait.

    This task is optional and not necessary for completing the main story, but fulfilling it could offer some advantages later in the game. Whether or not to take Vinh’s request is your choice, but we’ve got you covered with all the details to help you decide.

    How to Find Vinh’s Package


    Finding Vinh’s package is a straightforward task. Head to the mailroom located down the hall from Yasmin’s lobby in the Admin area. Check one of the mail bins, and Max will comment that it looks like the package Vinh is waiting for.

    You can pick it up and add it to your inventory.

    You have two opportunities to deliver the package to Vinh: once before assisting Gwen in the library, and again after speaking with Yasmin. If you leave the Admin building without completing this, you’ll miss your chance.

    Should You Give Vinh His Package or Not?


    Vinh's Package On His Desk In Life Is Strange: Double Exposure.

    So, the main question is: should you assist Vinh or not?

    Give Vinh His Package

    If you choose to help Vinh by delivering his package, he will ask what you would like in return. Max will simply state that he now owes her a favor.

    You will have two opportunities to call in this favor from Vinh:

    • Chapter 2 – Scene 2: When you need access to Vinh’s phone, you can ask for your favor, and he will provide you with the passcode. If you skip this, you’ll need to hunt for the code elsewhere.
    • Chapter 3 – Scene 3: While gathering information about Maya Okada, you’ll converse with Vinh again. Toward the end, he will mention that he’s stopped giving out free secrets. You’ll then have the option to share one of three secrets with him, or if you haven’t asked for the favor yet, you can do so at this moment.

    Don’t Give Vinh His Package

    If you decide not to help Vinh and let him retrieve his package on his own, nothing significant occurs. He simply won’t owe you a favor, and this choice won’t impact your relationship with him.

  • Catching the Intruder in Life Is Strange: Double Exposure Tips

    Catching the Intruder in Life Is Strange: Double Exposure Tips

    Something strange is definitely happening at Caledon University. Max is caught in a twist of two timelines, and there’s the unsettling image of her pointing a gun at Safi. However, things get even weirder at the end of chapter three of Life is Strange: Double Exposure.

    As the episode nears its end, Max comes home only to discover that someone has broken into her house. The floor is scattered with glass, and her Arcadia Bay memorabilia and furniture have been destroyed. When she makes her way to her dark room, hoping to confront the intruder, she finds out that the culprit is someone she knows.

    Tracking Down Max’s Doppelganger


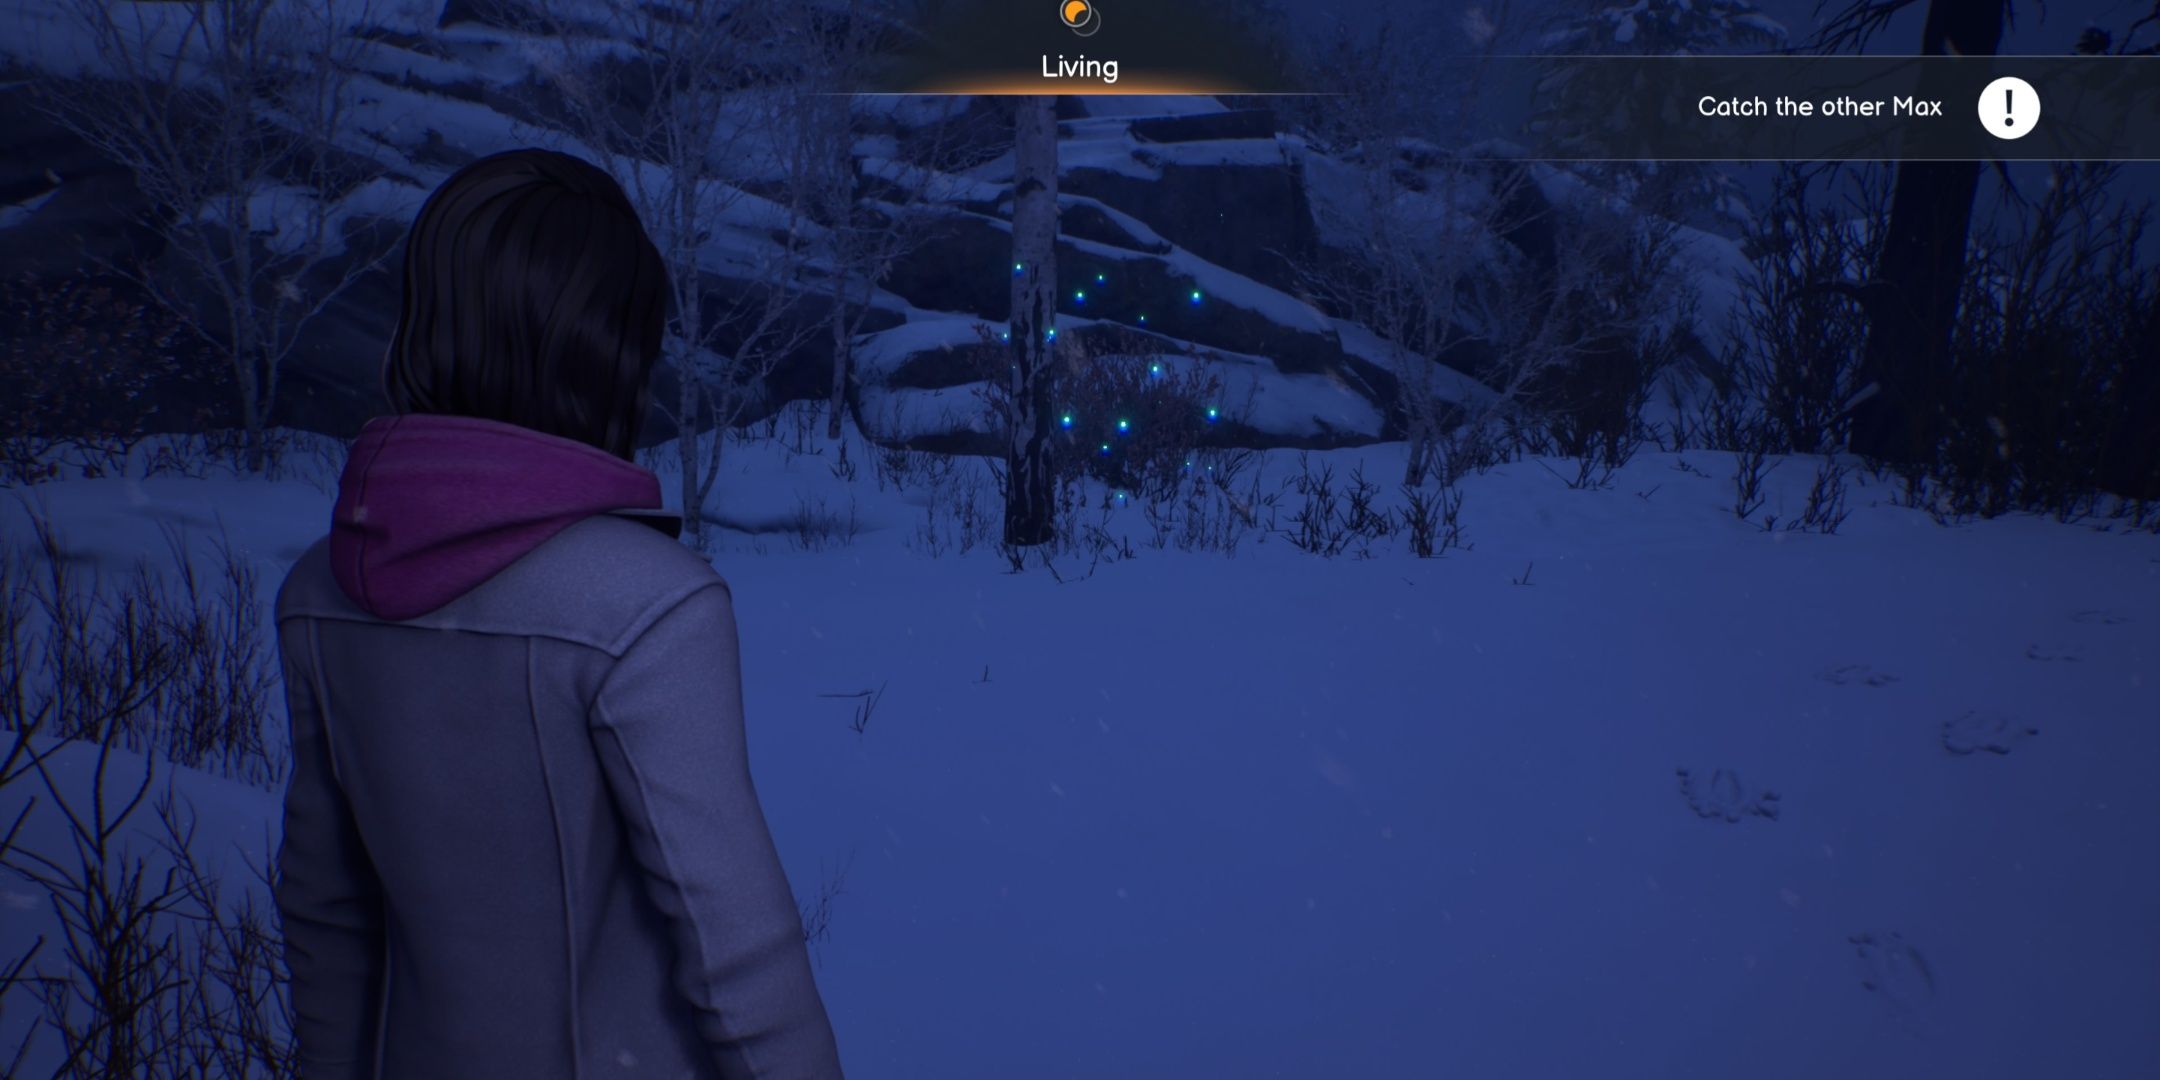
    After the Other Max escapes her home, she leads you on a snowy chase. The first challenge arises when she reaches a tree bridge, which collapses into a ravine as she crosses.


    Max looking at a portal to the Dead World in Life is Strange Double Exposure

    Fortunately, there’s another tree bridge you can access across a different ravine. Turn around and you’ll notice blue sparkles indicating a swap point to the Dead World right behind you. Switch over and then cross the now-stable bridge.


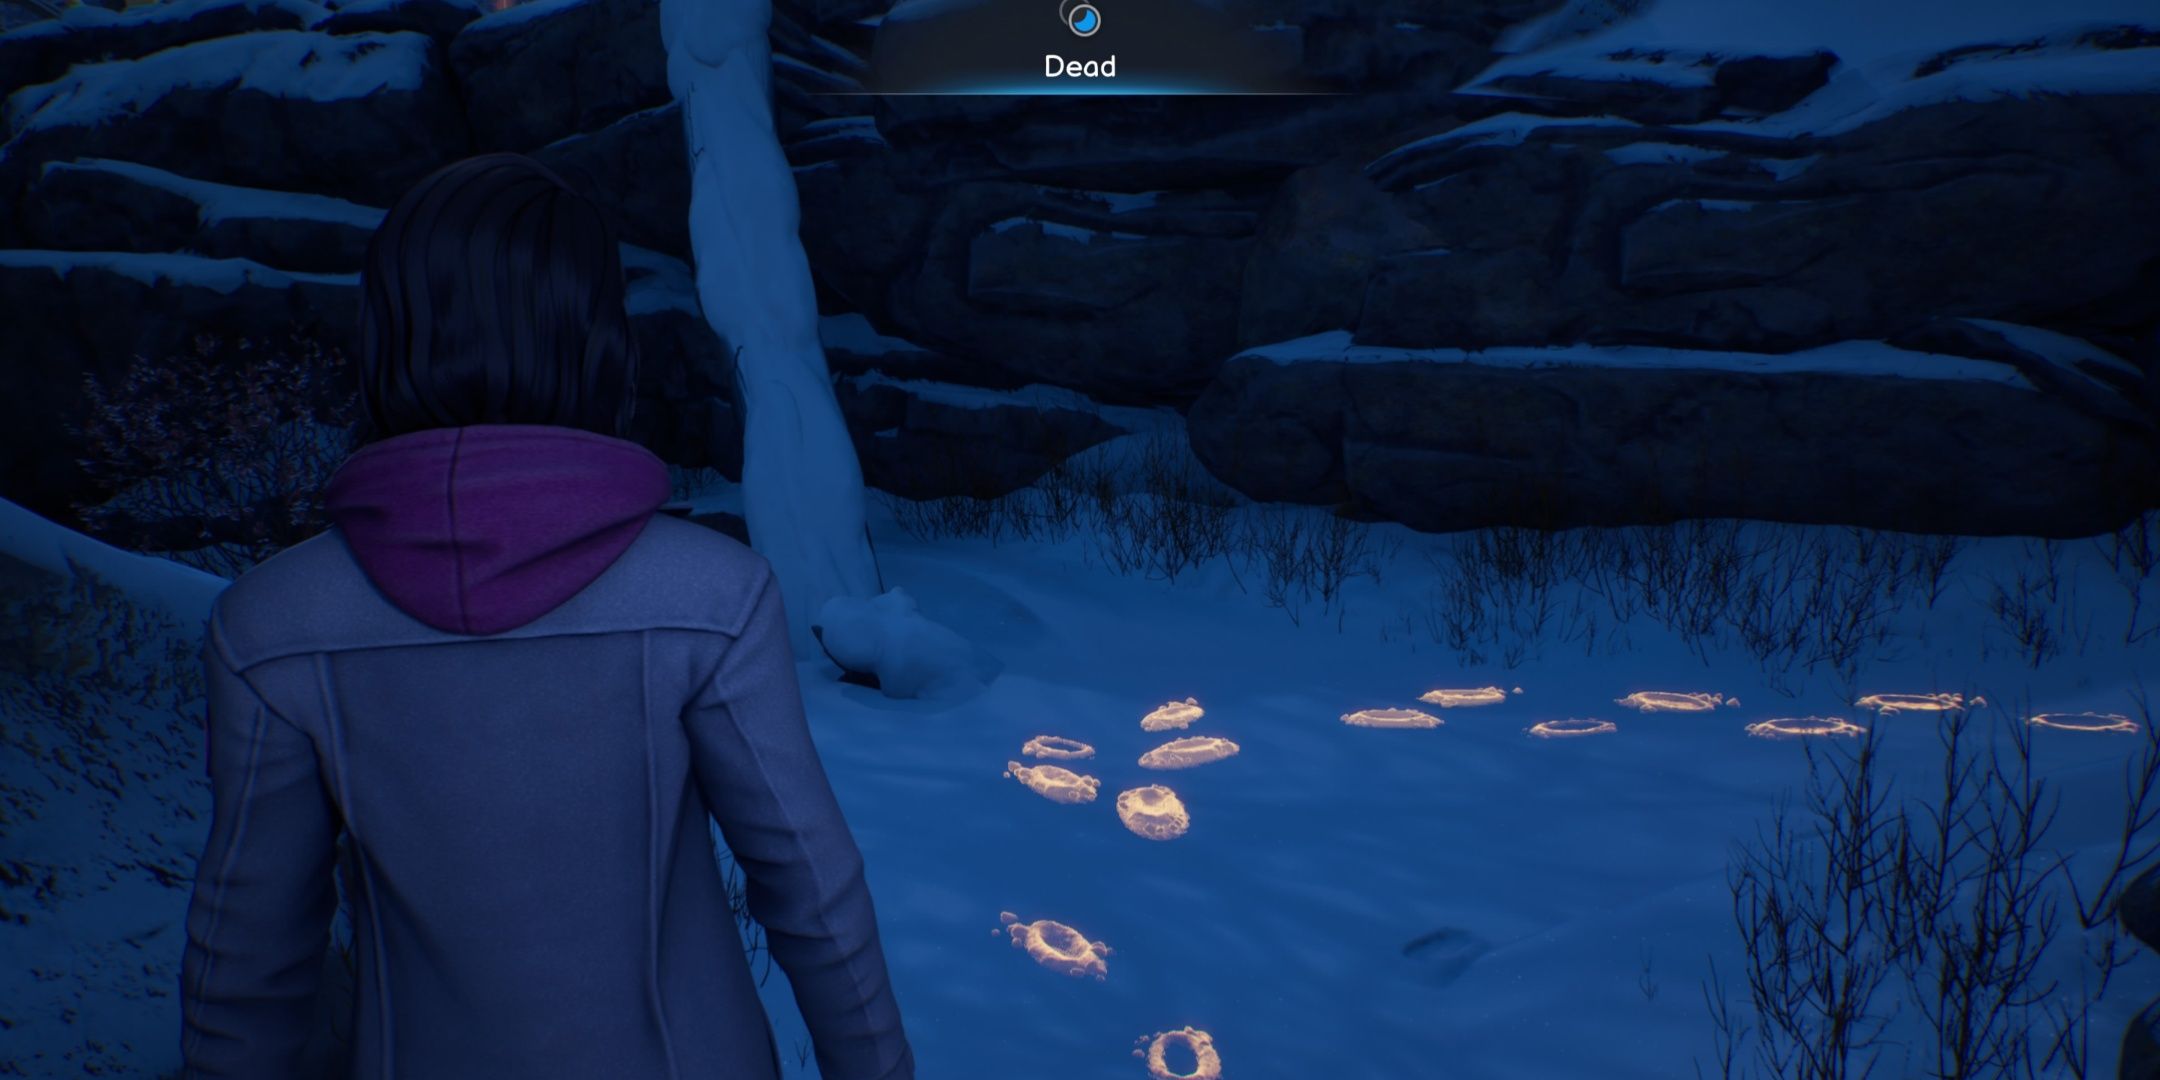
    Max pulsing to see Living World footprints in Life is Strange Double Exposure

    There’s no visible path to the Living World next to the log. Instead, use Max’s Pulse ability to reveal the doppelgänger’s footprints in the snow. Keep following them, pulsing occasionally to make sure you stay on track.

    When Max asks, “How do I know which way?” pulsing will reveal the answer: go right.

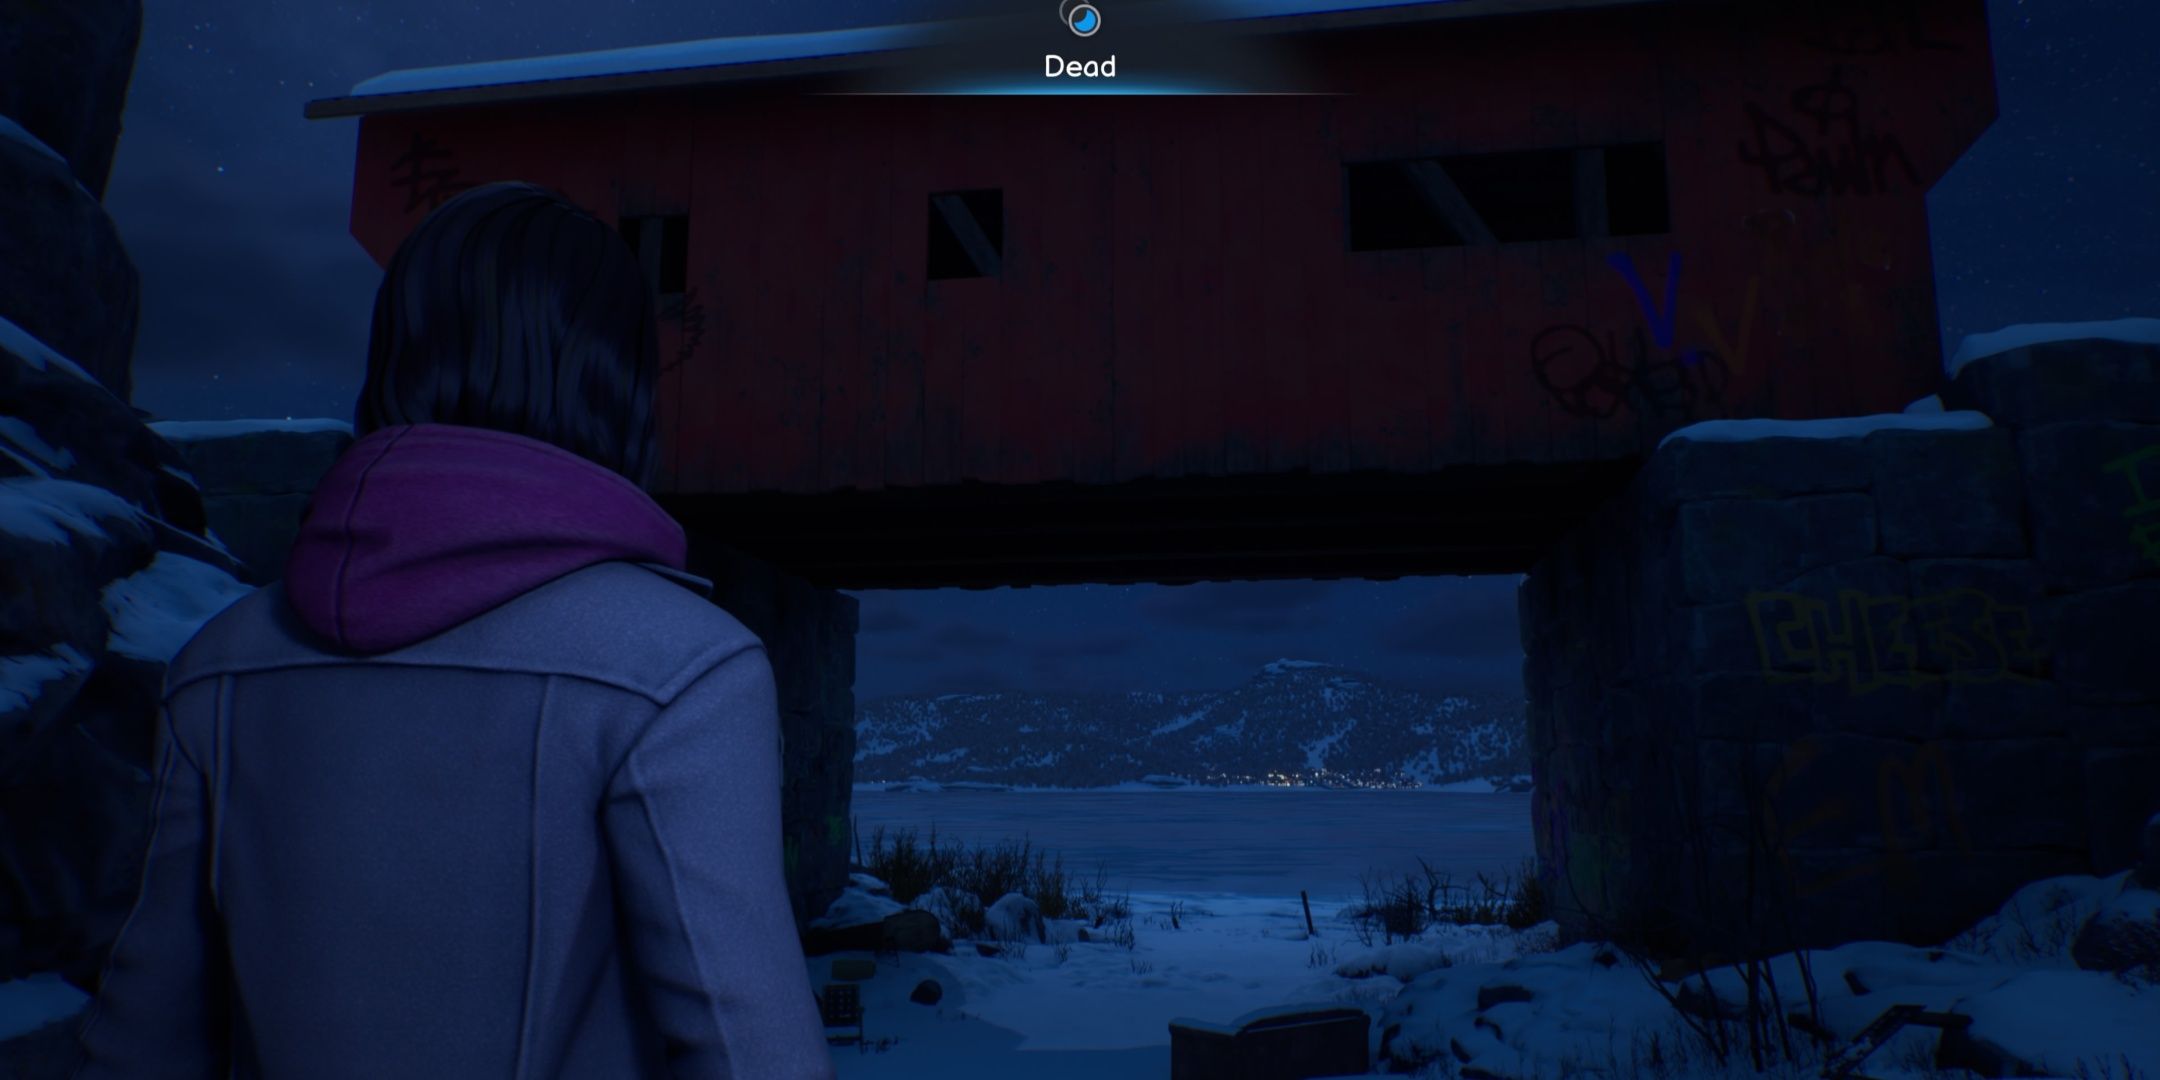
    Continue pulsing and following the footprints until you reach a crack in a wall. Approach it to trigger a cutscene as Max squeezes through. Once you’re on the other side, you’ll spot this bridge:


    Max looking at a covered bridge in the Dead World in Life is Strange Double Exposure

    To the right, you’ll see a portal back to the Living World. Use it, and once you cross to the other side, you’ll be set to confront your doppelgänger underneath the bridge.

  • Support Gwen’s Footage Dilemma or Encourage Her to Stand Strong?

    Support Gwen’s Footage Dilemma or Encourage Her to Stand Strong?

    In the universe of Life Is Strange: Double Exposure, Dr. Gwen Hunter faces serious allegations of selling drugs to students on campus. Consequently, she’s been suspended from school while awaiting a hearing with the campus review board.

    During your exploration of the Observatory in Chapter 2, you encounter Living World Gwen. She reveals a thumb drive containing footage of her alleged activities before tossing it into the trash with a lighter. You can either choose to save the footage or stand by Gwen as you watch it burn.

    If you decide to save the footage, Gwen reacts angrily, feeling unsupported. If you mention her ruining Safi’s book deal afterwards, she questions if you have been snooping through her belongings before storming off.

    Security Footage Of Gwen Dealing To Students In Life Is Strange: Double Exposure.

    At the start of Chapter 3, you have the opportunity to finally view the footage in the darkroom. Max notes that it’s strange how Gwen is looking directly at the camera, seemingly aware of the surveillance and the potential fallout.

    You later discover that it was actually Safi impersonating Gwen to seek revenge for what Gwen did to her book deal.

    Your next interaction with Living World Gwen occurs in Chapter 3 Scene 4: Nobody Wants to Drink Alone when you find her sitting by herself in a booth at The Snapping Turtle. Max returns the thumb drive to her, suggesting that it’s abnormal and encouraging her to examine the footage and challenge the accusations.

    Gwen Telling Max She Showed The Footage To The Board In Life Is Strange: Double Exposure.

    Later in Chapter 4, during the Krampus Party, Gwen mentions that despite everything being odd, she was still let go by the board. In response, she decides to help you and Safi confront Lucas.

    Gwen Telling Max She's Going To Try To Get Her Job Back In Life Is Strange: Double Exposure.

    Eventually, after the events of Chapter 5, Gwen returns to The Snapping Turtle and shares her plans of attempting to regain her previous job.

    If you decide not to give Gwen the thumb drive and suggest she fight back against the accusations in Chapter 3, the consequences for Gwen will mimic those of destroying the footage.

    What Happens If You Stand With Gwen

    Gwen And Max Watching The Footage Burn In Life Is Strange: Double Exposure.

    If you choose to support Gwen, the two of you will witness the thumb drive burning together. She expresses gratitude for your understanding and solidarity.

    Regardless of whether you interact with her at The Snapping Turtle in Chapter 3, she eventually gets fired by the board. This decision means she won’t participate with you and Safi in confronting Lucas during Chapter 4, and she will be absent in Chapter 5’s conclusion.

    Ultimately, the choice lies with you. However, we found that preserving the footage and later encouraging Gwen to fight back yielded a preferable outcome. By the end of Chapter 5, when she expresses her intent to regain her position, she says, “I failed Safi, but there are other students I can still support. I won’t just give up.”

  • Exploring the Observatory in Life Is Strange: Double Exposure Guide

    Exploring the Observatory in Life Is Strange: Double Exposure Guide

    In Life is Strange: Double Exposure, Safi meets her demise on a picturesque hilltop known as "The Observatory," a favorite spot for students and faculty at Caledon University. When Reggie, overwhelmed with anxiety, reveals to Max that he has seen himself at this lookout, she takes it upon herself to investigate the situation further.

    Upon reaching the base of the hill, Max encounters a police officer who is obstructing her way. To unravel the mystery of what happened to Safi, Max must find a way to reach the summit. Keep reading for tips on how to get past the cop and make your way to the top.

    How to Circumvent the Police Officer

    To progress in the game, you’ll need to discover a time-swapping point. Start by moving towards the bench on the right side of the path. When you get close, you’ll hear the familiar buzzing sound and see shimmering particles in the air. Switch to the Living timeline, and this will make the officer vanish from view.

    Next, go through the gate and climb the hill until you come across an Art Project that’s in the way. Stand back about six feet from it to trigger the buzzing sound that indicates you can swap timelines again. Once you do this, continue moving up the path.

    At the hilltop, you’ll find a police barricade. Max notes that attempting to tamper with it would alert the officers, meaning you can’t proceed this way.

    Turn back down the snowy path until the sound of a cell phone buzzing catches your attention. Along with this, you’ll notice the timeline swap sound and see yellow particles. Switch back to the Living World to continue your ascent to the top.

    Once you reach the peak, you’ll have to navigate around the barricade to complete your investigation into Safi’s circumstances.

  • Where to Find Safi’s Camera in Life Is Strange: Double Exposure

    Where to Find Safi’s Camera in Life Is Strange: Double Exposure

    The investigation into the murder of Dead World Safi in Life Is Strange: Double Exposure ultimately brings Detective Alderman to Dead World Moses’ lab. In a moment of urgency, he sends out an S.O.S signal, prompting Max to rush to assist him.

    While Alderman is out of earshot, Moses reveals to you that he secretly took Safi’s camera from the crime scene and hid it within his lab. Just as he’s about to disclose its location, Alderman returns. Now, you must devise a plan to stealthily enter the lab and retrieve the camera before Moses faces charges for Safi’s murder.

    How to Enter Moses’ Lab

    First, you need to find a way into the lab. Since Alderman is present in Dead World, you can’t enter there just yet—this requires a shift to the Living World. Look for a shift point near the janitor’s cart around the corner.

    In the Living World, step into the lab and engage with Living World Moses, who’s busy working on a telescope. To progress the conversation, ask if he has any hidden contraband.

    Moses will mention an electric kettle he has stashed away. Suddenly, the telescope wobbles, and while he’s holding it up, he requests that you fetch an Allen wrench to stabilize it before revealing where he keeps things in his office.

    To find the Allen wrench, shift back to Dead World through the shift point in the lab’s corner, grab it from the table in the center of the room, and return to the Living World to hand it to Moses.

    Once he repairs the telescope, he will direct you to a locked cabinet near his desk where he stores his "forbidden kettle."

    As he becomes preoccupied with his computer work, take the key he left sitting on the shelf, then shift back to Dead World to unlock the cabinet.

    Sadly, when you check, the camera isn’t inside, but you do stumble upon a note reading "Under ‘Safe.’"

    While exploring Moses’ lab in either timeline, you can examine and interact with several items to gain insight into his character, including a polaroid collectible located on Carla’s desk in Dead World.

    How to Find the "Safe"

    Nearby, there’s a poster featuring an anime character that Moses admires, complete with a safe on its head. Inspect the poster, then check the box beneath it. Although the camera isn’t here, doing so prompts Max to suggest inquiry about a safe to Moses.

    Return to the Living World and ask if he possesses a safe. He’ll mention a star called Saiph (pronounced like "safe") in the Orion constellation. With this clue, shift back to Dead World and make your way to the loft.

    On a bookshelf near the railing, there’s a Star Projector. Max notes that Moses probably used it to paint the mural, meaning Saiph should be projected there.

    Align the constellations with the mural, determining where Saiph was positioned on the night he hid the camera.

    Once everything is properly aligned, head back downstairs to find Saiph situated in the lower left corner. Max will notice the camera hidden in the vent behind a cart filled with telescope components.

    How to Distract the Detective and Secure Safi’s Camera

    Before you get the chance to grab the camera, Detective Alderman arrives, gaining entry to the lab. It’s crucial to remain out of sight and create a diversion to snag Safi’s camera.

    Fortunately, you’re conveniently positioned right at a shift point. Switch to the Living World and take the loud Hawt Dawg Man ornament from the Christmas tree. Proceed upstairs to the loft and shift back to Dead World. A cutscene unfolds as Max sets the ornament down and activates it.

    Before Alderman ascends the stairs, quickly shift to Living World, descend, and then return to Dead World. When you attempt to move the telescope parts, the dolly squeaks, alerting Alderman.

    Max expresses her wish that Moses had constructed the telescope in this timeline, causing the telescope parts to illuminate. Follow the on-screen prompts, and Max will use her powers to swap the telescope parts with the actual telescope, effectively concealing you from Alderman’s sight.

    While Alderman focuses on the newly manifested telescope, you can swiftly retrieve Safi’s camera from behind the grate, then shift to the Living World, exit Moses’ office, and shift back to Dead World.

  • Unlocking Vinh’s Phone Code in Life Is Strange: Double Exposure

    Unlocking Vinh’s Phone Code in Life Is Strange: Double Exposure

    In the second chapter of Life is Strange: Double Exposure, Vinh acts quite strangely with his phone. Initially, he panics about it being stolen, but once he retrieves it, he can’t access it and blames it on drinking too much the previous night. It’s all very peculiar.

    Fortunately, Max Caulfield has a knack for using her dimension-hopping abilities to tackle even the most trivial of issues. If you’re looking to unlock Vinh’s phone and get closer to unraveling Safi’s murder, this is one of those moments. This guide will walk you through discovering the passcode, whether you do it independently or with Vinh’s assistance.

    How to Find Vinh’s Phone Passcode

    In the Living World, you will find Vinh in his office in the administration building. When you approach him, he’ll express his inability to unlock his phone, claiming he’s too hungover to remember, which raises suspicion. However, he reveals that the passcode is linked to the year a well-known "magician scientist" passed away.

    Next, head to one of the nearby timeline swap spots and jump to the Dead World. There, you’ll find Vinh still in his office, but now he’s lounging on the couch with a drink in hand during the day. Looks like everyone copes with grief differently!

    Should You Cash In Vinh’s Favor?

    Join Vinh for a drink, and eventually, you’ll have two opportunities to uncover the passcode. If you helped him out by returning a package in the previous chapter, he owes you a favor. You can capitalize on that by straightforwardly asking for the passcode, and he will share it with you.

    If you decide to save that favor for future use (or if you didn’t return his package earlier), Vinh will mention the magician scientist’s name — Jack Parsons — but he becomes wary if you ask about the year he died, leaving you to figure out the rest on your own.

    Where to Find the Date of Jack Parsons’ Death

    Thankfully, you’re close to a library filled with books that may hold the answer. On a shelf directly across from the door near Vinh’s office, to the left of the fireplace and portrait, you’ll find a book on the History of the Occult. Look through it, and you’ll discover that Jack Parsons passed away in 1952.

    With this information in hand, jump back to the Living World, and you’ll notice that Vinh is no longer in his office. Fortunately, his phone is just sitting there, waiting to be opened. Select the “Snoop” option, and you’ll have the choice to either examine it or unlock it. Go ahead and choose to unlock it, and voilà! You can now delve into Vinh’s secrets.

  • Exploring the Cow Skull in Dead World of Life Is Strange: Double Exposure

    Exploring the Cow Skull in Dead World of Life Is Strange: Double Exposure

    In Life Is Strange: Double Exposure, players can explore Max’s new ability to switch between two parallel realities. The Dead World marks the scene of Safi’s murder, while the Living World is where she is still alive.

    During your interaction with Safi in the Living World, you uncover that someone vandalized her vehicle by throwing a cow skull through the windshield. To investigate this incident, you’ll need to use Max’s powers to examine the specific skull and determine who might be responsible. This could either point you towards Safi’s murderer or lead you down a road of more mysteries.

    How to Examine the Cow Skull

    The cow skull that ended up in Safi’s windshield used to hang above the stage at the Snapping Turtle. Since you can’t reach it from the Living World, you need to shift to the Dead World to check it out.

    To do this, utilize the shift point near the bathrooms, transport yourself to the Dead World, and head to the stage. Look up at the skull and select the option to inspect it.

    Max will express her frustration about being too short and mention seeing a stepladder somewhere. You’ll find the stepladder near the Christmas tree in the Living World. Return there and grab it.

    While you’re in the Living World, you can also take the opportunity to listen in on the conversations of some kids outside. Go out onto the patio in the Dead World and activate Pulse to hear that the kids are holding the bathroom key as part of a prank. If you retrieve the key from the Dead World and hang it on the hook in the Living World, it will allow a timid character who’s sitting by the tree to finally use the restroom.

    Once you have the stepladder, go back to the Dead World and return to the skull. Max will use the stepladder to reach it, letting you inspect it closely.

    As you rotate the skull, look for markings on the back of one of the horns. You’ll find out that the skull bears the signature of Lucas Colmenero, the head of the Literature Department at Caledon.

    After you’ve finished your investigation of the skull, make your way back to the Living World to inquire with Amanda about it.