الوسم: hard

  • Google AI Chief: Global Agreement on AI ‘Difficult to Reach’

    Google AI Chief: Global Agreement on AI ‘Difficult to Reach’

    Demis Hassabis Highlights Need for Global AI Regulation

    LONDON: Demis Hassabis, the chief innovator behind Google’s DeepMind and the 2024 Nobel Prize winner in Chemistry, stressed the necessity of enhanced global collaboration on artificial intelligence (AI) regulation during a recent speech. He pointed out the challenges of achieving such cooperation amid today’s complex geopolitical landscape.

    As AI technology permeates various sectors, significant ethical concerns have emerged—from combating the dissemination of false information to its ramifications on jobs and the potential loss of control over technology.

    Speaking at the South by Southwest (SXSW) festival in London, Hassabis—recognized for his groundbreaking work in AI—also discussed the implications of artificial general intelligence (AGI). This advanced form of AI has the potential to match or exceed human capabilities.

    Hassabis remarked, “The key is to establish some international cooperation because this technology transcends borders and will be implemented in every nation.”

    He underscored that a multitude of countries are currently engaged in AI research, developing data centers, or utilizing these technologies. For any regulatory measures to be effective, he believes, a collective international effort is essential, although he acknowledged that this cooperation appears challenging in the current geopolitical climate.

    During a February summit in Paris, representatives from 58 nations, including China, France, India, the European Union, and the African Union Commission, advocated for improved coordination in AI governance. However, the United States cautioned against what they termed “excessive regulation,” with Vice President JD Vance warning that it could stifle a transformative industry.

    The UK also opted out of signing the summit’s call for an “open,” “inclusive,” and “ethical” approach to AI.

    On Monday, Hassabis promoted the idea of implementing “smart, adaptable regulations” that can evolve alongside the technology and its emerging challenges.

  • Conquering Leviathan in The Whorleater (Hard) – FF XIV Guide

    Conquering Leviathan in The Whorleater (Hard) – FF XIV Guide

    The Whorleater (Hard) is a level 50 Trial in Final Fantasy XIV where players face off against the Water Primal, Leviathan. With an elite team deployed in the ocean, the Scions and the Maelstrom aim to stop Leviathan from summoning a tidal wave that could engulf Limsa Lominsa.

    This Trial requires a full party of eight, composed of two Tanks, two Healers, and four DPS. Below, we’ll cover crucial information for tackling this fight, including Leviathan’s abilities and the strategies for each phase.

    Unlocking the Whorleater (Hard)

    To unlock the Whorleater (Hard), advance through the Main Scenario quests until you reach Patch 2.2. Accept the quest titled ‘Lord of the Whorl’ from Eynzahr Slafyrsyn located in Lower La Noscea (X:24.5, Y:33.1).

    Leviathan Battle Guide

    Leviathan before the Whorleater Trial begins in Final Fantasy 14.

    The battle consists of three phases, with Leviathan utilizing various attacks and mechanics in each one. Here’s what to expect throughout the encounter.

    Phase 1

    The fight starts with Leviathan positioned at the top of the arena, only its head visible. During this initial phase, Leviathan will perform basic attacks on its primary target until it reaches around 90% health. At this point, Leviathan will dive underwater and then re-emerge from a geyser of water.

    When it surfaces, Leviathan will execute a Body Slam, dealing damage to players directly beneath it and knocking the entire party toward the back of the arena. To avoid this attack, step away from the geyser and prepare for the next phase.

    Phase 2

    As phase two begins, both Leviathan’s Head and Tail become targetable. The Head will gain a buff called Veil of the Whorl, allowing it to reflect ranged damage, while the Tail will obtain the Mantle of the Whorl buff, which reflects magic damage. Healers and casters should focus their attacks on the Head, while physical ranged jobs should target the Tail.

    Leviathan shares a health pool between its Head and Tail, meaning damage dealt to either will reduce Leviathan’s overall health.

    During this phase, Leviathan will employ the following attacks:

    Attack Name

    Type

    Details

    Dread Tide

    Tankbuster

    Causes significant untelegraphed damage to Leviathan’s primary target. Use defensive cooldowns throughout the fight to mitigate this damage.

    Aqua Breath

    Point-blank AoE

    Deals untelegraphed damage in the area around Leviathan’s Head. This attack has no cast time or AoE indicator, so heal up if you’re hit.

    Water Spout

    AoE

    Deals untelegraphed damage to a random player within an AoE. Like Aqua Breath, it’s unpredictable, so be ready to heal after taking damage.

    Tidal Roar

    Roomwide AoE

    Causes damage to all party members. Make sure to use AoE healing to recover.

    Body Slam

    Knockback

    This is the same attack used when transitioning from phase one to phase two.

    Throughout this phase, Wavespine Sahagin will periodically spawn. These foes primarily use basic attacks, but if they remain alive for too long, they will cast Hydroshot, dealing AoE damage and leaving a puddle that inflicts Dropsy. Make it a priority to eliminate these Sahagin as they appear.

    Additionally, Gyre Spumes will also spawn, gradually depleting the Elemental Conversion meter, which powers the shield used during the elemental converter shield later in the fight. Destroying a Gyre Spume will trigger it to cast Splash, damaging the entire party. It’s best to take them out one at a time to avoid overwhelming damage.

    Eventually, you’ll see the message: ‘The elemental converter is now operable!’, after which Leviathan will dive underwater. One player will need to turn on the elemental converter to create a shield that protects the party from Leviathan’s upcoming attack, Tidal Wave.

    Failing to activate the elemental converter, or letting the Gyre Spumes absorb too much energy, will result in Tidal Wave wiping the party.

    After Tidal Wave, the fight transitions to phase three.

    Phase 3

    The final phase resembles phase two but includes additional mechanics. Now, Wavetooth Sahagin will start to appear, mainly using Ruin, which inflicts minimal damage on their main target. If allowed to stay longer, they’ll cast Dreadstorm, which deals damage in a large AoE around a single player while also inflicting Hysteria, making the player run around uncontrollably.

    Leviathan will also occasionally cast Grand Fall, which damages in a large circular AoE, applying Heavy, slowing movement. This attack is indicated by a swirling pool of water that appears on the ground; move out of its way to avoid the impact.

    Leviathan will repeat these mechanics until it is defeated. Remember, Casters should focus on the Head while Ranged DPS target the Tail, and ensure you activate the elemental converter as soon as possible to mitigate the effects of Tidal Wave.

  • Final Fantasy XIV: Complete Guide to The Wanderer’s Palace Dungeon

    Final Fantasy XIV: Complete Guide to The Wanderer’s Palace Dungeon

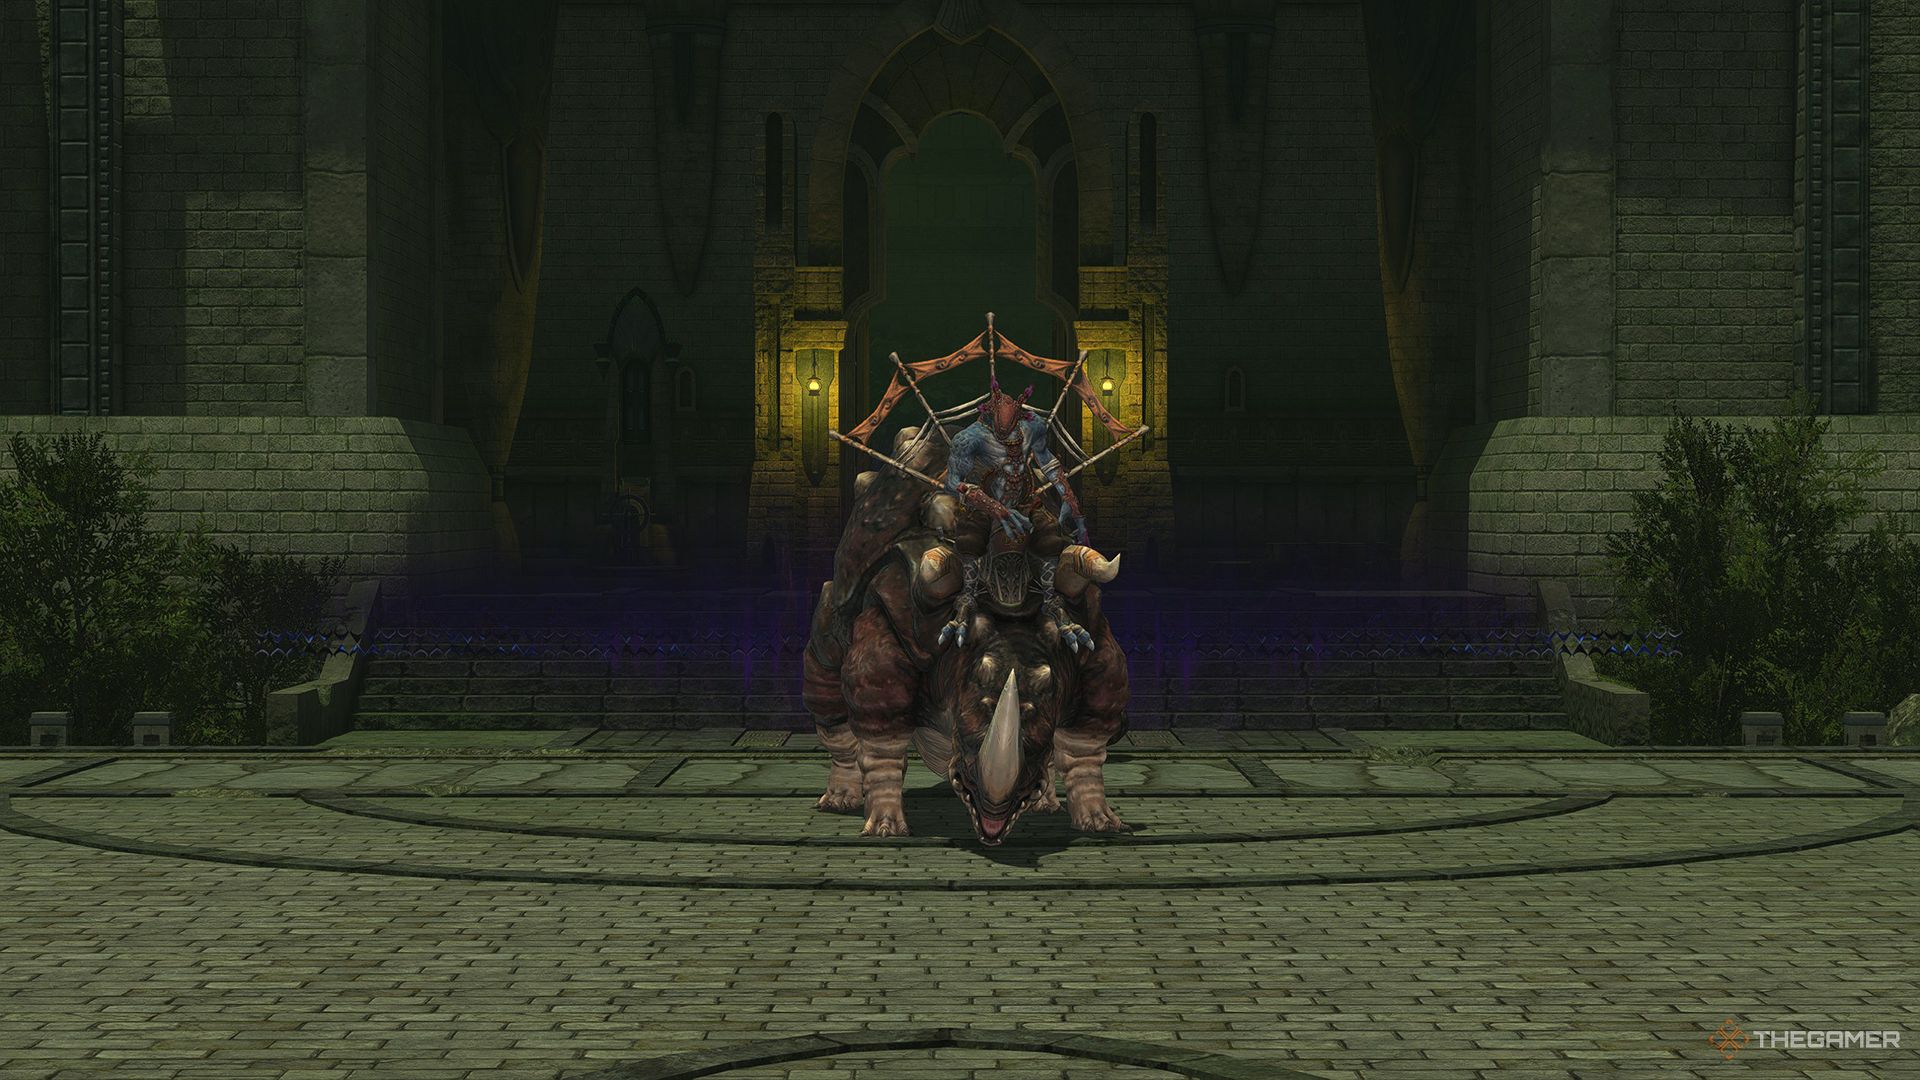
    The Wanderer’s Palace (Hard) is a level 50 dungeon in Final Fantasy 14 that takes you back through the Wanderer’s Palace, where you’ll face new bosses and mechanics. Although the Tonberries were rescued from the cruel Tonberry King, they now confront a new threat as Mamool Ja mercenaries have taken over the Palace.

    Your mission is to return to the Wanderer’s Palace and defeat the Mamool Ja forces so the Tonberries can enjoy peace once more. Below, we’ll cover everything you need to know about this dungeon, including how to access it and strategies for defeating its three bosses.

    How to Unlock the Wanderer’s Palace (Hard)


    You can access the Wanderer’s Palace (Hard) after you’ve completed the main scenario quest titled ‘The Ultimate Weapon’ and the level 50 side quest ‘Trauma Queen’, which unlocks the regular version of the dungeon.

    Once both quests are done, head to Bloezoeng in Mor Dhona (X:22.1, Y:8.7) to accept the quest ‘Not Easy Being Green’, which will officially unlock the dungeon.

    Frumious Koheel Ja


    Frumious Koheel Ja, the first boss of the Wanderer's Palace (Hard).

    The first boss you’ll encounter in the Wanderer’s Palace (Hard) is Frumious Koheel Ja.

    This boss has straightforward attack patterns, but if you’re not cautious, they can quickly become overwhelming. One of Koheel Ja’s main mechanics involves launching Sacred Spears that land on the ground, dealing area damage and causing a Burn status effect that inflicts damage over time.

    If you get hit by the Burn effect, the debuff timer resets each time you are affected, which means you’ll be continuously losing health if you don’t act fast. To prevent this damage, make sure to destroy the Sacred Spears as they appear.

    In addition, Koheel Ja will target its main foe with Fire Angon for direct damage and will use Clobber, charging at a player and knocking them back.

    The healer must monitor the entire party’s health during this fight since everyone will be affected by the damage from the Sacred Spears.

    The key to success in this battle is to eliminate the Sacred Spears as quickly as possible. By doing so, you’ll have an easier time defeating Koheel Ja.

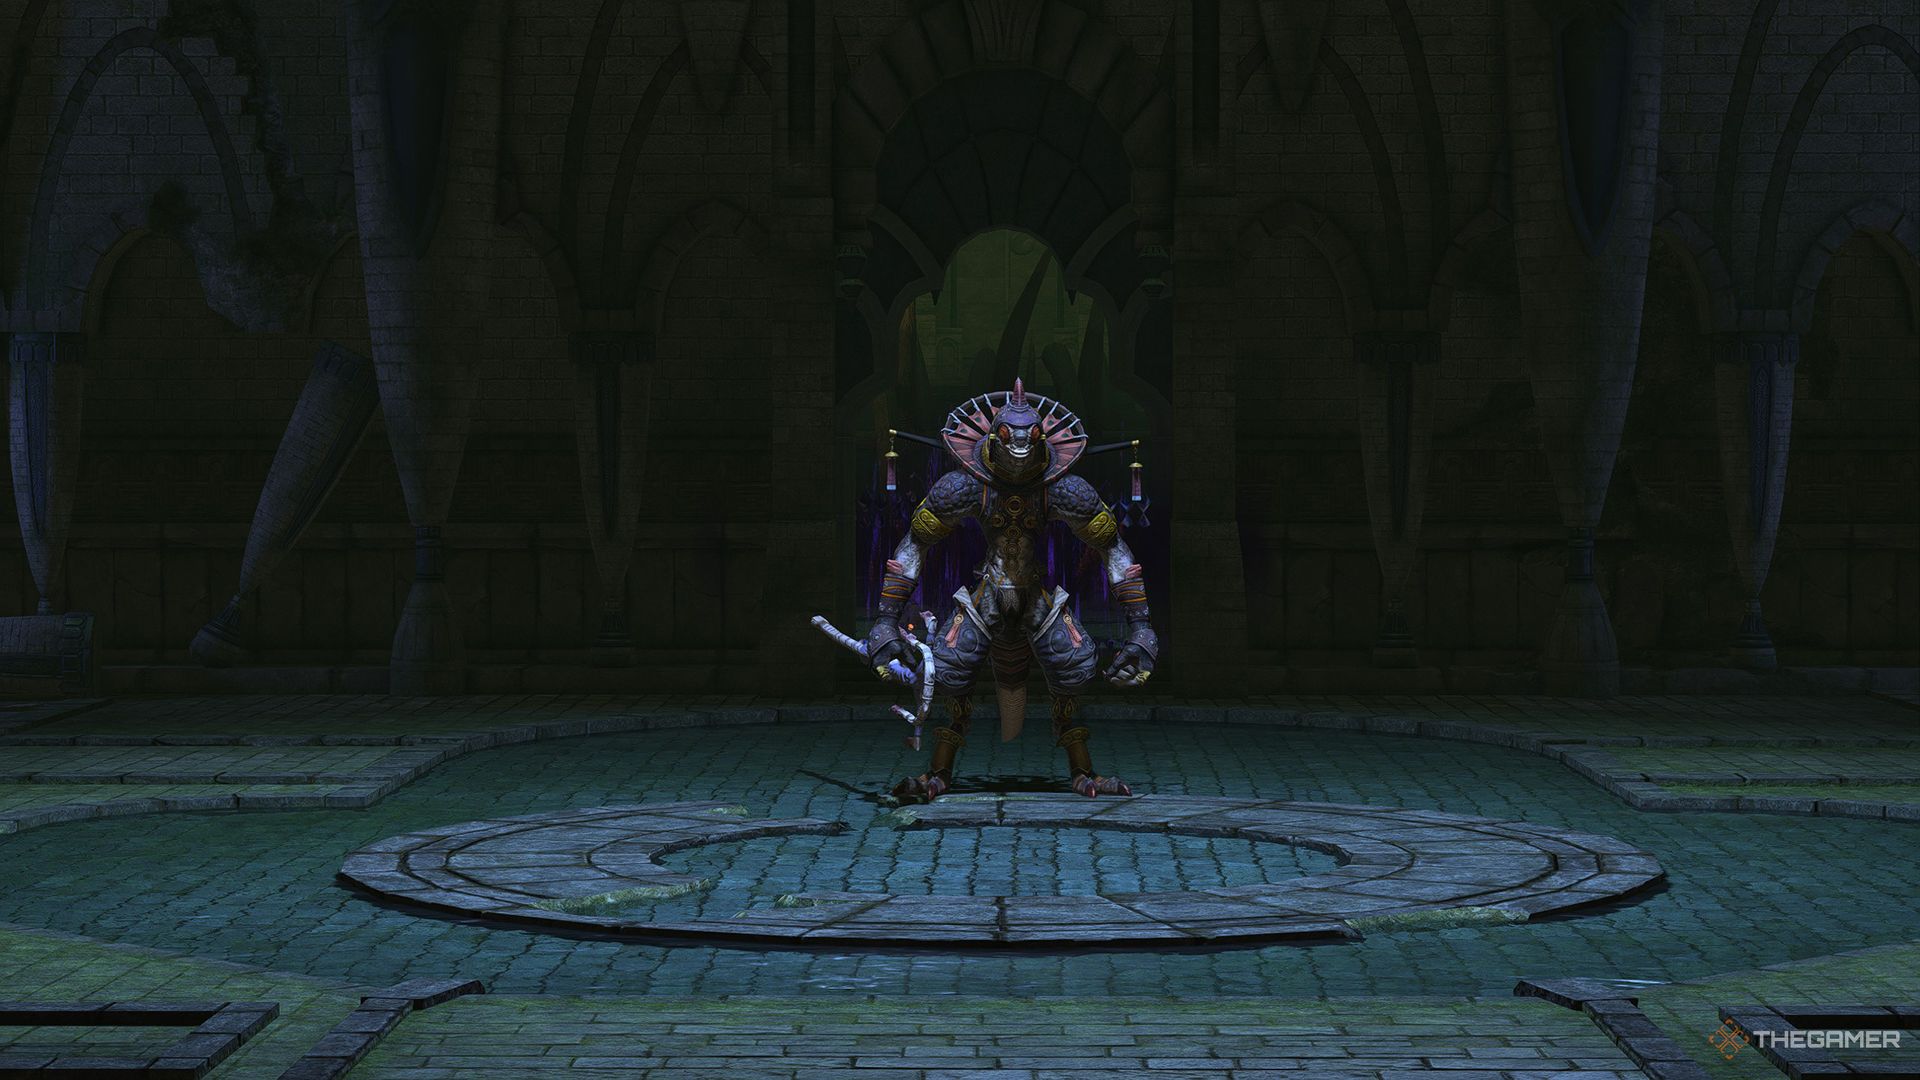
    Slithy Zolool Ja


    Slithy Zolool Ja, the second boss of the Wanderer's Palace (Hard).

    Next up is the Slithy Zolool Ja, the second boss of the dungeon.

    This encounter may seem complex at first, but it’s rather straightforward. Zolool Ja employs the Sacred Standard mechanic, summoning colored standards across the arena. Getting near any of these standards triggers a specific effect based on its color:

    • Red Standard: Reduces Fire Resistance.
    • Blue Standard: Grants a Damage Up buff.
    • Green Standard: Turns you into a Toad or removes the Toad effect if you are already transformed.
    • Purple Standard: Applies the Heavy debuff.

    The goal here is to avoid all standards except the Blue one. Allow DPS characters to run into the Blue Standard to receive the damage boost.

    After some time, Zolool Ja will use Standard Retrieval to clear all active standards from the field. If the Blue Standard is still present, he will gain the damage buff, so it’s important to secure this buff before he does.

    Zolool Ja will occasionally cast Toad, randomly transforming a player into a Toad. That player can use the Green Standard to revert back to their original form.

    Throughout the encounter, Zolool Ja uses abilities like Fire, Firespit, and Groundburst, targeting the main player with damage. The healer should keep a close eye on the tank while the rest of the party avoids the harmful standards.

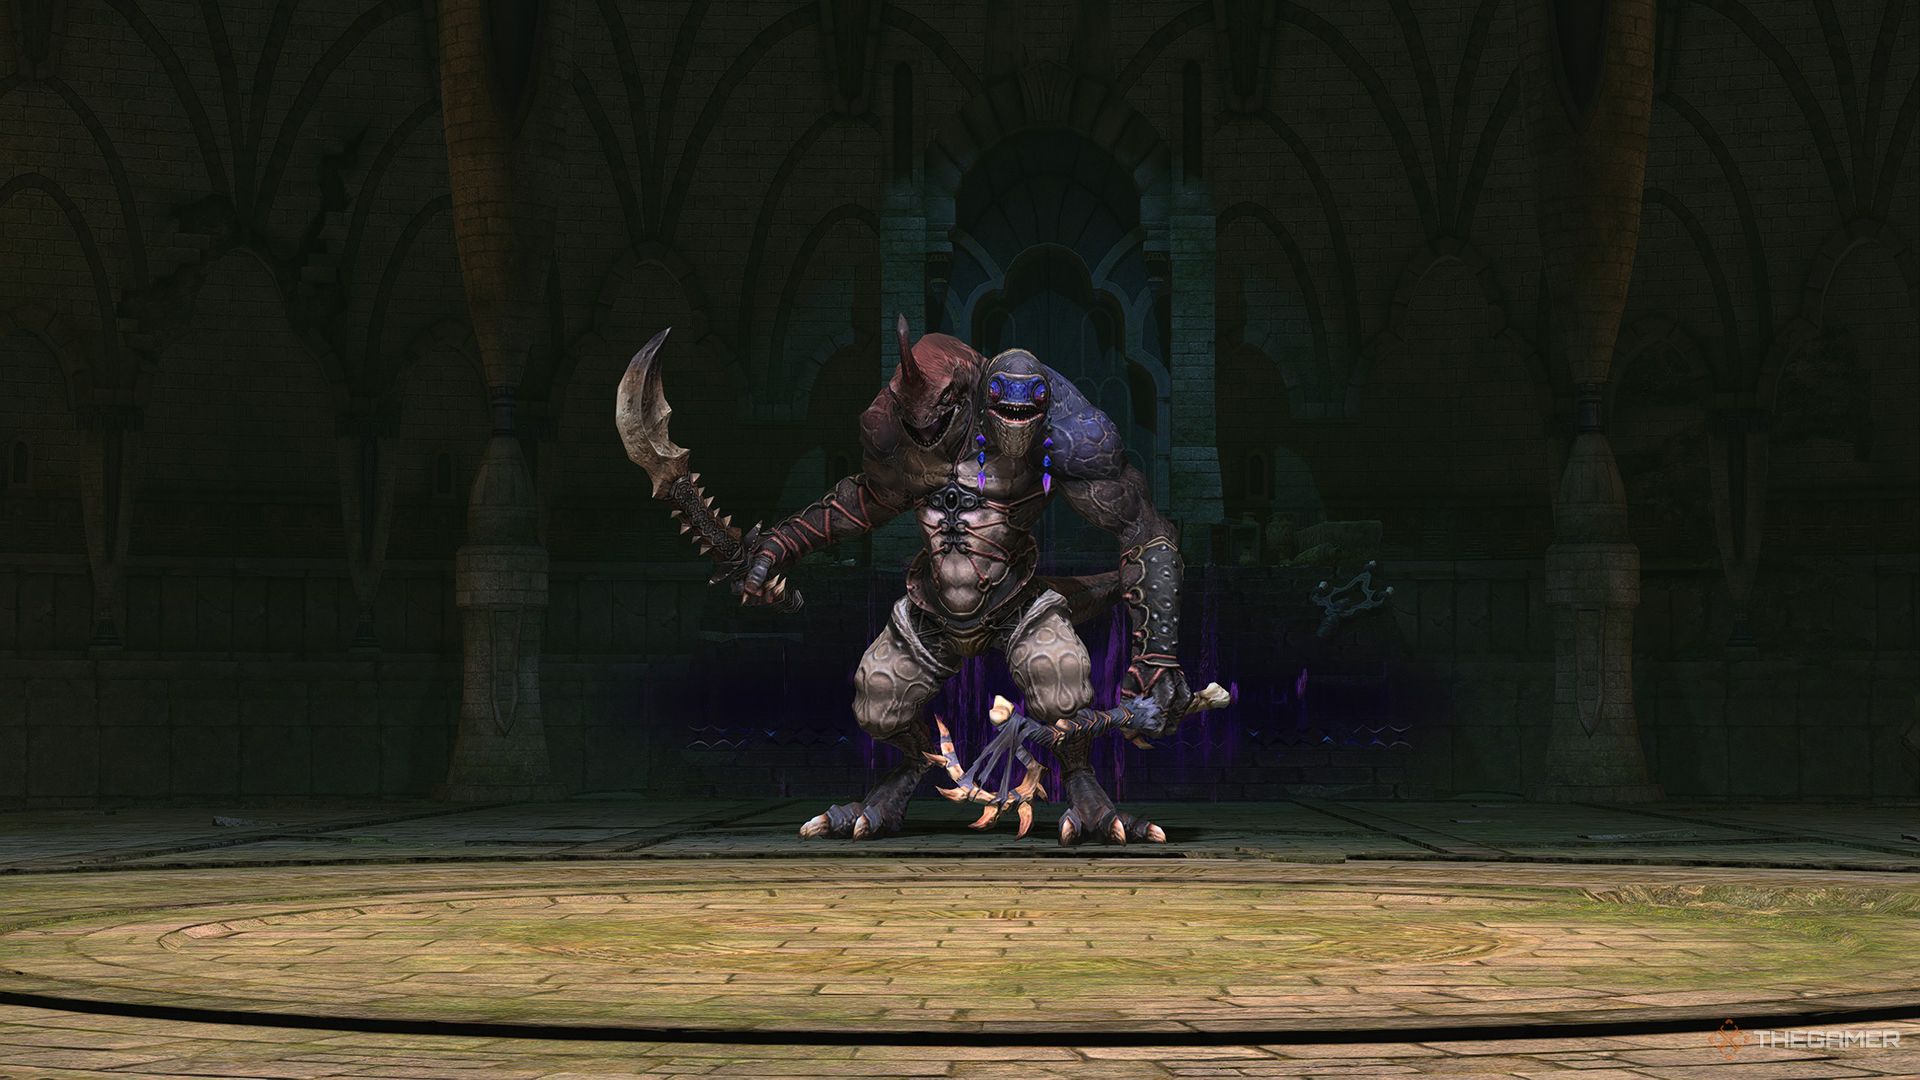
    Manxome Molaa Ja Ja


    Final boss of the Wanderer's Palace (Hard), Manxome Molaa Ja Ja.

    Finally, you will face the ultimate challenge, the Manxome Molaa Ja Ja.

    Attack Name

    Type

    Details

    Tyrannic Blare

    Conal AoE

    Molaa Ja Ja unleashes a considerable damage attack in a wide conal area, causing Stun and Magic Vulnerability Up. Stay close to the boss during the fight to avoid this.

    Rot Gas

    AoE/Summon

    This move deals AoE damage around the boss, inflicting Poison and Disease. It also summons a Sacred Standard that provides Molaa Ja Ja with a Damage Up and Vulnerability Down buff. The tank should pull Molaa Ja Ja away from the Sacred Standards to avoid these enhancements.

    Soul Douse

    Doom

    One player will be marked with Doom, which will kill them instantly after a 20-second countdown if not managed. The affected player must be restored to full health within this time. When Soul Douse is used, the healer should immediately prioritize cleansing the Doom effect.

    Vorpal Wheel

    Debuff

    This ability targets a random player with damaging effects and applies the Rotting Lungs debuff, which will cause them to explode with damage if hit by Rot Gas.

    Sacred Idol/Silverscales Zenist

    Summon

    A Sacred Idol will appear, tethering to the boss and granting him the effects of a Sacred Standard even when he’s outside an area. In addition, two Silverscales Zenists will spawn, which have low health and should be defeated promptly.

    Molaa Ja Ja will repeat these mechanics until defeated. It’s not necessary to destroy the Sacred Standards that appear after using Rot Gas since they have high health. Simply moving the boss out of their area will negate their effects.

    As long as you cleanse Doom and manage the boss’s positioning away from the Sacred Standards, you’ll be able to defeat Molaa Ja Ja and complete the Wanderer’s Palace (Hard).

  • Is Replacing a Car Radio Hard?

    Is Replacing a Car Radio Hard?

    Replacing a car radio might seem like a daunting task, but for many drivers, it’s a straightforward DIY project. With the right tools and a bit of patience, you can upgrade your audio experience without needing to visit a mechanic or specialized shop. Let’s delve into the details of whether this job is indeed hard.

    Understanding the Basics

    Before diving into the replacement process, it’s important to understand a few key concepts about car radios.

    What to Consider Before Replacement

    • Compatibility: Ensure that the new radio fits your car model. Check the dimensions, connector types, and features.
    • Sourcing: Purchase from a reputable seller, either online or at a local electronics store. Look for user reviews to gauge the quality and reliability of the unit.
    • Features: Decide which features are essential for you, such as Bluetooth connectivity, navigation, or touchscreen controls.

    Tools You’ll Need

    Having the right tools at your disposal can make the installation process much smoother. Here’s a checklist:

    • Screwdrivers: Both Phillips and flat-head.
    • Wire Strippers: For connecting wires if necessary.
    • Socket Set: To remove screws or bolts securing the dashboard.
    • Dash Kit: Optional, but useful for a clean installation, especially if the new radio is a different size.
    • Panel Removal Tools: These help prevent damage to your car’s interior.

    Step-by-Step Guide to Replacing Your Car Radio

    While the process may vary based on vehicle make and model, the following steps outline a general approach.

    Step 1: Prepare the Vehicle

    • Disconnect the Battery: Safety first! This prevents any electrical short circuits while you work.
    • Clear the Area: Remove any items from the dashboard or console that might hinder access.

    Step 2: Remove the Old Radio

    1. Remove the Trim: Use panel removal tools to carefully pop off the trim surrounding the radio. This may require gentle pressure, so proceed slowly to avoid breaking clips.
    2. Unscrew the Radio: Typically, there are a few screws securing the radio unit in place. Use your screwdriver to remove them.
    3. Disconnect Wiring: Gently pull the radio out and disconnect any wiring harnesses. Take notes or photos of how the wiring is connected, as this will guide you when connecting the new unit.

    Step 3: Install the New Radio

    • Connect Wiring Harness: Ensure you connect the wiring according to your notes or photos from the previous step. Many after-market radios come with specific harness connectors for ease of installation.
    • Secure the Radio: Slide the new radio into the slot and fasten it with screws. Check for a snug fit.
    • Reattach Trim: Carefully snap the trim back into place.

    Step 4: Test the New Radio

    • Reconnect Battery: Once everything is in place, reconnect the battery.
    • Power On: Start your car and power on the new radio. Test all functions (radio, Bluetooth, CD player if applicable) to ensure everything works properly.

    Common Challenges

    Although many can successfully replace a car radio, there are a few challenges you might encounter:

    • Wiring Issues: Mismatched wiring can lead to malfunction. Ensure you double-check connections.
    • Size Mismatch: If the new radio does not fit perfectly, a dash kit may be necessary to secure it properly.
    • Dashboard Damage: Removing trim may accidentally break clips or scratch surfaces. Proceed cautiously.

    Tips for a Successful Installation

    • Read the Manual: Always refer to the installation instructions provided with your new stereo.
    • Take Your Time: Rushing can lead to mistakes. Patience is key in ensuring a successful installation.
    • Seek Help if Needed: If you’re unsure about any part of the process, consider asking a knowledgeable friend or searching for video tutorials specific to your car model.

    Replacing a car radio is not overly complex, especially for those with basic handyman skills. With the right approach and tools, it can be a rewarding project that enhances your driving experience.