الوسم: Great Circle

  • Complete Guide to Sukhothai Lost Artifacts in Indiana Jones

    Complete Guide to Sukhothai Lost Artifacts in Indiana Jones

    In Indiana Jones and The Great Circle, after their adventure in Shanghai, Indy and Gina land in Sukhothai. This expansive area features rivers and islands, which leads the pair to explore in a vintage boat. Since Gina is unable to swim, she can’t join Indy on every escapade, so he often finds himself on solo missions.

    Like in other locales, the Nazis are once again the primary antagonists, but Indy’s greatest phobia is snakes. Throughout his journey, he encounters numerous snakes, big and small, sparking a bit of panic in him. Nevertheless, there are hidden artifacts waiting to be uncovered. If you’re ready for the hunt, this guide lays out their locations.

    All Lost Artifact Locations In Sukhothai

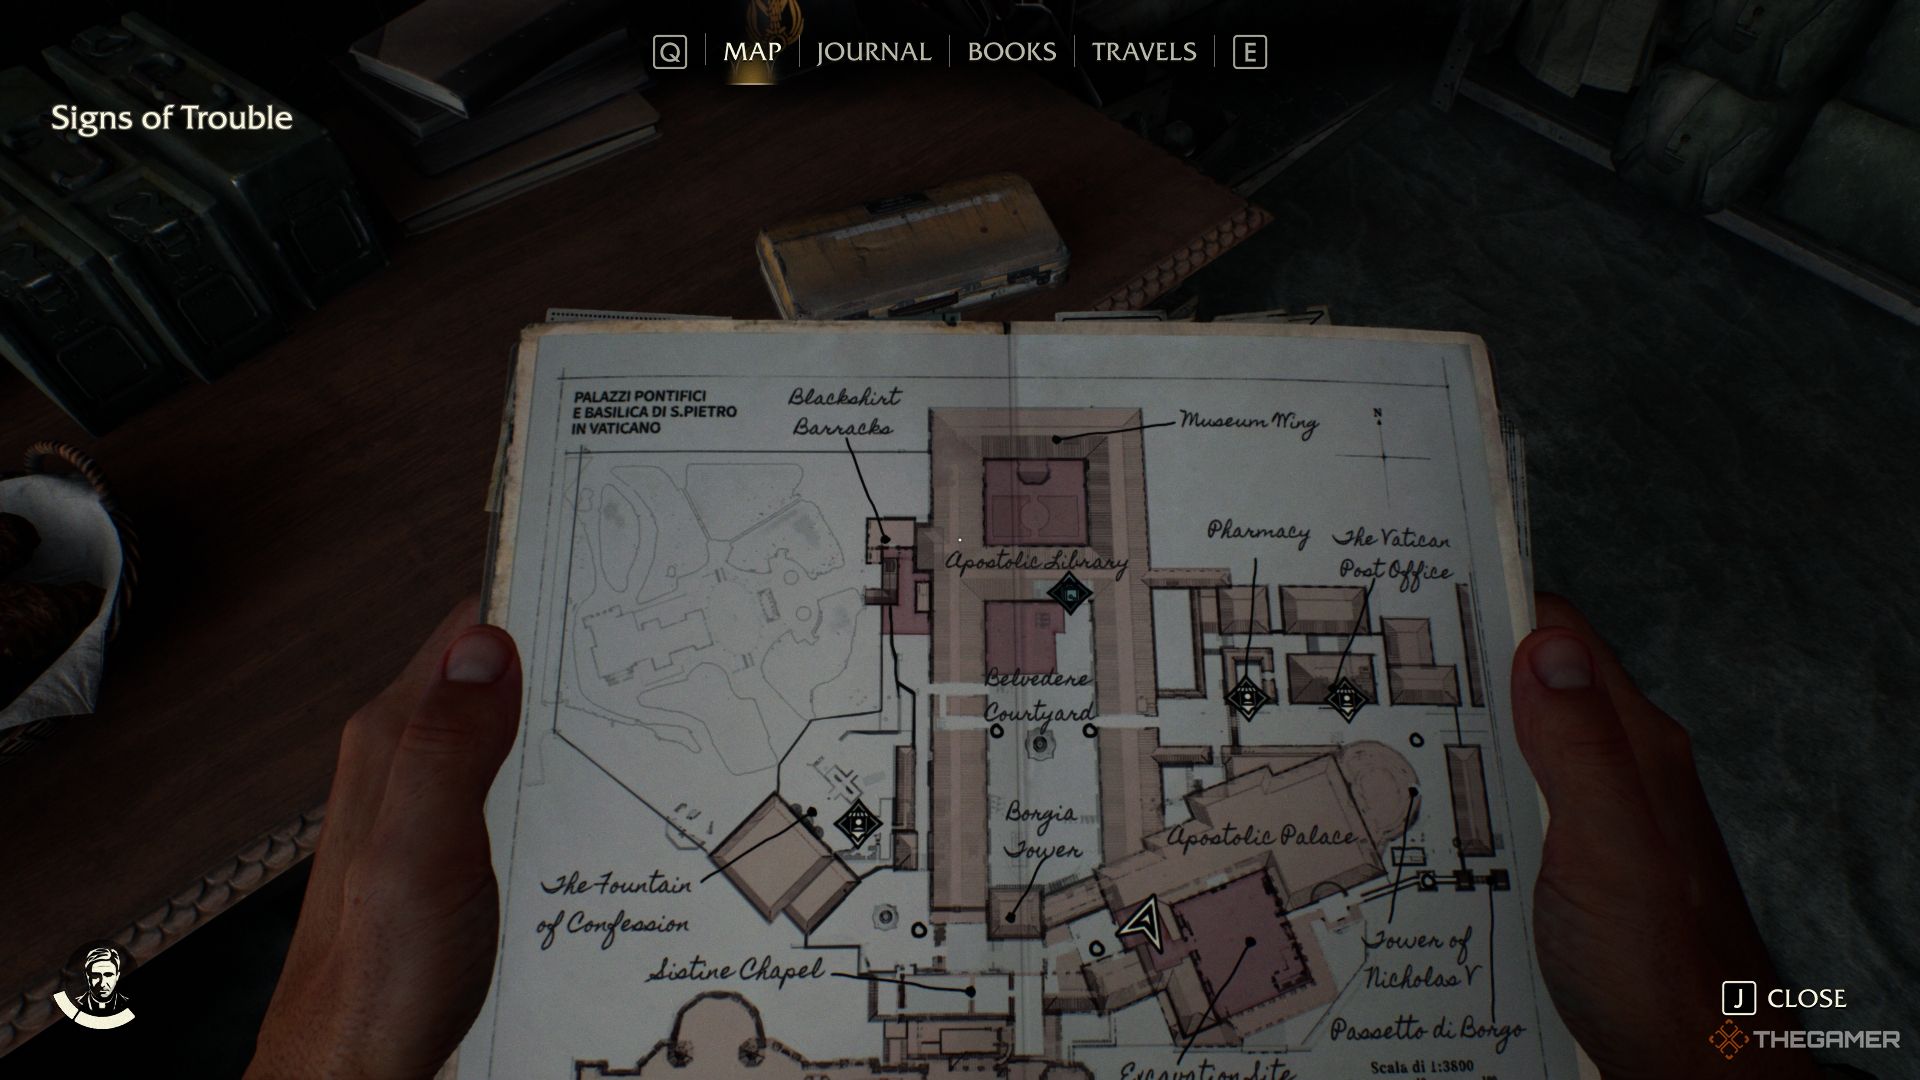
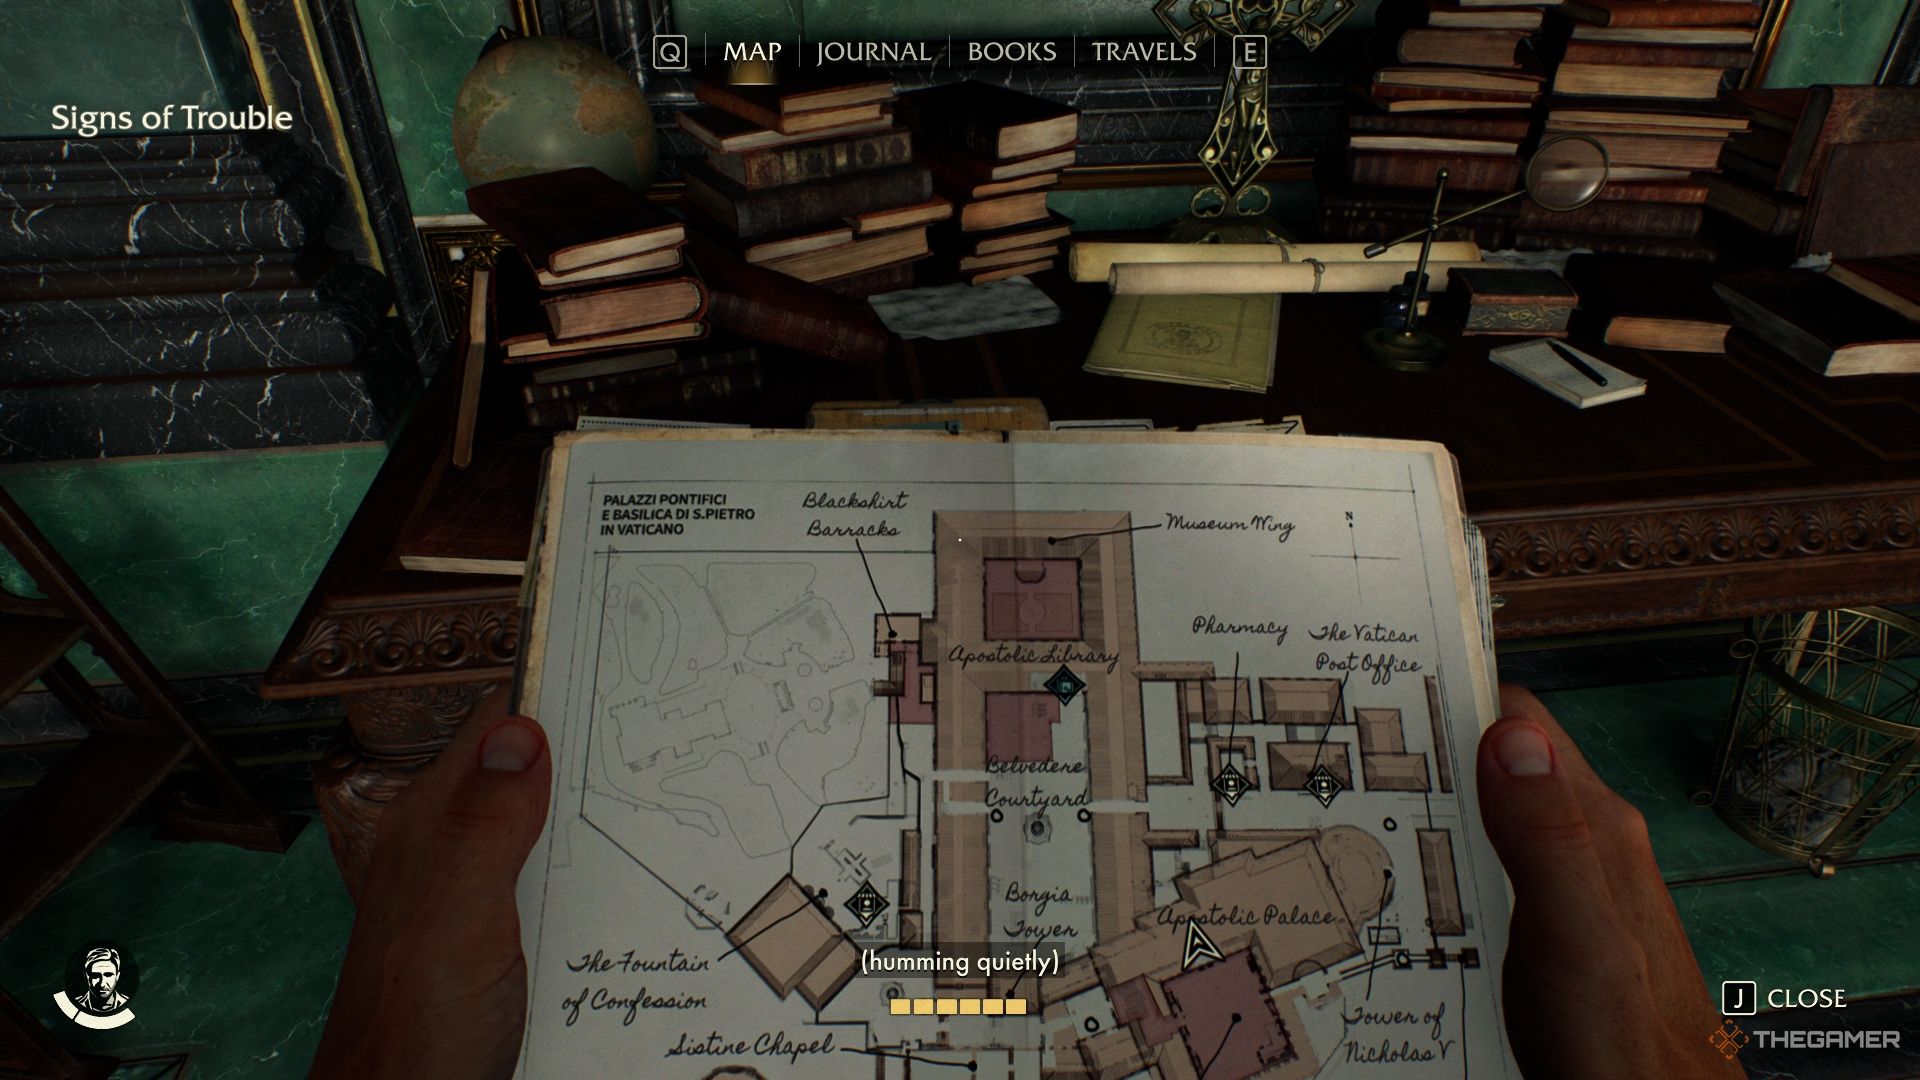
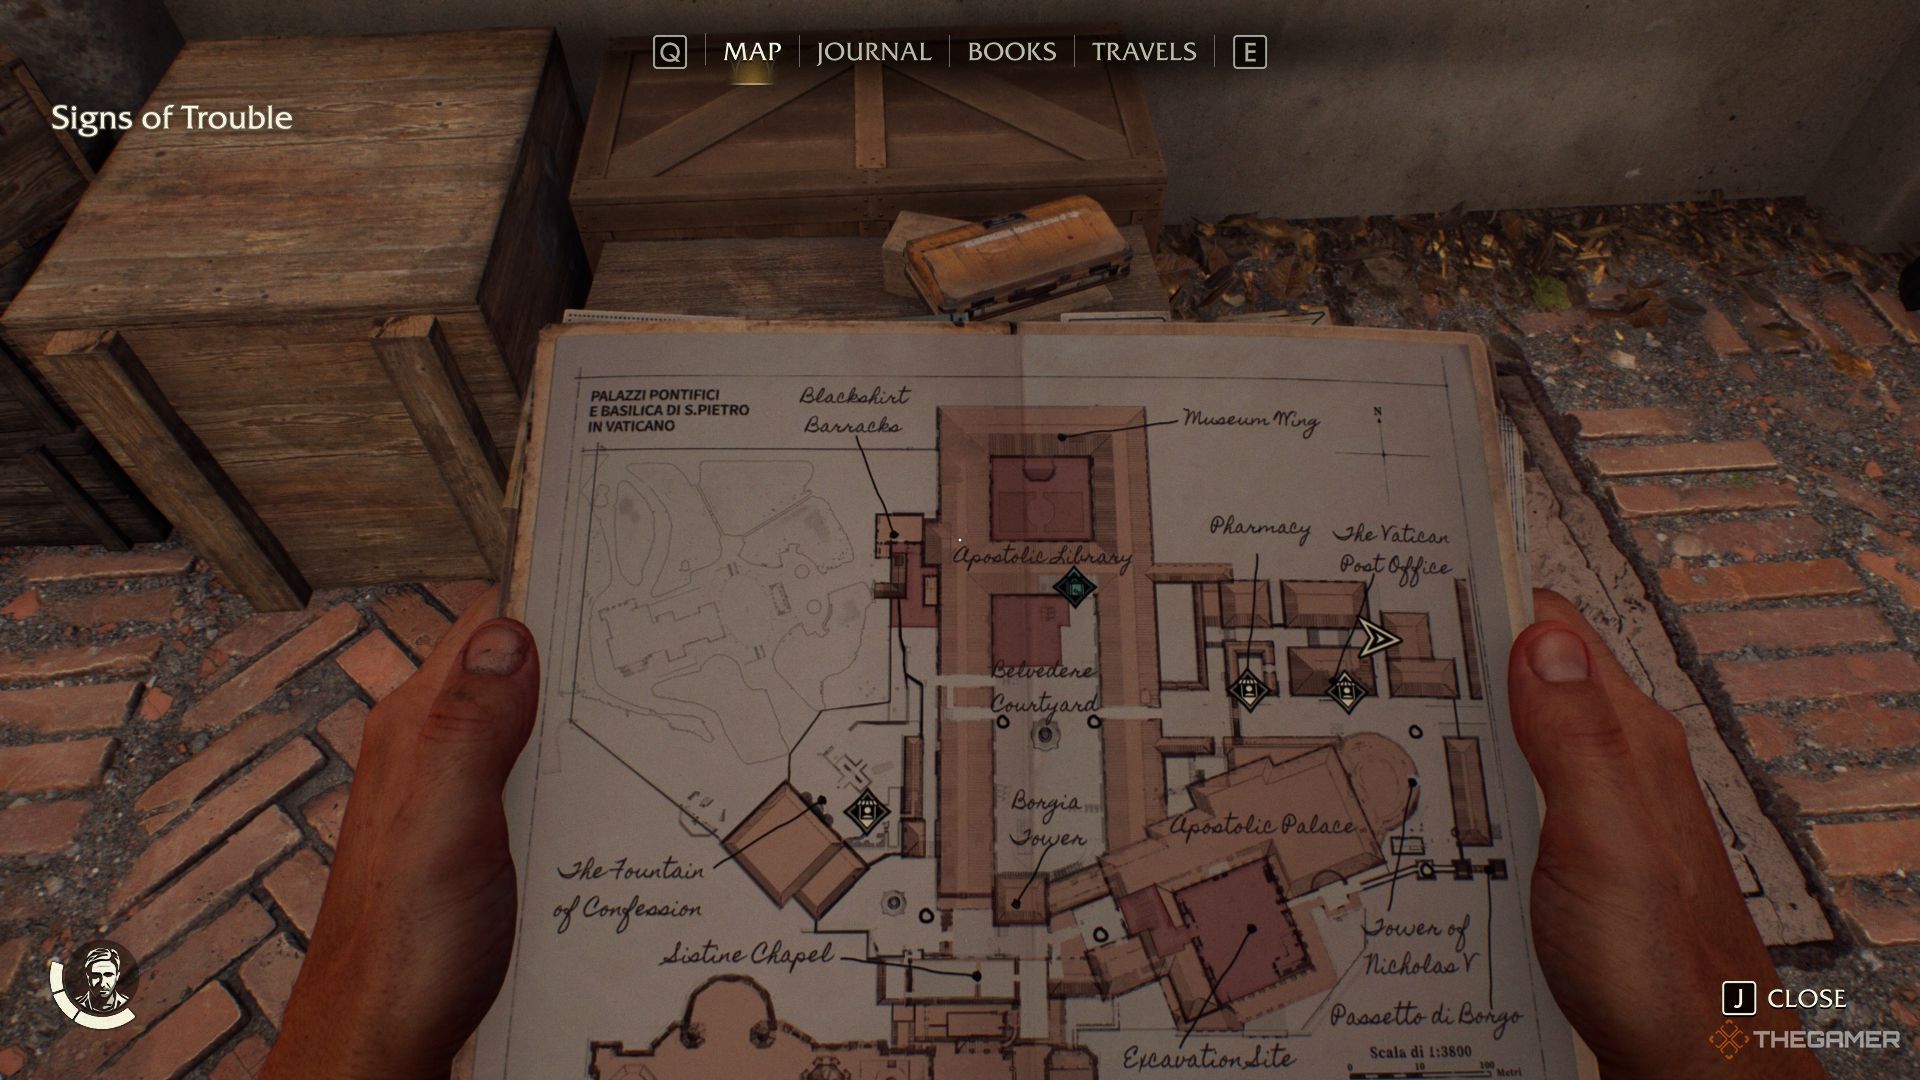
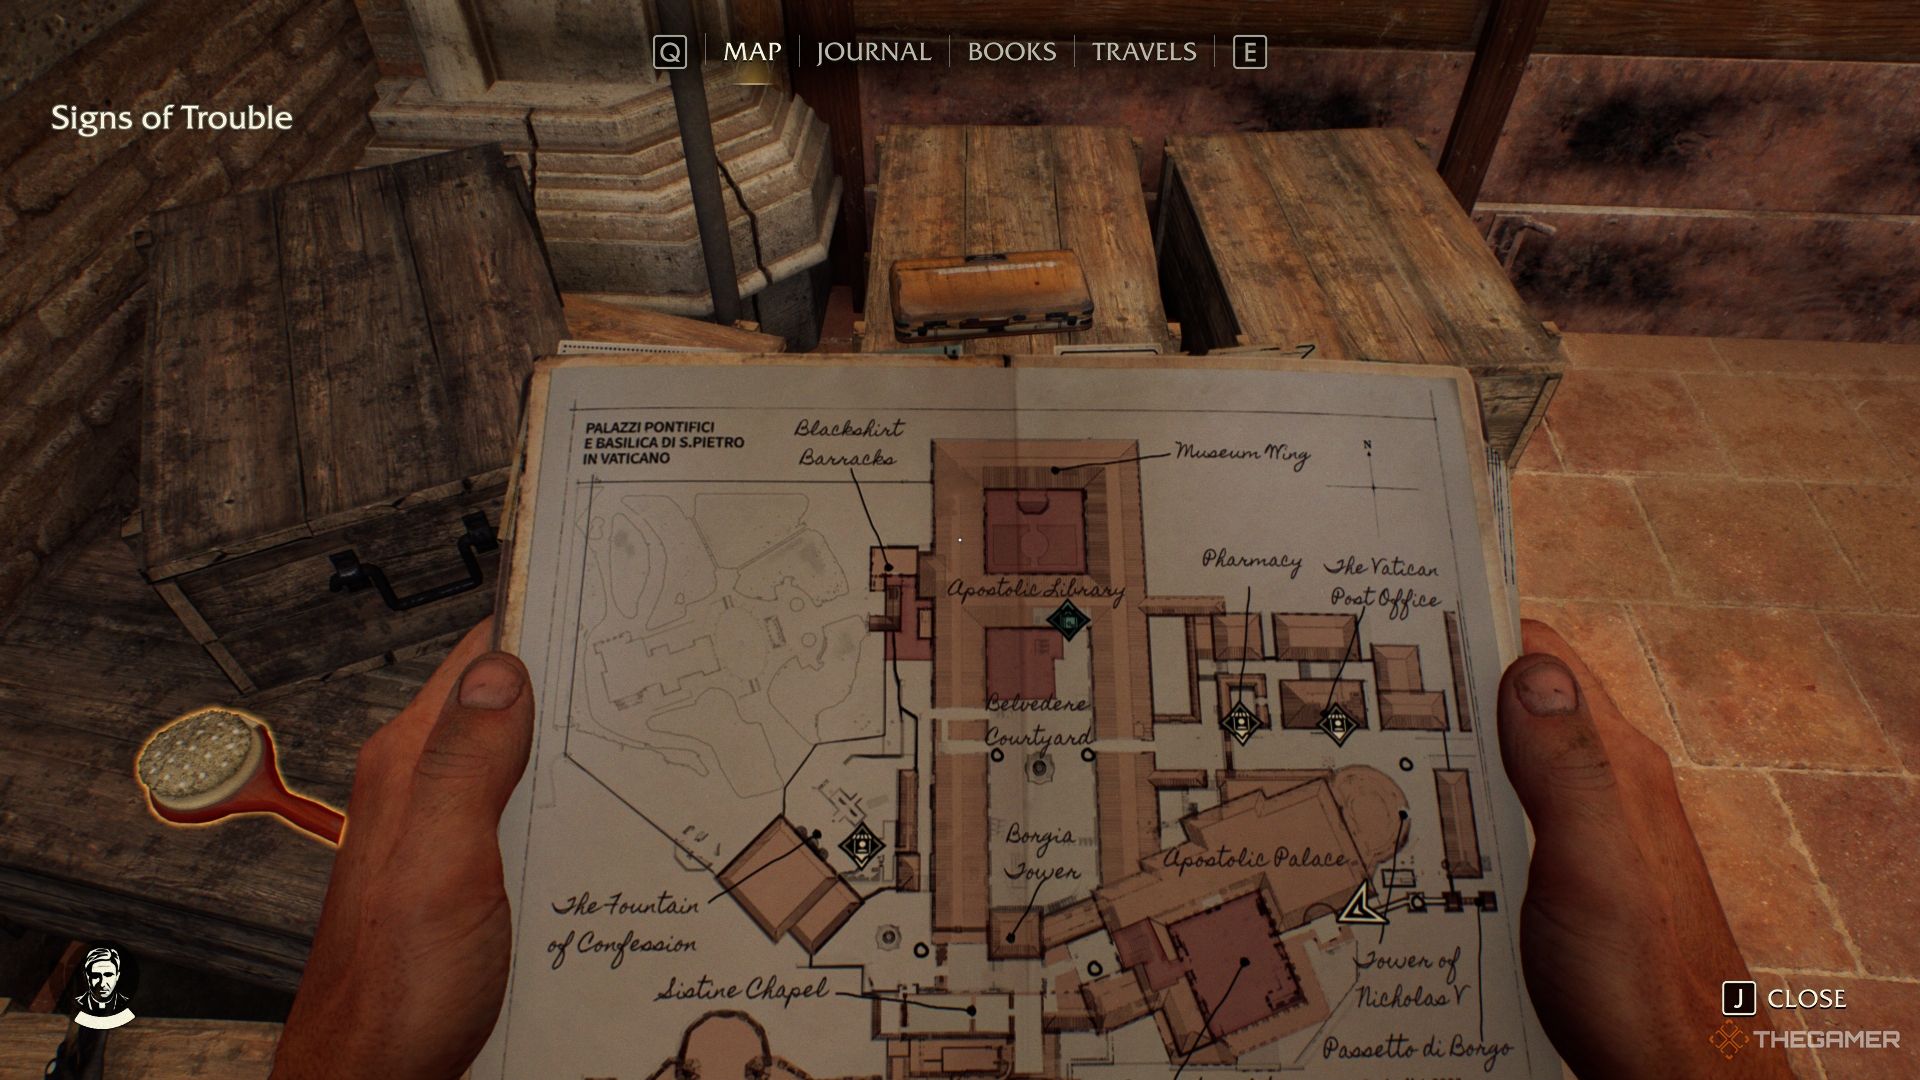
    After you solve the Hidden Pyramid puzzle and exit, make your way to Jonhdang’s Hut to purchase the Sukhothai Artifacts booklet for 450 Baht. Money can be tight at first, so completing the Voss’ Gold side quest can help you earn some quick cash.

    Where To Find The Ganesha Statue

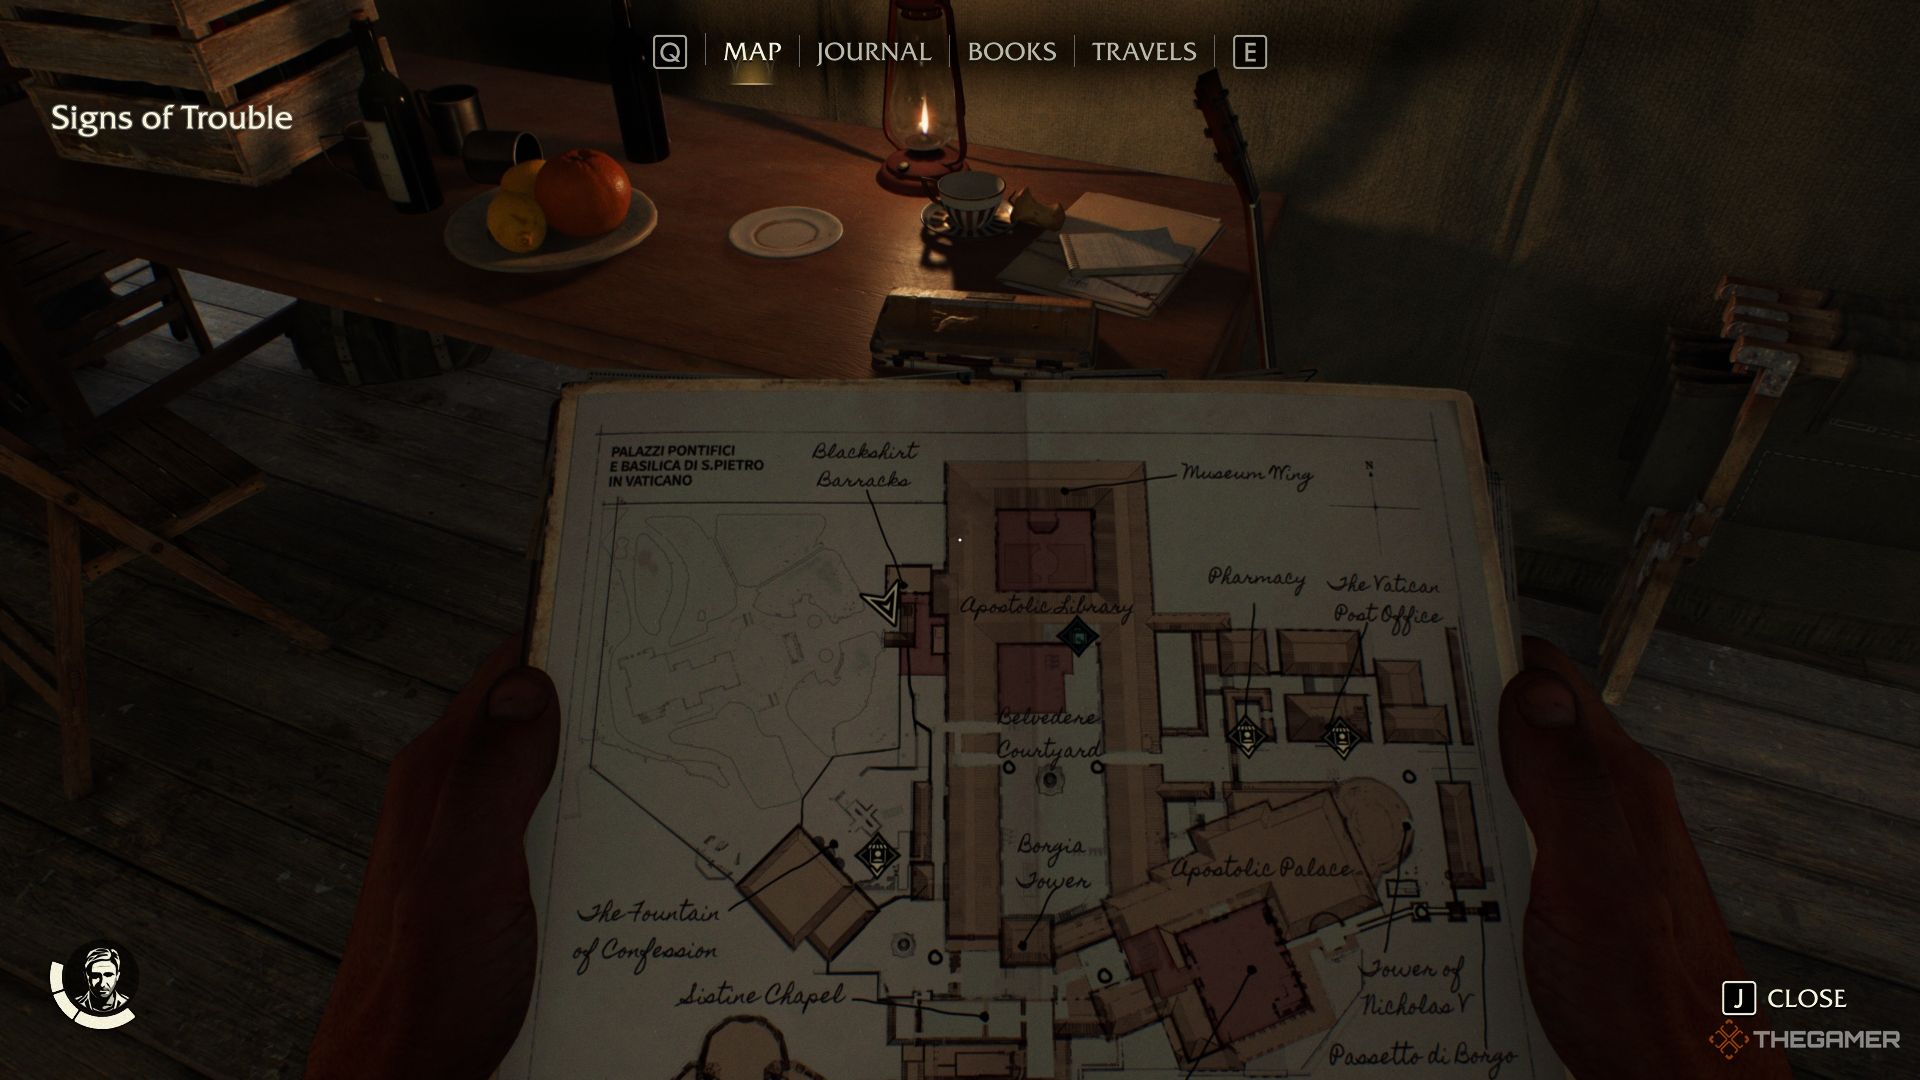
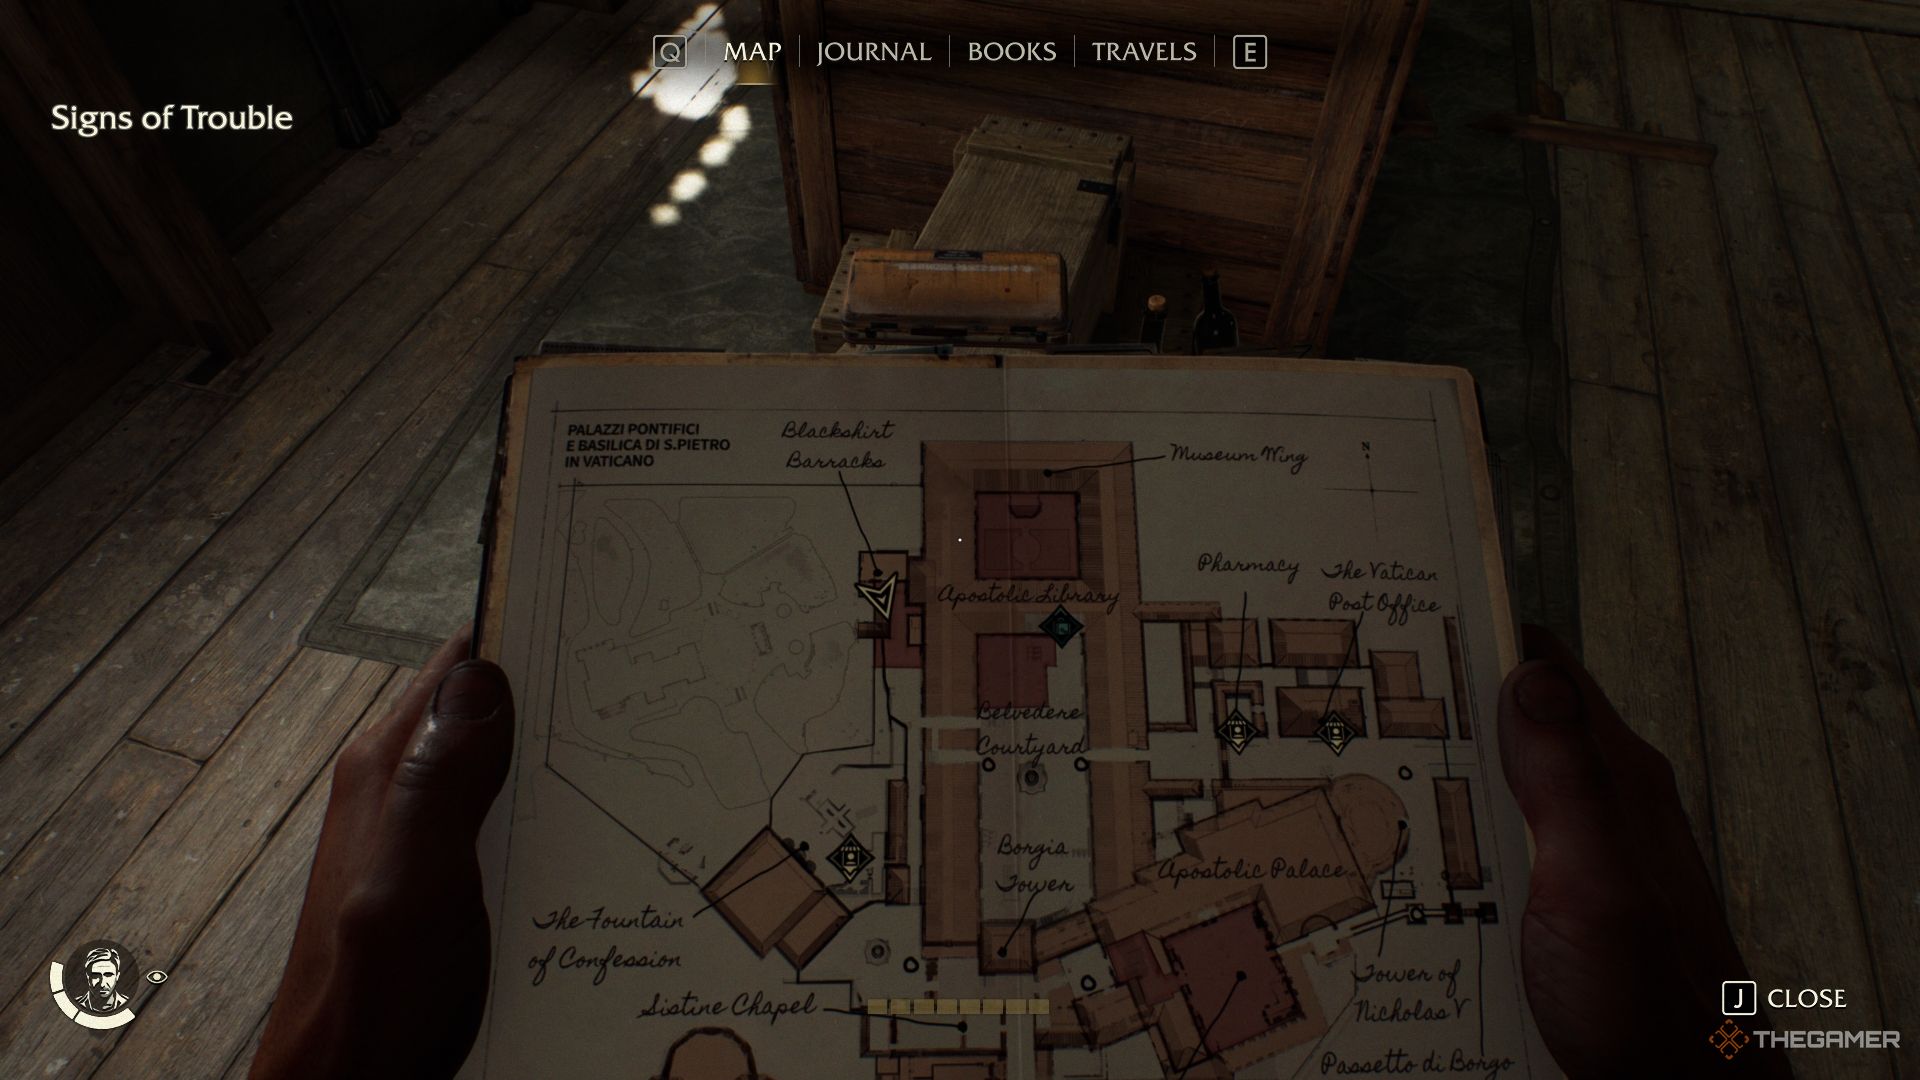
    To find this lost artifact, head to the northeastern area marked in red on your map. If it’s your first time here, you’ll be given the Voss’ Gold side quest that will guide you to this location.

    Be sure to grab the Royal Army Uniform Disguise available in the area; it will help you navigate more freely in this and other locations.

    Then, enter the military camp, which you can access via the wooden bridge or another route. To the east of this camp, there’s a boom barrier surrounded by blue barrels. Navigate through the wires to the right of the barrier to reach the large building housing Voss’ office. There’s a dim passage on the right of the building; go inside.

    Turn left past the wooden crate, and you’ll find a low passage beneath the wall; crouch to enter. The lost artifact will be in front of the statue inside.

    Where To Find The Belt Buckle

    Start at the harbor by Jonhdang’s Hut and head south by boat. Keep the sunken temple on your left as you navigate down the river on your right. When you spot the abandoned wooden boat, make a right turn and continue your journey.

    Next, turn left and pass by the tree in the river. After passing it, the river will fork again; take the left path. Continue straight, and you’ll spot another boat on your left. Stop and look to your right, where you’ll see a submerged wall and a passage.

    Get out of the boat and swim through the passage. Move towards the structure with planks blocking the entrance on your left. Use your lighter to burn the planks. Dive into the water through the hole in the center of the structure. You’ll need the Rebreather to stay underwater.

    Lift the submerged log and continue onward, emerging into another structure. Inside, you’ll find the lost artifact.

    Where To Find The Jade Humanoid

    First, complete the Hidden Pyramid. After defeating the Serpent and Lotus and speaking with Pailin, you will start the ‘Study In Fear’ side quest, which involves explosions.

    After meeting Annika, proceed to the quest’s conclusion and find the Demon’s Tomb in the burial chamber. However, don’t leave just yet; check under the logs with puzzles in the last circle; a dark area flows beneath them.

    If you head to the entrance of the puzzle area and check the logs, you can easily spot it. Enter the dark area below and use your lighter to unveil the lost artifact.

    You can also return after finishing the side quest to collect this artifact.

    Where To Find The Bronze Jue

    This lost artifact is located south of the marked military area on your map, in the southernmost region. As you head south, you’ll find a small structure resembling a temple. Step off your boat and begin circling around the structure.

    On the side of the temple facing the columns, there’s a branch at the top covered in vines. To reveal this hidden branch, you’ll need to collect Mangosteen fruits that resemble coconuts near the columns.

    Once you have one, light it on fire and throw it at the vines to burn them away. This will expose the branch. Now, use your whip to climb to the top of the temple. Once on top, jump inside to find the lost artifact waiting for you.

    Where To Find The Jomon Mask

    To locate this artifact, head to the island southwest on your map, known as Wat Si Sawai. Here, you’ll encounter fascists; push further in, and you’ll arrive at the Khmer Warrior Temple. Completing the ‘The Kid Who Vanished’ side quest will bring you to this area.

    After locating Aran and finishing the quest, go to the entrance room filled with spotlights. Enter through the door located in the southwest corner of the room. Move further inside, and you’ll notice a pit below; carefully descend using your whip. Once at the bottom, head west and take the left corridor.

    Follow the crack in the wall and use the ledges to avoid falling into the pit. When you reach the other side, turn left, and you’ll spot a low wooden platform next to a multi-headed snake statue. Climb onto this platform and after reaching the top, enter through the door to the south.

    You’ll find yourself in a corridor with rotating gears; first, turn left and look down. You’ll see a tree branch covered with hay on the ground; use your lighter to ignite it. After that, turn around and near the door you entered, you’ll find Mangosteen. Grab one, and while holding it, jump onto the stone platform across from the hay you just lit.

    Next, turn right and jump over the gears, making your way to a single gear ahead. Stand on the stone platform next to the gear and look up. You’ll see another tree branch covered in hay. Burn the Mangosteen and throw it at the hay to set it ablaze, revealing the branch. Use your whip to climb it. Once at the top, turn left, and you’ll find the lost artifact near some monkeys.

    To exit, use the branch that was uncovered when you ignited the hay earlier and leave the area.

  • Locating All Gizeh Keys in Indiana Jones and the Great Circle

    Locating All Gizeh Keys in Indiana Jones and the Great Circle

    In Indiana Jones and the Great Circle, following the events at the Vatican, Indiana and Gina find themselves on a Nazi airship in Giza. Here, you’ll encounter both allies and foes. Your ally is Nawal, a local, while your enemies include Voss and the Nazi forces.

    So, what brings Voss here? Before you begin your adventure, it’s wise to locate the keys that grant access to various areas. Some keys will open smaller structures, while others will reveal hidden secrets. If you’re prepared, this guide will assist you in discovering all the keys available.

    All Key Locations in Giza

    How to Locate the Discarded Key

    Map Image

    Location

    Start at the Sphinx and face it. Turn to your right, and you’ll spot a red structure in front of the pyramid. Head inside, and you’ll find a Male Villager locked up. To set him free, you need the Discarded Key. To get this key, climb onto the roof of the red structure. The key is located inside a bird’s nest on the roof. After rescuing the Male Villager, you’ll discover a suitcase containing a nice sum of money.

    How to Locate the Detention Center Key

    Map Image

    Location

    An orange circle marks the location of the Detention Center Key in Indiana Jones and the Great Circle.

    As you go through the main storyline, you’ll need to enter Voss’ office in the Nazi Compound. You’ll find the Detention Center Key on his desk. This is one of five secrets you’ll need to uncover during that mission. Keeping this key handy will help you follow Voss later in the chapter.

    How to Locate the Wehrmacht Key

    Map Image

    Location

    An orange circle shows where to find the Wehrmacht Key in Indiana Jones and the Great Circle.

    After seeing the large mural of the Idol of Ra with Nawal, your next task is to check out the Dream Stele. Once you leave the temple, you’ll find yourself under the train tracks nearby a wooden tower. To get into this tower, you usually need the Wehrmacht Key, but you can enter without it. Go to the back of the tower and use your whip to climb up. Once you’re on top, go to the front of the tower and enter through an open window. On the second floor, you’ll confront a Nazi soldier; defeat him and then head downstairs. There, you’ll find the Wehrmacht Uniform Disguise, and alongside that, you’ll also discover the Wehrmacht Key, which will let you exit the tower and continue your quest.

    How to Locate the Haunted Tomb Key

    Map Image

    Location

    An orange circle marks the Haunted Tomb Key location in Indiana Jones and the Great Circle.

    This key is located in the Giza Worker Area, near Nawal’s tent. Check your map for a red-marked Nazi area. You can use the Wehrmacht Uniform Disguise to get into this zone. Enter the tent with the pin board where a Nazi soldier stands. On a small round table, you’ll find the Haunted Tomb Key along with some Haunting Reports.


    To exit the military area, head towards the wooden hut and make a right turn. Follow the path until it splits, and take the left. Here, you can use the Haunted Tomb Key to uncover the mystery of two military vehicles parked next to each other.

    How to Locate the Gizeh Serpent Key

    Indy going towards the Tomb of Khentkawes excavation site in Indiana Jones And The Great Circle.

    One of the keys necessary to unlock the Serpent Chest at Voss’ camp in Sukhotai can be found in Giza. The Gizeh Key is located in the Tomb of Khentkawes excavation site, close to the central elevator. Start at the pump room, follow the water hose, turn right, and climb the stairs. Enter the large, water-filled chamber and head toward the far wall.

    Dive into the water and swim through the underwater passage. Instead of heading towards the light on your left, dive again and explore a blocked pathway on the right. Interact with the wood obstructing it, swim through, and you’ll find the Ancient Gizeh Key on the other side. If you’re keen to open the Serpent Chest, be sure to check out our guide.

  • Locate All Gizeh Lost Artifacts in Indiana Jones: The Great Circle

    Locate All Gizeh Lost Artifacts in Indiana Jones: The Great Circle

    In Indiana Jones and the Great Circle, Indiana Jones finds himself pondering numerous questions after his experiences at the Vatican. Along with Gina, he secretly boards a Nazi airship, landing them in Gizeh. Here, they encounter a challenging environment packed with secrets and Nazi foes to overcome.

    Among the secrets waiting to be uncovered are the Lost Artifacts. Just like in the Vatican, you’ll need to seek these out, as they’re cleverly concealed in hidden spots. Simply exploring may not lead you to them, so it could be wise to pause your adventure to hunt for these artifacts. This guide provides details on where to find all five Lost Artifacts.

    Complete Locations of Lost Artifacts in Gizeh

    Later in your journey through Gizeh, you can buy the Gizeh Artifacts booklet from Asmaa, the NPC from whom you purchased the lighter in Gizeh Village. It costs 350 Egyptian Pounds, and once acquired, it will allow you to see all Lost Artifacts marked on your map.

    Finding the Ivory Mask

    Map Image

    Location

    An orange circle showing the location of the Ivory Mask lost artifact in Indiana Jones And The Great Circle

    To find the Ivory Mask, start by positioning yourself in front of the grand Sphinx statue. Once you’re facing it, to your right, you’ll see a wooden bridge. Just past the bridge, look to the right into a pit where you’ll find a crashed vehicle. Jump down to explore. While you’re looking around, you’ll see a small hideaway nestled between the cube-shaped stones. Crouch down and crawl through to get to the Ivory Mask hidden inside.

    Finding the Jambiya Dagger

    Map Image

    Location

    An orange circle highlighting the Jambiya Dagger location in Indiana Jones And The Great Circle

    After you discover the large mural depicting the Idol of Ra with Nawal and watch the cutscene, don’t rush out of the temple. In the mural room’s corner, you’ll find two wooden platforms. First, climb up to the one near the spotlight, then leap to the other platform. This will lead you directly to the Lost Artifact.

    Finding the Aduno Koro

    It’s recommended to seek out the Aduno Koro after you’ve acquired the Wehrmacht Uniform Disguise to simplify your search.

    Map Image

    Location

    An orange circle indicating the location of the Aduno Koro lost artifact in Indiana Jones And The Great Circle

    Start by accepting the ‘Secret of the Queen Mother’ side quest from Omar. While at his place, take the dig map from the table. Upon arriving at the dig site, you’ll find that the elevator switch is unresponsive on your first try. On your second attempt, you’ll need to power it, but it still won’t work. Afterwards, trace the red cable behind the elevator into the temple, which will lead you to a large room with a wooden platform encircling a central pillar. Climb up to the top of the wooden platform, then jump to the ledge on the wall nearby. Ahead, you’ll see a ledge protruding where you’ll spot a skeleton. If you sprint and jump towards the skeleton, you’ll uncover the lost artifact beside it.

    Finding the Ba’al Statuette

    Map Image

    Location

    An orange circle indicates the location of the Baal Statue lost artifact in Indiana Jones And The Great Circle

    This lost artifact can be found south of Gizeh Village. Start at the direction signboard for fast travel. Look to the east, and you’ll see a white tent nestled between two electric poles. Head south from the tent and ascend the wall where you’ll find a truck. Jump down onto the truck from the wall, then carefully climb to the front of the vehicle. Proceed to the back of the truck where you’ll discover a banana crate. Lift the crate to uncover a suitcase hidden beneath it. Open the suitcase to reveal the lost artifact inside.

    Finding the Nok Sculpture

    Map Image

    Location

    An orange circle showing the location of the Nok Sculpture lost artifact in Indiana Jones And The Great Circle

    This lost artifact is located to the south of the road in the southeastern section of your map. It’s the same area where you first arrived in Gizeh and snapped a photo of the blue tent by scaling the hill with your camera. From the hill, head south, and you’ll find a small hole between the stones. Use your lighter to light the straw inside the hole. Once it’s ignited, crawl through the hole to access the artifact beside the skeleton.

  • Gizeh Medicine Bottle Locations in Indie and the Great Circle

    Gizeh Medicine Bottle Locations in Indie and the Great Circle

    Indiana Jones and the Great Circle offers a plethora of collectibles, but nothing compares to the satisfaction of discovering the Medicine Bottles scattered throughout its vast open environments. In the "A Remedy for All Discovery Quest," you’ll embark on a journey to find these essential items while cleverly evading fascists who are hoarding them.

    The quest for 25 Medicine Bottles in Gizeh ramps up the excitement compared to the Vatican and provides Indiana with enough resources to access tier 2 upgrades for the Moxie and Shaping Up Adventure Books. After collecting them, take the bottles to Dr. Kafour in the Workers Area to enhance Indy’s stamina and health.

    Completing the Cloud Atlas Mystery at the Meteorological Station will grant you the Gizeh Medicine exploration guide, directing you to every overlooked Medicine Bottle in Gizeh.

    Medicine Bottle Locations in the Gizeh Workers Area

    Your adventure in Gizeh kicks off at the Workers Area, where you can find the first two Medicine Bottles. However, it’s advisable to wait until after encountering Nawal and acquiring the Digsite Outfit, as your regular attire may attract unwanted attention from the Nazi guards.

    # Location Description
    1 First Medicine Bottle: Located inside the first tent on the left within the restricted area. Since you won’t have the Wehrmacht Outfit yet, you’ll have to sneak through a hole in the fence and quietly slip into the tent without alerting the guards.
    2 Second Medicine Bottle: This one is found near the entrance to the Sphinx Temple Ruins, which is located just north of the Workers Area.

    Medicine Bottle Locations in the Great Sphinx

    Three additional Medicine Bottles can be found in the Great Sphinx area. As part of the Sanctuary of the Guardians quest, you’ll search this region while looking for a Stele, making it an opportune moment to snag the Medicine Bottles. If you miss them, don’t worry—you can always return later.

    # Location Description
    1 First Medicine Bottle: Right in front of the Sphinx’s left paw.
    2 Second Medicine Bottle: Continue a bit past the entrance to the dig site and look for a crane above. Use your whip on the crane’s hook to ascend; you’ll find a Medicine Bottle perched on top of a wooden box. Build some momentum and leap to reach the platform with the collectible.
    3 Third Medicine Bottle: Located near the back of the Great Sphinx, where there’s an entrance to a tomb. Go inside to pick up the Medicine Bottle.

    Medicine Bottle Locations in the Khentkawes Excavation Site

    The Khentkawes Excavation area lies directly west of the Great Sphinx and contains five more Medicine Bottles for you to find.

    # Location Description
    1 First Medicine Bottle: Found next to a zipline on a high platform made of giant blocks north of the Khentkawes Excavation signpost.
    2 Second Medicine Bottle: To the east of the signpost, spot a truck in the distance; check its back for a Medicine Bottle.
    3 Third Medicine Bottle: Inside a tent that overlooks the Tomb of Khentkawes, along the road to the west of the Workers Area.
    4 Fourth Medicine Bottle: Follow the road west from the signpost and find it in a trench. Be cautious; some Nazis guard this area, and you’ll need to eliminate them before grabbing the bottle.
    5 Fifth Medicine Bottle: Head southwest from the trench until you come across a lone tent by a tomb entrance. To help locate it, it’s directly east of the winding road leading to the Mortuary Temple Ruins.

    Medicine Bottle Locations in the Tomb of Khentkawes

    South of the Khentkawes Excavation, you’ll discover the Tomb of Khentkawes, which hides six Medicine Bottles. This area is well-guarded, making stealth essential to collect these items.

    To ease your quest, grab the Wehrmacht Outfit from the guard tower you encounter after escaping the Nazi Compound. Wearing the disguise will help you navigate past the guards and collect the Medicine Bottles without raising any alarms.

    # Location Description
    1 First Medicine Bottle: Found in a tent within the water station area, located west of the tomb.
    2 Second Medicine Bottle: In a small corner in the southeastern section of the tomb, look for a bottle on a table next to a sleeping enemy.
    3 Third Medicine Bottle: On a table under a tent in the northeast section of the tomb, accompanied by a note that triggers the A Thief’s Promise Mystery.
    4 Fourth Medicine Bottle: Located in the room before the flooded section while you search for the generator to power the elevator for The Secret Of The Queen Mother Fieldwork.
    5 Fifth Medicine Bottle: After activating the elevator, send it to the level below you, then ascend to the highest level and ride the elevator back up. Jump on top and ride it until it stops.
    6 Sixth Medicine Bottle: South of the dig site, enter the ruins and navigate inside. You’ll find the bottle on scaffolding, requiring you to swing between frameworks to reach it.

    Medicine Bottle Locations in the Nazi Compound

    As you advance through the main story in Gizeh, you’ll find a secret tunnel to sneak into the Nazi Compound, targeting Voss’s office. This area contains four Medicine Bottles.

    # Location Description
    1 First Medicine Bottle: Located inside Voss’s bedroom in the headquarters building.
    2 Second Medicine Bottle: Behind the locked door on the upper floor of the detention center where you confront Voss. You can unlock it using the Wehrmacht Key you’ll find alongside the outfit.
    3 Third Medicine Bottle: In the strategy room of the main headquarters; there’s another locked door toward the back that also requires the same key.
    4 Fourth Medicine Bottle: East of the headquarters, there’s a small cabin where you’ll find a Medicine Bottle inside.

    Medicine Bottle Locations in the Nazi Vehicle Garage and Recreational Area

    The Nazi Vehicle Garage and Recreational Area are located next to each other, positioned east of the Khafre Excavation Site and north of the Khentkawes Excavation. One Medicine Bottle will be found in each area.

    # Location Description
    1 First Medicine Bottle: On a desk near the Nazi Cinema in the Recreational Area.
    2 Second Medicine Bottle: Next to the sinks inside the sleeping barracks in the Vehicle Garage.

    Medicine Bottle Locations in the Khafre Excavation Site

    The final few Medicine Bottles are hidden in the Khafre Excavation Site and the nearby Mortuary Temple Ruins to the south.

    # Location Description
    1 First Medicine Bottle: Inside the mess tent, which you may visit during Professor Savage’s A Savage Predicament Fieldwork.
    2 Second Medicine Bottle: Located inside a cave to the south of the dig site, the same cave you’ll escape from after saving Sydney for Professor Savage.
    3 Third Medicine Bottle: In a small camp facing the Great Pyramid of Gizeh. This area is initially guarded by Nazis but will be replaced by wild dogs after completing the Idol of Ra quest.

    Now, you’re equipped with all the knowledge needed to hunt down the coveted Medicine Bottles in Indiana Jones and the Great Circle. Happy hunting!

  • Quick Ways to Earn Adventure Points in Indiana Jones: The Great Circle

    Quick Ways to Earn Adventure Points in Indiana Jones: The Great Circle

    There are several ways to enhance your experience in Indiana Jones and The Great Circle. You can unlock various skills using Adventure Points and explore unique tactics to navigate through different areas and challenges.

    While locating Adventure Points can sometimes be a bit frantic, there are plenty of easy ways to gather them. Here’s a guide to maximize your Adventure Points in Indiana Jones and The Great Circle.

    Discovering Relics


    Finding Ancient Relics while exploring tombs or other areas is one of the best ways to rack up Adventure Points. These relics can be found throughout the game and are often in plain view.

    You can collect these relics to help unravel mysteries, granting you extra Adventure Points in the process.

    The tasks of gathering Relics and other collectibles are classified as Field Works. Open your journal to see what Field Works quests you have on hand and complete them for bonus points.

    Locating Field Notes


    One of the Field Notes located near the jail in Indiana Jones and The Great Circle.

    Another common method to gain points is by seeking out Field Notes, which are often scattered throughout each chapter. These documents are typically useful for solving puzzles or assisting in side quests.

    While finding a single Field Note may award a small number of Adventure Points, collecting them in bulk will yield more points as you work through the chapters.

    Finishing Side Quests


    The player accessing their journal to view the Field Work side quests in Indiana Jones and The Great Circle.

    In the expansive world of Indiana Jones, finding side quests is another excellent way to gather points. For example, offering assistance to NPCs in various situations can count as side quests, though these tasks might not show up on your map; you’ll need to listen to the townsfolk for hints about who needs help.

    Engaging in activities outside of the main storyline like solving mysteries or completing fieldwork will also reward you with Adventure Points.

    Solving mysteries is a straightforward yet sometimes tiresome way to quickly amass Adventure Points.

    Capturing Photos


    The camera icon indicating a photo opportunity in Indiana Jones and The Great Circle.

    The expansive cities in the game are filled with stunning locations. Once you acquire the Camera early on, you can take pictures of any captivating scenery that catches your eye.

    Besides having the freedom to take photos of whatever you like, the game also offers specific photo opportunities for extra Adventure Points. These chances to snap a picture will randomly show up as you explore, marked by a camera icon on the top left of the screen.

  • All Medicine Bottle Locations in Vatican – Indiana Jones & The Great Circle

    All Medicine Bottle Locations in Vatican – Indiana Jones & The Great Circle

    In Indiana Jones and the Great Circle, Medicine Bottles act as a unique form of currency that Indy can take from the fascists. Although their purpose is not instantly clear, they are crucial for the ongoing “A Remedy for All Discovery” quest in every region Indy visits. Collecting these items allows players to trade them in for permanent boosts to Indy’s health and stamina.

    The Vatican City starts this quest, featuring 15 Medicine Bottles located throughout the area. You need to find them all to trade at Valeria’s pharmacy, which will grant you Adventure Books that enhance Indy’s overall performance. Here’s where to locate each bottle.
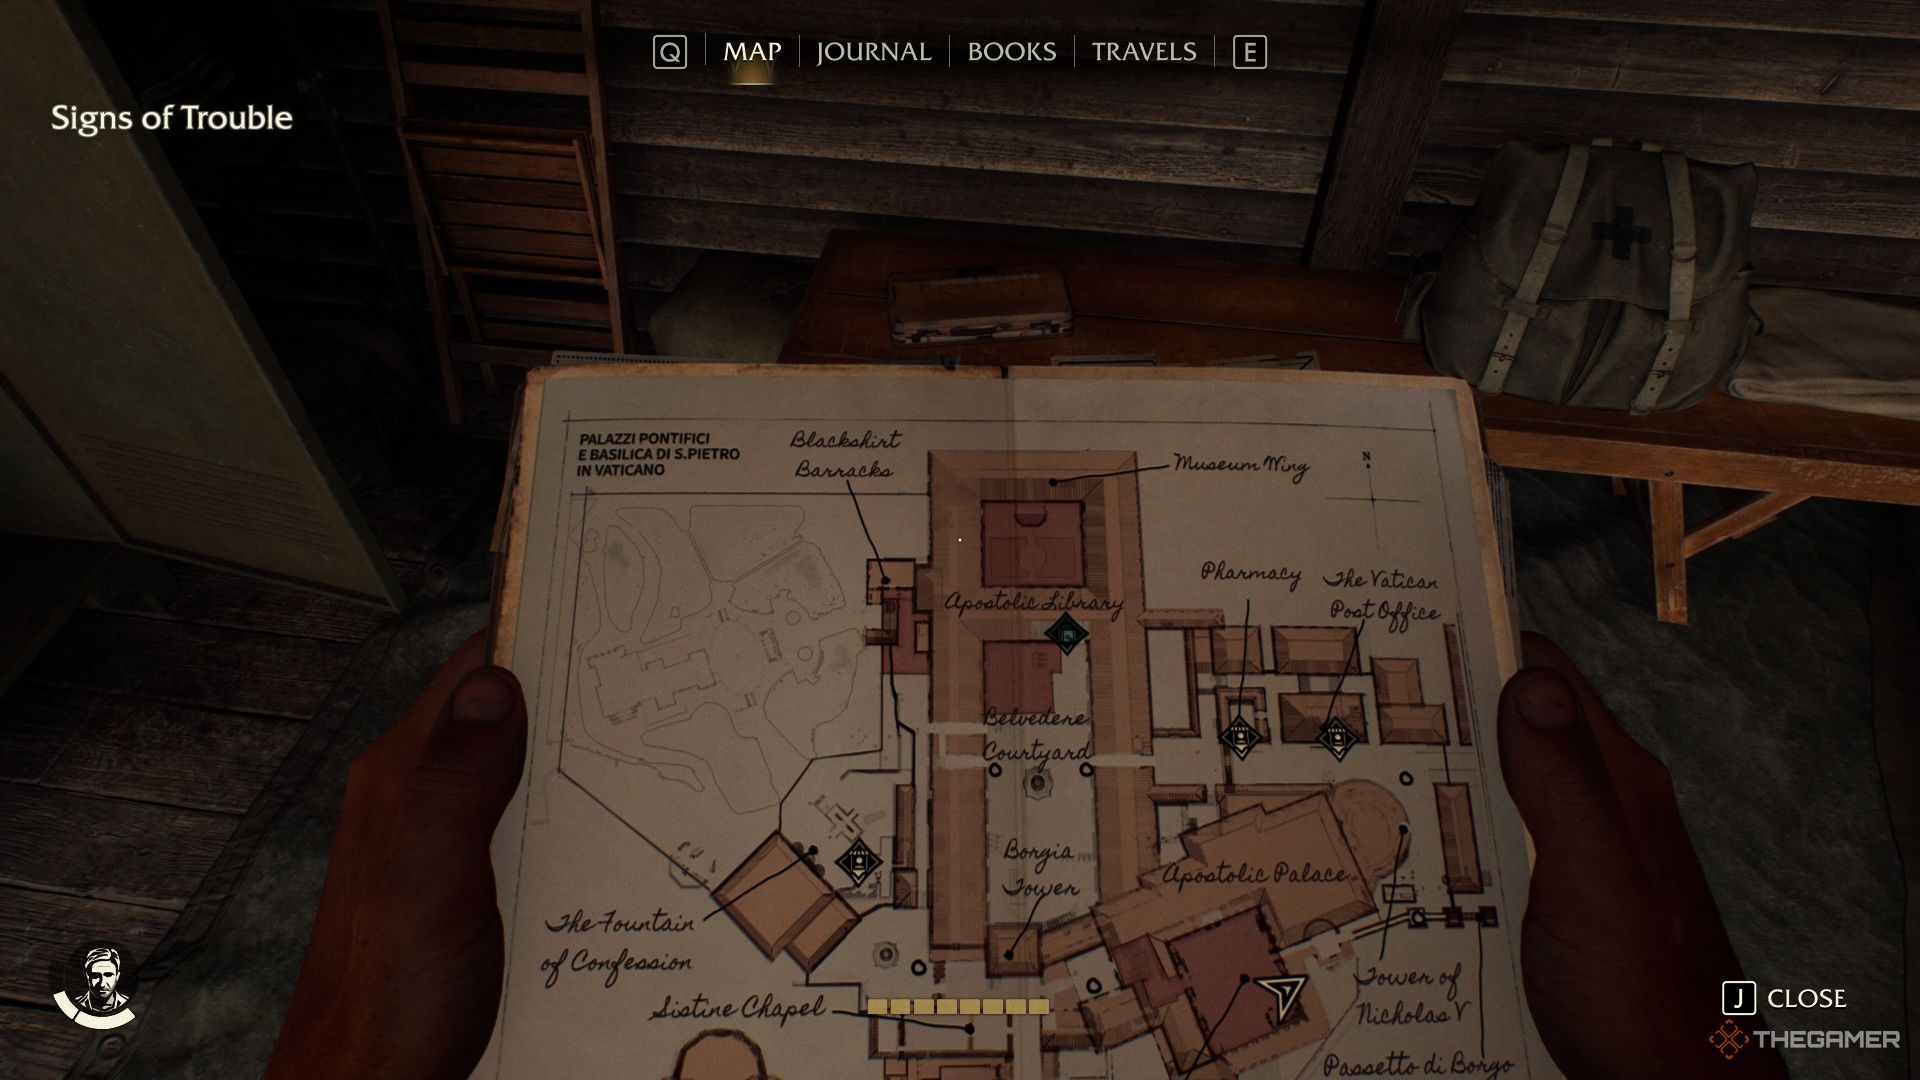
    Completing the A Date To Remember Mystery quest rewards you with the Vatican Medicine exploration guide, which will mark the location of any uncollected Medicine Bottles.

    How to Use the Vatican City Medicine Bottles


    The quest titled “A Remedy For All” kicks off when you discover your first Medicine Bottle. A brief conversation with pharmacist Valeria will clarify their significance, as she’ll mention a shortage of medicine and will ask you to bring her any Medicine Bottles you find.

    Turning in these bottles allows you to purchase the initial three Adventure Books: Moxie and Shaping Up, which boost Indy’s stamina and health, respectively. The first book of each series costs five bottles, with every upgrade requiring more bottles as you progress.

    Although the Medicine Bottles available in the Vatican won’t cover all six Adventure Books, there are plenty more waiting for you in Gizeh later on.

    All Vatican City Medicine Bottle Locations

    Indy stealing a Medicine Bottle in the Vatican City in Indiana Jones and the Great Circle.

    All 15 Medicine Bottles are distributed throughout Vatican City, meaning you don’t have to venture underground to find them. Most of these bottles are located in areas guarded by Blackshirts, so proceed with caution. If you grab one in their vicinity, they will raise the alarm. Always ensure the area is clear before you make your move.

    Location

    Image

    Description

    Belvedere Courtyard

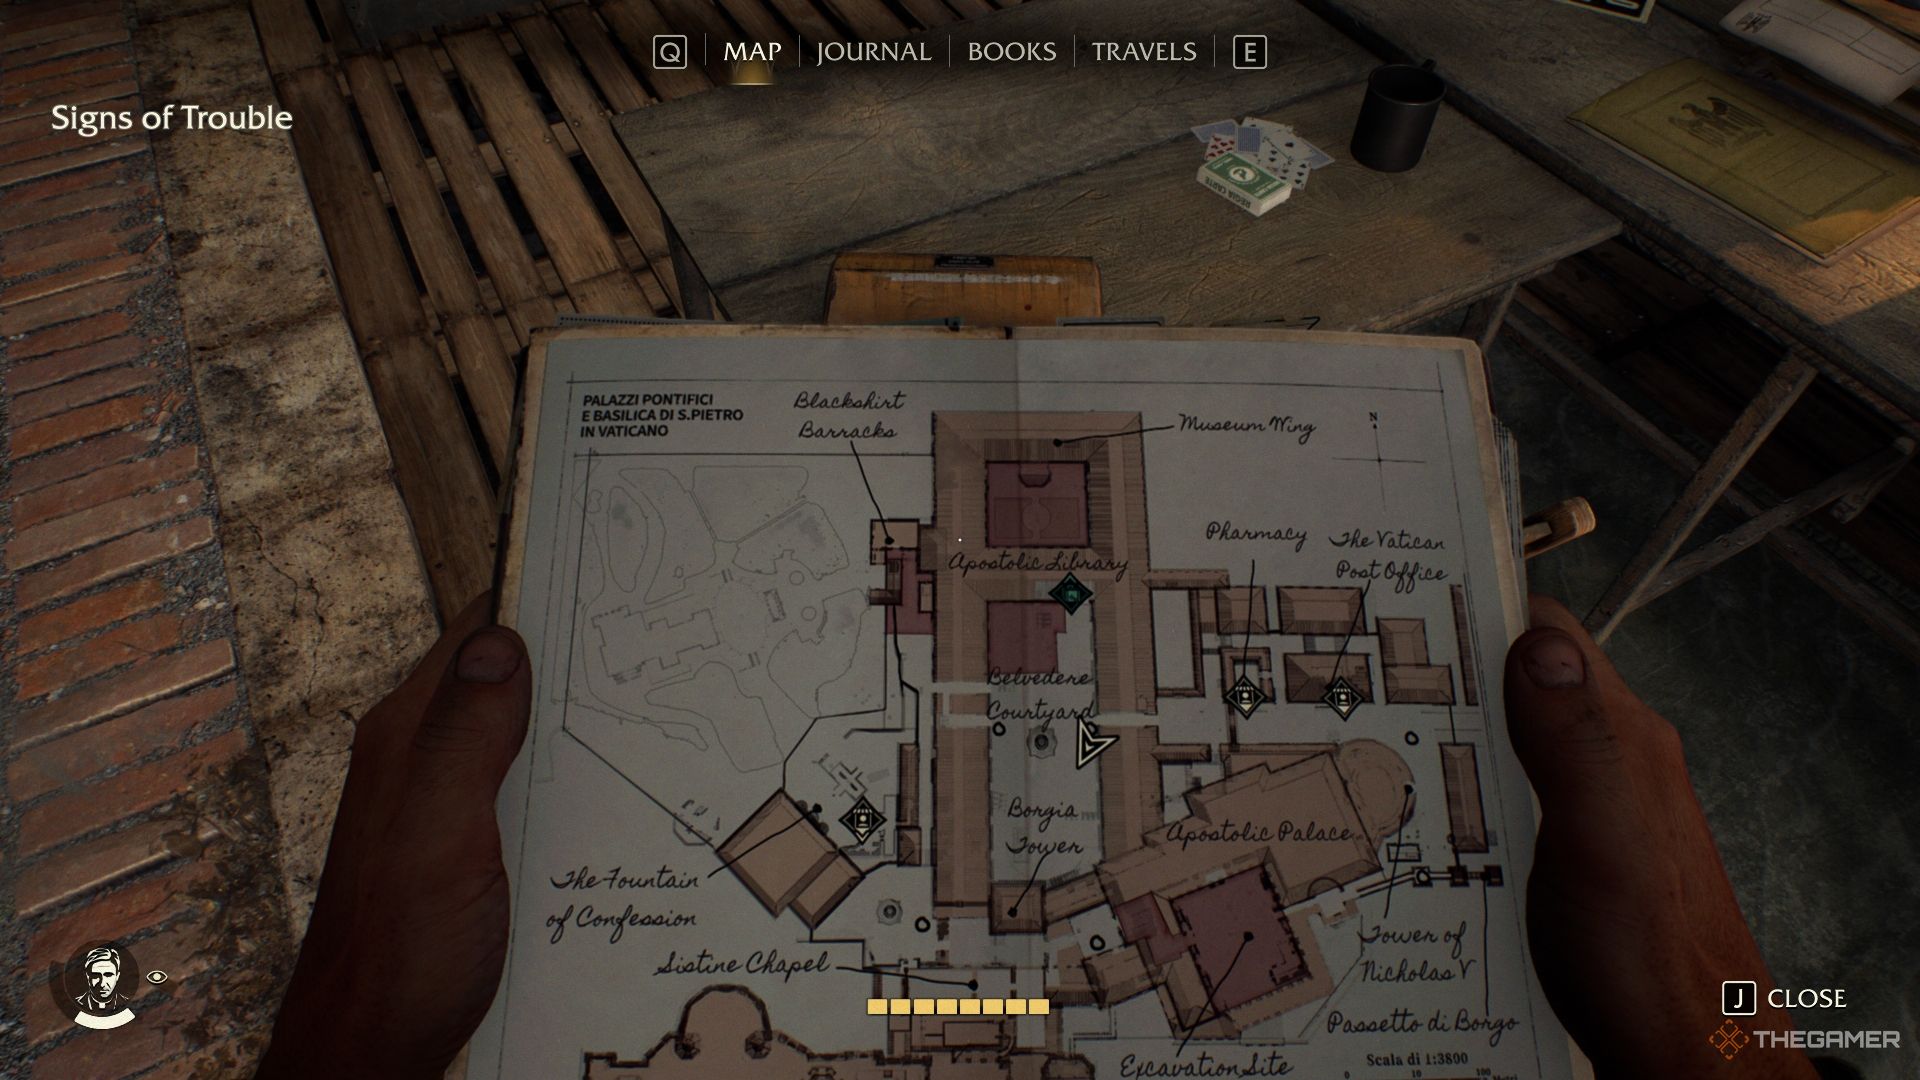
    Vatican Map showing first Medicine Bottle location in Indiana Jones and the Great Circle.

    Found inside the southeastern tent. However, a guard in the nearby security booth makes it challenging to steal it. Handle the guard first before collecting the Medicine Bottle.

    Belvedere Courtyard

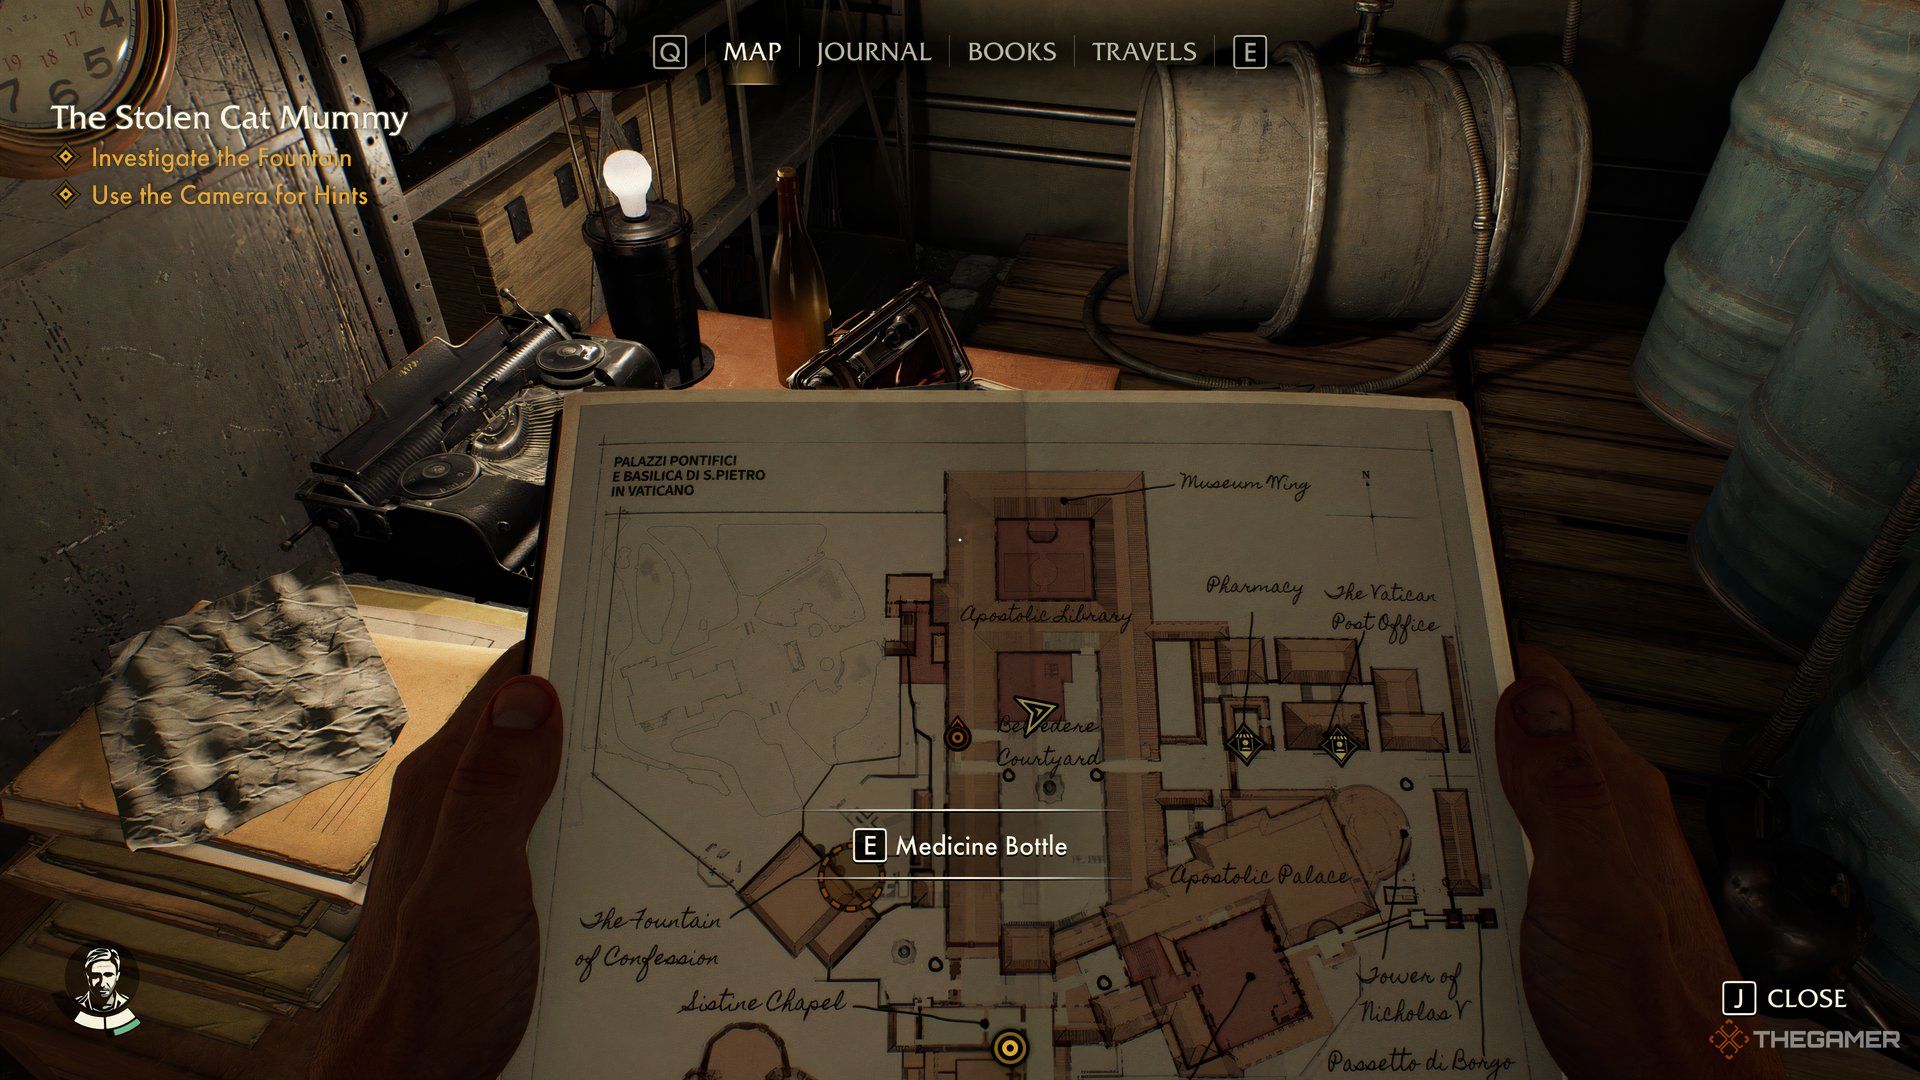
    Map showing location near the second Medicine Bottle in Indiana Jones and The Great Circle.

    Located inside a tent with oil barrels in the restricted area of Belvedere Courtyard. Unless you’re wearing the Blackshirt Uniform, you’ll need to crawl through a gap in the fence to reach this Medicine Bottle.

    Borgia Courtyards

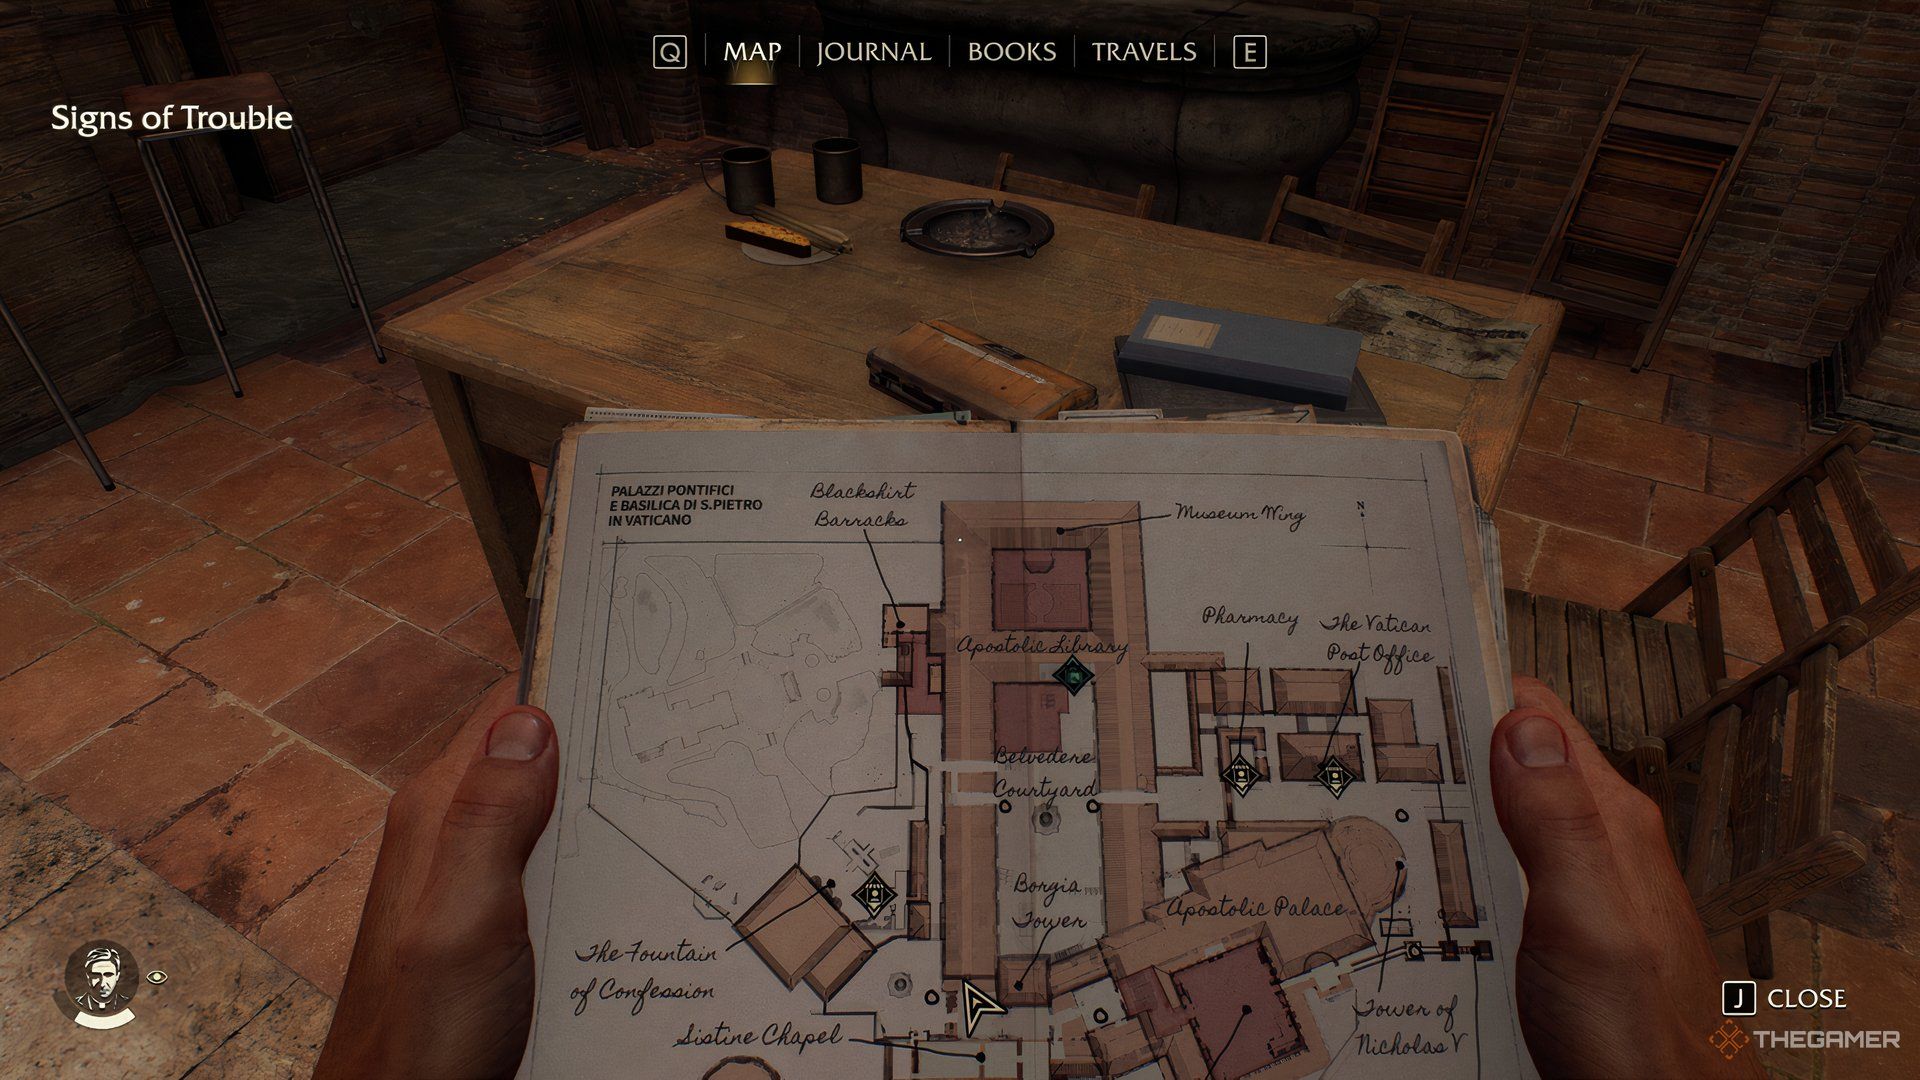
    Map showing Indy's location in front of the third Medicine Bottle in Indiana Jones and The Great Circle.

    On a table outside the Sistine Chapel.

    Borgia Tower

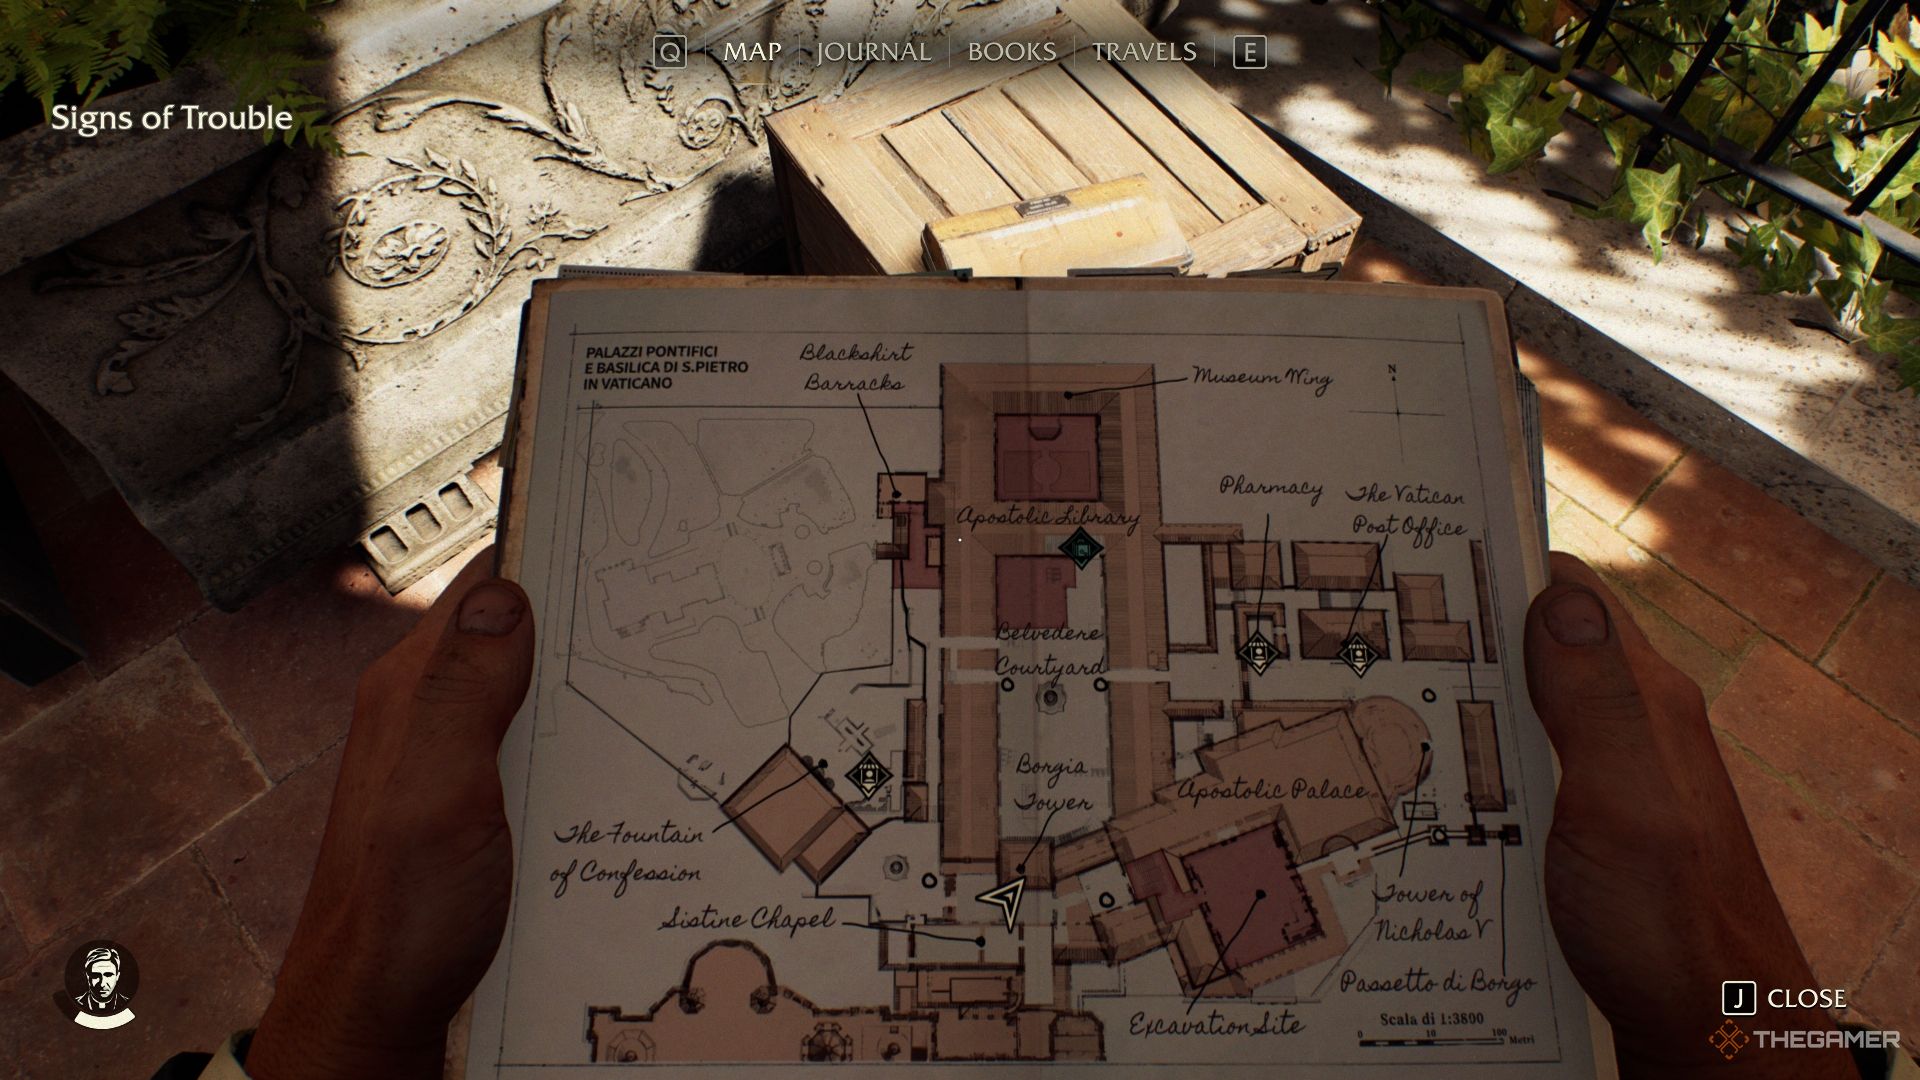
    Vatican Map showing the fourth Medicine Bottle location in Indiana Jones and the Great Circle.

    From the last Medicine Bottle, climb the nearby scaffolding and use a whip point to ascend further onto a roof. You’ll find this one on a wooden crate.

    Apostolic Palace

    Vatican Map showing the fifth Medicine Bottle location in Indiana Jones and the Great Circle.

    Just east from the Borgia Courtyards entrance. The Medicine Bottle is underneath the staircase just inside. You’ll need to deal with the guard outside first if you’re not wearing the Blackshirt Uniform.

    Apostolic Palace

    Vatican Map showing the sixth Medicine Bottle location in Indiana Jones and the Great Circle.

    On a desk inside Ventura’s office, next to the bookshelf with the “A Snake in the Garden Mystery” puzzle.

    Via Di Belvedere

    Vatican Map showing the seventh Medicine Bottle location in Indiana Jones and the Great Circle.

    Exit towards the Vatican Post Office from the Belvedere Courtyard, through the metal gate on the right. In the dead-end alley, you’ll find the Medicine Bottle on a table.

    Vatican Post Office

    Vatican Map showing the eighth Medicine Bottle location in Indiana Jones and the Great Circle.

    As you enter the alleyway behind the Vatican Post Office, you’ll spot the Medicine Bottle on a small wooden table near a wall covered in fascist propaganda.

    Tower of Nicholas the Fifth

    Vatican Map showing the ninth Medicine Bottle location in Indiana Jones and the Great Circle.

    This Medicine Bottle can be found in front of a large wooden gate south of the tower.

    Blackshirt Barracks

    Vatican Map showing the tenth Medicine Bottle location in Indiana Jones and the Great Circle.

    Outside the barracks, climb the scaffolding to reach an overhang. Move along until you find a zipline that takes you through a window into one of the barracks, where the Medicine Bottle awaits.

    Blackshirt Barracks

    Vatican Map showing the 11th Medicine Bottle location in Indiana Jones and the Great Circle.

    This bottle is found inside one of the barracks, which unlocks with the Blackshirt Key. You’ll obtain the key along with the uniform after a meeting with Gina in the fascist laundry area.

    Excavation Site

    Vatican Map showing the 12th Medicine Bottle location in Indiana Jones and the Great Circle.

    During the A Savage Discovery side quest, search a cabin at the dig site for someone named Giuseppe. The Medicine Bottle will be resting on a bench inside.

    Excavation Site

    Vatican Map showing the 13th Medicine Bottle location in Indiana Jones and the Great Circle.

    For this Medicine Bottle, start the Mad Priest quest and progress until you get the Sewer Key. In the Sewers, climb up to the ledge above and head upstairs into the storeroom section of the Apostolic Castle to find the bottle.

    Laundry Area

    Vatican Map showing the 14th Medicine Bottle location in Indiana Jones and the Great Circle.

    The bottle lies on a bench in the laundry area.

    Borgia Tower

    Vatican Map showing the 15th Medicine Bottle location in Indiana Jones and the Great Circle.

    Continue through the “A Nun in Trouble” quest until you acquire Giuliana’s Key, which unlocks the door in the Borgia Tower. Navigate the balcony, and you’ll find the Medicine Bottle next to a zipline.

  • Navigating the Secret Pyramid in Sukhothai: A Guide for Indy Fans

    Navigating the Secret Pyramid in Sukhothai: A Guide for Indy Fans

    At the climax of Indiana Jones and the Great Circle, you’ll find yourself in Sukhothai, where your journey leads you to pursue the final stone and the tales of a Blessed Pearl. The silver lining is that Voss has yet to uncover the way to the Hidden Pyramid of the Nephilim, but the downside is that it’s actually concealed quite well.

    Your first challenge is locating the Pyramid. However, once you’re inside, you’ll face some of the game’s most formidable obstacles, including a scenario that would terrify even Dr. Jones himself. Prepare to confront the age-old dilemma: is it worse to face a hundred normal snakes or one massive serpent?

    How to Locate the Hidden Pyramid

    You can head to the Hidden Pyramid as soon as you acquire the Breathing Device from Tongdang. The easiest way to fund this purchase is to swipe Voss’ stash of gold from his campsite. While you’re there, you might as well grab a Royal Army Uniform and jump into the Boxing Ring nearby for some extra cash.

    Once you own the Breathing Device, take a boat to the northwest corner of the map, just north of Wat Sa Si. You’ll come across two trails: the right one leads to a dead end but features a waterfall you can photograph for adventure points, while the left path reveals a Yeak statue, the creature Sunan mentioned before, indicating you’re in the right place.

    Stop your boat, equip the Breathing Device, and dive below. Amidst the ruins, look for a chute to swim down through; this will lead you through a tunnel, pushing aside a wooden beam blocking your way.

    Warning: The Breathing Device has a limited oxygen supply, so don’t waste time. It automatically refills when you surface, so keep an eye on the meter at the bottom right of the screen.

    After you pass the beam, emerge into a sunlit area to catch your breath, then continue along the left path. You should have just enough air to reach the Gear Train Puzzle waiting for you at the tunnel’s end.

    How to Solve the Khmer Gear Train Puzzle

    To unlock the mechanism that exposes the waterway, you must activate the gear systems on both sides of the chamber separately. You can tackle them in any order, but first, you’ll need to gather the cogs hidden nearby:

    • You’ll find two large cogwheels, one at the front and another at the back of the room.
    • Near the gear trains, there’s a small cogwheel on the ground to the left of each; you’ll need to grab both to have a total of two, but you still require a third.
    • On the left gear train, there’s a hole to the right. Crawl through and climb the wall on the left to find the third small cogwheel at the top.

    Once you have all three small cogwheels, use your whip to pull the ring on the wall opposite the waterwheel. This will set the wheel in motion and activate the machinery.

    Right Gear Train

    The right gear train presents the simplest cogwheel challenge. Position one small cogwheel to the right of the large center gear, then place a large cogwheel right next to it to form a horizontal line. Next, set a second small cogwheel directly above the large one, and put the third small wheel in the remaining space to its right. This forms a connection from the main gear to the cog concealed in vines in the upper-right corner.

    Once arranged correctly, pull the lever at the mechanism’s center. If everything is set up right, the statue to the left will sink into the ground. Afterward, retrieve your cogwheels, as you’ll need them for the other puzzle.

    Left Gear Train

    You’ll need all five cogwheels (two large and three small) to activate the left gear train, and ensure that the waterwheel in the back is functioning (refer above). After meeting these conditions, place a large cog to the left of the main gear. Then, add two small cogwheels next to each other to the left of this large cogwheel.

    The second large cogwheel should go beneath the leftmost small cog so that it sits partly behind the statue’s ear, with the final small cog placed in the last remaining spot on the right. When correctly arranged, pulling the lever will cause the statue to retract into the ground, just like with the right gear train.

    Tip: Remember to take the three small cogwheels with you when you leave. You’ll need them for optional puzzles hidden throughout Sukhothai, and they are crucial for collecting all the Ancient Relics.

    Once both statues have disappeared into the ground, turn the dial on the wall between the two gear trains to trigger a cutscene that reveals the Hidden Pyramid.

    Warning: If you’re low on supplies like Bandages at this point, it’s smart to head back and raid an enemy camp for more before proceeding.

    How to Access the Sukhothai Pyramid

    The pyramid’s exterior doesn’t reveal any doors, stairs, or ladders. To enter, you must navigate the water and face its serpentine guardian.

    Warning: Unless you’re in a tight area where the giant snake can’t follow, you’ll hear a sonar sound whenever you’re in the water near the pyramid. This indicates the snake is on your trail; the sound will increase in pace as it gets closer. If it catches you, the consequences are fatal. Stay out of the water or find cover.

    While in the boat from the gear puzzle room, approach the pyramid until you spot a collapsed tower on your left. Carefully climb onto it from your boat and notice that the roof has a hollow space, allowing you to swim down. Equip the Breathing Device and move the beam at the bottom of the tower.

    Get some air, then return to the opening and swim straight ahead to the next tower as fast as you can. As long as you don’t pause, you’ll outrun the snake. Move from one safe area to another, following the sunlight if you get disoriented until you’re inside the pyramid. If you catch a glimpse of the snake’s face, you’re temporarily safe; just make sure to get above water before running out of air.

    How to Scale the Hidden Pyramid in Sukhothai

    Once you’re out of the water, make your way to the far end of the room and jump down to the ledges below until you reach the chasm’s base. Here, you’ll find a crawl space that leads you to the Tower.

    Walk carefully along the stone ledges, using your whip and running jumps as needed to navigate larger gaps. When you see a giant mushroom to your right and a spear ahead, you’re about to learn a new climbing mechanic.

    Using the Giant Mushrooms to Climb

    Throwing a spear at a giant mushroom will create a swinging bar that you can secure with your whip. Ensure you throw the spear from directly across from the mushroom; any angled throws may cause it to bounce off. Generally, there will be multiple spears available, but if you miss too many, you might need to reload a checkpoint to respawn them.

    Tip: If the targeting reticle turns red, it means the spear is in range to hit the mushroom, but the angle might still need adjustment. Aim for a straight shot whenever possible for optimal success.

    How to Navigate the Lost Archive and Defeat the Giant Snake

    After swinging from the first mushroom, you’ll enter the Lost Archive. Head immediately right for an Ancient Relic, then continue crossing the stones as before: make running jumps and swings. If you fall, you’ll end up in the water again, but beware—the giant snake is back. Get back ashore quickly when that happens.

    Tip: Some spots will require a quick swim. As long as you’re in and out of the water fast, you should be safe from the snake.

    When you spot the elephant skeleton, your only option is to dash toward the swing bar on your left and use your whip midair to grab it. This will lead to a break that drops you into the water. Climb onto the island beneath the elephant to confront the snake directly.

    Collect the spears from the ground, and hurl them at the snake when it opens its mouth. Don’t hesitate, or it will bite, depleting a significant portion of your health. Fortunately, the snake takes its time resurfacing after submerging, giving you a chance to apply a Bandage.

    Tip: If you run out of spears on the ground, there are more in the elephant’s holster above you.

    Once you’ve used enough spears on the snake, it will retreat and break through a wall, allowing you to progress to the next area without further hassle.

    Second Climbing Section

    Once back in the sunlight, it’s time to climb again. Move counter-clockwise along the cliff’s edge until you can cross the chasm and then shift back clockwise along the tower’s side. At the giant snakeskin, you’ll have two routes: staying to the right will lead you to the spear needed to create a swing bar straight across the chasm. However, before you circle back on the snakeskin, continue on the right path for another Ancient Relic.

    Swing across the cliff using the whip attached to the spear and mushroom, then climb through the cave on the opposite side. You’ll surface right above where you just were. Continue to the right path to reach the summit of the tower after some brave jumps and swings using the mushrooms.

    At the top, you’ll hear Gina calling from outside. Turn left and head down the stairs, then use your whip to pull her up.

    Note: The snake’s escape has also created an opening to the right for easier access without backtracking through the entire ruin.

    Follow Gina up the stairs as she turns the dial on the door’s left side; take a running jump back to where you initially came from to reach the right dial and enter the Game Room.

    How to Solve the Nephilim Game Puzzle

    Each time you place a game piece on the board, it will rotate all orthogonally adjacent towers by 90 degrees counter-clockwise. Start by taking all the pieces from the left shelf; along with the one already on the board, you should now have three to use.

    Facing the statue, do the following:

    1. Place one piece at the center of the board, causing three towers to rotate.
    2. Position a second piece diagonally next to the first so that the two leftmost towers rotate.
    3. Position the third piece next to the far-right tower, aligning all four to face the wall.

    When all four towers are oriented toward the wall, a second shelf will reveal three more game pieces. Keep the original pieces in their current spots, and add the new pieces to the board on places that won’t move the towers. You’ll need them all off the shelf to ensure continued access after the panel closes:

    1. Position a piece in the corner so that the center and near-right towers rotate.
    2. Add the other two pieces beside the remaining towers, causing each to rotate. All four towers should now be facing the statue.

    When the statue reveals its secret message, snap a picture to trigger a cutscene and a boss battle. Refer to our guide for strategies on tackling Locus in the Pyramid’s depths; after defeating him, you’ll be automatically transported back outside to continue your adventure.

  • Escaping the Necropolis: Indiana Jones and the Great Circle

    Escaping the Necropolis: Indiana Jones and the Great Circle

    Just like any thrilling Indiana Jones story, Indiana Jones and the Great Circle is packed with adventures that take our hero through caves and hidden tombs. Before he makes his way to Gizeh, Indiana will navigate the Necropolis in The Vatican. However, as he’s trying to find his way out, things take a turn for the worse when he gets thrown down into the depths of the Necropolis and must begin exploring to escape.

    After wrapping up the Sacred Wounds puzzle, the last thing you expect is for a man in a bulldozer to crash through the roof. Now, your mission is to track a precise route to escape the Necropolis and reach the light of day again.

    How to Escape the Necropolis


    After the unexpected bulldozer crash, exit the room where you landed and move through the corridors, passing the Necropolis statues. Duck down and go through the water under the gap you can swing over.

    Swim into the bigger chamber and jump up onto the small platform before heading to the other broken corner to squeeze through the gap and get back on dry ground.

    Don’t forget to snap a picture of Oceanis on your left as you jump onto the small platform in the water.

    Keep moving until you spot a glow of light ahead. You’ll need to encounter or avoid a few enemies here. Now, go into the room on the left and descend to another level of the Necropolis.

    Follow the corridors until you reach a gap in the floor with two wooden planks. Walk down them and crawl through the opening on the right, where more enemies await. Since they are numerous, you might want to bypass them instead of confronting them directly.


    A chandelier over a gap in Indiana Jones and the Great Circle.

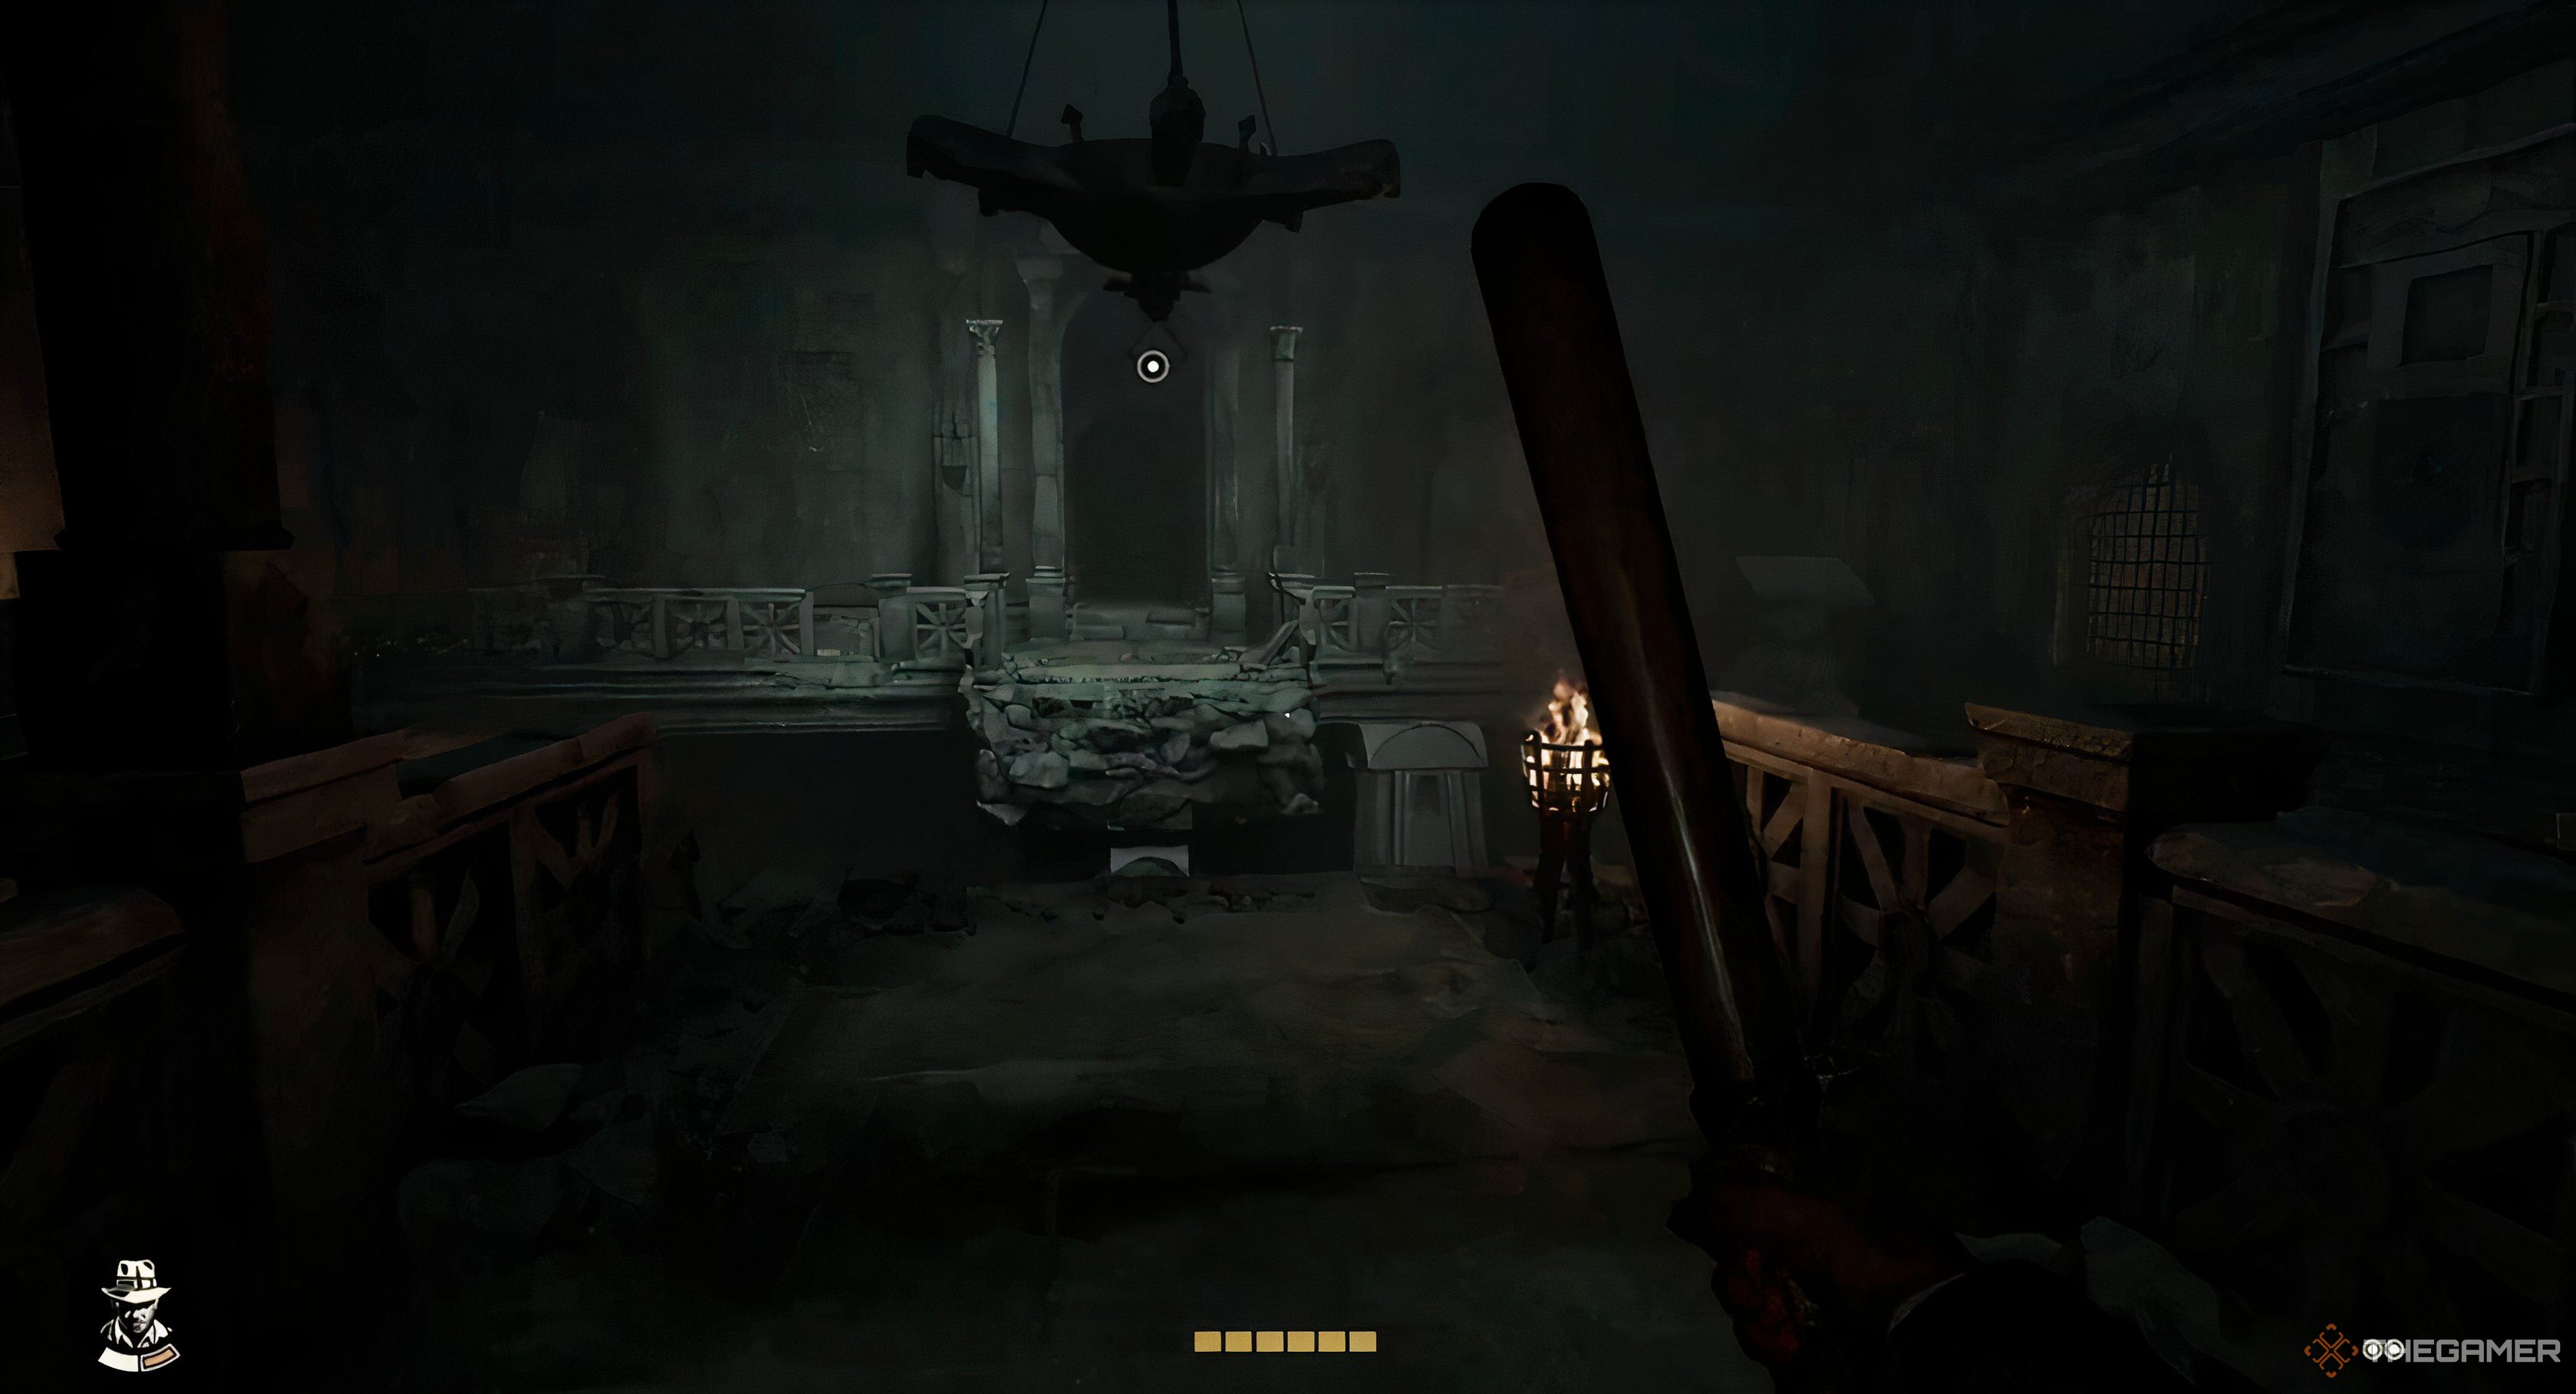
    In this room, stay to the right and take the corridor that leads up the stairs until you reach the big chandelier at the center. From there, swing over and head right into another room with two enemies. One of them should be sitting down, making it easy to deal with.

    If a fight breaks out in the main room, the two enemies in the adjacent room will remain unaware of your presence.

    Pick up the bust on the floor and place it on the pedestal to unlock the door. Then crawl through the left gap, remembering to snap a picture of the lover’s tomb as you go.

    Next, use the grapple point to climb up twice, swinging to a gap in the wall during the second climb. You’ll find a pedestal on the left side, as well as another one farther along. Grab the bust and transfer it to the other pedestal. Go into the next room and secure a two-handed weapon to break down the damaged wall.


    A bust on the floor in Indiana Jones and the Great Circle.

    There’s yet another bust in that room, so place it on the pedestal to unlock the door and collect an Ancient Relic. Afterward, retrace your steps and crawl down toward the water.

    On the opposite side of the room, you’ll find a gate with an enemy lurking nearby. You can use your whip to pull it open. Once you’re through, you can choose how to deal with the enemies to reach the bulldozer you saw crash earlier. Climb up the front of it while keeping out of sight from any foes.


    The Necropolis exit in Indiana Jones and the Great Circle.

    Once you’ve climbed onto the vehicle, use your whip to continue up and make your escape from the Necropolis as you proceed further into Indy’s journey.

  • How To Solve The Three Eyed Gate Puzzle In Indiana Jones And The Great Circle

    How To Solve The Three Eyed Gate Puzzle In Indiana Jones And The Great Circle

    Indiana Jones and the Great Circle certainly embodies the spirit of adventure, and no journey is complete without a challenging light-based puzzle to solve. Unlike puzzles such as the Sacred Wounds or collectible searches like Medicine Bottles, this particular puzzle relies heavily on your intellect. Navigating its intricacies could extend your gameplay significantly, or you might prefer a bit of guidance to find the solution more swiftly.

    How to solve the Three Eyed Gate puzzle

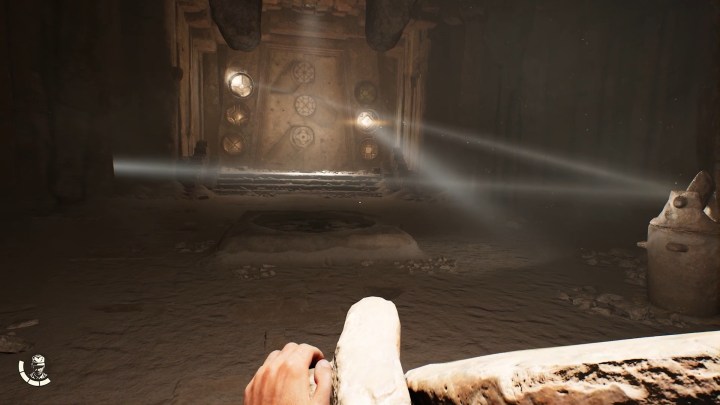
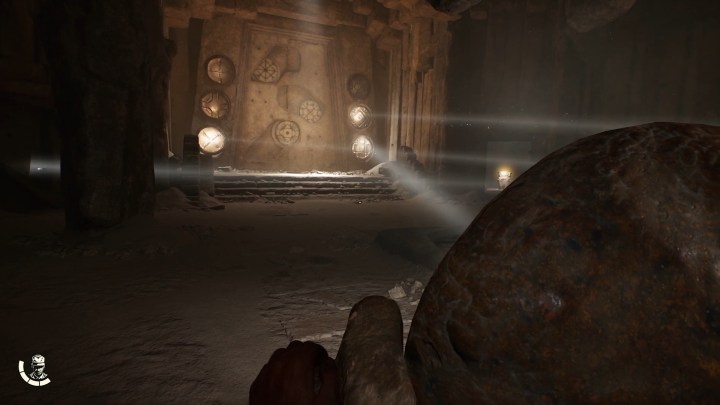
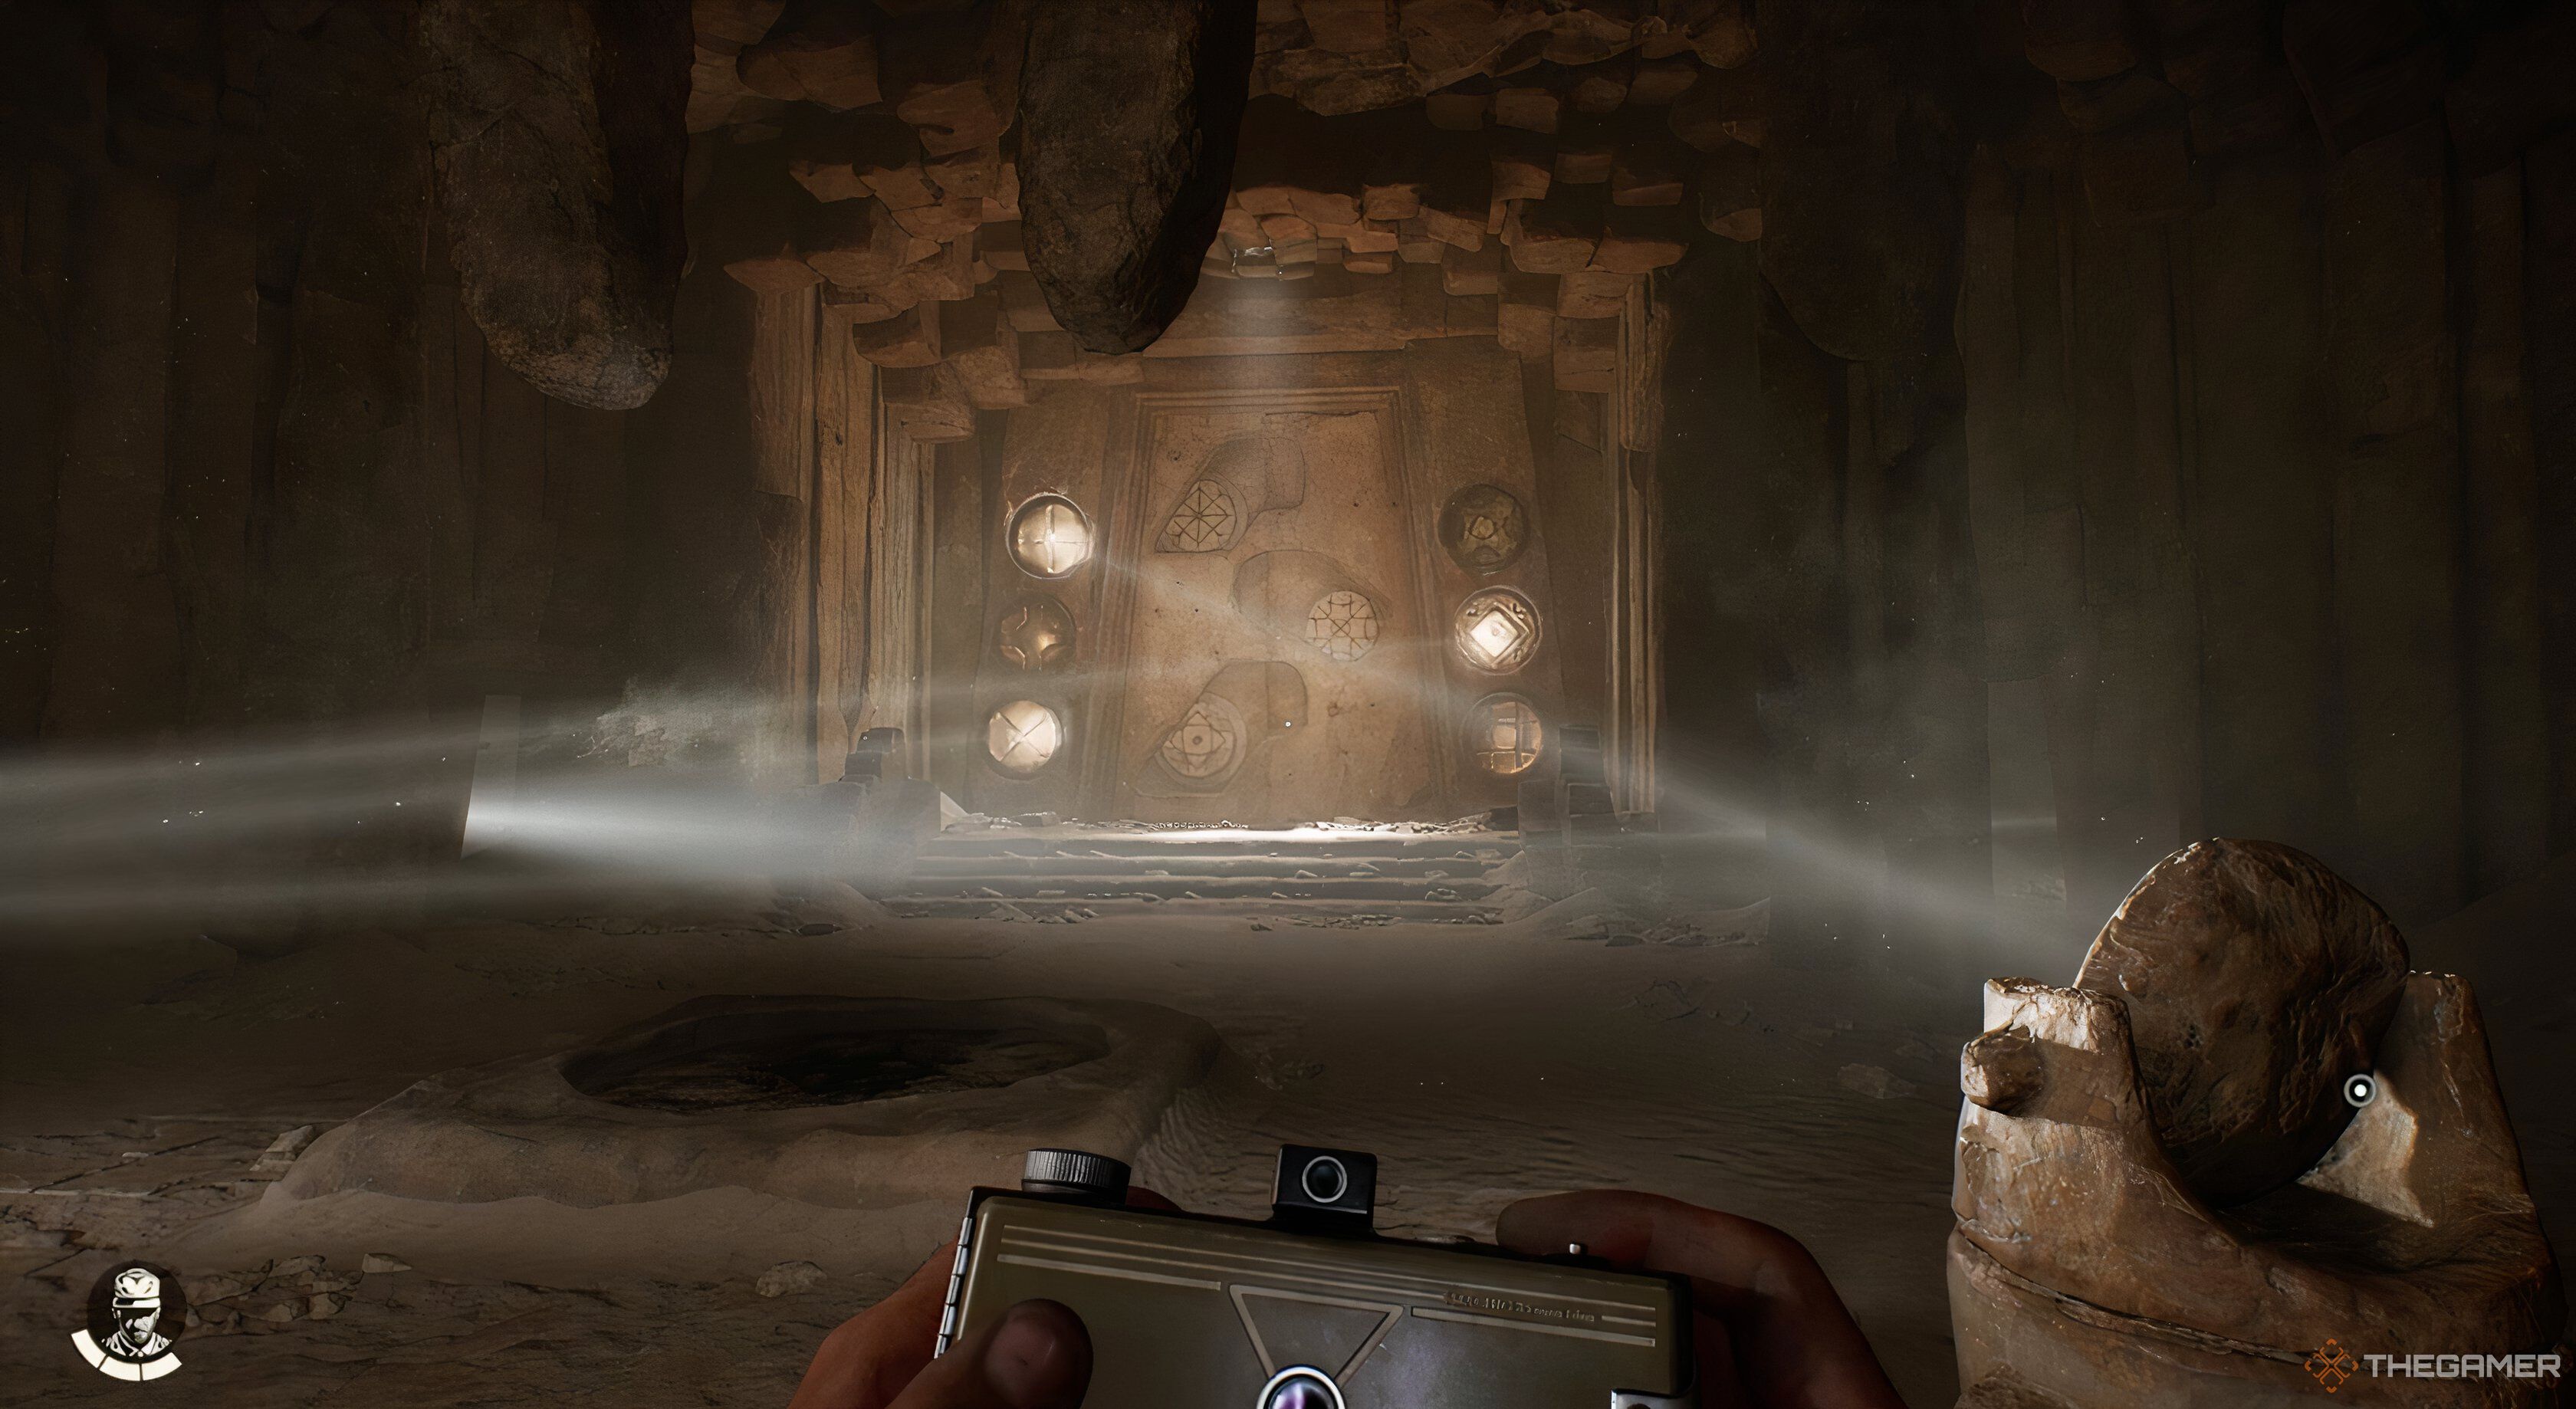
    You will encounter the Three Eyed Gate puzzle, also known as the Light Chamber puzzle, as you progress toward the Idol of Ra. Your task is to direct six beams of light onto specific symbols on the wall to unlock the way forward.

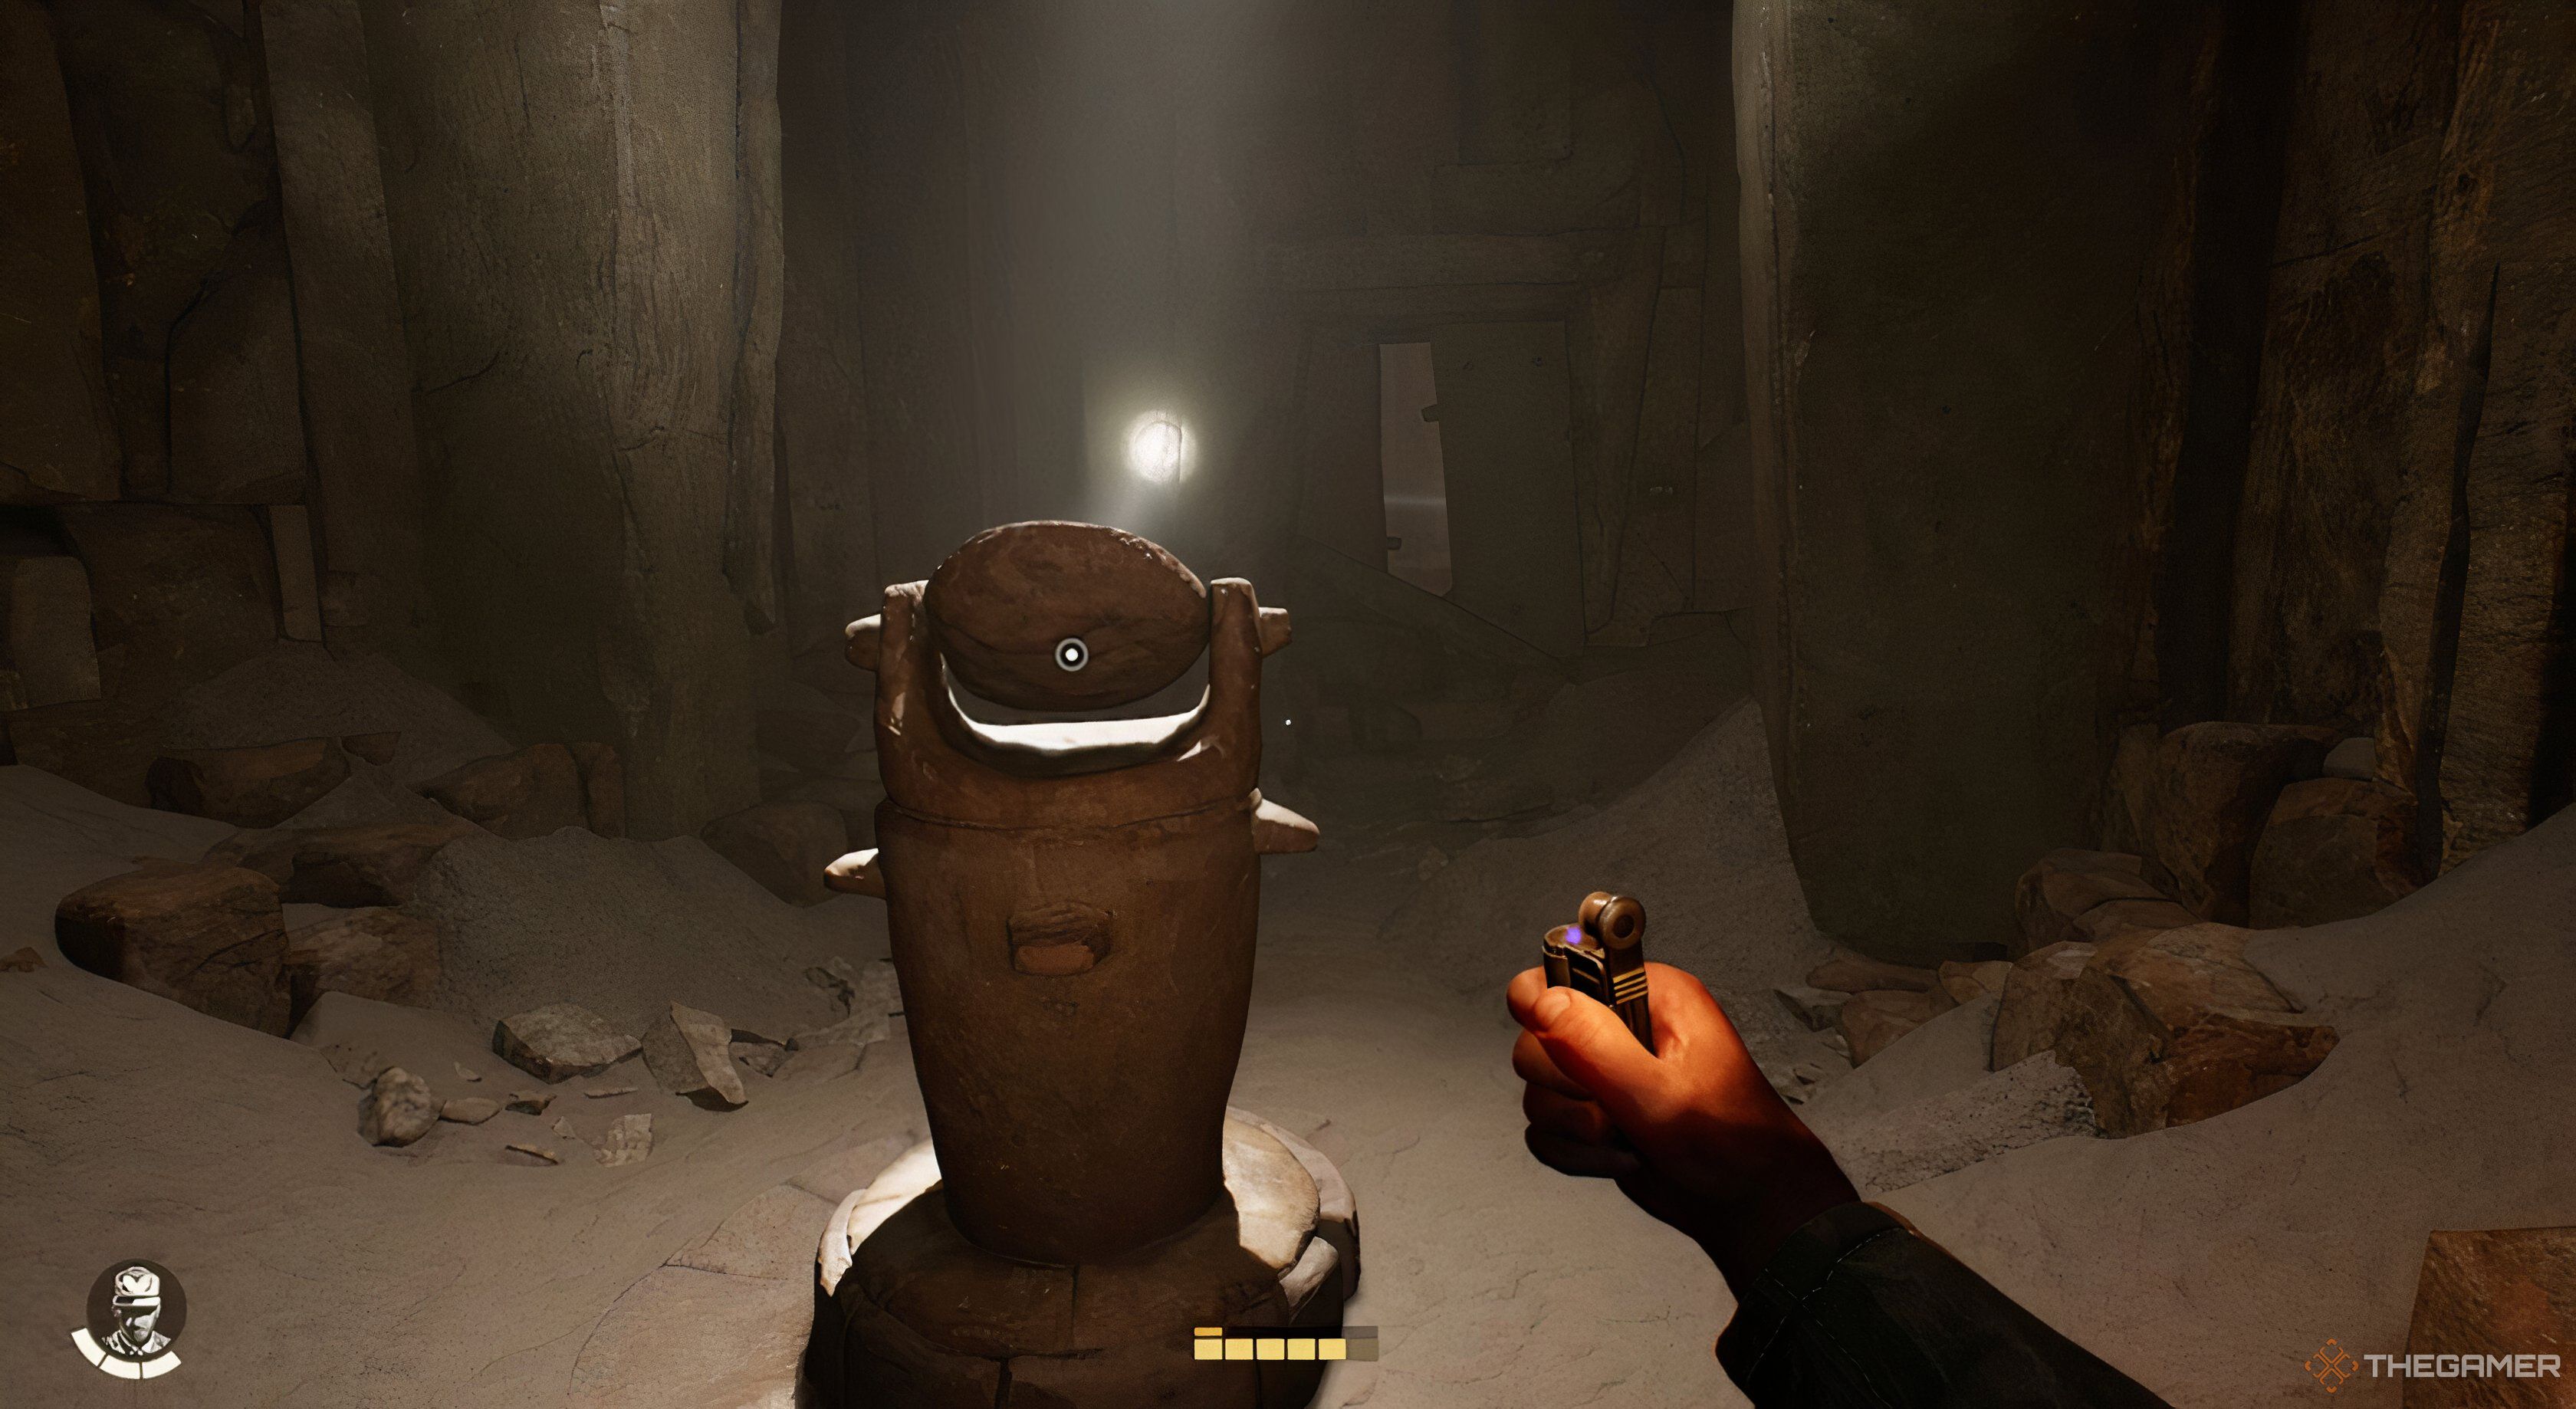
    Step 1: Start by using the mirror in the main chamber to aim at the upper right symbol. This action will open a door to your left.

    Bethesda

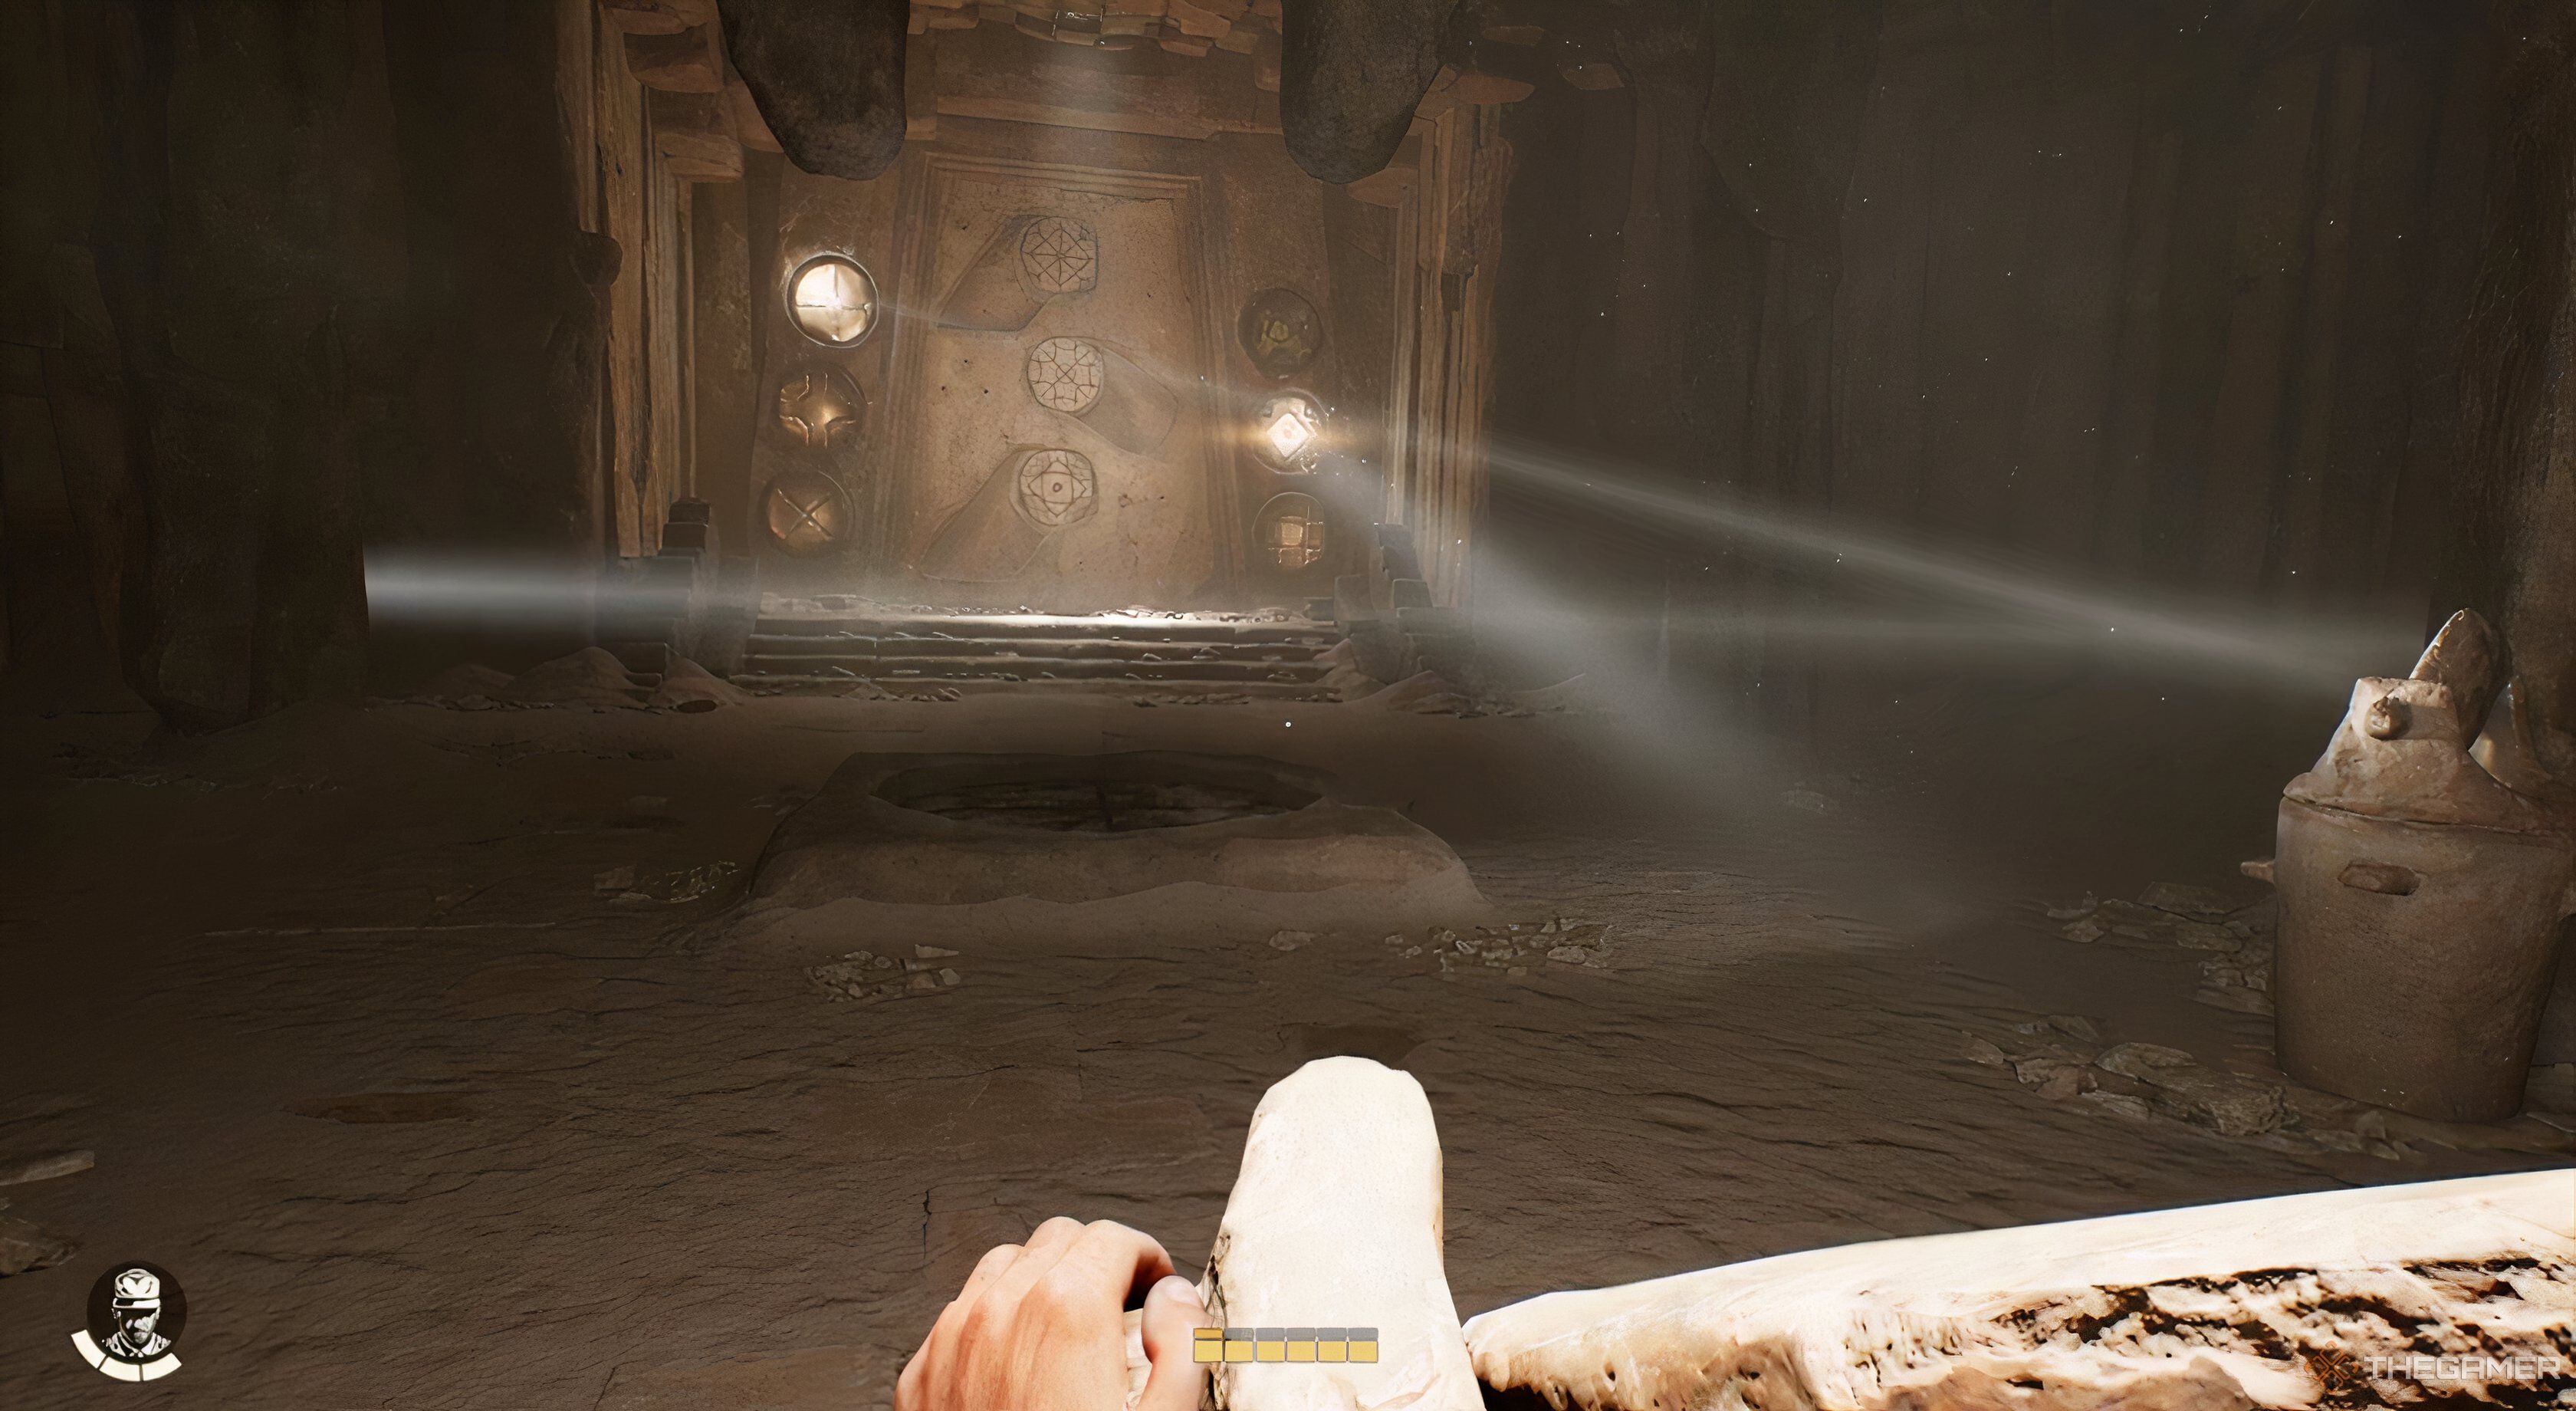
    Step 2: Enter this newly opened room and direct the light through the crack in the wall back into the main area.

    Step 3: Next, shine the primary light on the top-left symbol and use the right mirror to reflect onto the middle symbol on the right side, which will open a door to your right.

    Indie aiming a light at a door in Indiana Jones and the Great Circle.
    Bethesda

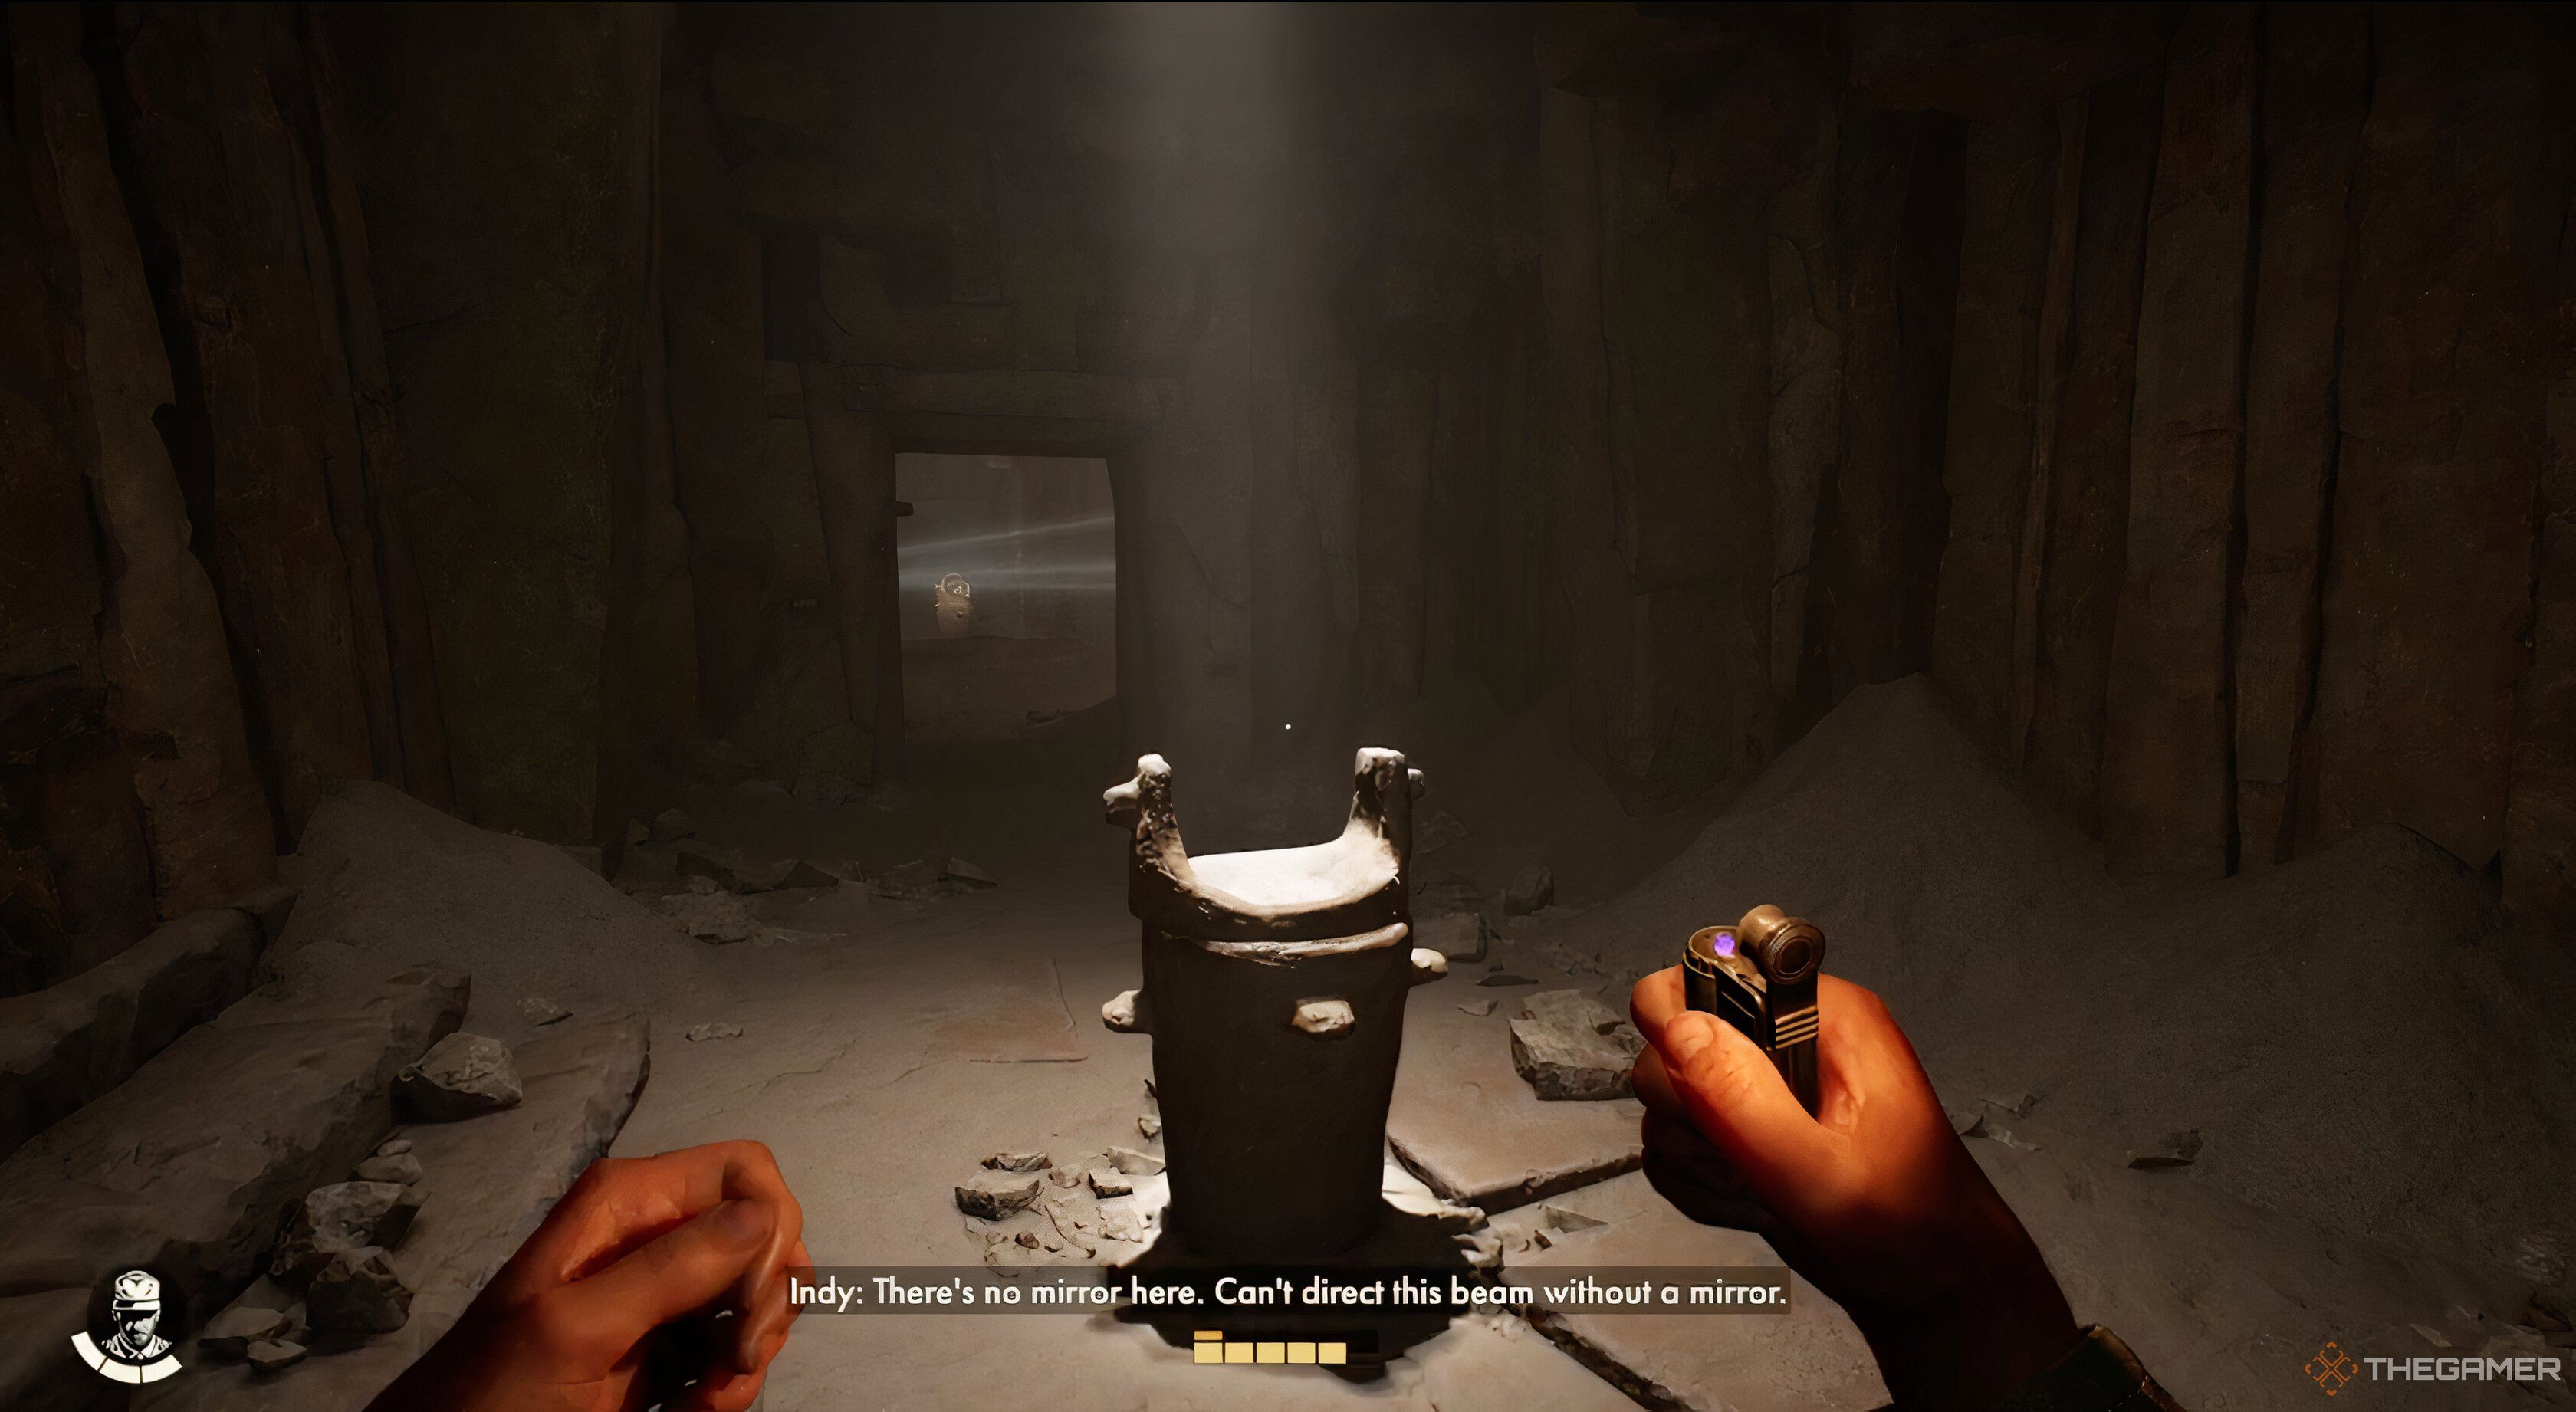
    Step 4: Proceed into this new room, retrieve the mirror, and place it in the empty socket in the right-hand door from the main chamber, which will allow light to reach the third mirror in the main area.

    Step 5: Direct the left mirror at the bottom-left symbol now.

    Step 6: Adjust the middle mirror to focus on the upper right symbol.

    Step 7: Next, aim the right mirror at the middle symbol on the left side.

    Step 8: Rotate the central mirror once more, this time to direct light at the lower right area.

    Solving a light puzzle in Indiana Jones and the Great Circle.
    Bethesda

    Step 9: Finally, direct the left mirror to illuminate the middle symbol on the right side.

    Completing these steps will unlock all three locks, allowing the gate to open and grant you passage.


  • Mastering the Khmer Warrior Temple in Indiana Jones: The Great Circle

    Mastering the Khmer Warrior Temple in Indiana Jones: The Great Circle

    The Kid Who Disappeared is an optional fieldwork mission found near the end of Indiana Jones and the Great Circle. While you might be eager to rush towards the game’s finale and reveal the mysteries you’ve been pursuing, taking a detour into the jungle to search for Aran is truly rewarding; this is a classic Indiana Jones adventure.

    The Khmer Warrior Temple, concealed beneath Wat Si Sawai, is filled with traps, challenges, and puzzles, making it one of the game’s most intricate exploration experiences. Keep reading to discover how to navigate it successfully, from start to finish.

    How to Begin the Kid Who Disappeared Fieldwork

    After you wrap up your first visit to Tongdang and hop back into your boat, Gina will inform you that Sunan’s nephew has gone missing for a while. Aran resides in a treehouse located near the southeast edge of the map, so your first order of business will be to head there with your boat.

    Pro Tip:

    The treehouse isn’t very far from Tongdang, but before searching for Aran, you might consider raiding Voss’ gold stash and gathering the Royal Army’s radio frequencies. This way, you can purchase map guides from Tongdang, ensuring you don’t overlook any hidden treasures during your exploration.

    You should be able to dock shortly after spotting the treehouse. Follow the path in a counterclockwise direction, climbing when necessary, until you reach the ladder leading up to the house. Don’t forget to grab the recipe next to the ladder before climbing up and pulling the planks off the door to get inside.

    Inside, examine the bulletin board to your right to find a snapshot of Aran and Sunan. Once you collect the photo, Gina will draw your attention to a loose plank on the floor. Lift it to discover a map of Wat Si Sawai, the vast temple complex in the southwest. With the map in hand, use the zipline from the balcony to make a swift return to your boat.

    How to Access the Khmer Warrior Temple

    Sail southwest from the treehouse and dock at the Wat Si Sawai pier, located on the eastern side of the island. There’s a single path that leads toward the temple complex, but be cautious of the two patrolling guards. You can either sneak up on them using the nearby ruins or find a way past them quietly.

    Pro Tip:

    As you approach Wat Si Sawai, look for a path on your left. You can discover the combination for the Sukhothai Rebels’ safe here as part of the Tiger’s Path Mystery. Snap a photo of it, then head back down the path; the climbable ledges along the way also provide an escape route later, although using them now might lead you straight into a trio of Blackshirts.

    As you navigate through the enemy camp, stay to the far right. This will give you enough cover to reach the main temple and allow you to pick up a shovel for defeating a heavy guard just inside the entrance. Usually, the heavy guard is positioned at the doorway on your left, while his companions are asleep and don’t pose any risk. Loot their stash for some cash, then return to the entryway.

    Pass through the root-covered tunnel directly across from the main entrance to access the Khmer Warrior Temple. You’ll soon hit a fork; the right path leads to a dead-end, but you’ll find the Handyman Adventure Book there, which enhances the durability of your melee weapons. The left path leads to the Warrior Trial, where Aran is trapped behind some debris.

    How to Free Aran

    Once the dialogue concludes, Gina will point out a door to the left of Aran’s location. The door has handles on either side; you should turn the handle on the right while Gina pulls the one on the left to open the door.

    To see better, use your lighter to ignite the brazier in the next room. The pipe below the brazier has water flowing but is missing a segment. Grab the pipe segment near the door that you came through and place it in the gap. This will allow the water to flow through the pipes and operate the hydraulic mechanism to open the next door.

    Pull the lever at the end of the hallway to descend to the lower level. Remember, you’ll need to wait for Gina to catch up before Indy will engage the lift. Once at the bottom, follow the sunlit path through the ruins, as any unlit paths will lead to dead ends and hazards.

    Cross the bridge made of large wooden gears and climb the big root to get over the wall. Take note of the blocked passage to your left; it won’t be accessible right now, but you’ll need to use it later once the gears start turning. For now, just drop down on the other side of the wall.

    Snap a photo of the Naga Statue ahead to your left, then go straight through the collapsed wall ahead; there’s a climbable wall just beyond it to your left. Turn right once you reach the top and move along the corridor until you see a large, inactive waterwheel. Use this as a platform to run across, but be quick, as Indy’s weight will cause it to turn, potentially dropping you into the pit below.

    How to Elevate the Platform for Aran

    Wait for Gina to catch up, then follow her into the room beneath you. Here you’ll find another pipe segment puzzle. Start by activating the water with the handle on the left, near Gina. Next, take a photo of the cogwheels next to the big wooden structure for bonus Adventure Points, then have Gina help you push the wooden structure forward. This will expose a lever that requires water to operate.

    Take the pipe segment and position it in the socket near the lever. This segment can be inserted either horizontally or vertically, but make sure it’s placed correctly to allow the water to flow. If placed incorrectly, just remove it and try again from a different angle.

    Even though the water still isn’t directed to the lever, this setup will open a nearby hydraulic door. Step inside to obtain an L-shaped pipe segment. Swap out the straight pipe in the main room with the L-shaped one to send the water to the lever, and place the straight pipe in the adjacent socket to complete the flow.

    Pull the lever, then head through the door Gina highlights to reach Aran.

    How to Navigate the Wooden Gears

    The corridor will lead you back to the wooden gears, which will now be turning in a rhythm. Time your movements carefully to slip through the openings in the vertical gears, while jumping to land on the horizontal gears as they come toward you.

    Swing across to the large root you climbed before; the left path is now open. Drop down onto the gears and move toward the furthest one. Stand at the edge to perform a running jump to the ledge on the right, allowing you to swing across the chasm from the opposite gear.

    Upon landing, crawl under the rotating gear that’s blocking your way, then take another running jump onto the cog to the right. From here, you can reach the stairs leading to the next room, where a lever to activate the lift for Gina is immediately to the right.

    When she joins you, Gina can turn the handles on the door across from the lift, just as you did in the first room, to clear the way forward. Follow the corridor ahead to a dead-end with an Ancient Relic. After that, take the side passage and turn right at the fork. When you arrive at a pit of spikes, a lever on the right side will raise a bridge for you to cross.

    How to Solve the Khmer Pipeworks Puzzle

    In the final chamber of the Khmer Warrior Temple, you need to divert water into three drains at the far end to get the waterwheels moving and raise the exit platform. However, several pipe segments are missing, and the water isn’t even flowing yet. Thankfully, that is an easy fix.

    How to Activate the Water

    Upon entering the chamber, immediately turn left to find a ladder. Climb it to reach the valve that will start the water.

    How to Collect All Four Pipe Segments

    The first two pipe segments can be found on the ledges on either side of the chamber. Climb the stairs on either side to grab them, and then throw them down to the ground level. This may take a bit of Indy’s stamina, so avoid consuming fruit until after you finish the puzzle.

    Look for a staircase on the left side of the room. Take a torch from the basket at the top and use it to light the braziers in the lower room. Then, return with the pipe segment you find.

    Pro Tip:

    Before proceeding, grab the metal rod at the top of the stairs and break through the bricked-up doorway in the lower room to uncover a space with an Ancient Relic.

    Afterward, you will have two L-shaped pipes and a T-shaped pipe. Place one of the L-shaped pipes in the socket where the water flows to redirect it to the left; if done correctly, the water will flow out near the locked door on the left side of the chamber. Then, use the other L-pipe to turn the water again, allowing it to open the door.

    Once inside, move through the large gear when you see an opening and retrieve the straight pipe beyond it. Bring it back to the main room. With all four pipes, you’ll be equipped to solve the puzzle.

    Correct Pipe Placements

    Remove all pipes from their sockets, then place the T-shaped pipe in the first socket to start water flowing both left and right. Follow the right-hand pipe to where it exits, and use an L-shaped pipe to steer it to the right, powering the rightmost wheel.

    Important Reminder:

    Always ensure the pipes are positioned correctly to direct the flow as intended.

    You should see water flowing into the central socket. Position the remaining L-shaped pipe to turn the water to the left, directing it straight towards the center drain. Finally, place the straight pipe in the socket by the door to power the left wheel.

    If everything is hooked up correctly, the platform will rise. Advance along the path until you can push open a door with Gina. You will reunite with Aran at the main entrance. Talk to him in the Shiva Shrine that he unlocks, and grab the Ancient Relic from the base of the statue. Collecting three relics in this adventure is a formidable achievement!

    However, the quest truly concludes only when you return to the village and speak with Sunan. Once you do, feel free to engage with him again to embark on a new quest titled Lost in the Past. Are you ready for even more excitement?

  • Discover All Radio Frequencies in Sukhothai – Indiana Jones Guide

    Discover All Radio Frequencies in Sukhothai – Indiana Jones Guide

    Similar to the one in Giza, the Sukhothai map in Indiana Jones And The Great Circle features four radio frequency cards tucked away in hidden spots. Players can grab these cards soon after arriving, provided they’re ready to navigate through some heavily guarded areas. Collecting all four cards will lead you to secret stashes filled with cash.

    Obtaining the Royal Army Transmissions is a fantastic way to get oriented in Sukhothai. This will allow you to explore the northern part of the map while getting accustomed to traveling by boat with Gina. The camps you infiltrate also contain extra supplies if you’re up for the challenge.

    Voss’ Camp

    Your first mission in Sukhothai involves raiding Voss’ camp to retrieve his gold reserves. While you’re there, be sure to check out the large map room located on the first floor of his office. In the northwest corner, you’ll find a bulletin board. To its right is a table equipped with a radio and typewriter; the first frequency card can be found on this table.

    Wat Chana Songkhram

    At the army camp located at Wat Chana Songkhram, which is situated just northwest of the village, there’s another radio frequency card that’s easy to reach if you can avoid the guards. It’s best to approach from the south; the card is located inside the guardhouse on the left as you enter.

    Be cautious as there are two guards stationed at the entrance, one in the tower above, and dogs patrolling the inside. If you’re not wearing a Royal Army Uniform, it might be a good idea to sneak in and take out the guards first.

    Wat Chana Songkhram is also where you’ll find the Timely Arrival Mystery, offering additional rewards if you linger to solve that puzzle as well.

    Wat Sa Si

    Wat Sa Si is located near the northwest corner of the map, with the army’s radio tent situated at the rear of the camp. The best way to enter without confrontation is to dock at the southeast corner of the island and follow the raised path that bears the rebels’ tiger insignia on the right. This pathway leads directly to the camp and the radio tent containing the frequency card and includes a stash of food and an Adventure Book for you.

    If you already have the Adventure Book, a quicker method is to dock north of the camp and use your whip to climb over the back wall. This will allow you to sneak behind the radio tent for a stealthy entry and exit.

    Wat Mahathat

    Wat Mahathat is the large island west of the village and hosts one of the biggest enemy camps in Sukhothai. To reach the camp, dock northwest of Tongdang’s Hut for an easier path to the entrance.

    Once you arrive at the camp, crawl through the ruins on the right to avoid detection by guards and dogs. This route will lead you behind the tent where the frequency card is located, but be cautious as multiple guards—and at least one dog—will be nearby.

    You’ll find several tools behind the tent, including sledgehammers that you can use as weapons.

    After acquiring the card, it’s advisable to exit the same way you came in and return to explore further once you have the Royal Army Uniform.

    What to Do with the Radio Frequency Cards in Sukhothai


    Once you gather all four frequency cards, meet Gina at any boat dock. You can call her using the dock’s radio if she’s elsewhere.

    Once you and Gina are at the same dock, place the cards on the table with the radio. She will give you a draft of an article and mark your map with red X’s. If you visit those marked locations, you’ll find crates containing 125 baht each.

  • Mastering the Three-Eyed Gate Puzzle in Indiana Jones: The Great Circle

    Mastering the Three-Eyed Gate Puzzle in Indiana Jones: The Great Circle

    Quick Links

    The puzzles in Indiana Jones and the Great Circle offer some of the most entertaining challenges in the game. Ranging from statues to doors, one of the more complex puzzles is the Three-Eyed Door puzzle found in the Gizeh section.

    After you defeat the Giant Guardian boss in the catacombs, you’ll face a puzzle that requires you to use reflecting disc mirrors, open doors, and align symbols on a large door. You can open this door by directing beams of light onto the correct symbols, but initially, you only have one beam at your disposal. The real challenge comes from acquiring additional beams of light.

    Activating All Mirrors


    To kick things off, shine the first beam of light at the top-right circle symbol on the large door by adjusting the small mirror disc. This action will open a door to your left.

    Enter this new room, where you’ll find another mirror disc that can be lighted through a gap in a fallen door. Shining the beam through this gap will allow you to illuminate another area in the main room, granting you access to a second mirror.

    Gameplay Screenshot

    Next, adjust the mirrors to direct one beam at the middle-right icon and another at the top-left icon. This will open another door on the right side of the main room.

    Gameplay Screenshot

    Once inside, you’ll discover a standalone mirror disc on the ground. Pick it up and take it to the room with the plinth that is missing a disc. This room is to the left of the one you just entered and should already be open. Place the mirror disc there.

    Gameplay Screenshot

    Doing this will give you access to three light beams in the main room, allowing you to complete the puzzle and move on to the next stage.

    Solution for the Three-Eyed Gate Puzzle

    Gameplay Screenshot

    In the central room, you need to position one beam at the top symbol on the left, another at the bottom symbol on the left, and the last at the center icon on the right. This arrangement will complete the puzzle.

    It doesn’t matter which beam points to which symbol as long as all three correct symbols are lit up.

  • Mastering the Chamber of Resonance Puzzle in Indiana Jones

    Mastering the Chamber of Resonance Puzzle in Indiana Jones

    Quick Links


    In Indiana Jones and the Great Circle, you’ll encounter some clever puzzles, particularly in the Gizeh segment. One standout challenge is the Chamber of Resonance, where you’ll work with tablets on the walls and utilize your camera.

    Getting the sequence of words right can be tricky, leaving you puzzled about your next move. Understanding where to begin in this chamber is often part of the challenge. If you’re feeling lost, don’t worry! You can find guidance to help you through.

    Taking Pictures of the Tablets

    The Chamber of Resonance features walls adorned with tablets and three statues positioned in the middle. Your task is to photograph each tablet, but keep in mind that one is damaged, meaning you’ll only spot four in total.

    Once you enter and face the statues, look for a small opening in the left wall. Crawl through this gap to discover a hidden area. Here, light the lanterns and take pictures of the two visible tablets on the wall.

    Afterward, you’ll find another tablet buried in sand at the far end of the room. Collect it and return to the main space. Now, insert the tablet piece into the broken one and capture a picture of it with Indy’s camera.

    Chamber of Resonance Photo Puzzle Solution

    With all six photos in hand, proceed to the central statue and place the images on its table.

    Each photo corresponds to a word that Indy speaks, which you’ll need to arrange in the correct order. When you select the right image, sand will flow through the openings in front of you.

    Tip: If you make a wrong choice, the sand will stop, and Indy will comment on your mistake.

    The correct sequence of words is:

    1. Heed
    2. The Lord’s
    3. Oath
    4. Protect
    5. The Secret
    6. Of the name

    By arranging the pictures in this order, the chamber will transform. However, this is just the beginning—many more puzzles await you!

  • Guide to Finishing the Savage Predicament in Indiana Jones

    Guide to Finishing the Savage Predicament in Indiana Jones

    Assisting Professor Savage and rescuing Sidney in the Vatican was no small feat in Indiana Jones and The Great Circle, and now the unfortunate British scholars find themselves in yet another predicament. As you approach the end of your escapades in Gizeh, whispers about an Englishman needing assistance start to circulate—a situation that is becoming all too common.

    Of course, you can’t forsake Sidney in his time of need. This rescue mission is far more perilous, with better-armed guards who are quicker to open fire. Here’s your guide to ensuring both your and Sidney’s safe escape.

    Getting Started with the Savage Predicament Fieldwork Mission

    This quest becomes accessible only after you have successfully infiltrated and exited the Nazi compound in Gizeh and returned safely to Nawal’s tent. Additionally, you must have completed A Savage Discovery in Vatican City.

    To return to the Vatican, utilize the Travel Tab in your Journal and select the Revisit option.

    When Nawal mentions that there’s an Englishman in the village seeking assistance, take that as your signal that the mission is ready for you. Travel to Gizeh Village, located on the east side of the map; you’ll find Savage in the village square, close to the merchant where you purchased the lighter earlier. As you approach, you’ll hear him calling for help.

    Chat with Savage to kick off a cutscene and officially start the quest.

    If you haven’t already, head north of the village to the checkpoint located east of the Nazi compound, where you resurfaced after the cave-in. Navigate to the back of the guard tower and use your whip to climb up. Move around the ledge to the front and enter through the open window.

    Defeat the guard inside and then take his uniform from the table downstairs. Wearing this will greatly ease your infiltration of the compound later, as only officers will question your presence.

    Returning to the Detention Center

    You don’t have to go through the tunnels at the Great Pyramid dig site again like you did during the story mission, though that’s still an option. Now, you’re able to enter through the western entrance across from the dig site. This route is much faster, and the tunnels won’t get you very far, so taking the direct approach is the best choice now.

    The Detention Center is the wooden building located at the southern edge of the compound where you encountered Voss and Gantz. This time, you can enter through the front door if you choose, but it’s wiser to sneak in through the side window as before. The front entrance is crawling with guards, making it easier to catch them off guard from the side exit.

    Once inside, turn left from the main entrance and then head right into the holding cells. Grab the note from Gantz on the table to learn that Sidney has now been moved to the Khafre Excavation Site. You can also check the cell on the right to find a letter Sidney wrote home.

    After collecting both letters, exit the compound and make your way to the Excavation Site to the southwest.

    How to Rescue Sidney at the Excavation Site

    Upon arriving at the Khafre Excavation Site, your Journal map will change to a more detailed view of the area. Start by heading to the central building of the site. Entering from the north side allows you to quickly grab a Medicine Bottle and a Radio Frequency. Afterward, take the page from Gantz’s journal off the mess table inside the main room.
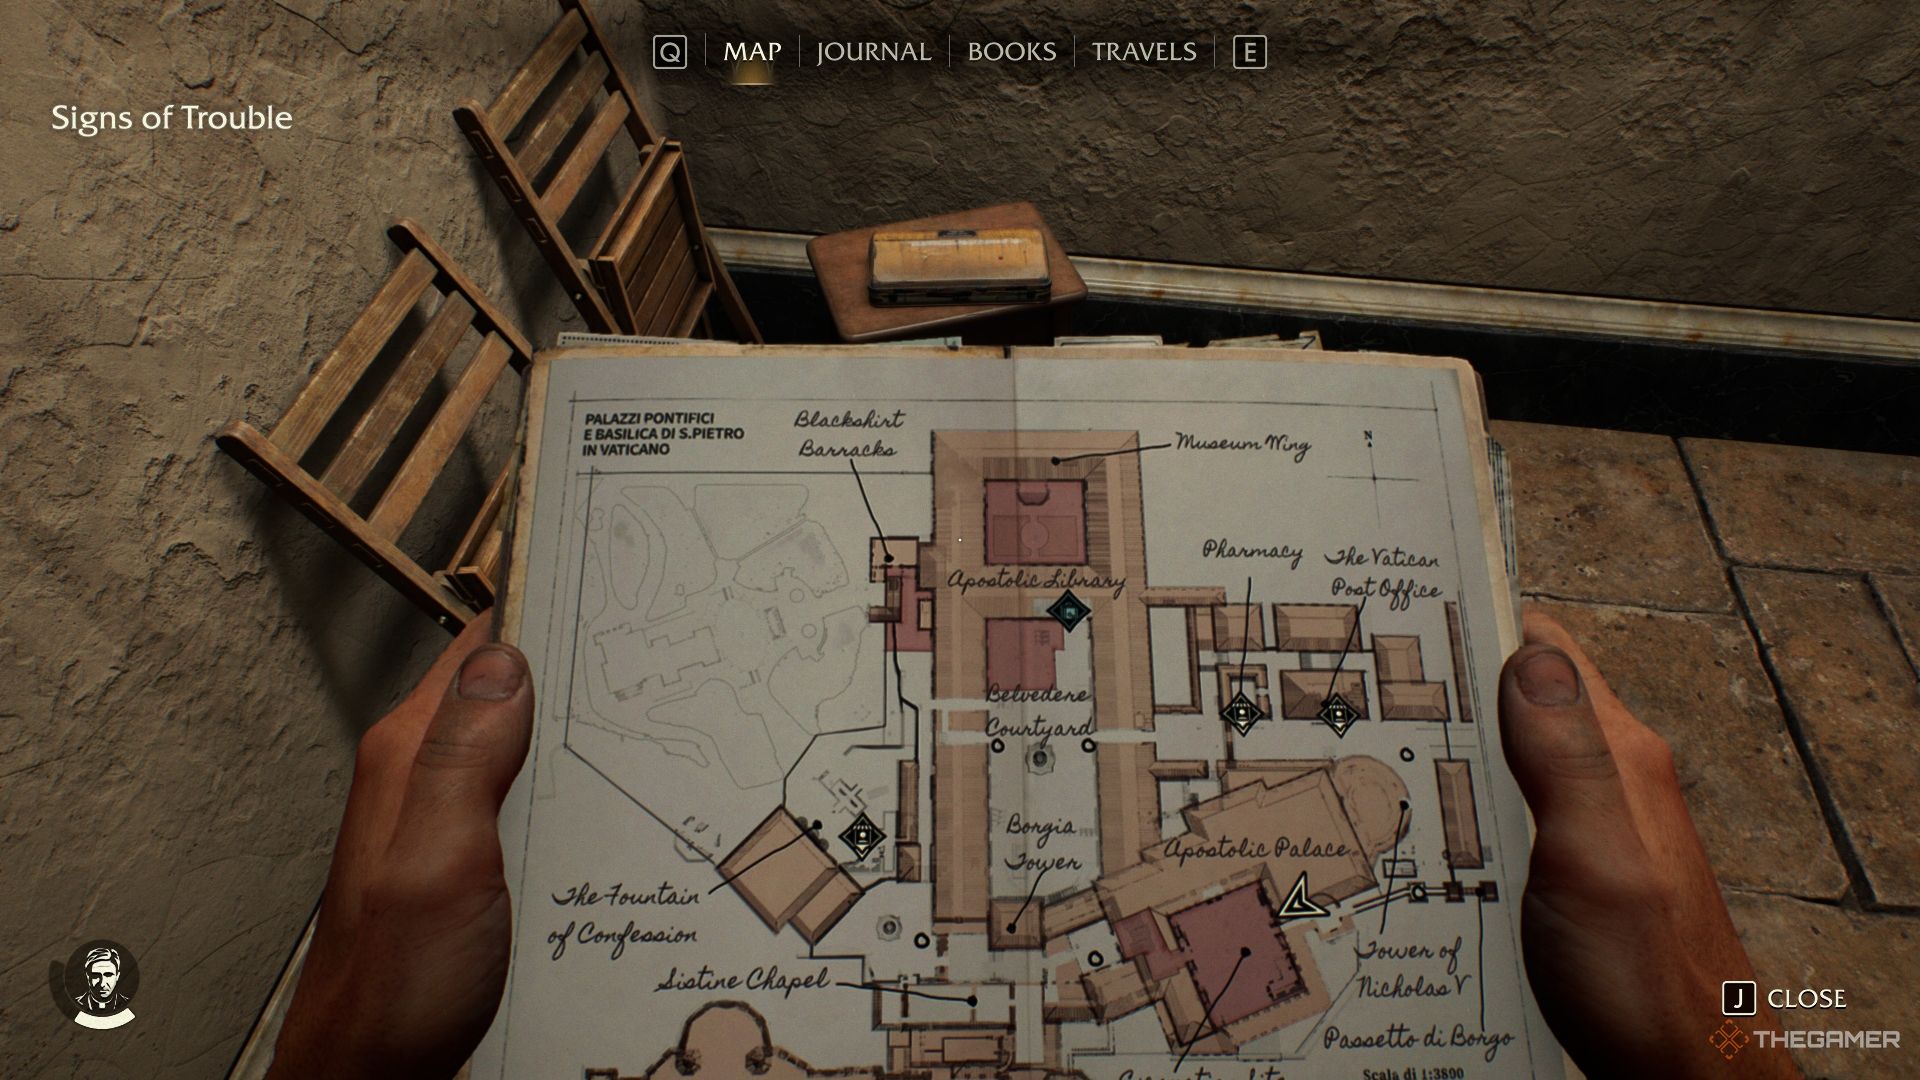
    The note indicates that Sidney has been assigned to Tunnel A1. The entrance is located southeast of your current building, accessible by going up the wooden ramp from the A2 entrance. Be cautious on your way there; even with the Wehrmacht uniform, there’s an officer stationed just outside between the mess tent and the tunnels. If he spots you, expect to deal with an unusually high number of heavy guards in the area.

    Follow Tunnel A1 until you reach the end, then use your whip to climb down into the hole where Sidney is. After the cutscene, you’ll find yourself in front of a breakable wall, with a metal rod conveniently at your feet to help break it. Before you proceed, snap a photo of the mural on the left wall.
    How to Escape the Tunnels with Sidney

    Break through the wall and follow the tunnels until you reach a fork. There’s a table with some bread that can give you a quick health boost, but stay low; the path ahead is guarded by two heavies, which could lead to a tough skirmish.

    The left and center paths will attract the attention of the heavies. Instead, look for a less obvious route to the right that allows you to surprise them. Taking one out silently with a sledgehammer or another weapon before facing the second guard will make the encounter much easier.

    Once you’ve dealt with the heavies, follow the minecart tracks uphill until you come to a collapsed support beam; lift it to make your exit. At this moment, Sidney will find his own way back to the village. Be sure to check in on him at the same spot where you met Professor Savage earlier to receive one of the ten hidden Stelae for the Cairo Museum and finish the quest.

  • How to Increase HP in Indiana Jones and the Great Circle: A Comprehensive Guide

    How to Increase HP in Indiana Jones and the Great Circle: A Comprehensive Guide

    In Indiana Jones and the Great Circle, although Indy is in his prime, he's not a soldier. Stealth will be your primary approach as the game progresses, since a few poor choices in combat might cost him dearly. You'll discover bandages to regain your lost health after skirmishes, but you'll only be able to use them if you manage to survive. There are methods to enhance Indy's health, but they require some effort. Here are two strategies you can use to boost his health points in Indiana Jones and the Great Circle.

    Difficulty

    Moderate


    Duration

    1 hour

    What You Need

    • Food

    • Medicine Bottles

    Bethesda

    Temporarily Boosting Your HP

    A temporary boost to your health can be achieved relatively easily. While you navigate stealthily through your surroundings, look for food items like bread or crackers. Consuming these can provide you with an extra temporary life bar. However, be cautious, as some items like fruits will enhance your stamina instead, so watch your dietary choices.

    Permanently Boosting Your HP

    The only way to permanently enhance your health points in Indiana Jones and the Great Circle is through collecting Medicine Bottles. You can trade these for Shaping Up Adventure Books that upgrade your health. There are three books available, requiring 5, 10, and 15 Medicine Bottles respectively, allowing for the acquisition of up to three additional health bars.

    If you need assistance locating all the Medicine Bottles for these upgrades, a complete guide is available to help you.


  • Unlocking the Museum Garden Tent: Code for Indiana Jones’ Chest

    Unlocking the Museum Garden Tent: Code for Indiana Jones’ Chest

    Indiana Jones and the Great Circle offers more than just a primary adventure; it’s filled with engaging side quests that will keep you intrigued. Fieldwork missions enhance the narrative and often involve assisting important characters, while Discovery goals require you to find hidden collectibles. Additionally, the Mysteries present a series of puzzles that test your problem-solving and observational skills.

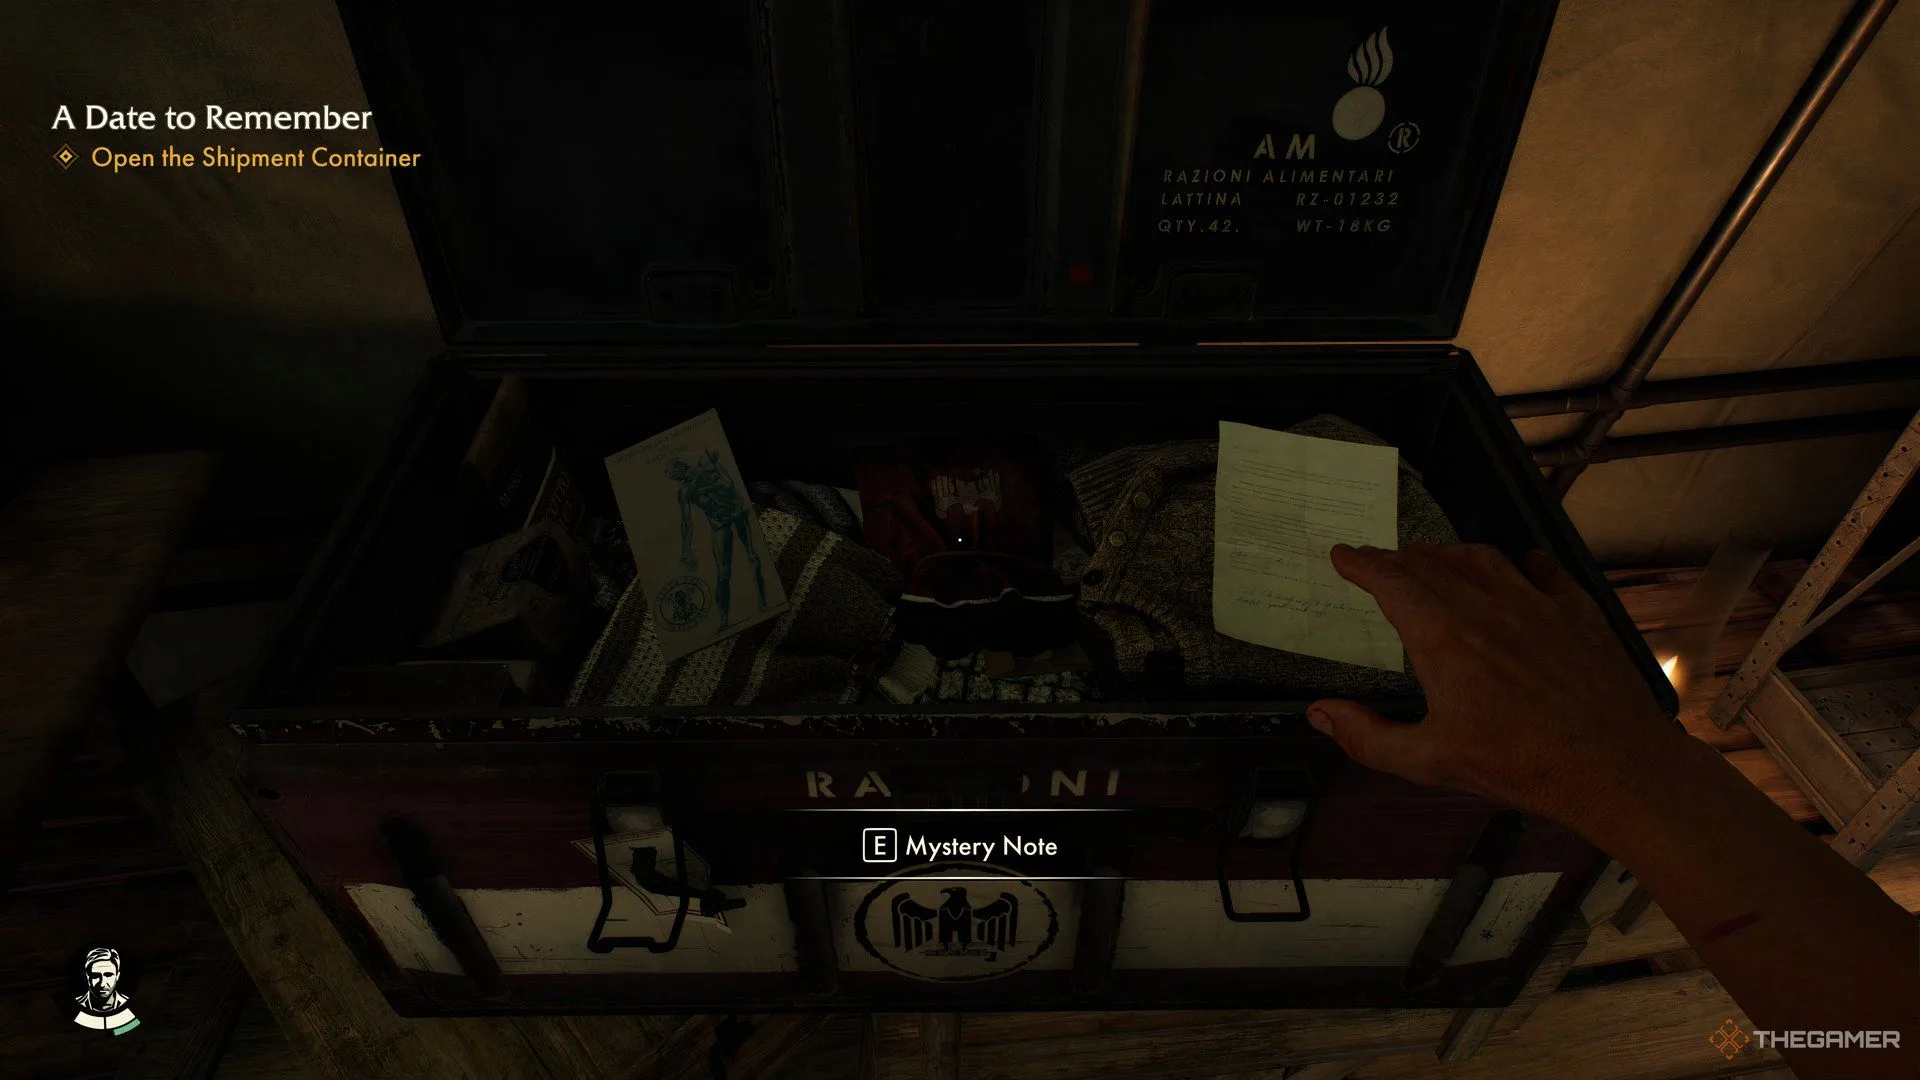
    In the Vatican, you can tackle several Mysteries, including one called A Date To Remember located in the Museum Wing. This mystery revolves around a shipping container that requires a combination code to open. It might look challenging initially, but by gathering the right clues, you’ll find it’s much easier than it appears.

    How to Start the A Date To Remember Mystery

    To kick off the A Date To Remember mystery, head to the communication tent in the restricted area of Belvedere Courtyard and take a look at the Shipment Report.

    Once you accept the quest, you’ll need to access the Museum Wing, which is initially off-limits. It’s vital to progress in Gina’s Fieldwork mission, A Nun In Trouble, as she will grant you access to the museum. After entering, follow the marker to the museum’s garden, where a tent contains a locked chest that needs a combination to open.

    If you’ve picked up the Blackshirt Disguise from the washing area beneath the balcony where you first met Gina, sneaking into the tent will be a breeze. Just be cautious of the captain, who can see through your disguise.

    A Date To Remember Clues and Notes

    The clues for the puzzle can be found on a nearby desk along with its drawer. They consist of the Code Lookup Table, the Secret Delivery Letter, and a Calendar Page for October 1937.

    The Secret Delivery Letter reveals that the shipment was dispatched on October 15 and includes the cryptic code DICE, specifying that the shipment arrived on a Wednesday. To decode DICE into a numeric key, you can refer to the Code Lookup Table, which matches days of the week with numbers.

    Keep in mind, if you calculate the code using the delivery date, you will come up with 4718, which has already been tested and is incorrect. The right method is to relate DICE to the date it was sent, October 15. According to the Calendar Page, October 15 is a Friday (Venerdi in Italian).

    The Shipment Container Solution

    By revisiting the Code Lookup Table and correlating "DICE" with Friday, you will discover the correct combination code is 6380. Enter this code to unlock the Shipment Container, revealing a pouch of Lira, an additional letter, and the Vatican Mystery exploration guide.

  • Decoding Captain’s Cipher in Indiana Jones: The Great Circle

    Decoding Captain’s Cipher in Indiana Jones: The Great Circle

    Quick Links

    After departing from Gizeh in Indiana Jones and the Great Circle, Gina and Indy journey to the snowy Himalayas to search for the next stone and thwart Voss. As expected, things don’t go exactly to plan. Along the way, they encounter several challenging puzzles, including a cipher located in a captain’s office, not to mention a slew of Nazis that are more armed than you’re likely prepared for.

    Given the complexity of the puzzles and the maze of hallways, a complete walkthrough of this quest will prove beneficial. This way, you won’t waste time getting stuck on puzzles that are actually quite straightforward.

    Reaching The Ship

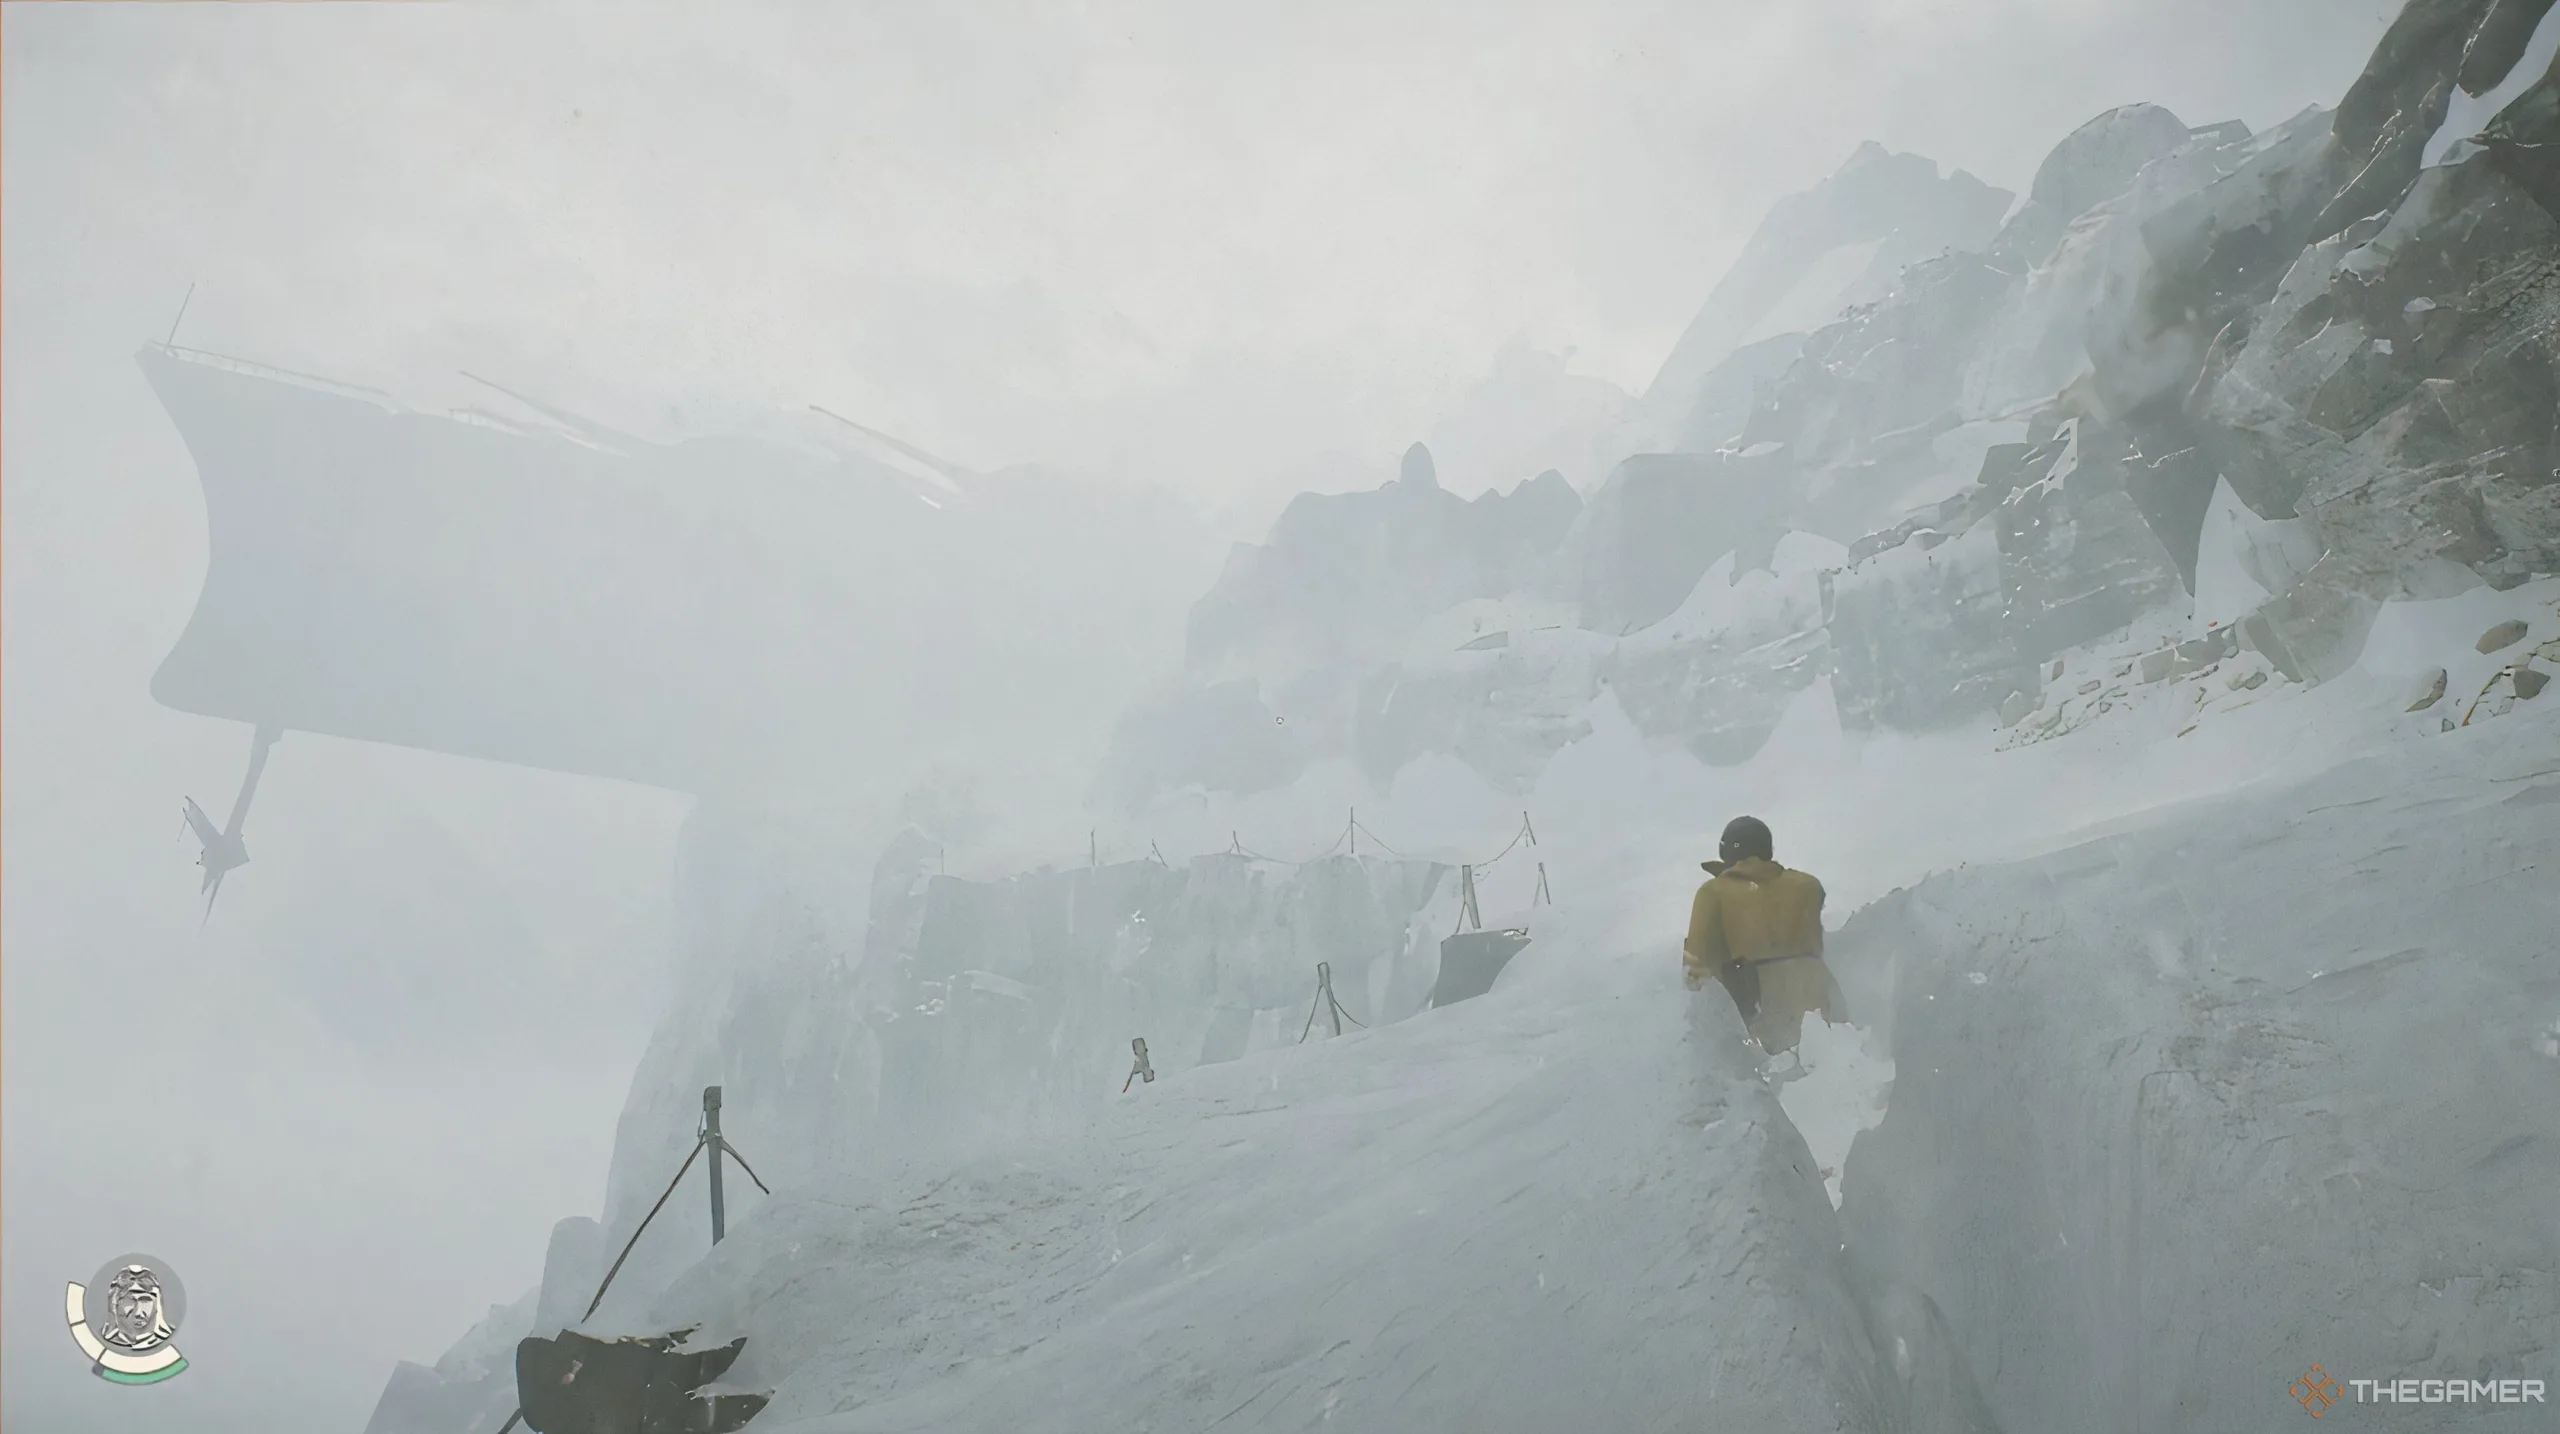
    Upon reaching the snowy region of the Himalayas, follow Gina up the hill, navigating perilous cliffs and rickety bridges. Once you find yourself beneath the ship, use your whip to scale up, then assist Gina in climbing up behind you.

    Once both of you ascend to the first section, you will unexpectedly fall through the ice into the ship, starting your search for the stone you seek.

    Finding Gina’s Sister

    Now, your objective is to locate any clues regarding Gina’s sister’s presence on the ship. Make your way through the corridors, eventually discovering a room with ice obstructing the door. There’s a metal pipe located in a small room back down the corridor you just navigated, so retrieve that and break the ice.

    Inside, you’ll find a wheel attached to a man’s frozen arm. Following a brief cutscene, proceed until you enter a room filled with pipes. Climb the stairs, follow the walkway, and go through the door. Then crouch down and squeeze through the vent. Drop down and shift the yellow pipe to trigger a cutscene involving Gina’s sister.

    Tip: We don’t want to spoil anything if you’re not there yet, but be sure to watch this cutscene. It’s one of the best in the game and sets the stage for the main storyline.

    Traversing the Ship

    Suddenly, Nazis will attack, so take them out and climb the ladder. Follow Gina through the various rooms, making sure to take a photo of the radio room you come across. You’ll arrive at a large area filled with enemies.

    The easiest approach is to quietly eliminate them or sneak past. Once you’ve handled that, you’ll find yourself in a room with the ship’s anchor. Climb the ladder on the left and examine the chain. You can use your whip to pull it, breaking the first part of the chain.

    Next, go to the bottom of the room and jerk the second clamp to break the chain. Return to the top of the ladder and follow the pipe back outside. Climb along the pipes and up the ladder.

    You’ll now be on the main deck of the ship. Take out any remaining Nazis and make your way toward the lifeboat, then re-enter the ship.

    Note: To re-enter, head up the outside stairs and deal with a couple more enemies that are hiding inside.

    How To Solve Captain’s Cipher

    Eventually, you’ll arrive at the Captain’s office, the location of the primary puzzle. Here, you’ll find a note on the main table with the captain’s code stating JOGM, and a second code table featuring various four-digit codes and four-letter words.

    On a side table sits another code table along with a cipher and four discs. You need to place the discs to spell out JOGM.

    Note: Only specific discs will feature one of the letters, so examine them and position them in the slots with the correct letters. For instance, only one disc will show the letter J.

    When you succeed in spelling JOGM, it will display BLUT in the four-letter slots below. You should look for BLUT on the code tables, which corresponds to 3666.

    Therefore, enter 3666 into the lock on the door, and it will grant you access. Climb the ladder and open the door where a man in the corner holds the stone that you and Gina are after. A cutscene follows as you wrestle over it, but a high-ranking Nazi intervenes by firing a shot into the air.

    After an explosion, the cliff begins to crumble, and the ship starts to descend into the ice. You must run along the ship as it collapses, ultimately using the stone to fall into a portal leading to an unexpected location.