Tag: Generations

  • Locate All Chao in Crisis City: Sonic X Shadow Generations Guide

    Locate All Chao in Crisis City: Sonic X Shadow Generations Guide

    Sonic X Shadow Generations makes a return for fans, bringing the iconic Blue Blur back to life with a remastered experience that reimagines some of his most beloved levels. This time, Shadow embarks on his own journey, adding a refreshing twist that distinguishes his gameplay from Sonic’s.

    One notable aspect of this game is that Sonic’s segments remain largely unchanged. In particular, the level Crisis City may evoke some frustrating memories from Sonic 06. However, new collectibles have been introduced, so let’s dive into finding them!

    How to Achieve S Rank in Crisis City

    As is characteristic of the game, Crisis City can be quite challenging. The color palette can blend together, enemy hitboxes may feel unfairly tricky, and molten lava threatens from every angle. A misplaced jump or poorly executed Homing Attack can easily lead to defeat. Let’s explore some strategies for obtaining an S rank.

    Crisis City Act 1 S Rank

    In Act 1, Classic Sonic faces additional hazards tailored for his slower pace, but maintaining speed is still key.

    • Begin the level by gaining as much speed as possible. As you approach the collapsing highway, jump when you see it lean to snag the Dash Rings above. Once in the elevated area, perform a Spin Dash to gain further height.
    • After passing the next checkpoint, bounce off three flying enemies to continue on the higher path. You’ll soon encounter a bent piece of rebar, where you should keep jumping to ascend.
    • In the rotating building section, attempt to dash along the shaky platforms and bounce off the enemies on the wall to hurry through this segment.
    • In the area with flying enemies and moving platforms, take the rightmost platform upwards to an elevated route and some Speed Shoes. After defeating the fiery worm enemy, time your jumps carefully to bounce between pieces of debris and flying foes for elevation.
    • In the external areas with unstable debris, tread lightly, as some debris can cause unexpected falls.
    • Finally, as you near the goal, it will begin to move further away. You must chase it down while being cautious of gusty winds that can impede your movement.

    Important Tip: Avoid traversing areas engulfed in the firestorm, as touching it will result in instant defeat and hinder your chances for an S rank.

    There are no shortcuts here, so proceed cautiously. Keep in mind that jumps may require a larger run-up than anticipated. Aim for a finish time under 3:50 with a score of 50,000 to earn an A rank, and a Perfect Clear will secure you the S rank.

    Crisis City Act 2 S Rank

    In Act 2, Sonic’s control feels significantly improved compared to his previous outings, making it easier to navigate the treacherous terrain.

    • After the initial Trick Ramp, opt for the left path; it’s riskier but can save you precious seconds. Jump across platforms and debris to reach the highway quickly.
    • When you reach another large lava section, aim for the Dash Rings centrally. This involves navigating some platforms that tend to collapse quickly but will lead you upward effectively. Use your Homing Attack on nearby flying enemies to ascend to their platforms.
    • After breaking through some crates upon landing on collapsible platforms, follow them upwards to skip most of the upcoming section.
    • On the final highway, sidestep to dodge the ruined cars and debris around you, and aim to climb the hill on the right for a Speed Ramp that propels you toward the goal more swiftly.

    To complete Act 2, take less than 3:00 and achieve a score of 50,000 for an A rank; a Perfect Clear will promote you to an S rank.

    Finding All Red Star Rings in Crisis City

    Just like in the original Sonic Generations, Red Star Rings are back, with a total of ten to collect in each location—five for Sonic and five for Shadow.

    Crisis City Act 1 Red Star Rings

    • Red Star 1: After the collapsing highway, use a Spin Dash to reach a higher area with this star.
    • Red Star 2: Follow the high route after acquiring Speed Shoes to find this star in a building.
    • Red Star 3: In the first major outdoor area with firestorms, bounce off flying enemies to reach an elevated path where the star is located.
    • Red Star 4: In the segment where the storm impacts movement, head downwards to locate this star.
    • Red Star 5: Close to the finish line, this star can be seen on a floating billboard above a yellow spring.

    Collecting these grants you the Hercules Muscle skill.

    Crisis City Act 2 Red Star Rings

    Modern Sonic also has five Red Star Rings to gather:

    • Red Star 1: After the initial loop highway, opt for the left slanted path over the flying enemies to collect this star.
    • Red Star 2: In the side-scrolling section over lava with two flying enemies, use your Homing Attack on them to reach the star above.
    • Red Star 3: After breaking through boxes onto collapsible platforms, follow them bouncily upwards to uncover the star.
    • Red Star 4: At the top of a lava plume, this star floats alone—watch out for the ceiling!
    • Red Star 5: Ride the grind rail right next to a Speed Ramp as you approach the goal.

    Obtaining these rewards you with the Serial Homing skill.

    Finding Hidden Chao in Crisis City

    A new collectible has been introduced to Sonic X Shadow Generations: Chao, with six hidden in each level, totaling three per Act.

    Crisis City Act 1 Hidden Chao

    Here’s where to locate Classic Sonic’s three hidden Chao:

    • Hidden Chao 1: After the rotating building segment, catch it at the end of the large rebar you glided down.
    • Hidden Chao 2: On the lower route after re-entering an interior section; use a Spin Dash to reach it from a floating platform.
    • Hidden Chao 3: Soon after the first checkpoint in the firestorm section, this Chao will be running away from you. Chase it down!

    Crisis City Act 2 Hidden Chao

    Modern Sonic can also discover three hidden Chao:

    • Hidden Chao 1: Before using the spring up to the new lava area leading to a big building, this Chao is next to the spring.
    • Hidden Chao 2: After transitioning from one side-scrolling area to the next, find the Chao behind the checkpoint near the edge of the building.
    • Hidden Chao 3: Just before reaching the goal ring, you can find this Chao on the lower level of the platform.

    With that, you should have all the hidden treasures from this chaotic city. Good luck as you move on to the next level!

  • Locations of All Chao in Seaside Hill – Sonic X Shadow Generations

    Locations of All Chao in Seaside Hill – Sonic X Shadow Generations

    Sonic Generations originally focused on celebrating Sonic’s legacy, but Sonic X Shadow Generations brings attention to his counterpart, Shadow the Hedgehog. Shadow’s gameplay features new content, making Sonic’s levels seem a bit dated by comparison.

    Sonic’s levels are still enjoyable, thanks to their solid design, regardless of how modern Sonic controls. One level worth revisiting is Seaside Hill from Sonic Heroes, which serves as a testament to some of Sonic’s more frustrating control issues. This new version has added some fresh secrets, so it’s worth exploring.

    How to Achieve an S Rank in Seaside Hill

    Getting an S Rank in a Sonic game is one of the highest achievements. While extra skills can be helpful, there’s nothing quite like zooming through checkpoints and seeing green numbers indicating your speed record. Here’s how to earn an S Rank in both acts of Seaside Hill.

    Seaside Hill Act 1 S Rank

    Act 1 features many twists and turns, and your speed is largely influenced by the cannons you interact with. The best cannons aren’t always clear, so be prepared for some unexpected jumps.

    Once you hit the water, jump onto the red platforms, but be quick—they will drop shortly. Starting on the leftmost platform buys you extra time. Bounce off one of the robotic fish to propel yourself onto the higher path. Just one fish should give you enough lift.

    As you progress, you’ll find another bouncing fish with spikes underneath. Bounce on it to reach a cannon that sends you higher.

    After acquiring the invincibility power-up, choose the adjacent platform rather than sliding down. Carefully bounce off the aerial enemy when it’s not electrified. This will take you to red platforms that will give way almost immediately, so make your jump just in time to avoid lingering. This leads you to another cannon.

    Jump over the electrified enemy instead of sinking into the lower cannon, and head up to the next cannon. Bounce off the nearby flying enemy into the next cannon.

    When you land in the water, skip the yellow spring on your right. You can gain extra height when jumping in water, allowing you to easily clear the gap.

    Next, you’ll be chased by a giant wheel. Don’t stress about getting hit; it won’t end the game. Make sure to jump onto the platforms and Dash Rings above as you enter the second grassy zone while escaping.

    Finish the act with a time lower than 2:50 seconds and a score of 50,000 for an A Rank, and earn an S Rank with a Perfect Clear.

    Seaside Hill Act 2 S Rank

    Start by hitting the bounce pad and taking the left rainbow ring. This path provides a much quicker route than the right.

    When you reach the wall-jumping area, boost to reach the highest part of the wall and continue left. Then boost through the spikes to reach an upward cannon.

    Upon reaching the downward slope of the bridge, jump to grab the Rainbow Rings, leading you to a higher level. Be cautious of sidestepping here to avoid falling back down.

    After boosting up the next bridge, be alert as you land on the red collapsible platforms. Race towards the grind rail inside the cave.

    During the tri-section of the bridge, flashing images determine whether you take the turtle path or the kart for speed. Aim for the kart route for maximizing speed.

    After finishing the kart segment, you’ll enter a side-scrolling section where you can jump on the moving pillars like a wall-jumping section. Act quickly to access the higher route.

    Next, endless large wheels will roll across the ground. The best way to dodge them is by sidestepping, but even if you get hit, it shouldn’t slow you down significantly.

    Conclude the act with a time under 3:10 seconds and a score of 50,000 for an A Rank, which can be upgraded to an S Rank with a Perfect Clear.

    Finding All the Red Star Rings in Seaside Hill

    Red Star Rings return in this game, just as they were in the original, with ten located in each act—five for each Sonic. Here’s where to find them in Seaside Hill.

    Seaside Hill Act 1 Red Stars

    Here’s where to find the five Red Star Rings as Classic Sonic:

    1. Red Star Ring 1: After jumping over the fish and reaching a cannon, this ring is underwater to your left.
    2. Red Star Ring 2: After bounding over the second fish toward a cannon, grab the ring as you land.
    3. Red Star Ring 3: Located slightly below another cannon near a flying purple enemy. You can use Aqua Shield to access it if you missed the higher path.
    4. Red Star Ring 4: While being pushed underwater by the wind, cautiously let go of the poles to collect this ring.
    5. Red Star Ring 5: At the end, while dodging the giant wheel, jump through the higher Dash Rings to grab the ring in a loop.

    Collecting these will earn you the Invincible Start skill.

    Seaside Hill Act 2 Red Stars

    Modern Sonic can also gather five Red Star Rings. Here’s where to find them:

    1. Red Star Ring 1: After taking the left Rainbow Ring, it can be found on the upcoming grind rail.
    2. Red Star Ring 2: In the first side-scrolling section, follow the upward wall jump to locate it.
    3. Red Star Ring 3: Found on a grind rail after some collapsible red platforms.
    4. Red Star Ring 4: Towards the end of the kart section, it’s to the left.
    5. Red Star Ring 5: At the very end of the last side-scrolling segment, leap off the grind rail to grab the last ring.

    This collection nets you the Direct Jump skill.

    Discovering All Hidden Chaos in Seaside Hill

    Newly introduced in Sonic X Shadow Generations, six Chao are hidden in each act—three for each Sonic. Here’s where to find them in Seaside Hill.

    Seaside Hill Act 1 Hidden Chaos

    These are Classic Sonic’s hidden Chaos:

    1. Hidden Chao 1: After going underwater from a cannon launched after jumping the fish, this Chao is perched against the wall above the moving pillars.
    2. Hidden Chao 2: After being fired from a cannon following the second jumping fish, head to the left platform from the halfpipe to find it.
    3. Hidden Chao 3: At the lowest underwater area where the wind blows, this Chao is hiding against the wall.

    Seaside Hill Act 2 Hidden Chaos

    Modern Sonic’s three hidden Chaos are as follows:

    1. Hidden Chao 1: After getting launched from a cannon to another cannon, spot the Chao in the corner of the upper area.
    2. Hidden Chao 2: In the tri-section with the turtle and kart options, choose the turtle and move left to discover the Chao.
    3. Hidden Chao 3: Before jumping into the cannon aimed at the giant wheels, break the crates at the back of the room to find the last Chao.

    Your adventure through Seaside Hill is now complete, with all secrets found and tasks accomplished.

  • Complete Chao Location Guide for Sonic X Shadow’s City Escape

    Complete Chao Location Guide for Sonic X Shadow’s City Escape

    Sonic X Shadow Generations is an exciting addition to the Sonic Generations lineup, featuring a fresh Shadow campaign alongside. This release is a blend of a remaster and a remake, showcasing both the nostalgia of the old while welcoming the innovations of the new.

    While Shadow offers a more refined control scheme compared to Modern Sonic, the levels designed for Modern Sonic are truly a blast, particularly in terms of creativity. City Escape returns with a familiar feel but with some new twists that players will appreciate.

    How to Secure an S Rank in City Escape

    City Escape consists of diverse gameplay, weaving through different paths, movement styles, and even various enemies within a single act. There are two acts to tackle, each requiring a distinct strategy. Here’s how to achieve an S Rank.

    City Escape Act 1 S Rank

    For Classic Sonic in City Escape, staying aware of your jumps while maintaining momentum is key. This balancing act is challenging due to the persistent threat of a truck chasing you throughout the level.

    Start by immediately jumping onto the rail, then quickly transition to the higher one. Maintain momentum to leap off an enemy, allowing you to navigate toward a faster route on the buildings in the background.

    Once you grab the first skateboard, prepare to jump. Just past the checkpoint, there are Dash Rings leading you to a elevated platform area. Keep jumping wherever possible, timing your jumps perfectly when interacting with Dash Ramps to gain height and speed.

    When the truck gets close near the scaffolding, jump onto its bumper to avoid damage.

    To secure an A Rank, finish in under 2 minutes and 20 seconds with a score of 50,000, and aim for a Perfect Clear to elevate that to an S Rank.

    City Escape Act 2 S Rank

    The initial slopes of City Escape offer multiple route options, but typically, they all take about the same time. Pick the route you feel most comfortable with, though the quickest is usually the one featuring a ramp on some scaffolding.

    Make sure to pass through the Rainbow Ring after the park section, since this path is both quicker and safer.

    As you enter the side-scrolling segment, maintain your speed. Here, you’ll hit a ramp leading to a swing pole high above, which will guide you to an arch checkpoint and onto a higher path.

    On the uphill section with the Speed Ramp, the camera will shift to show Sonic from behind as the Gun Truck begins its pursuit. Note that this section is linear. Use Sonic’s sidestepping ability to dodge the oversized saws wielded by the furious truck.

    Complete Act 2 in under 3 minutes with a score of 50,000 to earn an A Rank, and maximize it to an S Rank through a Perfect Clear.

    Where to Locate All Red Star Rings in City Escape

    Like the original Sonic Generations, each location in City Escape has ten Red Star Rings, with five located in each Act for Sonic to discover. Here’s where to find them.

    City Escape Act 1 Red Star Rings

    Act 1 contains five Red Star Rings, and while many can be found in a single run, you’d better be familiar with the level for optimal success.

    1. Red Star Ring 1: Found while rolling down a building’s roof that leads back to the main path.
    2. Red Star Ring 2: Located over a gap that the Gun Truck drives through, allowing you to jump onto it while it’s in motion.
    3. Red Star Ring 3: Jump through the Dash Rings airborne after the checkpoint while the Gun Truck chases you downhill.
    4. Red Star Ring 4: Hit the highest route using the skateboard by making precise jumps on the Speed Ramps.
    5. Red Star Ring 5: On a low part of the scaffolding that the Gun Truck collapses. Just stand above it and wait for the truck to pass through for it to lower.

    City Escape Act 2 Red Star Rings

    Act 2 also features five Red Star Rings, some of which require precise navigation in areas where slowing down is not an option, so being aware of their locations is crucial.

    1. Red Star Ring 1: Grind along the power lines reached from the Speed Ramp on raised scaffolding; the ring is at the end.
    2. Red Star Ring 2: Choose a different route; take the Speed Ramp up to a building roof, and then hit another Speed Ramp to acquire the star.
    3. Red Star Ring 3: Opt for the lower route after the park instead of the Rainbow Ring; the ring rests on a fragile platform.
    4. Red Star Ring 4: After entering the side-scrolling section, ride the Speed Ramp up to a higher path, where the ring can be found atop an arch beside a checkpoint.
    5. Red Star Ring 5: As you’re pursued by the Gun Truck while descending various building steps, stay to the left in the elevated area and align with the rings to collect the star at the end.

    Finding Every Hidden Chao in City Escape

    New to Sonic X Shadow Generations are six Chao hidden in each location, three for each Sonic to find. They can be quite well-hidden, making some notably tricky to locate in City Escape.

    City Escape Act 1 Hidden Chao

    Classic Sonic has three Chao to discover in City Escape. Here’s where you can find them.

    1. Hidden Chao 1: Take the lowest path until you spot some wanted posters in the foreground. Stand next to the one featuring the yellow Chao for a few moments to find it.
    2. Hidden Chao 2: As you reach the end of a slope with the Truck chasing you, move left to discover a Chao hiding beneath the road’s edge.
    3. Hidden Chao 3: Climb the destructible scaffolding and move left to find the Chao nestled in the corner.

    City Escape Act 2 Hidden Chao

    Similar to Classic Sonic, Modern Sonic also has three Chao to find in City Escape. Here’s where all of them are located.

    1. Hidden Chao 1: After dismounting the snowboard, break the two wooden crates in front to find a Chao tucked away in one of them.
    2. Hidden Chao 2: During the side-scrolling segment on the lowest route, look at the wanted posters on the wall just before the checkpoint. Stand near them briefly to collect the Chao.
    3. Hidden Chao 3: Just before ascending the Speed Ramp that triggers the Gun Truck’s chase, discover the final Chao hidden underneath a sign.

    And with those tips, you should have successfully navigated City Escape, hopefully collecting everything along the way!

  • Discover All Hidden Chaos in Sonic X Shadow’s Speed Highway!

    Discover All Hidden Chaos in Sonic X Shadow’s Speed Highway!

    In Sonic X Shadow Generations, Shadow finally gets his moment in the spotlight with a remake dedicated to him, while Sonic joins in with a remaster of a game that was already revamped. However, playing Sonic still feels just as enjoyable as it did when Sonic Generations first debuted.

    With that in mind, let’s dive into Speed Highway, a legendary level in Sonic’s history and one of the most thrilling stages in this game. The level is packed with twists, turns, and plenty of collectibles, so we’re here to guide you in locating them all.

    Tips for Getting an S Rank in Speed Highway


    Speed Highway emphasizes speed. You’ll need to keep up a good pace to dodge police enemies, avoid being hit by cars, and generally stay upright. Maintain your speed to secure an S Rank at the end.

    S Rank in Speed Highway Act 1

    Playing as Classic Sonic in Act 1 prioritizes speed, but as expected, you’ll also need to pay attention to your jumps and your footing.

    Right from the start, leap at the end of the ring trail to bounce off some balloons, leading you to an elevated path.

    As you ascend the platforms on this higher path, maintain your speed and bounce off flying enemies to reach an even higher section.

    After colliding with the building housing the rocket, jump up right after the checkpoint to access an elevated area, allowing you to skip some lower segments.

    After passing through the glass corridors, jump onto the flying enemy to glide down the slope on the left to a faster lower route.

    In the area with the dumpsters that launch you into the air, you’ll encounter unstable platforms moving upwards. Time your jumps carefully across these to ascend to a section with a checkpoint.

    After following all these steps, you’ll complete Act 1. To achieve an A Rank, aim for any time less than 2:30 minutes and a score of 50,000; a Perfect Clear will upgrade this to an S Rank.

    S Rank in Speed Highway Act 2

    Act 2, focusing on Modern Sonic, is much faster-paced. However, you still need to be on the lookout for secret routes around every corner.

    Right after starting, boost and jump forward. This will lead you to a grind rail for a quicker route.

    Upon reaching the next checkpoint, there’s a tricky jump you can take. Rather than leaping off the Rainbow Ramp, jump over it. This will drop you down, but you can skip a large chunk of the interior by boosting into a Dash Ring in a hole in the building.

    You’ll also find some Eggman bounce pads on the walls. Boost when you see them to reach the hole in time.

    While skydiving from the helicopter, try to land on the three floating platforms. This will help you avoid the lower area and the enemies guarding it.

    After touching down on the highway post-rocket, drift around the corner and immediately jump to the upper highway. Be careful and stick to the left. Falling off will force you to take a long route instead of continuing along the lower path.

    With that, Act 2 wraps up! Any completion time of under 2:20 and a score of 50,000 or better will net you an A Rank, with a Perfect Clear boosting it to an S Rank.

    Finding All Red Star Rings in Speed Highway

    The Red Star Rings return nearly unchanged from their original appearance in Sonic Generations. You can find five in each Act, making a total of ten to collect. Here’s where to spot each one and the skills they unlock.

    Red Star Rings in Speed Highway Act 1


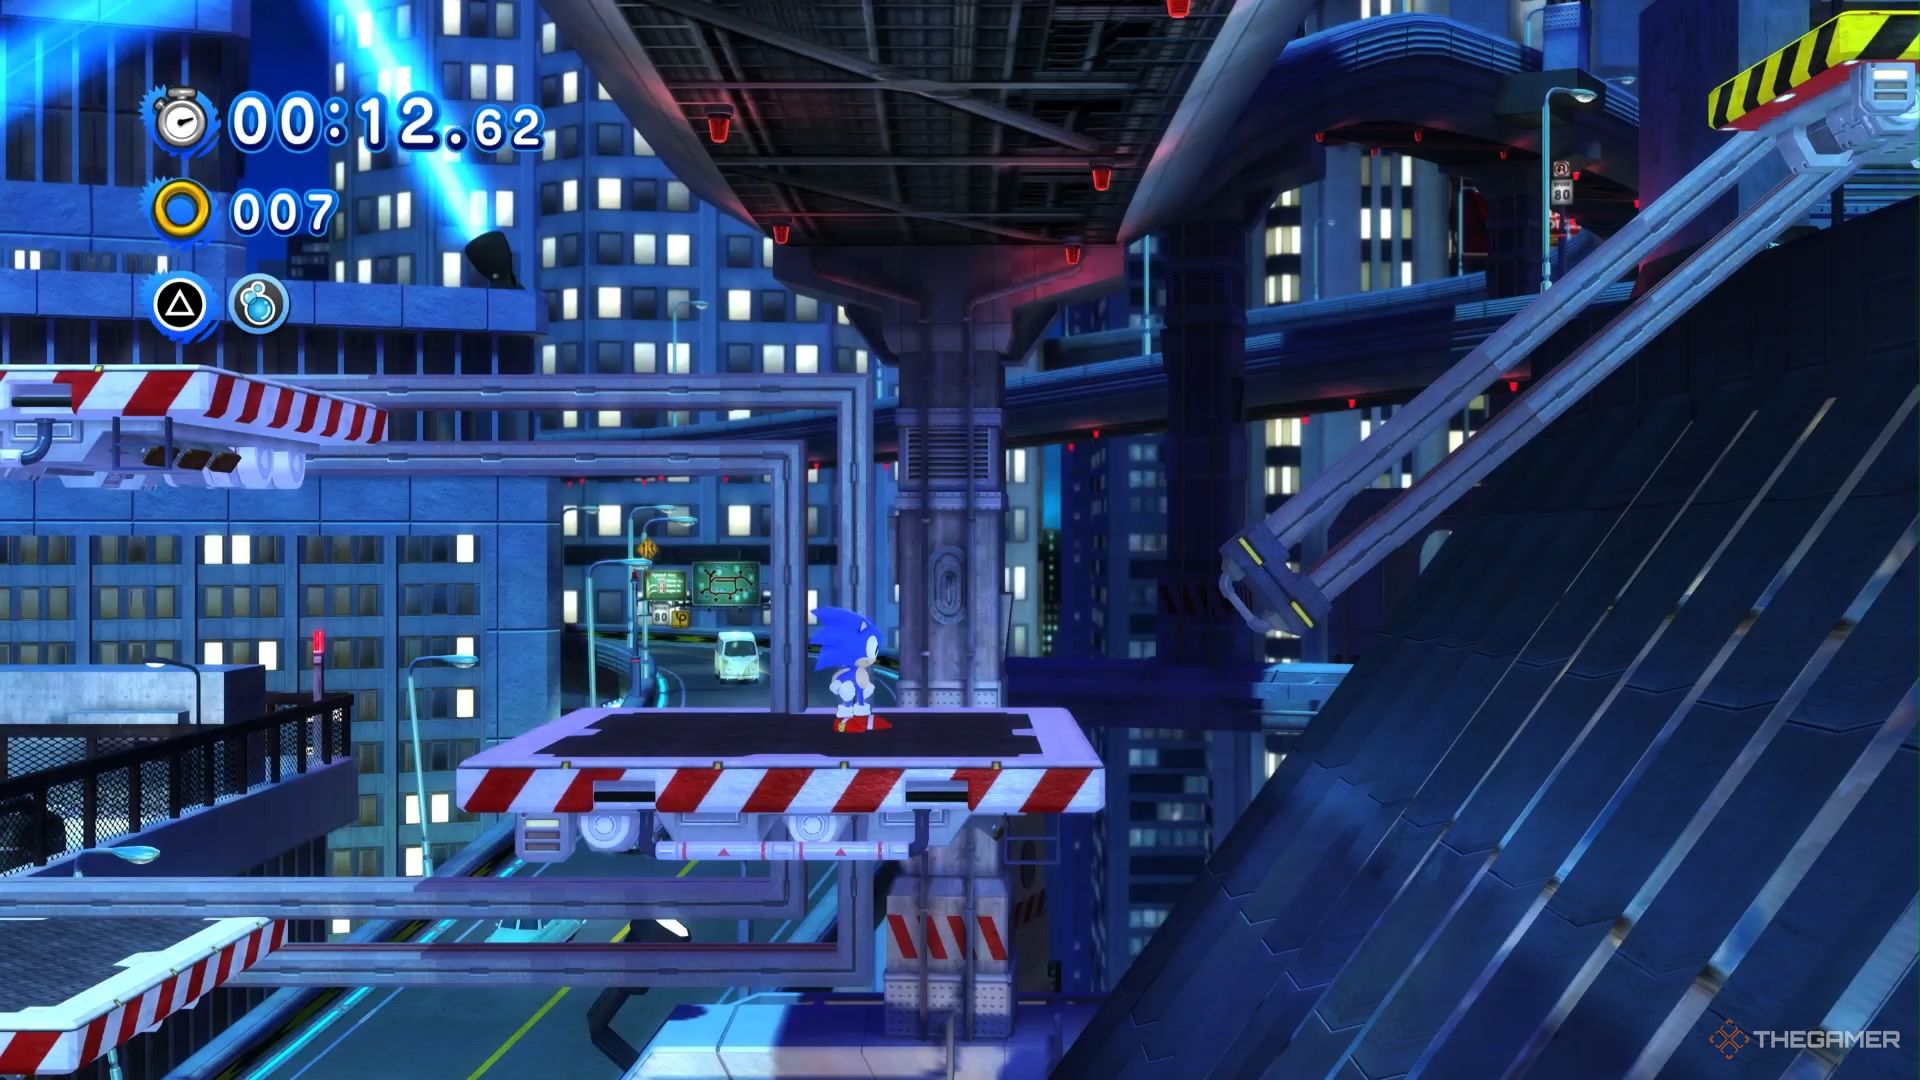
    SONIC X SHADOW GENERATIONS Classic Sonic waiting on a platform in speed highway.

    Act 1 contains five Red Star Rings. Not all of them are on the fastest paths, so be sure to thoroughly explore. Here are their locations:

    • Red Star Ring 1: Found in the lowest section of the interior building by jumping through a Dash Ring over some spikes.
    • Red Star Ring 2: Located in the parking garage, between spiked balls on a diagonal-moving platform.
    • Red Star Ring 3: Positioned near the bell inside the center of the interior building.
    • Red Star Ring 4: After the halfpipe in the scaffolding, follow the high path.
    • Red Star Ring 5: From the elevated path just before finishing the Act, this ring is found inside a Dash Ring.

    Collecting these will grant you the Power Sneakers skill.

    Red Star Rings in Speed Highway Act 2


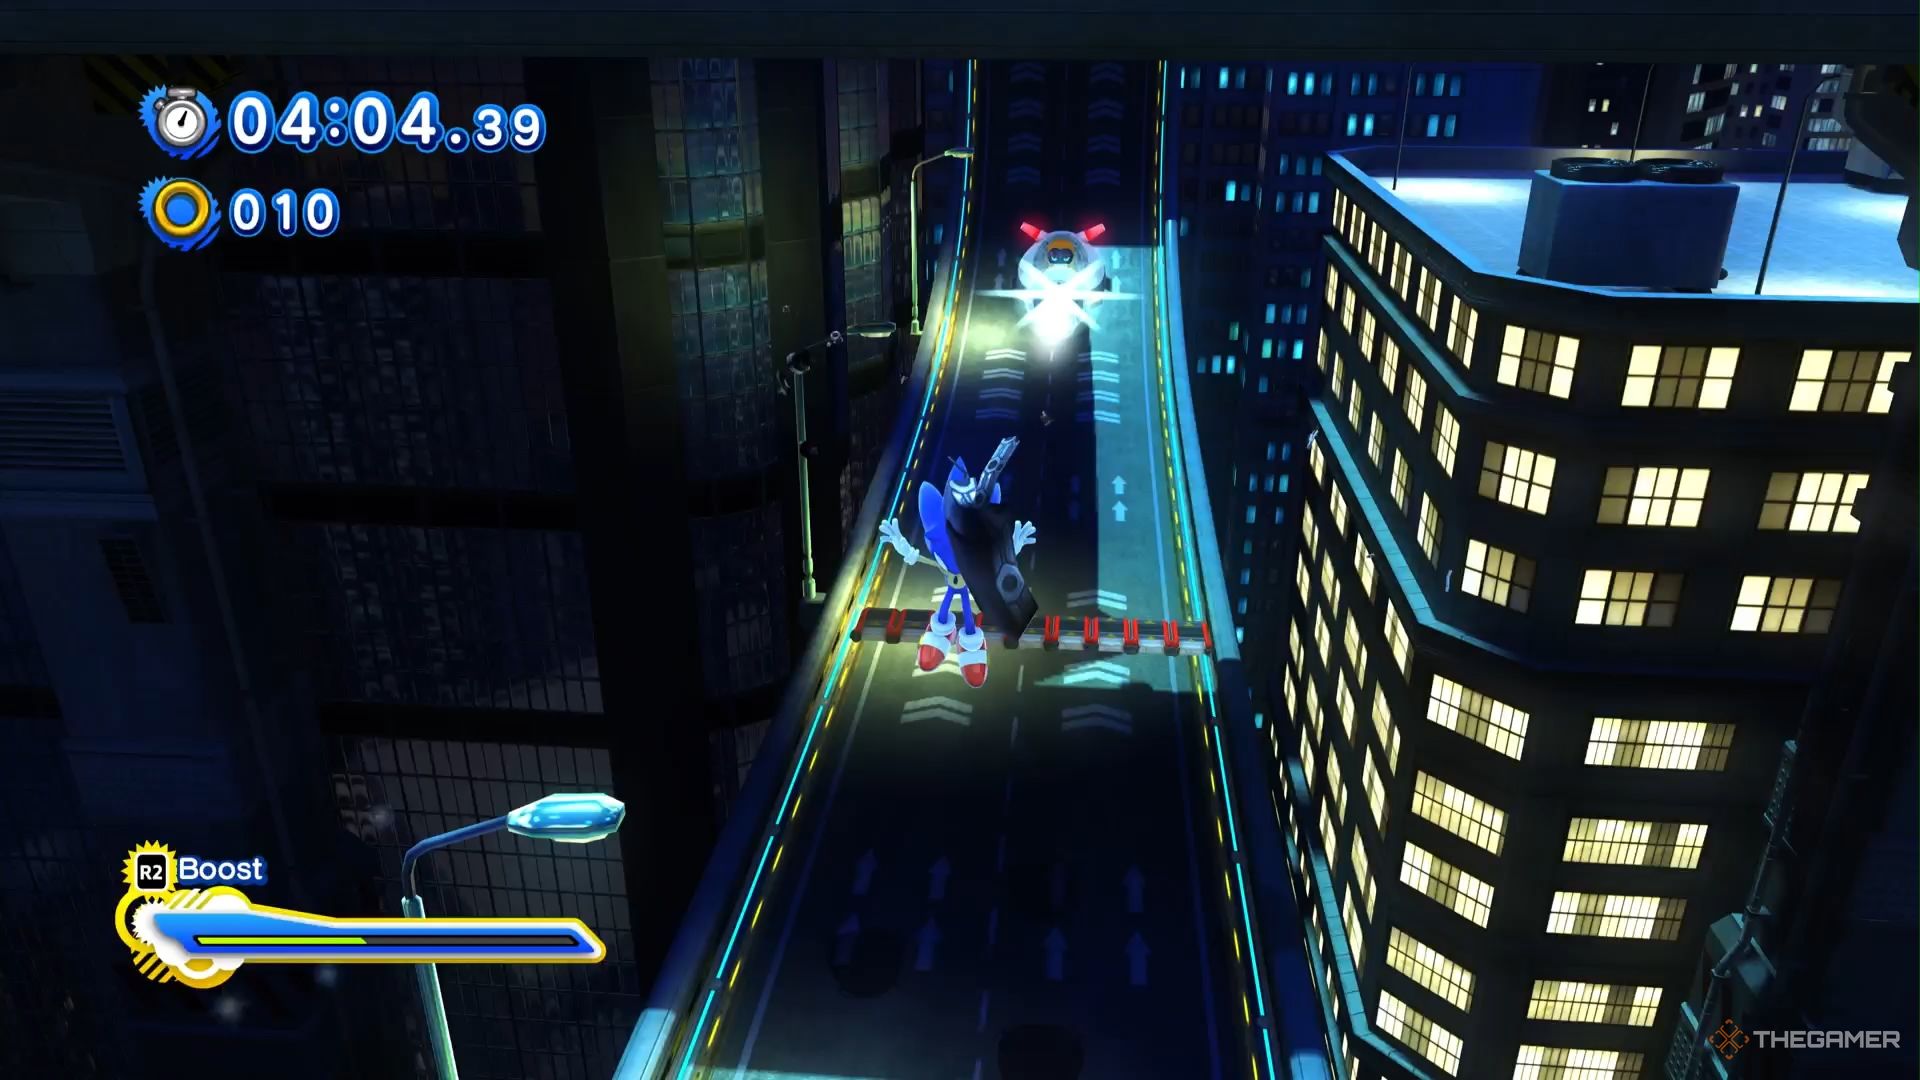
    SONIC X SHADOW GENERATIONS Modern Sonic in Speed Highway being chased by an enemy.

    Similarly to Act 1, five Red Star Rings can also be found in Act 2. These can’t all be collected in a single attempt, so expect to play through multiple times:

    • Red Star Ring 1: Found at the start; boost and dash to reach a grind rail.
    • Red Star Ring 2: Located at the end of a Lightspeed Dash, just before the Rainbow Ramp leading to the helicopter.
    • Red Star Ring 3: Spotted while dashing downwards through the skyscraper’s interior, just before landing.
    • Red Star Ring 4: Acquired by jumping through Rainbow Rings to land on the highway towards the goal; the star is nestled in the Rainbow Rings.
    • Red Star Ring 5: After leaping onto the upper highway near the end, follow the rooftops to discover the final star.

    Collecting these grants you the Auto-Gauge skill.

    Hidden Chao Locations in Speed Highway

    In Sonic X Shadow Generations, you can find three Chao in each Act, totaling six to collect. These adorable additions serve no real purpose but are a fun find.

    Chao in Speed Highway Act 1


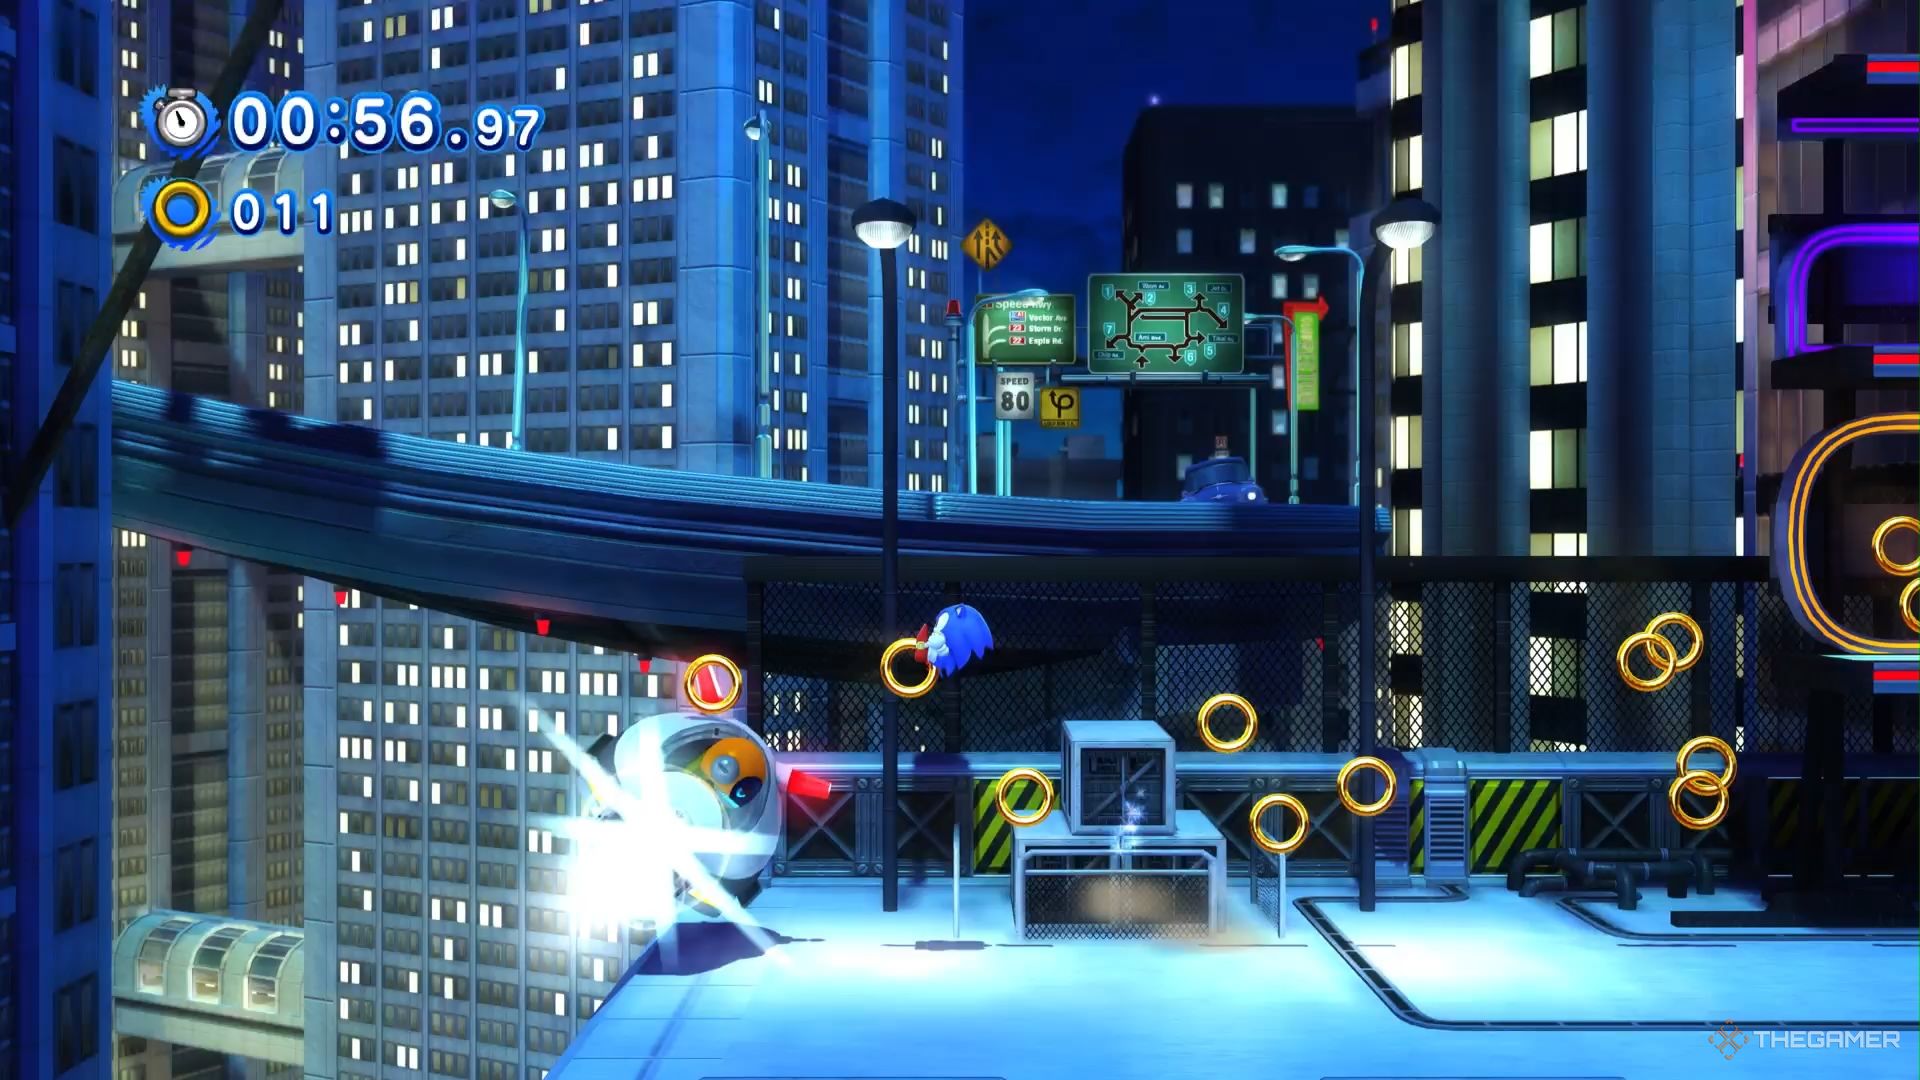
    SONIC X SHADOW GENERATIONS Classic Sonic attacked by an enemy in Speed Highway.

    In Act 1, you can locate three Chao in various routes, warranting a few playthroughs:

    • Hidden Chao 1: Following the lower route will reveal this chao on a 24 Hour Coffee neon sign.
    • Hidden Chao 2: There’s a chao inside a bell tower on the exterior; hit it several times to free them.
    • Hidden Chao 3: After dropping from the helicopter, turn around to discover a chao waiting on the left.

    Chao in Speed Highway Act 2


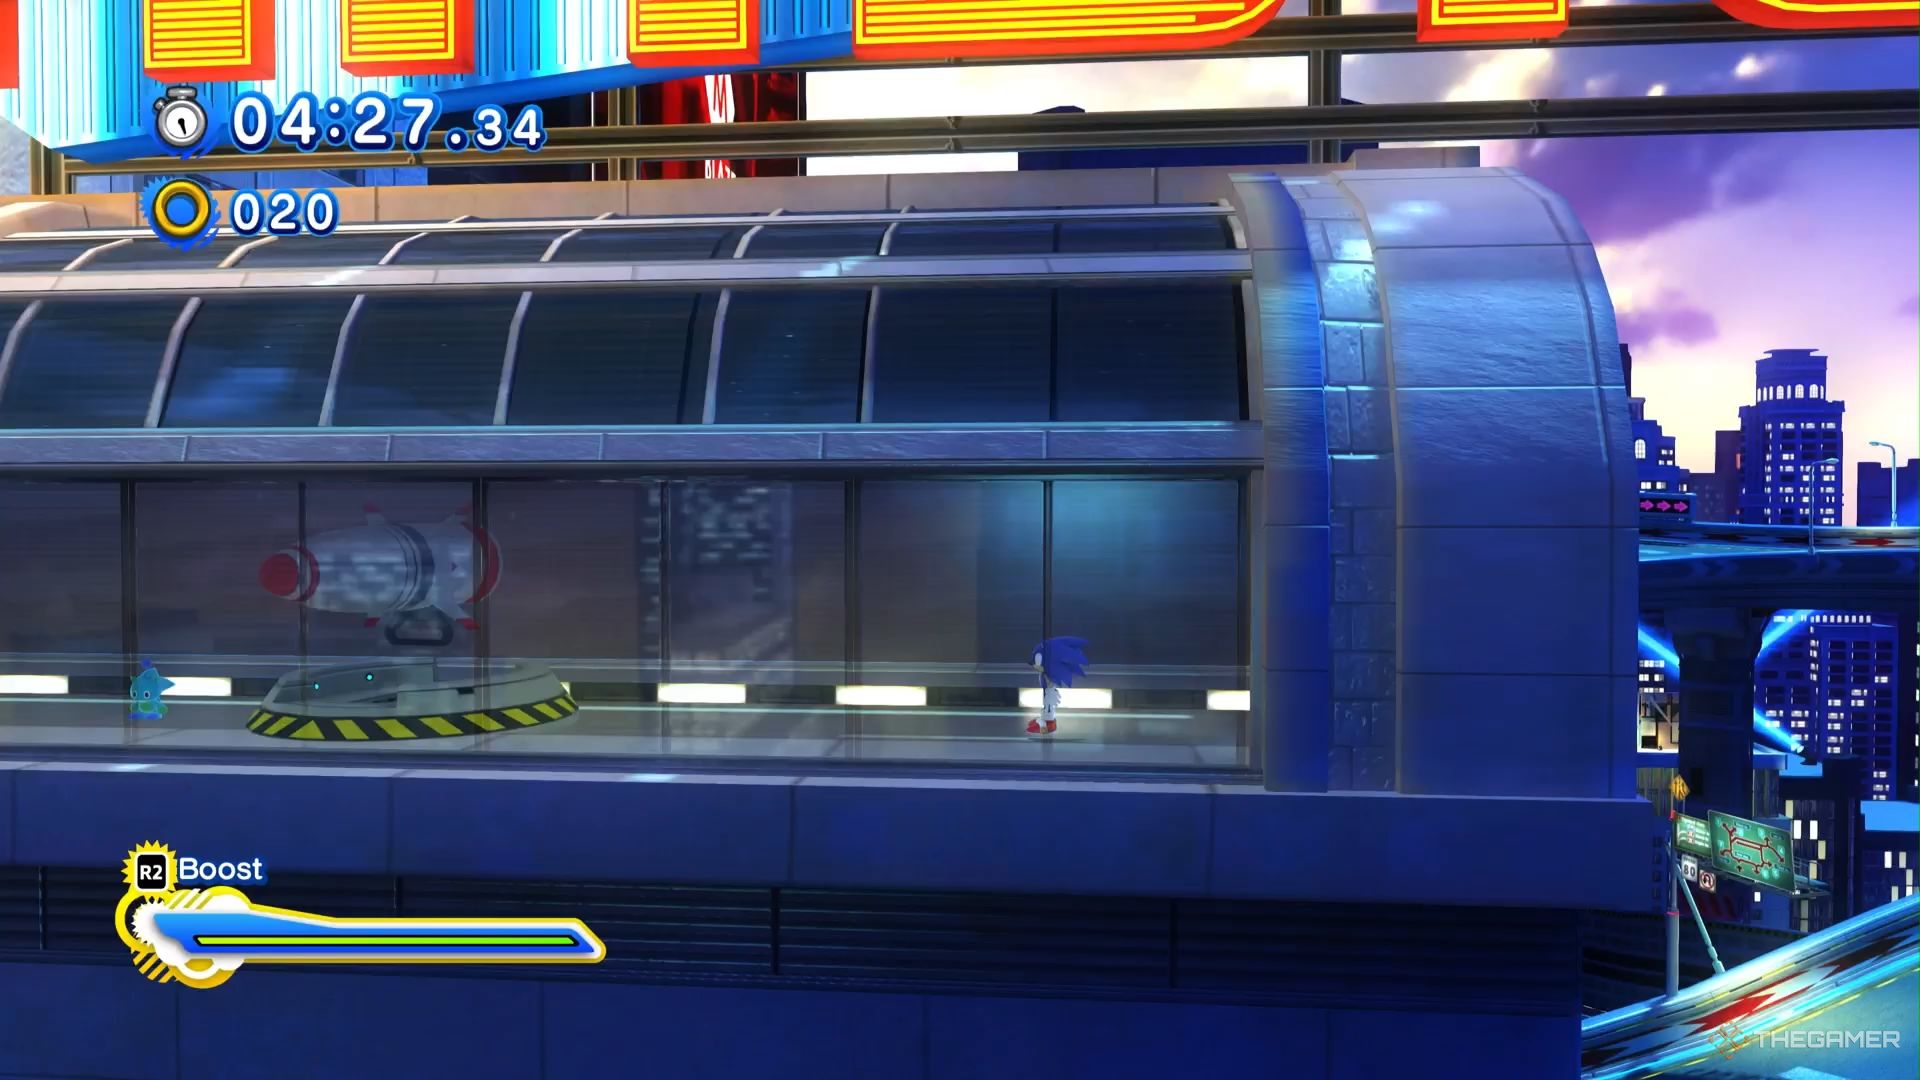
    SONIC X SHADOW GENERATIONS Modern Sonic in a glass tunnel with a rocket and chao in Speed Highway.

    In Act 2, another three Chao await discovery, some tucked away in tricky spots that are all too easy to overlook:

    • Hidden Chao 1: As you climb outside platforms, use the directional cannon on the left to shoot upwards; the chao waits beside some spikes.
    • Hidden Chao 2: While skydiving from the helicopter, drop onto the floating platforms; one of them holds a chao.
    • Hidden Chao 3: In a side-scrolling section near the end, you’ll find a rocket; jump over it to reveal the chao hidden nearby.

    By collecting these last few Chao, you’ll have explored the full experience of Speed Highway while hopefully achieving that coveted S Rank along the way!

  • Mastering Rival Boss Fights in Sonic X Shadow Generations

    Mastering Rival Boss Fights in Sonic X Shadow Generations

    In the Sonic part of Sonic X Shadow Generations, you will face three Rival Bosses before you confront the final boss. This guide will detail how to unlock each Rival Boss and offer strategies to defeat them.

    The Rival Bosses in Sonic Generations are Metal Sonic, Shadow the Hedgehog, and Silver the Hedgehog. Here’s a breakdown of how to unlock and defeat each one.

    How to Unlock Rival Bosses

    Sonic Generations features nine levels split across three different areas, each representing a unique era from Sonic’s history. Every area has its own Rival Boss, who guards a Chaos Emerald.

    A Rival Boss in an area becomes accessible once you complete all three stages located within that area. Specifically, you must finish both Act 1 and Act 2 of each level.

    Once you’ve wrapped up every stage, challenge gates will emerge on the map, allowing you to face the Rival Bosses. You’ll encounter each Rival waiting for you on the map. Just approach them to start the battle.

    You can skip facing Rival Bosses until later in the game, allowing you to progress all the way to the final boss. This is when you’ll need all seven Chaos Emeralds.

    Metal Sonic represents the classic era, tracing back to Sonic CD from 1993.

    In Metal Sonic’s stage, you’ll navigate a 2D platform as he chases you. He starts by dashing directly at you. To avoid getting hit, jump over him and then land on his head to inflict damage. After getting hit, he will unleash an energy wave. Adjust your speed to dodge this and jump on him again once the wave is cleared.

    Next, he will try throwing objects at you. During this phase, managing your speed is key. Either accelerate or slow down to dodge the obstacles.

    Afterwards, he will combine his attacks, charging toward you while energized. Run away from him until his energy wears off, then jump on him one last time to defeat him.

    How to Beat Shadow

    The fight with Shadow draws inspiration from his debut in Sonic Adventure 2, playing out like a race.

    In this battle, you’ll race against Shadow to collect energy orbs. Gather two orbs to gain a temporary boost.

    If Shadow gets two orbs first, he unleashes his power, which means you’ll have to dodge a barrage of Chaos Spears. This can be managed with the quick step maneuver (using back triggers on your controller).

    Although dodging Shadow’s attack is straightforward, it can prolong the battle unnecessarily. To prevent him from charging his attack, stay in front and collect the energy orbs first by gathering rings and performing tricks off ramps.

    To defeat Shadow, you’ll need to charge an attack. Once charged, it leads you to a new area where you must boost into asteroids. Sending the asteroids flying into Shadow will slow him down. When he’s sufficiently slowed, keep boosting into him to drain his rings and score a victory.

    How to Beat Silver

    Silver is the third and final Rival Boss in Sonic Generations, and his level harkens back to the infamous 2006 game, Sonic the Hedgehog (commonly known as Sonic ‘06).

    This encounter revolves around speed management, so you’ll want to use your boost efficiently, especially for the fight’s last phase.

    Your initial chance to attack Silver will come when he’s manipulating debris. Boost close to the first piece, execute a homing attack on it, and keep going until you reach Silver for a direct attack.

    Between your attacks, make sure to keep your boost meter filled. Collecting rings helps, or you can bump into the scattered debris, as long as it’s not the debris Silver is controlling.

    Your second chance to attack occurs when he lifts debris to form a ramp. Boost so you land on that debris, then continue until you’re back in range to hit him again.

    Sometimes, Silver will float three pieces of debris above you, with one crashing down first. When this happens, rush to the spot where that debris fell to dodge the incoming pieces. He can also launch energy blasts your way as you close in, which can be dodged using the quick step method.

    After hitting him four times, he enters his final phase. Silver will gather a massive pile of debris, and the perspective shifts so you are running away from it. Here, having a charged boost is crucial for survival. If you do, keep boosting while dodging the falling debris. Eventually, reach him and land one last homing attack to win the fight.

  • Mastering Perfect Chaos: Sonic X vs. Shadow Generations Tips

    Mastering Perfect Chaos: Sonic X vs. Shadow Generations Tips

    Quick Links

    Perfect Chaos is the second boss featured in Sonic’s segment of Sonic X Shadow Generations. Originating from Sonic Adventure, Perfect Chaos embodies the essence of the Dreamcast era in Sonic gaming.

    In this guide, you’ll find out how to unlock and defeat the Perfect Chaos boss.

    How To Unlock The Perfect Chaos Boss Fight

    To access the fight with Perfect Chaos, you first need to complete the initial area of Sonic Generations and defeat the first boss. After that, you’ll gain entry to the second area, which consists of three stages drawn from the Dreamcast era of the Sonic series.

    You must successfully complete both Act 1 and Act 2 for each of the three stages. Once you’ve done that, a boss gate will appear. To open it, you need to collect three boss keys.

    Boss keys can be obtained by successfully finishing a Challenge Act in each stage, which becomes available after the boss gate shows up.

    Once you have gathered all three keys, head back to the gate, and it will open up for your battle against Perfect Chaos.

    How To Beat Perfect Chaos

    The battle with Perfect Chaos is fairly straightforward and resembles a typical stage. To win, simply navigate through the area and attack when prompted. You will need to hit Perfect Chaos four times to win.

    There aren’t specific attack patterns to dodge since Perfect Chaos primarily targets the environment. Your biggest risk comes from the surroundings, so be cautious—miscalculated jumps may lead you into the water below.

    During the initial phase of the fight, continue moving forward while avoiding obstacles. Once you reach the end, approach Perfect Chaos head-on. Sonic will climb the creature and deliver an attack once he reaches the top.

    In the second phase, continue the same strategy. However, this time you’ll encounter more challenges as the environment is more fragmented. Perfect Chaos will also be actively destroying parts of the stage, so stay alert. Use the springs towards the end to launch yourself into Perfect Chaos, and execute a homing attack to deal damage.

    Tip:

    Switching between 2D and 3D platforming may occur, so be prepared to adapt quickly to avoid falling off edges.

    In the third segment, run directly toward Perfect Chaos while dodging debris and whirlpools of water obstructing your path. At the end of this area, you’ll need to scale Perfect Chaos once again to land another hit.

    The final part is trickier but mainly requires good platforming skills. Jump between floating debris until you reach the right attacking range. Look for spots like springs and grapples that can help you avoid falling if Perfect Chaos destroys the platform you’re on. Once you’re near the end of this segment, land your fourth and final hit to defeat Perfect Chaos.

  • Defeating Egg Dragoon in Sonic X: A Shadow Generations Guide

    Defeating Egg Dragoon in Sonic X: A Shadow Generations Guide

    The Egg Dragoon serves as the second-to-last boss in Sonic’s journey within Sonic X Shadow Generations. It is the key challenge in the third area and stands as the final test before reaching the endgame. This battle is intense and requires fast reflexes and the ability to adjust strategies as the fight progresses.

    Fortunately, once you’ve learned the various attacks this boss unleashes, surviving becomes a matter of staying agile and responding appropriately. Here’s a guide on how to unlock the Egg Dragoon boss encounter and some tips for winning the fight.

    Unlocking the Egg Dragoon Boss Fight

    To face Egg Dragoon, it’s essential to have defeated the bosses in the first two areas first. Clear all six stages leading up to the third area along with their respective bosses to gain access to this next challenge.

    In the third area, you’ll need to complete Act 1 and Act 2 in each stage, as you did in previous areas. After these acts, a boss gate will appear. At this point, you must complete a Challenge Act from each stage. Doing so will grant you three boss keys, allowing you to unlock the gate and initiate the Egg Dragoon battle.

    Egg Dragoon’s Attacks

    Attack

    Description

    Fire

    A series of rotating flames that cover the stage. You can dodge these by jumping when they approach.

    Ice

    An ice beam fired during the initial phase. Jump or quick step away to avoid getting hit. In the 2D section, Egg Dragoon fires balls of ice that can be avoided by jumping or timing your wall jumps correctly.

    Missiles

    Used during multiple phases, Egg Dragoon launches missiles that lock onto you. Stay on the move to evade them.

    Walls

    In the 2D phase, Egg Dragoon drops walls that will close in and trap you. Use wall jumps to evade or return the pressure with your own attacks.

    How to Defeat Egg Dragoon

    The Egg Dragoon battle has multiple phases, each offering chances to attack. However, these windows for attack require quick reactions, and missing them means the boss will transition to another phase. The Egg Dragoon will fall after taking eight hits.

    The fight begins in a 3D perspective, where you must dodge numerous attacks like ice beams and missiles. You can close the distance using two methods: either run until you’re close enough for a homing attack or use ramps to reach the upper rails above the stage. If done right, jumping from the rails will put you in the perfect position for a homing attack on the boss.

    The perspective then shifts to 2D. In this phase, you’ll avoid ice balls by timing your jumps well. Egg Dragoon will drop two walls to trap Sonic. Execute wall jumps to gain height, then attack with a homing strike. Be quick to time your jumps and don’t be too slow, or the walls will crush you!

    Jump immediately when the perspective shifts, as Egg Dragoon will fire an ice ball shortly after.

    After landing three hits, Egg Dragoon will initiate a new phase. This time, both Sonic and the boss will enter a portal and engage mid-air. You’ll need to dodge missiles while boosting to close the distance. Once close enough, you can perform another homing attack.

    Be mindful of doors trying to close in on you in this part of the fight.

    The subsequent phases will repeat the attack patterns, but in this version of the second phase, Egg Dragoon will not drop the walls. You’ll need to stay aggressive and close the gap while dodging ice beams. Deliver another hit and soon both parts of the machine will be defeated. Once eight hits are completed, the battle concludes successfully.

  • Defeating Death Egg Robot in Sonic X: Shadow’s Guide

    Defeating Death Egg Robot in Sonic X: Shadow’s Guide

    The initial boss encounter in Sonic’s segment of Sonic X Shadow Generations features the Death Egg Robot. Similar to its appearance in the original Sonic Generations, players control classic Sonic as they face off against this foe in a 2D arena. After all, you can’t overlook the fundamentals, right?

    What starts as a fairly straightforward battle, especially by Sonic’s standards, evolves into a more intricate and impressive fight. Great job, Eggman! In this guide, we’ll explain how to unlock the boss fight and strategies to defeat it once you’re ready.

    Unlocking the Death Egg Robot

    Sonic Generations comprises nine unique stages divided across three different eras. The Death Egg Robot serves as the boss for the first era.

    You can access the Death Egg Robot boss gate after completing Act 1 and Act 2 in the first three stages. However, you’ll need to collect three boss keys to unlock it.

    Boss keys are earned by completing challenge acts, which become playable once the boss gate appears. You can choose from various challenges. However, you only need to complete one challenge from each stage to collect all three boss keys.

    After obtaining the three boss keys, head back to the boss gate to confront the Death Egg Robot.

    Attacks of the Death Egg Robot

    The Death Egg Robot executes various attacks throughout its two phases. Here are the key attacks to be wary of:

    Attack

    Description

    Homing Punch

    This move occurs in both phases. The robot targets you, aiming to strike. Keep jumping and moving to avoid the punch during its first phase, and in the second phase, try to make it punch one of the bombs instead.

    Leap Attack

    After attempting the punch, the Death Egg Robot will jump to slam down on you. Evade this attack by performing a spin dash at the right moment.

    Bombs

    While mostly considered stage hazards, don’t let the bombs detonate near you instead of hitting the boss. Avoid jumping on them after activating.

    Defeating the Death Egg Robot

    This battle consists of two distinct phases. Initially, when the Death Egg Robot charges for a leaping strike, charge your spin dash and release it as it jumps. This will allow you to reach its weak spot and inflict damage. Repeat this process two times to trigger the next phase.

    Things get trickier in the next phase, as you need to hit the robot two more times, but it will now be out of reach and will start throwing punches. To land a hit, locate and activate one of the buttons scattered around the area to summon a bomb. Lure Death Egg Robot into punching the bomb, causing it to get stunned.

    Once it’s stunned, jump onto its arm. This gives you the opportunity to reach its weak point and jump down to hurt it. Repeat this action twice, and you’ll finish the fight.

    If the arm is too elevated once it’s stunned, you won’t be able to jump on it to deal damage.

  • Discover All Hidden Chaos in Sonic X Shadow Generations

    Discover All Hidden Chaos in Sonic X Shadow Generations

    Sonic X Shadow Generations has brought us a fresh take on classic Sonic levels, now featuring Shadow as well. While most of Sonic’s original content remains unchanged, Shadow introduces completely new elements just for him.

    That said, you can’t go wrong with a classic Sonic level, and Chemical Plant is one of the most recognizable. There’s plenty to explore and accomplish across both Classic and Modern Sonic levels, along with some exciting new twists to enhance the gameplay. Here’s everything you need to know to master the Chemical Plant.

    How to Achieve S Rank in Chemical Plant

    Chemical Plant Act 1 S Rank

    Momentum is key for Classic Sonic, and he’ll need to moderate his speed at times. At the start of Act 1, carefully jumping along the moving platform will allow Sonic to access a higher path that bypasses many underwater sections.

    Whenever you encounter a quarter pipe, definitely use a fully charged Spin Dash—this will typically help you reach higher areas that Sonic might not access otherwise.

    Bouncing off enemies is beneficial, too, as it can propel you to elevated areas and generally keeps your pace faster than trying to dodge them.

    If you find yourself in water, speed is your ally. You should always have enough air to escape without needing to refill at air bubbles as long as you maintain your speed.

    There are no significant tricks to be cautious of beyond this. Finish the level in under 2:00 minutes with at least a score of 50,000 to secure that A Rank, and aim for a Perfect Clear to bump it up to S Rank.

    Chemical Plant Act 2 S Rank

    Modern Sonic moves incredibly fast—sometimes even quicker than the level can handle. Slowing down can hinder your progress, especially with the erratic camera movements, so maintain speed throughout and watch for hidden paths.

    One such secret path can be found at the start. Two alternative routes are available beside the main one, both of which can let you skip the section leading up to the highway, though they might be tricky to reach.

    On the highway, try to grab the Rainbow Speed Ramp, which will lead you to a crane handle, allowing you to zoom past the grind rail. After entering the next side-scrolling section, jump right after the checkpoint to get to a higher area that helps you skip the water section below.

    If you do end up submerged, just start dashing. Sonic will swim to the surface at an impressive speed. Boosting is also an excellent tactic for Modern Sonic, ensuring he stays at top speed and can reach incredible heights from quarter pipes.

    Near the level’s end, Sonic will grab onto a crane handle leading to a grind rail. Be sure to quickly use your Homing Attack before landing to snatch onto another crane handle and move closer to the finish.

    Avoid the underwater areas to achieve an S Rank; as long as you keep your speed, minor falls won’t hurt your score too badly. As long as you finish in under 2:30 minutes with 50,000 points or more, and achieve a Perfect Clear, you should be all set for that S Rank.

    Where to Find All Red Star Rings in Chemical Plant

    You can uncover a total of ten Red Star Rings in Chemical Plant, with five for each Sonic. They’re spaced quite well throughout the levels, making it nearly impossible to collect them all in one go. Take your time, and let our guide help you!

    Chemical Plant Act 1 Red Stars

    Finding Classic Sonic’s Red Star Rings can be challenging due to the side-scrolling camera. Here’s a breakdown to make your search easier:

    1. Red Star Ring 1: Take the lower path from the start and collect the ring atop the pipe you enter.
    2. Red Star Ring 2: Located on a path with many blue bubbles, this ring appears in the second set of bubbles.
    3. Red Star Ring 3: Instead of Spin Dashing up the quarter pipe, use the floating platform. Jump along to another platform to reach the Red Star.
    4. Red Star Ring 4: Find this ring in an underwater section, just before you come up for air. Bounce off the spider enemy or drop in from above.
    5. Red Star Ring 5: Near the stage’s end, after traversing collapsing platforms, you’ll spot this Red Star on top of springs and floating platforms.

    After all that, you can earn the skill, Breath Holder.

    Chemical Plant Act 2 Red Stars

    Speeding past areas can make it easy to overlook some Red Stars, so here’s a guide for those locations while you’re zipping through:

    1. Red Star Ring 1: After jumping from the Rainbow Speed ramp on the highway, you’ll find it in the center of the path at the end of the crane journey.
    2. Red Star Ring 2: After the grind rail, jump to the higher path past the checkpoint for this ring.
    3. Red Star Ring 3: Ascending a slanted part, you’ll see this Red Star next to a spider enemy.
    4. Red Star Ring 4: In the skydiving section, stick to the northern edge of the tunnel to find the Red Star just before landing.
    5. Red Star Ring 5: After getting off the highway near the end, head up to the grind rail via the ramp or a hidden spring; you’ll collect the ring on the way.

    Grabbing these will reward you with the Smasher Bonus skill.

    Where to Find Every Hidden Chao in Chemical Plant

    One of the new features in Sonic X Shadow Generations is the hidden Chaos. There are six Chaos to find in each stage, three for each Sonic.

    Chemical Plant Act 1 Hidden Chaos

    Finding Chaos can be tricky as they’re well-hidden or out of sight. Here’s where to locate them for Classic Sonic:

    1. Hidden Chao 1: After a failed springboard jump, this Chao is in a small underwater section.
    2. Hidden Chao 2: Found after traveling through a pipe, you’ll find this Chao next to a series of Ring Boxes.
    3. Hidden Chao 3: Located in the same area as the fifth Red Star Ring, take the springs to the high path to find the Chao at the edge.

    Chemical Plant Act 2 Hidden Chaos

    Sonic’s speed can make it tough to find these little guys, but here are their locations:

    1. Hidden Chao 1: Follow the low path in the side-scrolling section and let Sonic fall into the water; the Chao is at the bottom left.
    2. Hidden Chao 2: After the skydiving area, look for the Chao resting on the left side of the room.
    3. Hidden Chao 3: Just before using the hidden springs near the end, head back to the lower section, the Chao will be in the corner by the ledge.

    With this guide, you’ll gather every collectible in the Chemical Plant and knock out another S Rank from your list!

  • Discover All Hidden Chao in Green Hill: Sonic X Shadow Guide

    Discover All Hidden Chao in Green Hill: Sonic X Shadow Guide

    Sonic has long had a debate over which gameplay style reigns supreme: the classic, momentum-based platforming of earlier titles or the fast-paced action of modern iterations. Sonic Generations cleverly bridged this gap by incorporating elements from both styles, and now Sonic X Shadow Generations elevates the experience further by introducing a dedicated campaign for Shadow.

    However, nothing quite compares to the classic Sonic levels, with Green Hill Zone taking the lead as an all-time favorite. Each act presents unique challenges and diverse pathways that make mastering them both exciting and tough. Let’s dive in and explore all that Green Hill has to offer!

    How to Achieve an S Rank in Green Hill

    Green Hill Zone holds a special place in the hearts of Sonic fans, making it a fitting introductory stage for Sonic’s adventure. Despite being familiar territory, players should be aware that the two versions of Sonic play very differently.

    Green Hill Act 1: Achieving S Rank

    In this act, you take control of Classic Sonic in the renowned zone. Earning an S Rank isn’t overly difficult, but the numerous routes and the challenge of platforming with Classic Sonic can be tricky.

    To optimize your run, stay as high as possible in the level; this often leads to the quickest routes. However, some paths can be easily overlooked if you rush through the level, so it’s wise to find a balance between speed and awareness.

    Always attempt to bounce off enemies. Not only do you defeat them, but you also gain extra height to explore new areas. Keep in mind that the Homing Attack isn’t available here unless you unlock it later in the game.

    Classic Sonic thrives on momentum. Abrupt stopping can hinder your ability to reach certain platforms. Therefore, familiarizing yourself with the level layout is essential. Don’t hesitate to employ the Spin Dash for an extra boost of speed.

    Aim for a time of under 3 minutes with at least 50,000 points to score an A Rank, while achieving a Perfect Clear will upgrade that to an S Rank.

    Green Hill Act 2: Achieving S Rank

    When you switch to Modern Sonic in Green Hill, you’ll notice that his run is significantly longer, and the play style is more forgiving. Keep up the pace, and you’ll find it easier to achieve that S Rank.

    A neat tip: when Sonic takes off from a big ramp and hovers in the air, you can slam down to kickstart your running again. This little maneuver can save you precious seconds throughout the act.

    Take every chance you get to perform tricks. Not only do they refill your Boost gauge, but they also extend its capacity, further boosting your speed.

    Utilizing the Homing Attack is critical, as it allows Sonic to reach rails, springs, and enemies more quickly. Clear the act in under 3 minutes with a score of at least 50,000 to achieve an A Rank, and snag a Perfect Clear for the coveted S Rank.

    Locating All Red Star Rings in Green Hill

    Each level of Sonic Generations features ten Red Star Rings, split evenly between both versions of Sonic. They can be found scattered around the level, often in clever hiding spots.

    To make things easier, you can chat with characters outside each stage for hints about any missing Red Star Rings for each Sonic.

    Green Hill Act 1 Red Star Ring Locations

    Classic Sonic has five Red Star Rings tucked away in Green Hill, which often don’t appear in the highest paths. Exploring every nook and cranny is key to collecting them all.

    1. Red Star Ring 1: Located at the start, between the two bridges with jumping piranhas.
    2. Red Star Ring 2: Found after bouncing off an enemy into a higher path.
    3. Red Star Ring 3: Just before the yellow spring, following a collapsing path.
    4. Red Star Ring 4: Hidden in the area with swinging platforms — jump off the second platform to snag it.
    5. Red Star Ring 5: Atop a tree on a cliff reached by bouncing off an enemy; it may take some effort to reach without speed.

    Collecting all of these rewards you with the Treasure Scanner skill.

    Green Hill Act 2 Red Star Ring Locations

    Modern Sonic’s speed can make it easy to miss the Red Star Rings, which require keen eyes.

    1. Red Star Ring 1: To the left in the air after the first ramp.
    2. Red Star Ring 2: A high section after the Rainbow Ring, obtained by using the Homing Attack on flying enemies.
    3. Red Star Ring 3: On the rightmost rail while getting chased by a giant piranha.
    4. Red Star Ring 4: Above a spike ball on the grind rail near the end.
    5. Red Star Ring 5: At the end of a row of enemies as you head toward the goal.

    Finding these awards you the Acceleration skill.

    Finding All Hidden Chaos in Green Hill

    Sonic X Shadow Generations introduces Chaos, the friendly creatures hidden throughout each level. They are tricky to spot, but here’s where to find them.

    You can visit the Collection Room and access the Chao Rescue section to get hints on where to find each Chao.

    Green Hill Act 1 Hidden Chaos Locations

    1. Hidden Chao 1: Right at the beginning near the Ring Box on a ledge.
    2. Hidden Chao 2: At the bottom of the totem pole covered in springs; fall back down if you miss it.
    3. Hidden Chao 3: In the same spot as the fifth Red Star Ring, hidden within a rock that you can break.

    Green Hill Act 2 Hidden Chaos Locations

    1. Hidden Chao 1: After the initial ramp, smash the rock beside the bounce pad to reveal this Chao.
    2. Hidden Chao 2: Drop to the lowest section while crossing a gap with suspended platforms to find this one.
    3. Hidden Chao 3: On the bridge near the end, slam through it to the bottom where the Chao awaits.

    This wraps up the treasures and secrets of Green Hill Zone. Make sure to explore thoroughly — you wouldn’t want to miss out on any of the adventure!