الوسم: gaming guide

  • How to Complete All Achievements in Vampire Crawlers

    Legendary Crawler
    Platinum (PlayStation Only)
    Unlock all 161 other trophies in the game.

    Crawler Unlocks Achievements/Trophies

    • Antonio (Bronze/5G): Complete the tutorial.
    • Gennaro (Bronze/5G): Defeat Mantichana in the Mad Forest.
    • Ramba (Bronze/5G): Defeat Milk Elemental in the Dairy Plant.
    • Gallo (Bronze/5G): Defeat Gallo in the Gallo Tower.
    • Pasqualina (Bronze/5G): Reach level 20 as Imelda Belpaese in the Inlaid Library.
    • Giovanna (Bronze/10G): Find the coffin in the Library Sanctum dungeon.
    • Pugnala (Bronze/5G): Find the coffin in the Berserk Wood dungeon.
    • Poppea (Bronze/5G): Find the coffin in the Milk Factory.
    • O’Sole (Bronze/10G): Defeat 50 Dragon Shrimps.
    • Cavallo (Bronze/5G): Defeat 250 Lion Heads.
    • Mortaccio (Bronze/5G): Defeat 444 Skeletons.
    • Krochi (Bronze/5G): Defeat 6,666 enemies.
    • Christine (Bronze/5G): Play at least one Pentagram Card.
    • Poe (Bronze/10G): Play Garlic Cards 25 times.
    • Arca (Bronze/5G): Play Fire Wand Cards 100 times.
    • Porta (Bronze/5G): Play Lightning Ring Cards 100 times.
    • Dommario (Bronze/10G): Collect 5,000 coins.
    • Clerici (Bronze/5G): Replenish at least 1,000 HP.
    • Lama (Bronze/5G): Complete a dungeon with at least 10% curse.

    Card-Based Achievements/Trophies

    • Hollow Heart (Bronze/5G): Reach level 10.
    • Crown (Bronze/5G): Reach level 15.
    • Peachone (Bronze/5G): Reach level 25.
    • Pentagram (Bronze/5G): Reach level 35.
    • Wings (Bronze/5G): Reach level 40.
    • Bone (Bronze/5G): Reach level 5 with Mortaccio.
    • Pummarola (Bronze/5G): Reach level 10 as Genarro Belpaese.
    • Runetracer (Bronze/5G): Reach level 10 as Pasqualina Belpaese.
    • Cherry Bomb (Bronze/5G): Reach level 15 as Yatta Cavallo.
    • Gatti Amari (Bronze/5G): Reach level 15 as Giovanna Grana.
    • Shadow Pinion (Bronze/5G): Reach level 15 as Concetta Caciotta.
    • Eight the Sparrow (Bronze/5G): Reach level 15 as Pugnala Provola.
    • Phiera Der Tuphello (Bronze/5G): Reach level 20 as Pugnala Provola.
    • Tirajisú (Bronze/5G): Reach level 20 as Krochi Freetto.
    • Celestial Dusting (Bronze/5G): Reach level 30 as O’Sole Meeo.
    • Skull O’Maniac (Bronze/5G): Reach level 30 as Lama Ladonna.
    • Song of Mana (Bronze/5G): Reach level 30 as Poppea Pecorina.
    • Empty Tome (Bronze/5G): Obtain two Mana Orbs.
    • Carréllo (Bronze/5G): Destroy five Mine Carts.
    • Fire Wand (Bronze/5G): Destroy 20 light sources (torches/pedestals).
    • Lightning Ring (Bronze/10G): Defeat 2,500 enemies.
    • Attractorb (Bronze): Use a Vacuum Card during a run.
    • Clock Lancet (Bronze/5G): Discover and play an Orologion Card during a run.
    • Clover (Bronze/5G): Discover and play a Little Clover Card during a run.
    • Cross (Bronze/5G): Discover and play a Rosary Card during a run.
    • Stone Mask (Bronze/5G): Discover and play a Stone Mask during a run.
    • Ebony Wings (Bronze/5G): Play the Peachone Card once.
    • Candelabrador (Bronze/5G): Play the Santa Water Card three times.
    • Spellbinder (Bronze/5G): Play the Runetracer Card ten times.
    • Duplicator (Bronze/5G): Play the Magic Wand Card 25 times.
    • Bracer (Bronze/5G): Play the King Bible Card 99 times.
    • Garlic (Bronze/5G): Obtain five Floor Chickens.
    • Friendship Amulet (Bronze/5G): Land a combo of seven or higher.
    • Parm Aegis (Bronze/5G): Land a combo of 12 or higher.
    • Bracelet (Bronze/10G): Land a combo of 15 or higher.

    Dungeons and Village Upgrades Achievements/Trophies

    • Power Ups Shop (Bronze/5G): Gather 250 coins in a run.
    • Relic Museum (Bronze/5G): Play two different dungeons.
    • The Inn (Bronze/5G): Unlock the Crawler Selection feature.
    • Unlock Inlaid Library (Bronze/5G): Reach level 10 in the Mad Forest.
    • Unlock Furious Forest (Bronze/5G): Complete the Mad Forest dungeon.
    • Unlock Teeny Bridge (Bronze/5G): Reach level 15 in the Inlaid Library.
    • Unlock Library West Wing (Bronze/5G): Complete the Inlaid Library dungeon.
    • Unlock Dairy Plant (Bronze/5G): Complete the Teeny Bridge dungeon.
    • Unlock Berserk Wood (Bronze/5G): Complete the Furious Forest dungeon.
    • Unlock Library Sanctum (Bronze/5G): Complete the Library West Wing dungeon.
    • Unlock Milk Factory (Bronze/5G): Complete the Dairy Plant dungeon.
    • Unlock Weeny Bridge (Bronze/5G): Reach level 15 in the Dairy Plant.
    • Unlock Gallo Tower (Bronze/10G): Complete the Weeny Bridge dungeon.
    • Unlock Minitely Bridge (Bronze/5G): Defeat the Gallo in Gallo Tower.
    • Unlock Cappella Magna (Bronze/10G): Complete the Minitely Bridge dungeon.
    • Unlock Cappella Ultima (Bronze/10G): Complete the Capella Magma dungeon.

    Gem-Based Achievements/Trophies

    • Uncrackable Gem: Defeat the Trickster in any dungeon.
    • Nduja Gem (Bronze/5G): Defeat Nesufritto in the Inlaid Library.
    • Kill Count Gem (Bronze/5G): Defeat 10,000 enemies.
    • Yin Yang Gem (Bronze/10G): Complete the Berserk Wood dungeon.
    • Crawler Caller Gem (Bronze/20G): Complete the Library Sanctum dungeon.
    • Fireproof Gem (Bronze/20G): Complete the Curd Refinery dungeon.
    • Mild Gem (Bronze/5G): Complete the Gallo Tower dungeon with Gallo.
    • Remote Gem (Bronze/5G): Destroy five Mine Carts.
    • Mug Gem (Bronze/5G): Obtain 3,333 coins.
    • Midas Gem (Bronze/5G): Obtain 5,555 coins.
    • Coin Count Gem (Bronze/5G): Obtain 100,000 coins.
    • Coin Card Gem (Bronze/5G): Discover and play 20 Big Coin Bags.
    • Retain Gem (Bronze/5G): Have seven cards in your hand.
    • Recycle Gem (Bronze/5G): Have eight cards in your hand.
    • Quick Draw Gem (Bronze/5G): Reach a deck size of 30.
    • Easy Combo Gem (Bronze/5G): Land a combo of five or more.
    • Reverse Combo Gem (Bronze/5G): Land a combo of six or higher.
    • Leader Gem (Bronze/10G): Deal 100,000 total damage.
    • Triple Damage Gem (Bronze/5G): Deal 500,000 total damage.
    • Decimate Gem (Bronze/10G): Deal 666,666 total damage.
    • Rainbow Gem (Bronze/5G): Activate Crawler Trigger Abilities 500 times.
    • Mana Cost Gem (Bronze/5G): Obtain ten Mana Orbs.
    • Mana Cost 2 (Bronze/5G): Obtain 20 Mana Orbs.
    • Refund Gem (Bronze/5G): Obtain ten Mana in one turn.
    • Mana Rebate Gem (Bronze/5G): Obtain 15 Mana in one turn.
    • Armor Strike (Bronze/5G): Gain 15 Armor in a single turn.
    • Drain Gem (Bronze/5G): Replenish 1,500 HP.
    • Bombard Gem (Bronze/5G): Play Cherry Bomb 25 times.
    • Calcium Gem (Bronze/5G): Play Bone Card 99 times.
    • Countdown Gem (Bronze/5G): Play Empty Tome 321 times.
    • Duration Gem (Bronze/5G): Play Spellbinder 10 times.
    • Freeze Gem (Bronze/5G): Play a Clock Lancet Card once.
    • Greed Gem (Bronze/5G): Play Stone Mask 10 times.
    • Growth Gem (Bronze/5G): Play Crown Card 5 times.
    • Luck Gem (Bronze/5G): Play Clover Card 5 times.
    • Magic Hat Gem (Bronze/5G): Play Peachone 77 times.
    • Restore Health Gem (Bronze/5G): Play Pummarola 10 times.
    • Purple Trigger Gem (Bronze/5G): Play Purple Cards 250 times.
    • X Mana Gem (Bronze/5G): Play Purple Cards 3,000 times.
    • Blue Trigger Gem (Bronze/5G): Play Blue Cards 250 times.
    • Red Trigger Gem (Bronze/5G): Play Red Cards 500 times.
    • Yellow Trigger Gem (Bronze/5G): Play Yellow Cards 250 times.
    • Destroy Gem (Bronze/5G): Play 100 Cards from destroying light sources.
    • Wild Gem (Bronze/5G): Play at least 100 Wild Cards.
    • Free-to-Play Gem (Bronze/5G): Play at least 200 Free-to-Play Cards.
    • Return Gem (Bronze/5G): Play 300 Cards total.
    • Copy Gem (Bronze/5G): Play 1,000 Cards total.
    • Magnetic Gem (Bronze/5G): Play 2,000 Cards total.
    • Echo Gem (Bronze/5G): Play 3,000 Cards total.

    Arcana-Based Achievements/Trophies

    • Mana Syphon (Bronze/5G): Obtain 15 Mana in a single turn.
    • Your Shield My Liege (Bronze/5G): Gain 2,000 Armor.
    • Chain Link (Bronze/5G): Land a combo of 12 or higher.
    • Swollen Fist (Bronze/5G): Reach deck size of 40.
    • And Another (Bronze/5G): Play at least 150 Free-to-Play Cards.
    • Make a Scene (Bronze/5G): Activate Crawler Trigger Abilities 1,500 times.
    • Over the Top (Bronze/5G): Play Crawler Cards 100 times.
    • Sharp Mind (Bronze/5G): Play Purple Cards 100 times.
    • Jester’s Hat (Bronze/5G): Play at least 150 Wild Cards.
    • Wild Buff (Bronze/5G): Play 250 Cards from destroying sources of light.

    Relic-Based Achievements/Trophies

    • Combo Stack (Bronze/5G): Discover the Combo Stack Relic in the tutorial dungeon.
    • Gem Hammer (Bronze/5G): Discover the Gem Hammer Relic in the Mad Forest.
    • Guiding Light (Bronze/5G): Discover the Guiding Light Relic in the Inlaid Library.
    • Grim Grimoire (Bronze/5G): Discover the Grim Grimoire Relic in the Library West Wing.
    • Polentír (Bronze/5G): Discover the Polentír Relic in Furious Forest.
    • Overkill (Bronze/5G): Discover the Overkill Relic in Teeny Bridge.
    • Stardust Anvil (Bronze/5G): Find the Stardust Anvil Relic in Teeny Bridge.
    • Bomba Infernale (Bronze/5G): Discover the Bomba Infernale Relic in Dairy Plant.
    • Randomazzo (Bronze/5G): Discover the Randomazzo Relic in the Library Sanctum.
    • Lapidary Loupe (Bronze/5G): Find the Lapidary Loupe Relic in Gallo Tower.
    • Sorceress’ Tears (Bronze/5G): Find the Sorceress’ Tears Relic in Gallo Tower.
    • Ultimate Ultra Overkill (Bronze/10G): Find the Ultimate Ultra Overkill Relic in Curd Refinery.
    • Ovenkilt (Bronze/20G): Discover the Ovenkilt Relic in Capella Ultima.

    Weapon Evolution Achievements/Trophies

    • Discover Bloody Tear: Evolves from Whip. (Whip + Hollow Heart Card + Evolution Gem)
    • Discover Death Spiral: Evolves from Axe. (Axe + Candle Card + Evolution Gem)
    • Discover Gorgeous Moon: Evolves from Pentagram. (Pentagram + Crown Card + Evolution Gem)
    • Discover Heaven Sword: Evolves from Cross. (Cross + Clover Card + Evolution Gem)
    • Discover Hellfire: Evolves from Fire Wand. (Fire Wand + Spinach Card + Evolution Gem)
    • Discover Holy Wand: Evolves from Magic Wand. (Magic Wand + Empty Tome Card + Evolution Gem)
    • Discover La Borra: Evolves from Santa Water. (Santa Water + Attractorb Card + Evolution Gem)
    • Discover Mannajja: Evolves from Song of Mana. (Song of Mana + Skull O’Maniac Card + Evolution Gem)
    • Discover NO FUTURE: Evolves from Runetracer. (Runetracer + Armor Card + Evolution Gem)
    • Discover Soul Eater: Evolves from Garlic. (Garlic + Pummarola Card + Evolution Gem)
    • Discover Thousand Edge: Evolves from Knife. (Knife + Bracer Card + Evolution Gem)
    • Discover Thunder Loop: Evolves from Lightning Ring. (Lightning Ring + Duplicator Card + Evolution Gem)
    • Discover Unholy Vespers: Evolves from King Bible. (King Bible + Spellbinder Card + Evolution Gem)
    • Discover Valkyrie Turner: Evolves from Shadow Pinion. (Shadow Pinion + Wings Card + Evolution Gem)
    • Discover Vicious Hunger: Evolves from Gatti Amari. (Gatti Amari + Stone Mask + Evolution Gem)
    • Discover Phieraggi: Combines Eight the Sparrow + Phiera Der Tuphello + Tirajisú + Evolution Gem.
    • Discover Vandalier: Combines Peachone + Ebony Wings + Evolution Gem.
  • How to Obtain and Use Quantum Essence in Starfield for Completing and Solving

    How to Obtain and Use Quantum Essence in Starfield for Completing and Solving

    The Free Lanes update in Starfield has given new life to the resource known as Quantum Essence by expanding how it is used and how players can earn it. Previously, Quantum Essence was a rare resource that boosted your Starborn abilities. Now, it also plays a key role in advancing your game into New Game Plus.

    Before finishing your current playthrough, it’s important to gather as much Quantum Essence as possible. Here’s everything you need to know about how to earn and spend this rare resource.

    How To Get Quantum Essence

    Quantum Essence is obtained by defeating Starborn enemies, both on the ground and in space. Every time you take down a Starborn, the Essence you earn is automatically added to your total. Building an Armory on your ship can increase the number of Starborn enemies that attack you in space, helping you farm more quantum Essence.

    You can check how much Quantum Essence you have by opening the Powers section of your menu.

    How To Use Quantum Essence

    You can spend Quantum Essence in four main ways:

    1. Creating the Quantum Entanglement Device: This device allows you to bring multiple items with you into New Game Plus.
    2. Upgrading the Device’s Capacity: Use Quantum Essence to increase how many items the device can store.
    3. Upgrading Your Starborn Powers: Spend Essence in the Power menu to boost your abilities.
    4. Enhancing Power Regeneration in Combat: Add Quantum Essence to your Favorites and use it during fights to increase your Starborn Power regeneration.

    How To Make a Quantum Entanglement Device

    The Quantum Entanglement Device becomes available after completing the main story, collecting all Artifacts, and preparing to start New Game Plus. You will receive a quest called “Before You Go,” which prompts you to visit your room at The Lodge and read a datapad on your desk. This datapad explains that the device acts as a container that exists across all spacetime, keeping important items safe during the jump into the Unity. It also mentions that the device’s capacity can be expanded using Quantum Essence.

    The datapad provides the recipe for the device, which requires:

    • 10 Quantum Essence (earned by defeating Starborn)
    • 1 Adaptive Frame (found as floor loot or purchased from vendors)
    • 1 Isocentered Magnet (found or bought)
    • 1 Tau Grade Rheostat (found or bought)

    Once you have all the materials, you can craft the Quantum Entanglement Device to start using it for your New Game Plus adventures.

  • Where To Find the Victory Ridge Raider Camp in Arc Raiders

    Where To Find the Victory Ridge Raider Camp in Arc Raiders

    During the first wave in Arc Raiders, many brave individuals lost their lives fighting against ARC, despite its overpowering firepower and large numbers. Their sacrifices gave humanity a chance to survive above ground, and thanks to them, the Raiders are able to go out and salvage resources.

    Although many lives were lost, those who survived in Speranza remember them. Occasionally, Raiders are sent back to old camps and battlegrounds where some of the fiercest fights happened. These trips serve as both remembrance and sometimes as opportunities to find relics from the past or even survivors below ground.

    How to Find the Raider Camp at Victory Ridge

    Victory Ridge is one of Celeste’s quests, and it becomes available after completing her earlier quest, Keeping The Memory Alive. This task must be finished in one run, and it takes place at Dam Battlegrounds.

    The first step is to go to Victory Ridge, which runs along the northern edge of the map, from the Pattern House to the Pale Apartments and the Old Battleground on the northwest corner. Once there, the mission updates, and your next goal is to locate the Raider camp at Victory Ridge. The hint is that the camp is under the broken highway. There are two main sections of destroyed highway, but you need to focus on the West Broken Bridge.

    Look for the area with broken-down cars and large sections of highway debris. Find the rusted barrels and a blue tarp hanging over the debris, which creates a makeshift tent. Crawl under this tarp to find a small metal box on the ground, similar to the ones you deliver to Field Depots. Interact with it, and it will open to reveal Major Aiva’s Patch—that’s your reward.

    Tip: Always store quest items in your Safe Pocket if you don’t have a more valuable item there. This way, even if you die, you’ll still have the item and can complete the quest back in Speranza.

    You can choose to keep exploring Dam Battleground for more loot or exit and return to Speranza via the closest extraction point. Once back, speak to Celeste at her shop in the Traders tab. There, you’ll watch a cutscene between Celeste and Tian Wen. Afterwards, you can claim your rewards, which include some experience points, six Crude Explosives, two Processors (needed to craft higher-tier Augments), and a Music Box valued at 5,000.

  • Where to Find a Pharmacy in Buried City for Completing and Solving in Arc Raiders

    Where to Find a Pharmacy in Buried City for Completing and Solving in Arc Raiders

    In Speranza, everyone works together to support the entire city in Arc Raiders. There are many Raiders who salvage materials, architects, researchers, scientists, and medical experts, since injuries happen all too often.

    Your main source of medical supplies is Lance, a stylish android who specializes in life-saving treatments. However, since he frequently uses supplies, he constantly needs more. This time, he’s looking for old technology to improve his ability to treat different injuries and provide better care for his patients.

    ### How to Find Pharmacies
    A quest called “A Reveal In Ruins” comes right after Lance’s earlier mission, “Medical Merchandise.” To complete it, you need to go to the Buried City map and find an ESR Analyzer.

    Unlike most quests, this one must be finished in one try. You either need to successfully extract the ESR Analyzer at a station or keep it safe in your Augment’s Safe Pocket, so you don’t lose it if you die.

    The ESR Analyzer can be found in any pharmacy. There are two locations in the Buried City: one at Piazza Arbusto in the east and the other at Piazza Rosa in the south. Both have a green sign on the building that reads “Farmacia” (which means Pharmacy in Italian) and display at least one green cross sign on the front or side.

    Pharmacy buildings are usually locked unless someone has visited them before. To access one, approach and press the interact button to open the door.

    ### Where to Find the ESR Analyzer
    Look for the checkout counters in either pharmacy. There will be a special interaction prompt for a small machine between the two cash registers.

    The ESR Analyzer appears as an interactable item. You can pick it up and add it to your inventory — it will be stored as a quest item, categorized as a trinket.

    Once you have the analyzer, you need to extract it and return to Speranza when you’re ready. Head to Lance in the Traders tab and talk to him to finish the quest.

    As a reward, you’ll gain experience points, an Epic-tier Tactical MK.3 (Healing) Augment that allows wearing Light and Medium Shields, and it releases a healing cloud when you’re revived. You’ll also receive one Surge Shield Recharger.

  • Call of Duty: Black Ops 7 Pre-Order Guide for Completing and Solving

    Call of Duty: Black Ops 7 Pre-Order Guide for Completing and Solving

    Only a few things in life are certain—death, taxes, and a new Call of Duty game every year. Activision is sticking with Black Ops for the second year straight and is releasing Call of Duty: Black Ops 7 this year. This series remains the most popular category of Call of Duty by a wide margin. The new game was revealed during the Xbox Games Showcase, and more details, along with a closer look at what to expect, were shown during Gamescom Opening Night Live.

    Even though Black Ops is the focus, this upcoming Call of Duty will introduce features never seen before in the series. One major addition is the campaign, which will now be playable cooperatively for the first time. Whether you’re already sold on Black Ops 7 or just a dedicated Call of Duty fan who follows the series every year, this guide has everything you need to know about pre-ordering one of this year’s biggest games, whether you love it or not.

    Where to Pre-Order Call of Duty: Black Ops 7

    Before securing your copy of Black Ops 7, you need to decide which edition you want. The good news for fans of the standard edition is that this game will not cost more than typical new releases. The standard edition will be priced at $70, not the $80 some other new titles are commanding on Xbox. Activision will continue to release the game on last-generation consoles, and the standard edition on PlayStation and Xbox will also be available as a cross-generation version.

    For those wanting extra content, there’s the Vault Edition. Priced at $99.99, this version includes the Operator Collection, a Permanent Unlock Token, and everything else listed in the comparison table below that doesn’t come with the standard edition. Both editions offer pre-order bonuses, which include early access to the open beta starting October 2, 2025.

    The beta will be open to everyone, whether or not you pre-order, beginning October 5.

    The full version of Call of Duty: Black Ops 7 is set to launch on November 14, 2025. Pre-orders are now available through the links below.

    Pre-Order Options

    Standard Edition
    Includes:

    • Base game
    • Early access to open beta (pre-order bonus)
    • Reznov Challenge Pack (pre-order bonus)

    Vault Edition
    Includes everything in the Standard Edition plus:

    • BlackCell (One Season)
    • Operator Collection
    • Mastercraft Weapon Collection
    • Ultra Gobblegum Pack for Zombies
    • Permanent Unlock Token

    Upgrading to the Vault Edition on Xbox Game Pass

    Black Ops 7 will be the second Call of Duty title to release on Xbox Game Pass right from day one. Only the standard edition, however, will be added to Game Pass. That means if you want the Vault Edition’s extra content, you’ll need to purchase an upgrade separately.

    Xbox is offering players the chance to upgrade to the Vault Edition even if they haven’t bought the base game yet. The upgrade costs $30, and pre-orders are available now. If you decide later that you want the Vault Edition’s additional features after pre-ordering the standard game, you can buy the upgrade at any time.

    Frequently Asked Questions

    What year does Call of Duty: Black Ops 7 take place?
    The game is set in the year 2035.

    Is Call of Duty: Black Ops 7 coming to Nintendo Switch 2?
    While a version for Switch 2 hasn’t been announced, Activision has promised to bring Call of Duty games to the new Nintendo console in the future.

  • All Status Effects & How to Cause Them in Titan Quest 2: Completing Guide

    All Status Effects & How to Cause Them in Titan Quest 2: Completing Guide

    Inflicting status ailments in Titan Quest 2 is common whether you’re using a magic-based character or facing them against you in battle. In the early access version of the game, there are ten different ailments you might encounter.

    Knowing when and how to apply these ailments can significantly impact your combat effectiveness. Whether you’re dealing lightning, getting poisoned, or facing other effects, understanding each ailment’s properties and remedies is essential.

    Status Ailments Cause Passive Damage

    As you become accustomed to active combat in Titan Quest 2—probably even before leaving the tutorial—you’ll notice the importance of paying attention to your weapons’ substats and the moves you learn with your Masteries.

    There are ten unique status ailments available at this stage. Seven of these cause active damage, like Burn or Bleed, which gradually drain health, while three offer passive benefits, supporting your character in different ways. All classes can inflict some ailments during combat, with melee characters needing to attack up close and magical users often able to afflict enemies from a distance.

    Additionally, stronger armor can provide resistance against ailments, since enemies have the ability to inflict them on you as well.

    Defensive Gear Against Status Ailments

    A necklace granting elemental resistances

    It’s wise to equip armor with good defense stats against various ailments because enemies are diverse in their attacks across different areas of Titan Quest 2.

    Building Skills to Enhance Ailment Effects

    Simply attacking isn’t enough—status effects depend on a percentage chance to succeed with each attack. You can improve your chances and damage by building your passive skills and customizing your character’s stats.

    Weapons have a chance to inflict ailments based on their damage type or modifiers—like staffs with added Ice Damage. Your armor also plays a role by increasing your resistance to these effects. Comparing your gear carefully will help you choose the best options.

    Leveling up your passive Mastery skills further increases your odds of successfully inflicting ailments relevant to your class. For instance, Earth Mastery characters can boost their spells that deal elemental damage, adding another layer to your strategy.

    Increasing Ailment Chances and Effectiveness

    Passive skill increasing stagger chance

    Invest in passive skills that increase the likelihood and damage of status ailments. This helps especially on higher difficulty levels where enemies are tougher.

    List of Every Status Ailment

    Status Ailment Effect How to Inflict
    Damage-Dealing Ailments
    Bleed Causes a wound that slowly drains health over time. Pierce damage in melee combat.
    Burn Sets enemies on fire, causing health loss over time. Fire damage from Earth mastery.
    Chilled Freezes enemies, dealing damage and reducing their movement speed. Ice damage from Storm mastery.
    Holy Enemies take continuous Spirit damage. Magical support moves.
    Plague Poisons enemies, leeching their health gradually. Poison damage from attacks and weapons.
    Shock Stuns enemies, preventing attacks. Lightning attacks from Storm mastery.
    Shadow Steals health over time from enemies. Magical support moves.
    Non-Damaging Ailments
    Disrupted Stops enemies from performing actions. Attack enemies during their attack animations.
    Staggered Slows attack and movement speeds. Melee strike damage.
    Weakened Reduces the damage enemies deal. Inflicting heavy damage to them.

    Focusing on leveling and skill points will boost your ability to successfully inflict these effects, adding extra damage and control during battles. This is especially useful when facing tougher enemies or playing on higher difficulty settings.

  • Completing New Equipment in Tainted Grail: The Fall of Avalon

    Completing New Equipment in Tainted Grail: The Fall of Avalon

    Tainted Grail: The Fall of Avalon transports you to the tainted realm of Avalon, where darkness corrupts what was once a promising paradise for King Arthur. Here, you need to uncover your true identity and understand the connection between your fate and the legendary king’s spirit.

    To confront the numerous foes and creatures in this game, you’ll need proper gear. Relying solely on your instincts won’t cut it; staying well-equipped could mean the difference between survival and demise. Therefore, crafting your own tools and weapons is essential.

    Unlocking Crafting

    To start crafting, you must first reach the Keeper’s Fortress in The Horns of the South. While exploring this area, you’ll meet Osbryht, the blacksmith, who will give you the "Corpse Eater Armor" quest. This quest is your introduction to crafting new gear.

    At the Grindstone, you can create various tools, such as arrows and lockpicks. More importantly, you can forge different weapons, armor pieces, and materials to enhance your items.

    Crafting Process

    Crafting new equipment follows a straightforward process: collect specific materials, head to a Grindstone, and interact with it to access the crafting menu. In this menu, you’ll find all the recipes you’ve unlocked during your journey. Choosing an item will display its material requirements in the center of your screen.

    While the recipes will vary, you’ll typically need wood and metal resources, so gathering these elements is crucial to keeping your equipment in top shape.

    Upgrading Equipment

    Once you have your gear, you can further enhance it using the Upgrade feature, which levels up your items. Upgrading weapons provides a damage boost, while armor upgrades will increase your defensive values. This feature is particularly beneficial when upgrading gear with special effects, as it also enhances these attributes.

    Another method to improve your armor is by reducing its weight, which you can also manage at the Grindstone.

    Attaching Relics

    You’ll discover Relics scattered throughout Avalon that can be attached to your equipment to grant special effects. To attach a Relic, use the Grindstone to activate the Relic slots on a specific item, then choose a Relic to add.

    Feel free to attach and detach Relics freely; this flexibility allows you to adapt your gear as you find better equipment.

  • Discover All Limited-Time Events in Tales of Graces F Remastered

    Discover All Limited-Time Events in Tales of Graces F Remastered

    A staple feature in every *Tales* game is the Hourglass Event, and *Tales Of Graces F Remastered* continues this tradition. These events provide a deeper look into the characters, but unlike other events in the game, they are available for a limited time.

    If you miss encountering an Hourglass Event during its designated chapter, you will not get another chance until you start a new playthrough unless you have a save from before. For players wanting to fully engage with the story, it’s crucial to seek out these events.

    This article will be updated as new information becomes available.

    What Are Hourglass Events?


    Hourglass Events are unique discussions that differ from Skits, occurring less frequently and are limited in time. When utilizing the Navigation command, you can check for any Hourglass Events available in your current location, similar to how the game displays objectives and map exits nearby.

    Enabling the Destination Icon setting will allow most Hourglass Events to appear on the map like regular objectives, or they will show up when viewing the Towns section of the World Map.

    Usually, they feature a special conversation or event but can also trigger side quests, like the Hourglass Event at Cheria’s house during The Sands of Strahta chapter, which leads to Frederic’s Lost Treasure.

    These events have some elements in common with Star Events, and they may occur in the same area, but they are distinct from Hourglass Events. Star Events typically revolve around character memories and are not limited by time.

    While most are simply conversations, Hourglass Events are classified as Side Quests and are noted in the Side Quests section of the User’s Manual.

    All Hourglass Events


    Asbel and Cheria speaking with Frederic during a Hourglass Event in Tales Of Graces F Remastered.

    Hourglass Event

    Map Region

    Chapter Available

    How To Find It

    Wishing The Pain Away

    Lhant

    Childhood’s End

    Visit the house at the northern end of Lhant.

    The Expendable Son

    Lhant Manor

    The Sands of Strahta

    Head to Kerri’s room on the left side of the top floor.

    Mr. Oswell’s Secret 1

    Yu Liberté

    The Sands of Strahta

    Go to Oswell Manor on the eastern side of the Residential District.

    A Cold Night

    Velanik

    The Infiltration of Fendel

    Inside the Velanik Inn in the northwestern corner of town.
    Stay at the inn for one night to trigger it.

    Brotherhood

    Zahvert

    The Infiltration of Fendel

    Inside the Zahvert Inn on the northern side of the city.
    Sleep at the inn for one night to trigger this event.

    Frederic’s Lost Treasure

    Lhant

    The Infiltration of Fendel

    Enter Cheria’s House and interact with the cabinet on the right side inside.

    Frederic’s Lost Treasure (2)

    Barona

    The Infiltration of Fendel

    Speak with the woman who runs the Item Shop.
    This appears only if you completed the Hourglass Event at Cheria’s House first.

    Mr. Oswell’s Secret 2

    Yu Liberté

    The Infiltration of Fendel

    Visit Oswell Manor on the eastern side of the Residential District.
    This appears only if you witnessed Mr. Oswell’s Secret 1 previously.

  • Unlock Fast Travel in Ys Memoire: The Oath in Felghana Now!

    Unlock Fast Travel in Ys Memoire: The Oath in Felghana Now!

    Ys Memoire: The Oath in Felghana offers a vast world filled with diverse regions and dungeons for you to explore as the hero, Adol Christin. Like many Action JRPGs, you will encounter checkpoints throughout your journey, and having the ability to fast travel between these locations is crucial.

    The good news is that fast travel is indeed available in this game! However, unlocking it does require some effort and time. Don’t worry; with a little patience and focus on the main storyline, you’ll be warping between checkpoints in no time!

    How to Unlock Fast Travel in Ys Memoire: The Oath in Felghana


    Fast travel is an option in Ys Memoire: The Oath in Felghana, but it takes some time before you can use it. You’ll need to complete certain tasks to get the item that allows instant travel between activated Travel Monuments.

    What Are Travel Monuments in Ys Memoire: The Oath in Felghana?

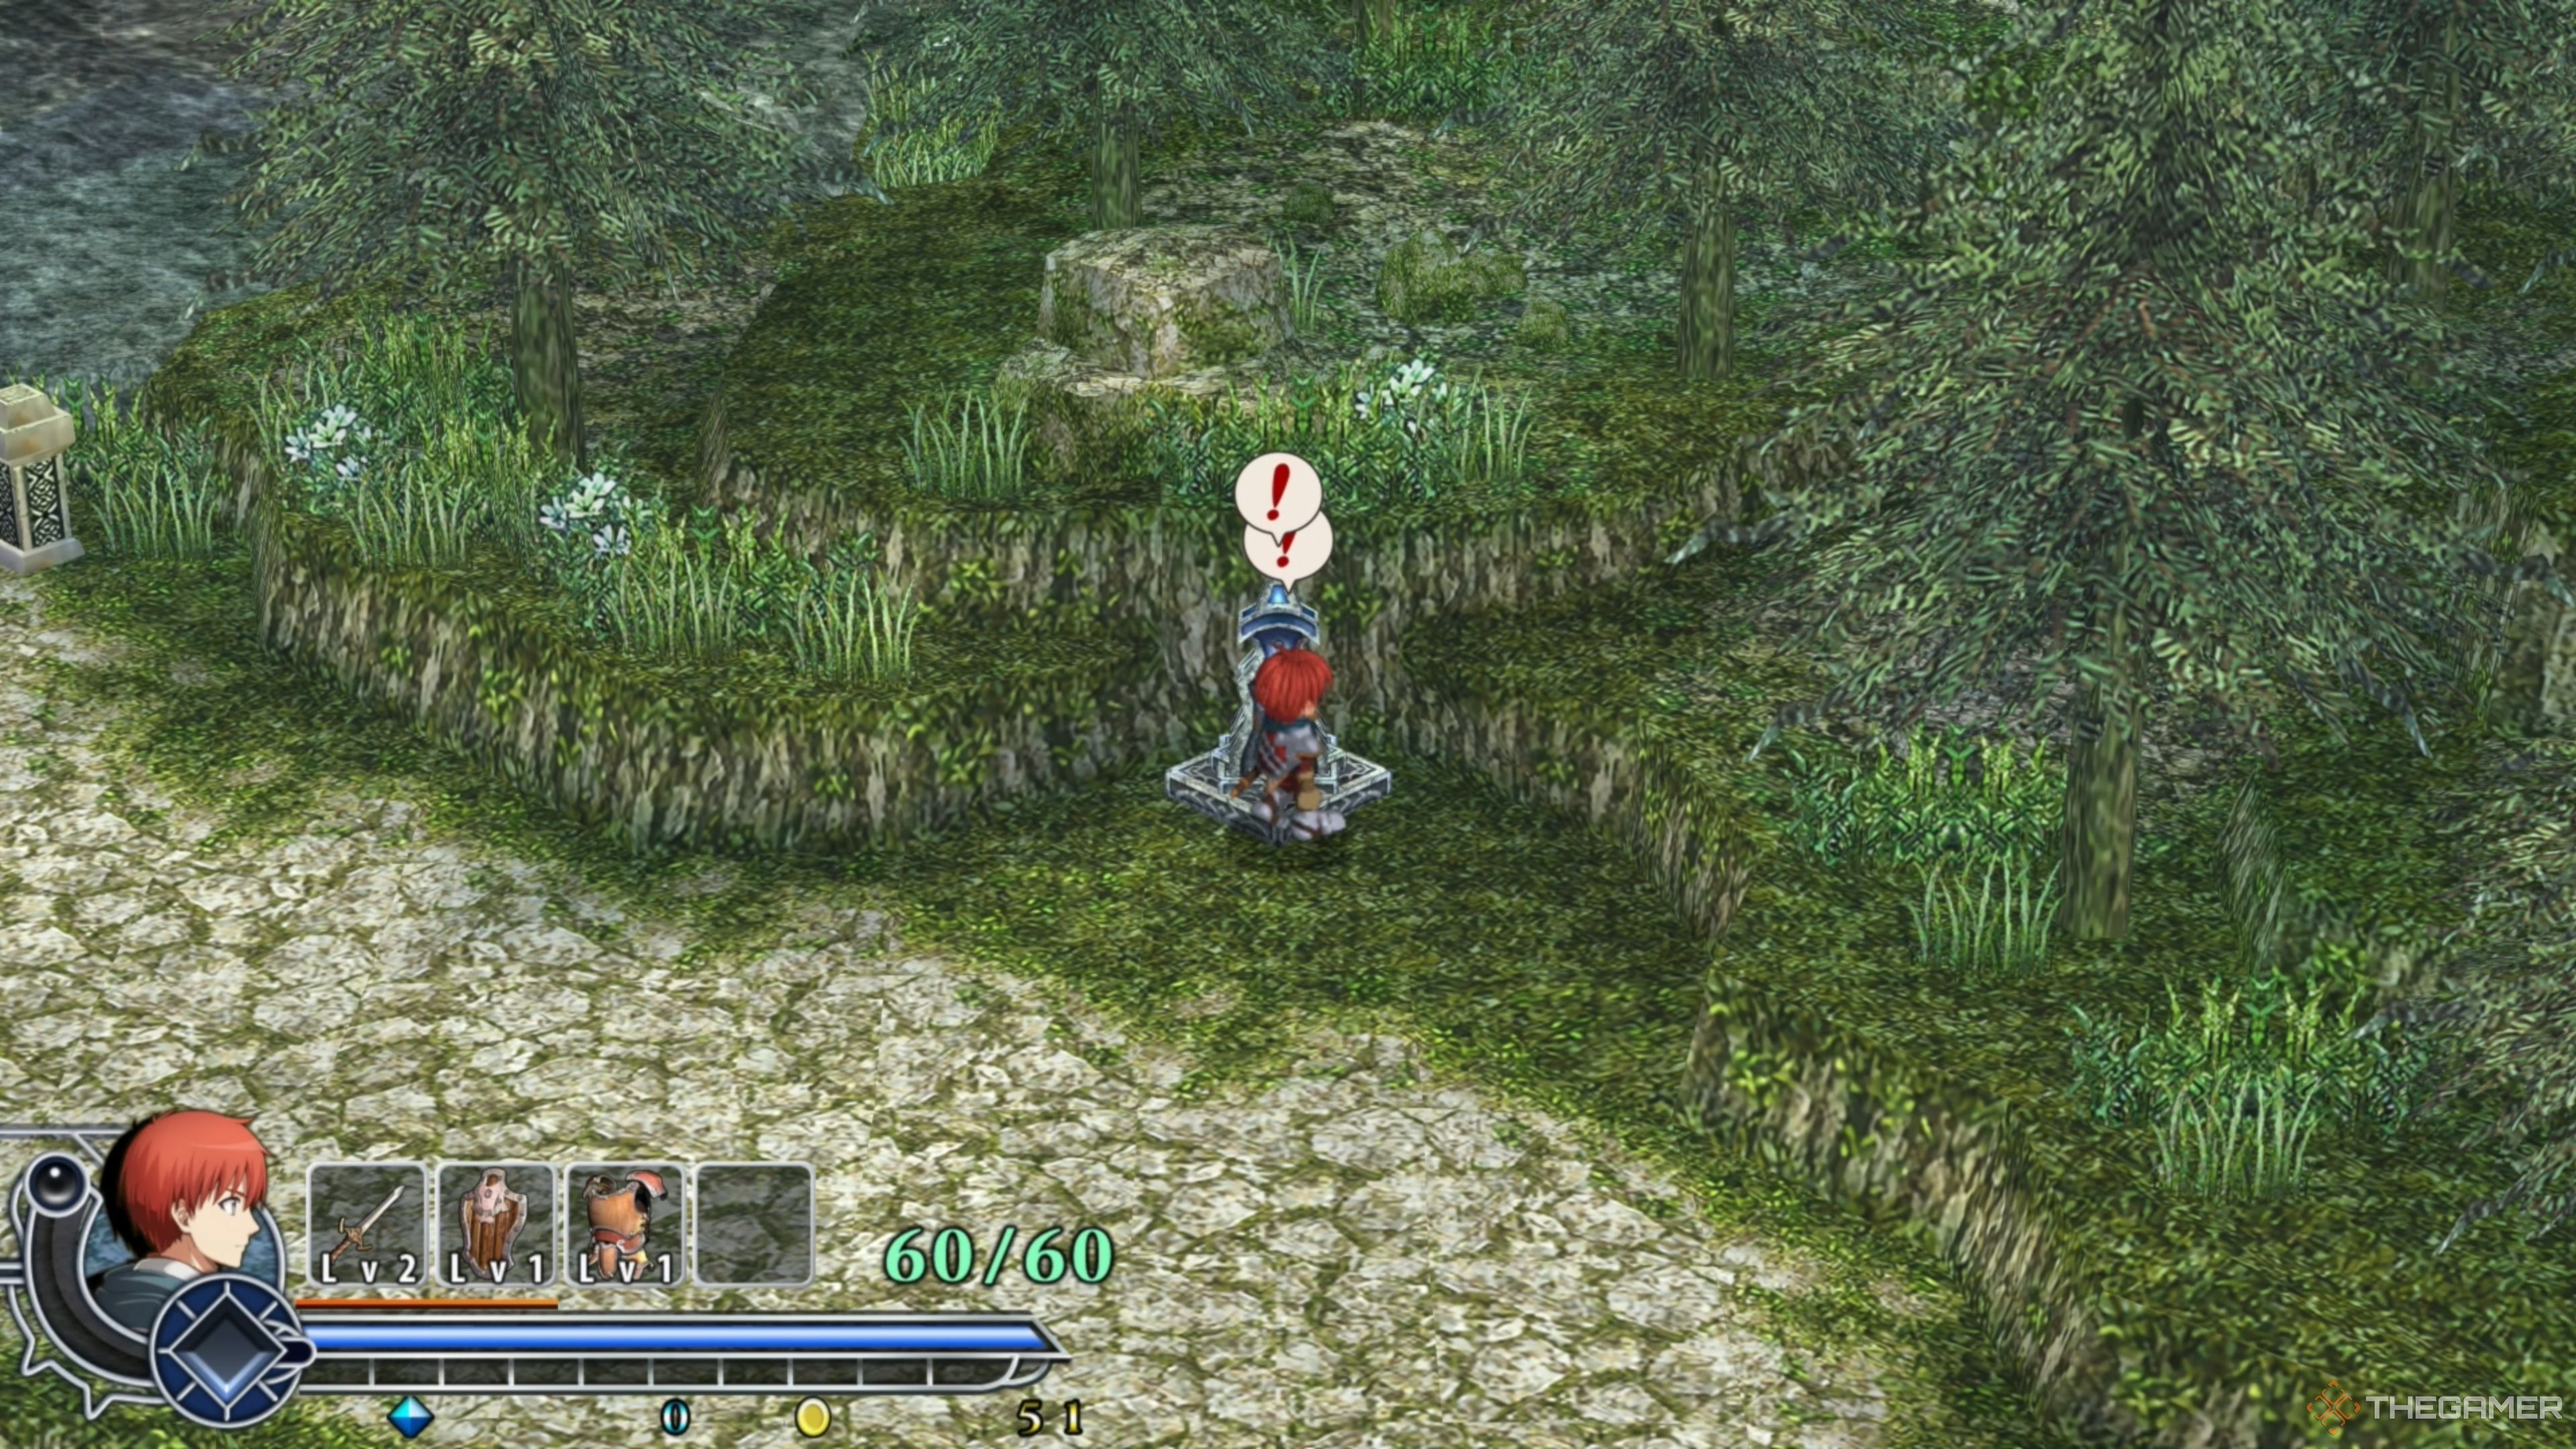
    Adol activating the Travel Monument near Redmont Town in Ys Memoire: The Oath in Felghana.

    Travel Monuments function as both saving points and checkpoints throughout your adventure. When you pass by a Travel Monument, it will replenish Adol’s HP and MP, making it essential to visit them, especially if you’re running low on health.

    Initially, you won’t be able to use Travel Monuments for fast travel, meaning you will need to explore new areas on foot. Fortunately, you’ll gain this ability sooner rather than later as you progress and acquire the Wing Talisman.

    How to Get the Wing Talisman in Ys Memoire: The Oath in Felghana

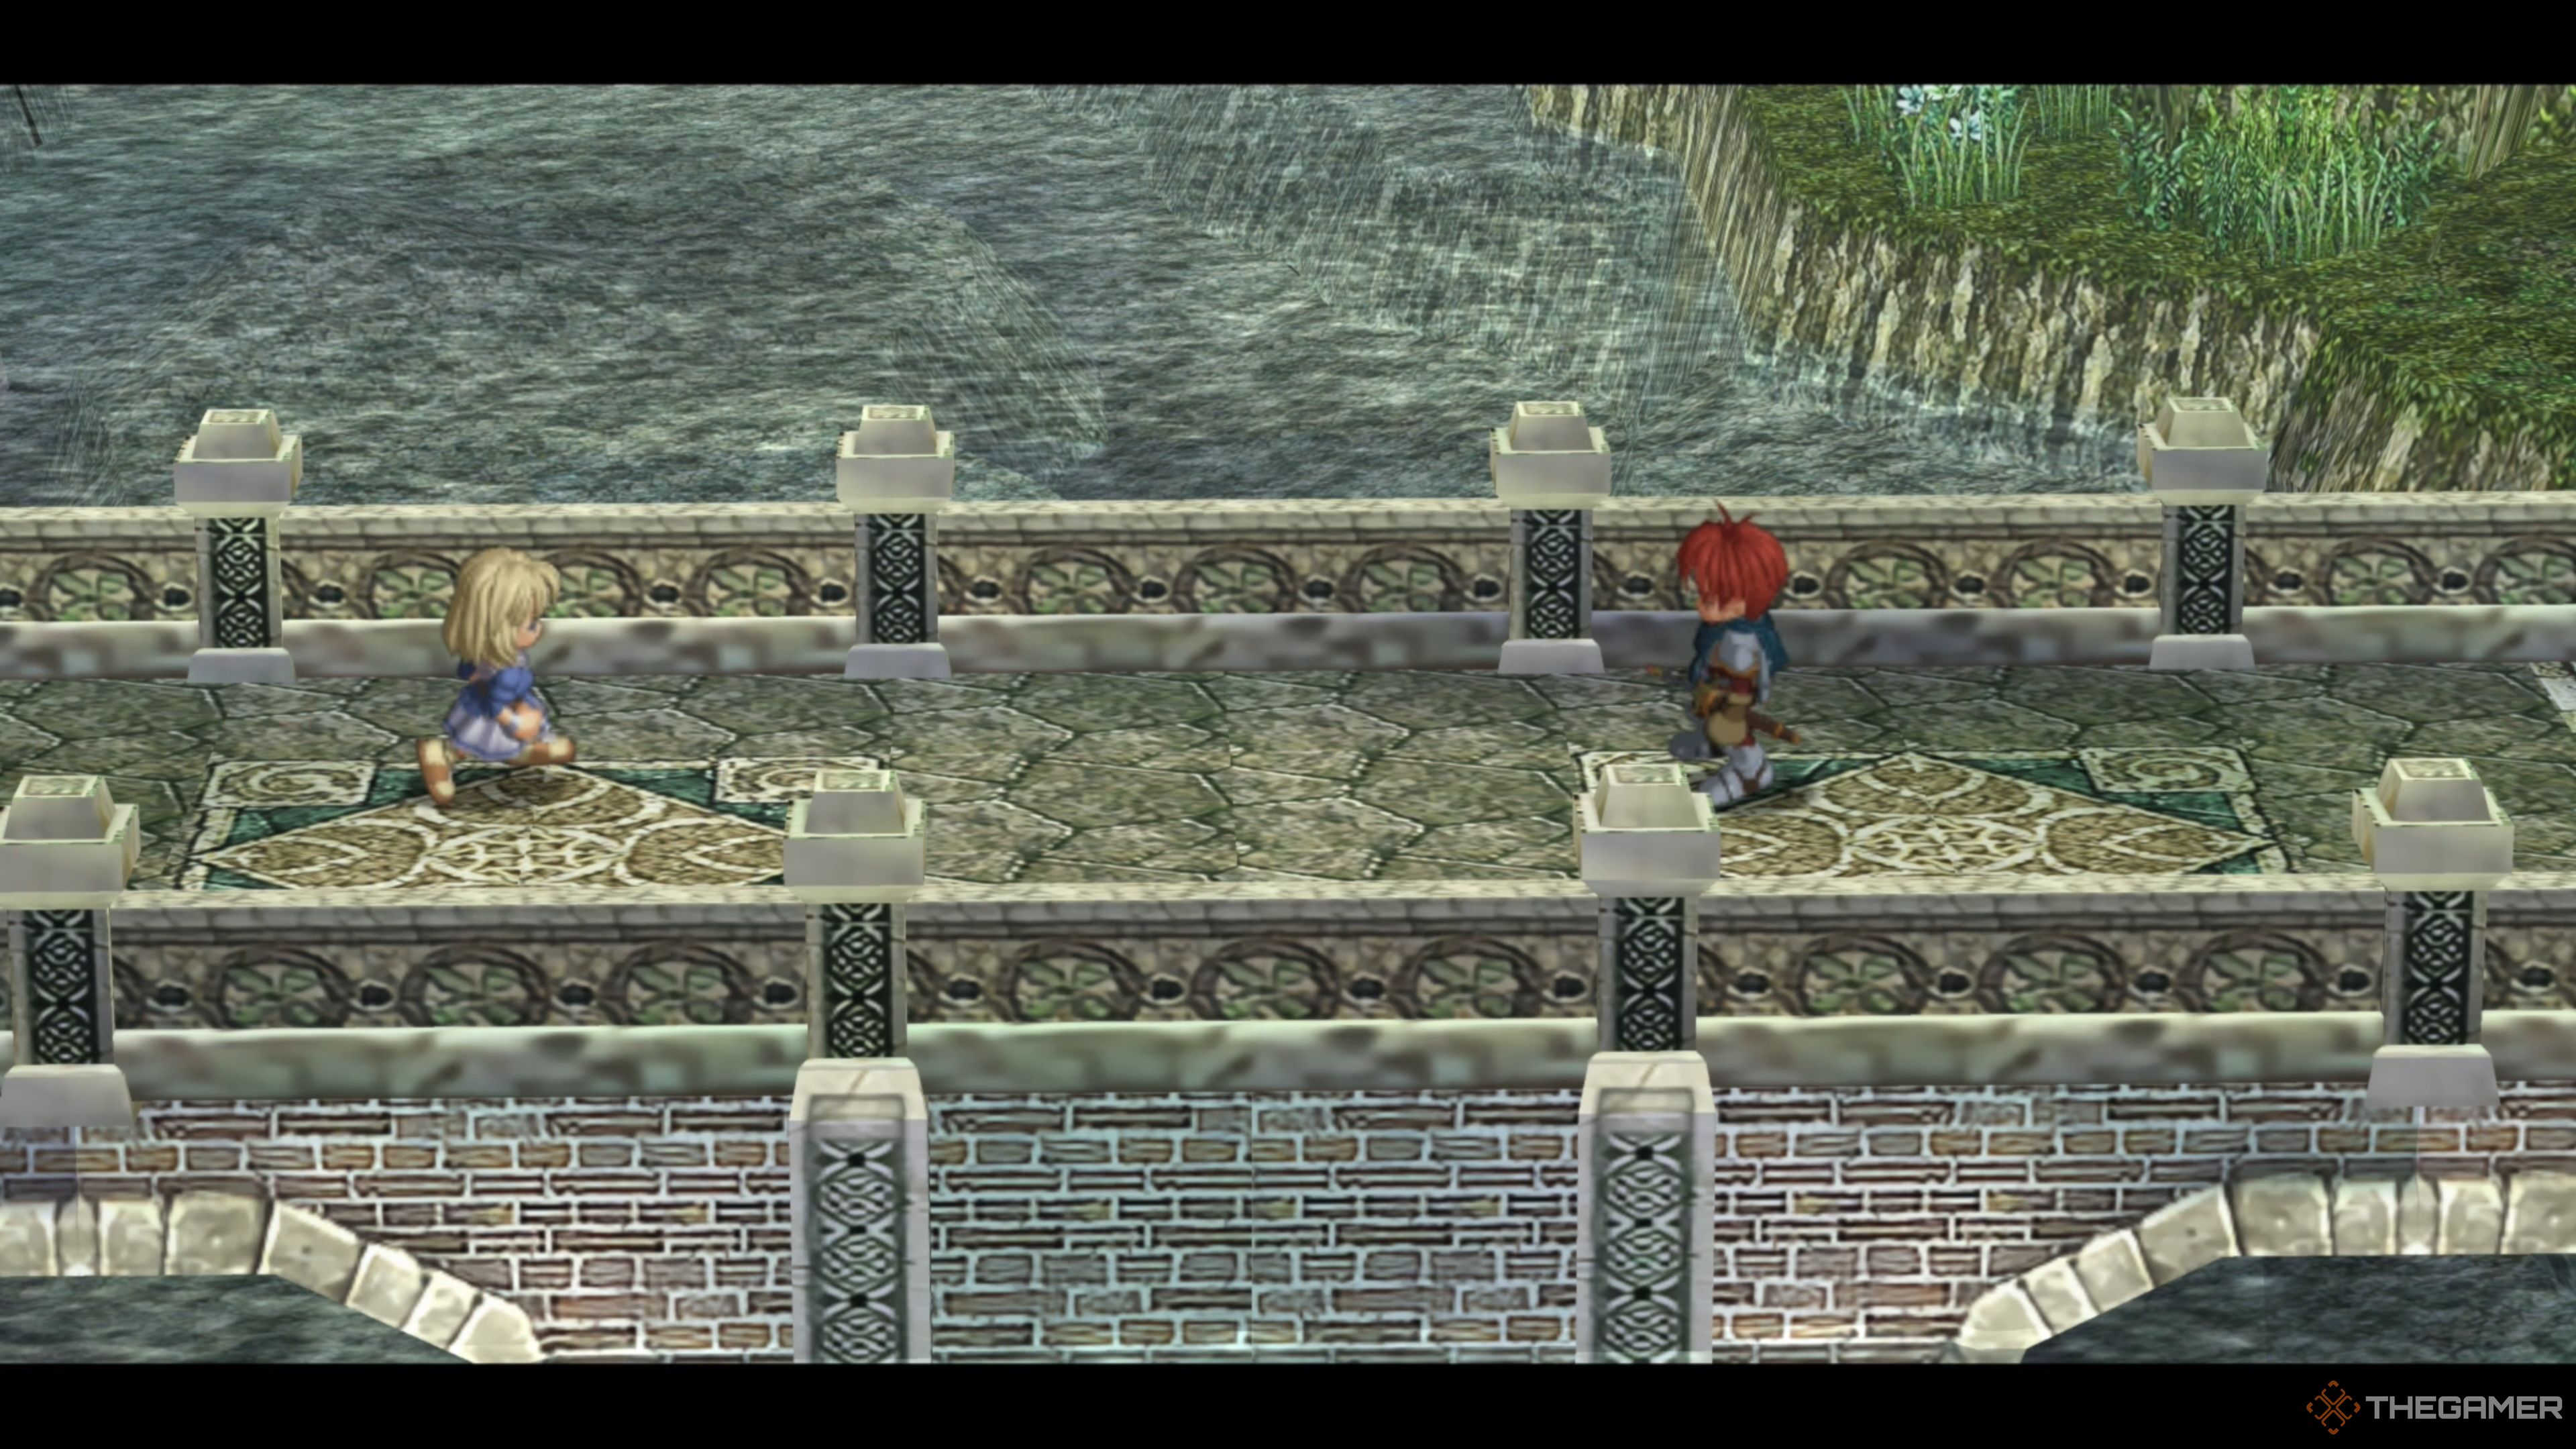
    Elena approaching Adol on the bridge leading to Redmont Town in Ys Memoire: The Oath in Felghana.

    The Wing Talisman is essential for fast travel in Ys Memoire: The Oath in Felghana, and you will receive it from Elena as you progress through the game. Unfortunately, it may take some time before you obtain it.

    To obtain the Wing Talisman, you must first clear the Tigray Quarry section and then complete the Zone of Lava dungeon, which is the first dungeon you’ll encounter. While the Tigray Quarry is straightforward, navigating through the Zone of Lava can be tricky, especially for newcomers.

    Additionally, you’ll need to defeat both Guilen and Gyalva to escape the Zone of Lava, and these battles are not easy. Make sure your equipment is top-notch before heading to Illburns Ruins after finishing the Tigray Quarry, as you won’t be able to return to Redmont Town once you enter the Zone of Lava.

    Acquiring the Wing Talisman in Ys Memoire: The Oath in Felghana

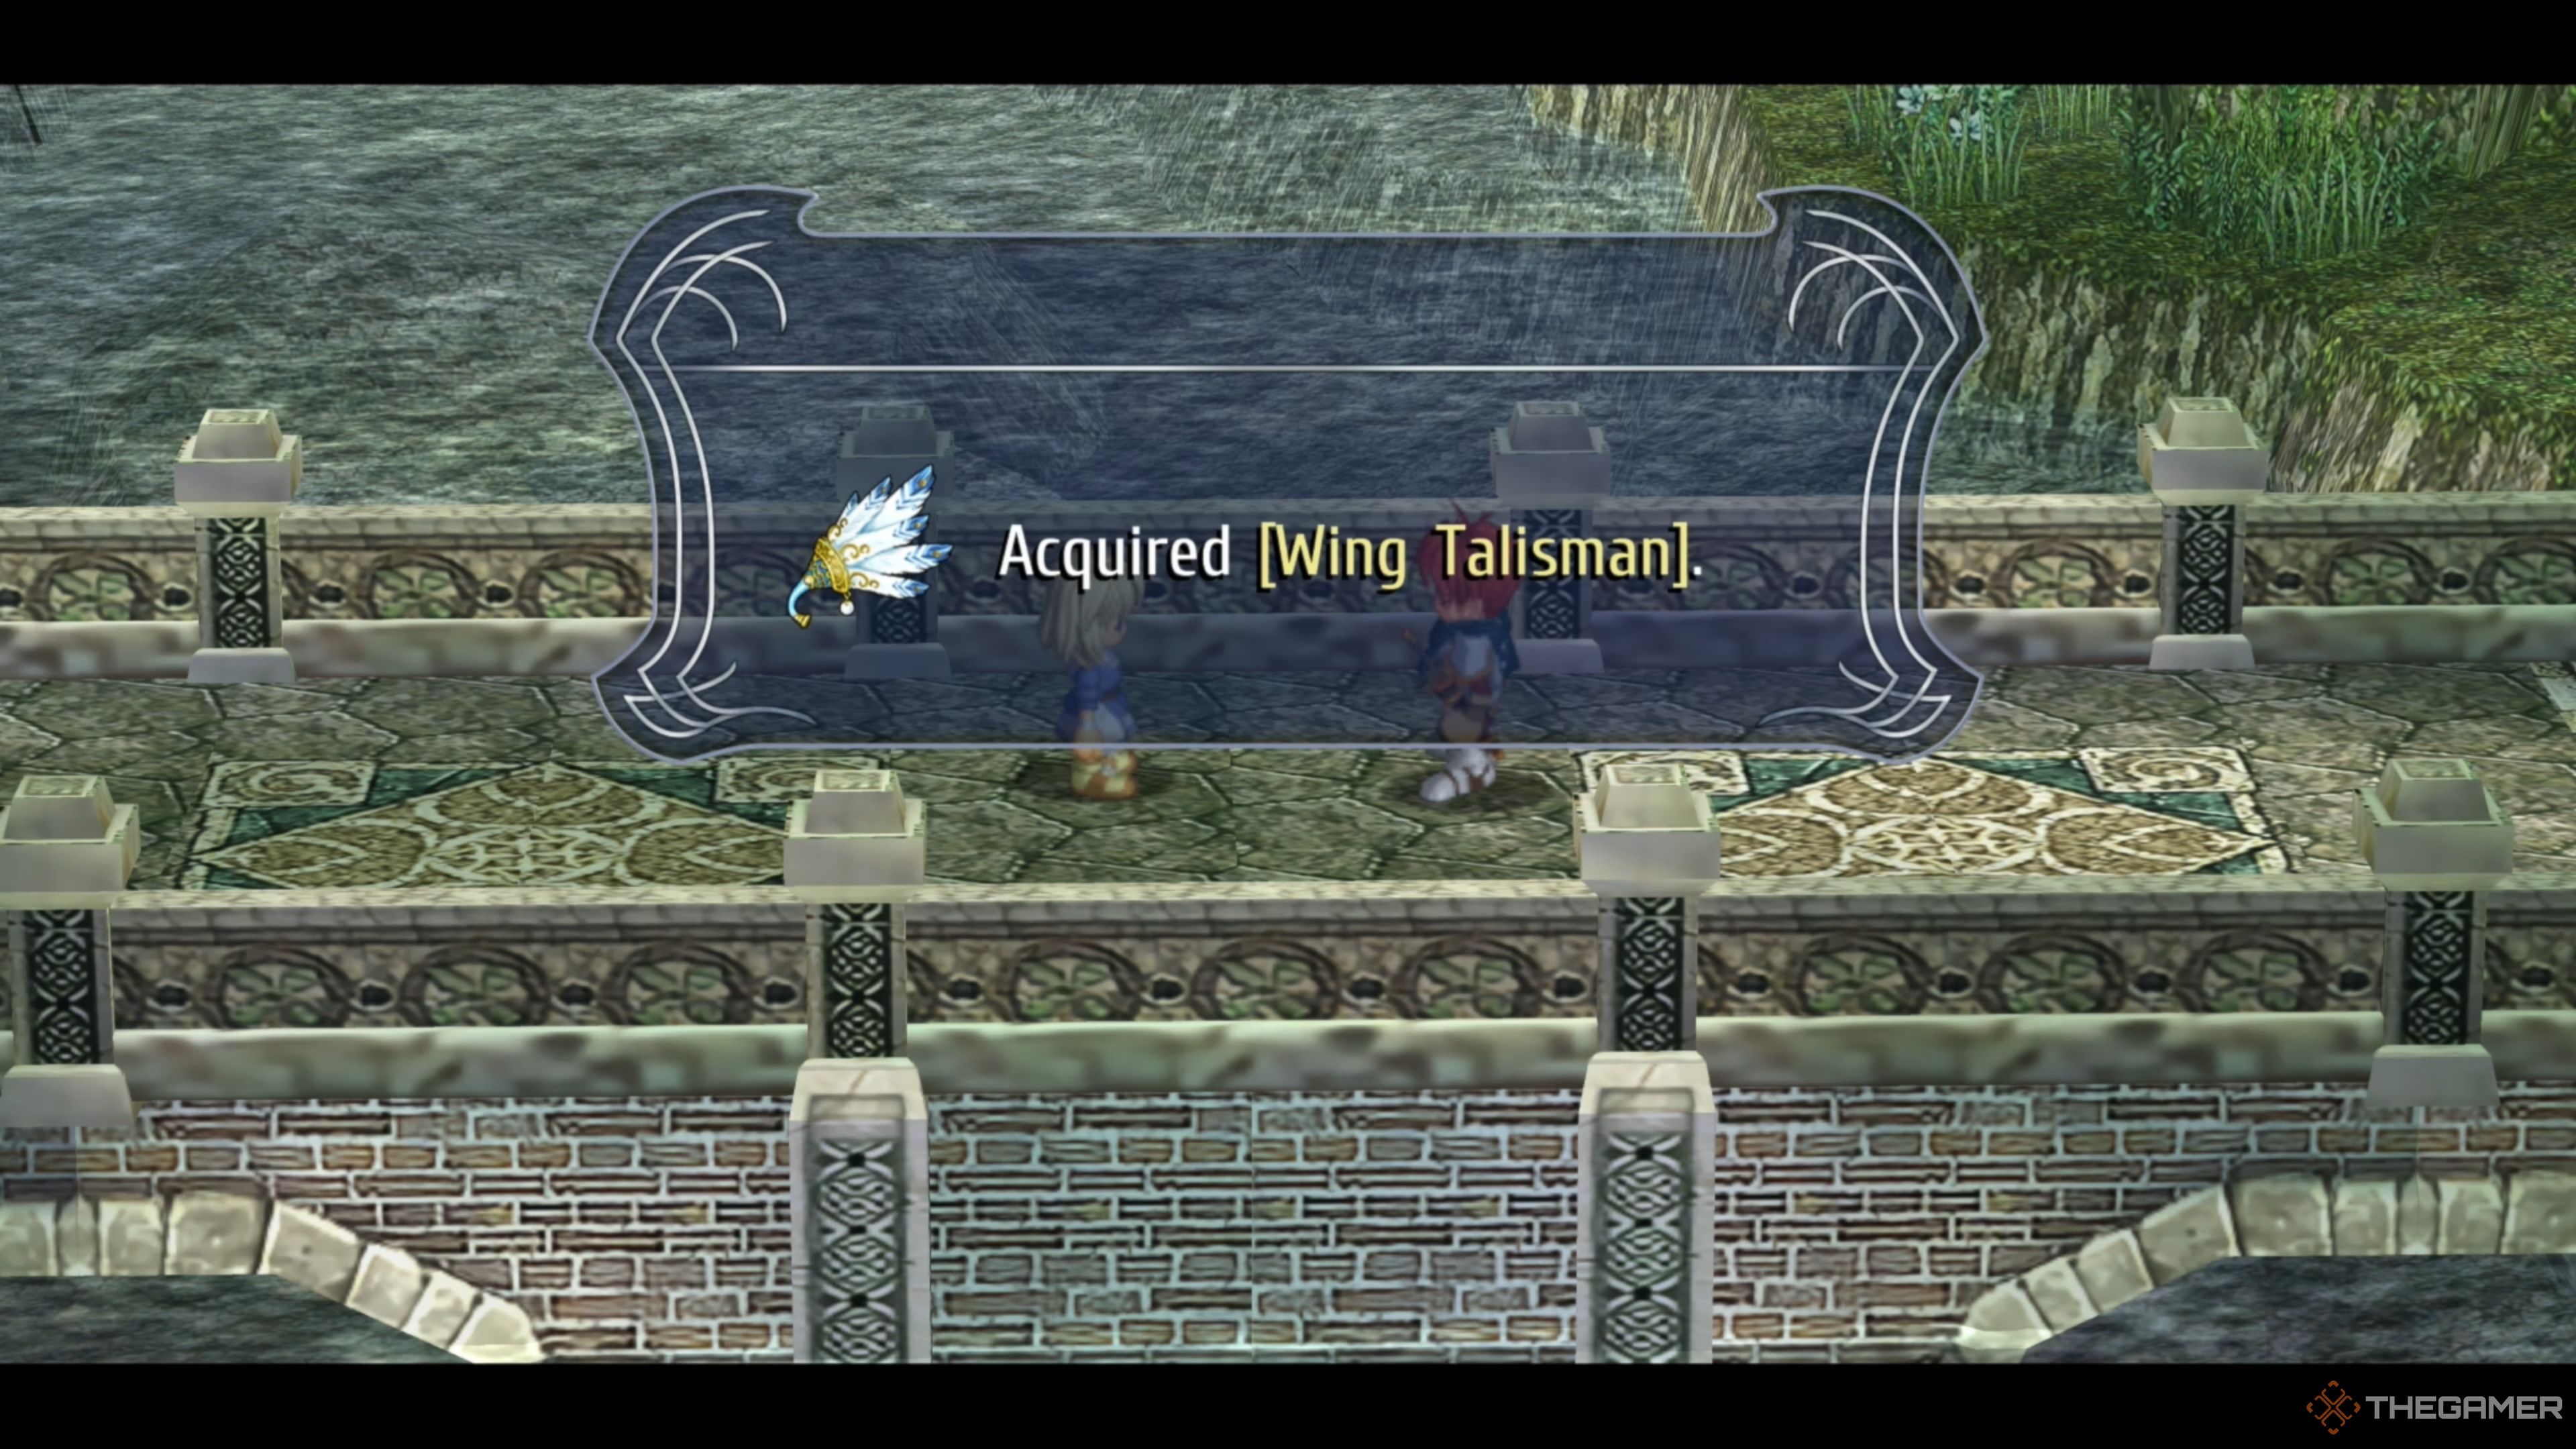
    Adol receiving the Wing Talisman from Elena in Ys Memoire: The Oath in Felghana.

    After you exit the Zone of Lava and watch a series of cutscenes, you’ll find yourself back in Redmont Town with Edgar, Dogi, Dewey, and Bishop Nikolas. Once their conversation ends, you’ll be free to explore the town and talk with the locals as you please.

    If you attempt to enter Elena’s house, you’ll discover it’s locked, preventing you from speaking with her. Don’t worry—leave Redmont Town and head to the Travel Monument to trigger another cutscene where Elena will approach Adol on the bridge to give him her Wing Talisman.

    How to Use the Wing Talisman in Ys Memoire: The Oath in Felghana

    Now that you possess the Wing Talisman, you can fast travel to any Travel Monument you’ve already activated. To do this, open your Menu, navigate to the Item tab, and you’ll find the Wing Talisman in the top row. Select it and click ‘Yes’ when prompted.

    This will open the entire map, allowing you to choose from all the activated Travel Monuments. For example, if you select the Illburns Ruins area, you’ll see all the Travel Monuments you activated in the Zone of Lava, since they are part of that region.

    Now, you can freely warp between all activated Travel Monuments, which will be very helpful when completing side quests or obtaining and upgrading equipment. There’s no limit on how often you can use it, so don’t hesitate to explore and uncover secrets using your new ability!