الوسم: Forsaken

  • How to Complete Knight Artorias in Elden Ring: The Forsaken Hollows

    How to Complete Knight Artorias in Elden Ring: The Forsaken Hollows

    Knight Artorias is one of the most popular and unforgettable bosses in the Souls series. In the Elden Ring: Nightreign expansion, he appears as part of The Forsaken Hollows DLC. If you’ve ever wanted to challenge this legendary boss with friends, now’s your chance. But stay alert—Artorias was always a fierce opponent, and he’s just as tough here.

    He uses many of his signature moves, along with some new variations, to put your team to the test. Expect unpredictable attacks with his large sword, quick jump strikes, and relentless pressure. Here’s what you need to know to defeat Knight Artorias in The Forsaken Hollows.

    ### Where To Find Knight Artorias

    Artorias is a level 2 boss, only available during the Dreglord expedition. To unlock him, you first need to complete the Balancers’ expedition with any character. Once done, you can access the area where Artorias awaits.

    He’s a challenging fight, especially at this stage of the game. Be prepared for tougher bosses toward the end of the second day in Forsaken Hollows, like The Lord of Blood. However, approach Artorias with caution—fighting him face-to-face can be tricky. It’s best to be at least level 10 and have options for attacking from medium to long range.

    ### How To Defeat Knight Artorias

    #### First Phase

    On the initial phase, Artorias begins with a thrust attack delivered in a straight line. Do not dodge backwards, as he will close the distance quickly. He also performs slow, long-range one-hit attacks straight ahead, which are easy to dodge by rolling to either side.

    It gets harder if he moves forward before attacking, as he can reach you quickly. Watch for him holding his sword for a few seconds and then preparing to charge. If he’s chasing you, focus on dodging while your teammates attack him from behind or use projectiles.

    A key moment is when he tilts his head back briefly: he will then unleash a 360° attack covering all directions. Keep your distance during this time to avoid getting hit, and take the chance to hit him with long-range attacks or projectiles. Be aware that after this move, he may jump away, so use that window to heal if needed.

    His jump attack makes a return; he can leap and strike the ground with his sword up to three times in a row. There’s a pause between jumps, giving you time to recover or prepare for the next move. This attack targets a single player, making melee fighters at a disadvantage. Use ranged options to stay safe.

    #### Second Phase

    When his health drops to about 40%, Artorias begins charging energy, leading to a small explosion if you’re nearby. Avoid staying close during this charge. He will also shoot a barrage of black projectiles that can track multiple players, so dodging sideways is best.

    He becomes faster and more aggressive, covering more ground. His attacks repeat but happen more quickly and often. Expect him to execute his thrusts, charges, and jump attacks with increased speed—fighting him requires quick reflexes and smart positioning.

    In this phase, he gains two new moves. Besides his usual three-jump attack, Artorias can now charge energy, visible as flowing energy from his body, before executing a powerful ground slam aimed at one player. When he lands, roll away immediately—this move also has a chance to grab and throw a character, causing additional damage and chaos.

    His other new attack is a series of five rapid blows with erratic timing. You’ll see purple or pink trails on his swords indicating this combo. Dodge the first swipe, wait a couple of seconds, then dodge two more in quick succession, followed by a longer pause before the final, reach-extending strike. During this series, he can interrupt if he kills a teammate, so don’t be close during his combo. Only attack from a safe distance if possible, and avoid being near him during the flurry of strikes.

  • How to Defeat Balancers in Elden Ring: Solving the Forsaken Hollows

    How to Defeat Balancers in Elden Ring: Solving the Forsaken Hollows

    Get ready, Tarnished, because the new DLC for Elden Ring: Nightreign is here. It adds new bosses, playable characters, enemies, and events. The Forsaken Hollows is a tough expansion to an already challenging game.

    Your first major challenge will be to defeat the Balancers, also known as Weapon-Bequeathed Harmonia. This fight features a Nightlord, a terrifying angelic creature that can quickly overpower unprepared teams. Here’s a guide on how to take down the Balancers, their weaknesses, and what rewards you’ll earn for defeating them.

    What Is The Balancers’ Weakness

    Before starting the boss fight, preparation is key. The most important thing is to find a weapon with the Sleep affinity. The Balancers are susceptible to sleep, which allows you to focus on one at a time, especially during the first phase and the main body in later phases.

    You can get a sleep weapon by locating a camp marked with the Sleep icon (gray or light blue), or you can buy one from the shop. To upgrade this weapon, hit one of the mines that spawn to gather the necessary materials, as Sleep weapons are usually high rarity. While you don’t need a sleep weapon to win, having one makes the fight significantly easier.

    How To Defeat The Balancers

    The boss fight has two phases, with the first focusing on several smaller enemies, and the second on the main, more powerful entity. The Weapon-Bequeathed Harmonia uses a variety of attacks, mainly overwhelming you with numbers and spear-based moves. Here’s what to expect in each phase.

    Phase One

    • Seven Balancers spawn on the far side of the arena. Your goal is to kill all of them to advance.
    • To manage this, split up and lure 2–3 Balancers away from each other. This prevents them from attacking en masse.
    • Use your sleep weapon to put them to sleep one by one. Once asleep, focus on knocking them out. Sleep effects don’t last forever, so act quickly.
    • The most punishable attack is the Forward Summoning Spear, which can be avoided easily by attacking from the side or behind.
    • Be cautious of their spear attacks and spear thrusts. These attacks can be varied, so staying alert helps.

    Once all seven are defeated, the boss’s health will be reduced by half, and Phase Two begins.

    Phase Two

    • The main Balancer will now have larger wings and glow pink. She retains all previous attacks and introduces new ones.
    • New attacks include:
      • Ariel Assault: The main Balancer and others fly into the air, line up, and then shoot spear attacks in straight lines, exploding after a brief rupture.
      • Spear Rush: A multi-hit combo with quick spear strikes followed by a ground slam.
      • Grab: The main Balancer lunges with a glowing purple hand, attempting to grab you from a distance.
      • Buff Attack: She channels energy, creating a pink ring around her that boosts attack power and releases spear blasts in all directions.
      • Spear Slam: She raises her spear and slams it into the ground three times, ending with a larger slam that causes damage in a wide area.
      • 6-Way Attack: The main Balancer spins, launching spears in six directions.

    Tips for the Fight

    • The key is often to separate the enemies, even in the second phase. Once the fight shifts, the main strategy is to isolate her from the smaller Balancers.
    • In the first phase, focus on putting enemies to sleep and defeating them individually.
    • When the main Balancer targets you, try to maintain distance. Watch for the Spear Rush and Buff Attack moves and respond with quick dodges or retreats.
    • During her Buff Attack, avoid rushing her directly, as the surrounding spears punish aggressive attempts.
    • When she’s about to revive all the Balancers at around 1/3 health, be ready for an intensified attack pattern, including more frequent spear slams and the 6-Way Attack.
    • Remember, if you kill the main Balancer, other Balancers are stunned briefly, but she can be reborn if she inhabits one of the survivors.

    After the Fight

    Defeating Weapon-Bequeathed Harmonia grants you the Will of the Balancers relic. This relic boosts your melee attack power, skill attack, and provides continuous FP recovery. It’s a powerful item that enhances your combat abilities. You can also unlock new skins for your characters, like the Undertaker or Scholar, for stylistic flair.

  • Quick Ways to Earn Coins in Roblox: Forsaken While Completing Tasks

    Quick Ways to Earn Coins in Roblox: Forsaken While Completing Tasks

    Forsaken remains one of the most beloved asymmetrical horror games on Roblox. Its thrilling gameplay and a customizable character system featuring a wide range of unique skins attract more players every day.

    Many gamers are curious about coins and how to quickly acquire them to unlock various content for both killers and survivors. Skins and emotes significantly enhance the gaming experience, allowing players to showcase their personal style and enjoy the game even more.

    What Are Coins and How to Use Them

    Coins are the primary currency in Forsaken. During gameplay, different actions and matches reward you with varying amounts of coins. Completing general tasks and character-specific actions contributes to your total, which you can then spend on purchasing skins for both killers and survivors or unlocking emotes that can be used in both the game’s lobby and during matches.

    You can use your coins in the main lobby by accessing the shop interface on the left side of the screen. Here, you can directly acquire survivors, killers, skins, and emotes, which are the primary uses for coins in the game.

    Note: You can only access the shop and inventory while in the main lobby; these menus are inaccessible during a match.

    Best Ways to Earn Coins Fast

    In Forsaken, there are several effective strategies to earn coins quickly. One highly effective tactic is to use the survivor Elliot, play with friends, or find low-population servers to farm consistently.

    Use Elliot’s Pizza Ability (Support Farming)

    When you start playing Forsaken, you begin with a default character for both killer and survivor—Jason and Noob, respectively. After completing a few matches, you’ll gather enough coins to start purchasing other characters in the game, with Elliot being an essential priority.

    Elliot is a support-oriented survivor with healing abilities. Dressed as a pizza delivery person, he can distribute pizzas to teammates, restoring 35 health points each time. Successful pizza deliveries also recharge his ‘Rush Hour’ ability, allowing him to sprint and escape dangerous encounters with the killer. The strategy revolves around playing as Elliot and healing every injured ally on the map. Each healing action rewards you with ten coins for every pizza eaten by a teammate, making this one of the most reliable methods for farming coins.

    While Elliot excels at farming coins, he is highly vulnerable during direct chases, so it’s advisable to team up with strong, aggressive allies like Guest 1337, Chance, or Shedletsky. He is less effective with more passive or strategic teammates such as Noob, Dussekar, or Two-Time.

    Warning: Stacking too many Elliots on the same team may seem like a good strategy, but the game penalizes this. Healing another Elliot reduces the base healing from 35 HP to 20 HP and won’t recharge his Rush Hour ability, minimizing the strategy’s effectiveness.

    Repair Generators Efficiently

    In Forsaken’s main game mode, each map features between three and five generators. Each generator has four repair stages, with completing each stage rewarding you with both coins and character XP.

    To repair a generator, approach one of the repair stations. After interacting with it, your character will lock into place, and a mini-game will appear on the screen. In this mini-game, you’ll connect matching points of the same color. Repairing a single generator stage awards you five coins, so fully repairing one generator can net you 20 coins in total. Although working alongside other players speeds up the process, the coin reward will be divided, meaning you won’t earn the complete amount.

    Caution: Repairing generators can help reduce match time—completing one stage cuts four seconds from the countdown timer. However, it also makes you an easy target if the killer is nearby and you’re not paying attention.

    Win Fast as Killer

    Playing as the killer is one of the most effective ways to earn coins in Forsaken, especially if you are aggressive throughout the match.

    As any killer, you earn 15 coins for each survivor eliminated. In a full server with eight survivors and one killer, this can lead to up to 120 coins just from eliminating everyone.

    If you play as C00lKidd, you can further boost your earnings. This killer grants eight extra coins for each successful ability hit on a survivor. Combined with the elimination rewards, it’s possible to accumulate between 150 and 200 coins per match in a full lobby.

    Note: The ability to play as a killer depends on your server and teammates. In Forsaken, killer selection is based on Malice, a stat you build during survivor matches by completing objectives. The player with the highest Malice becomes the killer in the next round. Therefore, if you aim to farm coins while playing as the killer, make sure you are consistently earning Malice in each survivor match.

    Maximize Coin Farming

    Here are some additional strategies to help you farm coins even more effectively in Forsaken:

    • Choose small maps like C00l Carnival, allowing for quick actions and movement, whether you’re delivering pizzas as Elliot or hitting survivors with C00lKidd’s ability.
    • Team up with friends for better coordination. This teamwork allows you to spend more time earning coins without facing strong retaliation from the killer, maximizing coin-generating opportunities.
    • Avoid unnecessary emotes during matches, particularly those that restrict your movement. When focusing on coin farming, efficiency should take precedence over flair.
    • If you plan to play multiple rounds in succession, prioritize building your Malice. The more Malice you collect, the better your chances of becoming the killer, which offers one of the most profitable roles for earning coins.
    • Claim your achievements. Always check the Achievements tab in the main lobby, as many accomplishments reward coins upon completion. Remember, you must claim them manually, making it an easy way to earn extra currency just by playing.
    • Purchase coins with Robux. Although this isn’t essential for enjoying the game, it’s a quick way to unlock characters or cosmetic items.

    Should You Save or Spend Coins Right Away?

    You might wonder if it’s wise to spend coins immediately or save them for later. The best choice hinges on your current goals.

    If you’re new, it’s recommended to invest early in valuable characters like Elliot or C00lKidd, as these characters can significantly enhance your earnings per match due to their special abilities.

    Once you’ve acquired a few key characters, consider saving for exclusive skins or emotes, especially those related to limited-time events. Some cosmetic items rotate out of the store and may not return, while others (like John Doe’s “Yourself” skin) remain available but come with a hefty price tag.

    Tip: Don’t stress too much about hoarding coins early on. Consistent gameplay and improving skills with essential characters will naturally lead to a steady coin income over time. Keep an eye on store rotations in the lobby so you don’t miss out on rare items.

  • Completing Roblox: Forsaken – A Guide to Solving Skins

    Completing Roblox: Forsaken – A Guide to Solving Skins

    Forsaken continues to climb in popularity within the Roblox gaming community, solidifying its place as one of the top asymmetrical survival games on the platform. The game regularly introduces new survivors and killers, along with innovative mechanics that enhance the gameplay experience.

    One standout feature of the game is its skin system. These visual enhancements enable each character, whether they are survivors or killers, to showcase unique and striking appearances, allowing players to visually distinguish themselves during matches.

    Understanding Skins in Forsaken

    In Forsaken, players can choose from a wide range of characters, both survivors and killers. Each character comes with unique abilities and a specific gameplay style, accompanied by a default look. However, players also have access to skins—cosmetic upgrades that enhance character appearances without impacting gameplay.

    Skins in Forsaken vary widely, from humorous and meme-inspired outfits to flashy designs that demonstrate player skill and prestige. Some skins even stem from collaborations with other popular games on Roblox. These skins can completely transform a character’s default appearance, and in certain cases, they even alter the visual effects of their powers and abilities.

    Acquiring Skins in Forsaken

    There are three primary ways to obtain skins in Forsaken. The first two methods involve purchasing them with in-game currency or unlocking them through character leveling.

    The third method involves participating in special events. Forsaken occasionally hosts limited-time events that offer exclusive skins, which are only available for a brief period. Players must claim these rewards promptly, as they are removed from the in-game store afterward.

    How to Purchase Skins

    Buying skins in Forsaken is a straightforward process, but it can only be done in the main lobby.

    • To start, head to the character shop.
    • Select the character you wish to buy a skin for.
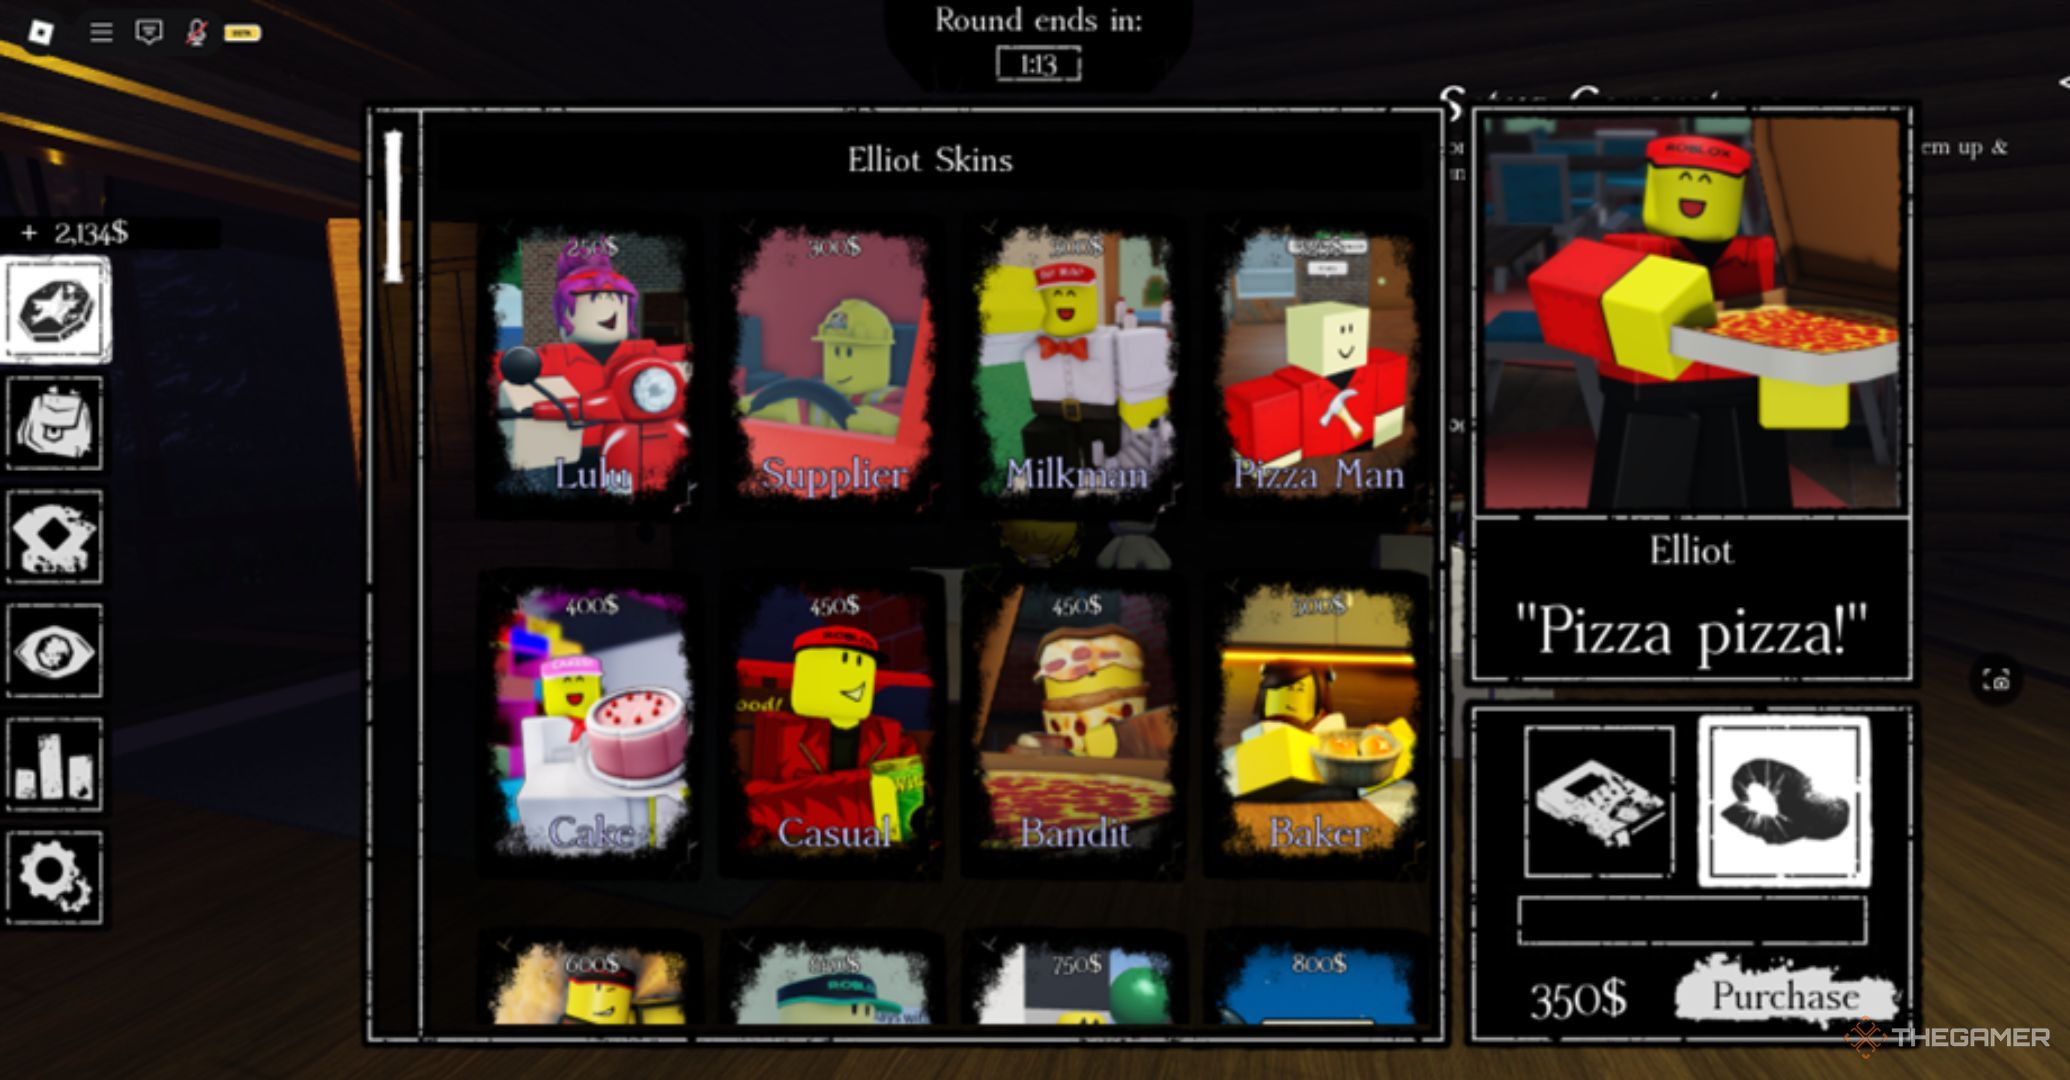
    • In the bottom-right corner, click on the “Skins” option to see all available skins for that character, along with a preview and their respective prices.

    Most skins range between 300 and 600 in-game currency, while rarer skins can start from 1,500 or more. One of the game’s priciest skins is “Your Self”, available for John Doe, priced at a staggering 20,000. This skin allows you to use your Roblox avatar’s appearance in the game.

    Please note that purchasing a skin does not automatically equip it; you’ll need to visit your inventory to select and equip your desired skin for that character.

    Unlocking Milestone Skins

    If you prefer to earn skins through gameplay, Forsaken rewards players who consistently use the same character. Each character features a distinct progression system, where players accumulate experience points (XP) by completing various tasks. These include general actions like repairing items or escaping from the killer, as well as character-specific tasks, such as delivering pizza with Elliot or setting up shields with Dussekar.

    Every 25 levels you achieve with a character unlocks a special Milestone skin, which tends to be quite flashy and indicative of your experience with that character. To equip a Milestone skin, navigate to your inventory from the main lobby, select the appropriate character, and choose the Milestone skin you’ve unlocked.