الوسم: Experiment

  • My Smart Home Experiment Has Reached Its Limit

    My Smart Home Experiment Has Reached Its Limit

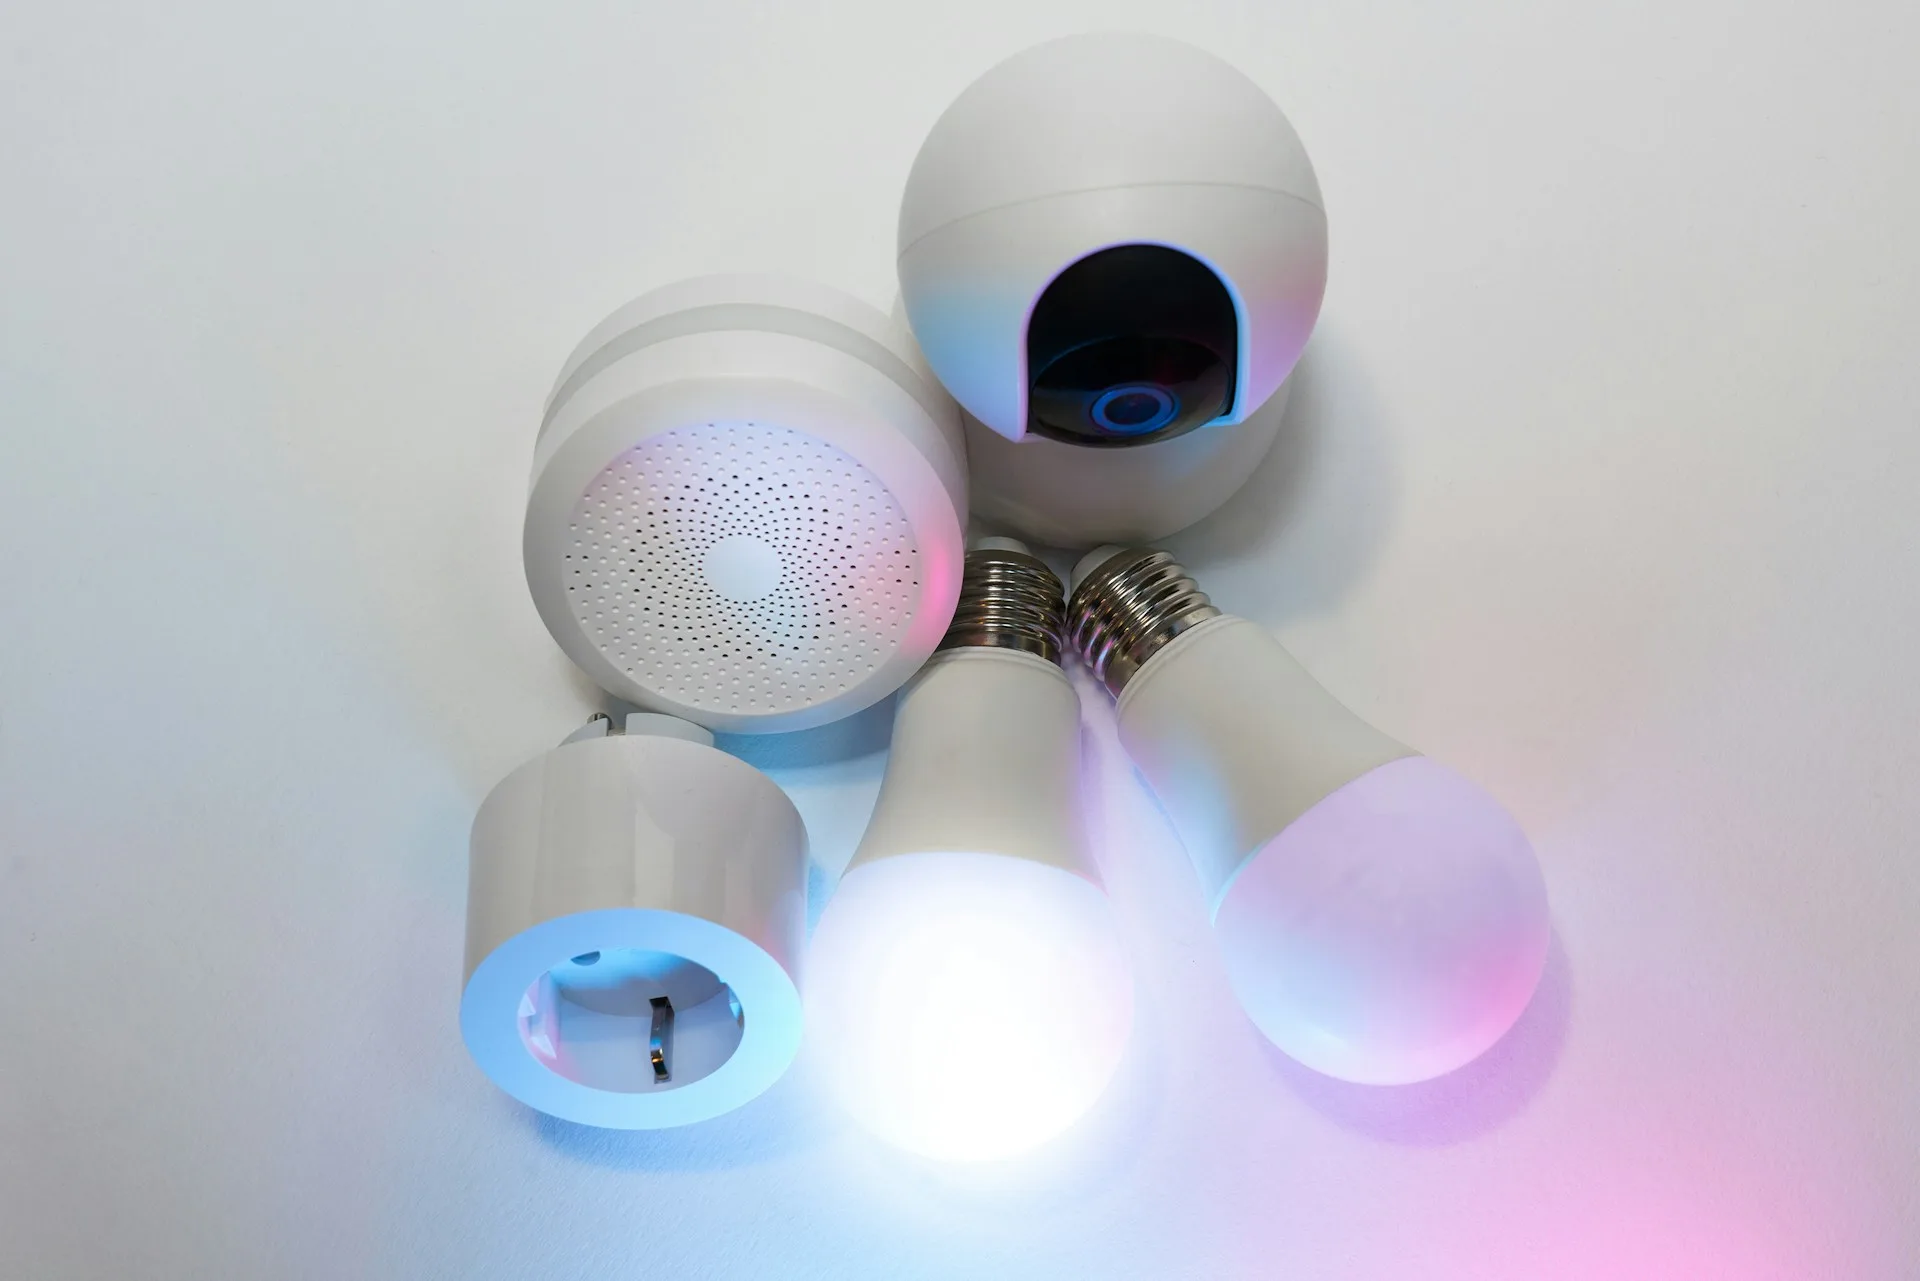
    The first smart device I introduced into my home was a light bulb. It felt like the safest starting point. I could turn it on remotely, set schedules, and eventually integrate it into routines with other devices.

    I pressed a button in the app and waited. The delay was only about half a second, but even that small pause felt noticeable when compared to a traditional wall switch that responds instantly and has never needed a firmware update. Using my phone was even more cumbersome. I had to unlock the device, find the app, navigate to the correct room, and tap the light, which I could have flipped on with a simple switch several taps earlier.

    Those early smart bulbs were a bit temperamental, and the software still had a lot of room for growth. After several generations, they’ve become much more reliable—they disconnect less often, respond quicker, and mostly behave like finished products.

    That should have made me want more of them. Instead, it made me question how far I wanted to take this entire experiment.

    Remote control isn’t always automation

    Some smart-home devices prove their worth immediately.

    A motion sensor that turns on hallway lights before I even touch a switch completely eliminates an interaction. A leak sensor that warns me about water under the sink before the cabinet becomes a problem feels like real automation—something useful happening without me having to do anything first.

    A smart bulb I manage via my phone feels different. I haven’t truly automated the light; sometimes I just move the switch to a less convenient spot.

    That distinction has become clearer as I’ve added more devices. Plenty of things in my house could be smarter, but fewer actually make my life easier.

    Eventually, I stopped viewing every button, switch, and appliance as something that needs fixing.

    My rule now is that a new smart device must solve a recurring annoyance before I consider adding it. Being controllable via my phone isn’t enough, nor is the promise of complex routines I’ll likely forget within a few weeks.

    Eventually, the house needs a manager

    The drawbacks become more apparent once you accumulate enough devices.

    My smart plugs work as intended, but they’re always sitting between an appliance and the wall. Somewhere in the back of my mind, I can’t help but worry about the day one might malfunction and turn my house into an expensive smoke machine. They give me more control, but apparently, my worries find new targets.

    My doorbell with a camera is genuinely useful. I can see who’s outside when I’m not home, something a regular doorbell can’t do. But it also has a battery that I need to keep track of.

    Then there’s Wi-Fi going down, which makes the entire setup much less effective. Most of my connected devices become harder or impossible to control the usual way. Regular switches continue doing their jobs regardless of network status, but some devices I bought for convenience start demanding attention from me.

    The reliance on a stable network adds complexity. I was the one who set everything up: I know which app controls which device, how routines are connected, and the sequence of annoying if-then steps needed to fix things when they break.

    Most people in my household simply want the house to function normally. They shouldn’t need to remember that a specific switch needs to stay on for a bulb to work, or which app controls a plug, or why a routine stopped firing unexpectedly. Guests certainly shouldn’t need instructions before turning on a lamp.

    When I’m away and need to adjust settings, the only real documentation is the setup instructions I left behind. That’s a strange reality for a technology meant to simplify everyday tasks.

    Technology can’t decide what’s worth automating

    Smart home tech continues to improve. Industry-backed standards like Matter aim to reduce setup hassles and improve device compatibility, allowing more seamless integration across platforms, although those upgrades will roll out gradually depending on device and manufacturer.

    I welcome that progress, but I’m cautious about thinking that easier setup means I need to connect more devices.

    Once compatibility becomes less of an obstacle, the tougher question is: what do I actually gain from all this connectivity?

    For me, the value increasingly depends on whether the technology removes an interaction rather than just replaces one. If a device eliminates a recurring chore, detects an issue I might overlook, or quietly makes living in my house smoother, it’s worth considering.

    If all it does is shift a button from a wall switch to my phone without adding genuine convenience, I’m less convinced.

    I don’t believe I’ve purchased my last smart-home gadget. The next one might truly earn its place—so long as it makes a compelling case beyond just being “smart.”

  • How To Complete The Efod Experiment in Tides of Tomorrow Solving

    How To Complete The Efod Experiment in Tides of Tomorrow Solving

    During your journey in Tides of Tomorrow, you learn that there might be a cure for Plastemia, which could help many people. To support the development of this cure, you can go to Ocean Blessing. There, you will find Efod working on experiments with Mereids to help create the cure. You can work with him during your visit.

    This is a key part of the game, where you conduct an experiment to create a serum that could make the cure more effective. Here’s how to do it:

    How to Enter Ocean Blessing

    When approaching the main entrance of Ocean Blessing, you’ll find a gate blocking your way. Tell the guards you were invited by Efod and that you’re there to help cure Plastemia. This should get you inside. If not, you can go to the left and jump over a ramp to gain entry.

    Where to Find Efod

    Once inside, explore the area and interact with objects around. To advance the story, you need to find Efod. Head up the stone stairs, then take the metal stairs to your right. At the top, you’ll see Efod leaning on a railing. Talk with him to learn that you’ll assist him in his lab, and he will give you the key to enter.

    Enter Efod’s Lab

    Efod won’t give away the exact location of his lab, so you’ll need to find it yourself. Proceed down the stone staircase and keep moving forward. You’ll see some people with a Mereid and a guard blocking a door—that is the entrance to Efod’s lab. Show the guard the key to be allowed inside.

    Accessing the Lab Console

    Inside, look for a console with a yellow button on the left. Pressing this button turns on the lights and prompts Efod to come in. Walk upstairs, grab the sedative from the table on the right, put it into the diffuser, and pull the lever to start the experiment. When red lights flash and the alarm sounds, don’t worry—that’s part of the process. Just put another sedative into the diffuser to fix the issue.

    Climbing and Collecting Sedatives

    Climb the nearby tables onto the next area, then drop into a small space where two more sedatives are located—one in a locker and the other on a table behind some boxes. Collect them to prepare for the next step.

    Using the Vision

    Use your vision to see which option the Tidewalker chose, then select the one they didn’t pick. Use the wall switch to open the gate, then go back to the diffuser to administer the sedative. This calms the Mereid and completes the experiment.

    Optional: Sabotaging the Experiment

    If you’re feeling mischievous, you can intentionally choose the wrong sedative to ruin the experiment and harm the Mereid.

    Debrief with Efod

    After the experiment, Efod heads upstairs with the serum. Follow him. If both you and the previous Tidewalker did good work, the serum will be completed, and Efod will give it to you. This can improve the cure. If you did well, the next Tidewalker might benefit from your efforts, but the serum isn’t ready yet. You can also ask Efod for eggs or Ozen as a reward.

    Final Step: Leaving

    Near Efod, there’s a yellow button on the wall. After the conversation, you’ll notice it. If you press it, Efod will demand you not to push it. If you do press it, the Mereid will be released, causing the next Tidewalker to restart the experiment and not receive the serum. Efod will also reclaim his reward, but you’ll gain a significant boost to your Pro-Nature trait and be approached by someone waiting by your boat with scrap.

    Whether you free the Mereid or not, you must exit through the gate close to Efod. Take the elevator up, use the zipline down to the lower area, and leave Ocean Blessing.

  • How to Modify Brun’s Experiment in The Outer Worlds 2: Completing & Solving

    How to Modify Brun’s Experiment in The Outer Worlds 2: Completing & Solving

    Your allies are essential in The Outer Worlds 2. They each have special abilities and upgrades that can be customized to match your preferred playstyle, while still maintaining their distinct combat roles. Marisol, in particular, has powerful skills that allow you to target enemy weaknesses for unique effects.

    To get the most out of her, you’ll need to complete her companion quests. Doing so will help her let go of her past and discover a new path. When it comes to eliminating dangerous research, Marisol is already skilled at stopping threats that could be deadly to everyone.


    How to Start The Endpoint’s End Quest

    After finishing Marisol’s earlier questline, you’ve met Anais Bujold, an old colleague of Marisol’s who didn’t part on good terms. She wants to make amends and, depending on your choices, might have destroyed her old research to stop it from causing harm. However, you later learn that some of the research was stolen for study, and Bujold promises to recover it to prevent this dangerous knowledge from falling into the wrong hands. She quickly traces the research to the Anchorhold in the Alexandra Monastery at Golden Ridge. This location was involved in previous missions, where you encountered two Anchoresses and even helped mediate their debate.


    Investigating the Alexandra Monastery Anchorhold

    Travel to Golden Ridge and approach the monastery through its original entrance. You notice one of the Anchoresses is missing, and the other is dead, bloodied. If you had enough Observation skills earlier, you might have spotted a locked vent on the left wall—use it now to explore inside. Once inside, you’ll find:

    • Chao’s journal on the table
    • A blackboard debate criticizing Ruth Basaar’s regime
    • The lifeless body of Anchoress Chao

    Examining these clues reveals that Chao became paranoid of her friends Brun and Southworth, suspecting them of treachery, and it appears she was murdered by one of them. Now, you need to head to an abandoned research outpost on Eden called Point Obviation.


    Meeting with Anchoress Brun

    Instead of being on Paradise Island, you can choose to go directly to Obviation Point on Eden. On arrival, you’ll encounter several Order members supporting Brun’s expanded use of Bujold’s research. You meet Exemplar Southworth, who isn’t happy about your presence and insists you follow standard protocol, but she’s still willing to let you see Brun on the fourth floor of the research tower.

    Inside, Brun recalls your siding with Chao during their debate and states she’s leaning toward Chao’s arguments now after her death. She also touts the importance of Bujold’s research and claims Bujold is on-site to help finish her decades-old work. Brun wants you to witness the experiment personally.


    Modifying the Experiment

    Bujold, fearing Marisol might ignore her past, secretly destroyed her research to prevent it from being misused. She then reconstructed the experiment to convincingly simulate her theories, hoping to persuade Brun it’s not worth pursuing further. However, she couldn’t complete this alone, so you must modify it yourself—only slightly, to avoid suspicion. Too much change will reveal tampering.

    If you have high Science or Speech skills, you can make precise adjustments, but it’s not mandatory for a peaceful outcome. You can also skip some modifications and still succeed if your skills are lower. Slight adjustments, overall, are sufficient; major ones are unnecessary unless you’re aiming for an optimal result.

    The Zyranium Gas Adjustment

    For the Zyranium Flow experiment, ensure all pipes are active with the total flow at 900. Reducing flow below 500 could sabotage the experiment, so if you need to tweak it, turn off the 200 flow pipes—minimally affecting the system.


    The N-Rays

    In the N-Rays room, these must stay active for the experiment to work, but there are two fail-safes—a power switch inside the room and one in the vents. The vent switch is harder to verify, so disable it by flipping the switch in the vents to ensure the experiment’s success.


    The Macrowaves

    The Macrowaves machine contains a delicate mixture of elements. You have three options:

    • Remove the mixture entirely (not recommended)
    • Replace it with a weird-looking rock found nearby (mid-level option)
    • Slightly turn the dial on the machine for a subtle change (best choice, requiring high Science or the Professor background)

    You can also modify the back power box using Hack skills or the Innovative trait, but again, a careful approach is best if you aim for the most peaceful outcome.


    The Nucleins

    This part involves placing a sample for the experiment to work. Use either the preconfigured Alta Vitae sample or the unconfigured one. The notes recommend not using the unconfigured sample to avoid divergence from the original plan. Alternatively, you can mix both samples in the centrifuge, but the outcome is uncertain—likely an Inexpertly Configured mixture unless you have high Science checks or the right background. The ideal is the Weirdly Reconfigured mixture if possible.

    It’s advised to save your game before making alterations, as sticking to middle-ground options across several experiments can strike a good balance between success and risk.


    Debating Anchoress Brun

    Once the experiment is modified, run it and wait for results. Brun will remark that she can’t understand why it failed if you’ve adjusted things correctly. To fully sway her, you’ll need to engage in a debate, using high Science and Speech skills, sometimes with Marisol’s help. If your stats are low, you might be forced to kill Brun. Marisol offers a key to activate a hatch that releases fumes into her room, leading to her death—an option if peaceful solutions aren’t available.

    Approach Brun directly and discuss her research. Tell her the experiment’s failure indicates fundamental flaws. During the conversation, select options that challenge her findings, especially those suggesting her research is flawed. If you’ve successfully altered the experiment and debated well, Brun will accept your reasoning.

    If not, she’ll remain unconvinced, and Marisol might step in with an argument, helping you sway her if your skills are nearly sufficient. Otherwise, you’ll need to eliminate her using the ventilation panel to release fatal fumes, which is quick but messy.


    Leaving Obviation Point

    Afterward, meet Bujold at the landing pad. Meanwhile, Exemplar Southworth, who’s more worldly experienced than Brun, suspects a connection between Brun’s quick surrender and Marisol’s arrival. Convincing her requires high Observation, Nimble, Science, or Speech skills—otherwise, a fight is unavoidable. Be prepared for a firefight with Point Obviation’s staff if negotiations fail.

    If you fight, loot Southworth’s body for the unique assault rifle, the Goaded Aggravator, which causes enemies to seek you out and take increased damage.

    Upon returning to the ship, Marisol will have a personalized debrief based on your choices, and she’ll unlock her special Perk, Energy Dispersal.