الوسم: escape

  • How to escape prison and refugee camp in GreedFall 2: Completing and solving

    How to escape prison and refugee camp in GreedFall 2: Completing and solving

    After waking up in a cell, you realize you’ve been captured along with two friends. Sadly, one of your companions dies, leaving the other hurt and upset. A stranger releases you from your cell, and after quickly gathering your clothes and belongings from a nearby chest, you all must find your way out through the tunnels and into the new land outside.

    Once free from the prison, your next goal is to reach a refugee camp where more of your people are hiding. There, you’ll fight through enemies again, including a huge, terrifying creature, to escape and continue your journey.

    ### Prison Tunnels Walkthrough
    To escape the tunnels under the prison, follow the main quest marker as closely as possible. Be sure to explore every dead-end and nook along the way because each area has loot and useful resources.

    When you encounter the lit section of the excavation tunnels, you’ll face some giant crustaceans called majida, which are heavily armored and have strong claws. Fight them by sneaking behind each one while your teammate fights from the front. With two fighters attacking a majida, they’ll go down faster, and you’ll earn resources, gold, and experience points. Pull the lever to open the metal gates and advance into the Upper Sewers, where more majida await.

    Proceed toward the quest marker, and when you reach another lever, activate it to open the next set of gates. To get through a locked gate further ahead, you’ll need to activate a lever outside the previous exit area, to the left of that gate.

    In the Maintenance Zone, there are two main sections: an upper part with two working levers and one broken, plus a lower part with metal gates. When you go down into the lower section, guards will appear. Fight them off before moving ahead.

    Once you’ve taken out the guards, check the levers at the top. The left lever should be pushed forward, the middle pulled back, and the third lever is stuck. You can fix the stuck lever with either lubrication or by using your mechanism skill. It’s often worth trying to fix it with your skill first—it might work on the first try. If it doesn’t, use the lubrication item found in a nearby chest to unstick it. Then activate the levers so that the first two are pushed forward and the third is pulled back to solve the puzzle.

    Pulling these levers will trigger more enemies, so be prepared for a fight. After defeating the guards, exit the sewer by pulling the lever at the top of the stone steps, which will open the gate to Olima: Science Quarter.

    ### Refugee Camp Walkthrough
    At the sewer exit, you’ll meet Ludwig, who should join your team. Your next task is to find Ludwig’s contact, a fisherman typically found by the river. When you look for him, he’s missing, and you’ll need to follow glowing tracks to discover what happened.

    Following the tracks leads to a bandit camp with a wooden cabin. Speak with the bandit leader and pretend you’re helping to find treasure when negotiating the release of the fisherman. Sneak behind the cabin to eliminate a lone guard—who has the key to the cabin—and use that key to free the prisoner.

    Escape the camp without being detected to complete this part of the quest. The fisherman then takes you to the refugee camp, where you meet Ladan. She tries to draw energy from the sick Earth, but because it’s weakened, she transforms into a monstrous creature called Nadaig Gigelas, which has a huge claw and over 5,700 health plus a shield. The creature uses ground-slamming and sweeping attacks, so it’s best to fight from afar or run in briefly for hits before retreating when it attacks.

    During the fight, the creature may smash the ground multiple times, causing boulders to fall, or grab nearby pillars to use them as weapons. Once the health depletes, a cutscene triggers where you and your team must run to escape, dodging falling boulders that appear as red circles on the ground.

    In the final stretch, you’ll encounter more majida and pull a lever at the top of stone steps to open the gate, leading you out of the sewer into Uxantis, home to the Nauts. Your adventure continues beyond this point.

  • How to Get Out of the Prison Cell by Completing and Solving in High On Life 2

    How to Get Out of the Prison Cell by Completing and Solving in High On Life 2

    After saving Lizzie in High On Life 2 and completing the prologue, your main goal is to find and eliminate various targets. Once you gather your family and defeat James Stevenson, you’ll receive a mission to host a small party with everyone.

    While collecting items for the party, you’ll get caught and end up in prison. It’s during this part that the main villain of the game is revealed. You’ll lose your suit and all your weapons, and you’ll need to find parts to craft a new gun to escape.

    How to Craft a Gun in Prison

    When you start the mission to gather items for the party, you’ll be taken to a mall. As you move through it, a familiar bounty hunter will capture you, and you’ll be sent to prison. This happens right after you save your family and defeat James Stevenson. In prison, you’ll learn who the bounty hunter is and who the final boss will be.

    After the dialogue, Suit-O will ask you to find items to build a gun. Here’s how to find the basic items:

    • Pick up the batteries on the right side of the yellow table in the room.
    • Grab the soup and water bottle from the shelf near the toilet.
    • Remove the poster above the bunk beds to find a hammer behind it.
    • Use the hammer to break open the yellow and red tables, revealing various items.
    • Break the nearby TV to get some wires.
    • Use the hammer on Suit-O’s hands to get the gun’s arms.
    • Break open the gate in front of the fan near the exit and take the fan.

    Tip: When breaking objects with the hammer, make sure the camera’s light isn’t on you.

    Once you have all the items, place each on the table beside Suit-O. Then, sneak a chip from the guard’s back when he’s turned away, craft your new gun, and insert Suit-O’s chip. After that, any item in the room can be thrown at the door to break out of your cell.

    How to Escape the Prison

    After escaping the cell, use your new gun to take down enemies. Many objects highlighted with a white outline can be picked up and thrown to defeat foes with one hit. Follow the corridor on your right and keep moving until you reach the escape pods. A short cutscene will play, after which you’ll escape the prison, allowing you to continue your hunt for bounties. Your weapons will be restored once you’re out.

  • How To Escape From Jail In My Winter Car Through Completing and Solving

    How To Escape From Jail In My Winter Car Through Completing and Solving

    Driving in My Winter Car can be tricky, especially with your first vehicle, the Sorbett. It’s not built for snowy conditions, making it easy to lose control and accidentally harm others. Of course, you wouldn’t want to hurt anyone, but mistakes happen. Unfortunately, that can lead to serious consequences.

    My Winter Car has a prison system, and this guide explains how it works and how you can get out if you end up behind bars.

    Note: The game is still in Early Access, so details here might change later.


    How the Prison System Works

    The game has an invisible Wanted system that activates when you perform certain actions. You won’t know you’re being hunted until it’s too late. For example, you might be sleeping at home when suddenly, you hear knocks at your door — it’s the police.

    When you open the door, two officers will show up. They’ll serve you an arrest warrant, which you must read and sign. Then, you’ll find yourself locked in a jail cell.

    Important: Once you’re wanted, escape is impossible. Police will be stationed at all exits, blocking every way out.


    How Do You End Up in Jail?

    There are a few actions that can land you behind bars:

    • Punching an unconscious NPC
    • Not stopping during police traffic checks
    • Crashing your vehicle into another car and causing the driver’s death
    • Hitting a pedestrian with your car
    • Ignoring unpaid fines

    While these are documented in the game’s wiki, actually triggering them can be tricky, as NPCs often don’t react much, and killing someone with your car isn’t easy.


    How to Get Out of Jail

    After signing the warrant, you’ll spawn in a cell. On the upper left of your screen, you’ll see your usual stats plus a new one: Jail Days. To get out, you need to serve your sentence.

    One in-game day equals about two real hours, so plan accordingly. The length of your sentence depends on how serious your crimes are. You can be arrested for multiple crimes, which all add up.

    Warning: If your sentence exceeds ten days, it’s basically a game over.

    In your cell, there’s not much to do — just a radio and a TV that’s not very entertaining. You can sleep or wait for your sentence to end. Alternatively, you might consider starting a new game.


    Use MWC CheatBox to Exit Jail Quickly

    If you’ve played for a while and don’t want to wait out your sentence, there’s a shortcut. By installing the MWC CheatBox mod, you can access a setting that instantly releases you from jail. This is a handy way to skip the time and continue playing without losing progress.

  • How to Complete All Achievements and Solve Escape the Backrooms

    | Escape Level 0 | Find the exit in Level 0. | This level is quite simple. There’s only one entity hiding in the empty space that you’ll need to avoid while searching for a broken ladder. The missing parts of the ladder are located near its base. Once you find a piece, pick it up and attach it to the ladder. To reach the next area, assemble the ladder and climb. In the second part, carefully balance across the floor sections to reach the other side and finish the level. If you fall, follow the wall arrows to find an alternative exit. |
    |——————|—————————|————————————————————————————————————————————————————————————————————————————————————————————————————————————————————–|
    | Squad | Complete the game with friends on Normal difficulty. | Refer to the note above about unlocking this achievement solo if needed. |
    | Escape the Habitable Zone | Find the exit in the Habitable Zone. | The Habitable Zone is mainly a parking garage. First, locate the color code for the keypad near the elevator by searching a room with uncovered cars. Then, find three keys by exploring other rooms with cabinets and desks. Insert the keys into a slot room with four positions, turn each quickly to open the steel door. Finally, find the sloping ramp to reach the elevator while avoiding the entity. |
    | Escape The Hub | Enter the hub and activate the outpost power. | Inside, go through the only open door on the left until reaching a security panel beside a closed M.E.G. door. Match the codes on the left to those on the right, changing the code after each correct match until the door opens. Then, turn on all the lights using switches and find password-protected computers. Use the password from a nearby paper to open a file called Gate.exe, which opens the gate at the start. In the last part, avoid Smilers in the dark hallways by running from lit areas when the lights flicker. Look for blue doors in every hallway to find the exit. |
    | Escape Pipe Dreams | Find the exit in Pipe Dreams. | Walk down the pipe hallway toward the sign saying “Electrical Station.” Avoid burst pipes and steam as you go. You can sprint freely once you sense something behind you. Keep moving until the electrical station appears, then continue exploring to find the next stage. |
    | Escape Level 3 | Find the exit in the Electrical Station. | This level involves activating nine breakers across three different areas. Turn on the first three breakers easily. In the second area, avoid sparking puddles and Hounds, which can be blinded by your flashlight. The final area presents puzzles—matching colored wires and rotating hexagon-shaped electrical pieces. Once all are on, return to the main area to pass through the open door to the next level. |
    | Escape Level 4 | Find the exit in the Abandoned Office. | The office isn’t too dark and mostly safe. Watch for Window entities, avoiding close contact. Find a room with vending machines linked to items; count the items and input the number corresponding to each vending machine to open the door. In the next area, navigate past cameras by pressing a reset button and proceed through security rooms. If monitored, restart from the vent outside. If not, the door opens for you to continue. |
    | Escape Level 5 | Find the exit in the Terror Hotel. | This level has high dangers to your sanity and entities. First, gather bug spray from the check-in desk. Press the buttons beneath the four paintings in order from youngest to oldest to advance. Then, search hotel floors for three swarms of moths; spray each to produce Moth Jelly, which you offer at the dumbwaiter to get keys for a locked door. In the next area, collect missing letters from mailboxes and read the ceiling code after “Look Up” appears. Enter the code on the door to continue. In the boiler room, avoid Female Deathmoths and sneak or steam them to reach the exit. |
    | Participation Trophy | Complete the game on Easy difficulty. | Choose Easy mode at the start screen to unlock this achievement. |
    | Escape Level Fun | Find the exit in Level Fun. | After the boiler room, head toward the “Fun” sign in Pipe Dreams. Sneak past Partygoers to reach a spooky birthday party setting. Use crouching, distraction, and hiding tactics to avoid being caught or grabbed. |
    | Escape the Poolrooms | Find the exit in Level 37, The Poolrooms. | This level is straightforward and safe. Explore carefully to avoid falling into dangerous pools or gaps. The only threat is the Hydrolitis Plague, a lethal liquid in pools. Find the exit by wandering around carefully. |
    | Escape Level ! | Find the exit in Level Run For Your Life. | Several entities chase you along varied routes. Your main task is to dodge obstacles and choose paths to evade capture until you reach the end. |
    | Escape The End | Find the exit in The End. | Like a library, this level contains the Scratcher entity. Collect tapes using your flashlight, avoiding it or pulling alarms to lure it away, and finally unlock the exit door once all tapes are gathered. |
    | Escape Level 94 | Find the exit in Level 94. | Appears peaceful at first, but it cycles through day and night. During the day, take trucks to move far away. Hide in a house overnight to avoid being hunted. Reaching the castle involves navigating through funhouse puzzles and surviving attacks from the Animated King until reaching the roller coaster to escape. |
    | Escape Level 6 | Find the exit in Lights Out. | Move through a completely dark area using a flashlight. Find the flickering light room to get a laser scanner, then navigate a dark maze by shooting dots at the walls. Avoid the roaming Wretch on the radar, crouching near walls to avoid it, until finding the illuminated exit room. |
    | Escape Level 7 | Find the exit in Thalassophobia. | Descend stairs into water. Reach the lighthouse and explore nearby houses for supplies like flares. Do not jump into open water. Wear a diving suit, climb into the shark cage, and wait for the attack to subside. Then, swim to the cave with lights inside to find the exit. |
    | Escape Level 8 | Find the exit in Cave System. | Sneak past Female Deathmoths while crouched, and avoid running or jumping on the bridge. Cross slowly and proceed into dark areas filled with disguised Skin Stealers, either sneaking past or making a dash after depleting your energy bar. Return to the starting area after completing puzzles involving the elevators and doors. |
    | Escape Level 0.2 | Find the exit in Level 0.2. | It’s quite safe but has an entity. Review blueprints to reach five indicated areas using Noclipping. Wait for green lights to pass through. Open doors and stop the arrow in a target area five times, then pull a lever to lower a gate. Escape through the open door to continue. |
    | Escape the Snackrooms | Find the exit in the Snackrooms. | After Level 0.2, find a typewriter and input the number sequence (3, 7, 5, 2) based on dots from a nearby paper. This opens the way forward. |
    | Escape Level !~! | Find the exit in Level !~!. | Proceed through a horror-themed maze in the Hotel Chase. Use the pressure plate, chainsaw, and navigate through hallways and obstacles. Pick the correct corridor options to reach the exit, avoiding threats like the Smiler and obstacles along the way. |
    | Escape Level 188 | Find the exit in Level 188. | Starting at the lobby, find three TVs on the hotel floors by searching rooms, avoiding the Aranea Mebri and Window entities. Place the TVs in their correct corresponding slots. Once all are set, exit through the courtyard, choosing the correct path and timing your jump across the gap or heading to Level You Cheated for a special ending. |
    | Escape Level 52 | Find the exit in Level 52. | Follow the Partypooper guide through a school filled with Partygoers. Mimic the guide’s actions to stay safe, and reach the exit leading to Level 55.1. |
    | Escape Level 55.1 | Find the exit in Level 55.1. | Use a camera to take photos of specific landmarks, then take the elevator to a new area with overgrown scenery. Capture the designated spots, then ascend to a higher level that unlocks the ‘Wrong Door’ ending. |
    | Escape the Death Slides | Find the exit in Death Slides. | Disarm fans at the slides by shoving bodies into them, then slide down once secure. Avoid the Bone Thief by clearing all slides first. Proceed to The Grassrooms for the final step. |
    | Group Effort | Complete the game with four players on Hard difficulty. | This multiplayer achievement requires a team of four to finish the game on the highest difficulty. |
    | Escape the Grassrooms | Find the exit in the Grassrooms. | Navigate a large staircase and maze, pulling levers and cutting ropes to move platforms. Cross the areas carefully, reaching the elevator to unlock the ‘Empty City’ ending. |
    | Escape Level 9223372036854775807 | Find the exit in Level 922. | After obtaining the ‘Wrong Door’ ending, go back to Level 1, locate the central spiral staircase, and find floor 94 among the floors. Jump down to unlock the ‘Suburbs’ ending. |
    | Survivalist | Survive in Level 0 for 15 minutes. | Stay alive within Level 0 without dying for at least 15 minutes to earn this achievement. |
    | Escape Level 974 | Find the exit in Level 974. | After unlocking the ‘Wrong Door’ ending, return to Level 6 and use the keycard to enter Level 974, where Toy Kitty awaits. Collect toys to seat in front of the stage, then activate the spotlight on the correct tile to unlock the ‘Pink House’ ending. |
    | Escaped! | Complete the final ending in any difficulty. | After unlocking multiple endings, head to the Level 3999 arcade, interact with the game cabinets, and select the main Level 3999 to unlock the ‘Final Escape’ ending. |
    | Nightmare | Beat the game with 4 players on Nightmare difficulty. | This achievement is exclusive to multiplayer and cannot be unlocked with solo tricks. It requires a team of four to complete the game on the hardest setting. |

  • Tips to Help You Stay Calm While Completing Escape the Backrooms

    Tips to Help You Stay Calm While Completing Escape the Backrooms

    Each level of Escape The Backrooms presents a different challenge, demanding you to adapt to unfamiliar surroundings, steer clear of dangerous creatures, and solve intricate puzzles to find a way out. Every level requires a unique strategy, making it tough if you’re just starting and unsure of where to begin.

    Since no single trick guarantees success across all levels due to their uniqueness, a few tips can still help. Most importantly, keep moving forward and avoid looking back.

    ### Find a Landmark to Help Orient Yourself
    Most levels are maze-like with repetitive spaces, creating a confusing experience that can make you walk in circles without realizing it. To prevent this, identify a recognizable landmark—something distinctive or unusual—that can serve as a reference point. For example, on Level 0, you might notice an especially dark area. Remember this spot so you can navigate relative to it, marking your explored paths. Any unique feature will do; the key is to have at least one reference point.

    ### Get Out as Quickly as Possible
    Exploring rooms and corridors can be tempting, but it often isn’t worth the risk. Investigating areas wastes your sanity and increases the chance of being caught by monsters. You might find useful items while searching, but you’ll usually come across them as you look for the exit anyway. The longer you stay in a level, the more dangerous it becomes, so prioritize finding the way out and moving on quickly.

    ### Stay Aware of Your Surroundings
    Navigation isn’t just about moving forward; you need to pay constant attention to your environment. Most levels feature narrow pathways and dark rooms, with entities actively wandering around, ready to chase anyone they see. Use sounds or tools to detect nearby enemies and always stay alert. Listen carefully, peek around corners, and scan your surroundings. If you see an entity that hasn’t noticed you, turn back or hide until it passes to avoid danger.

    ### Check Everything in the Rooms You Come Across
    While it’s best not to linger if you already know the way out, you should thoroughly search areas you explore. You’ll need to find keys or other items to move forward, and these are often inside cabinets, on desks, or in storage boxes. Always look through any containers you find. You might discover something valuable that saves you backtracking later, or you might find nothing, which is fine too.

    ### If Something Seems Odd, It’s Probably Important
    As you go through levels, you’ll get a sense of what typical rooms look like. Be on the lookout for anything that feels out of place or unusual. These anomalies are often clues. For instance, in Level 1’s parking garage, most cars are covered with tarps, but one area has uncovered vehicles with different colors. That’s a sign that those colors are part of a puzzle you need to solve to progress. Remember, odd things are usually relevant.

    ### Stock Up on Supplies and Monitor Your Sanity
    You don’t have a health bar like in many games, but you do have a sanity meter that works similarly. Most levels will drain your sanity just by being there. Keep an eye on it by pulling up your inventory—if your sanity drops too low, hallucinations can start, and eventually, you’ll die if it gets too bad. Always gather consumables to keep your sanity up, especially items like Almond Waters. Avoid drinking “Liquid Pain,” as it causes harm and can kill you; it’s mainly a prank item.

    ### If All Else Fails, Stick to the Walls
    Sometimes, navigation in a maze can feel endless. A useful trick is to follow a wall—left or right—that’s a common tip in maze puzzles. Moving along a wall increases your chances of eventually finding a door or passage to the next area. It’s not guaranteed, but it often helps you avoid useless wandering and conserves some sanity, especially when you’re out of options.

    ### Get to Know the Entities
    Each level has its own set of creatures, though some appear in multiple areas. Generally, staying out of an entity’s line of sight helps avoid it. Crouching and hugging walls make you nearly invisible to most monsters, allowing you to sneak past safely. Just remember that crouching slows you down, so keep enough supplies like Almond Waters to keep your sanity stable. Some enemies can be provoked or need to be distracted; learn their patterns and behaviors to escape more safely. Also, most creatures can’t open doors, so shutting doors behind you helps trap or block them.

    Sometimes, when sneaking isn’t possible, using items like Juice or Energy Bars to boost your energy and running past enemies becomes your best move. This is especially useful when heading toward a clear exit or objective. Practice and experimentation are key; observe what provokes enemies and what helps you evade them to improve your chances of survival.

  • Where to Find All Tokens for Dracula’s Castle Feast in Escape Simulator 2

    Where to Find All Tokens for Dracula’s Castle Feast in Escape Simulator 2

    All Puzzle Solutions in Dracula’s Feast

    You start this room sitting in a chair with only a few objects around. After eating the large cake in front of you, it’s time to solve some puzzles!

    ### How to Escape the Chair

    First, pick up and open the ornate box on the table to your left. This box has three slots on top that fit three small tiles you’ll find nearby. Arrange these tiles to form the image of a key, with the handle on the left. Once aligned properly, the box opens, giving you a goblet.

    The goblet has a single line on it. Place this in the circle marked ‘1’ in front of you. This puzzle involves filling the circles with the correct goblets. The goblets are:

    – Goblet from the chest puzzle
    – Goblet with two moon-shaped faces, starting to your left
    – Goblet with a Celtic cross with three points, starting in the 5 slot
    – Goblet with four triangles, starting to the right of the cake
    – Goblet with a pentagram inside the cake

    Match these goblets to their spots in the circles to unlock the chair.

    ### How to Solve the Animal Chains Puzzle

    The hint for this puzzle is inside the bright book on the middle shelf of the cabinet on the left. It provides clues on the order to pull the chains. If you’ve already pulled some, reset the chains first.

    Pull the chains in this order:

    1. Winged goat on the right
    2. Two-headed deer on the left
    3. Lion with antelope horns
    4. Boar with deer antlers
    5. Rabbit

    Pulling the chains in this sequence will reveal a small statuette under the rabbit, which is used later.

    ### How to Solve the Engraved Seal Puzzle

    Find the engraved seals in the room: one on the cabinet with torn paper, one next to the box with seals, and two in the nearby bookcase. Interact with the box containing seals and arrange them by matching their shapes, patterns, and colors.

    Pairs of matching seals will form uninterrupted lines between each other when placed correctly. To make it easier, collect all removable seals first and then ensure they fit the pattern.

    Completing this arrangement awards you another statuette.

    ### How to Solve the Board Game Puzzle

    Start by retrieving the key from the cabinet beneath the large bookcase in the main room. Use this key in the side room to unlock the table that holds the board game.

    The goal is to move four tiles so that each of the four kingdoms (green, white, yellow, and red) contains one of each resource: metal, paper, water, and wheat.

    Arrange the tiles as follows:

    – Water at the top-left corner
    – Paper just to the right of water
    – Metal in the bottom-left corner
    – Wheat in various positions to complete the pattern

    This will finalize another statuette.

    ### How to Complete the Family Tree

    Gather the scraps of paper from the room, found inside drawers, on the desk, and in the corner cabinet. Fit these scraps into the partial family document to complete the list of Dracula’s family, showing relationships and statuses (dead or alive).

    Use the three statuettes you obtained from previous puzzles and one from the bookshelf to complete the family tree display. The arrangement shows:

    – Bottom row: Vlad (dead)
    – Second row: Dead and alive members
    – Third row: Alive and dead members
    – Top row: Alternating alive and dead

    Completing this turns off the room lights.

    ### How to Finish the Knights Puzzle

    After completing the previous puzzle, the room’s knight statues have lost their weapons and are now bound to chairs. Retrieve the weapons—the axes, maces, and sword—and return them to the correct knight based on shield designs.

    First, twist the bands around the large cloche to match symbols on its sides. Then remove the cover to see clues about which weapon belongs to which knight:

    – The knight opposite the bookshelf has a mace and a single-blade axe.
    – The knight next to the family tree holds a mace and a double-blade axe.
    – The knight near the board game has the sword.

    ### How to Solve the Fireplace Puzzle

    Once the knights put out the fire, an upward arrow appears behind the fireplace. Crouch and pass through to reach the next puzzle.

    ### How to Solve the Portrait Puzzle

    Match the details within circles to the scene on the other side of the wall:

    – Sky shows a dragon with a fish
    – Upper right has an owl
    – The man bears a devil
    – Bottom left features a rabbit
    – Bottom right shows a fruit plate
    – Building right of the man has an acrobat

    Matching the picture reveals a key. Examine the key carefully; it has a signposted four-letter word. The obvious choice is “DEUS”. Fit the letters into the strips until they align to spell that word, then use the key to open the chest.

    ### How to Solve the Master Key Puzzle

    Inspect the master key from the previous puzzle. Adjust the tiny keys attached to match the keyholes of the room’s large door. Only two of these little keys are moveable, so try different arrangements until the correct setup is found.

    All Token Locations in Dracula’s Feast

    Here are the spots of the eight tokens:

    1. Upper left side of the fireplace
    2. Under the wood next to the fireplace
    3. Under the center table (crouch to retrieve)
    4. Inside the goblet on the cabinet of the Engraved Seal puzzle
    5. On the back of a chair near the head
    6. Hidden under a groove in the rug
    7. In the balcony above the table
    8. At the top of the unlit wall candle

    How to Solve the Darkest Puzzle in Dracula’s Feast

    This is a more complex version of the kingdom resources game. You need to organize each kingdom to have a king, queen, and princess, with specific resources.

    Arrange the panels as follows:

    – Top-left corner: a panel covering two red tiles and one green tile
    – Beneath it: a panel covering one red and one purple tile
    – Bottom center: a four-tile long panel
    – Far right: a three-tile vertical panel covering red and green tiles
    – Top left of previous panel: a six-tile panel combining multiple resources

    This organization ensures each kingdom has the necessary figures, completing the puzzle.

  • How to Sell Items in Escape From Duckov: Completing and Solving

    How to Sell Items in Escape From Duckov: Completing and Solving

    While exploring the dangerous, enemy-filled world of Escape from Duckov, you’ll need to keep an eye on your resources, especially cash. Even in a universe filled with ducks trying to avoid horror robots, money still rules.

    You’ll require a lot of money to upgrade your base and build new workshop stations in Escape from Duckov. Make sure to sell any unnecessary items to generate cash. Loot dead bodies, raid treasure chests, and sell extra gear to stay financially prepared.

    Quests and contracts also reward you with money, but since selling surplus items is a common way to earn cash, this guide will focus on the best items to sell if you want to boost your income. Always loot treasure chests and bodies during your missions for extra cash back at your base.

    How To Sell Items

    There are several ways to sell your items for cash, depending on your location and how full your inventory is:

    • Use the vending machine at your main base. Check your inventory on the left and your storage below it. Offload items you don’t need — the vending machine will pay you cash.
    • Sell items to merchants you encounter across the map. Some merchants pay higher prices for specific types of items.

    What To Keep, And When To Keep It

    Early in the game, most items you find can mean the difference between life and death. But later, there are smarter ways to gear up. You’ll learn to craft armor and other items that save space, since raw materials stack up in your inventory and can be used to craft gear back at your base.

    Save raw materials because they only take one slot, no matter how many items you craft with them. Wear your best gear but keep an eye out for upgrades. When you change gear, sell the old items to make a profit.

    Pay close attention to your weapons. Many can’t be repaired at the base, so sell broken weapons (unless they’re rare) and break them down for parts instead.

    Managing Your Inventory

    Looting donation boxes is a good way to find useful items. But remember to unload weapons of their ammo before selling. Later on, you’ll unlock weapon disassembly, which lets you salvage parts for better gear, but until then, selling duplicates for cash is a smart move.

    Ammunition is vital, so stock up on bullets whenever possible. Likewise, conserve your crafting materials because unlocking new items will require them, and keeping a stash of raw materials will save time.

    Rare items like Cores, Dog Tags, and Fading Feathers should be kept for their later-game uses. Don’t sell these immediately — holding onto them can be more beneficial.

    Best Items To Sell

    If you want to maximize your income by selling gear and freeing up inventory space, focus on these categories:

    • Extra weapons you don’t plan to use. Always check their stats first to keep the most powerful version.
    • Extra armor pieces, especially those you’ve replaced with better gear.
    • Trinkets and small items found throughout the game, which aren’t essential for your builds.
    • Unused totems, or those you’ve upgraded or replaced, since only one of each totem type can be used at a time. Selling extras can earn you extra cash.

    Remember, while totems are powerful, only one of each type can be active, so selling duplicates is a good way to earn extra money.

  • Completing Your Escape from the Hunters’ Camp in Koira

    Completing Your Escape from the Hunters’ Camp in Koira

    In the game Koira, despite being an adorable cat with a loyal dog by your side, dangers loom in the form of wild boar packs and hunters. Your first encounter with these hunters results in the capture of your dog, compelling you to rescue him.

    Navigating the hunters’ camp is crucial, as you must avoid being detected while you search for your dog. To succeed, you’ll need to distract the guards, conceal yourself effectively, and move wisely. Let’s guide you step by step through this challenge.

    Getting Through the First Gate

    You will wake up surrounded by radiant mushrooms. Start by moving to the right and following the path among the trees. After a short distance, turn left at the gate and head down to touch the mushroom next to the fallen tree. This action will awaken other nearby mushrooms, clearing a path directly ahead. Simply follow the route to the right, and a giant mushroom creature will shift aside to let you pass.

    Stealth Against the Hunters

    As you continue, you’ll encounter a hunter’s camp up ahead. To avoid being spotted, wait until the hunter walks away, then dive into the barrel he passes by. Use X on PlayStation or A on Xbox to hide.

    Timing is key here: jump out of the barrel just as the hunter walks by.

    Once he’s out of sight, hop out of the barrel and make your way right to the next section of the camp.

    Now, you’ll need to navigate through another part of the camp. Move towards the right and approach the dogs in their pen to alert them.

    The hunter will head toward the barking dogs. As soon as he starts to move, slip into the camp where he initially was and hide in the box until he walks past. After he returns to his original post, quickly jump out and head up and to the right. You will step on some twigs, which might catch the hunters’ attention, so keep running and dodge their grasp to reach the final part of the camp.

    Escaping the Tent

    Inside the tent, there’s a hunter you’ll need to bypass. You can remain unseen in the dark corners, so find a shadowy spot and wait for the hunter to go by. Once he passes, dash to the far end of the tent. You’ll spot your dog in a cage, but first, you need to secure the key hanging in the tent.

    Keep in mind, you can’t grab the key during your first visit to the tent.

    Grab a snowball and head back inside the tent. Use the same sneaky approach to evade the hunter again, then throw your snowball at the hanging key. Once the key drops, retrieve it and exit the tent.

    Be careful; the hunter may pick up the key if it lands too close to him, but you can retrieve it from the darkness.

    Now, unlock the gate outside to reach the area where your dog is imprisoned.

    Rescuing Your Dog

    Interact with the cage, and musical notes will begin to appear to your left. Follow the paths to a large red structure, and when a circle prompt appears, stand in it and press the circle button on PlayStation or B on Xbox to sing. This will grant you a special ability to break obstacles, so head back to the dog’s cage.

    Use your new power to smash the cage and free your dog. He may be startled at first, but approach him gently and press B or circle to soothe him.

    Once the next group of hunters leaves, have your dog clear the path so both of you can escape and continue your adventure.

  • Escaping the Necropolis: Indiana Jones and the Great Circle

    Escaping the Necropolis: Indiana Jones and the Great Circle

    Just like any thrilling Indiana Jones story, Indiana Jones and the Great Circle is packed with adventures that take our hero through caves and hidden tombs. Before he makes his way to Gizeh, Indiana will navigate the Necropolis in The Vatican. However, as he’s trying to find his way out, things take a turn for the worse when he gets thrown down into the depths of the Necropolis and must begin exploring to escape.

    After wrapping up the Sacred Wounds puzzle, the last thing you expect is for a man in a bulldozer to crash through the roof. Now, your mission is to track a precise route to escape the Necropolis and reach the light of day again.

    How to Escape the Necropolis


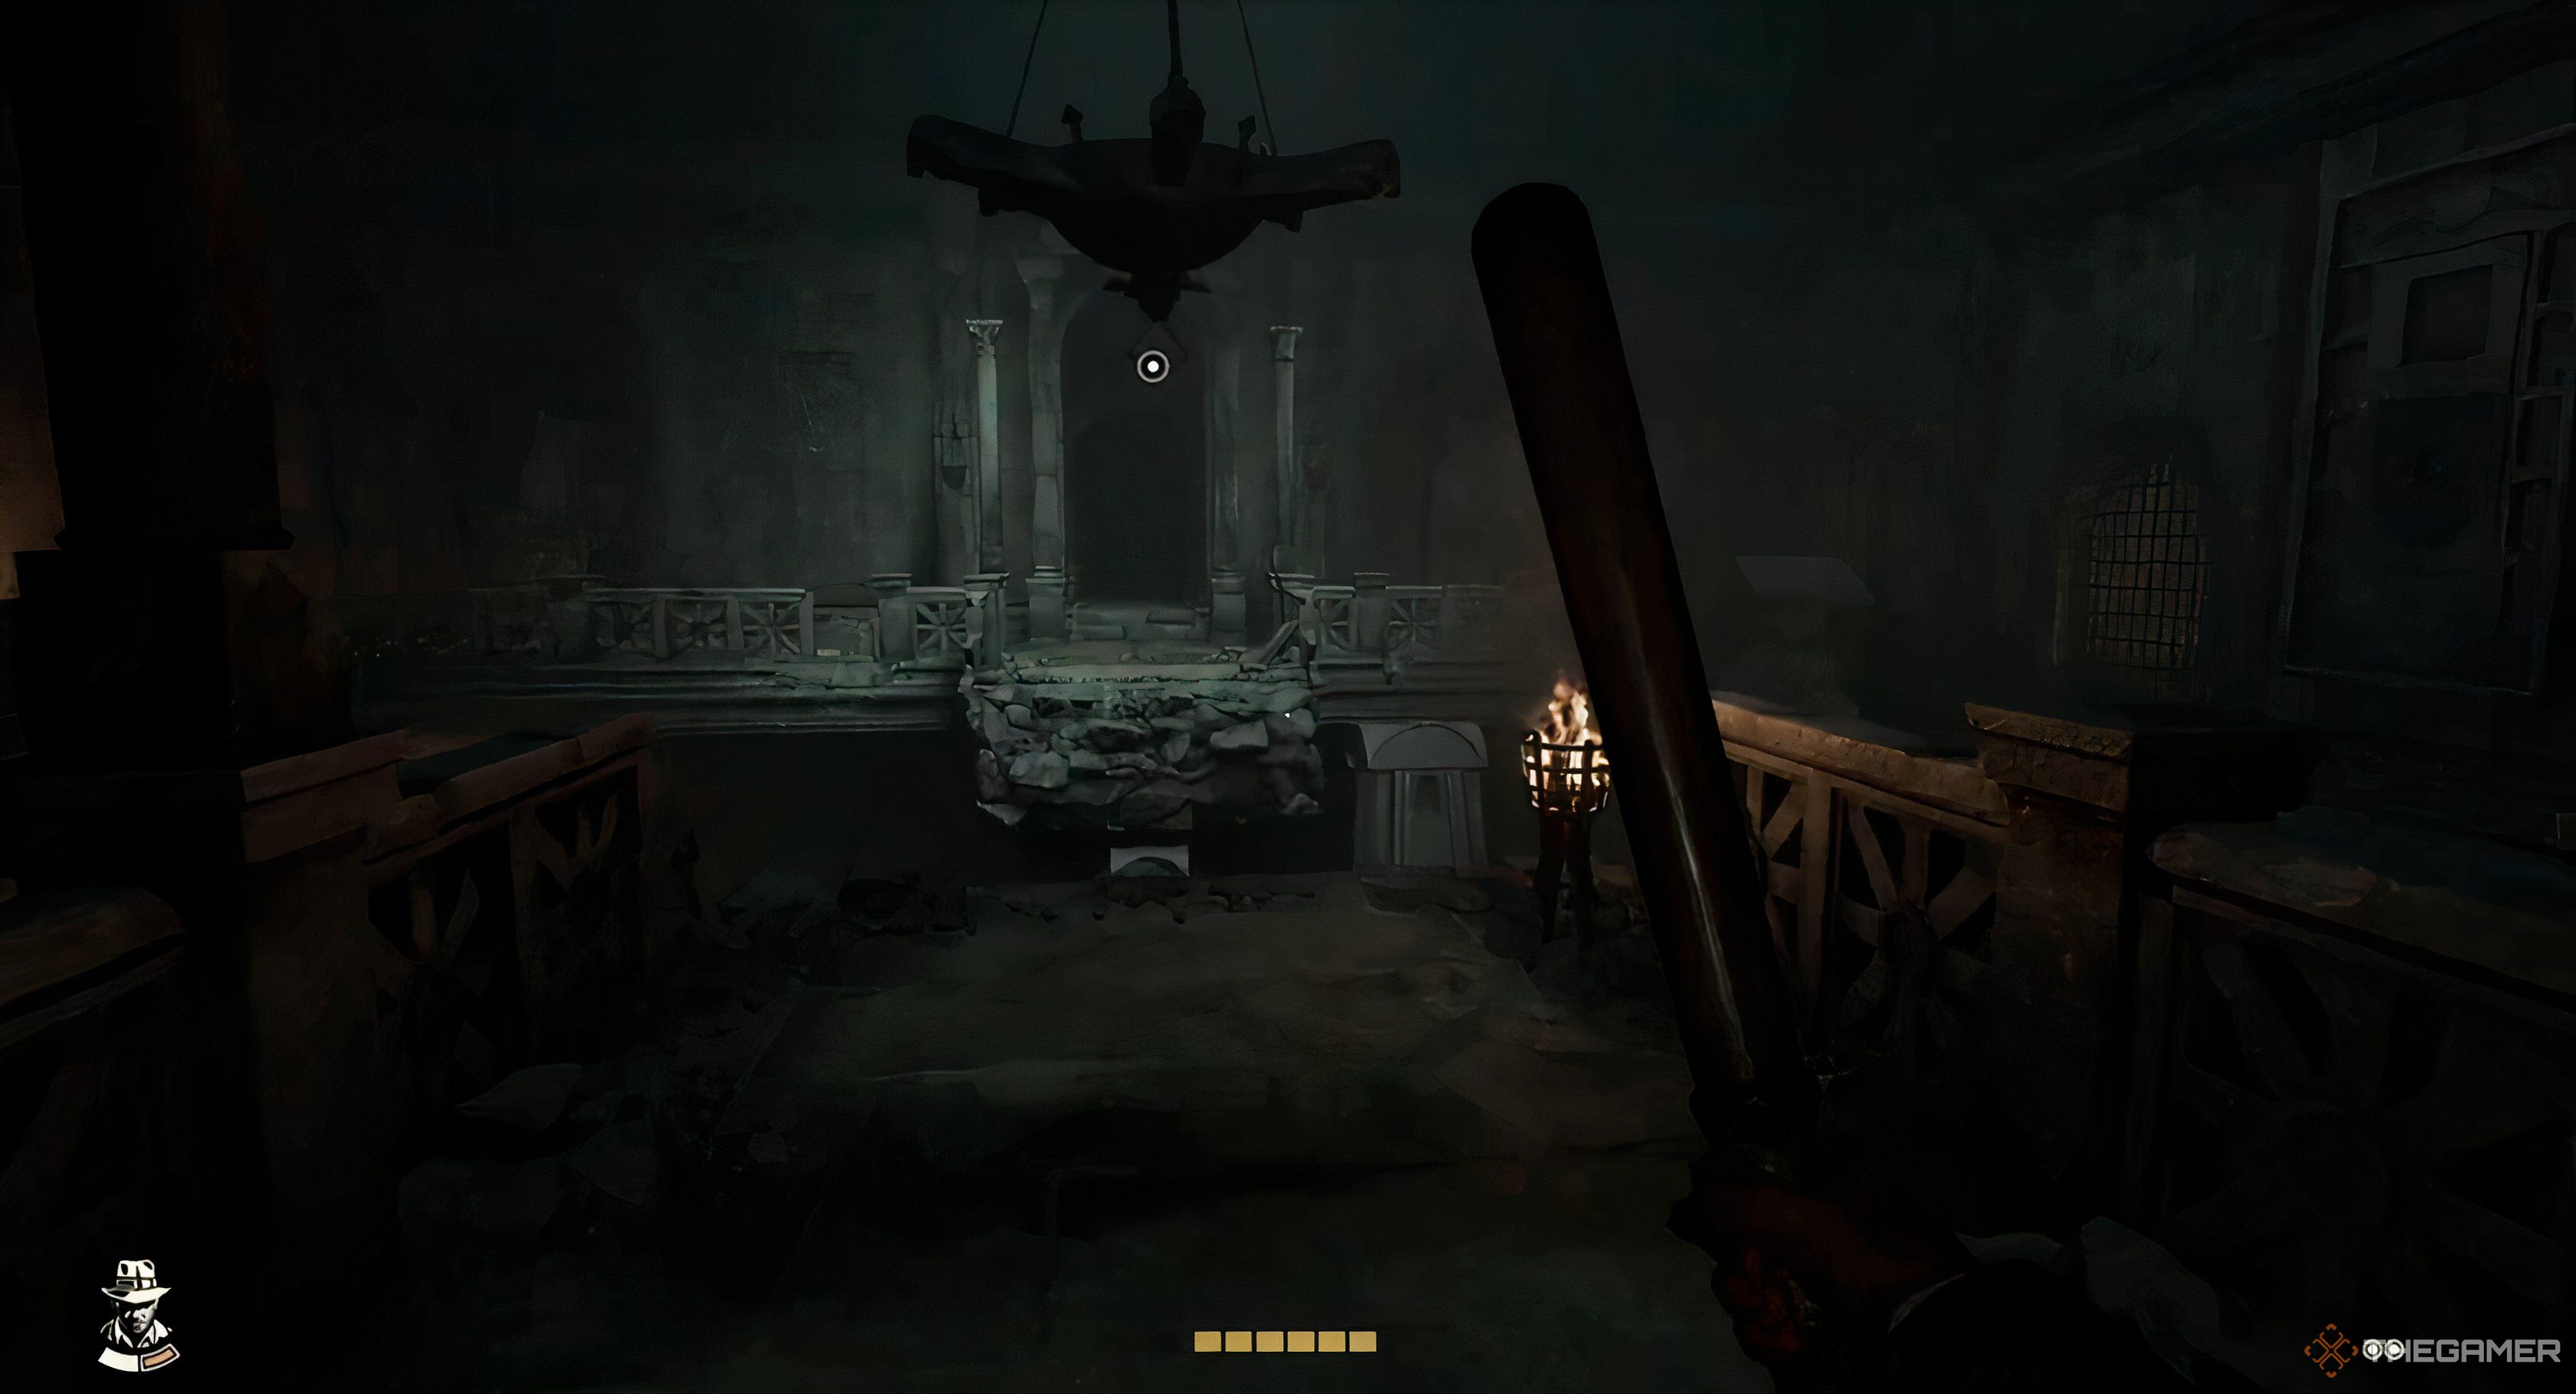
    After the unexpected bulldozer crash, exit the room where you landed and move through the corridors, passing the Necropolis statues. Duck down and go through the water under the gap you can swing over.

    Swim into the bigger chamber and jump up onto the small platform before heading to the other broken corner to squeeze through the gap and get back on dry ground.

    Don’t forget to snap a picture of Oceanis on your left as you jump onto the small platform in the water.

    Keep moving until you spot a glow of light ahead. You’ll need to encounter or avoid a few enemies here. Now, go into the room on the left and descend to another level of the Necropolis.

    Follow the corridors until you reach a gap in the floor with two wooden planks. Walk down them and crawl through the opening on the right, where more enemies await. Since they are numerous, you might want to bypass them instead of confronting them directly.


    A chandelier over a gap in Indiana Jones and the Great Circle.

    In this room, stay to the right and take the corridor that leads up the stairs until you reach the big chandelier at the center. From there, swing over and head right into another room with two enemies. One of them should be sitting down, making it easy to deal with.

    If a fight breaks out in the main room, the two enemies in the adjacent room will remain unaware of your presence.

    Pick up the bust on the floor and place it on the pedestal to unlock the door. Then crawl through the left gap, remembering to snap a picture of the lover’s tomb as you go.

    Next, use the grapple point to climb up twice, swinging to a gap in the wall during the second climb. You’ll find a pedestal on the left side, as well as another one farther along. Grab the bust and transfer it to the other pedestal. Go into the next room and secure a two-handed weapon to break down the damaged wall.


    A bust on the floor in Indiana Jones and the Great Circle.

    There’s yet another bust in that room, so place it on the pedestal to unlock the door and collect an Ancient Relic. Afterward, retrace your steps and crawl down toward the water.

    On the opposite side of the room, you’ll find a gate with an enemy lurking nearby. You can use your whip to pull it open. Once you’re through, you can choose how to deal with the enemies to reach the bulldozer you saw crash earlier. Climb up the front of it while keeping out of sight from any foes.


    The Necropolis exit in Indiana Jones and the Great Circle.

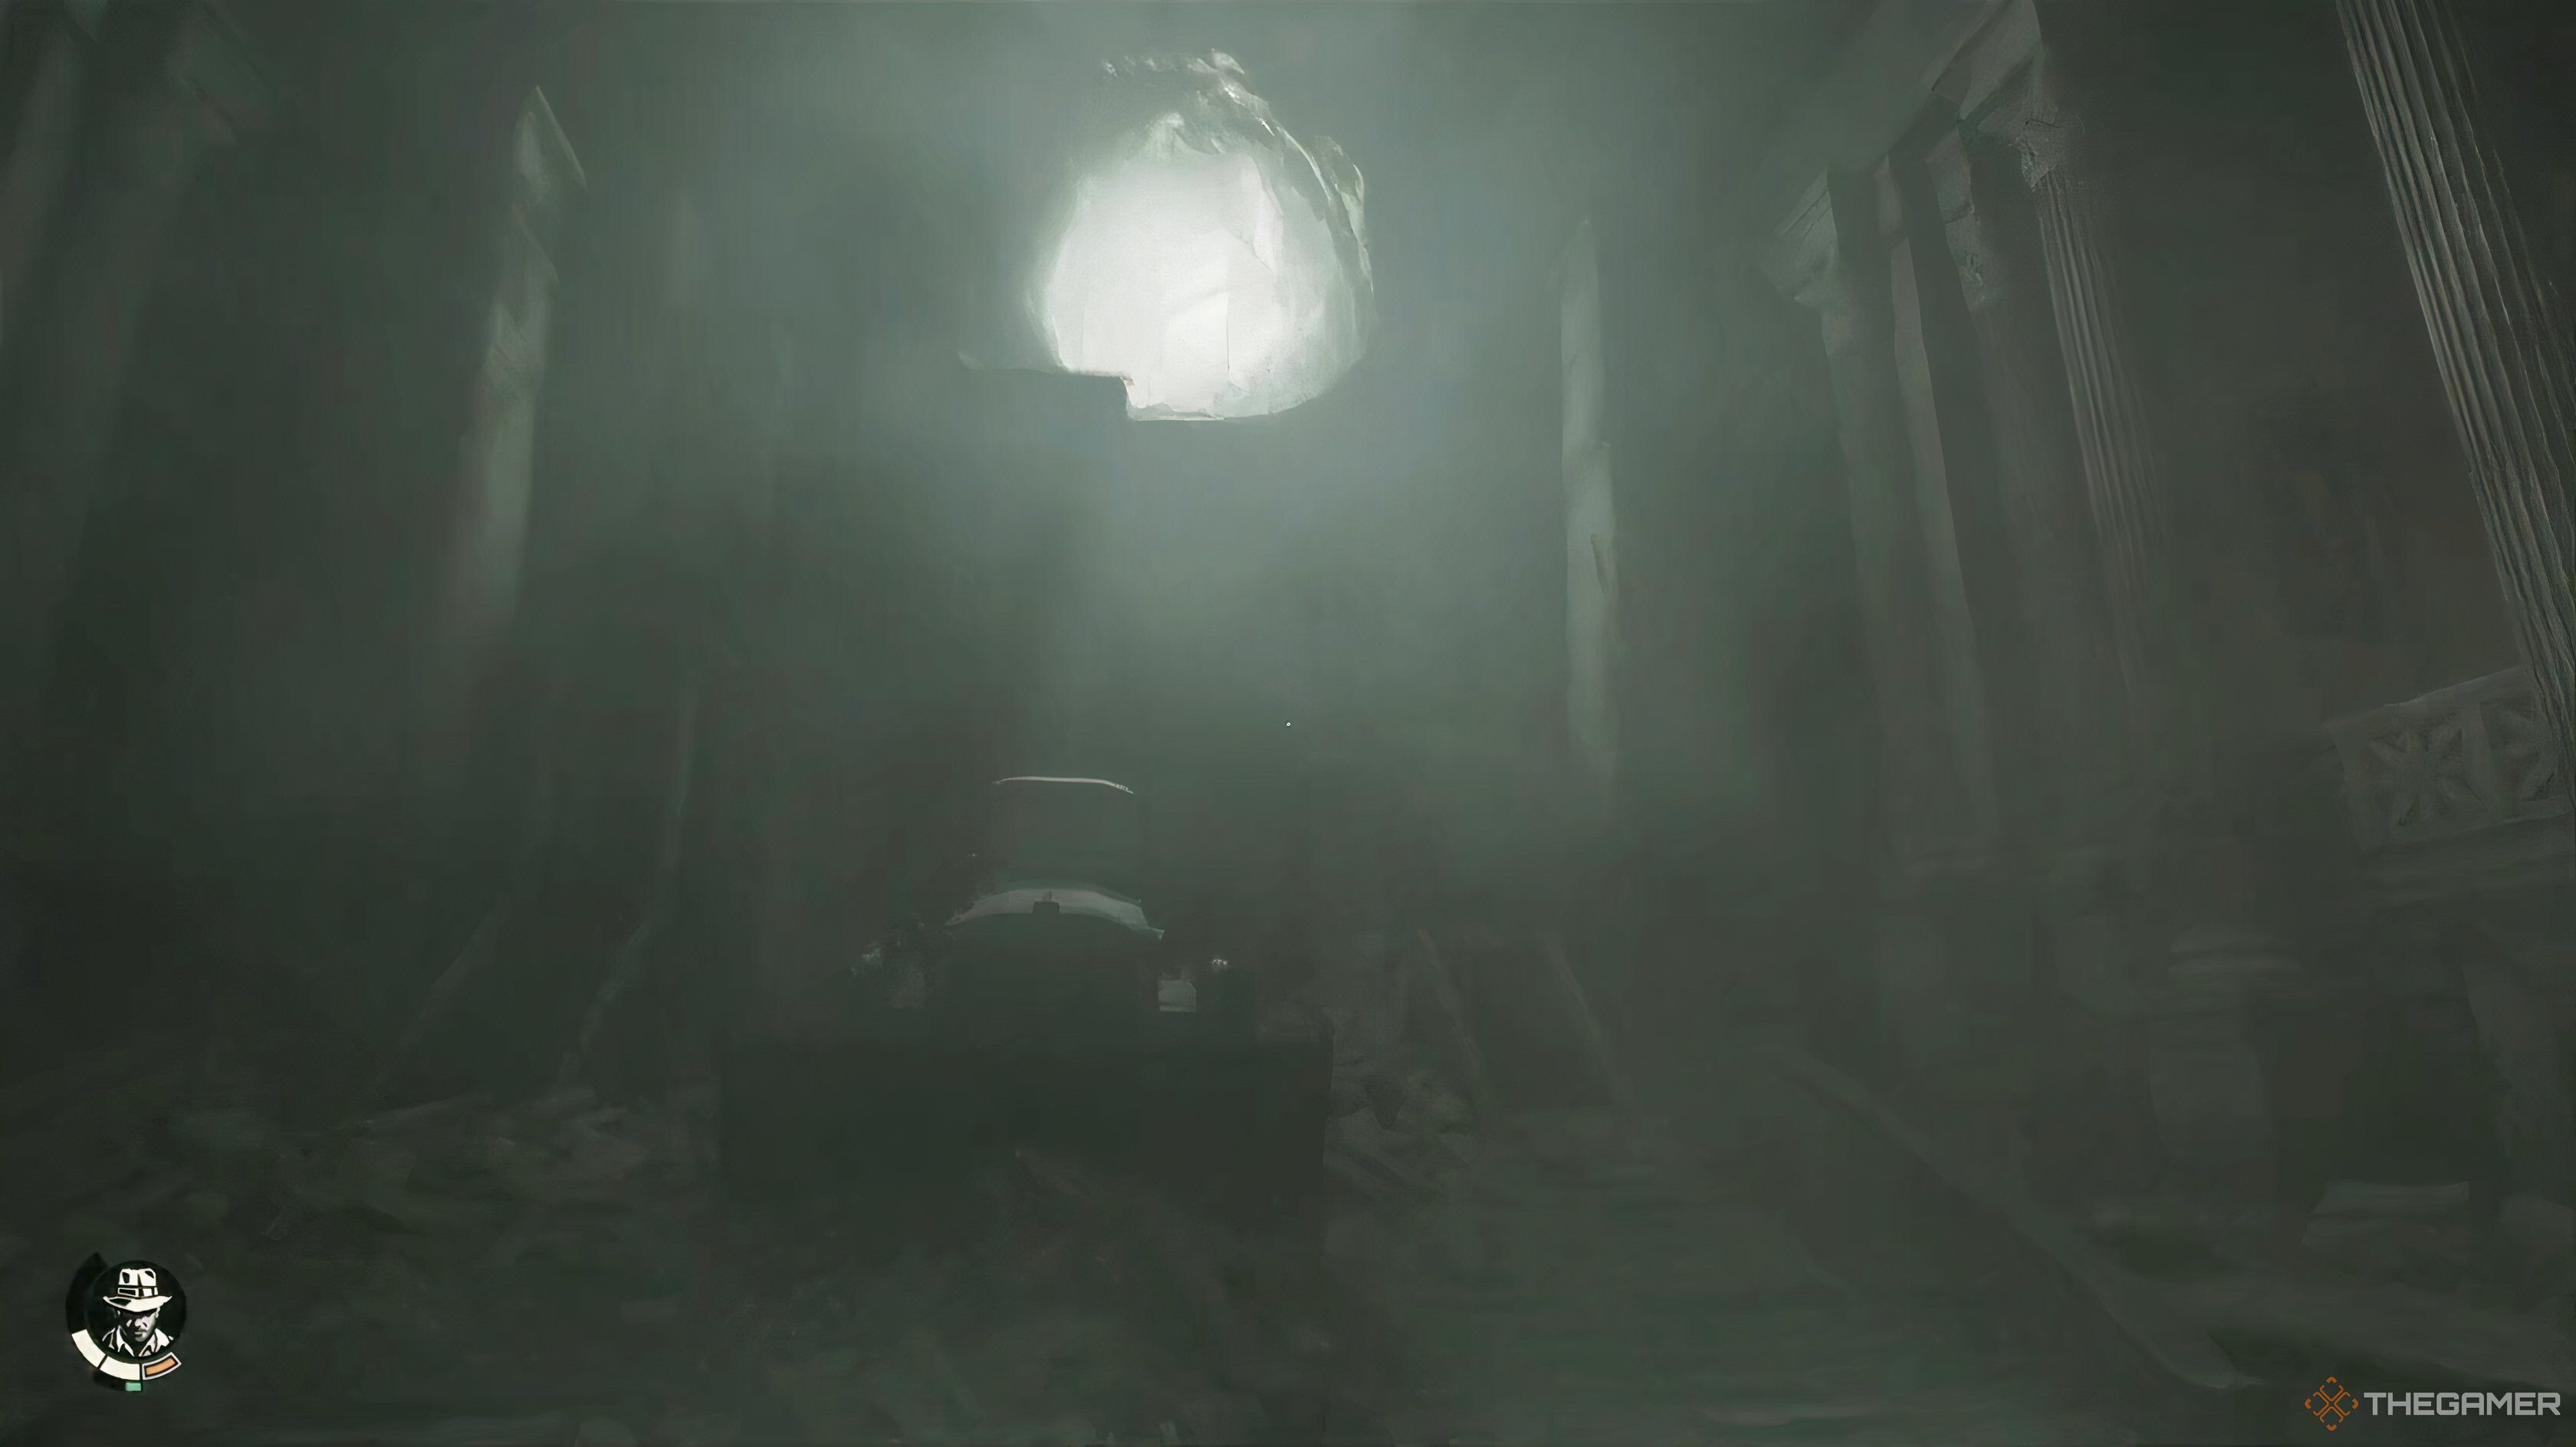
    Once you’ve climbed onto the vehicle, use your whip to continue up and make your escape from the Necropolis as you proceed further into Indy’s journey.

  • Mastering Your Escape from Jail in Loco Motive

    Mastering Your Escape from Jail in Loco Motive

    After navigating the same storyline a few times, you’re starting to piece together what’s coming next in Loco Motive. In this sixth part, you’ll dive into the immediate fallout from the explosive events that concluded the last segment, where the Reuss Express meets a catastrophic end.

    As you progress through this chapter, it’s important to consider each character you’ve controlled thus far. Think creatively about how to leverage their unique situations, possessions, and skills to move forward. If you find yourself stuck, don’t worry—we’ve got insights to help you solve every puzzle in the game.

    How to Escape the Cells

    In this segment, you can switch between all three characters to tackle the challenges ahead.

    Start by switching to Arthur and Herman to discover that Donny and April are nearby.

    Gathering Items

    To begin your puzzle journey, switch to Arthur and look through the window in the cell door to see what’s outside. Next, use the umbrella on the locker on the left side of the screen. This will send a small ball rolling into the corridor, but Arthur won’t be able to retrieve it himself.

    Now, switch to Diana and have her peek outside the cell. Use her mouse to grab the ball.

    As Arthur, take the key you picked up earlier in the story and use it on the toilet, then flush it down. It will end up in Diana’s cell, where she can pick it up and unlock the door on her side, giving her access to some heavy chains.

    Next, you need to help Donny with his plan to snag the guard’s keys using the magnetic ball.

    1. Switch to Arthur and adjust the red valve on the left to change the water’s direction between the cells.
    2. As Diana, put the magnetic ball in the toilet and flush it down to Arthur’s cell.
    3. Then, as Arthur, flush the ball directly into Donny’s cell.

    To succeed in Donny’s plan, you need to create a distraction for the guard.

    Ensure that the water is flowing to the left. Then, as Diana, drop the chains into the toilet. This will prompt the guard to intervene, allowing Donny to snatch the keys—although the chains will end up stuck.

    How to Get the Chains

    As Herman, combine the letter opener with the suction cup boots in his inventory. This will create a suction cup that you can use on the rusty pole at the end of Herman’s bed to make a plunger.

    To retrieve the chains, use the plunger on the toilet and then apply the chains to the window bars to finish this brief segment of the game.