الوسم: Echo Of Ada

  • Locating All Surveillance Logs in Synduality: Echo of Ada Mining Base

    The Mining Base mission in Synduality: Echo of Ada is the longest single-player segment so far and presents a notable increase in difficulty. Surveillance logs are more challenging to locate, enemies are abundant, and you’ll even face a boss.

    Getting lost in the Mining Base can happen easily, especially since there are more logs to collect than usual. This guide aims to provide helpful tips and the locations of the logs to help you complete the mission more efficiently.

    Where to Find All Surveillance Logs

    There are six surveillance logs to discover in the Mining Base, and some can be quite easy to overlook if you’re not meticulous. Here’s where to find them all.

    Surveillance Log #1
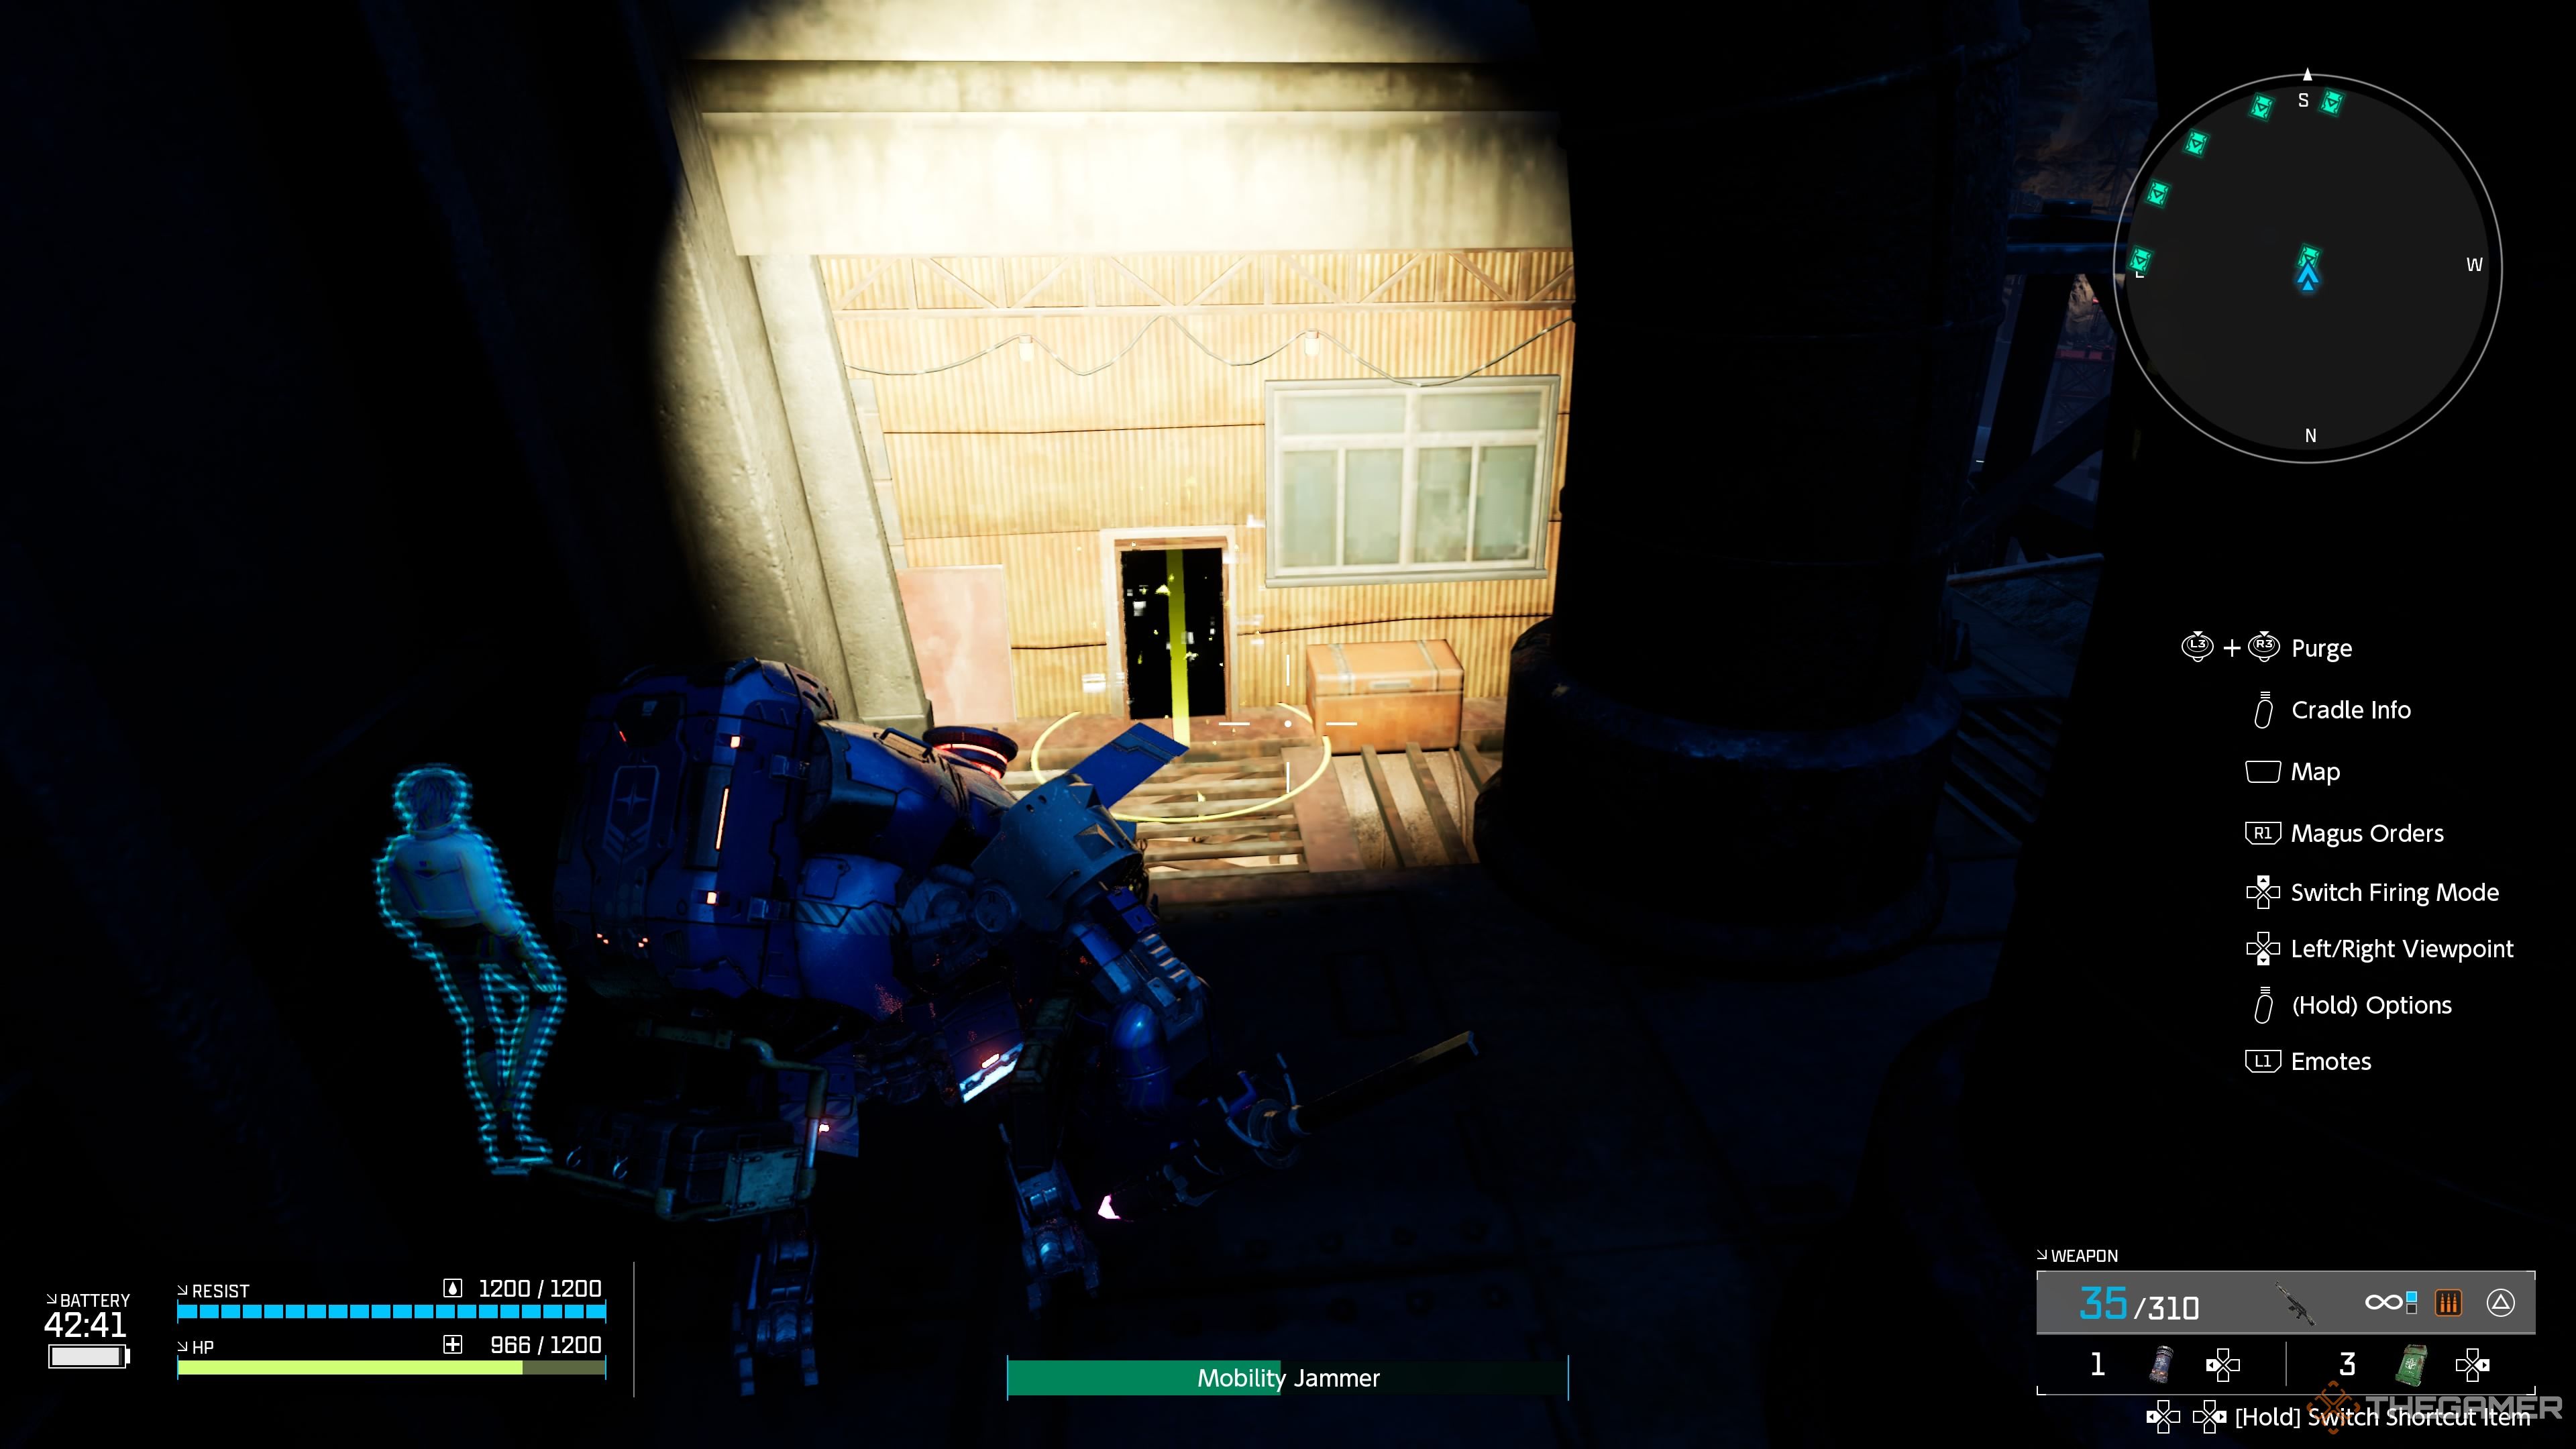
    Synduality Echo of Ada mining base surveillance log 1.

    The first log can be found to the left of the large warehouse. Use the elevator to go up and look for the yellow investigation zone. Deploy your Magus to retrieve the first log.

    Surveillance Log #2
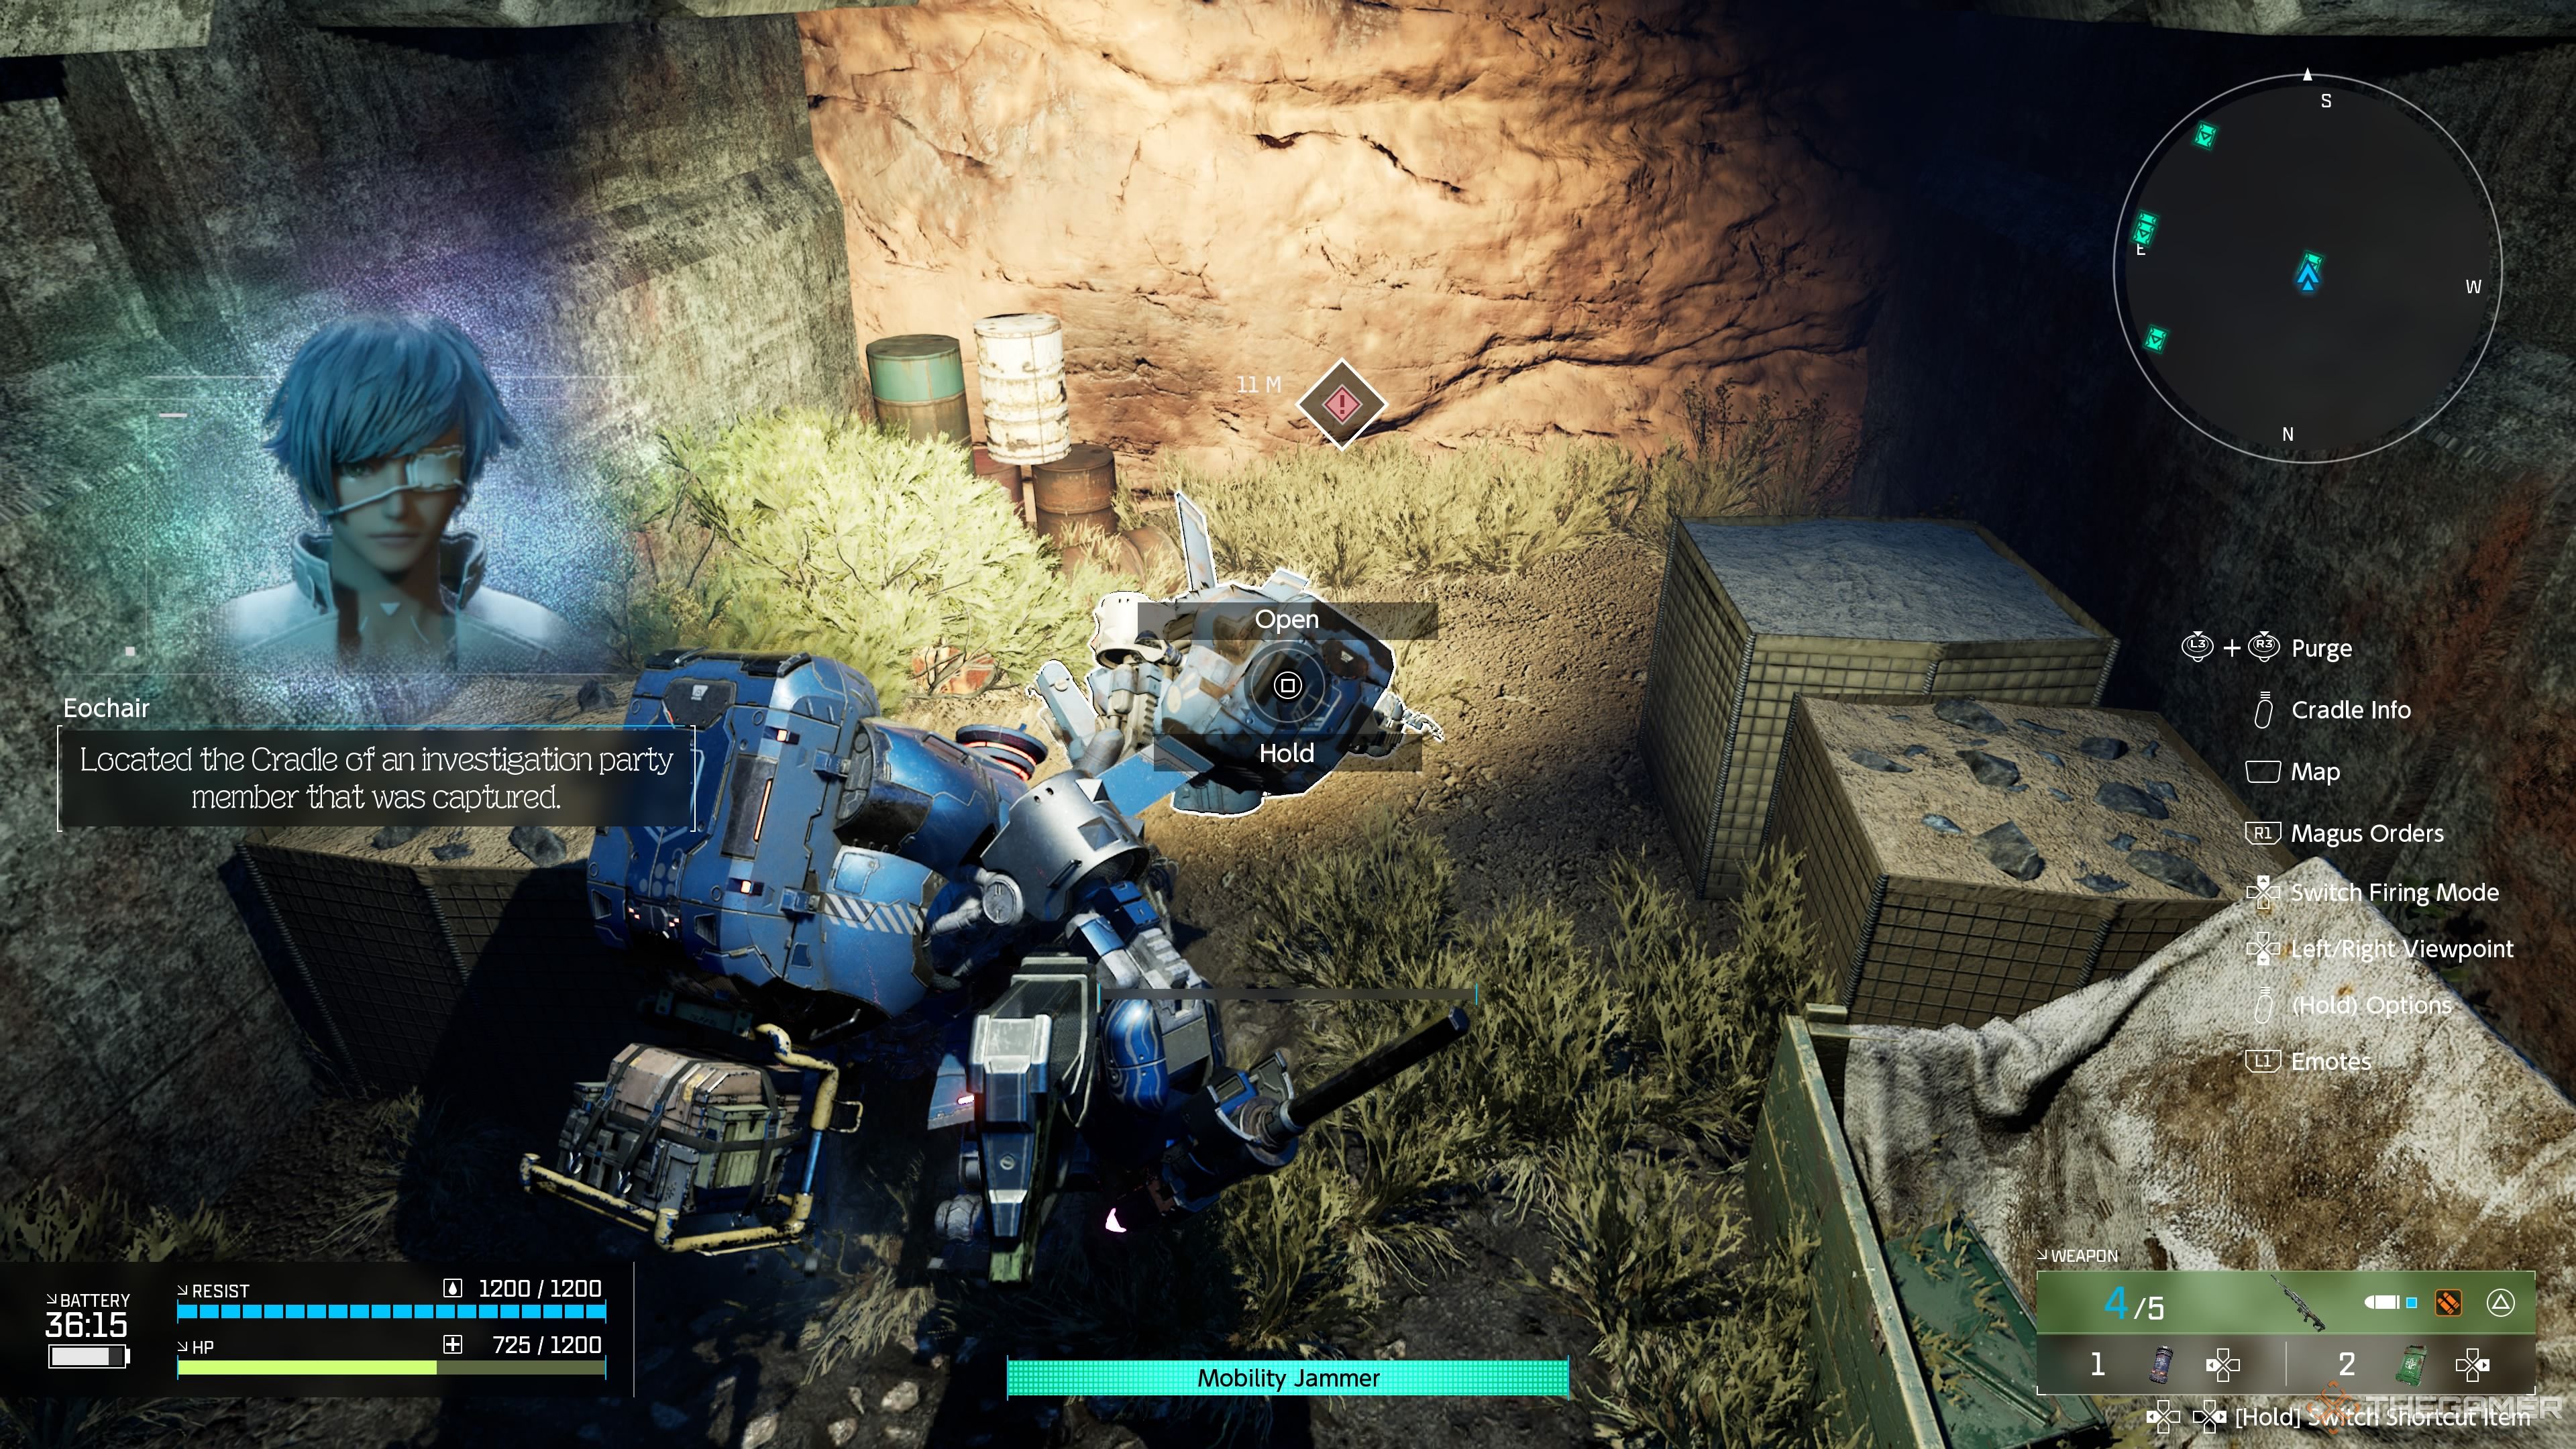
    Synduality Echo of Ada mining base surveillance log 2.

    The second log is located near a section with snipers and bandits. Descend from one of the bridges to the lowest level to find this log within a destroyed Cradlecoffin tucked away in a small alcove.

    Surveillance Log #3

    Synduality Echo of Ada mining base surveillance log 3.

    To find the third log, climb the yellow pole and turn right after reaching the top ramp. This route will take you to a secluded lava area filled with incubators. Carefully navigate through this area, avoiding the lava, until you find a spot where your Magus can investigate to obtain the log.

    Your Cradlecoffin can move through lava, but it will reduce your weather durability.

    Surveillance Log #4

    The fourth log can be located inside the Mining Base. Upon entry, take a left and then a right until you find a breakable wall. This will lead you to a room with a submerged Cradlecoffin. Continue through the cave system in this room until you reach a panel you can interact with, which will lift the Cradlecoffin and grant you access to the log inside.

    Surveillance Log #5

    Synduality Echo of Ada mining base surveillance log 4.

    As you venture deeper into the Mining Base, you’ll encounter a storage room filled with ammo. Proceed through to find a large prison-like area. On the second floor, interact with several panels to unlock various doors. After defeating the enemies that appear, head to the leftmost room on the top floor to discover the fifth log.

    Alternatively, you can access the second floor and enter the open cell to jump through the roof and reach the log’s room without engaging with any enemies.

    Surveillance Log #6

    Synduality Echo of Ada mining base surveillance log 6.

    The sixth and final log is mandatory and located right at the end of the mission after defeating the Bandit Captain. Simply allow your Magus to investigate the area to complete the mission.

    Critical Path Through the Mission

    Reaching the End

    The Mining Base is a lengthy mission with more intricate conditions for completion. You can’t just race to the finish, even if you’ve already gathered all the logs. The outdoor segment is relatively straightforward; just proceed cautiously and stick to the right to evade most enemies while having adequate cover. Look for a Marksman’s Rifle located in a warehouse on the right that leads toward the snipers.

    Once you’ve dealt with the snipers in the open area, continue to move northwest. You will encounter large walls with enemies hiding behind them. Take your time to engage carefully and don’t hesitate to use the Mobility Jammer Magus skill to immobilize enemies while you defeat them.

    This skill will slow the enemies, although they can still shoot at you.

    After clearing these enemies, ascend the ramp to enter the interior of the Mining Base and immediately turn left. You’ll encounter more enemies here. Eliminate them and bypass the majority of this area if you’re not interested in the surveillance logs.

    Defeat the foes in this next cavernous room and move straight ahead to find another room containing a bandit and an area for your Magus to investigate. This will reward you with the Bandit Unlock Key, which is essential for accessing the final log and completing the mission.

    Head back to the earlier room, take the alternate route to a locked door that requires your newly-acquired key. Have your Magus unlock it and proceed inside once it’s open.

    After defeating the boss inside, advance to the last room to allow your Magus to investigate and finish the mission.

    Battling the Bandit Boss

    Upon entering the final room of the Mining Base, you’ll face a combat situation. Instead of dealing with multiple waves of enemies, you will be up against the Bandit Captain, who is powerful and can inflict serious damage.

    The Bandit Captain’s combat style is similar to other bandits, but they possess significantly more health and deal increased damage. They are equipped with a Ballistics rifle that hits hard, so seek cover whenever possible.

    Utilizing Burst Mines is an effective strategy here. Place mines around a neighboring piece of cover to catch the boss as they pursue you. They have a tendency to follow you closely, making it easier to lead them into a mine’s explosion.

    Additionally, keep a few grenades handy and avoid using a Sniper or Marksman’s rifle, as targeting them while aiming can be difficult. Instead, rely on Shotguns and Assault Rifles for maximum damage output.

    Remember, there’s plenty of healing items and ammo scattered around the arena, so collect what you need when you can.

    Once you defeat the Bandit Captain, you can safely proceed to the final room to collect your last log and conclude the mission.

  • Locations of All Surveillance Logs in Old Amasia – Synduality: Echo of Ada

    Locations of All Surveillance Logs in Old Amasia – Synduality: Echo of Ada

    After completing the first three CIC missions in Synduality: Echo of Ada, a new area, the Amasia Outer Rim, becomes available. These new missions follow a similar format as the previous ones but place more focus on Enders while offering a refreshing change of environment.

    Your first destination in this area is the Old Amasia Grand Bridge, marking the entrance to the city itself. This mission introduces the game’s first real boss and features several difficult platforming challenges that can result in instant defeat. Stay alert as you search for those surveillance logs.

    Where to Find All Surveillance Logs

    There are five surveillance logs located in the Old Amasia Grand Bridge, conveniently found in a straightforward order. Here’s the information on each of them.

    Surveillance Log #1


    After your initial encounter with the Giant Gazer, cross the bridge and go to the southern end. Drop one level down, where some crawlers will be guarding the container holding the log.

    Surveillance Log #2

    SYNDUALITY Echo of Ada Old Amasia Grand Bridge Surveillance Log 2

    After the brief battle with the Giant Gazer beside some containers, cross the bridge again and go lower. Turn around and break through the wall ahead to locate the log inside the container.

    Surveillance Log #3

    SYNDUALITY Echo of Ada Old Amasia Grand Bridge Surveillance Log 3

    As you continue, you will need to move to the right side. First, take the earlier left path into a smaller area filled with containers. The log is in the container closest to the edge. Be ready as the Giant Gazer will attack here.

    Behind the large storage container, there’s a grenade launcher. Make sure to grab it.

    Surveillance Log #4

    SYNDUALITY Echo of Ada Old Amasia Grand Bridge Surveillance Log 4

    After taking down the Giant Gazer, the bridge will connect and offer you paths to the left and right. Choose the left path to find this log.

    Surveillance Log #5

    SYNDUALITY Echo of Ada Old Amasia Grand Bridge Surveillance Log 5

    Once you pick up the fourth log, head back to the boss area and take the right path this time. This log is the fifth and final log, which is also mandatory. It will include a lost Magus. Make sure to collect both to finish the mission.

    Critical Path Through The Mission

    SYNDUALITY Echo of Ada landscape of the Old Amasia Grand Bridge

    Reaching The End

    The Old Amasia Grand Bridge is a largely linear mission, with a heavy presence of Enders and no bandits to encounter. This makes it easier and the level itself is relatively short.

    As you advance, you’ll face several Chasers followed by the Giant Gazer appearing multiple times. You need to inflict enough damage for them to allow you to proceed. Target their eye for maximum damage.

    The mission requires you to jump between the left and right sections of the bridge frequently, which can easily lead to falls. Stay vigilant about the ground beneath you to avoid accidental drops and keep your health up.

    There’s not much out of the ordinary in this mission. Be sure to gather all the strong ranged weapons along the way, as they’ll be crucial for the final boss fight. The Grenade Launcher found by the third surveillance log is particularly useful. Avoid mines or thrown grenades as they are challenging to hit the Giant Gazer.

    Once you defeat the boss, you can quickly cross the right bridge to grab the mandatory log and Magus to finish the mission.

    Battling The Giant Gazer

    After climbing on the last set of containers by the mission’s end, you’ll enter what is unmistakably a boss arena. The Giant Gazer will appear again for its final confrontation. The fight will be similar to past encounters, though it has some new techniques. Here’s a quick rundown of its moves:

    • Rapid Fire Orbs – The Giant Gazer will shoot a barrage of powerful orbs. The best way to dodge them is by dashing away while keeping your trajectory low for longer dashes.
    • Homing Orbs – It will launch three yellow orbs that will slowly home in on you. Shoot them down with a single bullet while also targeting the boss.
    • Laser Beam – The Gazer will come closer to the arena floor and unleash a sweeping laser beam. Just jump over it.

    After every attack, the Giant Gazer will rest for a few seconds to recharge. Use this moment to attack back. The Grenade Launcher deals significant damage here—even any weapon will suffice.

    Utilize the containers for cover when possible. While they only withstand a few hits, they drop ammo and Repair Kits when destroyed, which can be incredibly helpful. Remember, you won’t retain anything from these missions, so use everything you have.

    Once the Giant Gazer is defeated, the bridge will connect, allowing you to complete the mission.

  • Locating All Surveillance Logs in Synduality: Echo of Ada

    Locating All Surveillance Logs in Synduality: Echo of Ada

    Synduality: Echo of Ada Overview

    While Synduality: Echo of Ada primarily centers around a multiplayer experience, there are elements of single-player content that may surprise you. This single-player aspect is somewhat concealed but still integral to gameplay.

    In the game, you can engage in CIC missions that provide you with a custom mech designed specifically for each task. You can also tailor your Magus to suit your mission needs. Your objective in these missions is to collect surveillance logs that chronicle the collapse of Amasia. Although the missions reduce risk, the rewards may be limited. The Investigation Squad Base is the first mission you will encounter.

    Unlocking the Investigation Squad Base Mission

    The Investigation Squad Base is the initial CIC mission offered to players, and you might expect it to be straightforward. Yet, Synduality maintains its challenge throughout.

    Don’t worry about losing progress, as you can be more daring during this mission. Feel free to retry as many times as needed if you die or miss surveillance logs on your first attempt.

    There are no special criteria to unlock this mission. After completing several Requests, which you will do before accessing the Southern Zone, this mission becomes available. You must finish one mission before the next one unlocks.

    Locating All Surveillance Logs

    In the Investigation Squad Base mission, you need to collect five surveillance logs. Only one is necessary to complete the mission, but striving to collect them all will save you from replaying later. Here’s where to find each one.

    Surveillance Log #1

    Just before entering the military base area, veer left toward the overgrown city sections, then take another left to reach a yellow lift. At the top, you’ll find the first surveillance log on the defeated Cradlecoffin.

    Surveillance Log #2

    After leaving the overgrown city, head left until you find a shallow lake. Take out the bandit here and move past the defeated Cradlecoffin further in to find the next log on it.

    Surveillance Log #3

    Return to the large base area and eliminate all bandits inside. Once that’s done, head to the southeast section of the area to find a yellow circle that your Magus can investigate, marking the location of the third surveillance log.

    Note: Make sure to defeat all bandits before letting your Magus assist you, as they will be unavailable otherwise.

    Surveillance Log #4

    When you arrive at the broken bridge outside the last area, move left and dig through two walls to discover another defeated Cradlecoffin, which contains the fourth surveillance log.

    Surveillance Log #5

    This is the last log and the only one needed for mission completion. Once all the bandits in the final base are defeated, the doors will open for you to access this log. Let your Magus investigate, and the mission will conclude after collecting the final log.

    Critical Path Through The Mission

    Gathering the surveillance logs aside, this mission can be tricky. Although the bandits deal less damage than those in sorties, dying will send you back to the start of the mission, and you won’t start with many Repair Kits—so stay alert.

    At the mission’s start, you’ll face a few Enders in a wooded area. Once you find your first green-rarity weapon, bandits will start appearing. Deal with them the same way as you would in sorties, as they take more hits from Ballistic weapons, although Energy weapons are effective too.

    It’s beneficial to carry two different types of weapons during this mission since you may run low on ammunition. As you progress, you’ll encounter more enemies. Be sure to adjust your aim to catch them when they peek from cover. Avoid melee attacks, as they can be too risky for minimal damage.

    The first base is packed with enemies but offers good cover. Take your time and sneak up from behind when you can for extra damage. Move cautiously until you reach a ruined bridge.

    The path to the left will lead you forward, while the right offers extra weapons and ammo. Follow the left route, climb through debris to reach the base, and grab all available weapons and ammo before entering.

    Once you step through the base door, it will lock behind you, alerting enemies to your presence. As before, take it slow and shoot from cover when you can. Burst Mines are useful in dealing with enemies that get too close, so set them up at chokepoints like the upper walkway.

    After defeating all enemies, the doors will reopen for you, including the way to the last surveillance log. You won’t keep anything collected during this mission, so head straight to the interior to finish.

    Tip: If you happen to miss any surveillance logs, you can replay the mission to retrieve them. However, any already collected will not be available on the map during replay.

  • Mastering Bounty Hunts in Synduality: Echo of Ada

    Mastering Bounty Hunts in Synduality: Echo of Ada

    Quick Links

    Synduality: Echo of Ada is a unique extraction shooter that sets itself apart from typical games in the genre. While it allows players to explore its two zones at their leisure, danger lurks around every corner, including from other players. Both NPCs and players can accumulate substantial bounties.

    Bounty Targets offer a significant reward in the form of valuable resources, making the risk worth it. If you believe you can take down a Bounty Target, you could earn more than you can through traditional means like AO crystals. However, finding and defeating these targets is no easy feat.

    What Are Bounty Targets?

    When you start playing Synduality, you may not come across Bounty Targets immediately. The Northern Zone is generally more forgiving, primarily featuring basic Bandits and Enders, along with a few players. As you progress, Bounty Targets will begin to emerge.

    Bounty Targets can be either players or NPCs, and they have different mechanics. When a Bounty Target shows up, all Association Members in the game receive a notification. However, the exact location of the Bounty Target remains hidden until they’ve been assessed by a player, at which point their information becomes available to everyone.

    This system encourages teamwork between players. NPC Bounty Targets are aggressive towards everyone, while player Bounty Targets are displayed with their bounty values, but you won’t face penalties for taking them out. This introduces a layer of risk for players who decide to attack one another.

    You can also turn yourself into a Bounty Target by leaving the Association for a fee, which results in a bounty of 10,000.

    Should multiple players contribute to defeating a Bounty Target, the bounty reward is evenly divided among all participants based on the damage they inflict, regardless of whether they are in a cooperative party or not.

    Finding and Fighting Bounty Targets

    Locating these Bounty Targets varies based on whether they are players or NPCs. Given the combat-heavy nature of these encounters, it’s recommended to utilize a Magus equipped with the Anti-Cradle system for tracking health points, along with the Cradle Support system for its Restorative Shell capability. Here’s how to approach each type of Bounty Target:

    NPC Bounty Targets

    When an NPC Bounty Target is present, your Magus will announce this, and their name will appear in the upper-left corner of your screen. A player’s name indicates they are a real person, while names like Magus Hunter Elite suggest an NPC.

    Tracking these NPCs can be trickier. They remain hidden until one player analyses them (by focusing on the cradle until a circle fills). After analysis, both their bounty and location will show on the map. They typically stay in the area they spawn in, such as key locations like the Agriculture Plant or Quarry in the Northern Zone.

    When you arrive at the NPC’s area, expect them to be accompanied by a squad of hostile Bandits. The leader will have distinct markings showing its status as a Bounty Target, featuring a purple skull once analysed. Use ranged weapons to stay out of the line of fire. After defeating the NPC, make sure to collect any loot before heading back from your Sortie, since defeated targets often have additional valuable items.

    Real Player Bounty Targets

    Real player Bounty Targets offer a more unpredictable challenge. They operate solo but can roam anywhere in the game world. They will also be announced in a similar manner to NPCs, and they will be highlighted for all Association Members once analysed.

    Player Bounty Targets usually possess less health than NPCs, but the tactics and weapons they employ can vary widely. They can leverage their Magus abilities to gain an upper hand. It is advisable to engage them only if you’re in a cooperative group or can execute a stealthy ambush.

    1. The upside of defeating real players is that they drop their equipment, including mech parts and weapons. This provides a valuable opportunity to upgrade your gear without resorting to banditry.

    Becoming a Bounty Target Yourself

    With the existence of player Bounty Targets, it follows that you can become one as well, often unintentionally. If you eliminate another player, you’ll be marked as a Cautionary Association Member. If you eliminate another player after that, you’ll be expelled from the Association and will be marked with a bounty.

    Note that you will be restricted to the Southern Zone until you’ve completed enough missions to avoid targeting beginner players.

    At this stage, whether your bounty is low or high, you’ll be indicated as a threat similar to NPC bandits. Your bounty will be visible, allowing other players to gauge the risk of taking you on.

    However, you will also reap rewards for maintaining a high bounty. If you manage to keep a significant bounty throughout a season, there are celebratory rewards for your endurance. In this game, crime pays off!

  • Discovering High-Purity AO Crystals in Synduality: Echo of Ada

    In Synduality: Echo of Ada, humanity exists only in small enclaves after a catastrophic rainfall that wiped out most of civilization. To address this, the Cradlecoffin mechs were developed to explore the surface and, most importantly, to mine AO Crystals. These crystals, which emerged post-rainfall, serve as a powerful energy source, commanding a high price on the market.

    As a Drifter, your main activity will involve digging up AO crystals to boost your wealth. Although the process of extracting these crystals is straightforward, there’s more to it than meets the eye. Here’s a comprehensive guide on how to mine AO crystals effectively and grow your fortune rapidly.

    Understanding Excavation

    During the tutorial, you’ll find that mining AO crystals is one of the first tasks you undertake, and it will likely remain a consistent part of your gameplay. There will always be AO crystals available to mine, making them the most reliable income source in the game.

    The excavation process is simple. You utilize the AO Search ability with your Magus, sending out a pulse that reveals any AO crystals in your vicinity. These will be temporarily marked on your map. Upon reaching a crystal, just hold the excavation button until the crystal breaks, allowing you to collect the fragments that drop. Easy as pie!

    That’s the basic approach. The system’s complexity lies in the different types of AO crystals available and the Excavators you can use. You start with a basic model that can only extract low and regular-purity crystals. To progress, you should aim to upgrade to a better Excavator capable of mining higher-quality crystals.

    All Excavators can handle smaller crystals of lower purity, but more advanced Excavators can extract larger crystals more quickly.

    AO Crystal Tiers

    When it comes to excavating AO crystals, you need to consider two main factors: size and purity. Size is easy to determine visually. Larger crystals yield more shards, and while the shards are heavier, they also tend to fetch higher prices.

    Using AO Search, you’ll see an estimate of a crystal’s size, with smaller ones represented by a single icon on the map and larger ones indicated by either multiple smaller icons or one larger icon. Always prioritize larger crystals for better rewards.

    Be aware that when you start mining an AO crystal, it will attract nearby Enders, so keep an eye on your surroundings.

    Purity is trickier to discern from a distance. Most Magus units can only provide information on purity once the crystal is within sight. However, the brightness of the AO crystal can give clues about its purity. Dull crystals are likely of lower quality, while bright orange ones indicate higher purity.

    The highest-purity AO crystals will have a purple aura around them. To mine these, you need at least a blue-rarity Excavator.

    You can also gauge a crystal’s purity by the color of the excavation icon. It fills in different shades, including white, green, or blue, which reflect the average rarity of the crystal. A white icon typically indicates low-purity crystals, whereas a blue icon suggests you’ll find at least one high-purity crystal.

    Strategies for Acquiring High-Purity Crystals

    While you can take a slow and steady approach, mining every crystal you encounter, this method can be time-consuming and luck-based. Instead, mine strategically. Here are some tips to make your excavation process faster and increase your wealth:

    • Utilize a Weather Gazer Magus. This type can detect the purity of AO crystals from a distance and differentiate shades from faded yellow to bright orange.
    • Always give preference to larger crystals. They may take only slightly longer to mine but will provide significantly higher rewards.
    • Whenever possible, excavate during rain. This increases the purity of any AO crystal by an entire tier.

    A Weather Gazer Magus can also track upcoming rainfall, helping you plan which crystals to mine and maximize your profits. Even better, crystals that have their purity enhanced by rain can still be extracted with Excavators that would normally handle non-boosted crystals.

    By following these strategies, you should be able to accumulate a wealth of rare AO crystals in no time. Just be cautious of other players who might try to take you down before you reach the extraction point.

  • Top Garage Upgrades to Prioritize in Synduality: Echo of Ada

    Top Garage Upgrades to Prioritize in Synduality: Echo of Ada

    Your garage serves as your base in Synduality: Echo of Ada. While you can’t explore it freely, the various sections reflect the upgrades you make. These enhancements aren’t just cosmetic; they also introduce new gameplay features as your garage evolves.

    Upgrading takes time, as repairs happen in real-time. However, the effort is worthwhile—not only to improve functionality but also to tidy up your cluttered space. Here’s a guide on how to get your garage in excellent condition and where to concentrate your efforts first.

    Unlocking All Areas of the Garage


    Initially, you’ll have three areas to focus on, and you’ll need to tackle them sequentially before you can expand further. Start with the Production Space, then move to the Pit Space, and finally the Living Space. For each area, you’ll need to renovate its Floors, Walls, and Ceiling. The first stage takes just ten seconds, but upgrades will take longer as they become more advanced.

    After completing the renovations in all three spaces, the rest of the upgrades will become available, except for the Living Space, where most facilities remain locked until later upgrades. The good news is that many areas will be ready for upgrades. Let’s explore which areas you should prioritize.

    Further improving the Floors, Walls, and Ceiling is required for certain facility upgrades, but these enhancements don’t provide any additional benefits beyond aesthetics.

    Top Areas to Upgrade First

    Once you’ve unlocked these areas, be smart with how you use your materials and money—they’re limited resources. Focus on key priorities to maximize benefits and access the remaining gameplay features as quickly as possible.

    Utilize the Wish List feature to ensure your Magus points out required items while you’re out on missions.

    Production Space

    The Production Space is where most of your crafting and repair work will happen. There are two key upgrades available here, both of which are essential. Here’s what each does:

    • Craft Station – Adds another crafting slot, allowing you to create multiple items at once.
    • Renovator – Reduces the cost of repairs on your equipment with each upgrade.

    These facilities are vital for your adventures, so make sure to upgrade them right away. You can choose which one to prioritize, but the Craft Station is highly recommended.

    You can have as many facilities under construction at the same time as you desire.

    Pit Space

    The Pit Space revolves around your Cradlecoffin and resources. It’s where you store all your gathered materials and where your mech stays between missions. This area serves as both your prep zone and storage. Focus your upgrades here.

    • Item Warehouse – Increases your item storage capacity with each upgrade.
    • Transport Elevator – Provides a random mix of items and cash once daily. Each upgrade enhances both the quantity and quality of items received.

    Your top priority should be the Item Warehouse, as you’ll quickly hit the initial limit of 100 items. The first upgrade doubles this limit to 200, giving you much more space. The Transport Elevator is helpful but not as critical; however, it can provide valuable resources.

    Sadly, the only way to check how many items are in the Item Warehouse is to visit the Item Shop in the Sortie Menu to see what items you can sell.

    Living Space

    The Living Space is where your Magus (and you, presumably) unwind between missions. It contains beds, personal collections, and all the comforts you’d expect. This area offers the most upgrades, but we’ll focus on just a few key ones.

    • Insurance Payout Receiver – Shortens the wait time for insurance payouts on destroyed equipment.
    • Piggy Bank – Allows your Magus to collect money over time, which you can access at any moment. Further upgrades increase the storage limit and earnings.
    • Washroom – Lets you clean your Magus after they get dirty following a mission.

    To access these upgrades, you must first improve the Living Space further. You’ll eventually be assigned a Request to upgrade your Sleeping Quarters. Completing this task will unlock the remaining facilities in the Living Space for upgrades.

    The Washroom will be unlocked along the way, and further upgrades are optional unless you want a more luxurious bath for your Magus. Aim for the Insurance Payout Receiver next, as you’ll likely receive many insurance payouts given the game’s challenge. Finally, don’t forget about the Piggy Bank, which requires you to upgrade the tables first.

    With those upgrades completed, your garage will be fully operational! There are plenty more enhancements to explore, though they come with high costs and require rare materials. Give it some time, and you’ll have a garage that every Drifter on the surface will envy.

  • Does Synduality: Echo of Ada Feature Solo Missions?

    Does Synduality: Echo of Ada Feature Solo Missions?

    The promotional materials for Synduality: Echo of Ada suggested that it would be a narrative-driven experience, but that’s not entirely accurate. Although this game is primarily a solo experience, it takes place in a world populated by other players. You’ll spend time gathering resources rather than focusing on the storyline, and there isn’t a fixed endpoint in Synduality.

    That said, there is a single-player component, but you must unlock it first. This requires a fair amount of effort before it becomes available, yet it provides a welcome change of pace with significantly less risk compared to regular outings. Here’s how you can unlock it.

    Keep in mind that Synduality is an always-online game, requiring PS Plus or Xbox Gold for console play, even for single-player missions.

    How to Unlock Single-Player Missions


    When you start Synduality, your only option will be to sortie in the Northern Zone, and this will continue for a significant time. To unlock the single-player missions, you need to connect with the Amasia Collapse Investigation Committee, often shortened to the CIC.

    There’s no guaranteed timeline for when you’ll hear from them, nor is there a specific action needed on your part. After you’ve completed a sufficient number of requests from different organizations, the CIC will reach out to you. This usually happens before you gain access to the Southern Zone and is an unavoidable part of the game. Just keep completing requests, and the single-player missions will eventually be available.

    Once the CIC contacts you, a new tab will emerge in the Requests section below the other organizations. This is where you can find all the CIC’s missions, which are exclusively for single-player play.

    How Do Single-Player Missions Work?

    The single-player missions provided by the CIC differ significantly from the typical sorties in the Northern and Southern Zones. For starters, you’ll receive pre-set equipment: a Bowierabbit Cradlecoffin along with two weapons—one using energy and the other utilizing live ammunition. You can keep your Magus, but their capabilities will be adjusted to match the mission.

    Unlike the usual zones, these missions take place in custom-designed areas that are more straightforward and linear. You are the sole human player in these zones, so you will always know the kinds of threats you’ll face.

    Additionally, you don’t lose any gear upon dying, since nothing you use during these missions belongs to you. This allows you to be more daring or use the missions as a training opportunity. However, expect enemies like bandit Cradlecoffins and Enders to hit hard.

    The main goal of the CIC missions is to recover surveillance logs that were lost during the collapse of Amasia. The number of logs you need to gather varies from mission to mission, but it’s usually around five. This is where you’ll find the bulk of historical items in Synduality. Each mission will have at least one required log to collect, but you can replay any mission to gather missed logs later.

    The format of the missions remains generally the same, though there is considerable variety in environments and some unique challenges to take on.

    Do You Keep Your Rewards From Single-Player Missions?


    Description of the changes and rewards from single-player missions in Synduality: Echo of Ada.

    One advantage of the CIC missions is that dying doesn’t carry the same harsh penalties as it does in regular play. You can experiment, learn from your mistakes, and ultimately succeed. The downside? You won’t keep any items you collect during these missions. All weapons and ammo used are returned to the CIC upon completing the mission, including the provided Cradlecoffin.

    No rewards are offered other than the surveillance logs, so there are no AO crystals or materials to gather here. Ultimately, these missions are beneficial primarily for practice without the fear of permanent loss or if you’re especially interested in the lore of Synduality.

  • Unlocking Superior Cradlecoffin Parts in Synduality: Echo of Ada

    Unlocking Superior Cradlecoffin Parts in Synduality: Echo of Ada

    Synduality: Echo Of Ada places you in control of a Cradlecoffin, a special machine designed to navigate the harsh surface of Earth after a catastrophic rainfall event has devastated humanity. In this versatile mech, your mission is to collect AO crystals to fund your operations, gather materials, and, if the mood strikes, challenge other players.

    The Cradlecoffin serves as your primary tool, and it’s vital to keep it in top shape. While it may not offer the extensive customization options typical of mech games, every choice you make holds significant weight since a mishap could lead to major setbacks. Here’s what you need to know about customizing your Cradlecoffin.

    What Are Cradlecoffins?

    The term “Cradlecoffin” might sound grim, but these machines allow humanity to venture outdoors without putting themselves at risk. Interestingly, there are no humans inside a Cradlecoffin; instead, it’s operated by your Magus, an AI companion that helps you during missions. The name comes from the compartment in the back of the mech where the Magus controls it.

    This “coffin,” as referred to in-game, is also the vulnerable part of the Cradlecoffin, taking significant damage when targeted.

    While Cradlecoffins are marketed as all-weather vehicles, they have notable weaknesses. They are particularly vulnerable to rain, which can greatly diminish their resistance and overall durability. Submersion in water is also a critical flaw, leading to immediate destruction. These machines are specifically designed for surface exploration.

    Cradlecoffins operate with a battery, thus they cannot be deployed indefinitely. Although spare batteries exist, they are extremely rare outside of certain single-player missions and cannot be kept. While Cradlecoffins are formidable, they require careful management; they are not invulnerable and can be easily lost.

    What Parts of the Cradlecoffin Can Be Customized?

    SYNDUALITY Echo of Ada sortie menu showing the parts of the cradlecoffin and inventory.

    In a mech game, you might expect a wide range of customization options, but that’s not quite the case here. There are six customizable components of the Cradlecoffin, with only three being physical parts. They are:

    • Body – Determines most of your durability and weather resistance, along with cargo weight and battery life.
    • Arms – Provide additional durability, influence reload times, and affect other skills.
    • Legs – Enhance durability and influence movement capabilities, including quickstep distance.
    • Weapon Slot 1 and 2 – These two slots allow you to equip any weapons you choose.
    • Excavator – Used for mining AO crystals, with better variants yielding higher-purity crystals.

    The arms also dictate the type of weapons you can wield, either energy or live ammunition, or both. Unfortunately, there are no options to change colors, name your mech, or customize weapons, which limits personalization. Losing your mech results in the loss of all your equipment, making it less appealing to see someone else using your customized parts!

    You can access customization through the sortie menu, allowing you to modify your loadout and view all your stats more comprehensively.

    There are two slots in your garage to build your Cradlecoffin, but you can’t use the same parts at the same time unless you have duplicates.

    How to Increase Your Cradlecoffin Stats

    Once you access the Cradle Customization menu, you’ll see a 3D representation of your mech accompanied by charts and bars showing various stats. While the output will be considerably high (often maxing out around 10,000), other stats will be relatively lower. To increase these stats, you need to acquire new Cradlecoffin parts.

    Each component of the Cradlecoffin comes with set stats. While durability may decrease over time, the stats cannot be improved beyond their initial values. Therefore, the only way to enhance your stats is to obtain new parts, which involves some effort.

    There are five primary methods to acquire new Cradlecoffin parts:

    • Purchasing them in the Item Shop after completing relevant requests, usually at a capped green rarity.
    • Crafting them after unlocking crafting recipes through requests, though you won’t be informed until after completion.
    • Receiving them as rewards for completing requests.
    • Obtaining them from the Drifter Pass, Synduality’s battle pass.
    • Looting them from defeated players.

    Importantly, you can’t find parts randomly; the best pieces will typically be awarded to you. However, if you lose these valuable parts, they are gone for good, and you may have to rely on lesser components from the Item Shop. Some parts can be crafted, but these options are often costly, require rare materials, and take real-time to complete. Losing crucial parts may force you to start over unless you have stockpiled some backups.

    Newer parts generally serve as upgrades to previous ones, making the loss more painful. If you’re concerned about losing a part, consider insuring it. While this won’t return the item, it will refund much of its monetary value.

    Keep in mind that certain rare parts, like those from the Daisyogre, are expensive to insure, so refrain from using them until you can afford the insurance.