الوسم: Dungeon Guide

  • Final Fantasy XIV: Complete Guide to The Wanderer’s Palace Dungeon

    Final Fantasy XIV: Complete Guide to The Wanderer’s Palace Dungeon

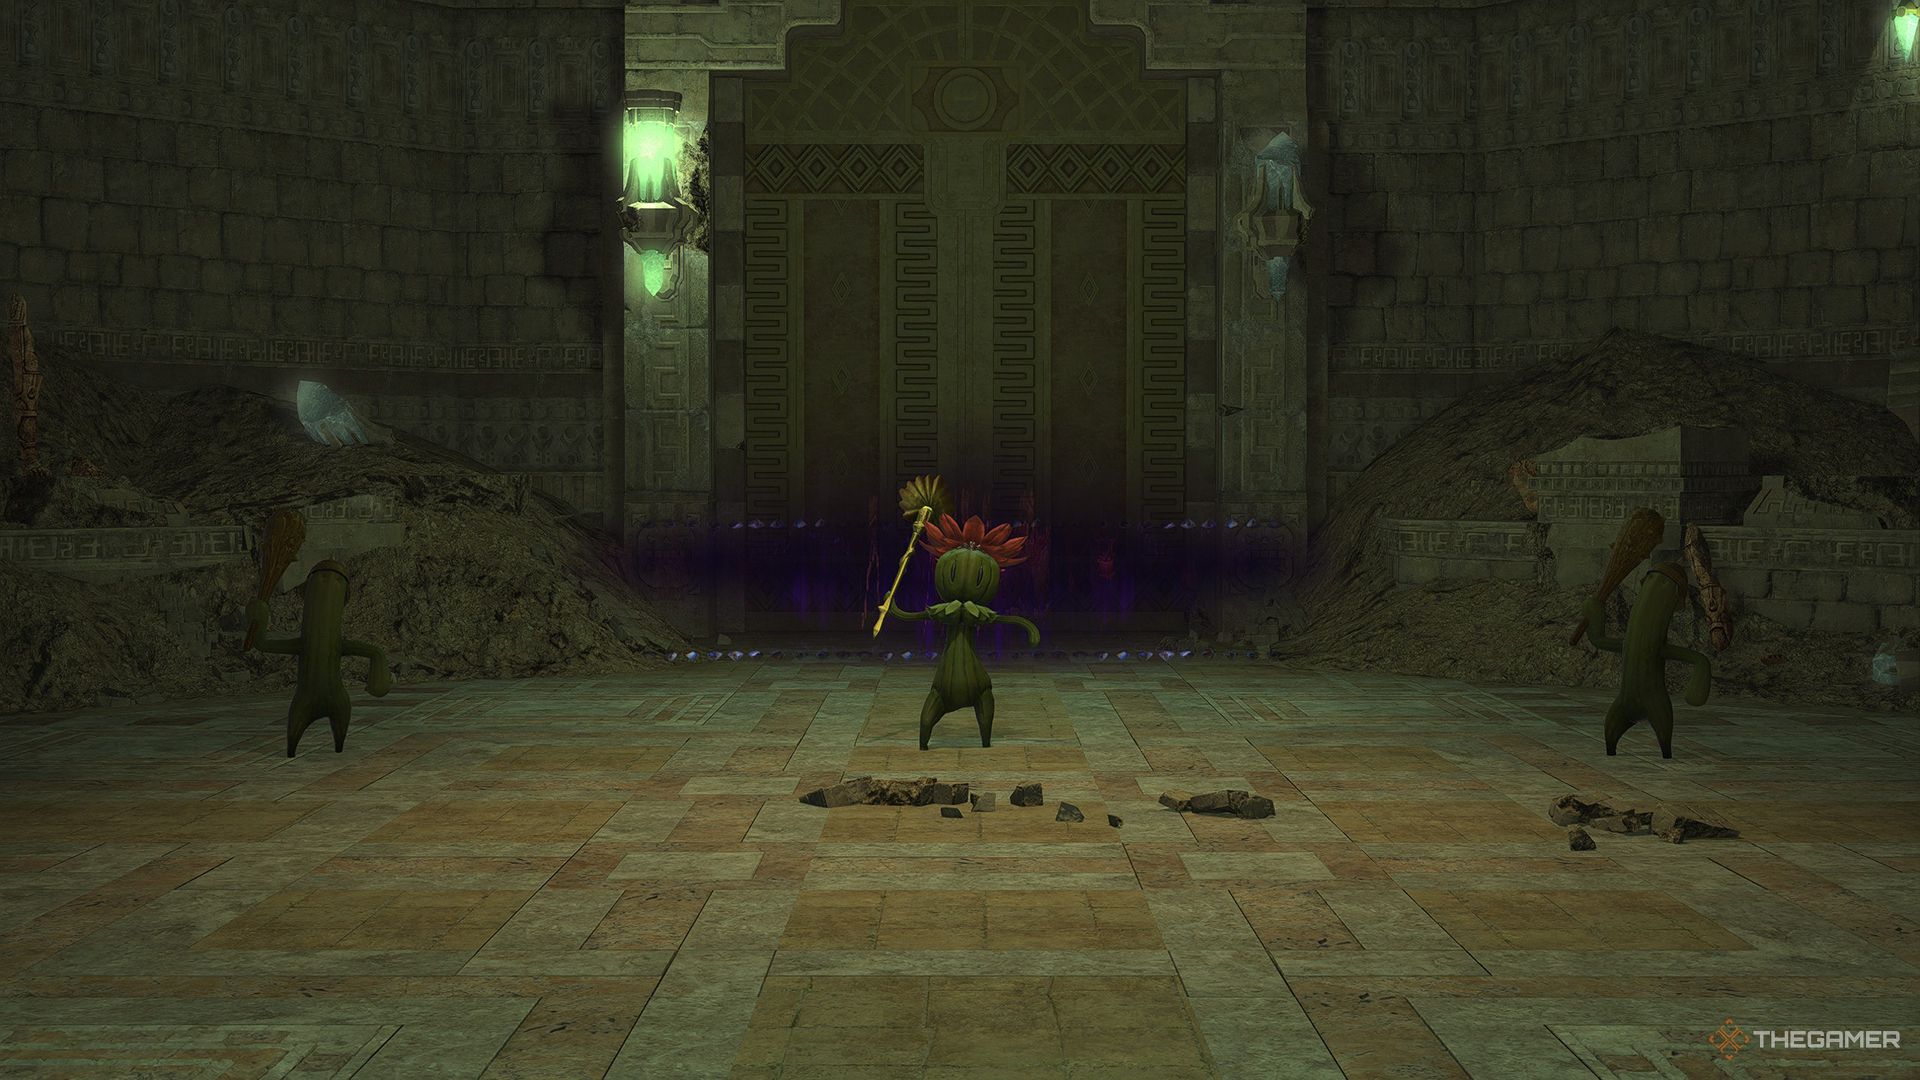
    The Wanderer’s Palace (Hard) is a level 50 dungeon in Final Fantasy 14 that takes you back through the Wanderer’s Palace, where you’ll face new bosses and mechanics. Although the Tonberries were rescued from the cruel Tonberry King, they now confront a new threat as Mamool Ja mercenaries have taken over the Palace.

    Your mission is to return to the Wanderer’s Palace and defeat the Mamool Ja forces so the Tonberries can enjoy peace once more. Below, we’ll cover everything you need to know about this dungeon, including how to access it and strategies for defeating its three bosses.

    How to Unlock the Wanderer’s Palace (Hard)


    You can access the Wanderer’s Palace (Hard) after you’ve completed the main scenario quest titled ‘The Ultimate Weapon’ and the level 50 side quest ‘Trauma Queen’, which unlocks the regular version of the dungeon.

    Once both quests are done, head to Bloezoeng in Mor Dhona (X:22.1, Y:8.7) to accept the quest ‘Not Easy Being Green’, which will officially unlock the dungeon.

    Frumious Koheel Ja
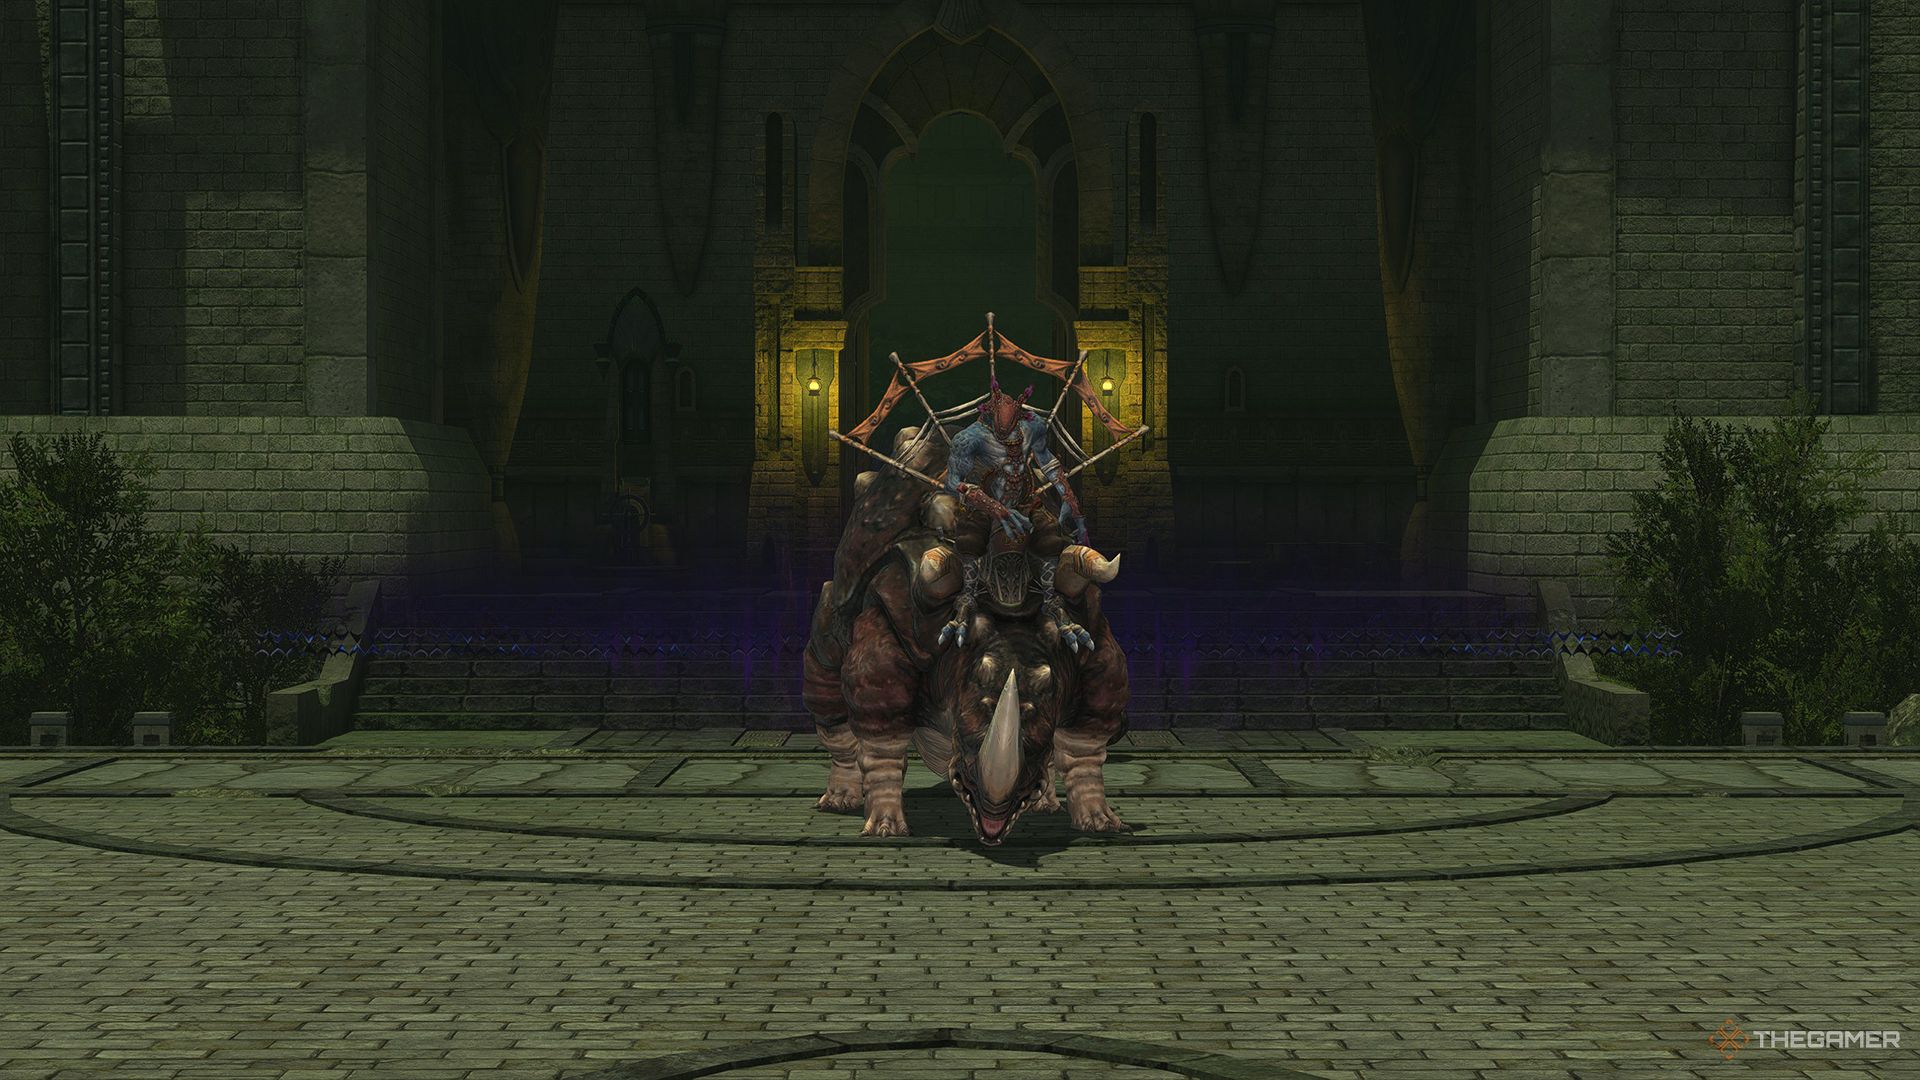

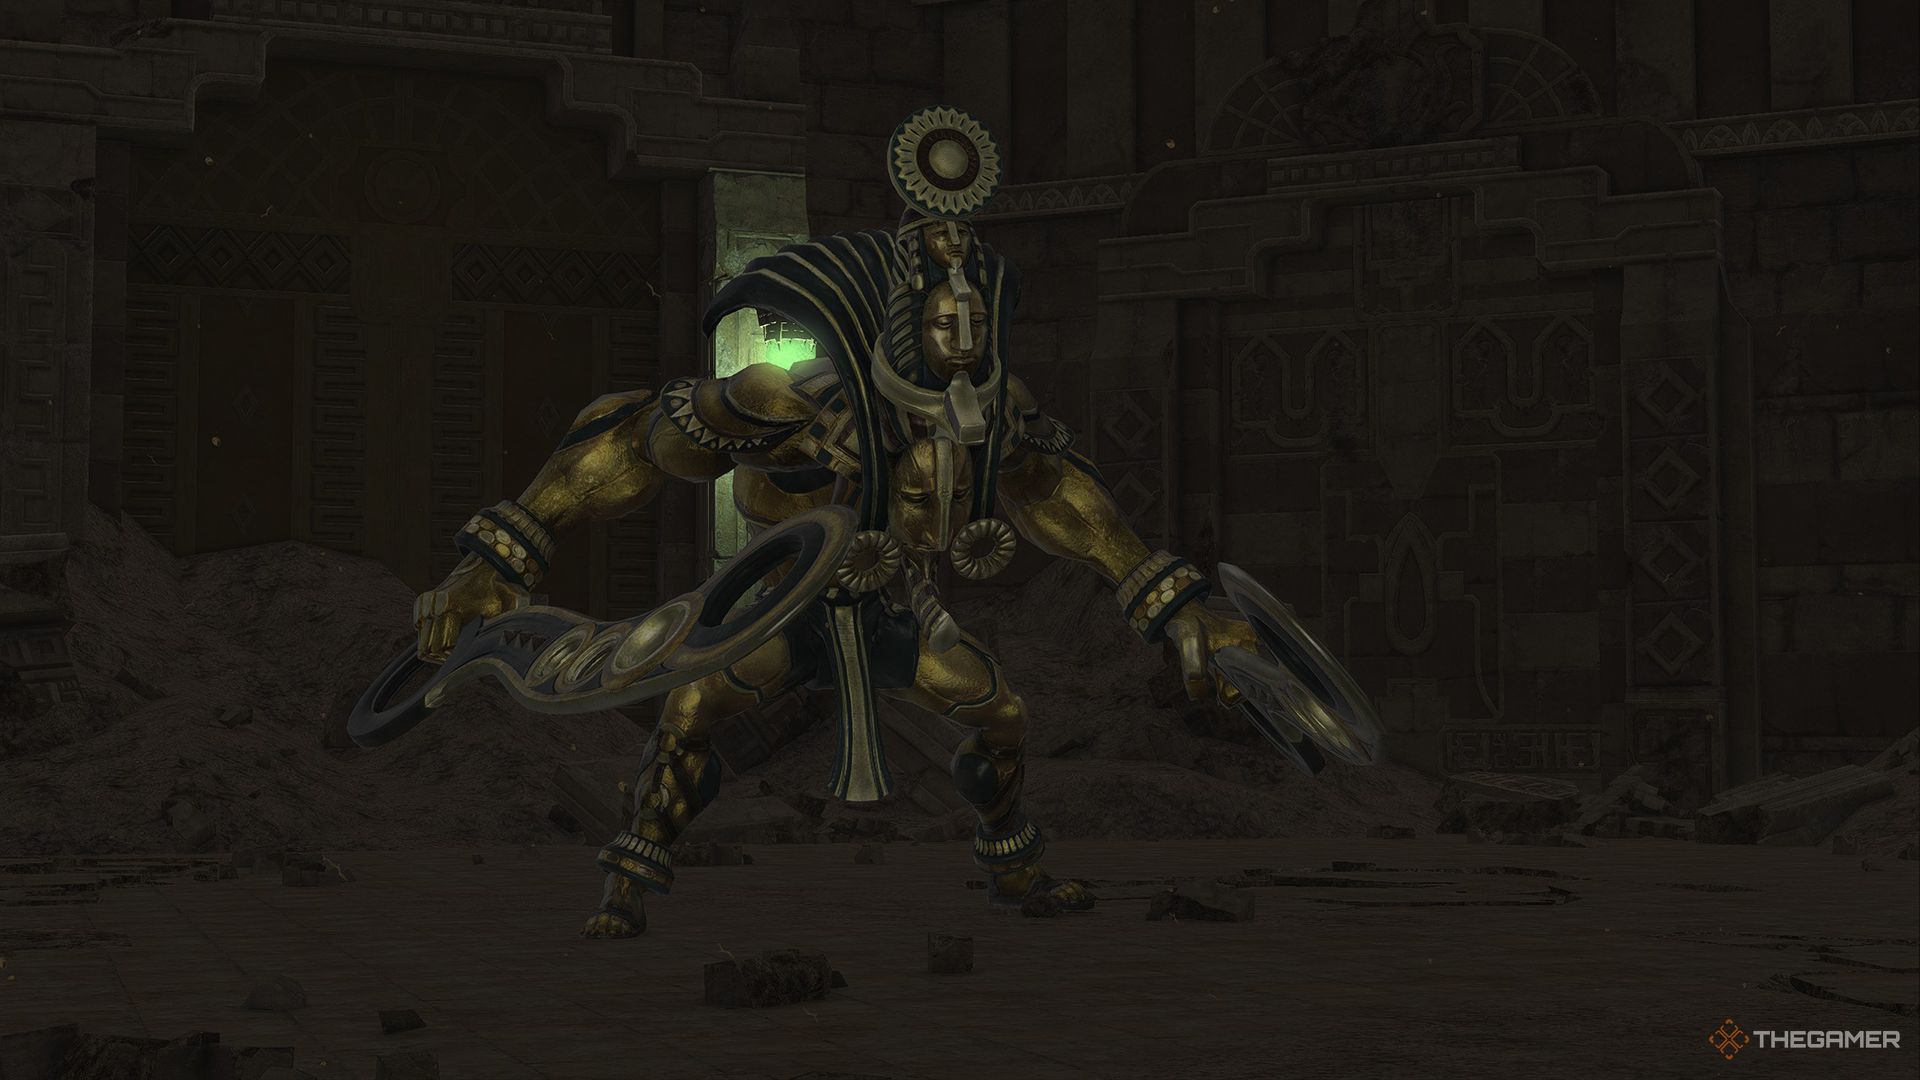
    Frumious Koheel Ja, the first boss of the Wanderer's Palace (Hard).

    The first boss you’ll encounter in the Wanderer’s Palace (Hard) is Frumious Koheel Ja.

    This boss has straightforward attack patterns, but if you’re not cautious, they can quickly become overwhelming. One of Koheel Ja’s main mechanics involves launching Sacred Spears that land on the ground, dealing area damage and causing a Burn status effect that inflicts damage over time.

    If you get hit by the Burn effect, the debuff timer resets each time you are affected, which means you’ll be continuously losing health if you don’t act fast. To prevent this damage, make sure to destroy the Sacred Spears as they appear.

    In addition, Koheel Ja will target its main foe with Fire Angon for direct damage and will use Clobber, charging at a player and knocking them back.

    The healer must monitor the entire party’s health during this fight since everyone will be affected by the damage from the Sacred Spears.

    The key to success in this battle is to eliminate the Sacred Spears as quickly as possible. By doing so, you’ll have an easier time defeating Koheel Ja.

    Slithy Zolool Ja
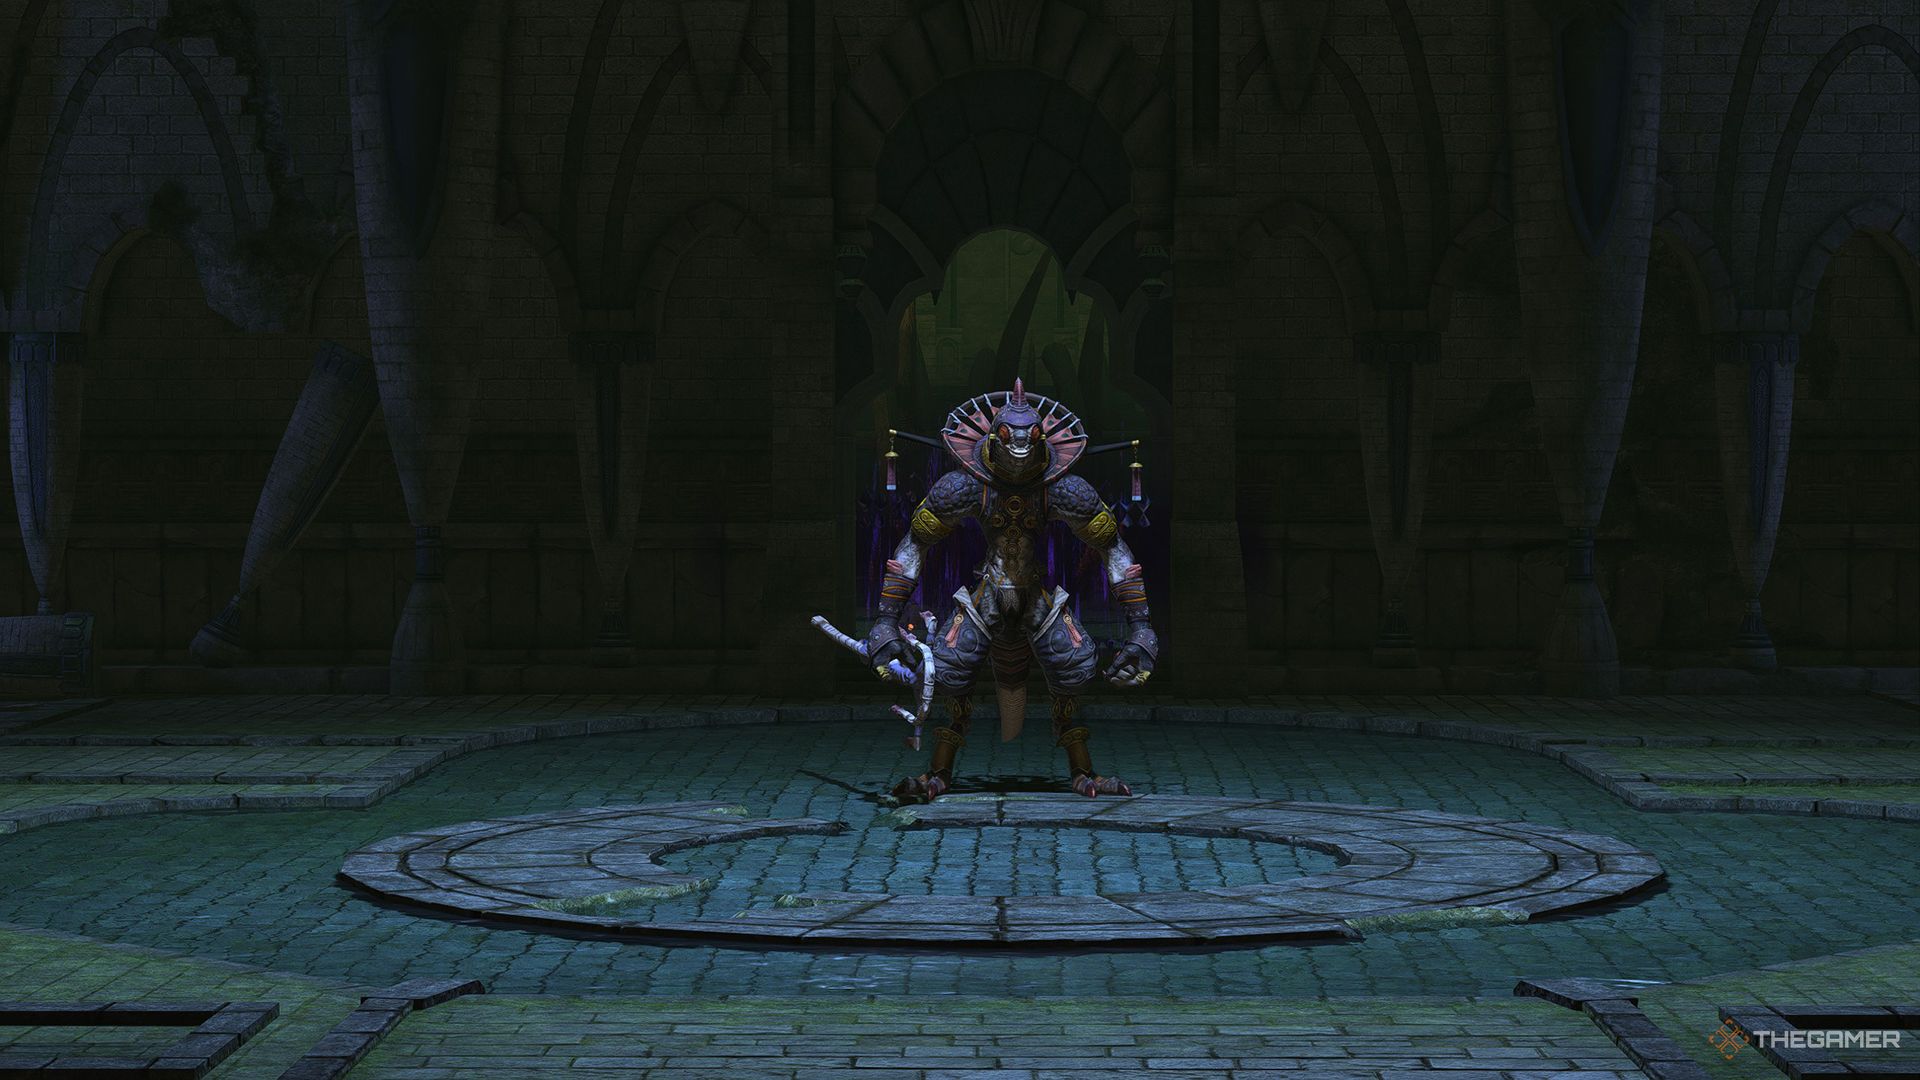

    Slithy Zolool Ja, the second boss of the Wanderer's Palace (Hard).

    Next up is the Slithy Zolool Ja, the second boss of the dungeon.

    This encounter may seem complex at first, but it’s rather straightforward. Zolool Ja employs the Sacred Standard mechanic, summoning colored standards across the arena. Getting near any of these standards triggers a specific effect based on its color:

    • Red Standard: Reduces Fire Resistance.
    • Blue Standard: Grants a Damage Up buff.
    • Green Standard: Turns you into a Toad or removes the Toad effect if you are already transformed.
    • Purple Standard: Applies the Heavy debuff.

    The goal here is to avoid all standards except the Blue one. Allow DPS characters to run into the Blue Standard to receive the damage boost.

    After some time, Zolool Ja will use Standard Retrieval to clear all active standards from the field. If the Blue Standard is still present, he will gain the damage buff, so it’s important to secure this buff before he does.

    Zolool Ja will occasionally cast Toad, randomly transforming a player into a Toad. That player can use the Green Standard to revert back to their original form.

    Throughout the encounter, Zolool Ja uses abilities like Fire, Firespit, and Groundburst, targeting the main player with damage. The healer should keep a close eye on the tank while the rest of the party avoids the harmful standards.

    Manxome Molaa Ja Ja
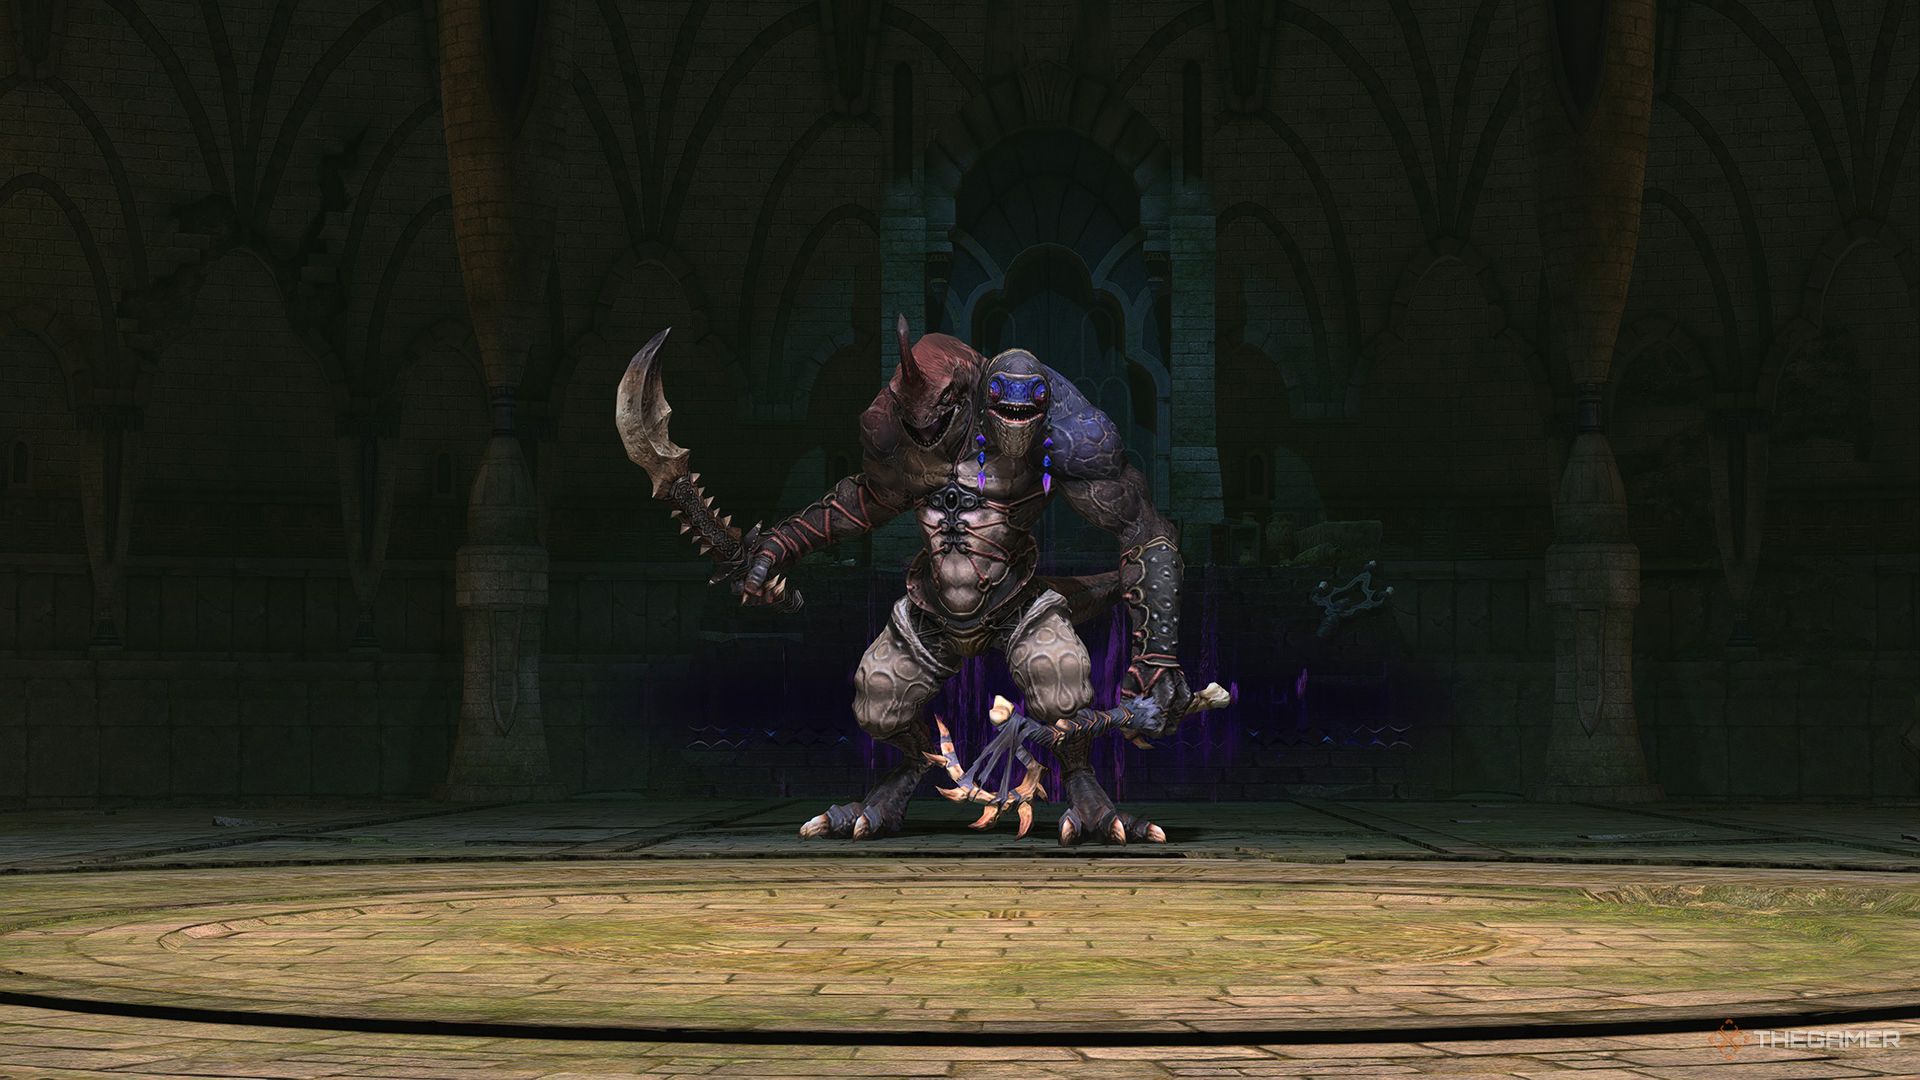

    Final boss of the Wanderer's Palace (Hard), Manxome Molaa Ja Ja.

    Finally, you will face the ultimate challenge, the Manxome Molaa Ja Ja.

    Attack Name

    Type

    Details

    Tyrannic Blare

    Conal AoE

    Molaa Ja Ja unleashes a considerable damage attack in a wide conal area, causing Stun and Magic Vulnerability Up. Stay close to the boss during the fight to avoid this.

    Rot Gas

    AoE/Summon

    This move deals AoE damage around the boss, inflicting Poison and Disease. It also summons a Sacred Standard that provides Molaa Ja Ja with a Damage Up and Vulnerability Down buff. The tank should pull Molaa Ja Ja away from the Sacred Standards to avoid these enhancements.

    Soul Douse

    Doom

    One player will be marked with Doom, which will kill them instantly after a 20-second countdown if not managed. The affected player must be restored to full health within this time. When Soul Douse is used, the healer should immediately prioritize cleansing the Doom effect.

    Vorpal Wheel

    Debuff

    This ability targets a random player with damaging effects and applies the Rotting Lungs debuff, which will cause them to explode with damage if hit by Rot Gas.

    Sacred Idol/Silverscales Zenist

    Summon

    A Sacred Idol will appear, tethering to the boss and granting him the effects of a Sacred Standard even when he’s outside an area. In addition, two Silverscales Zenists will spawn, which have low health and should be defeated promptly.

    Molaa Ja Ja will repeat these mechanics until defeated. It’s not necessary to destroy the Sacred Standards that appear after using Rot Gas since they have high health. Simply moving the boss out of their area will negate their effects.

    As long as you cleanse Doom and manage the boss’s positioning away from the Sacred Standards, you’ll be able to defeat Molaa Ja Ja and complete the Wanderer’s Palace (Hard).

  • Qarn’s Sunken Temple: A Comprehensive FF14 Dungeon Guide

    Qarn’s Sunken Temple: A Comprehensive FF14 Dungeon Guide

    The Sunken Temple of Qarn (Hard) is a level 50 dungeon in Final Fantasy 14. It is an upgraded version of the level 35 Dungeon. Your mission is to return to the Sunken Temple of Qarn to rescue miners from Amajina & Sons Mineral Concern.

    As you navigate this treacherous environment, you’ll encounter various deadly traps and ancient creatures that have reawakened, making the rescue mission challenging. Below, we’ll cover everything you need to know about this dungeon, from how to unlock it to defeating all its bosses.

    How To Unlock The Sunken Temple Of Qarn (Hard)


    To unlock this dungeon, first, complete the level 50 Main Scenario Quest ‘The Ultimate Weapon’. After that, you can pick up the quest ‘The Wrath of Qarn’ from Hugubert in Mor Dhona (X:22.0, Y:8.7). This dungeon has an item level requirement of 80.

    While exploring this dungeon, be on the lookout for the Sun Sphere, Moon Sphere, and Star Sphere. You’ll need to utilize these items at specific points to progress.

    Damaged Adjudicator

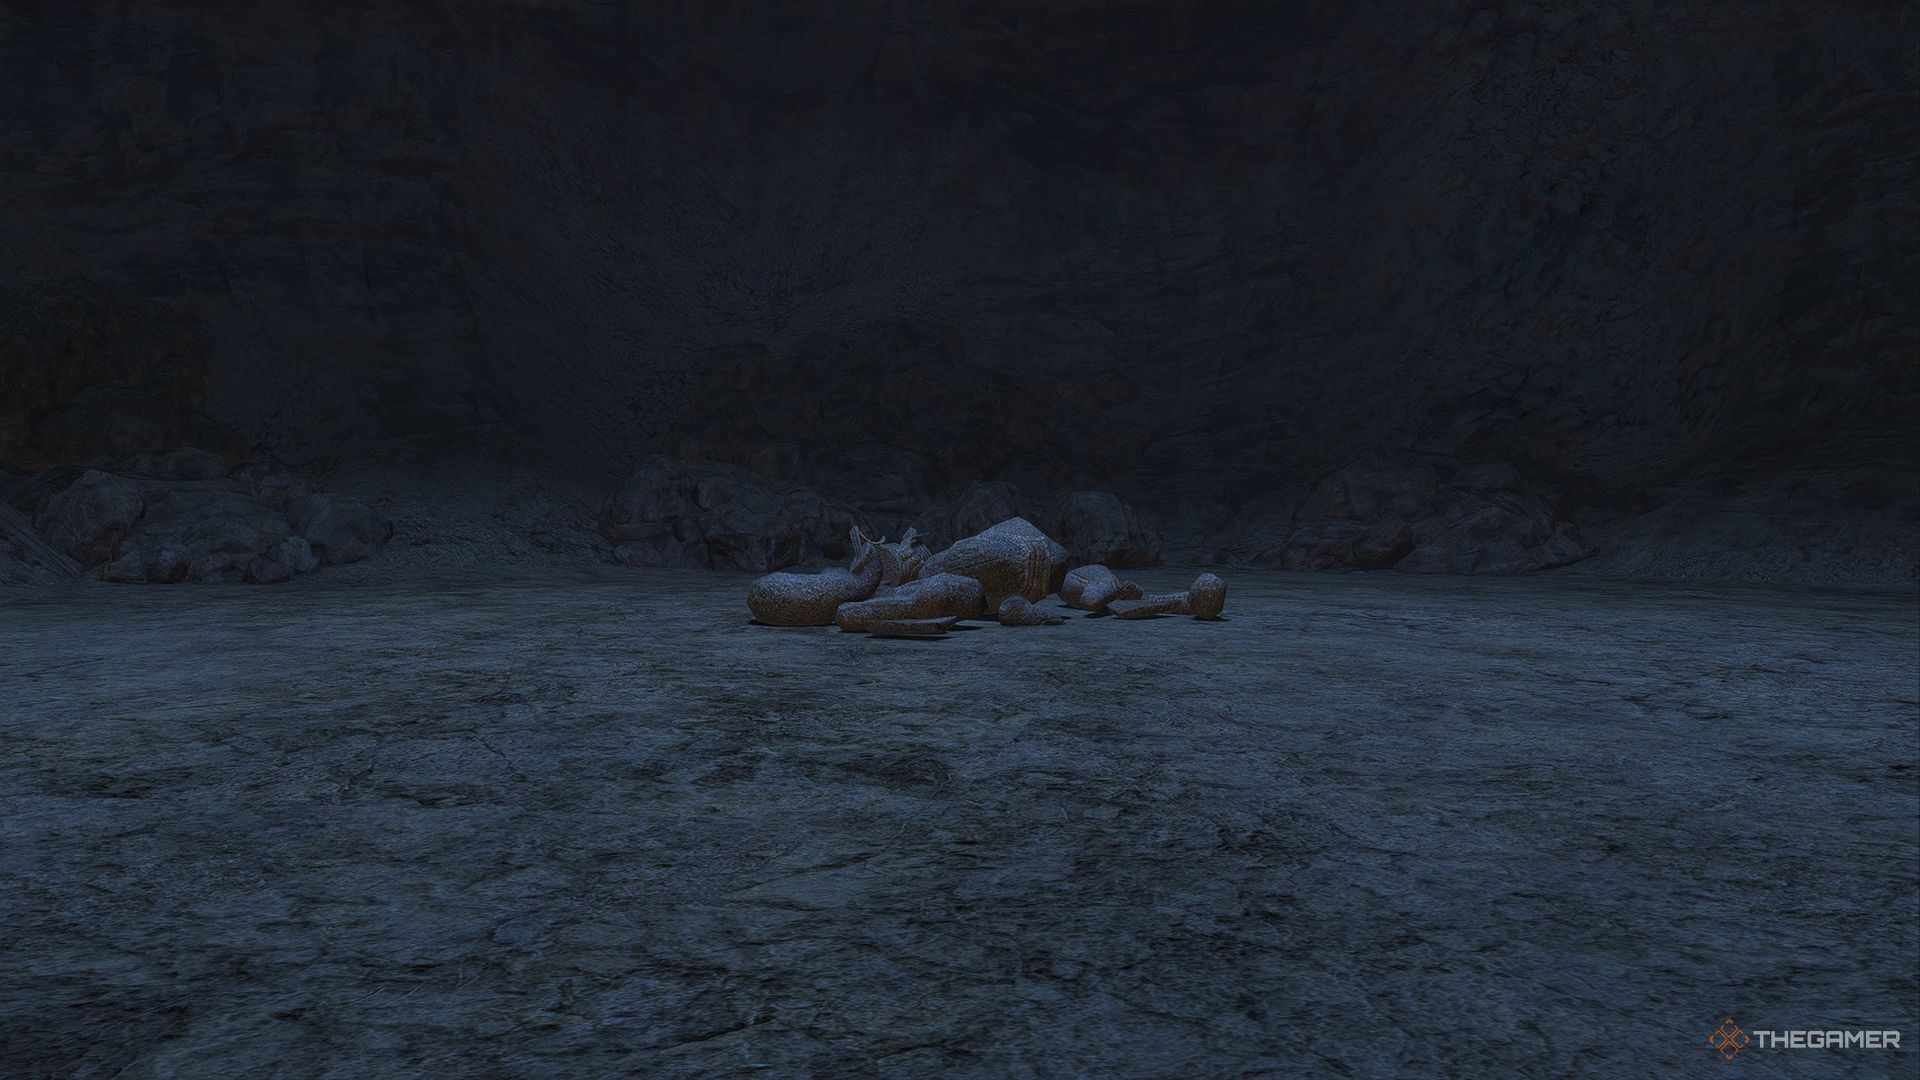
    Damaged Adjudicator lying on the ground.

    The first boss you’ll encounter in the Sunken Temple of Qarn (Hard) is the Damaged Adjudicator. This boss is a reimagined version of the last boss from the standard dungeon, featuring some new elements.

    The Damaged Adjudicator is divided into four sections: the Head, Arm, Tail, and the main body. The main body receives minimal damage, so you should prioritize attacking the Head, Arm, or Tail instead.

    A glowing red orb will indicate which part you should hit when the boss first appears. Damaging this part will cause the Adjudicator to fall apart, summoning several Ruins Crawlers as adds. Repeat this process until the boss is rebuilt without any body parts, then focus your attacks on the main body to take it down for good.

    Throughout this battle, the Damaged Adjudicator will use several attacks:

    Attack Name

    Type

    Details

    Sandblast

    Untelegraphed Conal AoE

    This attack deals damage in front of the boss. The tank should ensure the Adjudicator is facing away from the rest of the group to avoid hitting them.

    Desert Storm

    Line AoE

    This attack hits in a line in front of the boss. Step out of the AoE area to avoid damage.

    Dust to Dust

    AoE Marker/Summon

    The boss targets a player with an AoE marker, summoning a sand orb at their location. This orb will repeatedly use Subduction, causing area damage. Stay clear of these orbs while battling the boss.

    Sabotender Emperatriz

    Sabotender Emperatriz with its bodyguards in the Sunken Temple of Qarn (Hard).

    The second boss here is Sabotender Emperatriz, accompanied by two Sabotender Soldado. Below are details on this boss’s attacks and mechanics:

    Attack Name

    Type

    Details

    3,000 Needles

    AoE

    This attack deals damage in the marked area. Move away to avoid damage.

    100,000 Needles

    Long Casted Roomwide AoE

    A long-casting attack that can deal 100,000 damage to the entire group. It can be interrupted by inflicting enough damage to the boss before the cast finishes.

    Sabotender Soldado

    Add

    These adds are summoned during the fight. They don’t have any strong attacks but should be eliminated quickly.

    Sabotender Guardia

    Add

    This enemy will tether itself to the boss, blocking all damage to it. Quickly defeat the Guardia to stop the casting of 100,000 Needles.

    Sabotender Emperatriz will continue these actions until it is defeated. The 100,000 Needles is a one-shot move but has a long casting time, giving your team ample time to stop it. Overall, this fight is fairly manageable.

    Vicegerent to the Warden

    Vicegerent to the Warden ready for battle in the Sunken Temple of Qarn (Hard).

    The final boss in the Sunken Temple of Qarn (Hard) is the Vicegerent to the Warden.

    During the encounter, sarcophagi will spawn around the arena’s edges, summoning Mummies that will rush at players. Being touched by a Mummy inflicts one stack of the Curse of the Mummy.

    If you accumulate four stacks of this debuff, you’ll be placed inside a sarcophagus and transformed into a Mummy, causing you to run uncontrollably for a brief time.

    Throughout the battle, keep an eye on the arena’s edges to avoid becoming a Mummy.

    Attack Name

    Type

    Details

    Flurry of Rage

    Untelegraphed Conal AoE

    This attack continuously deals damage in front of the boss. The tank must face the boss away from the group.

    Light of Anathema

    Untelegraphed Line AoE

    When the boss’s health dips low, its swords light up and it will use this attack, dealing damage in front in a line. Move away when this attack is initiated.

    Mummification Tether

    Tether/Debuff

    A player becomes marked, pulled to the boss, and tethered. This will repeatedly apply the Curse of the Mummy debuff. The tether can be broken by stunning the boss, so act quickly to save the target from being turned into a Mummy.

    The Vicegerent to the Warden will reenact these mechanics until it is defeated. The key to this fight is not only to focus on the boss but also to monitor the summoning of the sarcophagi. As long as you can dodge them, this encounter should be straightforward.

  • Yuweyawata Dungeon Guide: Final Fantasy XIV Dawntrail Tips

    Yuweyawata Dungeon Guide: Final Fantasy XIV Dawntrail Tips

    The Yuweyawata Field Station is a level 100 dungeon featured in Final Fantasy 14: Dawntrail. While on the quest to find the young king Gulool Ja’s mother, you discover a research facility where Zoraal Ja was supposedly experimenting with the souls of beasts for warfare purposes.

    To uncover the truth about Gulool Ja’s mother, you and your team will explore this research center and confront any remaining threats. Let’s dive into everything you need to know about Yuweyawata Field Station, including how to unlock it and strategies to defeat its bosses.

    How To Unlock Yuweyawata Field Station


    To access this dungeon, you’ll need to complete the quest ‘In Search of the Past’. Begin this quest with G’raha Tia in Solution Nine (X:6.2, Y:15.2) during the 7.1 Main Scenario Quests. Make sure to finish the ‘Dawntrail’ main quest, along with two patch quests, ‘A Royal Invitation’ and ‘Alexandria Mourns’.

    You must have an item level of 690 to enter Yuweyawata Field Station.

    Lindblum Zaghnal


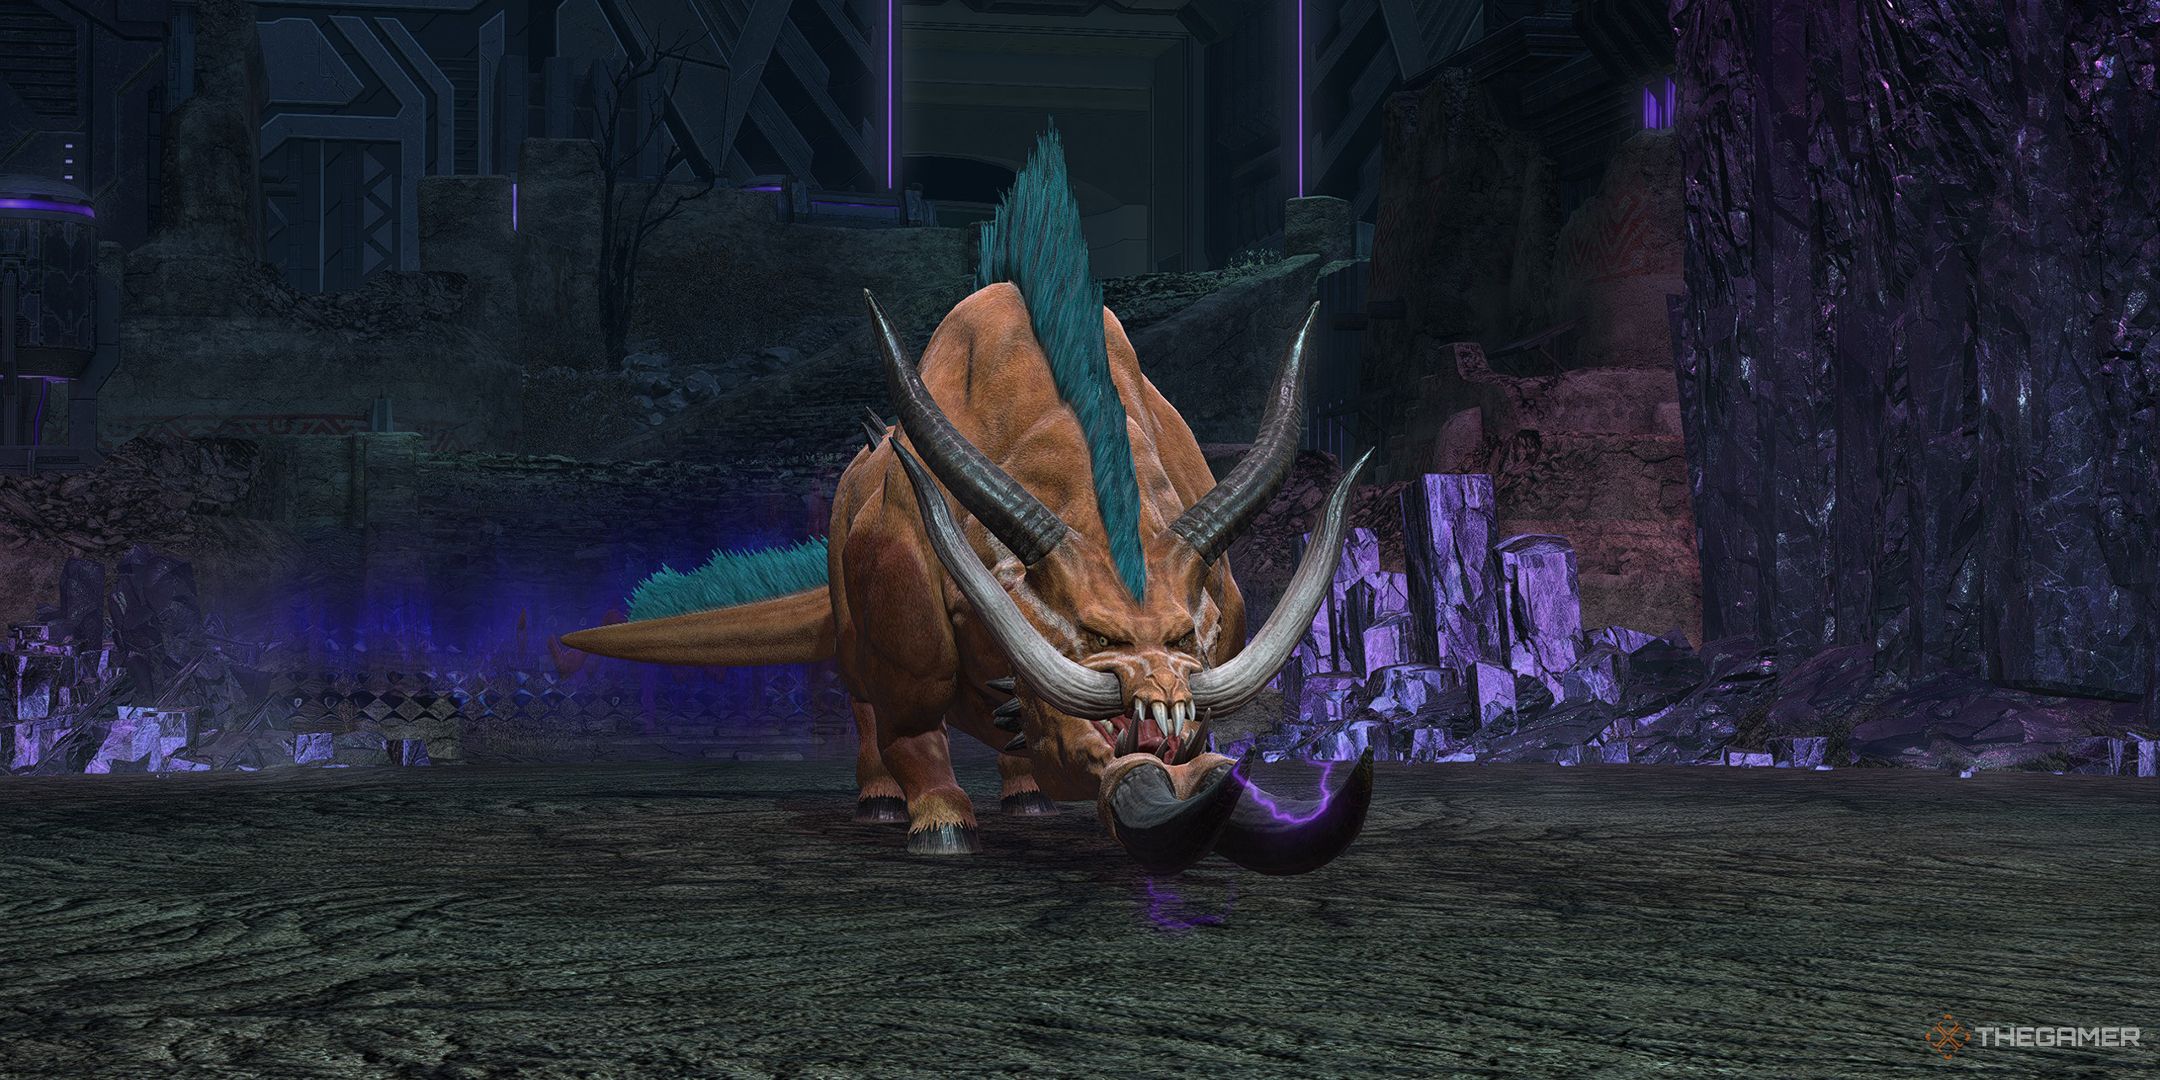
    Lindblum Zaghnal, the first boss of the Yuweyawata Field Station Dungeon.

    Your first challenge in the Yuweyawata Field Station is facing the Lindblum Zaghnal, whose attacks and strategies you’ll need to understand to win.

    Attack Name

    Type

    Details

    Electrical Overload

    Roomwide AoE

    This attack causes damage to all group members.

    Gore

    Special/AoE

    The boss jumps to a crystal, channels electricity, then follows up with Caber Toss.

    Caber Toss

    Line AoE

    Three columns of electric damage shoot from the crystal. After that, the boss drops the crystal as a large AoE.

    Lightning Storm

    AoE Marker

    All players receive markers; spread out while avoiding the lines from the previous attack.

    Gore/Sparking Fissure

    Special/AoE

    The boss uses Gore repeatedly while summoning Raw Electrope. Destroy them before they can finish their charge to prevent more damage.

    Keep in mind that the AoE from the Caber Toss can be quite large, so be sure to position yourself accordingly. Focus on defeating the Raw Electrope as they appear to avoid wiping due to the Sparking Fissure.

    Overseer Kanilokka


    Overseer Kanilokka, the second boss in the Yuweyawata Field Station Dungeon.

    Next up is Overseer Kanilokka, the second boss of this dungeon. Understanding his moves is crucial for success.

    Attack Name

    Type

    Details

    Dark Souls

    Tankbuster

    This hits the main target with severe damage. Mitigate as needed.

    Free Spirits

    Roomwide AoE

    Deals damage to all players and fills the arena’s edges with dangerous AoE. Avoid these while dodging additional semi-circular AoEs.

    Phantom Flood

    Ring AoE

    This creates a large ring AoE with a safe spot in the center, while also expanding the hazardous areas.

    Dark II/Telltale Tears

    Conal AoE/AoE Markers

    The boss launches conal AoEs and targets three non-Tank players with AoE markers, requiring spread positioning.

    Lost Hope/Necrohazard

    Dizzy Marker/Proximity AoE

    The boss clears part of the red puddle while applying a Dizzy Marker to all players and then casts Necrohazard. Navigate carefully to avoid damage.

    Bloodburst

    Roomwide AoE

    Deals damage to all party members. Use AoE healing to assist recovery.

    Soul Douse

    Stack Marker

    A random player is marked; group to mitigate the incoming damage while dodging conal AoEs.

    Overseer Kanilokka will repeat these attacks throughout the encounter. As the fight progresses, expect Free Spirits to be combined with Telltale Tears. Although the mechanics are manageable, the timing of the Dizzy Marker may require some practice.

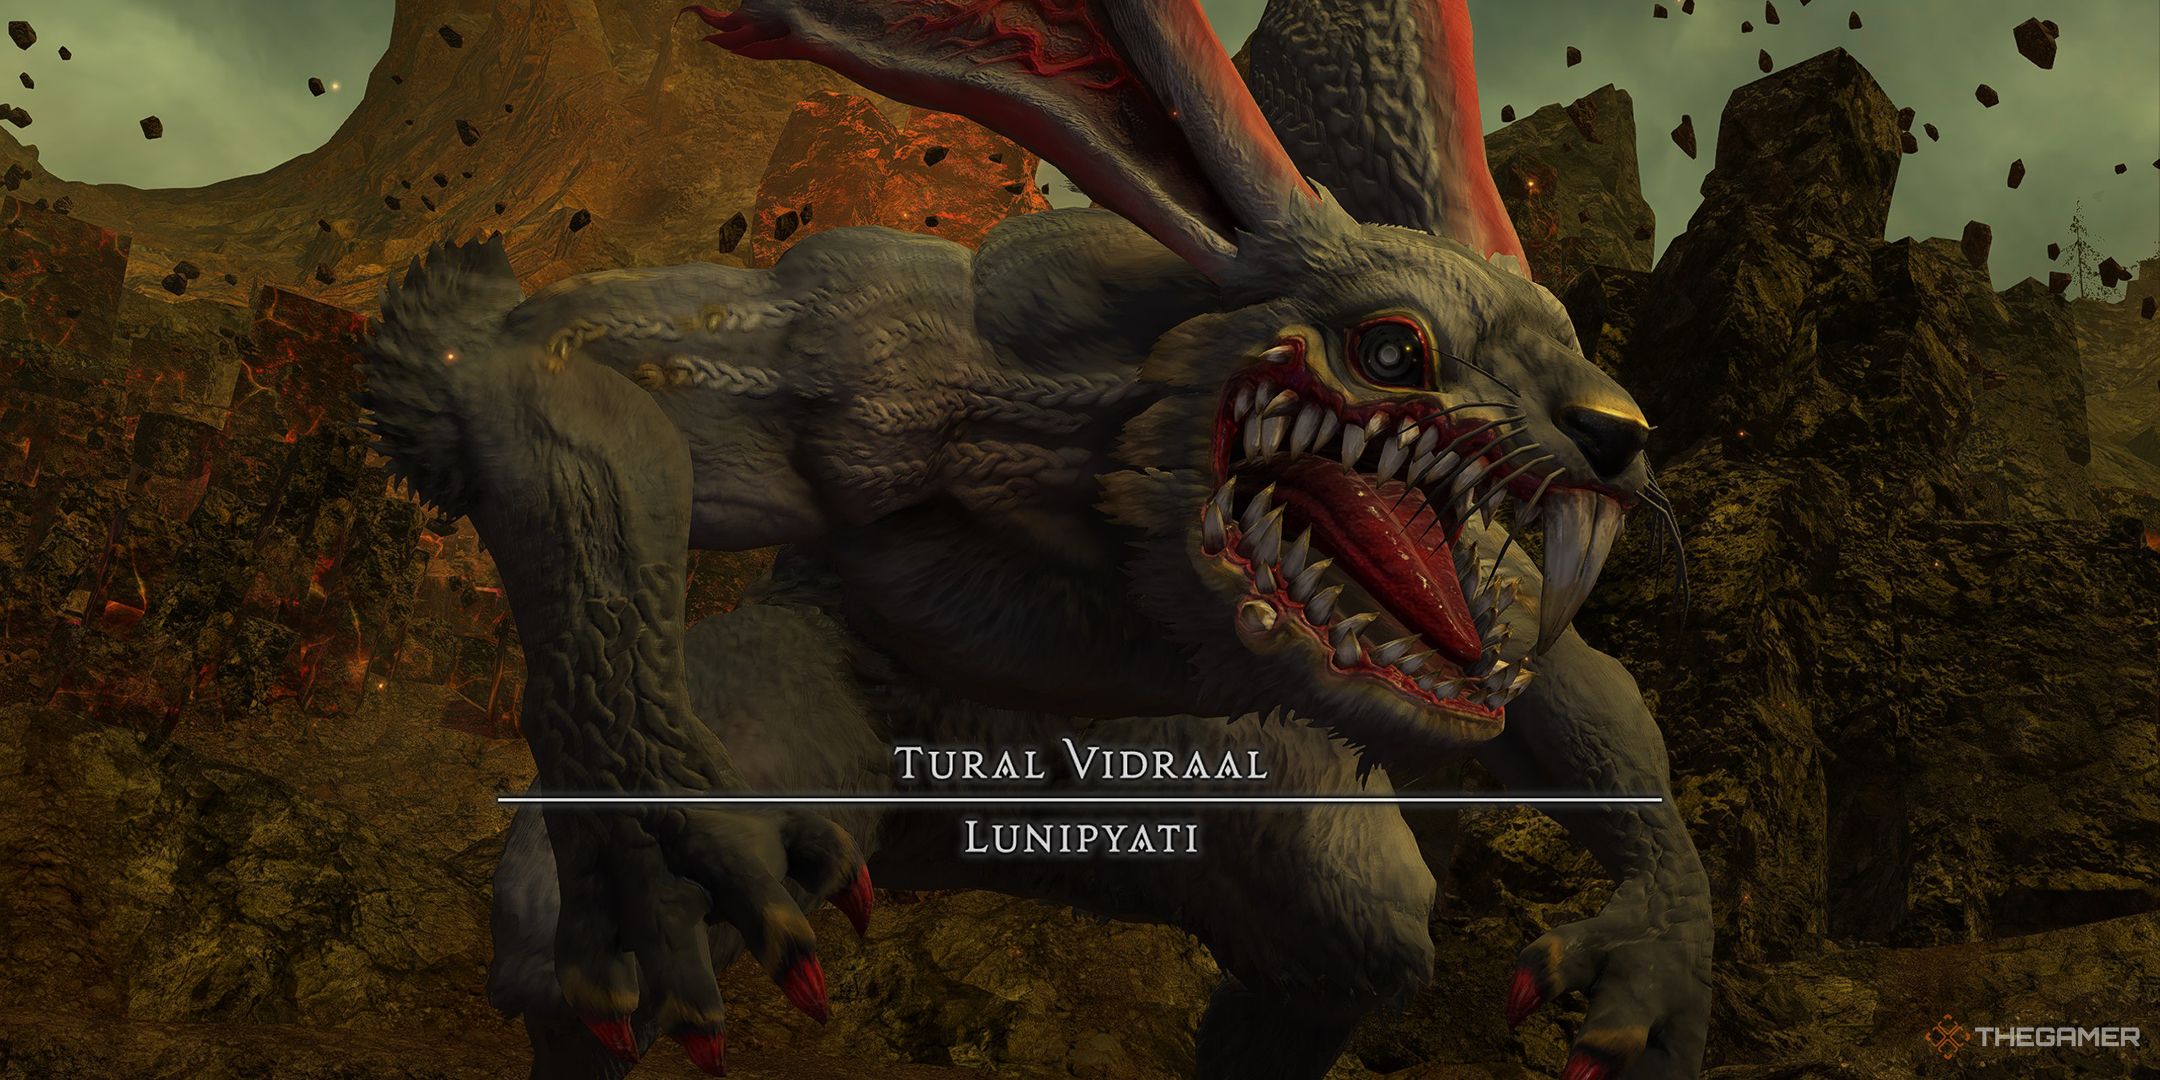
    Lunipyati


    Lunipyati, the final boss of the Yuweyawata Field Station Dungeon.

    The final boss of this dungeon is Tural Vidraal Lunipyati, and here’s what to expect during the fight.

    Attack Name

    Type

    Details

    Raging Claw

    AoE

    The boss strikes, damaging half the arena. Stay behind to avoid.

    Leporine Loaf

    Roomwide AoE

    Deals damage and creates a dangerous AoE puddle around the edge of the arena.

    Boulder Dance

    Circle AoE

    This starts with small circles that grow in specified directions; find safe spots to avoid damage.

    Jagged Edge

    AoE Markers

    Affects all party members; spread out to mitigate overlapping damage.

    Earth Spiral

    Circle AoEs

    Creates semi-circle lines followed by circle AoEs; dodge between gaps.

    Crater Carve

    AoE

    Destroys the center of the arena, creating a deadly void that persists.

    Beastly Roar

    Proximity AoE

    A proximity attack; stay away from the boss to minimize damage.

    Circling Spikes

    Circle AoEs

    A series of circle AoEs that move along the arena’s edge; approach the boss to evade.

    Turali Stone IV

    Stack Marker

    Targets a player to group and absorb incoming damage.

    Sonic Howl

    Roomwide AoE

    Inflicts damage to all players.

    Slabber

    Tankbuster

    A high-damage attack targeting the tank.

    Throughout the encounter, Lunipyati will repeatedly utilize Beastly Roar, Circling Spikes, Turali Stone IV, Sonic Howl, and Slabber. Stay alert to avoid falling into the hole created by Crater Carve, as that could immediately end the fight.

    Once you defeat Lunipyati, collect your rewards and exit the dungeon to progress in your main questline.