الوسم: dragon quest III

  • Strategies to Defeat Zoma in Dragon Quest III Remake

    Strategies to Defeat Zoma in Dragon Quest III Remake

    While Baramos may have felt like the ultimate challenge in the Dragon Quest 3 Remake, the real climax of your adventure comes against Zoma. This powerful foe stands in the way of peace—not just for your world, but for the entire realm of Alefgard. However, Zoma is no pushover and will put up a fight.

    Unlike Baramos, Zoma isn’t going to wait for you to make your move. He’ll first send a wave of his minions to test your strength before you can take him on. Every boss in this gauntlet presents a significant threat, but none rival Zoma’s overwhelming power. However, we’re ready to defeat him and end this saga.


    As you prepare to face Zoma, ensure your party members are between levels 40 and 43 at a minimum. Avoid having anyone below level 40—put in some time grinding if necessary, as the foes in Zoma’s Citadel provide excellent experience points.

    This was our lineup:

    • The Hero with a Paragon Personality, which enhances physical strength significantly.
    • A Monster Wrangler with the Everyman Personality, providing a balanced stat spread and approximately 80 recruited monsters to amplify Monster Pile-On’s power.
    • A Mage-turned-Sage with the Slippery Devil Personality for an extensive MP pool, allowing for high MP moves without concern.
    • A Priest-turned-Warrior with the Tough Cookie Personality, granting access to powerful buff and debuff spells along with impressive resilience.

    In this composition, the Hero and Monster Wrangler are key damage dealers, while the Warrior and Sage should focus on healing and boosting their abilities. Straying from these roles—even for a single turn against Zoma—could lead to a swift defeat.

    We found that equipping the Duplic Hat on the Sage was essential. This hat, which is located in a grove between mountains near the Castle of the Dragon Queen and can only be accessed with Ramia, ensures that every spell is cast twice consecutively, with the second casting being completely free.

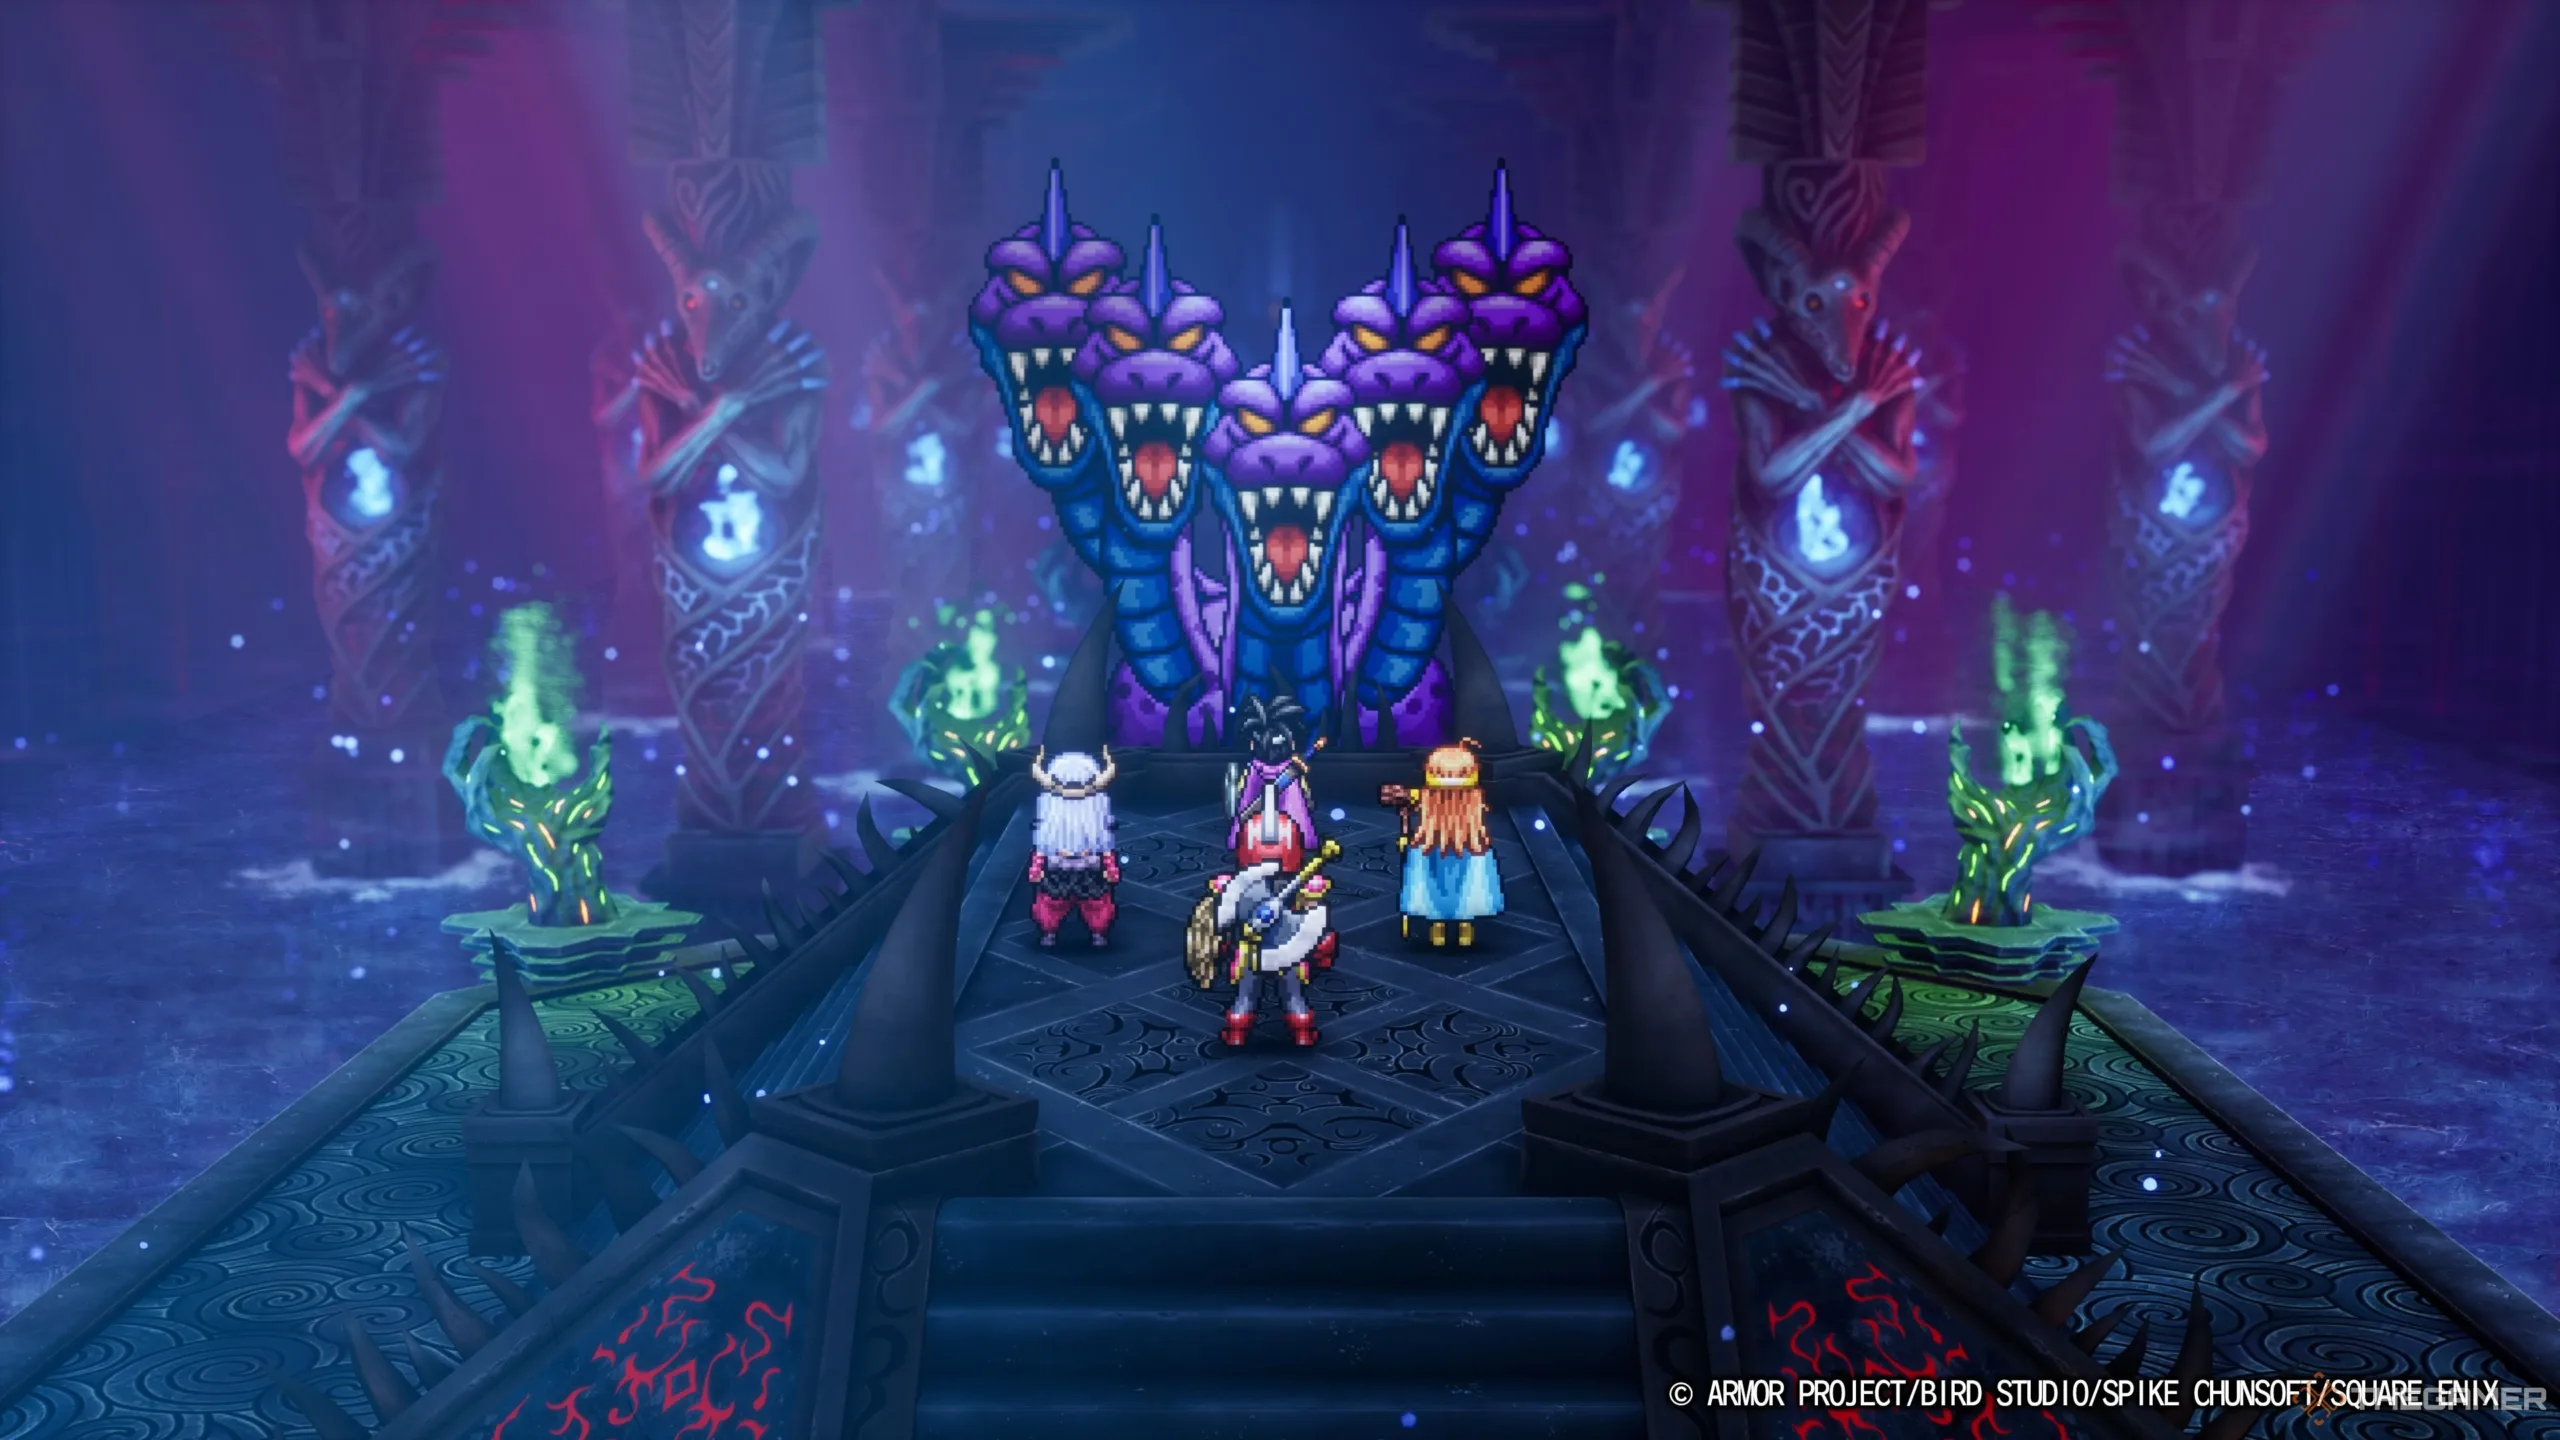
    How to Beat King Hydra

    The King Hydra, known for defeating Ortega, is the first opponent in the gauntlet Zoma presents, and he’s arguably the toughest of the three. With a considerable amount of HP, he heals about 90-100 HP each turn and can strike twice. This battle is reminiscent of fighting Orochi, but with many more status effects to contend with.

    King Hydra primarily utilizes two main attacks: a physical strike and Inferno, a Fire-element breath attack. While these attacks can be managed, it’s Sweet Breath that is particularly concerning. Spells like Insulatle offer no defense against it, making it difficult to justify using powerful accessories to gain sleep protection.

    For this reason, equipping the Sunstone on your Warrior is crucial, allowing them to absorb hits and rid the party of Sleep status. As always, the Warrior should focus on support roles, such as casting Insulatle and, if possible, using Snooze on King Hydra.

    Keep your Sage focused on healing, utilizing Multiheal consistently, even when it seems unnecessary. When given the chance, the Sage should also cast Kabuff, with the Duplic Hat ensuring it’s cast twice for added protection.

    Cast Oomph on both the Hero and the Monster Wrangler, prioritizing the latter. As King Hydra’s HP decreases, he’ll create a fog preventing magic use, so it’s vital to maintain your buffs during this time.

    After defeating each boss, you can use the Teleportal at the start of the room to heal before heading back. Fortunately, you won’t have to retake on any bosses you’ve already defeated.

    How to Beat Soul of Baramos
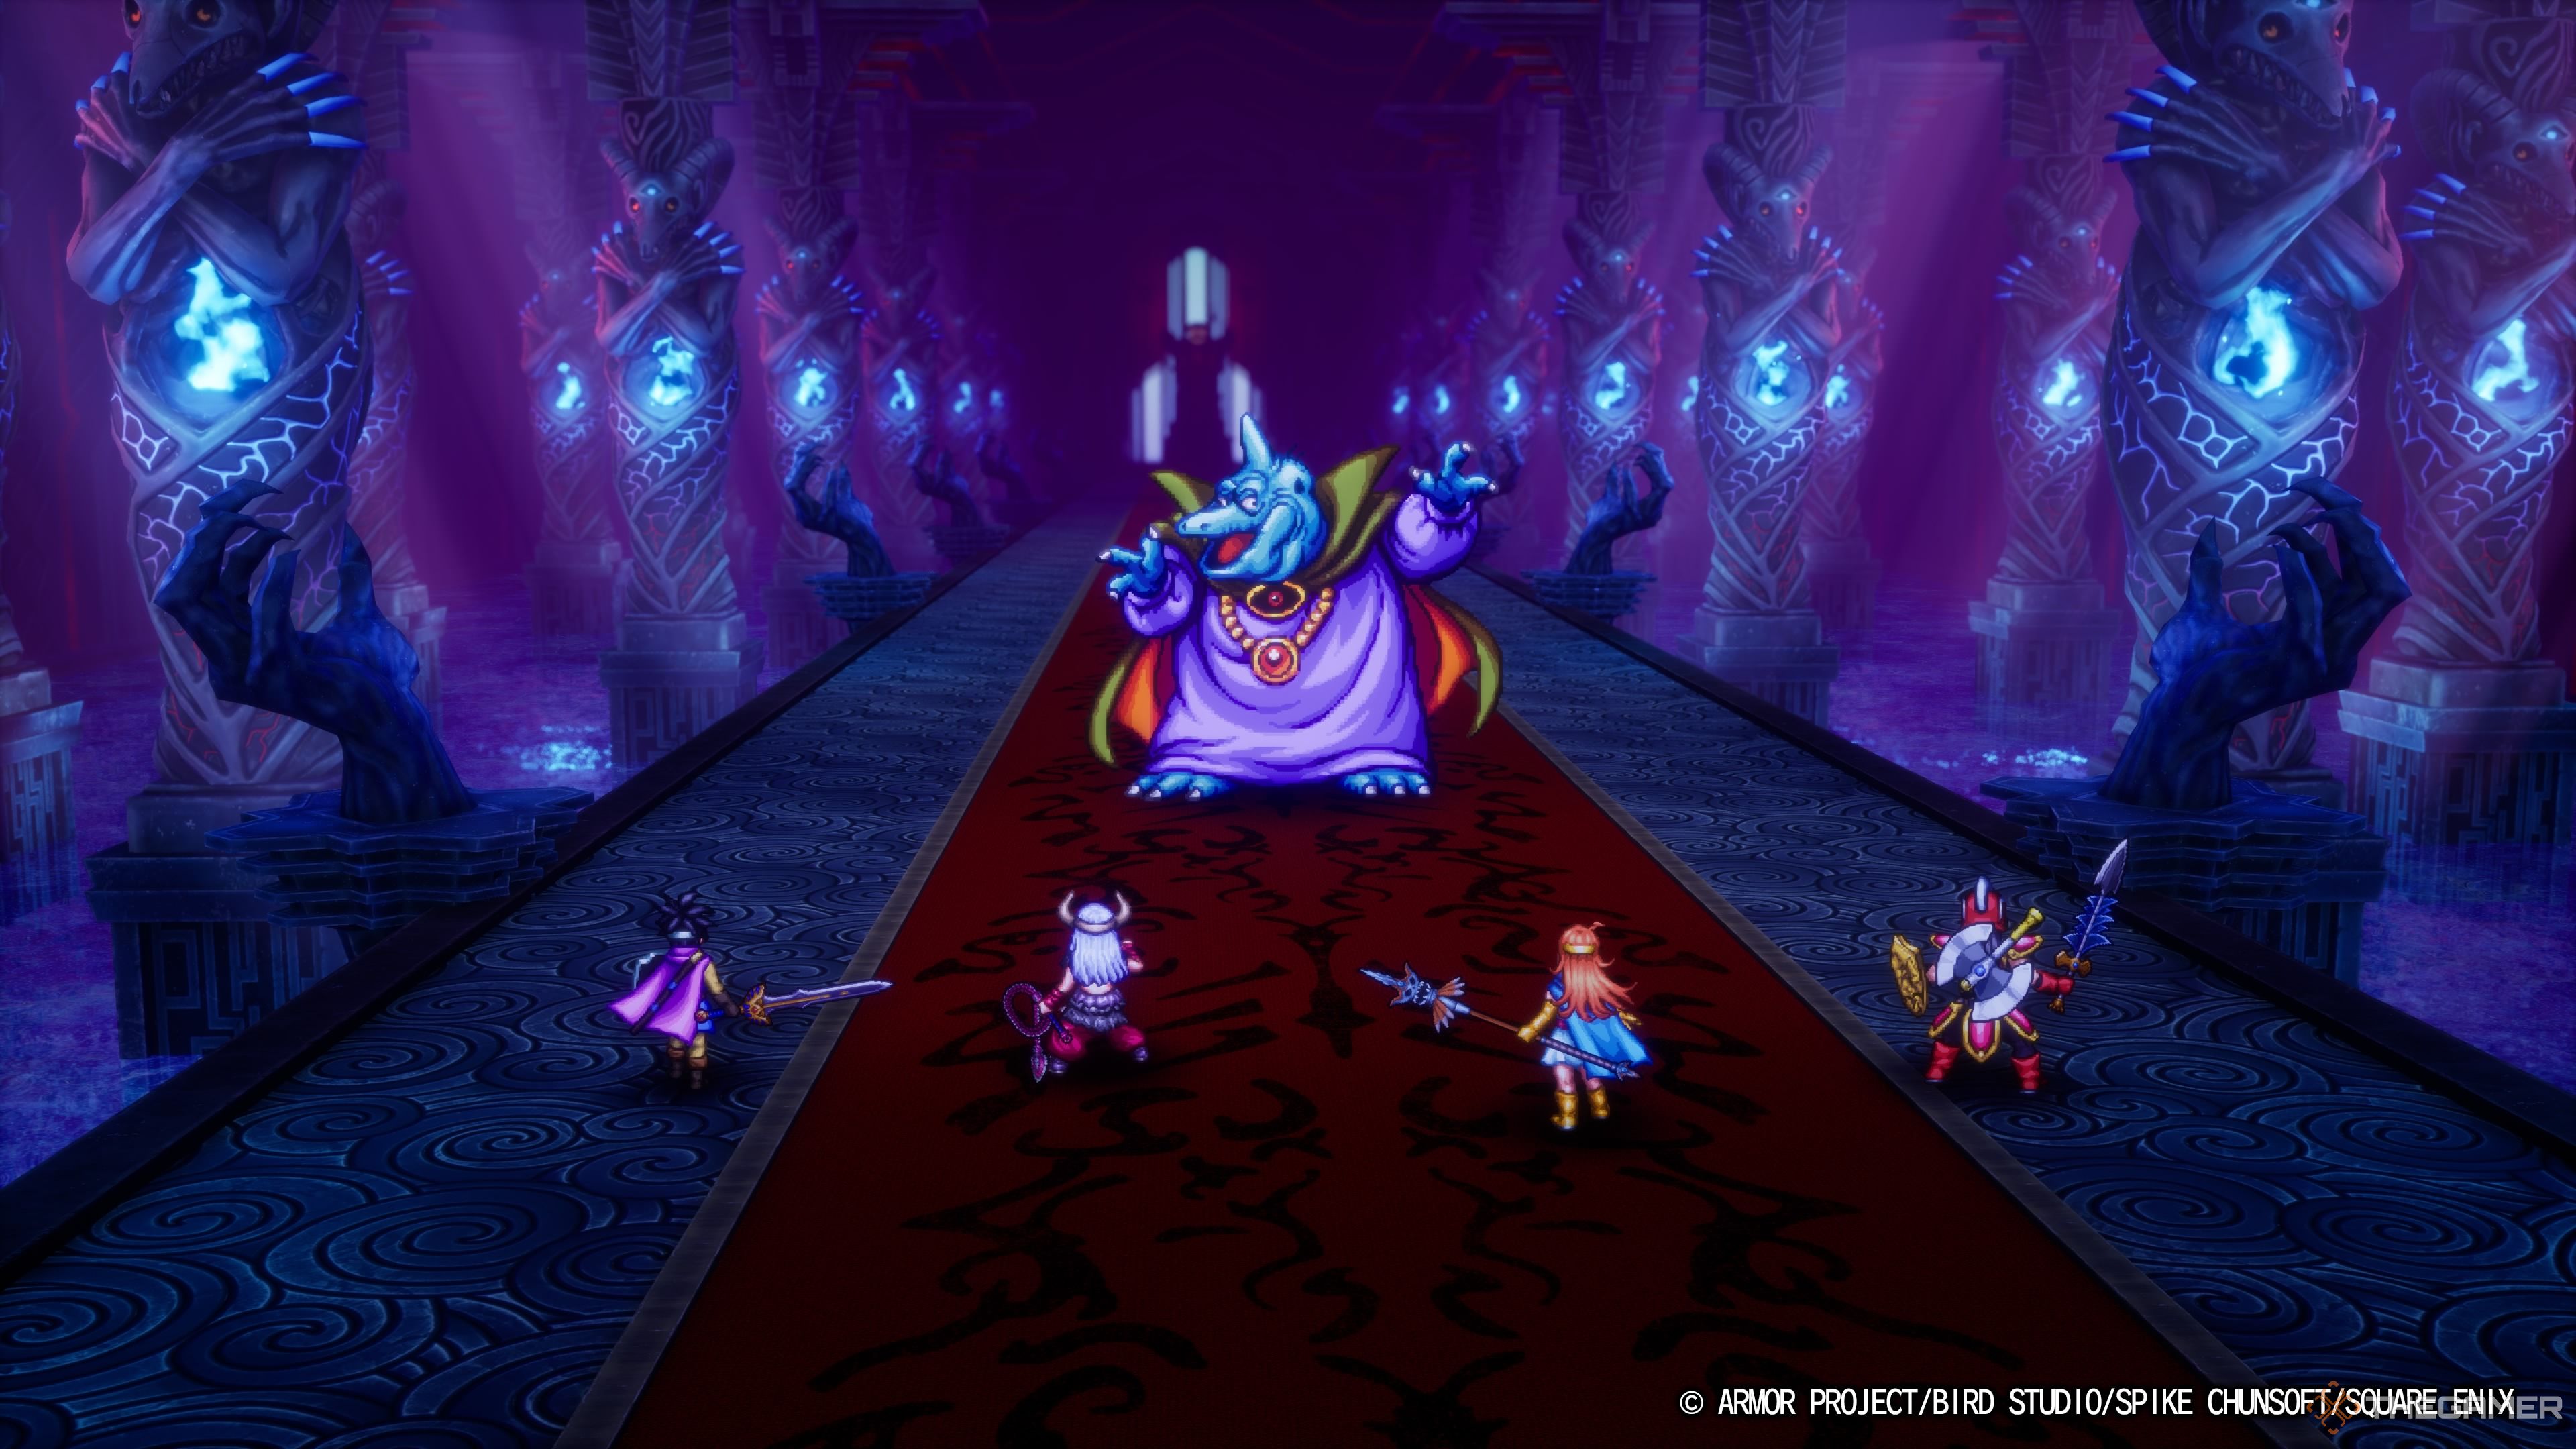

    DRAGON QUEST III HD-2D Remake party confronting the Soul of Baramos in Zoma's Citadel.

    Thought you’d seen the last of Baramos? His essence lingers on beyond your previous encounter in the Tower of Rubiss, and this time he is determined to succeed. He won’t, but props to his confidence!

    This encounter is similar to your earlier battle against him, with not much additional complexity. Baramos will use the strongest versions of his moves and will often spam Inferno if you manage to cast Fizzle on him. This can work to your advantage, allowing you to focus on casting Insulatle instead of juggling multiple defensive spells.

    As before, the Warrior and Sage should focus on buffs and healing, while the Hero and Monster Wrangler take charge of the attacks. Remember that Baramos is particularly vulnerable to Lightning, so apply Oomph on the Hero and use Lightning Slash frequently. Utilize Wild Side and Monster Pile-On with the Monster Wrangler for massive damage output.

    Be aware that Baramos will cast Blasto more frequently during this fight, although it remains a low-hit probability move. He does have substantial HP, which means it may take a while to wear him down. Maintain your assault, and victory will be yours once again.

    How to Beat Bones of Baramos

    Oh, you thought Baramos was done? His soul may have been defeated, but his body is still hanging around. Now you face the Bones of Baramos, which look oddly dragon-like. Fortunately, this is the easiest of the trio of bosses you’ll encounter before Zoma.

    This battle is more about endurance than strategy. Bones of Baramos use basic attacks—primarily a standard physical strike, Attack Attacker to debuff your strength, and an All-Out Attack that delivers heavy damage while lowering their defense.

    They keep their Lightning weakness, so unleash Lightning Slash as much as possible and cast Oomph at the earliest opportunity. The same tactics apply for the Monster Wrangler, using Wild Side followed by Monster Pile-On for impressive damage.

    Play your Sage and Warrior a bit differently here. The Sage should focus on healing and casting Oomph—there’s no need to concentrate on debuffing the boss since he weakens himself naturally. Encourage your Warrior to contribute physical attacks to accelerate the onslaught.

    This fight should conclude in just a few minutes without major problems. Keep up the pressure because the boss can recover about 300 HP each turn. Keep attacking until you put him down for good.

    How to Beat Zoma

    This is it—the ultimate challenge. Zoma is hands down the toughest adversary in the game, feeling similarly daunting to the first time you faced Baramos. He is a formidable opponent. But you’ve overcome every obstacle leading up to this, and now you have the power of the Dragon Queen backing you.

    When the battle with Zoma commences, he will be surrounded by a dark blue aura, healing roughly 300 HP each turn and dealing over 100 damage with each hit. It may seem impossible to win against such odds, and it sort of is. Instead, you can use the Sphere of Light to remove his aura, making him a considerably weaker but still very challenging opponent.

    If you let several turns go by without using the Sphere of Light, you will be prompted to use it. You can choose to decline if you’re looking for a tougher fight.

    After a brief exchange with Zoma, he will lose much of his power, dealing less damage and no longer healing himself. However, he won’t hold back on using his full range of abilities, and he has plenty to spare.

    Expect Zoma to bombard you with Ice-element attacks, including Kacrackle, Freezing Blizzard, and occasionally C-C-Cold Breath. The first is a magic attack, while the latter two are breath attacks. Keep Insulatle and Magic Barrier active at all times to mitigate damage.

    As if that wasn’t enough, Zoma can attack three times per turn. He may unleash all three moves in a single round, decimating your party if you’re unprepared. Not to mention, Zoma has high agility, making him quite challenging.

    As previously, the Hero and Monster Wrangler will lead the offense, but it’s unlikely you’ll find much time to cast Oomph—focus instead on healing and buffing yourself. Use Sap only when you’re absolutely confident in your ability to survive the assault. He has no significant weaknesses, so repeatedly use Falcon Slash to maximize your damage output each turn.

    Throughout the fight, Zoma will occasionally wipe all beneficial effects from the party. While this is an annoyance, it also means he uses up an action to do so. Whenever this happens, make sure to cast Acceleratle so you can outpace Zoma’s actions. Fortunately, he doesn’t remove any negative status effects from himself.

    Restore your buffs promptly as they begin to fade. This way, you’re likely to reapply them right after Zoma removes them.

    When Zoma’s HP is running low, he will boost his magical power, potentially inflicting over 100 damage even with your defenses up. At this stage, failing to maintain those defenses could spell doom for your party. Even if your team starts this turn with high HP, have your Sage cast Multiheal in case Zoma removes your buffs and poses a significant threat.

    The fight becomes more tactical as Zoma begins to employ more status effects, using moves like Dazzle when his health is diminished. While this may reduce your accuracy, it’s far better than dealing with his increased power. Stay vigilant and take things slowly to ensure your success.

    Once you land that final blow, you’ll be transported to Talontear Tunnel, leading you towards the credits. Congratulations—you’ve liberated Alefgard from the darkness. You’ve completed Dragon Quest 3, paving the way for the stories of Dragon Quest 1 and 2.

  • Locating the Sage’s Stone in the Dragon Quest III Remake

    Locating the Sage’s Stone in the Dragon Quest III Remake

    While Baramos’ Lair may have felt like the ultimate challenge in Dragon Quest 3 Remake, Zoma’s Citadel is the real final destination. This is where you face Zoma directly, along with his formidable minions. Prepare for a tough battle.

    Zoma’s Citadel isn’t the longest dungeon in the game, but it is full of tough foes and even tougher treasures. By now, your Hero should be well-equipped, but the items here will certainly help when battling the enemies on your way to Zoma.

    How to Get to Zoma’s Citadel


    Your journey to Zoma’s Citadel is a significant challenge in Alefgard. When you reach Tantegel, you’ll spot Zoma’s Citadel shrouded in purple fog in the distance. While the island is nearby, surrounded by tall mountains and hills, you won’t be able to reach it by sea.

    You need to obtain the Rainbow Drop. To get it, you must first gather the Sunstone from Tantegel, the Staff of Rain from the Shrine of Spirits, and the Sacred Amulet from the Tower of Rubiss. Once you have all these items, bring them to the Sanctum on an island to the southeast, and you will receive the Rainbow Drop.

    Afterward, head to the location assigned by the priest, which is the peninsula north of Cantlin. There, the Rainbow Drop will create a bridge for you.

    Upon entering Zoma’s Citadel, you’ll encounter numerous long hallways and deceptive passages that are designed to lead you into battles with enemies. From the entrance, choose either the left or right corridor and continue down the inner corridor to the south until you reach the central chamber. The side paths only lead to a looping staircase on the lower floor.

    When you enter the central chamber, prepare for combat against a group of Living Statues. They aren’t much different from others you have faced, so use your usual strategies. Keep in mind that they will appear in waves, continuing until you defeat the entire group.

    After taking down the Living Statues, proceed to the northern room. If you have the Safe Passage spell, cast it to walk safely over the electrified flooring and interact with the throne to move it. Then, take the newly revealed stairs down to floor B1, which features a winding staircase.

    At the bottom of these stairs, you’ll arrive on floor B2. Ignore the stairs to your right and go into the north room instead. This room has colored tiles like those in the Tower of Rubiss, which will twist your controls. Walking with the D-pad is safer here.

    The two side passages contain treasures, but our goal is the north side. Descend the stairs to floor B3. This room is straightforward, with only one exit in the top-right corner, but expect to face many enemies as you prepare to heal yourself.

    Upon descending to floor B4, you will finally meet Ortega, the Hero’s long-lost father. After a heartfelt moment, head north. This area may look complicated, but simply navigate it in a clockwise direction to find the next staircase.

    This staircase leads to the Altar of Sacrifice. There’s a Teleportal to heal and rest at an inn before you continue your approach, as this is the ultimate confrontation that awaits you. Make sure you’re as ready as possible.

    Every Optional Item

    Getting to Zoma isn’t the toughest aspect of this dungeon; the real challenge lies in surviving while you collect all the valuable treasures. There are some excellent items here, including one that is particularly valuable for the final battle—so be sure not to overlook them.

    Here’s a rundown of where to find each item:

    There are many great items within this dungeon, but the Sage’s Stone stands out as the most unique and powerful. This item can restore health to your entire party infinitely during battles, akin to Multiheal. It’s especially invaluable for groups lacking two healers.

  • Essential Tips for Mastering Dragon Quest III HD-2D Remake

    Essential Tips for Mastering Dragon Quest III HD-2D Remake

    Dragon Quest 3 HD-2D Remake is a stunning reimagining of one of the most beloved titles from the ’80s, bringing nostalgia and modern flair to a classic RPG. You step into the shoes of Ortega’s child, a legendary hero, embarking on a quest to rescue those in peril and battle otherworldly foes.

    As this remake stays true to its roots, you’ll encounter various familiar elements, alongside new features that may surprise even seasoned players. If you’re having difficulty in the early parts of this expansive RPG, here are some tips to help you along your journey.

    Be Mindful of Your Stat Seeds

    Throughout your adventure, you’ll collect a plethora of stat seeds. It might be tempting to give them all to your main character—the Hero—since you will consistently use them, right? However, avoid the urge to feed all your seeds to your Hero. Remember, they are just one member of your four-person team.

    If your Hero falls in battle, all those seeds will be wasted. Instead, focus on distributing the seeds among your party members who can take maximum advantage of them based on their specific strengths.

    This means that you shouldn’t try to compensate for weaknesses. For instance, warriors will consistently have low MP, while magic users will rely on spells rather than physical attacks. So, be strategic with how you allocate those seeds.

    Treasure Hunting

    A classic aspect of the game is the ability to find items hidden in pots, barrels, wardrobes, bookcases, and bags on the walls. Thorough explorers can amass a treasure trove of items and coins simply by being diligent.

    Over time, you will notice that the design of searchable objects remains consistent. A pot with an item will look the same, no matter where it’s located. Once you learn to recognize these objects, you’ll spend less time searching empty spaces and can identify them more readily in new areas.

    Stock Up on Essentials

    While the game is pretty forgiving initially, there are a few crucial items that you should always keep in your Item Bag:

    • Medicinal Herbs are essential at the start because random encounters can quickly deplete your HP. They heal a good amount of health and are inexpensive, allowing you to stock up for use outside of battle to conserve MP.

    • Prayer Rings are fantastic for restoring MP, with a minimal chance of breaking upon use. It’s wise to utilize these in abundance and to keep at least one for emergencies—extra MP can make all the difference in tough battles or tricky dungeons.

    • Until your hero or spellcaster learns Zoom, always have some Chimaera Wings on standby. These items let you escape challenging dungeons, return to safe towns from remote areas, or swiftly travel between locations to complete quests.
      • Remember to keep these handy even after learning Zoom—if your party members are defeated, they can’t cast spells, leaving you vulnerable if trapped in a dungeon with no means to escape.

    Dungeon Strategy

    Dungeons can be treacherous, especially with high encounter rates and formidable foes in the mid to late game. However, they contain valuable treasures, which may entice you to explore every corner, running the risk of depleting your HP and MP.

    The best approach is not to stress about finding everything on your first visit. Once the map opens up, you might confront dungeons that are too tough to clear in one go. It’s often more manageable to break your exploration into multiple visits. Some dungeons are challenging to collect all the loot, while returning to tackle the boss can be much easier.

    Beware of Nighttime Monsters

    This point is straightforward: while monsters don’t actually become tougher at night, you’ll encounter more powerful foes during nighttime. This can complicate longer trips to towns or dungeons.

    Until you acquire a way to change the time of day at your convenience, consider staying at inns or waiting for dawn before embarking on a lengthy journey.

    Utilize Autosave for Financial Security

    Falling in battle typically results in significant penalties, such as being revived at the last church visited, which will cut your funds in half. To avoid this, players would traditionally save their money in banks, preventing financial loss from unwinnable encounters.

    However, this remake offers an exceptionally useful feature: autosave. If you fall in battle, simply loading the last autosave—usually just moments before—will allow you to escape using a Chimaera Wing or cast Zoom, giving you a chance to retry.

    Unless you’re in a rare situation where you cannot use Zoom and lack an escape option from your autosave, always take advantage of autosave before reviving at a church.

    Try Out Monster Wrangling

    A fresh addition to the remake is Monster Wrangling, a feature that allows you to recruit creatures you meet along your journey.

    Early in the game, you’ll learn about this mechanic, which relates to the skills of the Monster Wranglers in your party. They gain new abilities by recruiting various monsters, and they also pick up helpful moves like group healing and stuns, making them solid contributors without overshadowing your Hero.

    Keeping a Monster Wrangler in your party is highly recommended. Not only do they excel in combat, but they also simplify the recruitment process without needing the Musk item or Thief’s skills. Their adaptability in battles is invaluable.

    Don’t Ignore Mini Medals!

    Easily overlooked, there’s a well in Aliahan where you can meet the Mini Medal collector, who rewards you with powerful treasures for reaching specific thresholds of these collectibles.

    Mini Medals can be found all over the game, so it’s important to thoroughly explore every area, even inspecting odd patches of ground for hidden items.

    If you have a Thief in your party, they can learn a skill that highlights spots to investigate. Use this ability generously in every new or familiar area!

  • Locating Mountaincleaver in the Dragon Quest III Remake

    Dragon Quest 3 Remake features a comically large number of pirates. Every port town has its share of pirate-related fears, there’s a dedicated Pirate’s Den hidden away from civilization, and even a ghost ship full of buccaneers. It’s important to note that they’re all spirits, but it seems that pirate life continues on even in the afterlife.

    This Ghost Ship carries a heart-wrenching story of two lovers separated by fate, which is quite different from the brutal tales often told about pirates. Finding this ship is no small feat, and you definitely won’t want to overlook the many treasures it hides, just like a true pirate ship should.

    Locating The Ghost Ship

    Although you can hear rumors of a Ghost Ship floating around the seas early in the game, including at the Pirate’s Den, it won’t actually appear until you meet certain requirements. First, you need to possess a bone from one of the late crew members. It sounds morbid, but it’s essential.

    To get that bone, you must complete the quest in Manoza City to obtain the Mod Rod. Take this Mod Rod to an elderly man living in a remote hut in Grimland, and he’ll provide you with the Boatman’s Bone. With that, the Ghost Ship will finally make its entrance in the game.

    Fortunately, it will show up on the world map, so you won’t need to search far. Contrary to the whispers about it sailing the seas, it’s actually . You can easily fast travel there and sail south to reach the Ghost Ship. Get ready for your adventure onboard.

    Finding The Lover’s Locket

    If you’ve visited Olivia’s Promontory after acquiring the Ultimate Key, you can meet a bard who will recount the story of Olivia and her lost lover. The statues at Olivia’s Promontory are animated by her lingering spirit, and she can find peace with a token of her lover’s affection.

    This is the very item you’re searching for aboard the Ghost Ship. The ship itself isn’t enormous, but be cautious as it is swarming with enemies (none of whom are actual pirates, interestingly enough). Go below deck using any of the multiple staircases.

    You’ll find the Lover’s Locket in the southern part of the ship, located inside a small box on the floor next to a white sheet. That’s truly all you need from the Ghost Ship to help Olivia and her lover find closure. If you’re ready, feel free to leave right after.

    All Optional Items

    Since you’re aboard a pirate ship, you should definitely scour it for all the treasure it has to offer. Let’s start from the top deck and work our way down to ensure we uncover every hidden gem on the Ghost Ship.

    Item

    Floor

    Directions

    Squidzilla

    Deck

    At the front of the ship near a statue.

    Fading Jenny

    Deck

    Right of the ship’s bow inside a barrel.

    Poison Needle

    B1

    In the lower center chest of the room on the starboard side.

    Mini Medal

    B1

    In a barrel on the starboard side of the ship’s room.

    Cower Ring

    B1

    In the upper right chest of the room on the starboard side.

    Moonwort Bulb

    B1

    In the upper center chest of the room on the starboard side.

    Sizeable Scissors

    B1

    In the upper left chest of the room on the starboard side.

    Walking Corpse (Monster)

    B1

    Near one of the oars on the northern starboard side.

    Garter

    B1

    In the center room connecting to the aft of the ship.

    Acquiring Mountaincleaver

    Once you have the Lover’s Locket, you can return to Olivia’s Promontory and head towards the imposing twin statues that once blocked your entry. Now, with the Locket in hand, it will shine brightly, summoning Olivia’s spirit, reuniting her with her lover, and lifting the barrier created by the statues. Proceed onward.

    In the middle of this lake, you’ll discover the Shrine of Shackles, where Mountaincleaver awaits. Descend through the shrine until you come across the spirit of Simão. He will share stories about Ortega and the transformation of the King of Manoza, before guiding you to the location of Mountaincleaver, which is kept in a nearby cell, but it only reveals itself after you’ve seen his memories.

    With Mountaincleaver in your grasp, you can now make your way to Mt. Necrogond and forge the path to Baramos.

    You can also use Mountaincleaver as a weapon until you reach this point, so enjoy its power for now.

  • Unlocking Flight in the Dragon Quest III Remake: A Guide

    Unlocking Flight in the Dragon Quest III Remake: A Guide

    As a remake of a cherished classic RPG, Dragon Quest 3 Remake retains many nostalgic features, especially in its expansive overworld where you’ll spend a lot of your time exploring. However, traveling by foot can feel slow and tedious.

    Fortunately, the game provides various modes of transportation, including your very own ship that you receive early in the storyline. But even with this vessel, you’ll find some places are still beyond your reach. If only you had wings to soar to those distant mountains! Thankfully, the clouds are closer than you might think.

    Unlocking Flight

    Once you receive your ship from the King of Portoga, a mysterious voice guides you to discover the six hidden Orbs scattered throughout the world. These Orbs are crucial for defeating Baramos, although the game doesn’t directly explain how. Here’s why they are important.

    Baramos’ castle is situated on an isolated inland lake that no ship can access, making flight your only option. With all six Orbs, you can hatch the Everbird, Ramia, from its egg. This legendary creature recognizes you as a hero and allows you to ride on its back, granting you the ability to traverse the vast world, ultimately leading you to Baramos’ lair.

    Hatching Ramia is simple. You need to place the six Orbs on the pedestals surrounding its egg, and once all are in place, you will unlock Ramia. The Everbird Shrine is located on a snowy island far south of the Ibis desert.

    The Mechanics of Flight

    Now that you have command of the Everbird Ramia, you can freely explore the entire world. But how does flying work? It differs from both walking and sailing, so it may take a little time to adjust.

    Ramia’s controls resemble those of the ship and walking. You simply move the control stick in the desired direction. However, unlike other transport methods, Ramia cannot boost, which means you won’t fly as fast. This limitation is the trade-off for the increased freedom of movement.

    Instead of a speed boost, you have the ability to adjust Ramia’s flying height. This doesn’t affect much beyond your proximity to the ground, but it helps with precision landing. Ramia features a cursor for landing, which you can control independently, allowing you to target your landing spot accurately.

    When landing, avoid descending while moving. The cursor can move quickly, causing you to land farther than expected. Keep Ramia stationary as you approach the landing.

    With Ramia, you can access many hidden areas between the mountains, including one of the game’s most powerful items, the Duplic Hat, tucked away in a secret location. Be sure to thoroughly explore the map before your final battle with Baramos.

  • Unlocking Rubiss in the Dragon Quest III Remake: A Guide

    Unlocking Rubiss in the Dragon Quest III Remake: A Guide

    When you embark on your quest in Dragon Quest 3 Remake, your main objective is to defeat Baramos, the dark force terrorizing the realm. Once you conquer him, you’ll discover an even greater menace orchestrating events from the shadows: Zoma, the ruler of the dark realm.

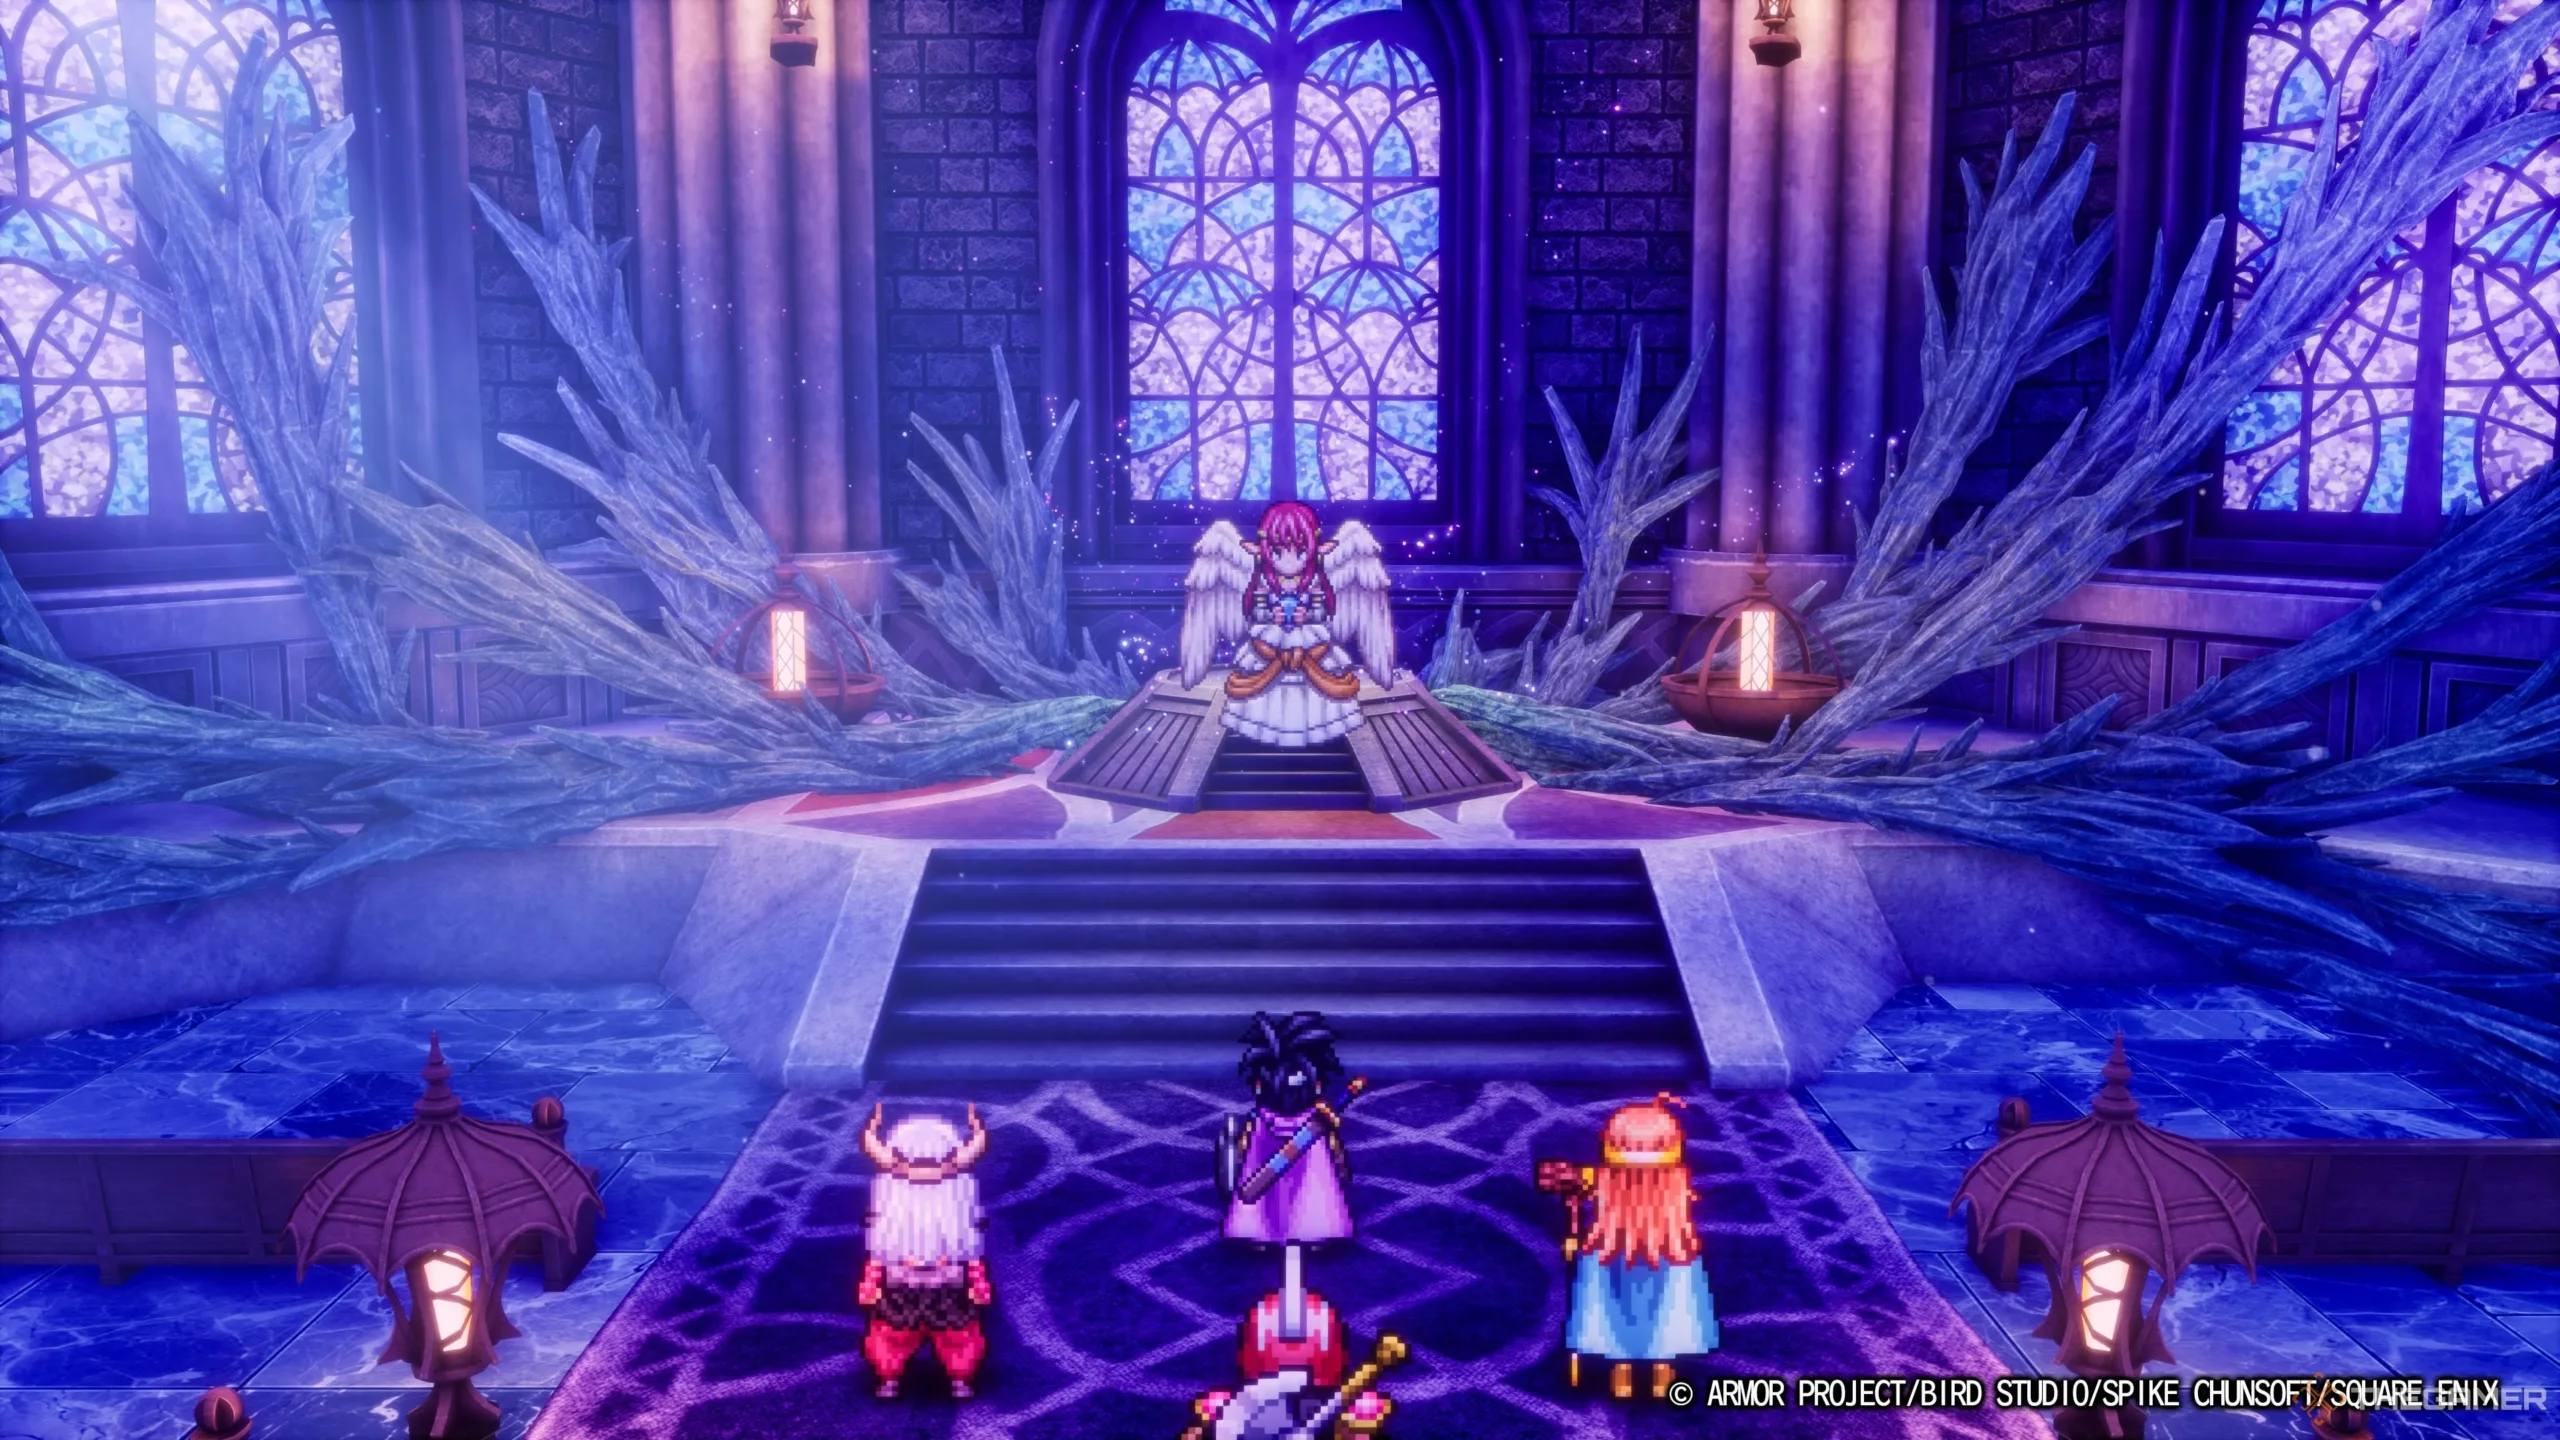
    To confront this formidable foe, you need to locate the divine Rubiss, who has been imprisoned by Zoma in the Tower of Rubiss. This task involves several prerequisites you’ll need to complete before freeing Rubiss herself. Let’s dive into the details.


    Before you enter the Tower of Rubiss, ensure you are well-equipped. Although its enemies may not hit hard, they can inflict serious status ailments. Having gear that protects against Sleep is essential to keep your team alert during battles.

    Here’s the party setup we used for tackling the Tower of Rubiss:

    • The Hero with the Paragon Personality for superior physical strength.
    • A Monster Wrangler with the Everyman Personality to balance stats, enhanced by the monsters you’ve brought on board.
    • A Mage-turned-Sage with the Slippery Devil Personality for increased wisdom, agility, and a higher MP cap.
    • A Priest-turned-Warrior with the Tough Cookie Personality for solid HP and resilience, along with sufficient MP for buffs.

    Aim for your party to be around levels 35-40. If you’ve gained a couple of levels since your initial exploration of Alefgard, you should be in good shape.

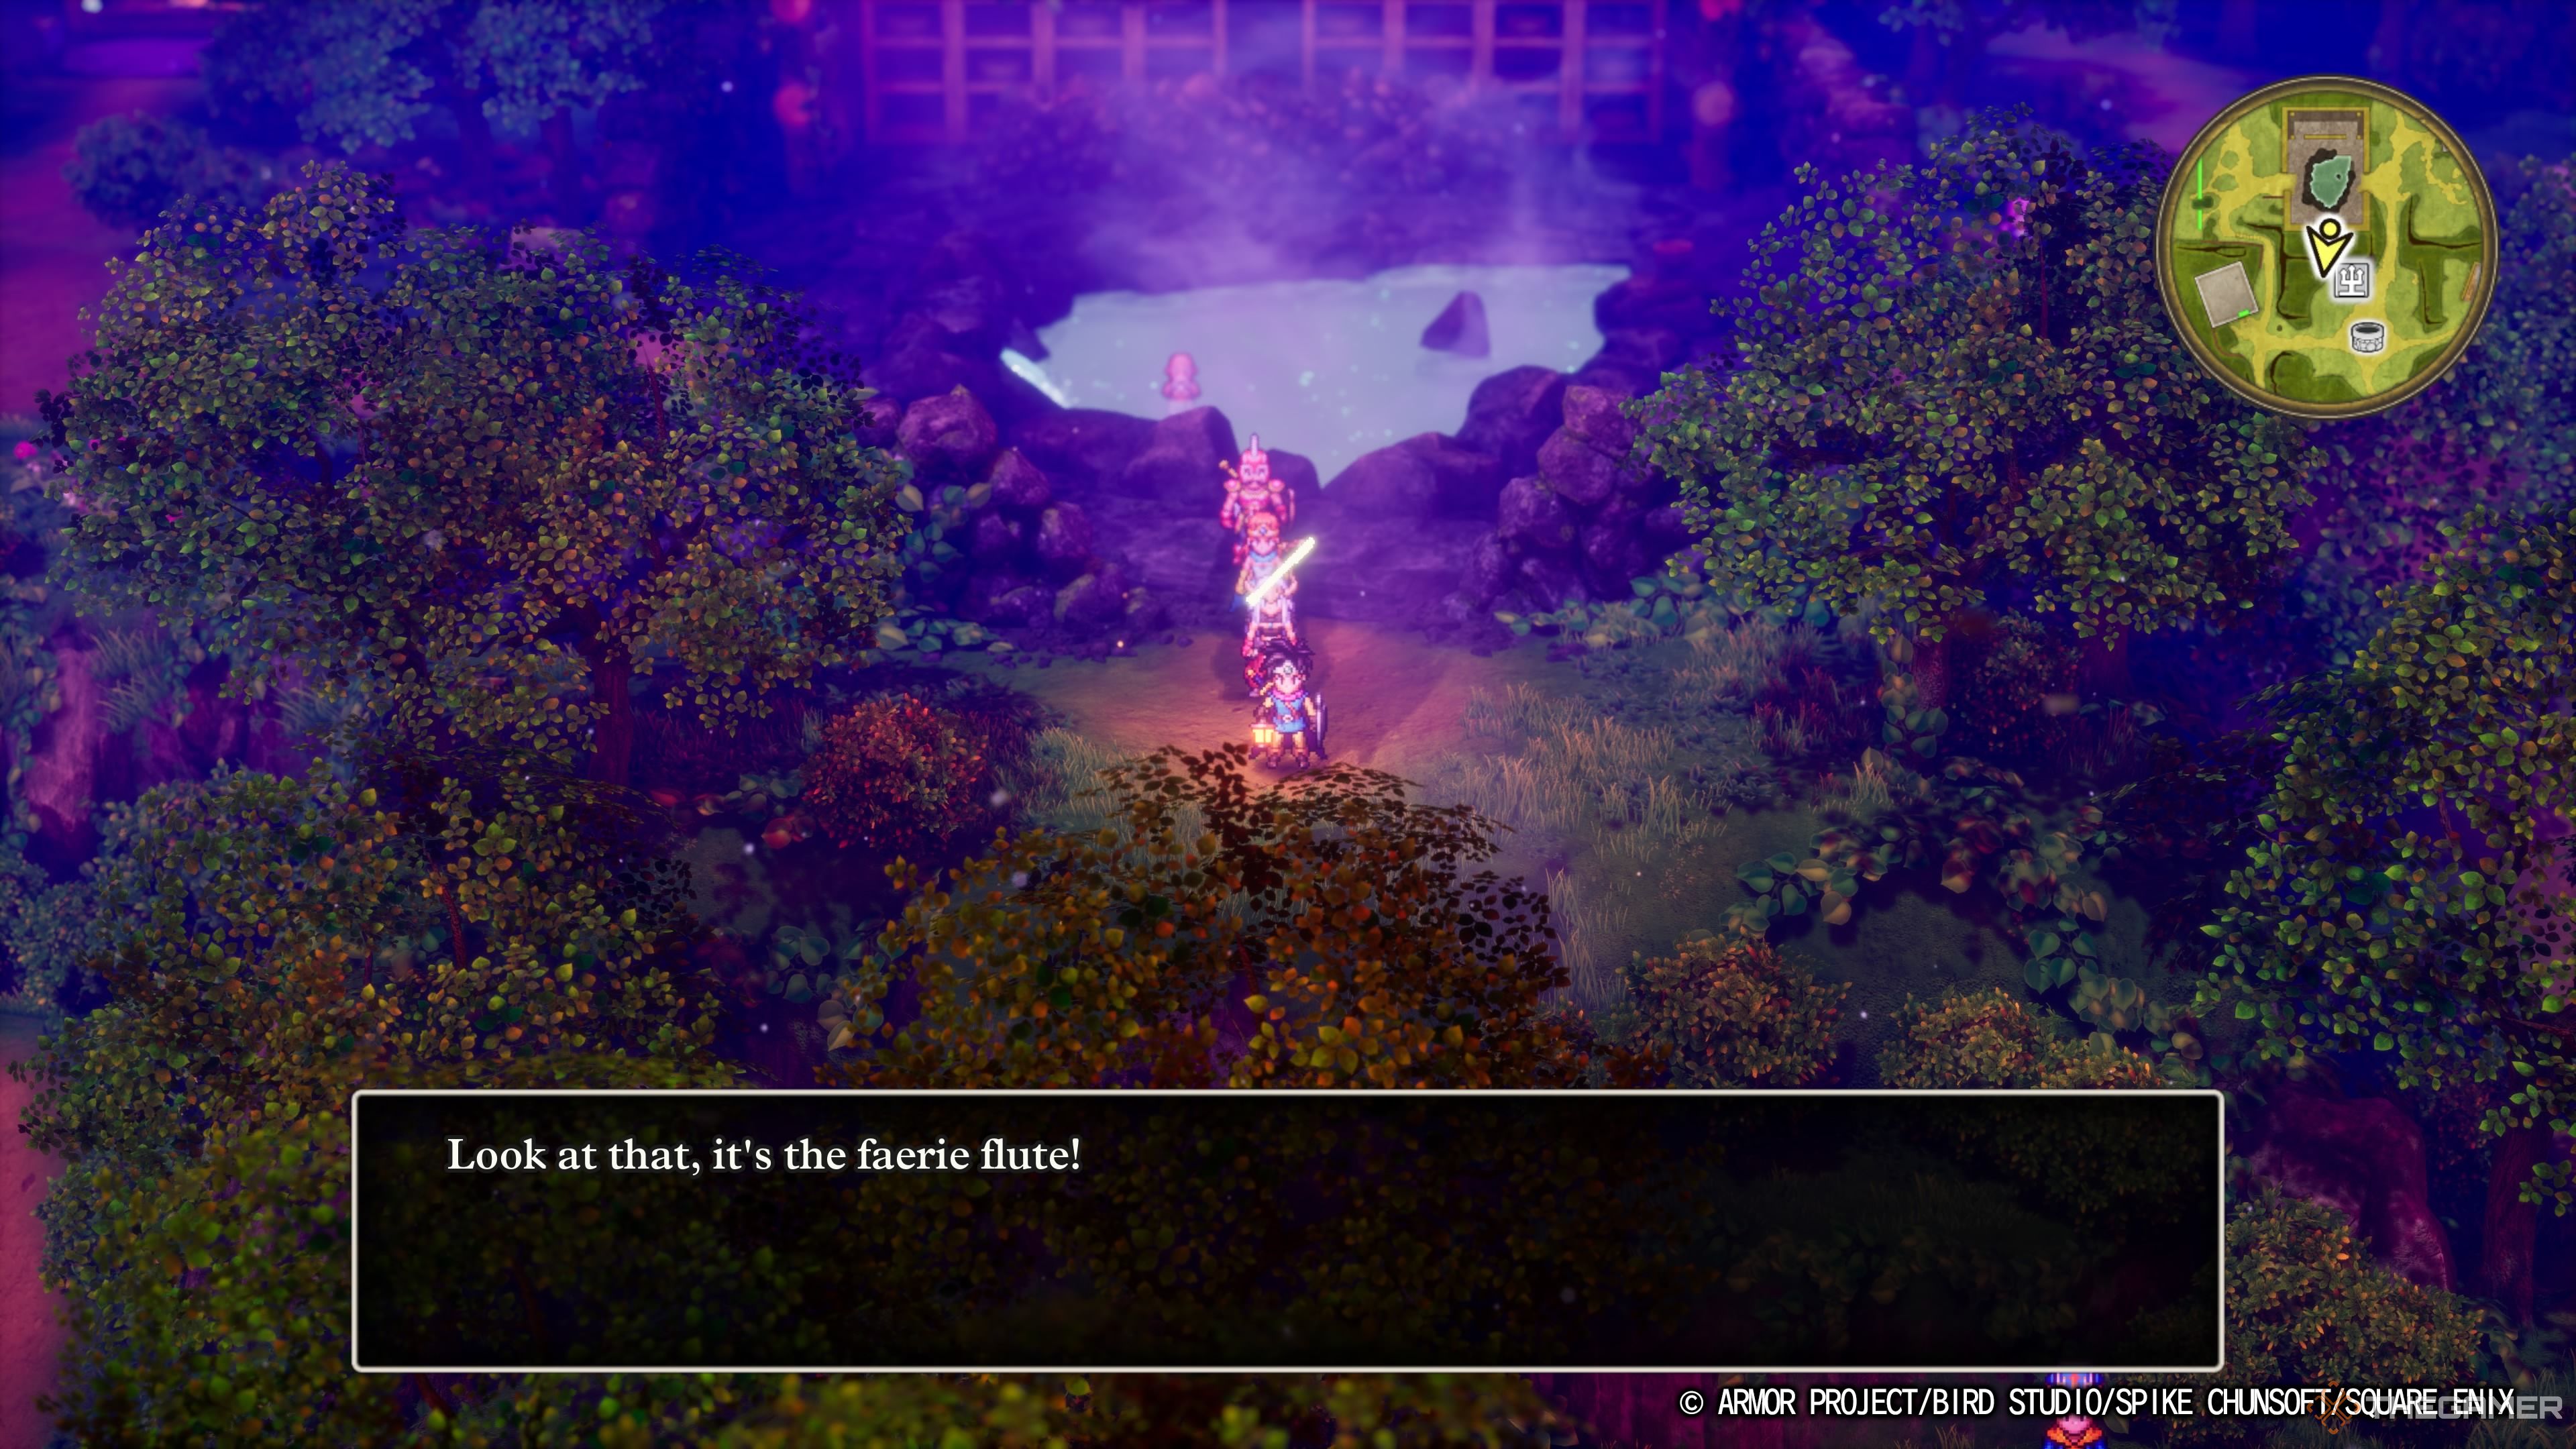
    Locating the Faerie Flute


    DRAGON QUEST III HD-2D Remake finding the faerie flute by the hot springs in the town of Kol.

    If you attempt to rescue Rubiss before obtaining the Faerie Flute, she will remain encased in stone. To avoid unnecessary battles and backtracking, make sure you collect the Faerie Flute beforehand.

    Where can you find the Faerie Flute? Fortunately, it’s nearby the Tower of Rubiss, located in the town of Kol to its southeast. You won’t need a grand expedition; just head north from the town, and you’ll spot it next to the hot springs. Pick it up, and you’re ready to continue your adventure.

    The Faerie Flute also has the added advantage of putting all enemies to sleep when used in battle.

    Although the Tower of Rubiss may appear intimidating, the real challenge lies in finding your way through its twisted hallways, which are likely to trigger numerous random encounters, depleting your HP and MP before you reach the top. Here’s the quickest route to reach Rubiss.

    Upon entering the tower, immediately go left, then south until you encounter the stairs. Ascend to the second floor (2F), where you’ll be positioned at the south-west corner. Proceed to the north-east and climb the next set of stairs to the third floor (3F).

    You’ll now be on the center-left. Instead of taking the stairs south, navigate all the way around to the north and leap off the ledge. The tiles here will confuse your controls, rotating them 90 degrees clockwise or counter-clockwise depending on their colors. Keep this in mind for future tiles you encounter.

    After jumping off, you’ll land back on the first floor (1F), this time near the Rear Entrance. Proceed through the doors to enter a new area on the first floor, and take the stairs on the left up. This leads you to the northern section of the second floor (2F) that was previously unreachable. Take the stairs on the right up to the third floor (3F).

    In this isolated section of the third floor, head up the stairs in the same room to reach the fourth floor (4F). This brings you to the disconnected north side, which is where you need to be. Continue left and climb the stairs up to the fifth floor (5F).

    You will now be at the top of the Tower of Rubiss, in the north-west corner. Move south and east to access the central area where you’ll find Rubiss’ petrified body and a confrontation with a familiar foe. Be sure to heal and equip your best gear before entering the battle.

    Once you defeat the boss and rescue Rubiss, she will reward you with the Sacred Amulet and provide guidance on the items you’ll need to access Zoma’s Citadel.

    All Optional Items

    While making your way through the Tower of Rubiss to find Rubiss, you’ll come across numerous treasures hidden throughout the tower, all of which are incredibly valuable. Here’s where to find them:

    Item

    Floor

    Directions

    2,016 Gold Coins

    1F

    In the right chest in the northern room.

    Mermaniac (Monster)

    1F

    Outside the southern door on the left side.

    Silver Shield

    2F

    The lower right chest in the room with electrified flooring.

    Sage’s Elixir

    2F

    The upper right chest in the room with electrified flooring.

    Staff of Sentencing

    2F

    The upper left chest in the room with electrified flooring.

    Full Moon Ring

    2F

    The upper left chest in the south end of the room with electrified flooring.

    Stormlord’s Sword

    2F

    The lower left chest in the south of the electrified flooring room.

    Magic Water

    2F

    The lower right chest in the room with electrified flooring.

    Care Ring

    2F

    The upper right chest in the room with electrified flooring.

    Holy Talisman

    3F

    In a chest in the upper left portion of the floor.

    The Stormlord’s Sword is particularly valuable for its special ability when used as an item, while the Silver Shield is one of the most powerful pieces of gear you can acquire before hitting up a shop. Don’t overlook these items, as they’ll be crucial against the boss here.

    Conquering the Soul of Baramos

    Defeating a malevolent force like Baramos is no small feat; his spirit continues to haunt the world, following the commands of his master, Zoma. This time, he appears to thwart your rescue of Rubiss, accompanied by a pair of Ashdemons. It’s time to put his soul to rest once and for all.

    Similar to the previous encounter with Baramos, he remains vulnerable to Lightning, and fortunately, so do the Ashdemons. Spells like Kazap and the Gigaslash Ability will be incredibly useful here, if you have them. Be sure to cast Oomph on the Hero with the Sage to maximize damage output.

    Baramos doesn’t acquire any new abilities during this fight, so you can use similar strategies as before. Sap his defenses and utilize Fizzle to limit him to using only Inferno and his physical attacks. Employing Insulatle will be essential, though much of the gear in the dark realm offers defense against breath attacks as well.

    Focus on taking out the Ashdemons first, as Kazap and Gigaslash should easily dispatch them. Keep your Sage and Warrior on healing and buffing duty while the Hero and Monster Wrangler deal the majority of the damage. Wild Side is advantageous in this situation, allowing you to inflict double damage in a single turn while significantly enhancing the Monster Wrangler’s agility.

    With the Soul of Baramos defeated, you can now use the Faerie Flute to free Rubiss, bringing you one crucial step closer to eradicating the darkness that has shrouded the world.

  • Finding Auroral Armor in Dragon Quest III Remake: A Guide

    Finding Auroral Armor in Dragon Quest III Remake: A Guide

    In Dragon Quest 3 Remake, your equipment and stats work together to enhance your performance. This means you can choose armor and weapons that cater to your playstyle instead of always having the absolute best gear available.

    However, that doesn’t mean you should overlook great gear when it presents a clear upgrade. The Auroral Armour is definitely one piece you won’t want to miss. With one of the highest defense ratings in the game, this armor offers several valuable benefits. Let’s learn how to locate it.

    What Is the Auroral Armour?


    Before you can acquire the Auroral Armour, you must defeat Baramos and enter the World of Darkness, Alefgard. Once you’ve completed those tasks, you can start your search.

    Traditionally, the Auroral Armour is thought to be found in Tantegel Castle, along with the Hero’s Shield and Sword of Kings. Unfortunately, all these items have been scattered throughout the world. The Auroral Armour boasts exceptional defense stats, provides protection from fire and ice attacks, and even heals you as you walk. It’s definitely worth pursuing.

    Where Can You Find the Auroral Armour?

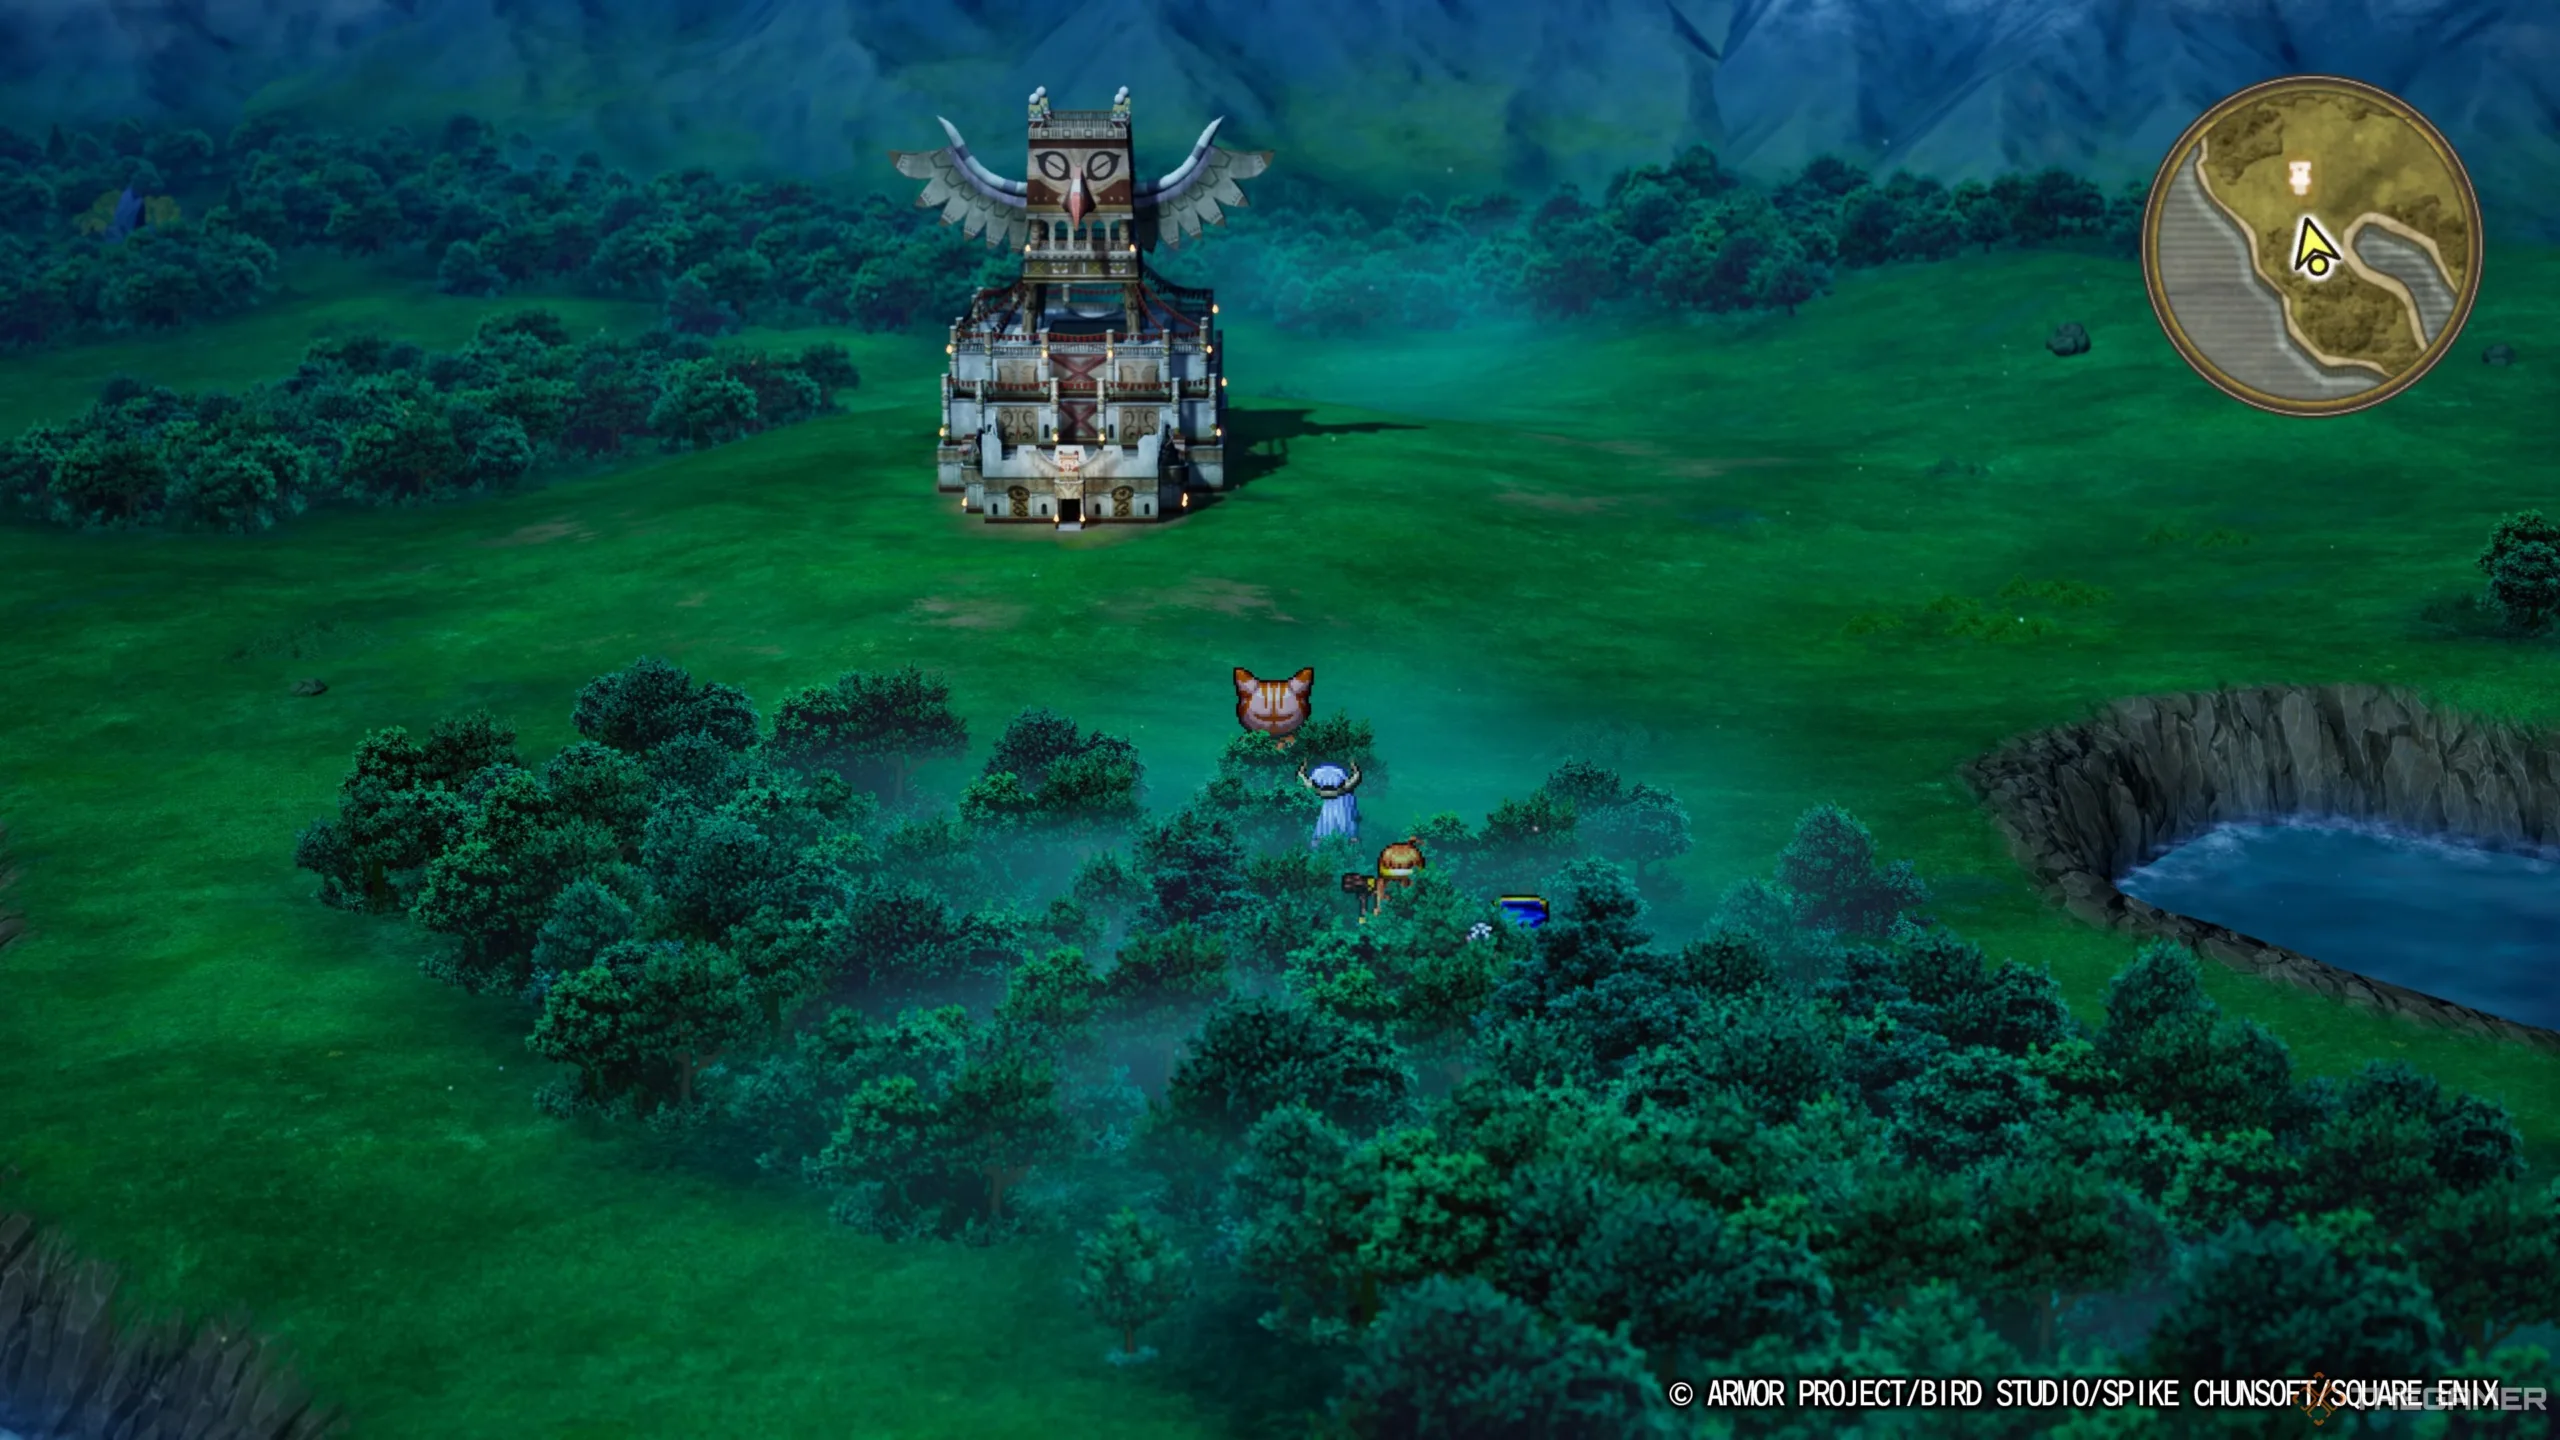
    To locate the Auroral Armour, set sail to the northernmost part of the map and head to the Tower of Rubiss. Before you go, make sure to grab the Faerie Flute from Kol. Once you’re ready, venture inside.

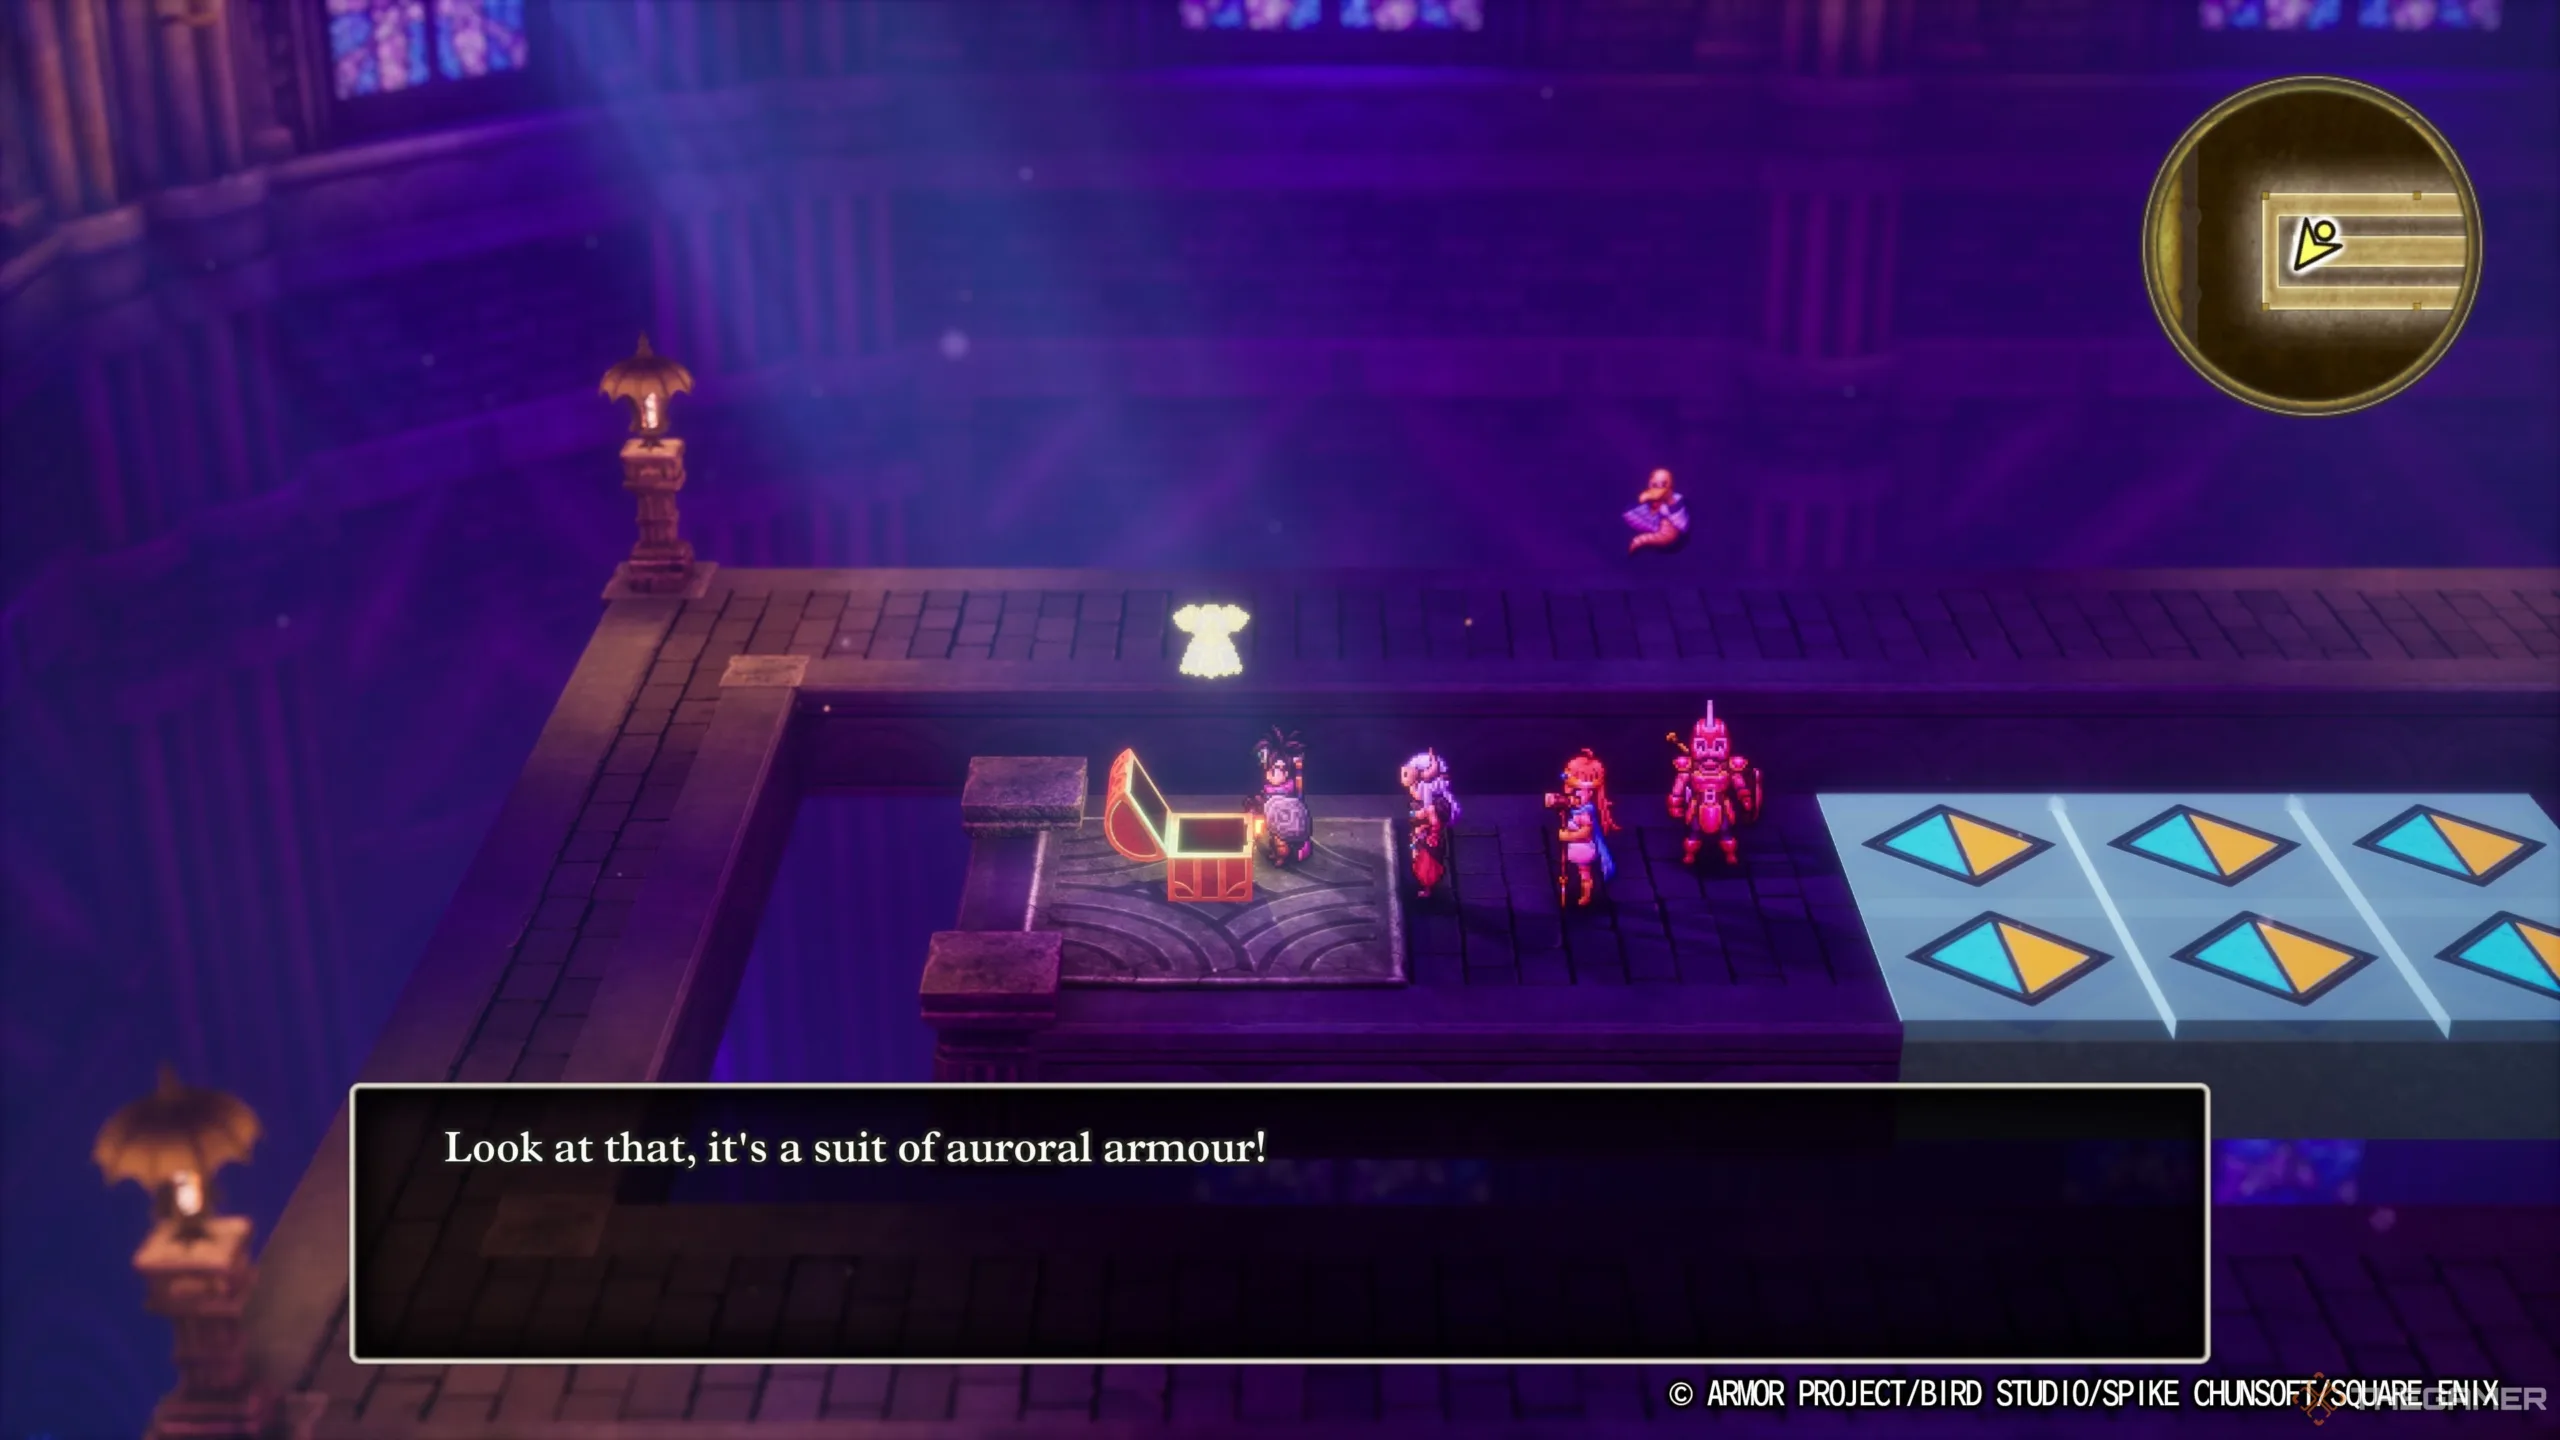
    Getting to Rubiss requires some careful navigation through the tower, but finding the Auroral Armour is simpler. Climb the stairs all the way to the fourth floor, then enter the large gray structure at the center of the map.

    Inside, you’ll find a room with tricky flooring—one wrong move can send you crashing to the level below. Use the D-pad to carefully maneuver and prevent yourself from slipping off.

    The main challenge in reaching the treasure chest with the Auroral Armour involves the various tiles that alter your movement. They can twist your controls, rotating them 90 degrees clockwise or counter-clockwise, depending on the direction of the colored arrows. As a helpful tip, use the up and down arrows on the D-pad to make sure you stay on track and don’t accidentally walk off the edge.

    Once you successfully navigate to the chest, open it to claim the Auroral Armour as your own. If you haven’t saved Rubiss yet, now would be a good time to do so. This armor will be invaluable in your quest!

    Keep an eye out for a hidden Chimaera monster in this room. Make sure to catch it before you leave!

  • Exploring the Echo Flute’s Role in Dragon Quest III Remake

    Exploring the Echo Flute’s Role in Dragon Quest III Remake

    In the Dragon Quest 3 Remake, there are many areas you can skip entirely. The game provides some general directions, but it rarely offers explicit quest markers to lead you where you need to go. This feature enhances exploration but can also make it easy to get lost.

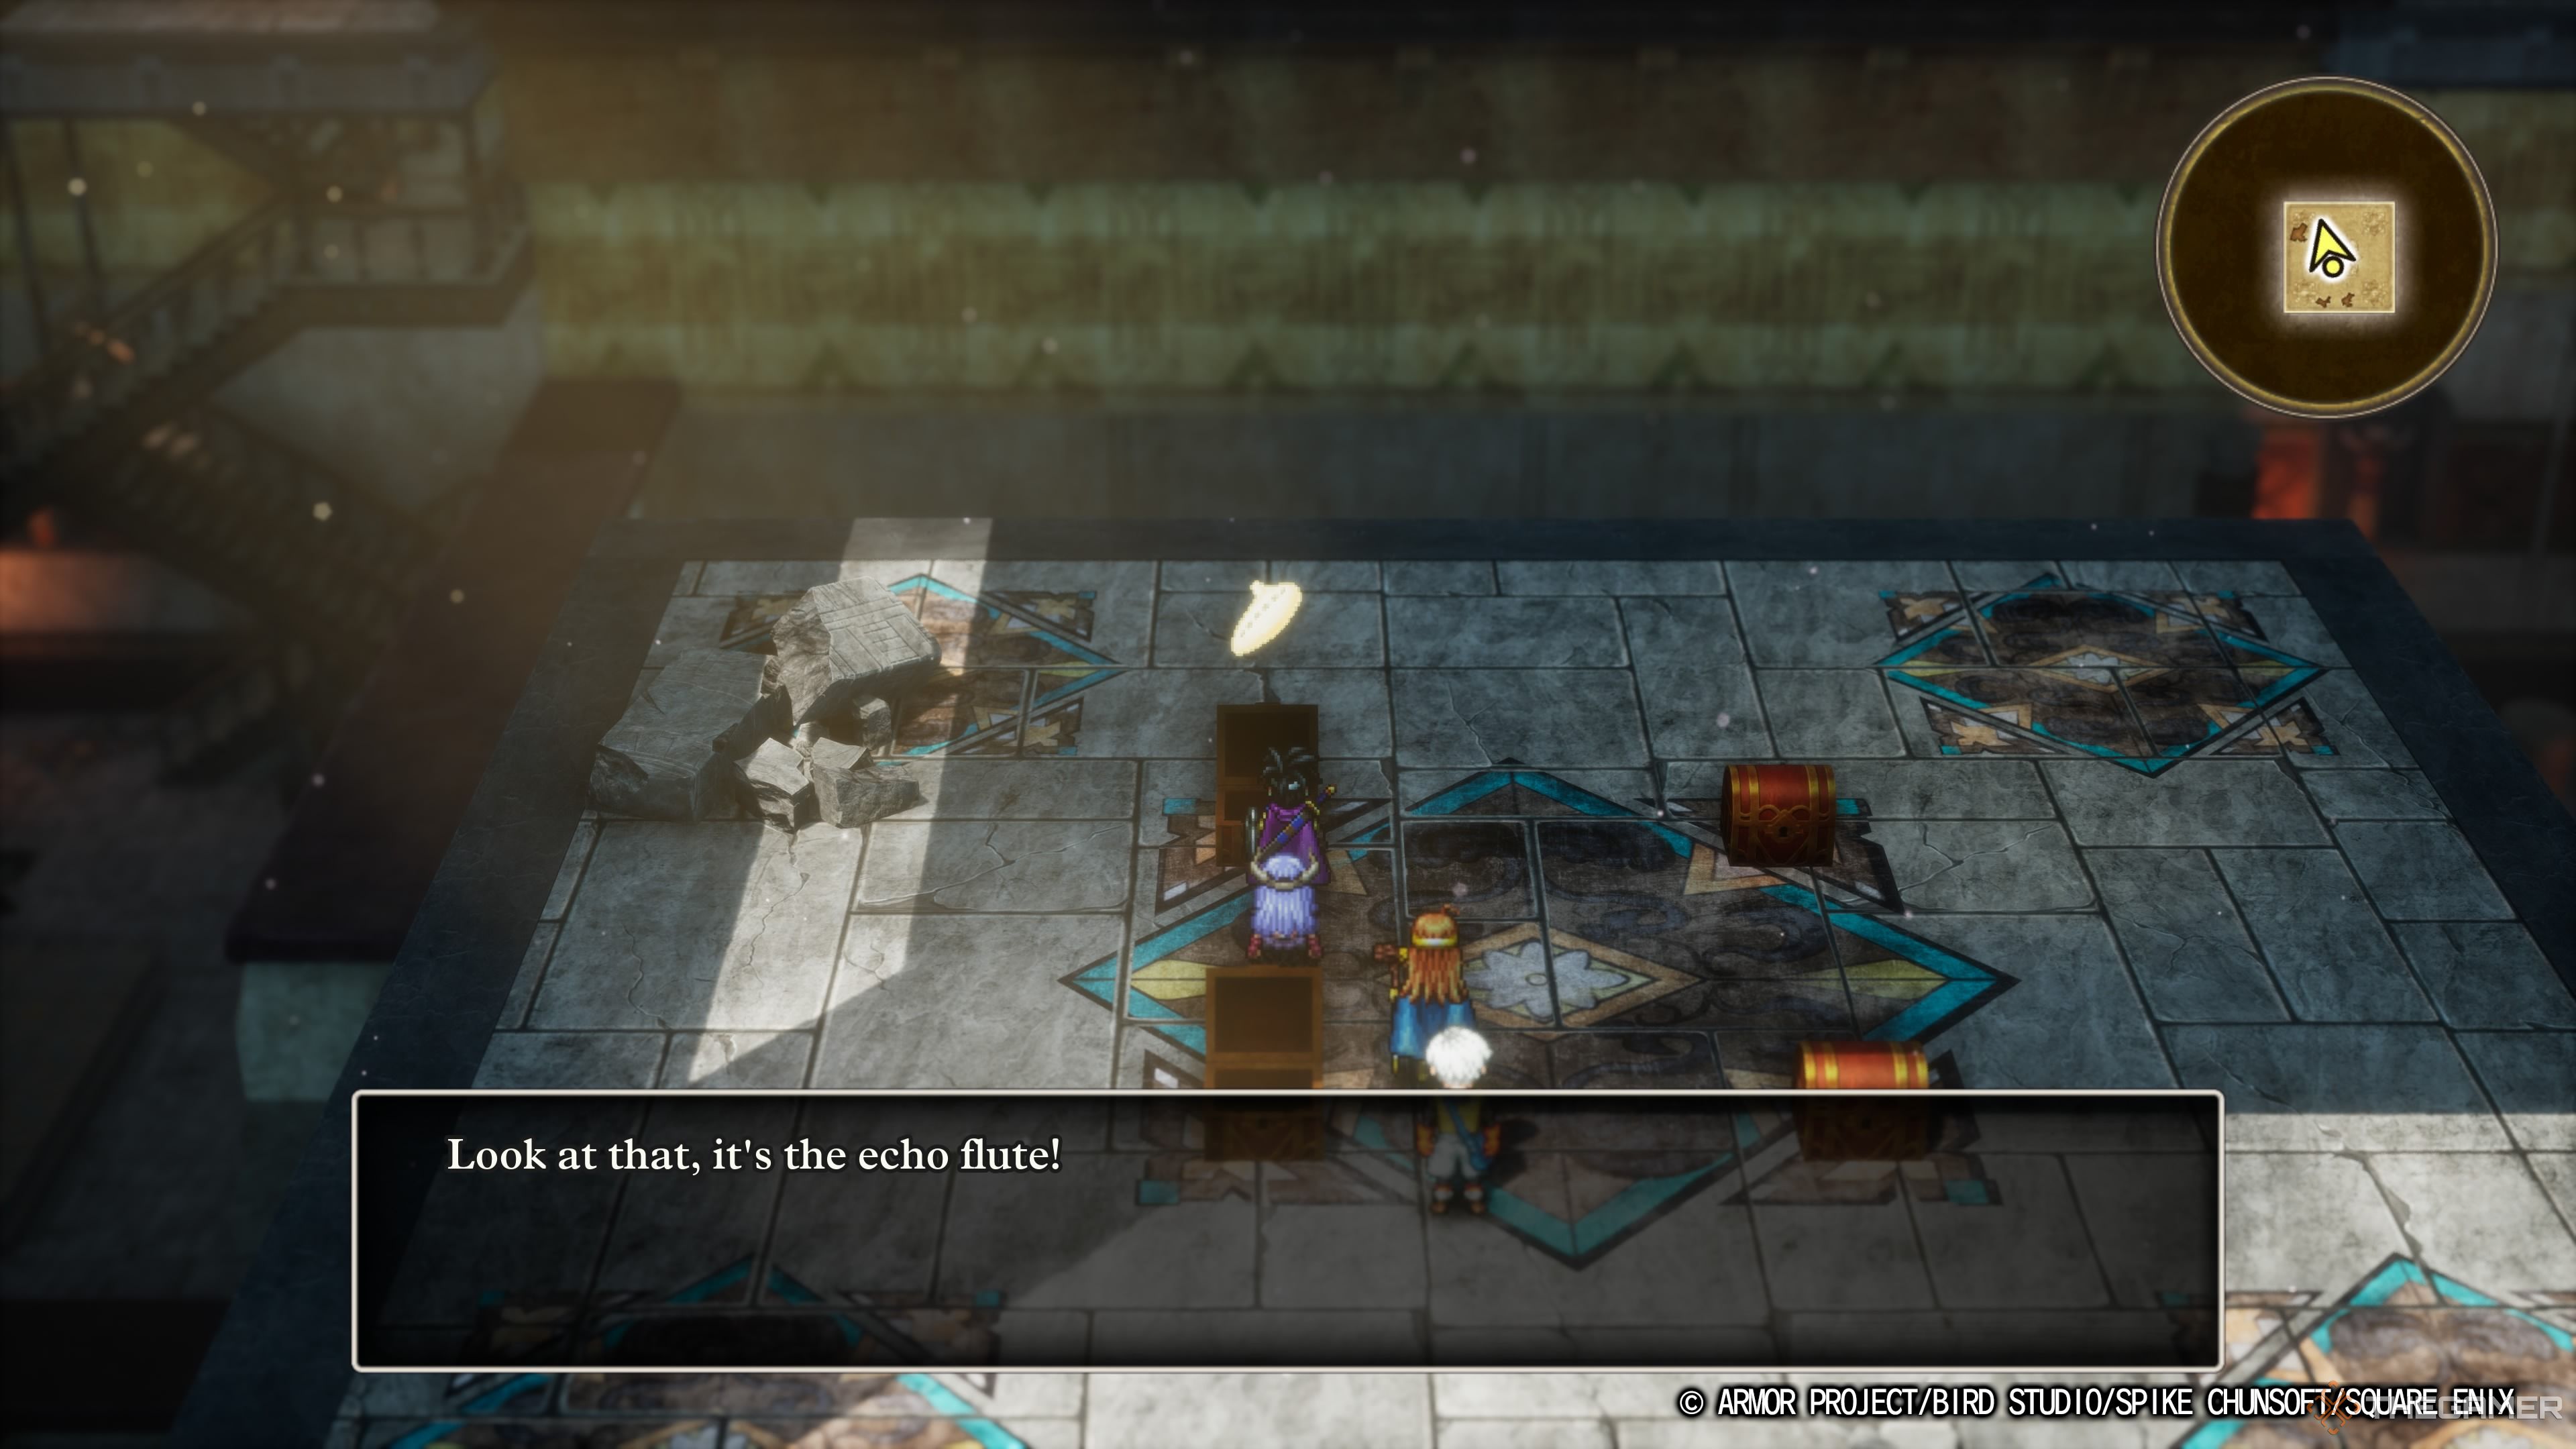
    Finding the various orbs you need can take some time, but there’s a handy tool to speed up the process: the Echo Flute. This useful item will help you gather those colorful orbs more quickly, but first, you’ll need to locate it.

    Locating Fifer’s Spire


    The Echo Flute can be found in Fifer’s Spire, which is situated on a continent you may not even need to visit for the main storyline. It’s not impossible to find, but there are no story-related reasons that would lead you there directly.

    Fifer’s Spire is located west of the small village of Persistence, which is in the center of the expansive eastern continent. You’ll recognize this continent as resembling North America. The Spire is situated close to the western coast, with the Echo Flute hidden in its center.

    Fifer’s Spire consists of five floors, along with the entrance area. You won’t find much to explore at the entrance, so head straight to the first floor where the real adventure begins.

    To enter Fifer’s Spire, you’ll need the Thief’s Key, but you won’t be able to access this area without it anyway.

    Once on the first floor, you can go either left or right, as both paths lead to the same place. This will take you to a small entrance at the north side, leading to the center of the area. From there, you will need to move left or right again to access the central section where you’ll find a set of four staircases.

    Three of these staircases lead to treasures, while one takes you to the next floor. Choose the lower right staircase to reach the second floor, and continue on to the staircase that leads to the third floor.

    On the third floor, you’ll notice from the map that you can’t access the four corners yet. So, head up the stairs to the fourth floor and be careful not to fall off the sides.

    On the fourth floor, you can find various staircases that lead back down to the third floor corners you couldn’t access earlier. Each leads to different treasures, but only the upper right staircase will take you to the fifth floor. Go ahead and take that path now.

    You’ve made it to the top of Fifer’s Spire, but the Echo Flute is still out of sight. In fact, it’s actually on the third floor, right in the center. You might recall from the Tower of Transcendence that you can reach it by using a technique known as tactical falling.

    Walk along the rope pathways until you arrive at the central rope square. Walk toward the center, and you’ll fall back down to the third floor, landing directly on that central platform. Here, you’ll find four treasure chests; the Echo Flute is located in the upper left one.

    When walking along the ropes, use the D-pad to avoid any accidental movements that could send you plummeting back to the second floor.

    Optional Items in Fifer’s Spire

    While the Echo Flute is the main highlight of Fifer’s Spire, there are some other valuable items hidden throughout, especially if you decide to explore early on. Since there are no major bosses to contend with, you can make use of the Thief ability, Padfoot, to breeze through the dungeon without engaging in battles.

    Item

    Floor

    Directions

    Doh-Hican

    1F

    In the upper left of the inner ring.

    Iron Claws

    2F

    In the upper right section accessed via the lower left stairs.

    Edged Boomerang

    2F

    In the lower right section reached by the upper left stairs.

    Hen’s Tooth

    3F

    In the lower right section accessed via the southern staircase on the fourth floor.

    Cannibox (Monster)

    3F

    On the central platform after dropping from the fifth floor.

    Mini Medal

    3F

    Located on the central platform in the lower left chest.

    Echo Flute

    3F

    In the upper left chest on the central platform.

    Thief’s Turban

    3F

    In the upper right chest on the central platform.

    Agility Gilet

    3F

    In the lower right chest on the central platform.

    Seed Of Defence

    5F

    On the southwest platform next to the southern wall.

    Swallowtail

    5F

    On the southwest platform against the western wall.

    The Swallowtail and Agility Gilet stand out as the prime prizes here. The Swallowtail is a Boomerang that inflicts wind damage, while the Agility Gilet offers a decent defense stat and a significant boost to Agility that can help throughout the game. Make sure to prioritize these items.

    Understanding the Echo Flute


    Echo Flute in Dragon Quest III HD-2D Remake

    Now that you have the Echo Flute, you may be wondering how it works. Depending on when you received it, it might not function immediately.

    The Echo Flute’s main purpose is to alert you to any nearby orbs. It works much like the Animal Instinct ability of a Monster Wrangler, notifying you of the vicinity of the six different orbs. Once you’ve collected all the orbs, however, the Echo Flute loses its usefulness.

    One orb, the Yellow Orb, is an exception; the Echo Flute doesn’t work for it. A clue about this orb can be found from a man in the shrine at Lanson, as it changes locations frequently. Thus, you’ll need to track it down on your own without the help of the Echo Flute.

    For this reason, it’s best to try to obtain the Echo Flute as soon as possible so you can fully utilize it. If you’ve already collected all the orbs, at least you’ll have gained some useful new items to enhance your journey.

  • Unlocking Ra’s Mirror in the Dragon Quest III Remake

    Unlocking Ra’s Mirror in the Dragon Quest III Remake

    Dragon Quest 3 Remake features a captivating world filled with locations inspired by real-life places. For instance, Edina represents England, Baharata symbolizes India, and Jipang is clearly based on Japan. Nestled in a continent that mirrors South America is Manoza, likened to Argentina.

    Unfortunately, the citizens of Manoza are suffering under a tyrannical ruler who has recently become increasingly cruel. To restore peace in the city, you’ll need to embark on a quest involving magical artifacts that have broader uses throughout the game. Here’s a guide to help rejuvenate this troubled city.

    Exploring Manoza City

    Before you can enter Manoza, you must obtain the Ultimate Key. Utilize the Teleportals scattered across the map until you arrive at the Wayfarer’s Chapel, which gives access to the mountainous area surrounding Manoza. Once in the city, you’ll witness firsthand the hardships faced by its inhabitants.

    Inside, the townsfolk are mourning a loved one, and you will hear about their plight. The king has grown violent, imprisoning anyone he perceives as a threat, including a close friend. The tension among the people is palpable, and it falls upon you to restore tranquility to Manoza.

    Start your exploration at the northern graves to retrieve a Mini Medal. At night, you’ll find a man here mumbling to himself. After you acquire Ra’s Mirror, return to this spot for a surprise.

    As you make your way to the castle, an elderly man mentions feeling uneasy about the king sleeping alone in his chamber, with no guards. Keep this tip in mind as you progress.

    When you get closer to the castle, a familiar face, the son of the rightful king’s best friend, informs you about his father’s exile and the king’s alarming change in demeanor. He suspects that the current king might be an imposter. You should be wary as you approach the castle.

    The guards will block your entry at the main gate, so try sneaking in from the right by pretending to be part of the staff.

    Exploring The Castle

    Once inside the castle, avoid going directly to the king for now, as he’s not welcoming to unexpected guests. Instead, explore the castle for clues.

    In the kitchen, you’ll discover a Mini Medal hidden in a barrel. From there, navigate through the throne room to reach the upper right corner, where a staircase leads to the second floor. Here, a servant unhelpfully mentions that the railing on the roof is in dire need of repair.

    Ironically, the railing is broken so feel free to jump through it. On the rooftop, head to the upper left corner to encounter an Imp to recruit, and then enter the door to the right to access the king’s bedroom. Inside, you can find a book cheekily titled, "Would I Lie to You?".

    Having figured out how to reach the king’s quarters without using the throne room, go back downstairs and enter the throne room. Furious at your presence, the king will have you imprisoned. Don’t worry, escaping this predicament is straightforward.

    Use the Ultimate Key to unlock your cell and make your way to the lower right cell, which leads to a secret passage taking you deeper into the dungeons where the true king is held captive. He will instruct you to head to the cave southeast of Manoza, where Ra’s Mirror is hidden.

    Navigating Manoza Cave

    Manoza Cave is not particularly lengthy or complicated, but it is filled with an overwhelming number of mimics. If you’d prefer to avoid unnecessary risks, you can skip most chests and follow the main path to quickly retrieve Ra’s Mirror.

    From the entrance, go north and then turn west, following this route until you reach the second southern path, which takes you down to floor B2. Here, you’ll find yourself at the center of the room with another exit leading south.

    This south path will take you to floor B3, where you’ll come across a treasure chest you can reach, and another on a grassy platform surrounded by water that you cannot access. Proceed via the next exit to floor B4, which is frustratingly empty. You’ll need to return to B2 to continue your quest.

    You can either retrace your steps through the cave if you want to gather treasures, or use Evac to quickly escape and start anew from the cave entrance.

    Optional Items

    The Manoza Cave is filled with treasures, but many are guarded by deceptive monsters. It’s wise to bring along a companion with the Peep spell to check any chest that you suspect might be a mimic.

    Here’s where to find the noteworthy items hidden in Manoza Cave:

    Item Floor Directions
    Magic Water B1 Upper right of the large circle.
    Full Moon Ring B1 North side of the small circle.
    Leather Hat B2 Chest by the stalactites near the eastern exit.
    Chimaera Wing B2 Chest left of the stalactites.
    Yggdrasil Leaf B2 Room directly south of the large hole, right chest.
    7,921 Gold Coins B2 First north path after the south path, near three chests.
    Agility Ring B2 Leftmost of the three chests.
    Zombiesbane B2 Rightmost of the three chests.
    Rockbomb (Monster) B2 In the large central room next to the center pillar.
    Antidotal Herb B2 Where the north corridor meets the central room.
    1,084 Gold Coins B2 Near a stalagmite in the north corridor.
    Mini Medal B2 Beside the toxic pools in the north corridor.
    Iron Mask B2 At the end of the north corridor, lower right chest.
    Ice Shield B2 North of where you find the Rockbomb.
    Cat Suit B3 Left side near a pillar.

    The Cat Suit is a humorously rare item, with just about three available throughout the game. If you want your characters to sport some feline flair, don’t miss out!

    Acquiring Ra’s Mirror

    Ra’s Mirror is the prized item you’ve been searching for, said to reveal the true form of the false king. Despite your thorough exploration, you might not have spotted it yet. This is because obtaining it often requires a tactical leap of faith.

    Recall the floor B2 with the large hole in a designated room. Falling into it will send you straight to floor B3, arriving at the central grassy platform you couldn’t access before. Inside the chest, you’ll finally discover Ra’s Mirror. With this item, it’s time to return to Manoza Castle and unveil the monster causing the city’s suffering.

    Battling The Boss Troll

    With Ra’s Mirror in your possession, your next mission is clear—confront the king. Doing so during the day is futile as he will simply have you arrested again. Instead, wait for the night when he goes to bed. Remember what the old man said about the king sleeping alone? That’s your cue to make your move.

    Entering the king’s room gives you the chance to use Ra’s Mirror and expose him as the Boss Troll. He won’t take lightly to this revelation and will attack you in a fit of rage.

    Fortunately, the Boss Troll isn’t too challenging. His primary threat is his powerful attacks, which can deal significant damage. While they may lack variety, they hit twice every turn, so be prepared.

    In order to survive, bring companions who can heal and provide buffs. A Sage is ideal, as they can heal while also improving your team’s capabilities.

    The Boss Troll is vulnerable to both Fire and Ice, giving you plenty of options for your approach. While you can use Sap to weaken him, he has good resistance to it. It’s usually best to focus on enhancing your own party before trying to debuff the boss.

    The Boss Troll has a predictable attack pattern at first, using physical strikes with Kasap or Fuddle mixed in. Fuddle can be particularly dangerous since it can confuse your party, potentially leading to a swift defeat. Bring accessories that grant immunity to confusion if you have them.

    To disable the Boss Troll’s turn, consider casting Snooze on him. He is quite susceptible to falling asleep, and if you can do this with a character who has higher speed than him, you’ll effectively negate his turn, although he does wake up quickly.

    Utilizing Acceleratle can help boost your characters’ speed since the Boss Troll does not have high agility.

    Once the battle progresses and his health decreases, he will gain the Attack Attacker ability, but by then, it shouldn’t pose much of a challenge. Maintain your offensive, and you’ll bring him down in no time.

    Upon defeating the Boss Troll, the real King of Manoza will express his gratitude, allowing you to keep Ra’s Mirror and even rewarding you with the Mod Rod that the Boss Troll had used to disguise himself. With that, peace can finally be restored to Manoza.

    The Mod Rod, while part of the storyline to be handed over, can still be enjoyed by your party for a bit longer, allowing for some amusing outfit changes.

  • Unlocking Ortega’s Helmet in Dragon Quest III Remake

    Unlocking Ortega’s Helmet in Dragon Quest III Remake

    One of the biggest delights in Dragon Quest 3 Remake is the level of freedom it provides. With very few restrictions, you can venture in almost any direction, customize your party as you see fit, and stumble upon various optional quests along the way.

    One intriguing stop you may discover is the village of Mur, a remote and snowy enclave far removed from other settlements. There’s no specific guidance pushing you to this village—it’s purely up to your sense of adventure. However, this small community holds significant connections to your Hero.

    How to Find the Village of Mur

    At a certain point in the game, the King of Portoga will ask you to collect Black Pepper from Baharata and grant you access to Nordy’s Grotto for that purpose. After this, you can head directly to Mur, though be prepared for a long trek.

    Mur is situated at the northeastern edge of the eastern continent, north-east of Alltrades Abbey, which is itself north-east of Baharata. It’s visible along the coastline and can be found on the world map where the forest meets the tundra.

    Upon your initial entry to Mur, you won’t have much to do or see. Be sure to rest at the inn and save your game at the church before proceeding further.

    You can also opt to sail the coast to Mur after obtaining a ship from the King of Portoga, if you prefer to wait a bit. An old gentleman will even jest that walking to Mur is impossible.

    How to Acquire Ortega’s Helmet from the Shopkeeper

    Starting the Mur Village Quest

    Once you arrive in Mur, take a moment to explore. You will notice a striking blue helmet displayed in one of the shops, complete with horns. Unfortunately, you can’t take it just yet; the shopkeeper will inform you it’s being preserved for someone who left it behind.

    While you will eventually get your hands on this helmet, you first need to complete a series of tasks. For the moment, leave Mur and wander around the tundra.

    After some time away, come back to Mur, and a cutscene will trigger. An elderly man will mistake you for ‘Peredvizhnik’, the title given to a past savior of the village. Following a brief flashback, a chain of events will unfold, allowing you to claim that mysterious helmet.

    If the cutscene doesn’t play when you re-enter Mur, be sure to enter via the western entrance and ensure you’ve engaged with the villagers beforehand.

    Obtaining the Helmet

    After witnessing the flashback, you’ll be unsure of what to do next. However, they will mention Petya, a child saved by Peredvizhnik, who has been obsessed with his hero since then. Therefore, your next step is to find Petya.

    If you explored the village thoroughly during your first visit, you might recall where Petya’s home is located. However, during the day, he’s usually out, as his mother will tell you. Instead, she reveals that he is at the shop, on the second floor.

    While Petya is home at night, he will be asleep, making it difficult to ask him anything.

    To find him, head to the shop, entering through the side door by the docks. Speak with the shopkeeper first to learn more about Peredvizhnik before going upstairs to speak with Petya. He will share the tale of his savior, explaining how Peredvizhnik saved the village despite being unwell. The town has preserved his helmet in hopes he might one day return.

    When you return downstairs, the shopkeeper will stop you. He overheard your conversation and, knowing you are from Aliahan—the same place as Peredvizhnik—makes a connection. He mentions that your hero had a wife and child, who should be around your age. Believing you have a better chance of bringing back the helmet, he hands it to you.

    As you pick up the helmet, you notice a message inside: ‘May victory favor you, Great Hero of Aliahan‘. This not-so-subtle clue confirms to your hero that Mur’s Peredvizhnik is none other than your father, Ortega.

    Now, you can equip his helmet as an actual piece of armor. If you managed to grab it earlier, it will greatly benefit you for a while. With this, your brief quest in Mur comes to an end.

    Delivering Ortega’s Helmet to Aliahan

    The story of Ortega’s helmet isn’t over yet. Although the game doesn’t explicitly tell you to do so, it’s wise to return home. Many believe Ortega is still out there, battling away. They’d be pleased to hear about his noble deeds.

    To do this, head back to Aliahan and visit your mother. You’ll experience a fresh flashback showing Ortega’s friends presenting the helmet to him. They crafted it to support him on his journey, and as a symbol of the village’s backing for his quest.

    There’s no extra reward for this, but it offers some closure for both your Hero and their mother. The mystery of Ortega’s helmet is now resolved.

  • Ways to Acquire the Blue Orb in Dragon Quest III Remake

    Ways to Acquire the Blue Orb in Dragon Quest III Remake

    Dungeons present some of the toughest challenges in the Dragon Quest 3 Remake. However, with some grinding and carefully selected allies, you can tackle any dungeon effectively. Gaia’s Navel shakes up this formula in a surprising way.

    In Gaia’s Navel, only one character can enter the dungeon, leaving your well-balanced teams behind and forcing you to rely on just one fighter. This can make things tricky, but the rewards make it worthwhile.

    How to Enter Gaia’s Navel


    Gaia’s Navel is located on Lanson, a secluded island south of Baharata and directly west of Aliahan. To get there, you’ll need your own ship, but you’ll also have to complete a series of tasks first.

    To enter this dungeon, you’ll need the Ultimate Key. You’ll obtain this from the Sunken Shrine, which can be accessed using the Bottomless Pot. You can find the pot in Edina, but you’ll have to be invisible to enter the area. Luckily, you can buy a Fading Jenny in Lanson to make yourself invisible.

    You can also use the Fade spell to enter Edina if you have someone in your party who can cast it.

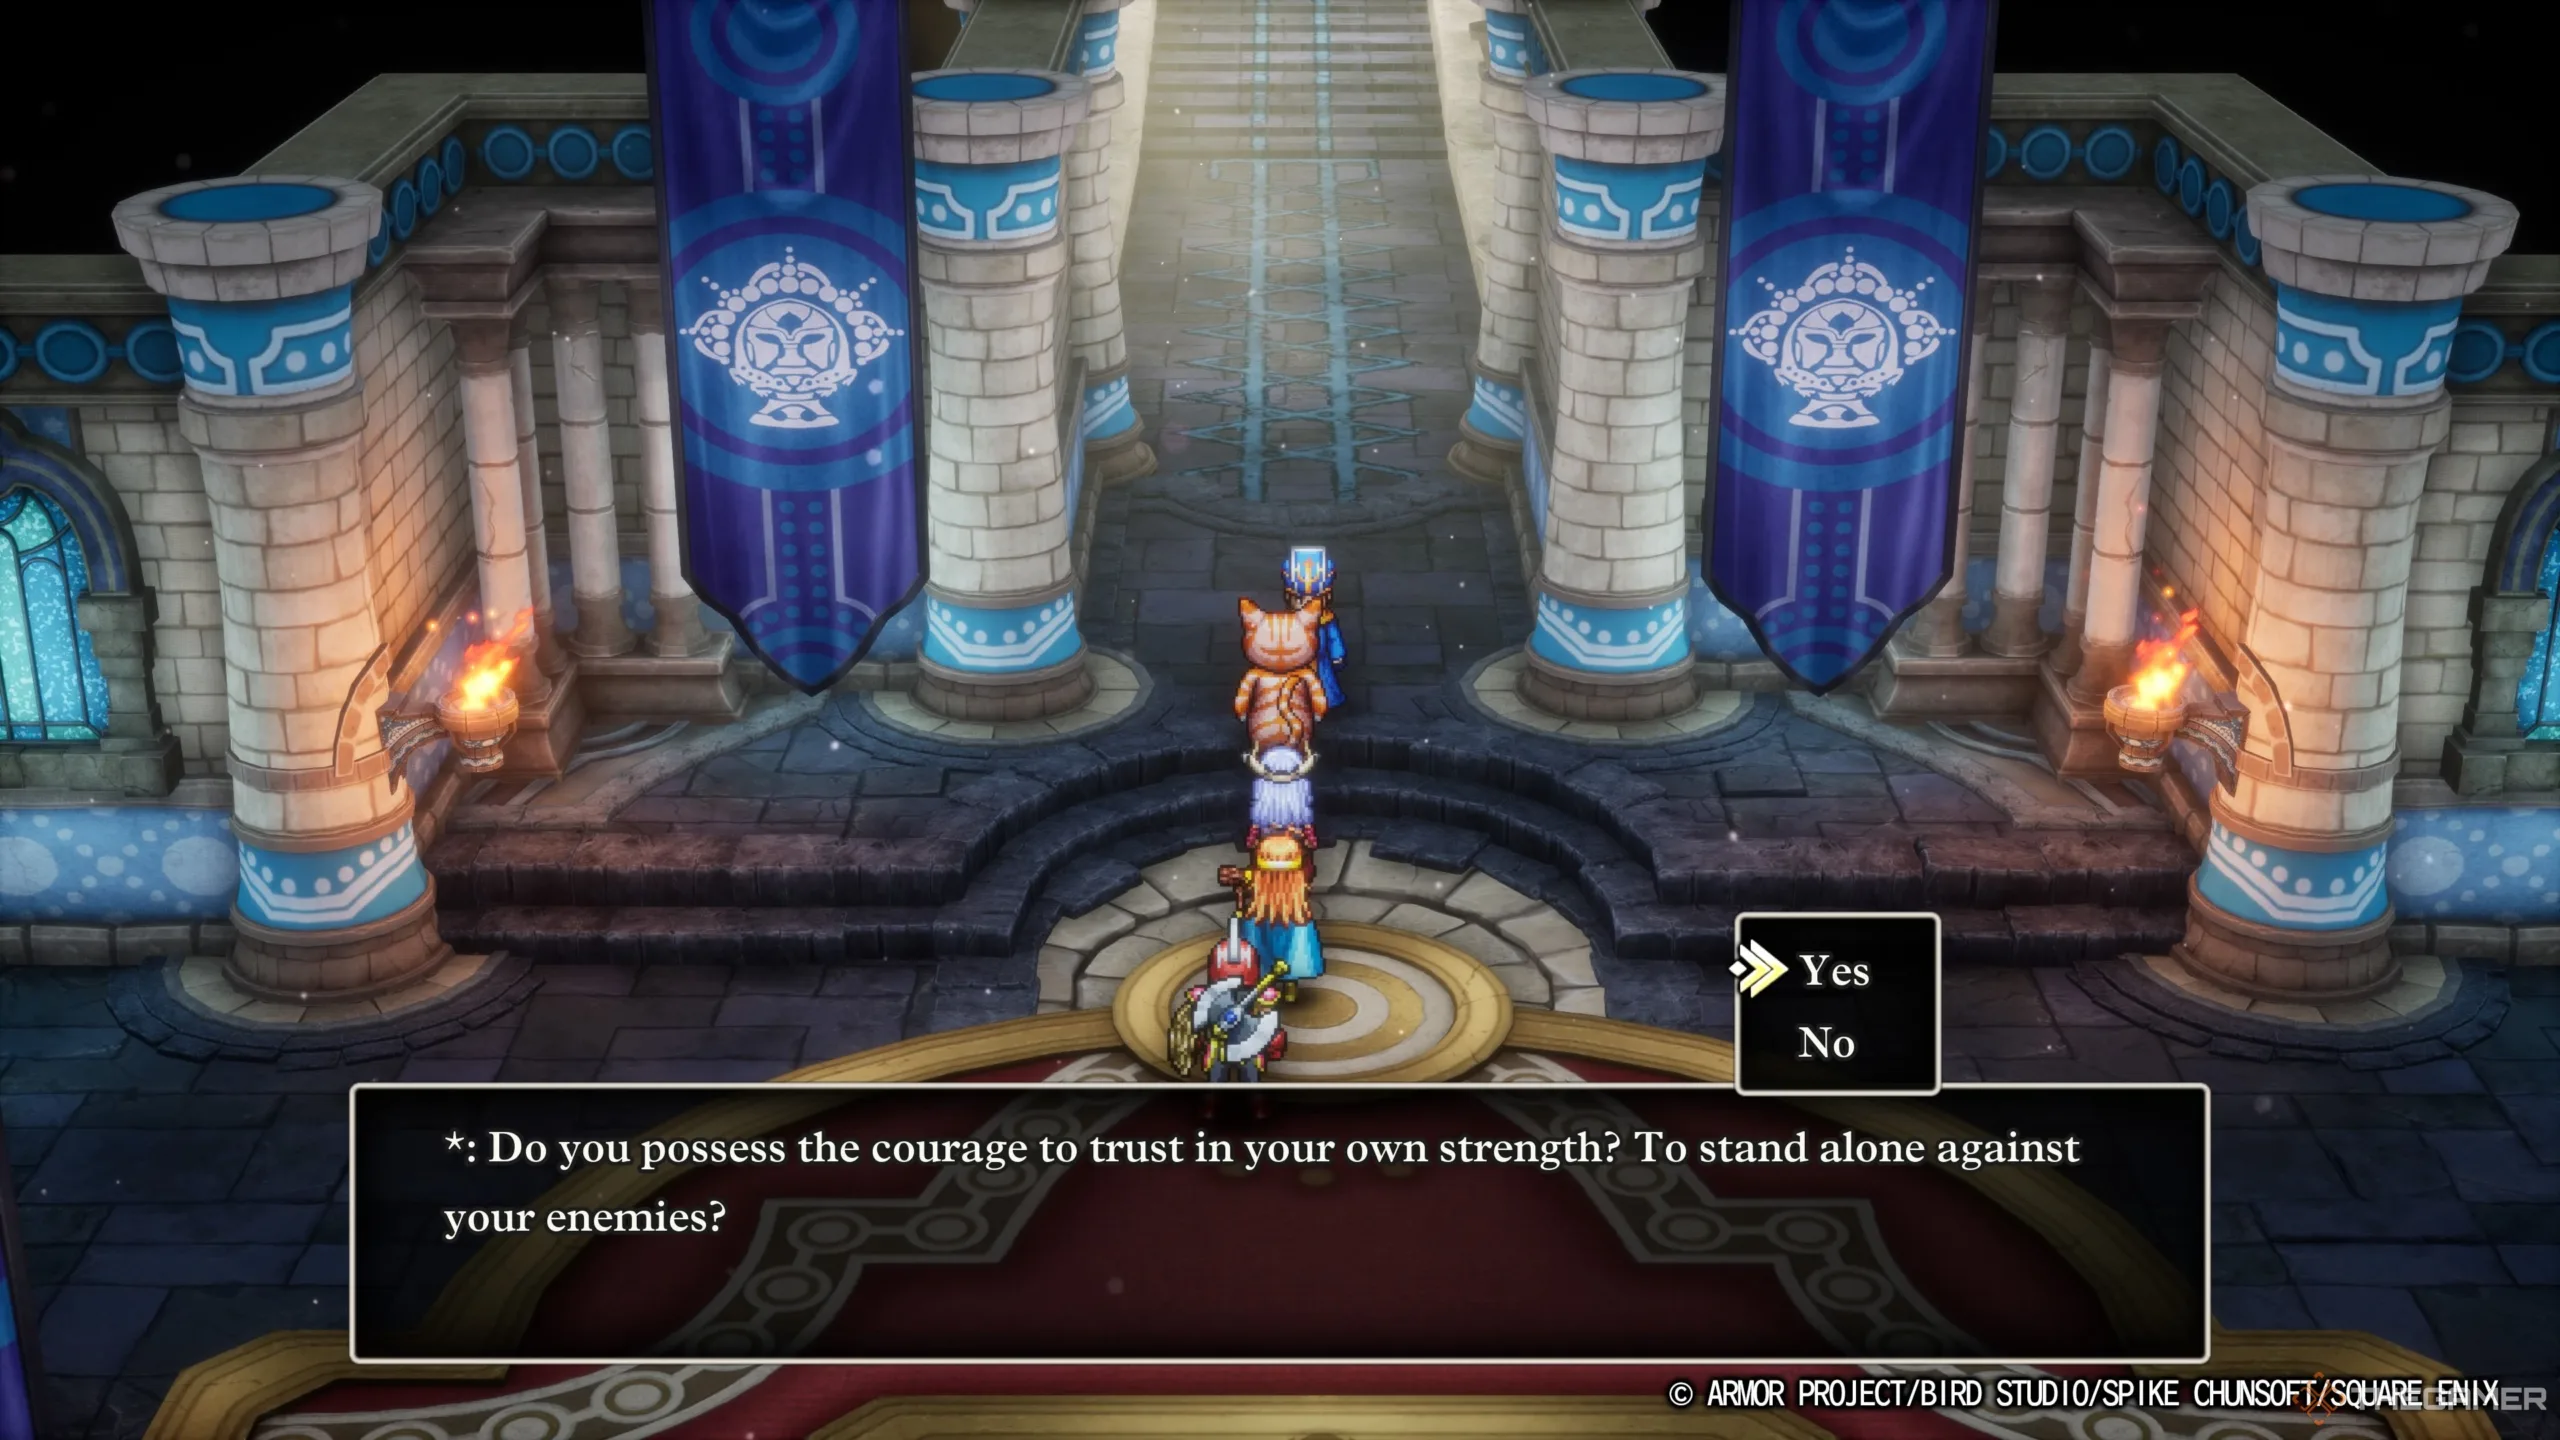
    Once you’ve gone through these steps and secured the Ultimate Key, head to the shrine at the north end of Lanson. Inside, a man will ask how confident you are in your abilities. Answering “yes” will take you directly into Gaia’s Navel.

    Keep in mind that you don’t have to send your hero. The character that enters Gaia’s Navel is whoever is first in your party’s lineup. So, choose the character you think is best suited to face the dungeon on their own.

    Fortunately, Gaia’s Navel is quite straightforward. There isn’t much exploration needed, as the path will mainly guide you to where you need to go, and the dungeon isn’t very long. Therefore, the random encounters will likely be your toughest challenge.

    In the first area, you’ll find paths on both the left and right that lead to different areas. However, these just loop back, so take the path to the south instead to reach floor B2.

    This leads you to a room with four staircases. The bottom right staircase will return you to floor B1 in a new C-shaped room. The top left stairs also take you back to floor B1, this time to a straight path. The only way to progress is down the top right stairs, which will take you to floor B3. Go ahead and take these stairs down.

    On the final floor of Gaia’s Navel, you’ll encounter a fork in the path. The south route doesn’t lead to any items and brings you to an empty floor B4, so be sure to go north instead. You’ll notice stone faces on the walls asking you to turn back, but don’t let them intimidate you; they’re just trying to frighten you.

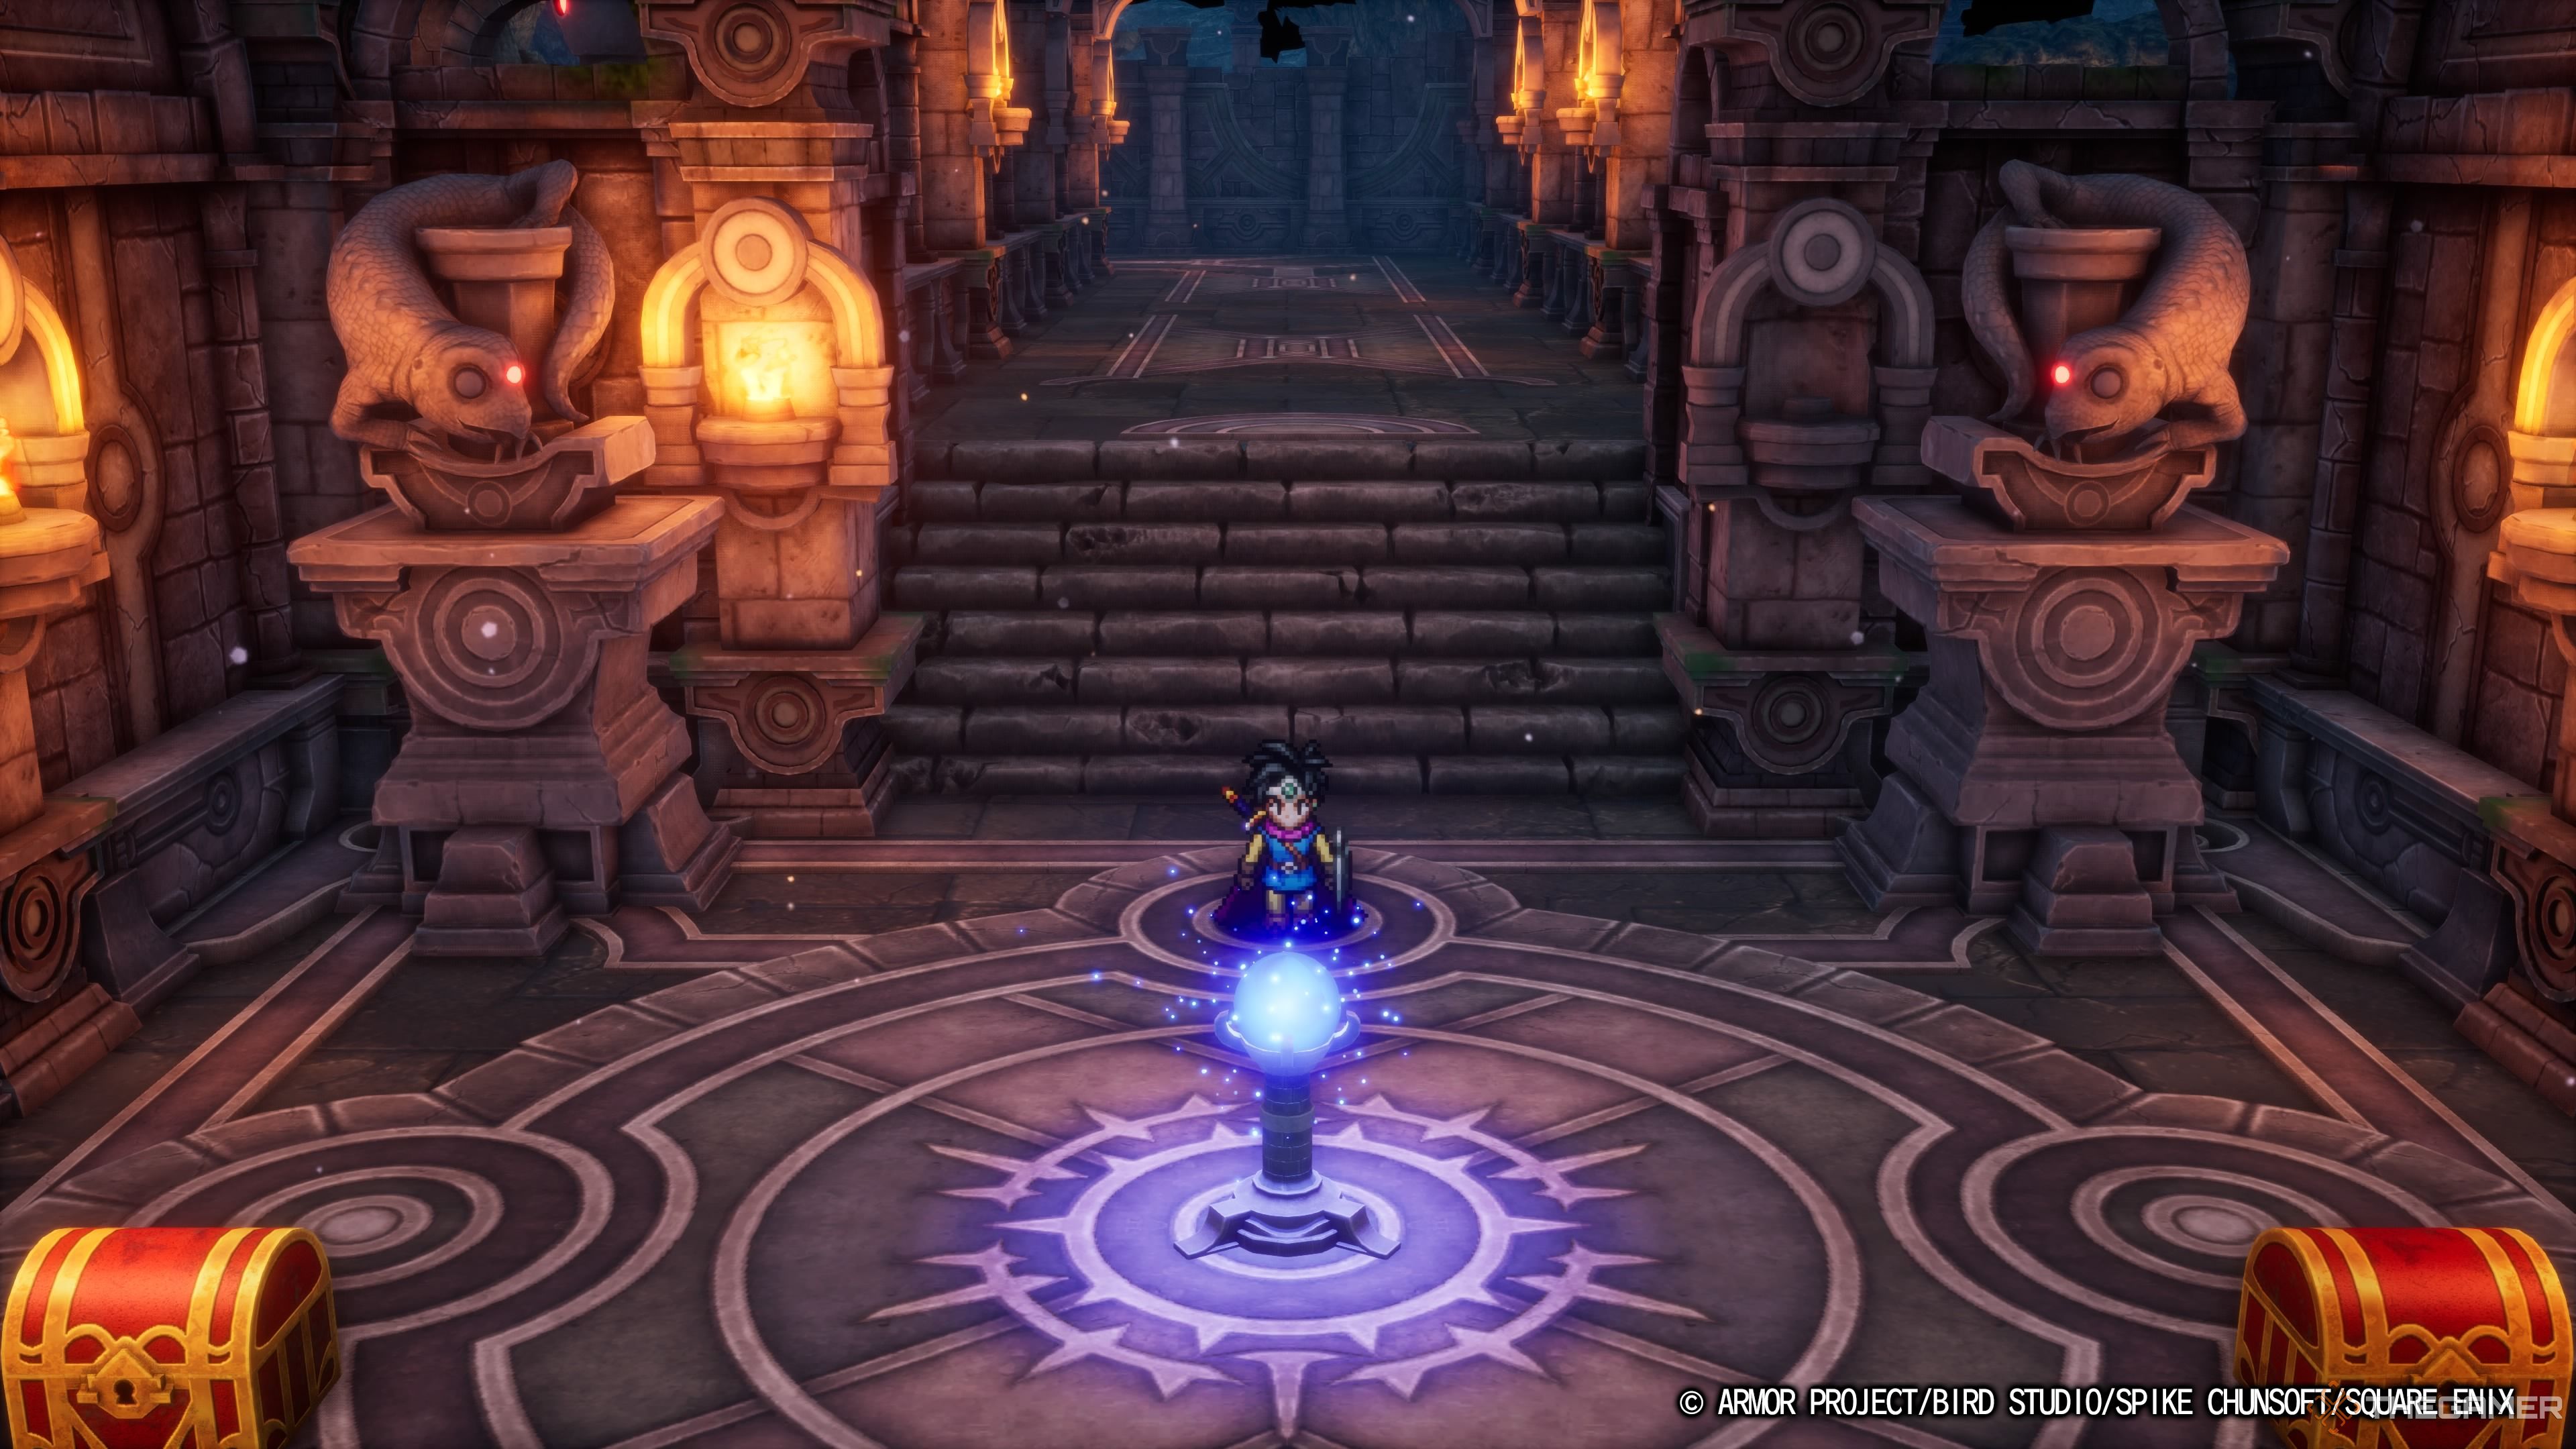
    As you navigate around, you’ll reach the pedestal holding the Blue Orb. However, the Chiromancer will suddenly appear, demanding a battle to claim the coveted orb. Defeat him to take the orb for yourself.

    Once you’ve secured the Blue Orb and completed your exploration, you can quickly exit the dungeon using the Evac spell, saving you from retracing your steps.

    Optional Items in Gaia’s Navel

    While Gaia’s Navel is primarily linear, there are a few optional areas scattered throughout, each containing some powerful and useful items if you’re able to locate them. Below is a list of where to find each optional item.

    Item

    Floor

    Directions

    Knight (Monster)

    B1

    In the looping hallway accessed in the first area.

    Seed of Life

    B1

    In a chest in the upper right room.

    Prayer Ring

    B1

    In a chest in the upper left room.

    Seed of Wisdom

    B1

    In a chest in the lower right room.

    Banishing Bell

    B2

    On the ground next to a collapsed pillar in the lower right corner of the room.

    Earthenwear

    B1

    In a chest at the end of the corridor in the C-shaped room.

    3,640 Gold Coins

    B1

    In a chest at the end of the corridor in the straight room.

    Mini Medal

    B3

    In the left chest next to the Blue Orb.

    Spirit Bracer

    B3

    In the right chest next to the Blue Orb.

    Blue Orb

    B3

    On the pedestal, acquired after defeating the Chiromancer.

    The Knight monster will flee if it sees anyone but a Monster Wrangler. If you didn’t bring a Monster Wrangler the first time, you’ll need to return later to recruit it.

    Many of these items, such as the Earthenwear and Spirit Bracer, will significantly aid you for the next stretch of the game until you reach Baramos’ Lair, so be sure to collect them.

    Defeating the Chiromancer

    As you approach the Blue Orb, the Chiromancer will appear to claim it for himself. Naturally, you won’t allow that, so show him just how confident you are in your abilities.

    The Chiromancer won’t fight alone; he’ll have a Mad Vlad backing him up. Fortunately, the Mad Vlad isn’t too strong, so you should be able to handle him relatively easily.

    If you have a strong boomerang like the Gusterang, you can potentially take out the Mad Vlad before he has a chance to impact the battle. His most significant threat is the Sap spell, which reduces your defense, making it important to eliminate him quickly.

    The Chiromancer isn’t a very aggressive fighter and will only use one move each turn, which works in your favor. However, keep in mind that every attack he makes recovers some of his health.

    His primary attacks are Frizzle and Swoosh, which deal fire and wind damage, respectively. If you have accessories to mitigate this damage, equip them. If your defense is high enough, you may be able to withstand the hits without too much trouble.

    As the battle continues, the Chiromancer will start using Oomph to boost his attack power. His magic attacks can inflict substantial damage at this point, so if you’re using the Hero, make use of the Meditation ability to restore your health. This can be a lifesaver when you’re going solo.


    DRAGON QUEST III HD-2D Remake the hero approaching the glowing blue orb in Gaia's Navel.

    While the Chiromancer has plenty of resistances, he is particularly vulnerable to Lightning attacks. The Hero is the only character with access to Lightning abilities, so be sure to use both Zapple and Lightning Slash to maximize damage.

    Each time he uses an all-out attack, his defense will drop. Take advantage of this by pressing your offense as hard as you can.

    After defeating the Chiromancer, the Blue Orb is yours, and you will have successfully completed the Gaia’s Navel dungeon. Congratulations, and best of luck on your ongoing adventure.