الوسم: Dragon Quest 3

  • Top Spells in Dragon Quest 3 Remake: A Ranked Guide

    Top Spells in Dragon Quest 3 Remake: A Ranked Guide

    Dragon Quest 3 Remake offers a variety of combat options tailored to each character based on their class and weapon choice. As you level up, you gain access to more abilities and an increased amount of MP to utilize them.

    Certain character classes will unlock many different spells as they gain levels. These spells serve purposes such as support, offense, and defense. Some are enhanced versions of previous spells, while others, especially those you earn later in the game, introduce entirely new effects.

    Spell Evaluation Criteria

    This guide features spells evaluated on their overall usefulness in various situations, considering also the MP cost required to cast them. While some of the game’s most powerful spells have impressive effects, their high MP cost may limit your ability to use them frequently without jeopardizing your future encounters.

    Offensive Spells

    Offensive spells in Dragon Quest 3 Remake vary in effectiveness, largely depending on the enemy’s resistance to specific damage types. To maximize the impact of your spells, it’s crucial to understand your enemies’ weaknesses.

    Although many battles are manageable, knowing how to exploit enemy weaknesses can be essential, especially when facing tougher foes.

    Top Offensive Spells

    Here are some of the most effective offensive spells in Dragon Quest 3 Remake:

    Spell Class MP Cost Description
    Boom/Kaboom Hero/Mage 9/15 Boom and its stronger version, Kaboom, are reliable attack spells. They deal decent damage across various enemy types, making them valuable in battles against multiple foes.
    Woosh/Swoosh/Kawoosh Priest 4/6/10 Woosh and Swoosh inflict solid wind damage on a single group, while Kawoosh delivers heavy damage to multiple enemies. However, use Kawoosh sparingly due to its high MP cost.
    Wack/Thwack Priest 7/10 Whack and Thwack offer unique utility, allowing you to instantly defeat weaker foes rather than relying solely on damage. The Thwack version can target an entire group.
    Zapple Hero 8 The only true single-target spell on this list, Zapple excels against enemies that are weak to its damage type. Although it’s costly in MP, it promises significant damage against individual foes.

    Support Spells

    In Dragon Quest 3 Remake, support spells enhance your party’s efficiency and survival. The Priest class offers the broadest array of these spells, proving essential in various team compositions.

    Top Support Spells

    Below are some of the most effective support spells for your party:

    Spell Class MP Cost Description
    Kazing Priest 20 Kazing is reliable for reviving a fallen ally at full health, unlike other spells that may fail upon repeated use.
    Midheal/Fullheal Hero/Priest 5/9 Midheal provides a cost-effective heal that can restore around 100 health, while Fullheal offers a complete recovery at a higher MP cost, offering excellent value for high-health characters.
    Snooze Hero/Priest 3 Snooze has a low MP cost and can incapacitate some enemies, allowing your party to regroup. Using Snooze Sticks can let you cast this spell without consuming MP.
    Magic Barrier Priest 6 This spell reduces damage from enemy spells, turning potentially devastating attacks into manageable ones.
    Fizzle Hero/Priest 5 Fizzle can prevent enemies from casting spells at all. While it’s not foolproof, when it works, it can significantly shift the battle in your favor.

    Convenience Spells

    Some spells aren’t primarily designed for combat but can greatly simplify your gameplay experience.

    Top Convenience Spells

    Here are spells that will make navigating the world of Dragon Quest 3 Remake much easier:

    Spell Class MP Cost Description
    Zoom Hero/Mage 0 Zoom allows free fast travel between locations you’ve already visited, making exploration less tedious and saving you time spent in battle.
    Holy Protection Hero 4 This spell prevents encounters with lower-level monsters, enabling easier travel through familiar areas without constant fighting. While avoiding weaker foes can be strategic, you’ll still want to engage stronger enemies for experience.

    With these spells, understanding their strengths and appropriate usage will elevate your gameplay experience in Dragon Quest 3 Remake. Adjust your strategy based on your character’s abilities and the challenges you face to enhance your adventure.

  • Unlocking Every Key in the Dragon Quest 3 Remake

    Unlocking Every Key in the Dragon Quest 3 Remake

    The Dragon Quest 3 Remake is an expansive game that invites exploration. The game world is full, with many locations you’ll often revisit, primarily for new keys you’ll need to progress.

    There are three unique keys in the Dragon Quest 3 Remake. The first two unlock specific door types, while the last allows you to open any door throughout the game. Each key has its own requirements for acquisition, starting with the Thief’s Key.

    Where to Find the Thief’s Key


    The Thief’s Key is the first special key you’ll collect, and it’s the simplest. This key unlocks all red doors across the game world.

    Gathering Information in Reeve

    You can find the Thief’s Key at Dreamer’s Tower, where it is given to you by an Old Man at the top. This tower is situated on a small island in the middle of the larger island where your adventure begins, which includes Aliahan and Reeve.

    While there are numerous ways to reach Dreamer’s Tower, your journey will commence from Reeve, located in the northwest section of the island.

    Upon arriving in Reeve, go to the most northern building near the pond. Inside, a boy at the table will inform you about a hidden passage in the woods south that will lead you to Dreamer’s Tower.

    Finding the Tunnel to Dreamer’s Tower

    Once you leave Reeve, head straight south to find the tunnel in the woods, located in a gap between the trees. Entering this area will lead you to the Shrine of the Plains; from there, make your way to the tunnel at the upper left corner of the map.

    A Mini Medal can be found in the barrel on the southwest side of the Shrine of the Plains area.

    Inside Dreamer’s Tower

    Entering the tunnel brings you to the first level of Dreamer’s Tower (B1). From here, proceed south down a long hallway to find the staircase leading up. Ascend the staircase to reach the main floor of Dreamer’s Tower.

    This floor offers more pathways and rooms than B1. Climb the staircase to B2, and take the southwest staircase to B3. On B3, the spiral staircase in the center will lead you to the Old Man.

    On the northwest side of the first floor, there is a staircase descending to an Inn, providing a place to rest if needed.

    Once you reach the Old Man at his location on B4 of Dreamer’s Tower, he will hand you the Thief’s Key.

    How to Acquire the Magic Key


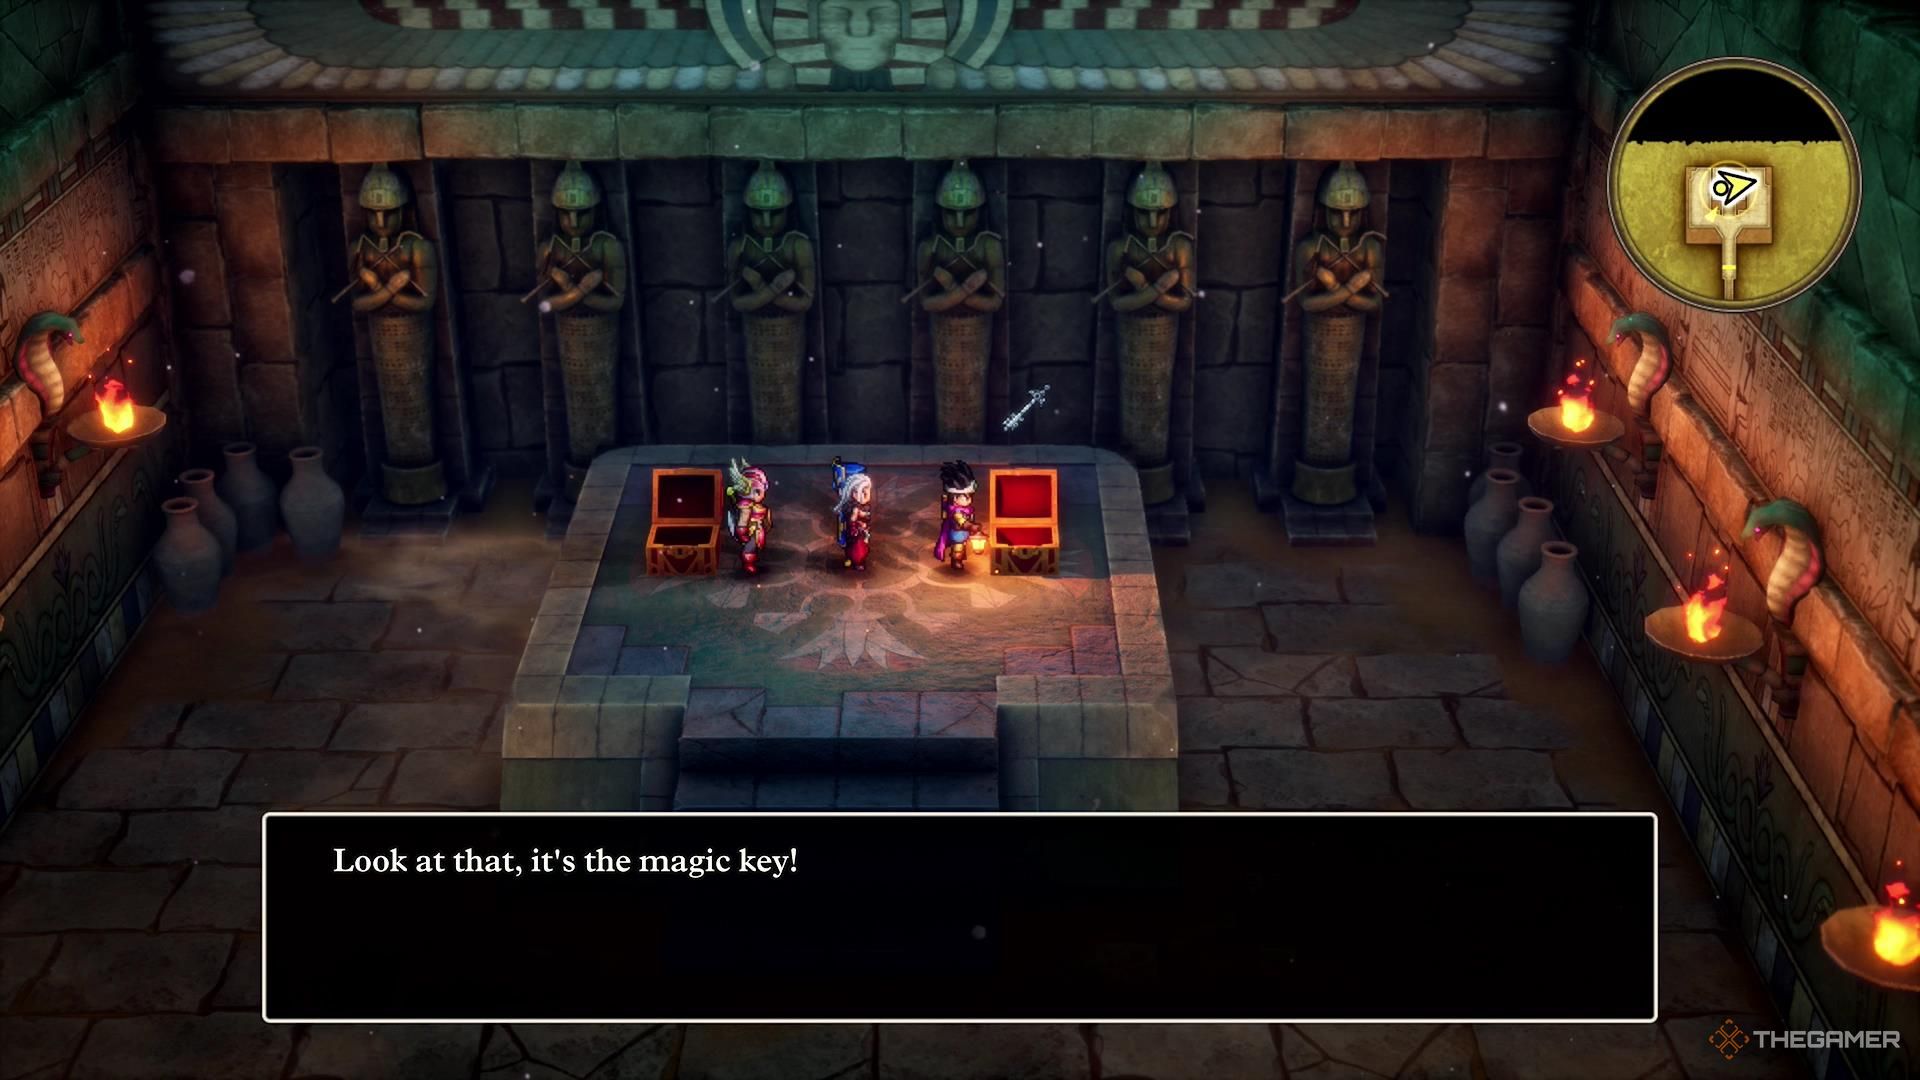
    Obtaining the Magic Key from a chest in Dragon Quest 3 Remake.

    The Magic Key is a tougher challenge than the Thief’s Key, yet it remains relatively easy if you’re comfortable with the combat system. This key will unlock every blue door throughout the game.

    Departing from Asham

    Inhabitants of Asham will discuss various topics, including the Magic Key and a nearby desert city, hinting at your next destination in the western desert.

    To get there from Asham, travel southwest past the narrowing strip of land and venture into the expansive desert.

    Making Your Way to Ibis

    Ibis lies on the southern edge of the desert by an oasis, and is a distinct desert city with several clues about the Pyramid located north of it. This Pyramid is where you need to go to acquire the Magic Key, so make sure you’re well-prepared before setting out.

    Many hints regarding the Pyramid mention that it contains a plethora of traps.

    Locating the Magic Key in the Pyramid

    The Pyramid is situated north of Ibis and is one of the more intricate dungeons in the game. Although combat remains consistent with other dungeons, it features more traps and puzzles.

    The Pyramid comprises seven floors, including a basement level you can fall into through false floors. On the first floor, head to the northeast staircase, while avoiding the traps in the hallway junctions.

    On the second floor, take the south staircase to reach the third floor, where the Magic Key awaits. Notably, you’ll encounter a puzzle to unlock the chamber with the key, along with a boss that you must defeat to obtain it.

    The Puzzle and the Boss

    For the puzzle, activate the right button first, followed by the left button to open the door to the boss’s chamber.

    When facing the boss, quickly eliminate the two minor enemies before focusing on the boss. This strategy minimizes damage taken during the battle, making the boss easier to handle.

    Once you defeat them, the Magic Key will be in the chest on the right.

    How to Acquire the Ultimate Key


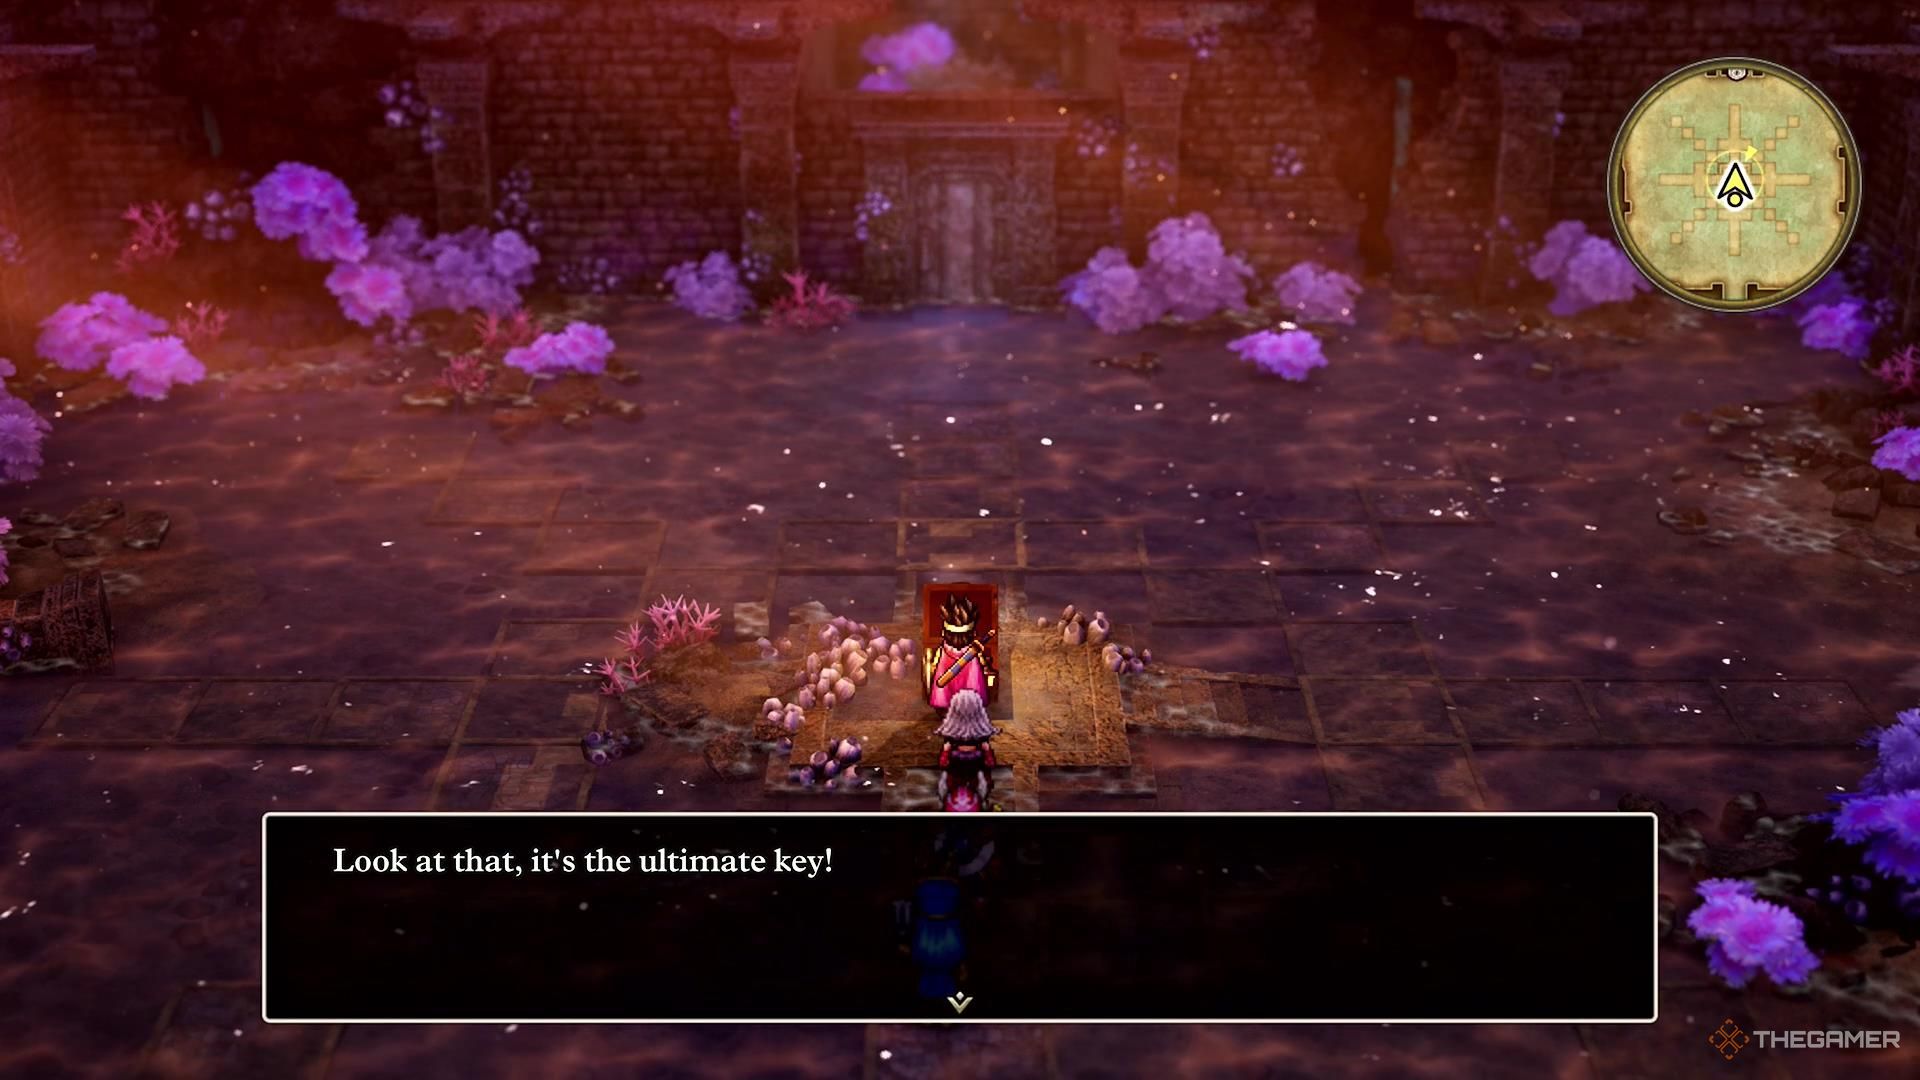
    The party obtains the Ultimate Key in Dragon Quest 3 Remake.

    The Ultimate Key is the final key you will acquire, and it grants you the ability to open any door in the game.

    The Fading Jenny in Lanson


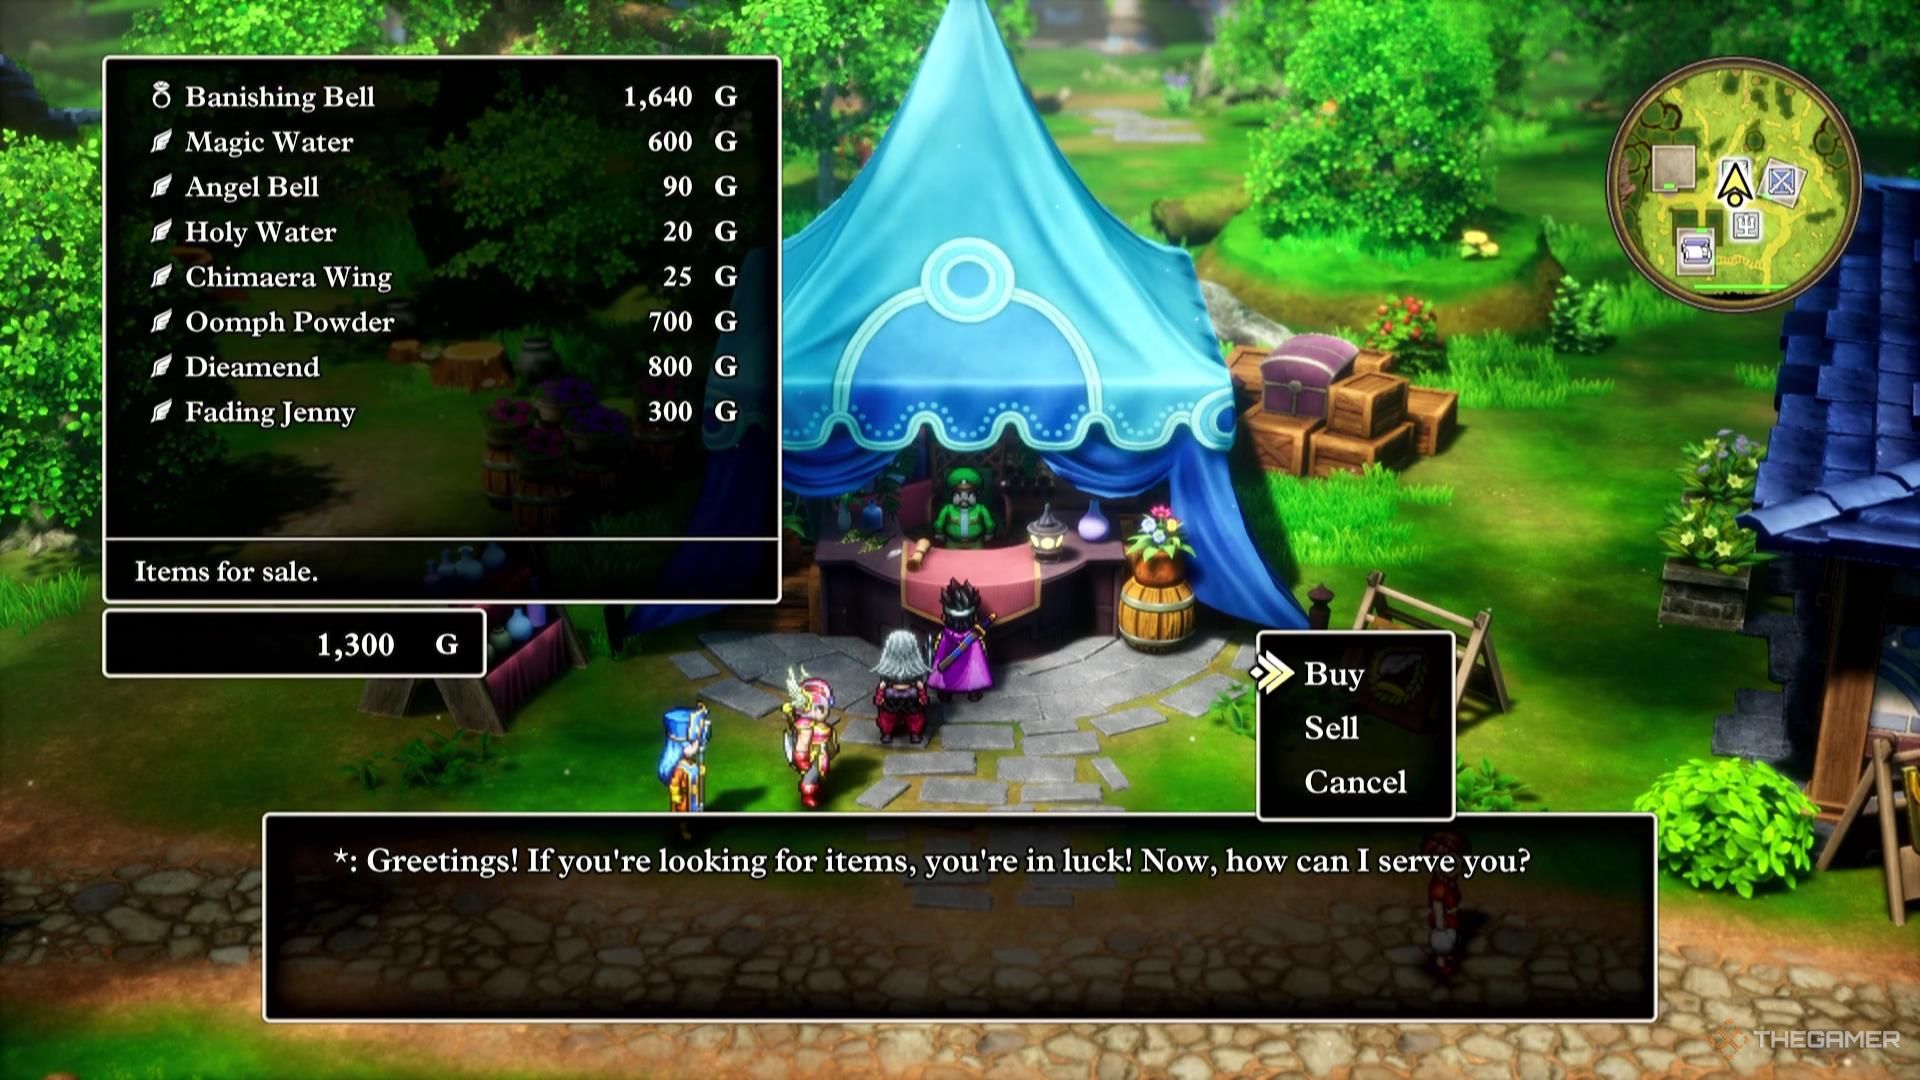
    A vendor sells Fading Jenny in Dragon Quest 3 Remake.

    In Lanson, there are a few hints for obtaining the Ultimate Key, though they might not clearly indicate that they refer to this key. A shopkeeper will note that you’ll need a special Bottomless Pot to acquire the Ultimate Key. Additionally, a Slime will mention Edina and note that entering the castle requires a Fading Jenny.

    Fortunately, there’s a vendor in Lanson who sells a Fading Jenny, and you’ll only need one to continue your quest. After purchasing the Fading Jenny, make your way to Edina, which is located on an island in the map’s northwest.

    Solving the Puzzle in Edina

    Once you arrive in Edina, use your Fading Jenny. This will make you and your party invisible, allowing you to sneak past the guard who would otherwise stop you. Once inside, you don’t need to maintain your invisibility.

    Head down the staircase on the left to reach a room with a rock puzzle. This puzzle is quite simple, involving moving three rocks onto pressure plates at the far end of the area:

    • Shift the middle rock one spot to the right.
    • Move the left rock up one space, then to the right until it’s in front of the opening, and finally up onto a pressure plate.
    • Lower the right rock by one space.
    • Reposition the middle rock to the left to its original position (where the left rock was).
    • Repeat the previous steps for the left rock on the middle rock.
    • Raise the right rock by one space.
    • Perform the same actions for the right rock as you did for the middle rock.

    Completing the puzzle will open the large door at the end of the room, allowing you to enter and access the treasure chest, which contains the Bottomless Pot. Inside the Pot, you will find a note directing you to your next destination: the Shrine of the Shallows.

    Using the Bottomless Pot

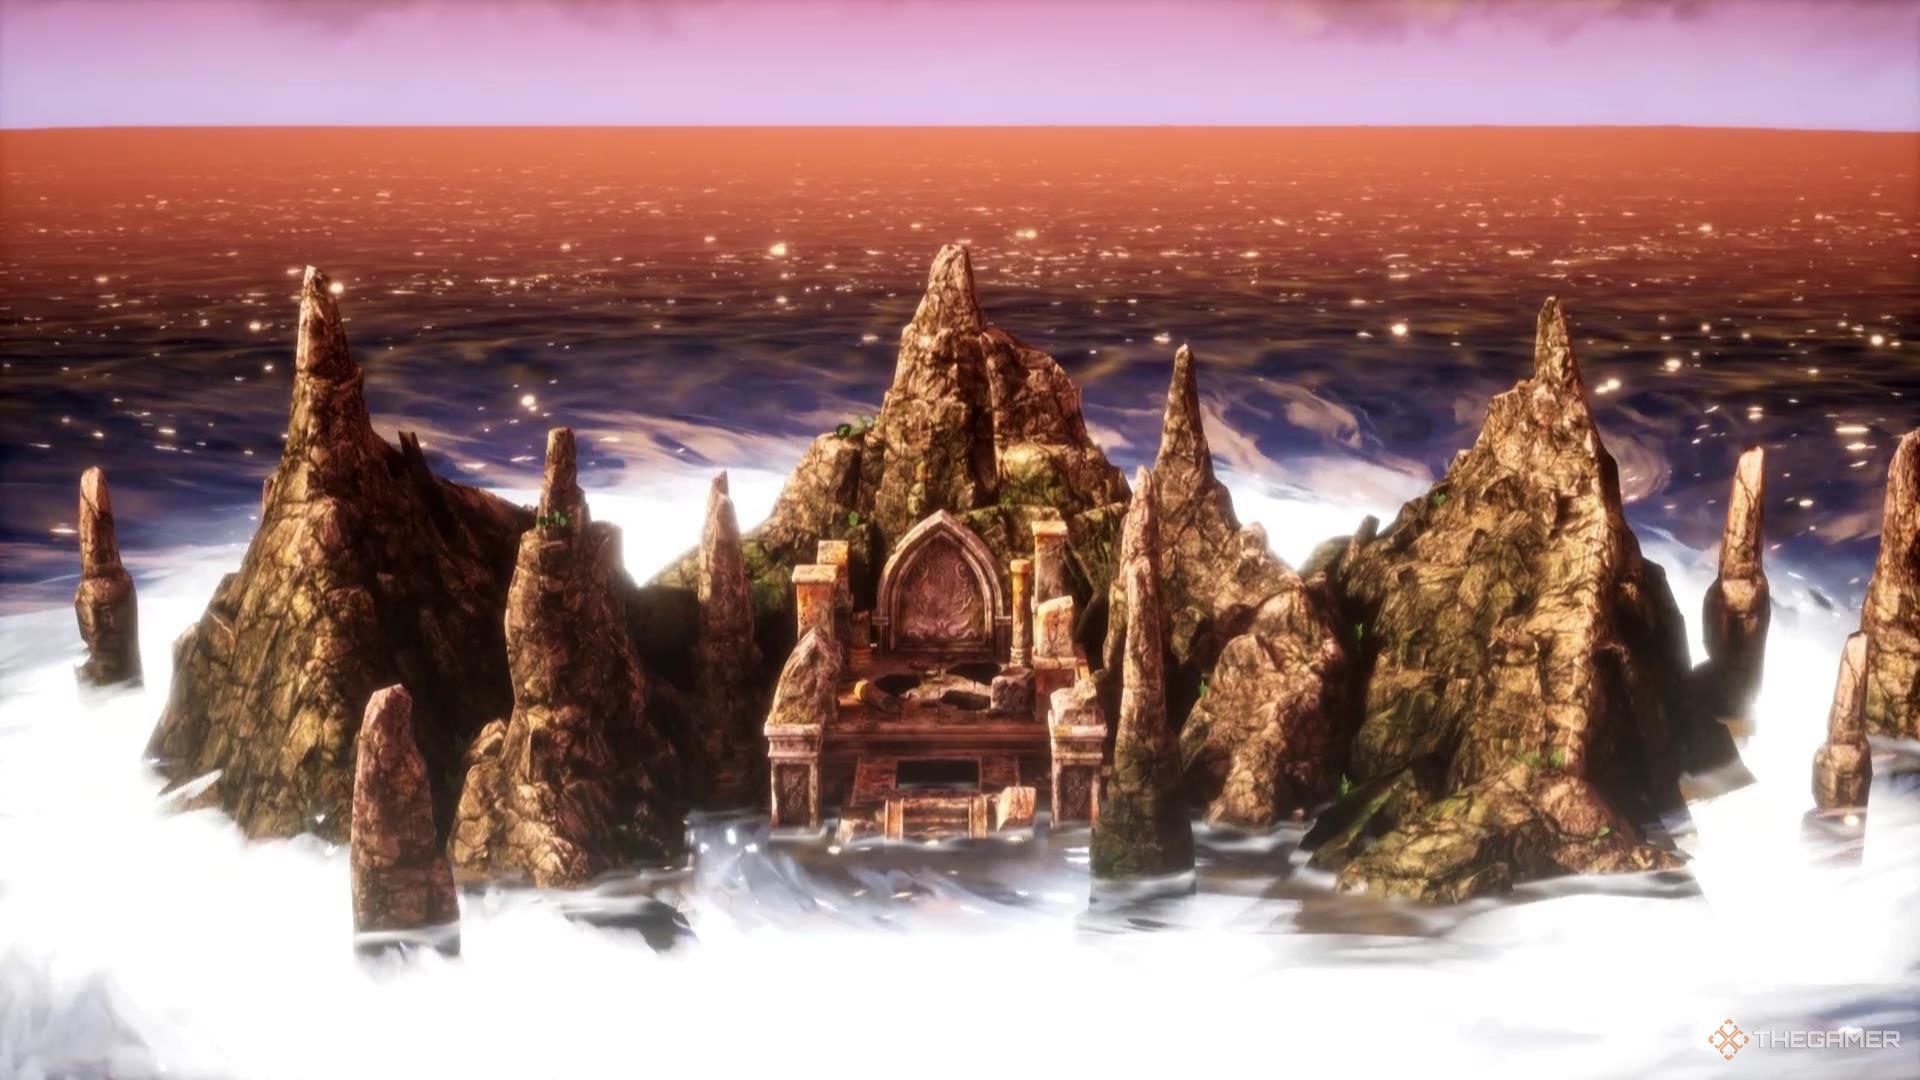
    To reach the Shrine of the Shallows, sail east from Edina, over the western continent, and navigate through the wide gap between the two continents to the north. You’ll find a large rocky outcrop extending into the sea; use your Bottomless Pot here to drain the water and reveal the entrance to the Shrine.

    The Shrine of the Shallows


    The Bottomless Pot reveals the Shrine of the Shallows in Dragon Quest 3 Remake.

    Once you enter the Shrine of the Shallows, head into the initial room where the first chest will hold the Ultimate Key.

  • Discovering Black Pepper in the Dragon Quest 3 Remake

    Discovering Black Pepper in the Dragon Quest 3 Remake

    A task that looks straightforward in Dragon Quest 3 Remake can quickly turn into quite an adventure. One such mission involves fetching Black Pepper for the King of Portoga, and it consists of several steps and encounters before you can move forward in your quest.

    This journey takes you to a new town to explore, into conflicts involving a kidnapping (along with a familiar foe), and into a dungeon. If you’re not adequately prepared or leveled, this dungeon could pose a significant challenge.

    Arriving in Portoga

    Portoga lies on the west side of the map, near the center. When you enter the area, make your way to the castle located on the west. Along the route, chat with a man in black and purple armor positioned between the bridge and the equipment shop. He’ll mention the King’s fondness for Black Pepper and inform you that towns in the southeast sell it.

    Don’t forget to stop by the middle dock, where you can encounter a monster to add to your collection.

    Meet the King

    Once you reach the castle, head to the top left and speak with the King. He will set you on the quest for Black Pepper and reward you with a ship to navigate the seas.

    The King then sends you to see a dwarf named Nordy, who can be found in a tunnel to the east of Portoga.

    Finding Nordy’s Grotto

    Nordy’s Grotto is located in a cave just east of Asham. If you’ve previously visited Asham, you can use Zoom to get there quickly. The Grotto is a safe zone with a straightforward path leading directly to Nordy.

    Speak with Nordy, and he will clear a path through the tunnel, allowing you to cross the mountain to the other side.

    Within Nordy’s Grotto, there’s a well you can explore. You’ll find an item on the middle left side, just to the right of some stalagmites, and another in the upper right corner, between a thick stalagmite and the cave’s wall.

    Getting to Baharata

    Travel south and a bit east from Nordy’s Grotto, and you’ll finally reach Baharata. Upon entering, a cutscene will set the stage for the next part of your journey.

    Make sure to rest at the Inn before heading off on your next adventure.

    The Kidnapper’s Cave

    From Baharata, cross the eastern bridge and head north along the coastline. You’ll come across another bridge; cross it, and just beyond lies the Kidnapper’s Cave.

    Kidnapper’s Cave Floor 1

    The Kidnapper’s Cave has two floors, with the first being where you’ll likely spend the most time. While heading south takes you to your goal, exploring the cave thoroughly can yield valuable rewards.

    There’s no specific route to follow in the cave; it’s a grid layout with plenty of monsters. Here’s a list of some creatures you might encounter:

    Monster Notes
    Bag O’ Laughs Uses multiple spells including healing.
    Lump Mage Can confuse allies, which can be troublesome.
    Antguzzler Primarily does physical damage and isn’t too tough.
    Hoodie Can deal heavy damage, taking away half of an ally’s health in one hit.
    Catula Can cast Woosh, dealing wind damage to your team.
    Cannibox Looks like a chest; very resistant to damage and can hit like a Hoodie.
    Shade Low health, causing minimal damage overall.

    There’s a chest located at the top center of Kidnapper’s Cave that contains a Mini Medal.

    To exit this floor, move towards the bottom right corner and proceed down.

    Kidnapper’s Cave Floor 2

    The second floor mostly revolves around a boss battle, but before you head south, check the top left for four chests. None of them are traps, so you can grab some decent loot from them.

    When you’re prepared, advance down the central hallway. Two guards will question you, asking if you’re there to join their gang. Answer “no,” and a battle will commence with four Robbin’ ‘Oodlums.

    The Robbin’ ‘Oodlums are capable of dealing considerable damage but are weak to lightning.

    Once defeated, head to the cells to the south. There’s a lever that opens both cells left of Gopal’s cell—pull it, and Gopal along with Tanaya will be freed.

    Defeating Robbin’ ‘Ood Again

    This time around, Robbin’ ‘Ood presents a tougher challenge, but if your team is around level 20 and you’re patient, you’ll overcome him. Focus on taking out one ‘Oodlum at a time to minimize their damage output. Having one or two healers, like a Monster Wrangler with Soothing Song and a Priest for targeted healing, can keep everyone in fighting shape.

    As the battle continues, take down the ‘Oodlums one by one until it’s only Robbin’ ‘Ood left. While he can inflict high damage alone, with steady healing and careful strategies, you can defeat him without a hitch.

    Once again, Robbin’ ‘Ood will beg for mercy, and you’ll let him escape, continuing on your journey.

    Reaching Baharata and Alltrades Abbey

    Head back to Baharata and visit the General Store where Gopal works. He’ll offer to help you acquire some black pepper, but unfortunately, he has none. Instead, he suggests you check with his black pepper supplier at Alltrades Abbey, located to the north.

    Follow the same route you took to reach Kidnapper’s Cave but keep going north instead of crossing the second bridge to the east. Alltrades Abbey is nestled in a forest between mountain ranges.

    Locating the Trader

    Once at the Abbey, the Trader is situated right at the center, just a few steps from the entrance. Talk to him, and he’ll give you the black pepper you need. With the pepper finally in hand, it’s time to return to Portoga and present it to the King.

    Return to Portoga and Claim Your Ship

    When you’re back in Portoga, head directly to the King who will accept the black pepper. After an important cutscene, you’ll gain access to your very own ship waiting for you at the Portoga Docks.

    This ship will allow you to explore many new areas and discover plenty of loot that was previously out of your reach.

  • Top Method for Reviving a Hero in Dragon Quest 3 Remake

    The Dragon Quest 3 Remake can be incredibly tough if you’re not diligent about collecting the best equipment and leveling up occasionally as you progress through the game. Intense battles might result in the death of your characters, but don’t worry; it’s not the end for them.

    Characters can be brought back to life in Dragon Quest 3 Remake, whether it’s the protagonist or any of the allies you’ve chosen to travel with. Generally, losing a character during a fight is a setback, but it can easily be remedied once the battle is over.

    How to Revive a Party Member During Battle


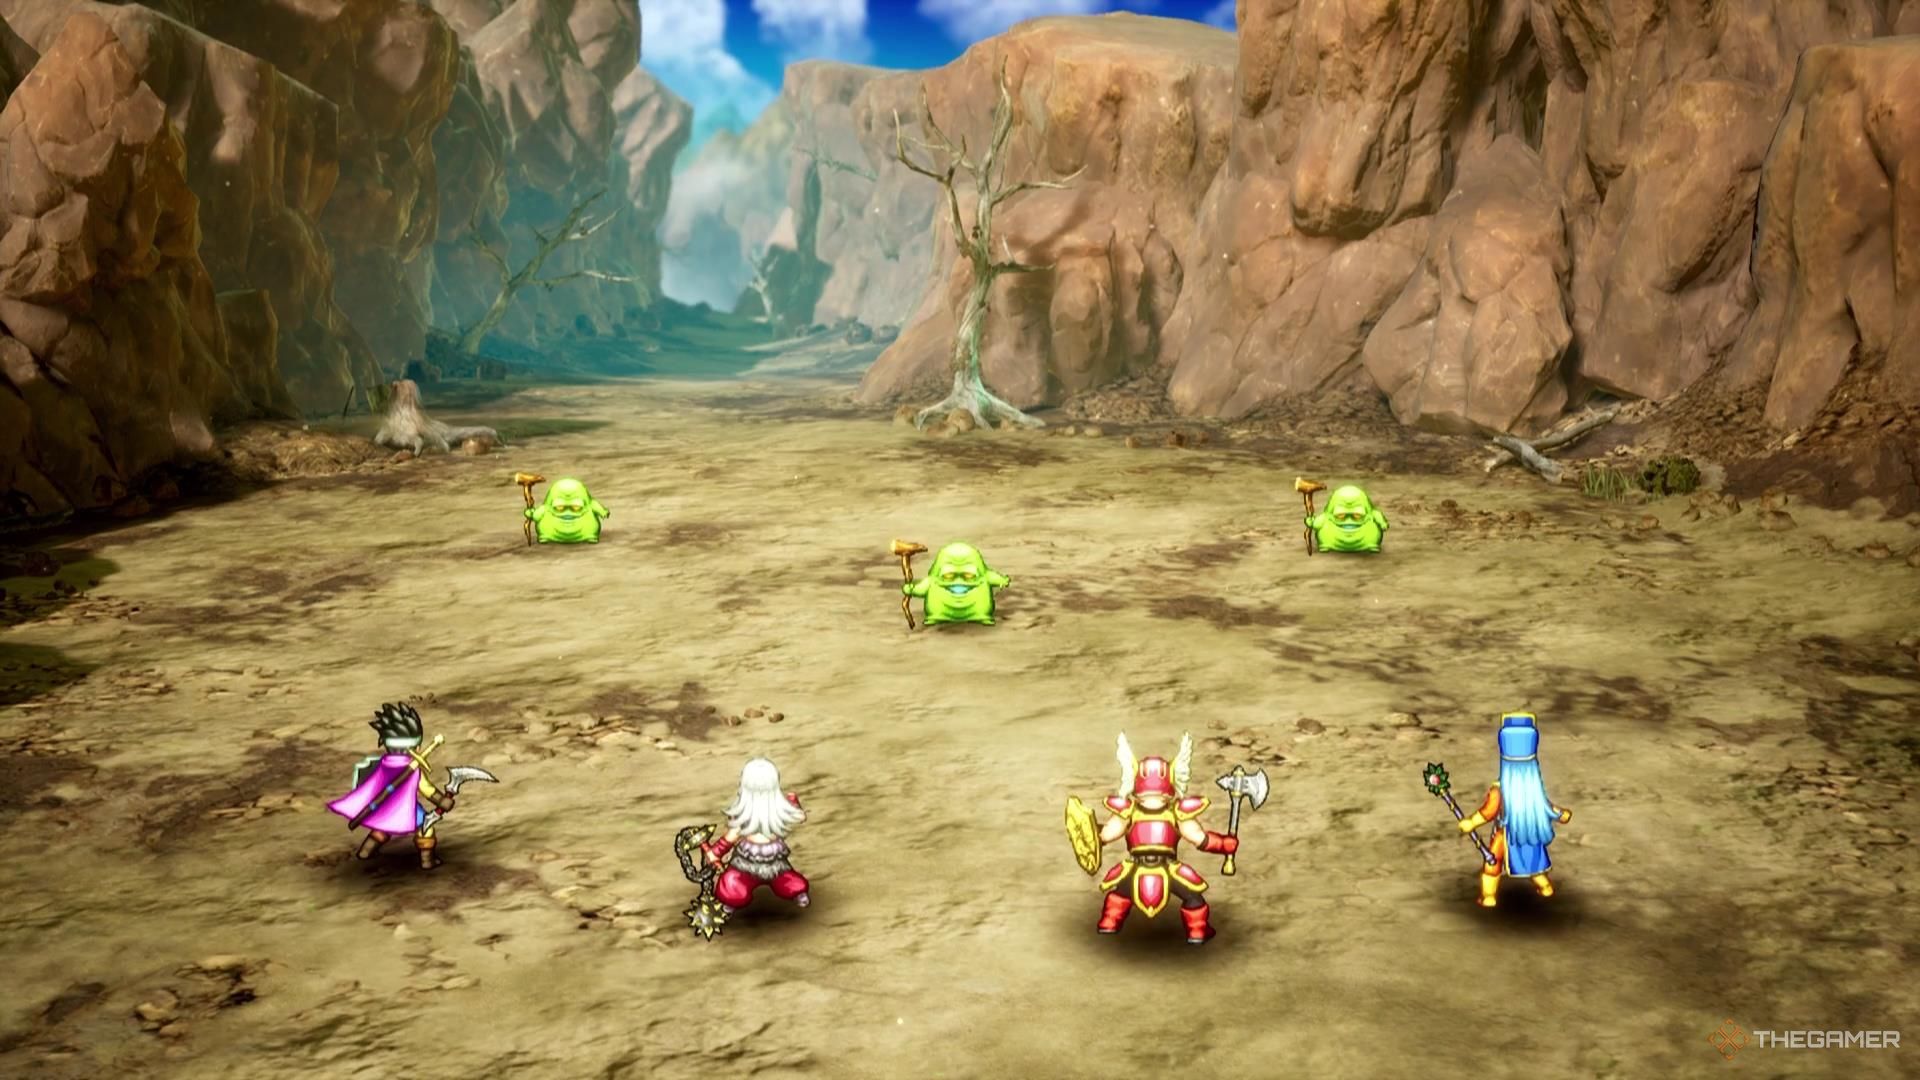
    The hero and their party face off against three enemies in Dragon Quest 3 Remake.

    When a character gets knocked out in battle, things can quickly go from bad to worse. Although, most of the time, you can revive members outside of battle, there are ways to bring them back during combat. It generally takes a turn and, occasionally, a bit of luck. Fortunately, there are several options available to you.

    Yggdrasil Leaf


    A Yggdrasil Leaf in the player's inventory in Dragon Quest 3 Remake.

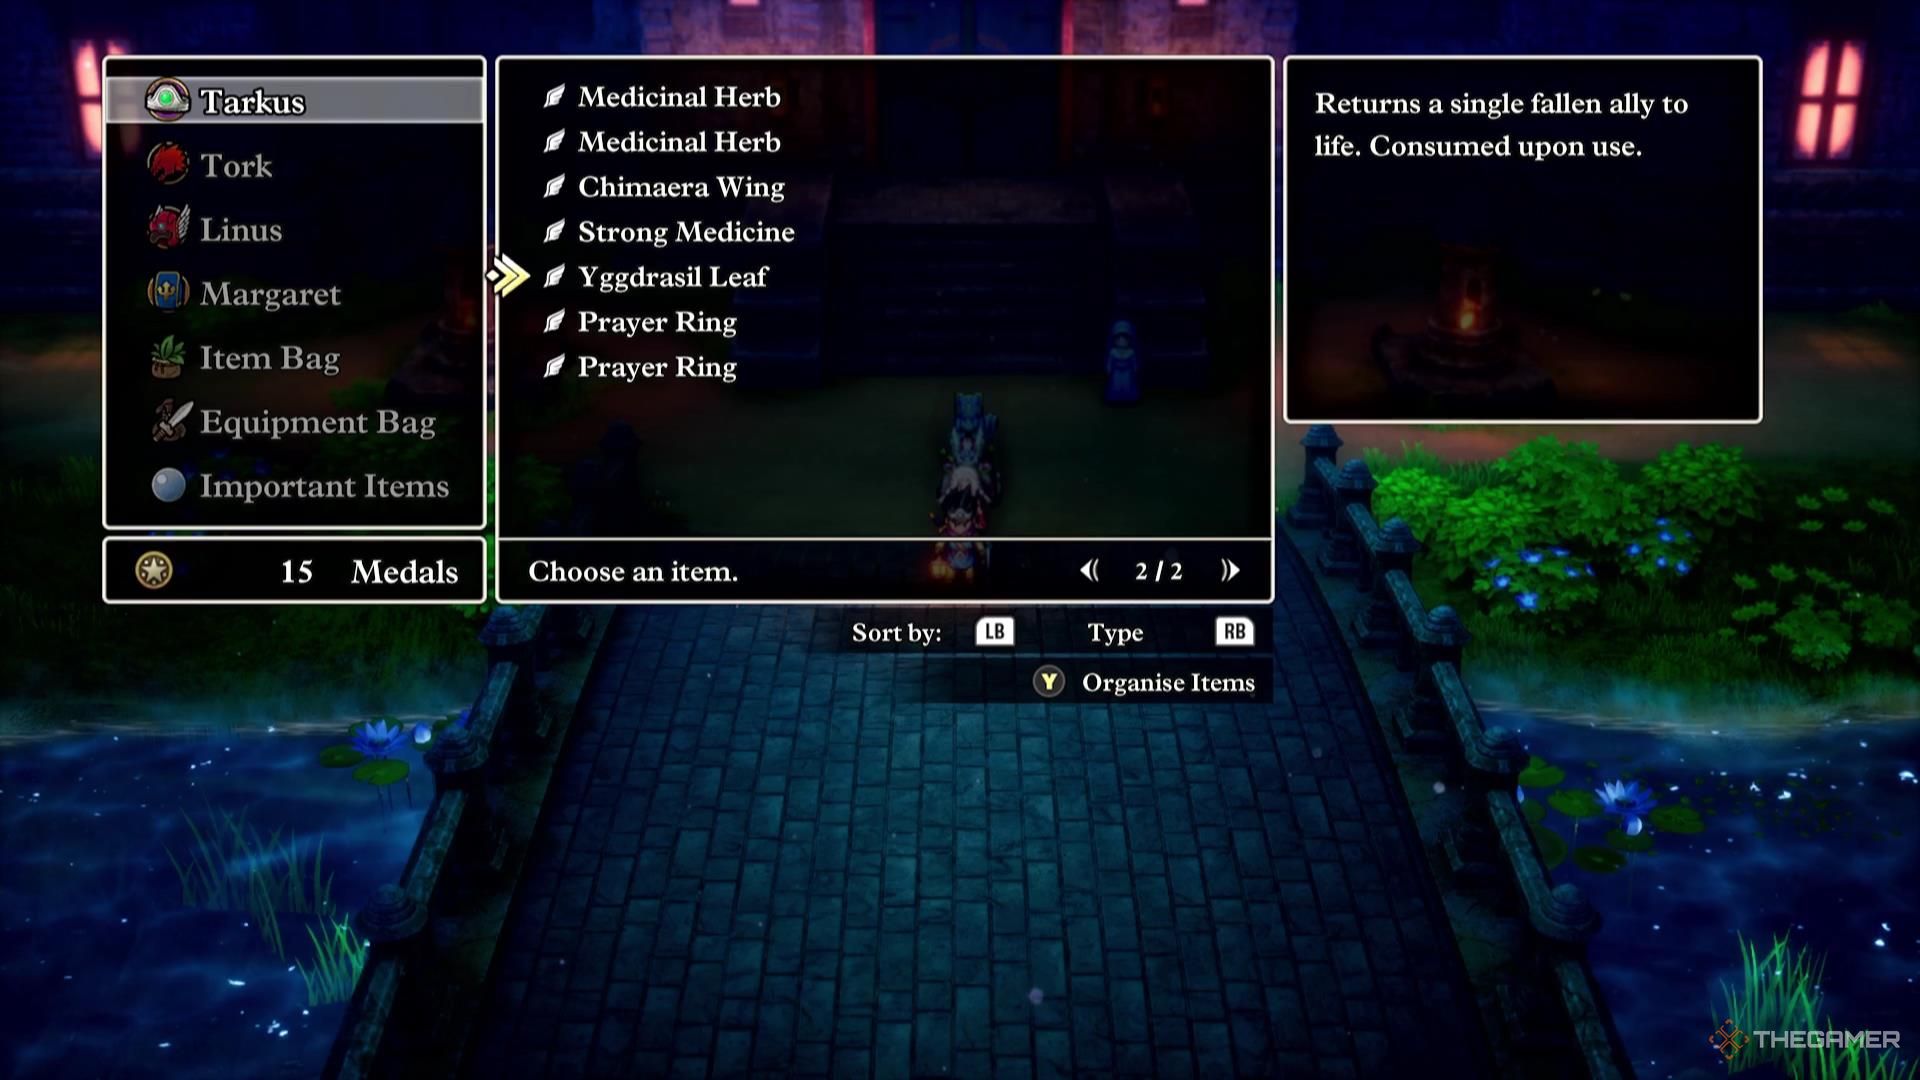
    The most reliable method to revive a party member during battle is to use a Yggdrasil Leaf. This item will restore them to full health and MP.

    This is the best option for recovering during tough fights, particularly when every point counts. But if you’re facing an overwhelmingly strong opponent, using a Yggdrasil Leaf might just be delaying the inevitable loss.

    Yggdrasil Leaves are rare and valuable. You’ll usually find them hidden in chests, so use them wisely; only deploy them in the most critical moments.

    Zin and Zing Spells


    The Zin spell in the player's spell list in Dragon Quest 3 Remake.

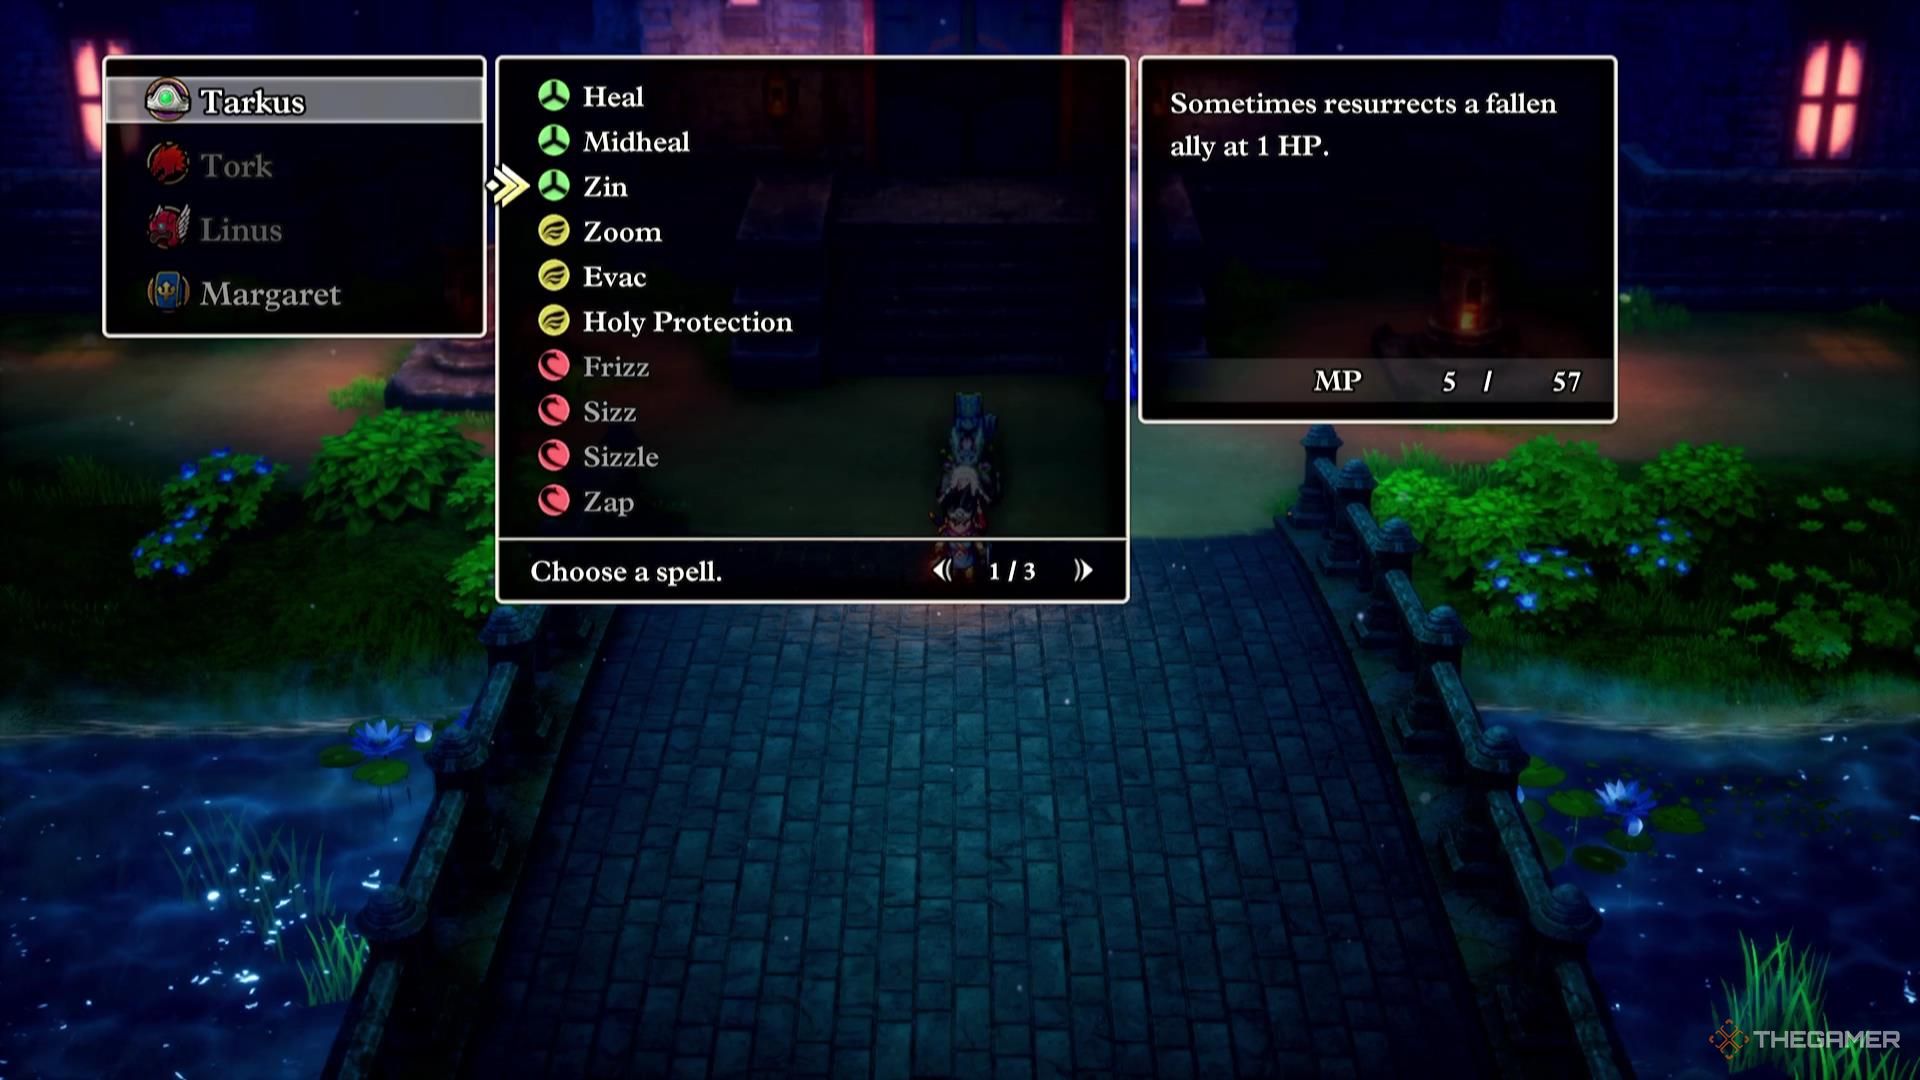
    There are two spells that can revive your fallen party members: Zin and Zing. Each spell has a different effect, with Zin offering a basic revival and Zing acting as its enhanced counterpart, though it comes with a higher cost.

    • Zin – Has a chance to revive a downed character with 1 HP.
    • Zing – Increases the chance to revive at half HP.

    Each of these spells has its pros and cons: Zin is much cheaper in terms of MP compared to Zing, but it also has a lower success rate, which can be frustrating during combat when you need guaranteed responses.

    While you can use these spells in battle, they tend to be more effective outside of combat. If Zin fails in the field, you can keep casting it until it succeeds.

    Once you have unlocked Zing, it’s generally wiser to use that spell. The additional MP cost is offset by the healing it provides. Essentially, it serves as a revive and heal combo, making it a better investment thanks to its higher success rate.

    How to Pay for a Resurrection at a Church


    The player speaks to a nun in Dragon Quest 3 Remake.

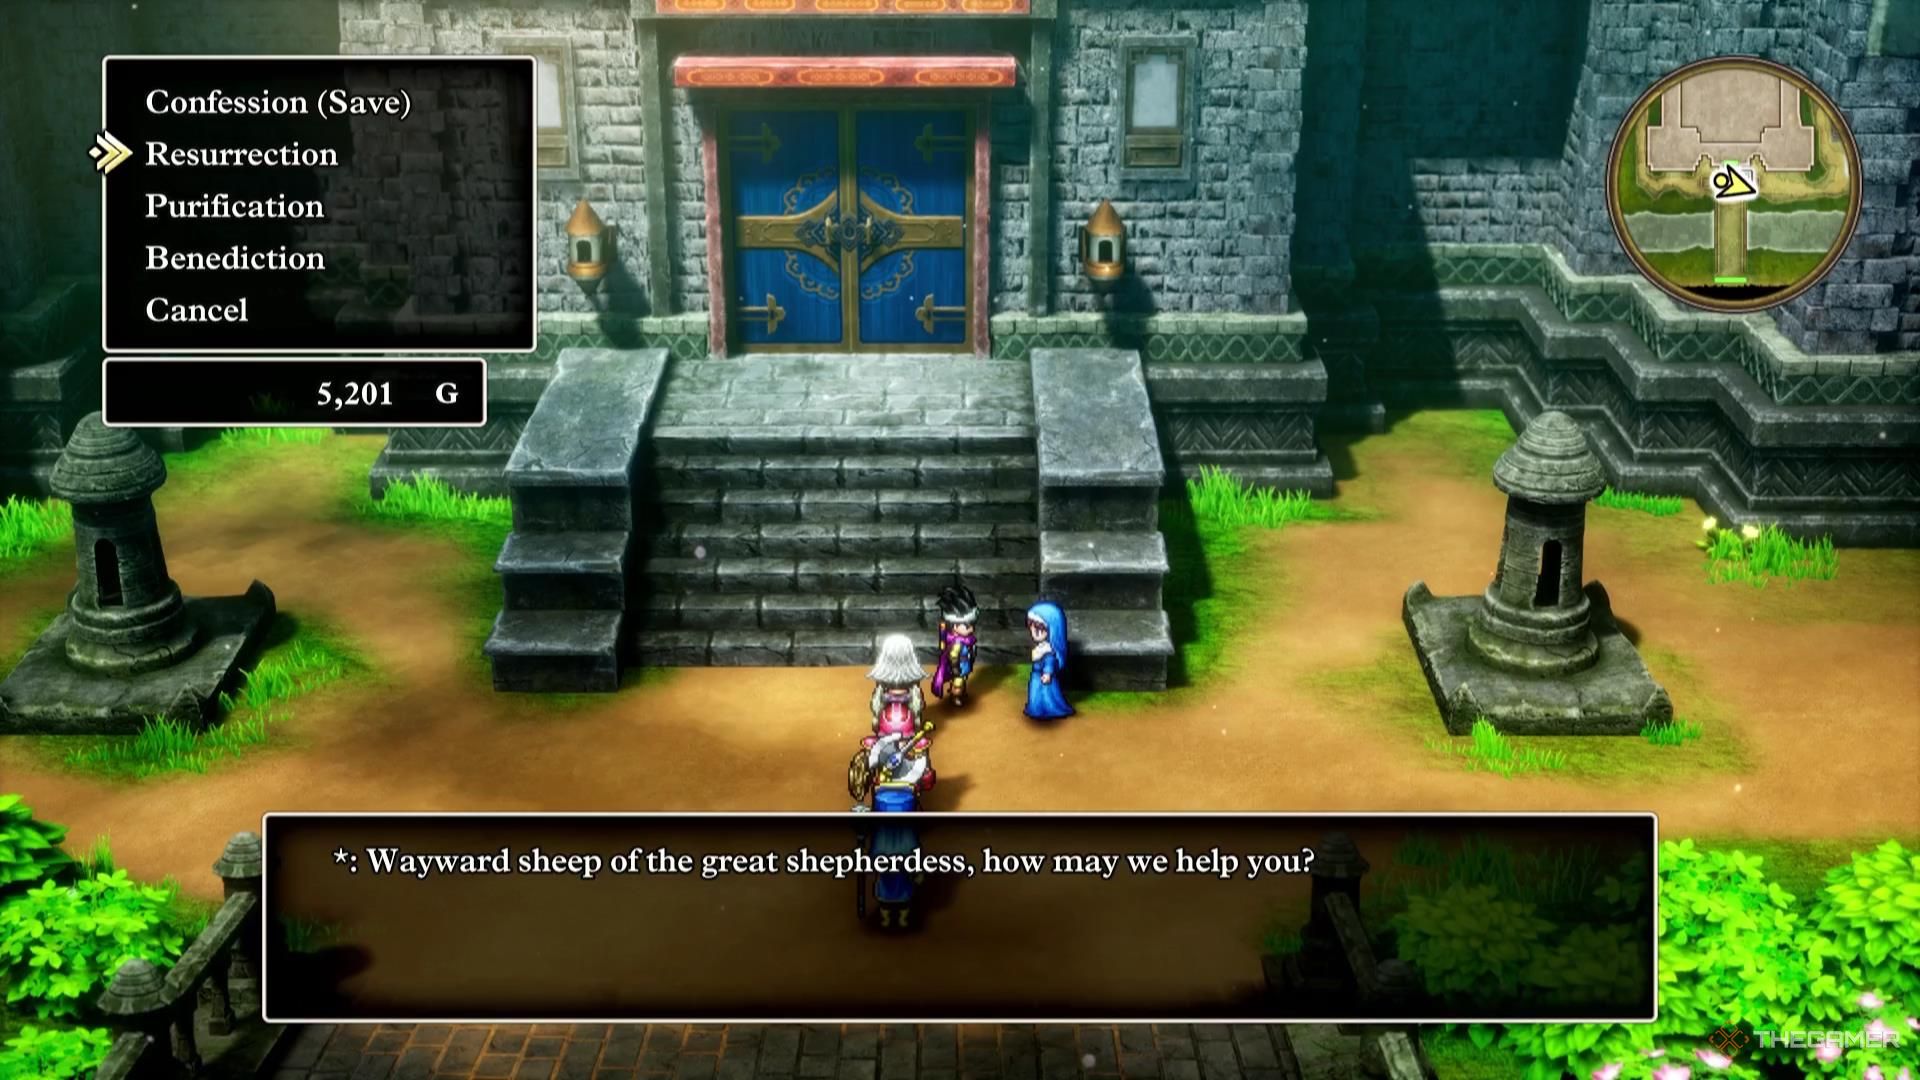
    Your other option for reviving characters is to visit a church. Most towns or villages have a church, and if there’s not a church, you’ll find a Priest or Nun who can help you out.

    This service will cost you a bit of gold—about 100 coins—but the price goes up each time you revive someone. In most cases, it’s more efficient to use a spell to revive fallen characters and then rest at an inn to restore their health and magic points.

    However, sometimes you’re left with limited options. While the main character has the Zin spell, if you’re running low on MP and can’t replenish it with items, visiting a church may be your best option.

    Even in such situations, inns are usually nearby. If you find one, you can stay at the inn for less than the cost of a church revival. This will restore your MP, allowing you to then use a spell to bring your party member back to life.

  • Locating the Blacksmith’s Hammer in Dragon Quest III Remake

    Locating the Blacksmith’s Hammer in Dragon Quest III Remake

    When you explore Castle Tantegel, you’ll discover that its three treasures have been scattered throughout Alefgard. Among these treasures is the legendary Sword of Kings, believed to have been broken by Zoma. Restoring it won’t be a simple job.

    However, it’s not out of reach. With dedication and perseverance, you can piece the Sword of Kings back together. Unlike the other treasures of Tantegel, which remain intact in Dragon Quest 3 Remake, reviving this sword requires a bit more work. Let’s get to it.

    Locating Orichalcum

    To start the restoration journey for the Sword of Kings, you’ll need to navigate around Alefgard in a counter-clockwise direction. From Tantegel, head south to the desert and enter the town of Damdara, where you will find the Orichalcum.

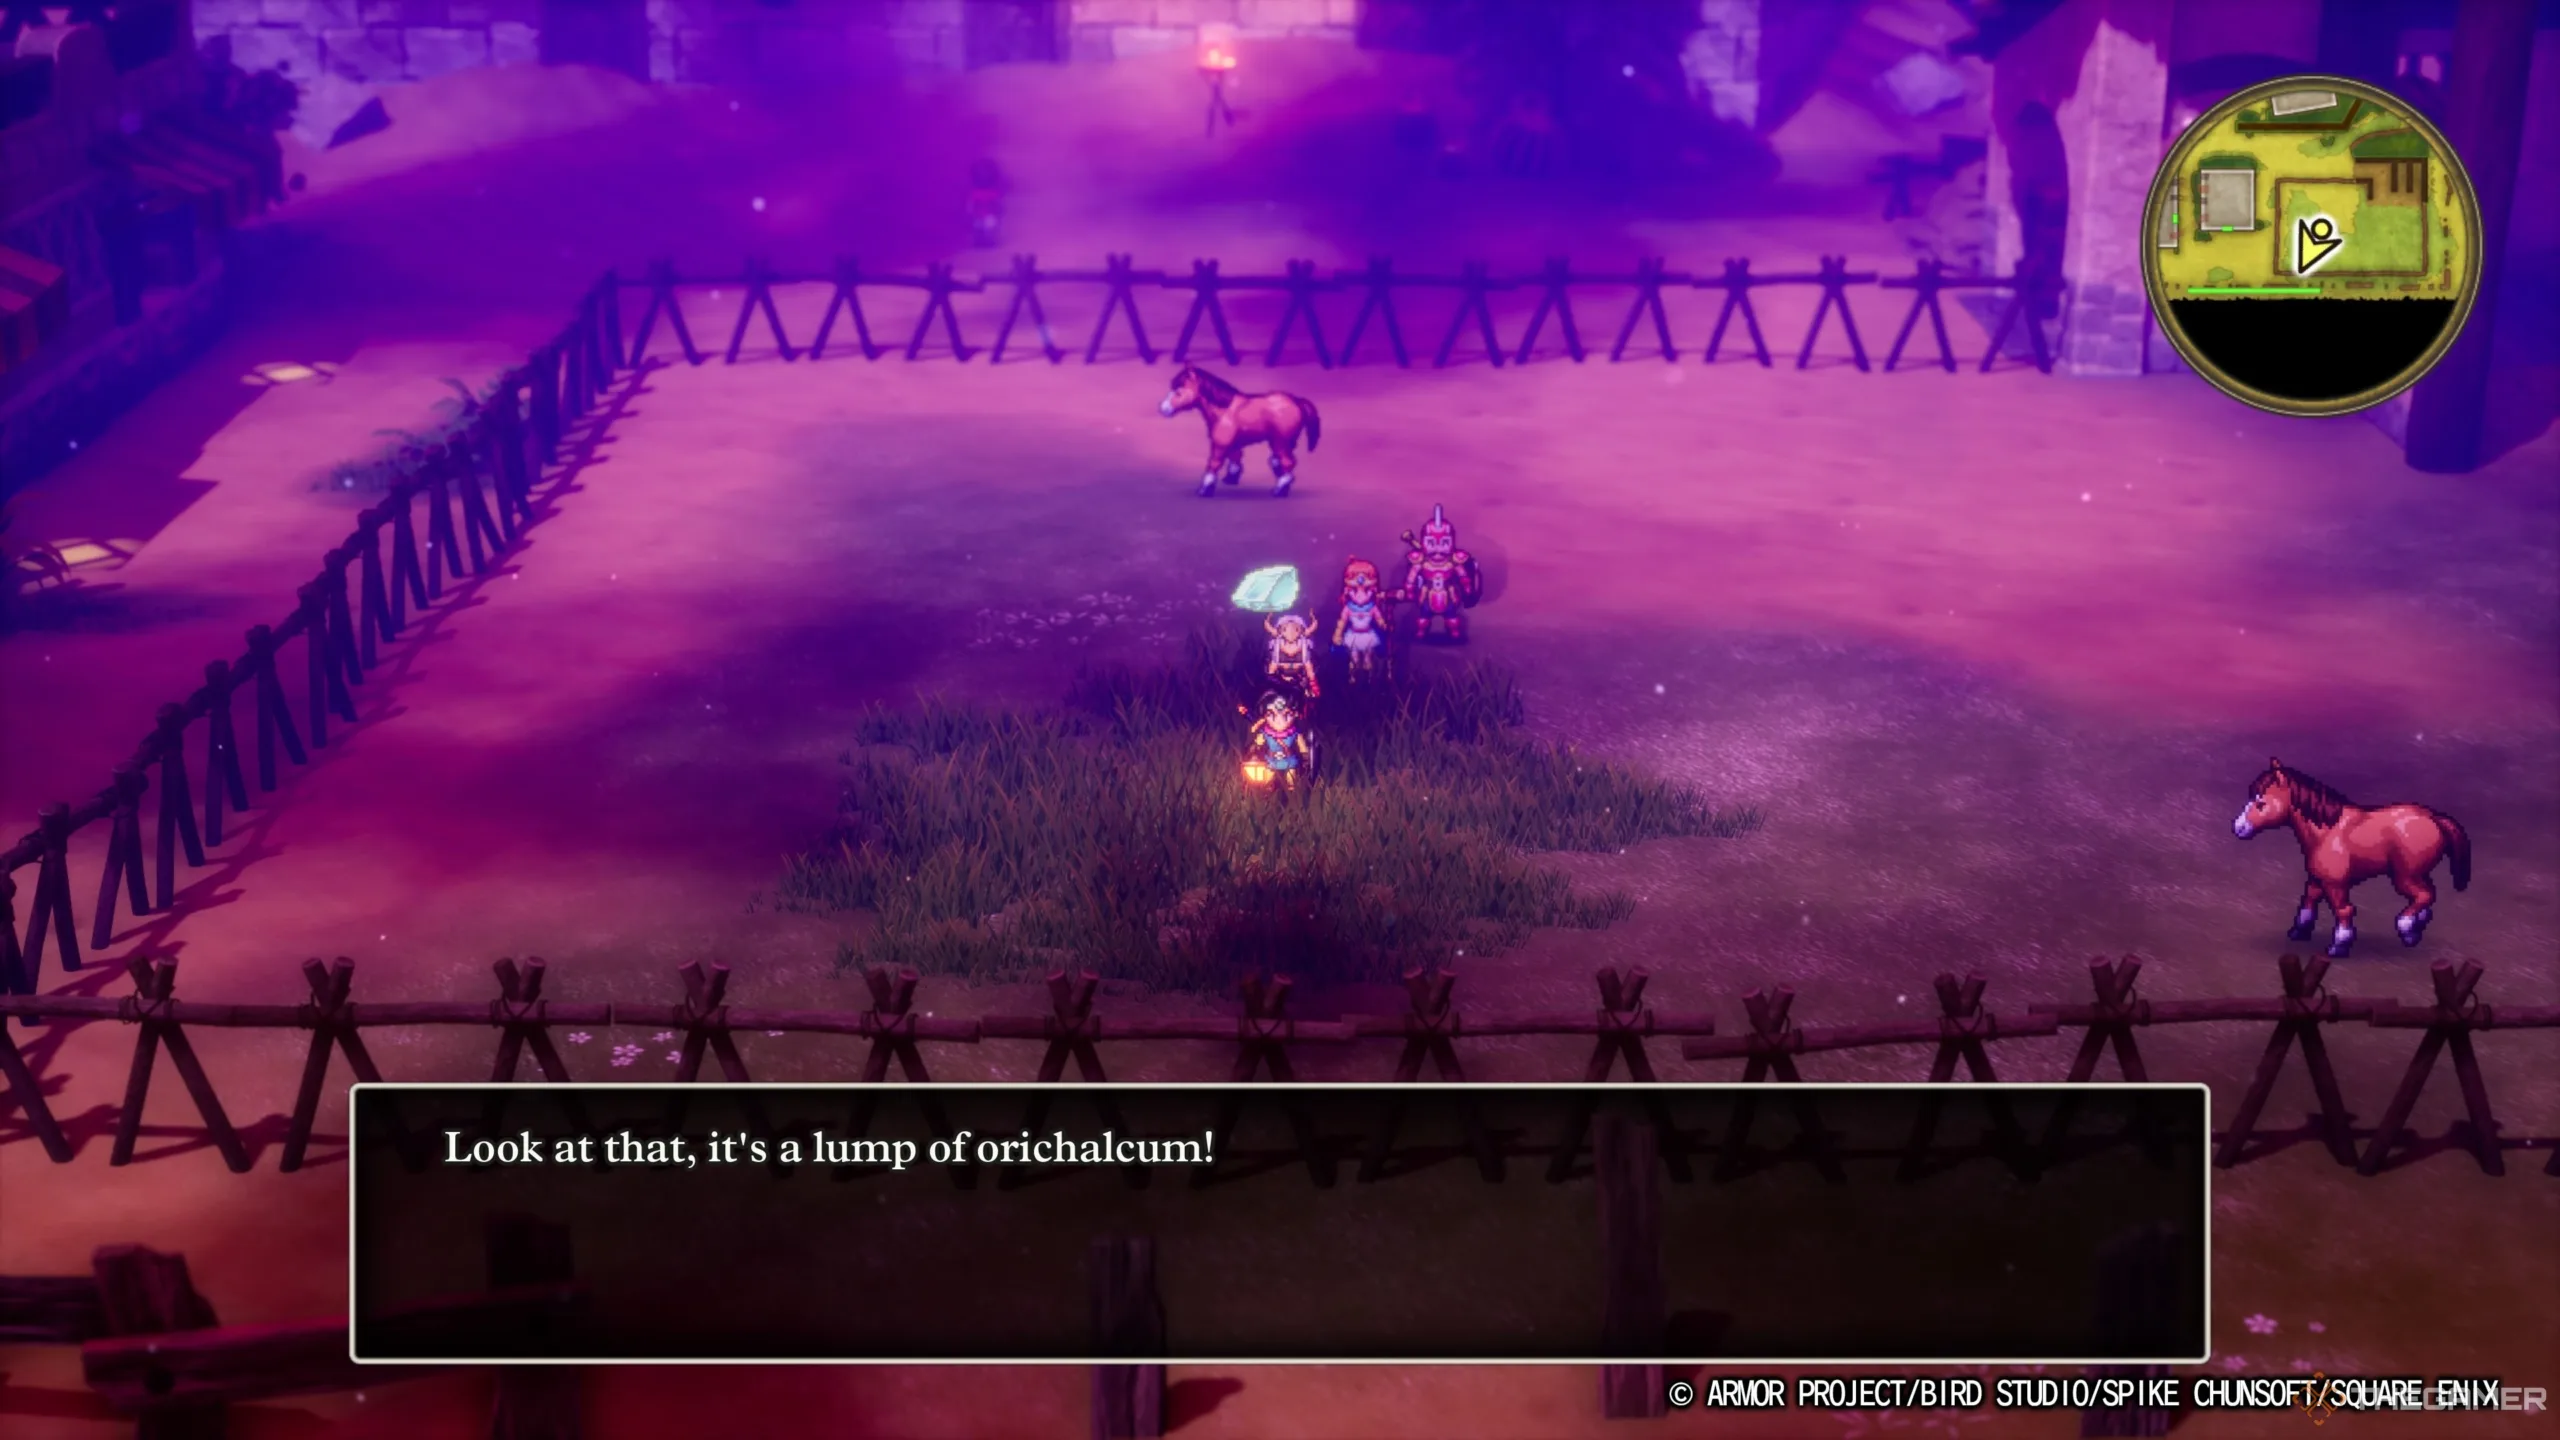
    In Damdara, look for a man at the weapon shop discussing rumors about Orichalcum being nearby, and a woman outside who mentions witnessing something sparkling near the horse pasture. Go ahead and investigate this area where you’ll surprisingly discover the Orichalcum. Don’t ponder too long on its presence there.

    Finding the Broken Blade

    Next, you need to search for the actual pieces of the Sword of Kings. For this, head east from Damdara to Cantlin, a town enveloped by mountains and swampy marshes. To avoid harm from the toxic environment, use Safe Passage during your travels.

    Once you arrive in Cantlin, inspect the buildings until you encounter a rather quirky scientist surrounded by books. He’s working on constructing a humanoid machine to defend the town against Zoma. To your right on the table, you’ll find the broken shards of the Sword. The scientist, without hesitation, will let you take them, eager for you to help restore the blade.

    Searching for the Forging Hammer

    Next, you need to acquire the Forging Hammer. From Cantlin, travel northeast past Rimuladar to Kol. In Kol, visit the item shop, where you’ll meet a man claiming to be a renowned blacksmith from Jipang who lost his legendary hammer. He laments that he’s been forced to sell trinkets for survival here.

    To help him regain his passion, you’ll need to find that hammer. Interestingly, it’s not lost within Alefgard. Instead, you must leave Alefgard entirely and return to Jipang. The Forging Hammer can be found in a house northwest of the town.

    Note: Make sure to defeat Baramos first; the hammer will not appear until he is defeated.

    Restoring the Sword of Kings

    With Orichalcum, the Broken Blade, and the Forging Hammer in your possession, return to the smith in Kol. Seeing the hammer reignites his spirit, and he expresses his gratitude by agreeing to repair the Sword of Kings for you.

    After a short cutscene, the smith successfully restores the Sword of Kings to its former glory and gifts it to you for your efforts in reviving his enthusiasm for smithing. This sword is the most powerful weapon in the game and can unleash a devastating shockwave when used in battle. Zoma doesn’t stand a chance against its might!

    Note: In a nod to the original DQ3, the smith not selling the sword reflects a change from the original storyline where you would sell him the Orichalcum and he would then sell you the Sword of Kings back. This time around, your extra efforts make him generous.