الوسم: Dragon Ball

  • Logan Paul Buys Rare One Piece & Dragon Ball Manga for $550,000

    Logan Paul Buys Rare One Piece & Dragon Ball Manga for $550,000

    Controversial content creator Logan Paul recently faced criticism on social media after revealing that he purchased two highly graded debut issues from the popular manga series One Piece and Dragon Ball, both graded as elite collectibles.

    Paul took to X (formerly Twitter) to show off these rare items, declaring, “Proud owner of the greatest Mangas in the world (in my opinion).” He added, “One Piece Chapter One 9.0 (second highest grade available, population 3). It’s the first canonical appearance of Monkey D. Luffy. One Piece is the top-selling manga worldwide with over 600 million copies sold.” He continued, “Dragon Ball Chapter One 9.2 (highest grade available, population 1), purchased for a record $550,000. It includes the first appearance of Goku and Bulma. The manga journey has just begun…”

    Logan Paul acquires rare issues of One Piece and Dragon Ball for $550,000

    Many fans interpreted his purchase more as a financial investment rather than a genuine expression of his passion for the series. Logan Paul previously bought a PSA 10 graded Pikachu Illustrator card for $5.3 million in 2021, which he later sold in February 2026 for an astonishing $16.5 million.

    While Paul confirmed he paid $550,000 for the Dragon Ball issue, he did not disclose how much he paid for the One Piece issue. This decision stirred debate on social platforms, with numerous fans of both franchises criticizing Paul, claiming his actions could potentially undermine their hobbies.

    Fellow content creator IShowSpeed, who is a known enthusiast of One Piece, responded sharply to Paul’s statement, commenting, “You don’t even know sh*t about One Piece.” Another user on X added, “This is just market manipulation by companies like Beckett. I hope they get fined or even arrested someday. The dude has never even touched a manga in his life. Fk Logan Paul, fk Beckett.” Someone else remarked, “This guy is on a mission to ruin all hobbies out there.”

    [Twitter Post]

    you don’t even know sh*t about one piece
    — Speed⭐️ (@ishowspeedsui) on April 22, 2026

    While Paul was transparent about paying $550,000 for the Dragon Ball issue, he kept the cost of the One Piece issue private. His purchase continues to spark controversy, with critics arguing that such high-value transactions over collectibles may distort the hobby and impact the community’s integrity.

  • Video: Boy Gets Stuck in Frieza Costume After Mom Uses Latex Paint

    Video: Boy Gets Stuck in Frieza Costume After Mom Uses Latex Paint

    A young boy garnered widespread attention on social media after a Halloween costume project went awry when his mother used latex paint to transform him into Frieza, the notorious villain from Dragon Ball. Unfortunately, removing the paint proved to be much more challenging than expected.

    Videos displaying the boy covered in white and purple latex paint rapidly circulated online. The footage revealed visible remnants of paint on his skin, illustrating her failed attempt to scrub it off, leaving him stuck in the character’s iconic fourth form.

    According to TV Azteca, the incident took place in Argentina, where the child’s parents used regular latex household paint, mistakenly believing that it would come off easily with water.

    Video: Boy becomes trapped in Frieza costume after mother applies latex paint

    While social media users expressed concern and shared potential solutions in the comment sections, no reports indicate that the boy was able to free himself from the paint’s grip.

    The viral video elicited a variety of reactions. One user on X (formerly Twitter) commented, “She’s a pretty cool mom, though. Some parents wouldn’t even go to these lengths for a school costume.”

    Another person added, “It looks like they’re going to be stuck like that for a while. Peeling obviously isn’t an option. Soap and water aren’t going to do the trick. Thank goodness he doesn’t have a latex allergy. THINK! Do people even think anymore?”

  • Completing Majin Kuu’s Journey in Dragon Ball: Sparking Zero

    Completing Majin Kuu’s Journey in Dragon Ball: Sparking Zero

    The latest DLC for Dragon Ball Sparking Zero has introduced some intriguing new characters. While it may not be as expansive as the Super Hero expansion, standout additions like Majin Kuu elevate the overall experience.

    Much like in Daima, Majin Kuu serves as a comic relief character. While he primarily offers laughs, he possesses a set of special moves that, when executed properly, can lead to victories against opponents. Let’s explore how to effectively play as Majin Kuu and examine his abilities.

    Majin Kuu’s Moveset and Abilities


    Move Cost Explanation
    Snack Time Four Skill Points Majin Kuu takes a quick snack to recover some health. It’s one of the best regeneration skills in the game.
    Majin Power Two Skill Points Provides Majin Kuu with buffs for 15 seconds.
    Crescent Energy Wave Three Ki Bars Majin Kuu raises both hands to fire an energy blast at the opponent.
    Majin Corkscrew Attack Three Ki Bars Majin Kuu spins and charges toward the opponent.
    Wild Rush Complete Ki Bar Majin Kuu’s ultimate attack, featuring a punch followed by an energy blast.

    While Majin Kuu is distinctive, he doesn’t have any overwhelmingly powerful attacks, and his hits are not exceptionally damaging. However, his Crescent Energy Wave attack can be tricky to dodge, as it comes from above, making it stand out from typical beam attacks.

    When not using special moves, be sure to save up for Majin Kuu’s Snack Time, which allows him to quickly recover health. Health regeneration skills are vital in Sparking Zero, and Kuu’s ability is a strong addition to his toolkit.

    When playing as Majin Kuu, it’s essential to diversify your use of his supers, particularly his quick Majin Corkscrew Attack. Additionally, if you sidestep, you can perform a stunning gut punch with a heavy attack, which is a handy tactic to employ.

    Best Combos for Majin Kuu

    Majin Kuu in Dragon Ball: Sparking Zero.

    While supers can be entertaining, they shouldn’t be your sole reliance. Just like any character in the game, mastering some combo strings is key.

    Combo Guide

    Start by using the Majin Power skill if you have spare skill points, then initiate the combo by approaching your opponent from behind. Execute two standard attack strings and follow the third with flying kicks, concluding with a gut punch. After delivering the gut punch, charge a ki blast, then execute a sweep.

    Avoid charging your ki blast for too long, as this could give your opponent a chance to recover and counterattack.

    Next, recharge your ki blast and perform an upward kick to launch your opponent into the air. Move forward and hit them with a heavy attack. Recharge your ki blast again and finish the combo with a standard attack string. Finally, execute any of your super attacks to maximize damage.

    Unfortunately, Majin Kuu doesn’t have a reset option after the sweep, so you’ll need to stick with basic combos and some heavy attacks. With these strategies in mind, you should be well-equipped to take advantage of one of Sparking Zero’s more understated characters.

  • Completing Goku’s Playstyle in Dragon Ball: Sparking Zero

    Completing Goku’s Playstyle in Dragon Ball: Sparking Zero

    Dragon Ball: Sparking Zero has released the first DLC pack for Daima, featuring highly awaited characters from the anime. The standout addition is Vegeta in his Super Saiyan 3 form, but there’s also been significant attention given to Goku Mini, particularly concerning his Super Saiyan transformation.

    Goku Mini comes in both his base and Super Saiyan forms. This section will detail the moves and abilities of each form, plus some effective combo strategies for the Super Saiyan version. While many combos can also be applied to his base form, note that there might be variations in the heavy attack sequences.

    Goku Mini Moves and Abilities

    Move Cost Description
    Sleep Four Skill Points Goku will rest to recover health and Ki. Though effective for regeneration, it’s the slowest option available.
    Warm-up Exercise Two Skill Points Boosts Goku’s melee, Ki blasts, and blast abilities for 15 seconds.
    Quick Rush Three Ki Bars This triggers a cutscene where your character rushes and attacks the enemy.
    Take This! Three Ki Bars Goku uses his pole to hit the opponent—this attack can’t be blocked.
    Aura Impact Full Ki Bar Transforming into SSJ, Goku unleashes a powerful explosion attack.

    The Goku Mini introduced in the Daima DLC is quite similar to the previous version. His abilities like Sleep and Warm-up Exercise remain unchanged, and even his super attacks are alike.

    However, he features a different ultimate attack. Instead of Power Pole Impact, this version utilizes Aura Impact, which functions as an explosive attack, providing better chances to hit stunned opponents. Additionally, Daima Goku can now throw Ki blasts at foes.

    Goku Mini SSJ Moves and Abilities

    Goku Mini SSJ charging Ki in Dragon Ball: Sparking Zero.

    Move Cost Description
    Afterimage Two Skill Points Goku becomes untouchable except by grabs or Ki blasts, disappearing and reappearing behind the opponent during attacks.
    Full Power Four Skill Points Instant Spark attack.
    Energy Strike Three Ki Bars Goku delivers a punch to the opponent during a cutscene.
    High-Speed Strike Three Ki Bars A rush attack where Goku fires Ki blasts at the opponent followed by two strikes.
    Super Kamehameha Full Ki Bar Goku launches Kamehameha at the opponent, which can be blocked.

    Top Combos for SSJ Daima Goku

    Overview of Daima Goku character startup in Dragon Ball: Sparking Zero.

    Don’t solely depend on super attacks during matches, as they can be inconsistent. Learning combos is essential, especially ones that can catch your opponents off guard. Here are two challenging combos that provide high damage, making them worthwhile to master.

    First Combo Breakdown

    Start by executing a full string of charged normal attacks from different angles, making sure to connect with your normal attacks. This might be tricky, so practice before implementing it in a match. Execute this in your first combo sequence, then continue as normal.

    Be careful not to hold the heavy attack too long, as it could disrupt your combo. Timing is crucial; if you hesitate, your opponent may easily dodge your attack. This is why performing it mid-combo is vital.

    In the second string, incorporate a gut punch followed by flying kicks. Afterward, wrap up the combo with a heavy sweep attack.

    Then hit your opponent with a few normal attacks, move your analog stick upward, step forward, and continue the combo with more normal hits. Finally, finish with any of your super attacks.

    Second Combo Breakdown

    Begin with the same heavy attack string and then carry on with the usual combo. After the second string, deliver a gut punch and charge your Ki blast.

    Fire the Ki blast at your opponent and follow with a sweep attack. Charge another Ki blast and hit your opponent again.

    Don’t immediately press the button to charge the Ki blast right after a heavy attack, as there are additional strings to trigger from heavy attacks.

    If you execute a gut punch on an enemy and give the same command again, your character will perform another heavy attack unexpectedly. Wait a moment before charging your Ki blast.

    After this, move your analog stick upward, step forward, and unleash a heavy attack. Then, charge your Ki blast once more and perform a normal combo. Once you’ve finished, use any of your rush moves. Ki blasts inflict decent damage between combos, but using them effectively can be tricky.

    This combo tends to work much better with characters who possess shotgun Ki blasts.

    Although you can easily use them outside of a combo, incorporating them into a combo can be more complex. You’ll need to practice to execute it successfully.

    Be cautious not to overcharge the Ki blast, as your opponent might recover in the meantime.

  • Completing Vegeta’s Gameplay in Dragon Ball: Sparking Zero

    Completing Vegeta’s Gameplay in Dragon Ball: Sparking Zero

    Dragon Ball: Sparking Zero has Released Exciting New DLC

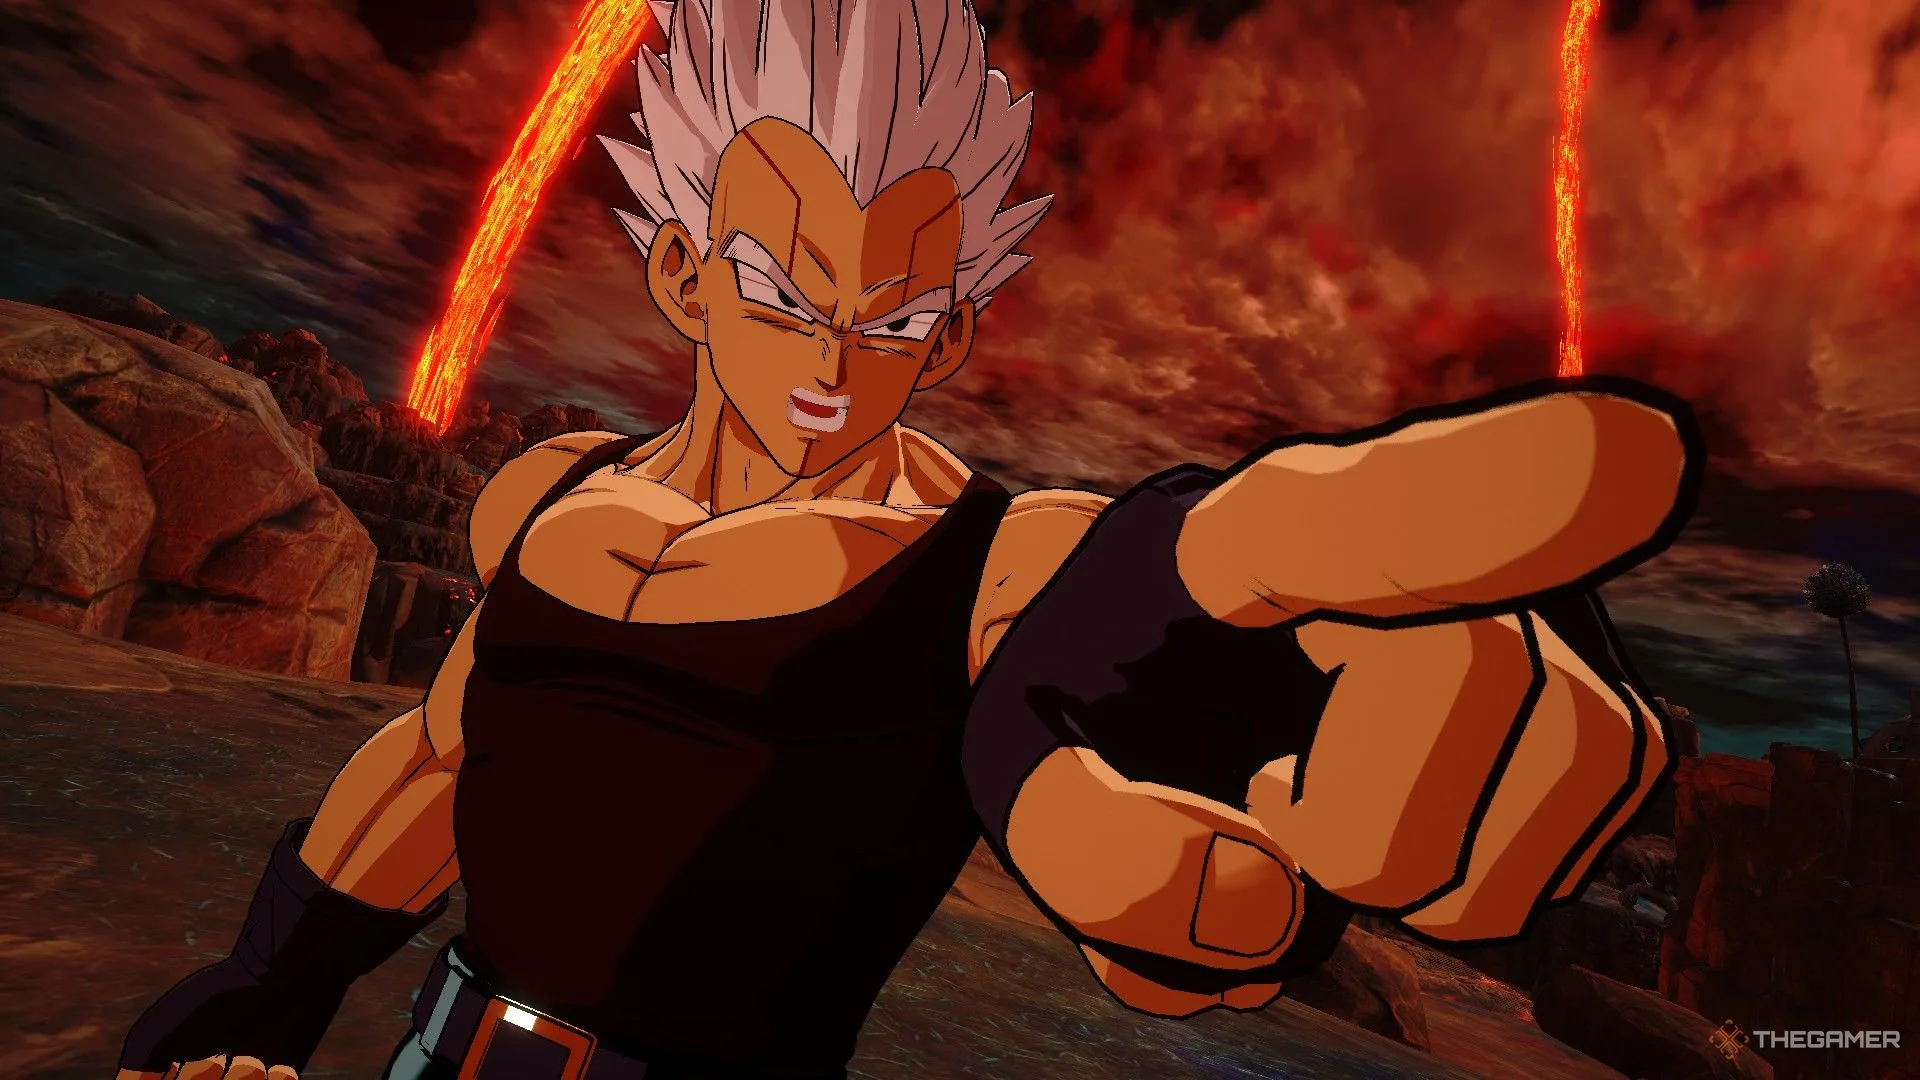
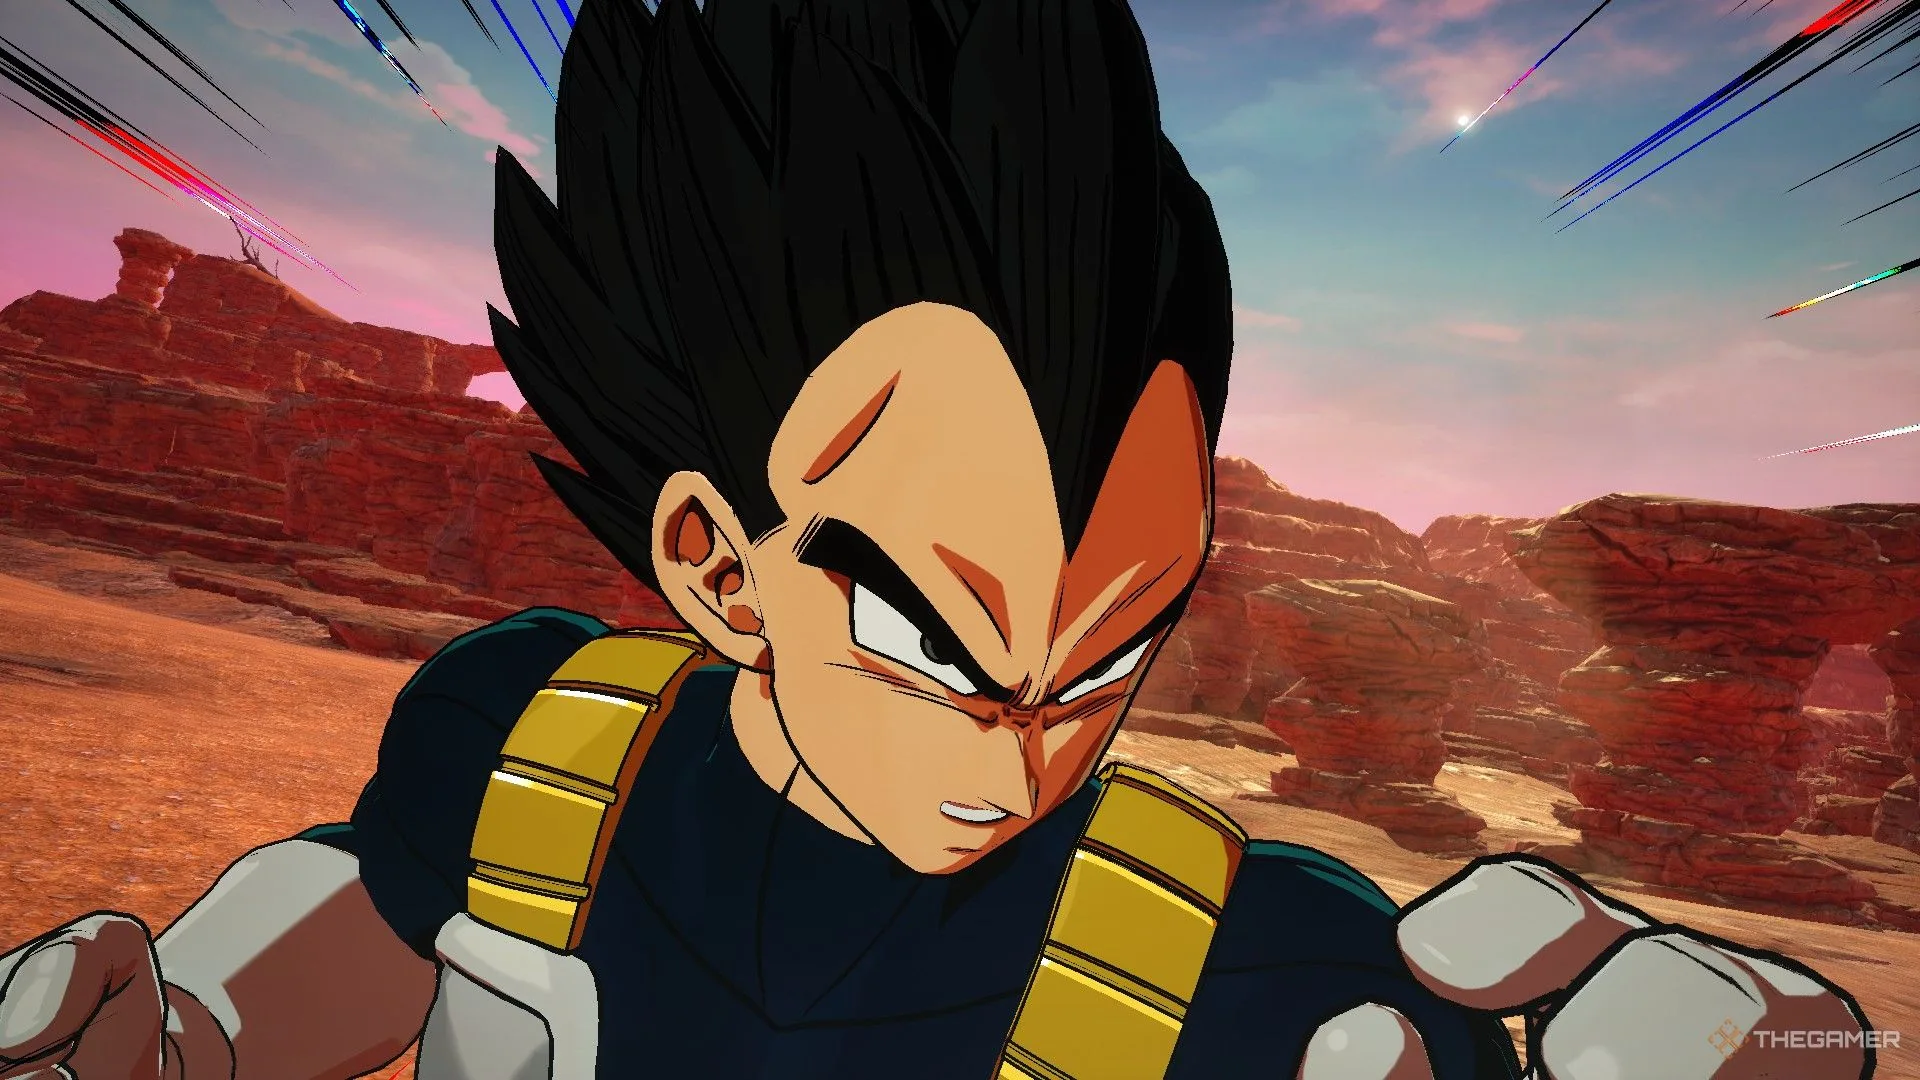
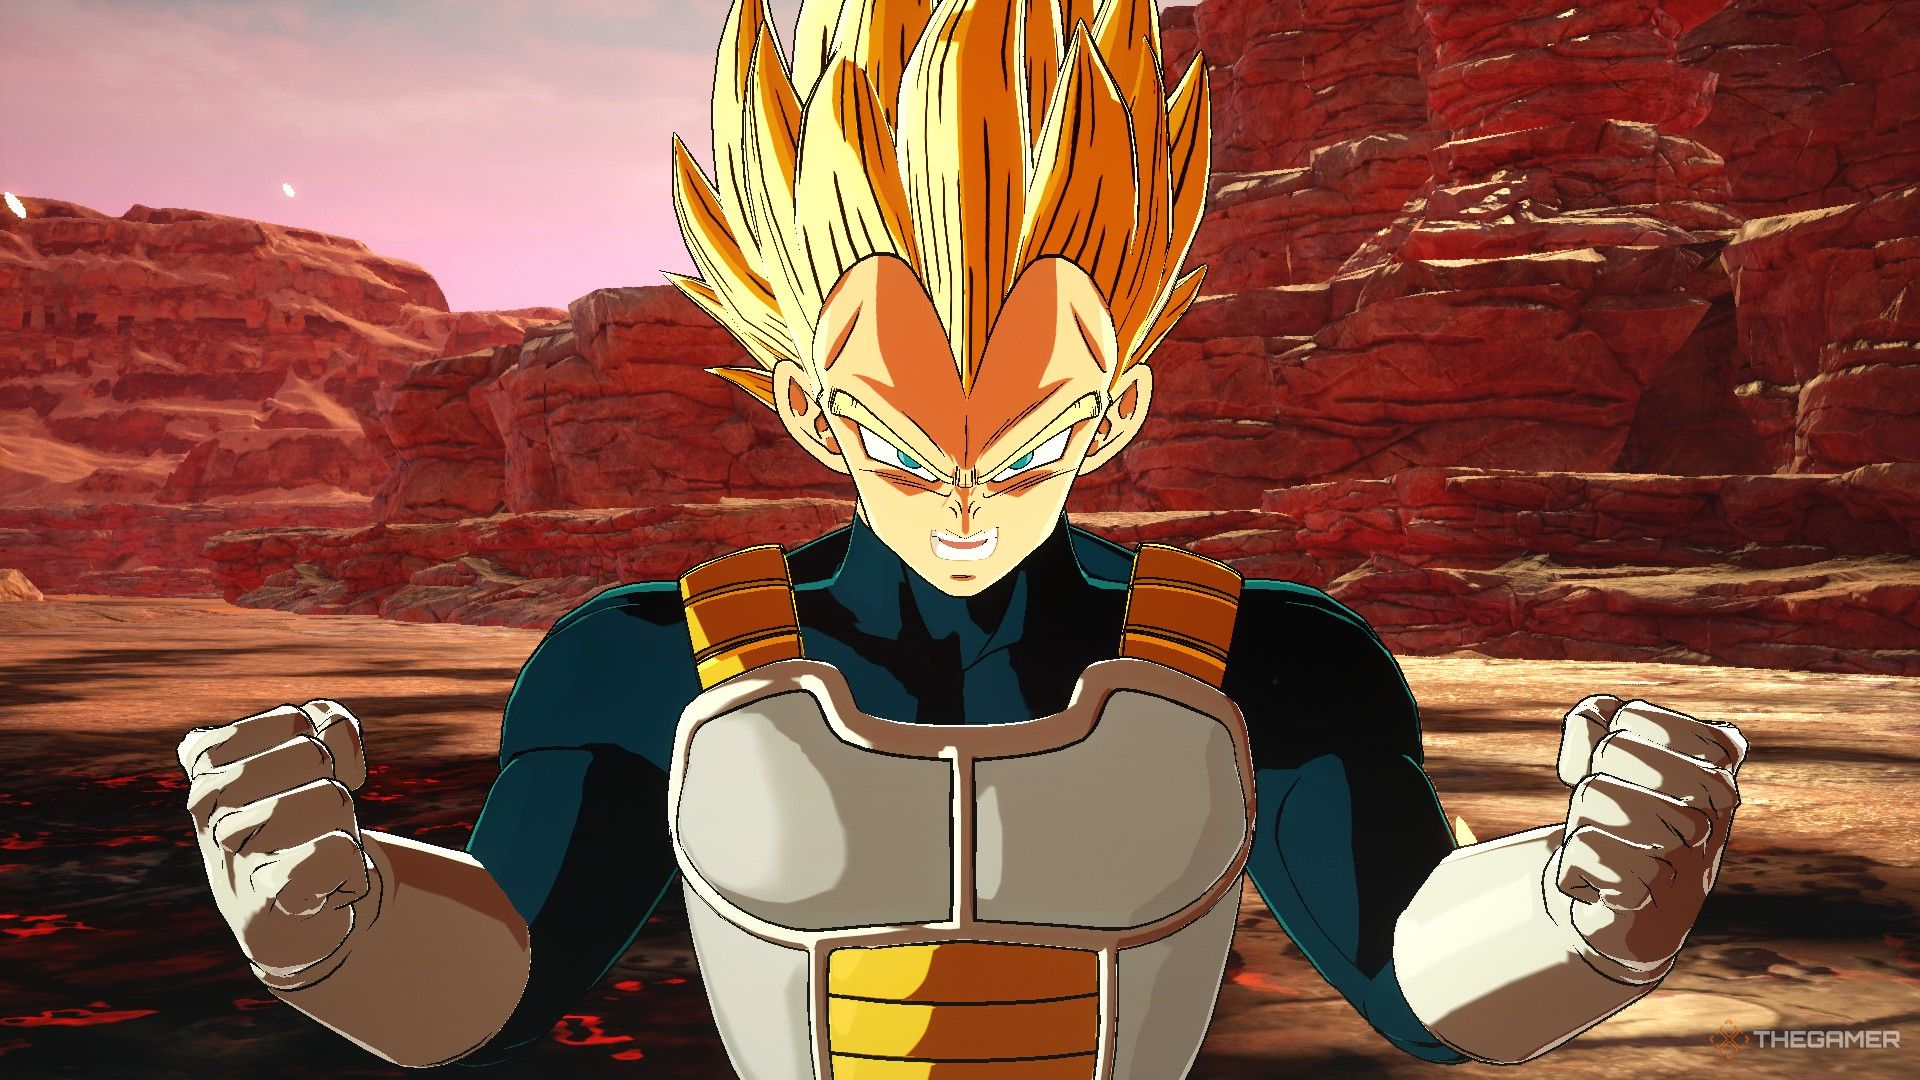
    The latest downloadable content (DLC) for Dragon Ball: Sparking Zero is here, featuring five new characters. Among them, Vegeta Mini SSJ 3 stands out as the most enjoyable to play. Fans of Daima have long anticipated this transformation, and it has finally made its debut in the game alongside three additional forms.

    In this guide, we’ll go over Vegeta’s transformations from his base form to SSJ 3, detailing his moveset and strategies for effective gameplay. We’ll highlight the best combos for maximizing damage with this character.

    Vegeta Mini Base Form Moveset and Abilities

    Moves Overview

    Move Cost Explanation
    Revive Bug Four Skill Points Restores some of Vegeta’s health and ki bar.
    Afterimage Two Skill Points Evades any incoming attack. If the opponent is melee attacking, Vegeta goes behind them. For long-range attacks, he vanishes instead.
    Full Power Energy Cannon Three Ki Bars Fires an enhanced energy blast at the opponent.
    Rising Rush Three Ki Bars A rush attack where Vegeta beats the opponent in a cutscene; it’s blockable and deals extra damage if the opponent hits the ground after.
    Atomic Rush Full Ki Bar Vegeta’s ultimate rush that begins with a hit and follows up with an energy cannon blast; this is also blockable.

    Vegeta Mini has a solid block string. Use sidesteps followed by triangle for a gut punch that stuns opponents, allowing for further combos or super attacks.

    Vegeta Mini SSJ Moveset and Abilities

    Moves Overview

    Move Cost Explanation
    Saiyan Spirit Two Skill Points Boosts melee, ki blast, and blast power for 15 seconds.
    Afterimage Two Skill Points Functions the same as in the base form.
    Full Power Energy Blast Volley Three Ki Bars A volley of energy blasts aimed at the opponent; not highly recommended due to its dodgability.
    Overpowering Crush Three Ki Bars A super rush attack that is blockable.
    Galick Gun Full Ki Bar Fires a Galick Gun at the opponent, also blockable.

    Similar to the base form, Vegeta Mini SSJ also has a reliable block string after sidestepping. However, it lacks a rolling hammer.

    Vegeta Mini SSJ 2 Moveset and Abilities

    Moves Overview

    Move Cost Explanation
    Explosive Wave Two Skill Points Pushes the opponent away and can avoid back attacks.
    Afterimage Strike Three Skill Points Makes Vegeta untouchable for ten seconds, except from grabs and ki blasts.
    Galick Gun Three Ki Bars A direct Galick Gun blast towards the opponent.
    Head-On Impact Three Ki Bars Fires an energy cannon followed by a headbutt; this attack is blockable.
    Big Bang Attack Full Ki Bar Launches a Big Bang Attack at the opponent; blockable as well.

    SSJ 2 Mini Vegeta introduces a new flying kick attack that can catch opponents off guard, differing from previous forms.

    Vegeta Mini SSJ 3 Moveset and Abilities

    Moves Overview

    Move Cost Explanation
    Wild Sense Two Skill Points Automatically dodges attacks other than ki blasts or grabs, retaliating as needed.
    Special Training Results Four Skill Points Grants an instant buff.
    Slash Flash Three Ki Bars Vegeta launches a leg slash at the opponent.
    Vanishing Strike Three Ki Bars Vegeta strikes the opponent during a cutscene.
    Galick Doom Full Ki Bar Fires a Galick Gun followed by a powerful punch and grabs the opponent for a drop.

    While SSJ 3 Vegeta is arguably the most enjoyable to use, it lacks a practical side-step block string. We’ve outlined several effective combos to enhance your performance in matches.

    Vegeta SSJ 3 Optimal Combos

    Combo Strategy: Begin with standard hits, incorporate heavy attacks for increased damage, and practice various directions to maximize effectiveness. Use X to extend combo lengths and execute the sweep attack and gut kick together to surprise your opponent.

    Combination training is vital to pull off complex moves effectively and ensure a competitive edge in battles.

    By mastering Vegeta’s moves across all his forms, players can unlock his full potential and dominate their matches.

  • Completing Panzy in Dragon Ball: Sparking Zero Explained

    Completing Panzy in Dragon Ball: Sparking Zero Explained

    The Daima team is making its debut in Dragon Ball: Sparking Zero, and Panzy, the technical whiz, is part of the lineup. Although the princess from the third Demon World isn’t the strongest fighter, she certainly adds personality and firepower to the game.

    Similar to other underestimated characters like Goten or Mr. Satan, Panzy isn’t designed to be a heavy hitter, but she still holds value in combat. If you’re looking to master this diminutive Majin, we’ll explore her abilities, strengths, and how she can fit into your team composition.

    Panzy’s Moves and Abilities

    Move Name

    Input

    Cost

    Effect

    Wasabi Bomb

    R2/RT + Up on the D-Pad

    2 Skill Count

    An unblockable attack that paralyzes foes for 3 seconds.

    Last Chance Full Power

    R2/RT + Left on the D-Pad

    4 Skill Count

    Activates Sparking Mode and boosts offense.

    Last Chance Shot

    R2/RT + Square/X

    2 Ki Bars

    Launches a projectile Super that deals half a bar of damage.

    Last Chance Shock

    R2/RT + Triangle/Y

    4 Ki Bars

    Unleashes a short-range Rush Super inflicting half a bar of damage.

    Kadan Combination

    R2/RT + Circle/B (when in Sparking Mode)

    Full Ki Bar

    A powerful projectile Ultimate that inflicts over a bar of damage following a cutscene.

    Panzy in Versus and Online Matches

    Panzy on planet Namek preparing to throw a grenade from Dragon Ball Sparking Zero.

    In Dragon Ball Daima, Panzy takes on the role of a technician, a bit like Bulma, so her overall strength is on the lower end. This is reflected in her limited health pool and her low DP cost of 2, making her an intriguing choice for your team. However, given that her cost is so minimal, she faces competition for a spot on your roster.

    You might quickly realize that Panzy’s damage output is quite low. Her Suppers don’t hit hard, and her combo sequences are notably brief. That said, her true strength lies in disruption abilities, which make her excellent for countering opponents who rely on combos for damage.

    Her Wasabi Bomb can paralyze enemies for three seconds, allowing you to follow up with your more damaging moves without fear. Additionally, her Last Chance Shock is short-ranged but unblockable, perfect for catching an enemy off guard as they approach.

    The hitbox for Last Chance Shock is an area-of-effect attack surrounding Panzy, hitting not just in front of her.

    Lastly, her ability to access Sparking Mode instantly (along with offensive boosts) makes her an effective option to finish off a match, albeit at the cost of 4 Skill Count. While you may be tempted to use her Kadan Combination during Sparking Mode, engaging in melee may ultimately be the more effective strategy to capitalize on those buffs.

  • Ultimate Character Guide Compilation for Dragon Ball: Sparking Zero

    Ultimate Character Guide Compilation for Dragon Ball: Sparking Zero

    Contents

    With so many characters available in Dragon Ball: Sparking Zero, you might find yourself overwhelmed by options. While everyone has their favorites, understanding how to effectively play each character can be a challenge. This is where character guides become essential.

    We’ve gathered all our character guides in one convenient location, allowing you to select your favorite fighter and discover the best strategies to hone their abilities. The big question now is: who will you choose to play?

    Updated January 25, 2025: This article has been refreshed to include the characters from DLC Pack 1.

    • Complete List of Character Guides


      In this section, you’ll find all our character guides for Dragon Ball: Sparking Zero. Each guide includes details about combos, skills, special moves, and tips for playing each character effectively.

  • Mastering Gotenks in Dragon Ball: Sparking Zero Gameplay Guide

    Mastering Gotenks in Dragon Ball: Sparking Zero Gameplay Guide

    Gotenks, the combination of Goten and Trunks, brings a fun and formidable presence to Dragon Ball: Sparking Zero. Renowned for his flashy combos and surprising tactics, Gotenks unleashes rapid attacks intertwined with powerful energy blasts.

    Starting from his basic form, Gotenks amplifies his abilities through transformations into Super Saiyan and Super Saiyan 3, each evolution granting him enhanced powers and increased attack damage. Through a blend of imaginative maneuvers and relentless energy, Gotenks keeps his rivals on their toes. This guide will explore his move set, transformations, and strategies to help you tap into the explosive prowess of this fusion.

    Fusion Guidelines

    When considering a fusion into Gotenks during battles, it’s essential to note that unless you’re aiming for a unique team strategy, fusing may not yield much advantage. This is primarily because Goten and Trunks are generally weaker than other characters in the game, even those who can transform into Super Saiyan.

    However, if you decide to fuse, these young fighters make the process straightforward compared to other pairs. You don’t need to be in any specific transformation; you can fuse in either their base form or as Super Saiyans, and you can instantly switch to any Gotenks version you prefer, provided you have enough Skill Count to do so.

    Gotenks Overview

    In Dragon Ball: Sparking Zero, Gotenks shines due to his unique, vibrant personality. He stands out with his entertaining approach to combat, and his combat style is both playful and strategic.

    Move Set for Base Gotenks

    Move Name Input Cost Effect
    Afterimage R2/RT + Up on the D-Pad 2 Skill Count Evades the next incoming attack.
    Ta-dah! R2/RT + Left on the D-Pad 3 Skill Count Provides defense buffs and reduces attack stats.
    Full Power Energy Wave R2/RT + Square/X 3 Ki Bars Launches a powerful energy beam, causing significant damage.
    High Speed Rush R2/RT + Triangle/Y 3 Ki Bars Deals major damage with a rush attack.
    Victory Cannon R2/RT + Circle/B (in Sparking Mode) Full Ki Bar Ultimate beam attack that inflicts heavy damage.

    Gotenks in Versus and Online Matches

    In his base form, Gotenks holds an edge due to cost efficiency, particularly useful in DP Battle. He can be included in teams for just six DP while retaining extra health, allowing you to smoothly transition into Super Saiyan forms.

    To maximize your effectiveness, consider saving your Skill Count for transformations instead of using the ‘Ta-dah!’ skill, which reduces attack power, although it does provide armor. This strategy can be beneficial if you want to outlast your opponent while maintaining a health advantage.

    Gotenks Super Saiyan

    The Super Saiyan version of Gotenks may be his most effective form based on your playstyle. This version gains access to several unblockable moves, like the Super Galactic Donuts, which are fast and have notable tracking capabilities.

    Even if the first few attacks miss, the move is worth trying again since it only costs three Ki bars. If you opt not to transform, you can benefit from using High-Tension, as it not only provides offensive buffs but also accelerates Ki recovery, enabling even more Donuts.

    The Ultimate attack in this form is also unblockable and consists of a series of projectiles that can be either advantageous or detrimental based on your opponent’s tactics and the battle stage.

    Move Set for Gotenks Super Saiyan

    Move Name Input Cost Effect
    False Courage R2/RT + Up on the D-Pad 2 Skill Count Grants defensive buffs while lowering attack stats.
    High-Tension R2/RT + Left on the D-Pad 3 Skill Count Enhances offensive capabilities.
    Victory Cannon R2/RT + Square/X 3 Ki Bars Fires a powerful beam attack.
    Galactic Donuts R2/RT + Triangle/Y 3 Ki Bars Unblockable beam attack dealing significant damage.
    Super Ghost Kamikaze Attack R2/RT + Circle/B (in Sparking Mode) Full Ki Bar Fires multiple unblockable projectiles causing substantial damage.

    Gotenks Super Saiyan 3

    In his final form, Gotenks showcases a straightforward moveset, devoid of the unblockable tricks found in his Super Saiyan version. This transformation allows him to buff himself without sacrificing his attack potential, mainly focusing on delivering raw power.

    His most effective strategy involves closing out fights with brute force, especially when previous forms aren’t landing punches. Utilizing Vice Shout to paralyze an opponent sets them up perfectly for a devastating Ultimate or other powerful attacks.

    Move Set for Gotenks Super Saiyan 3

    Move Name Input Cost Effect
    Vice Shout R2/RT + Up on the D-Pad 2 Skill Count Paralyzes enemies for three seconds.
    Finish Sign R2/RT + Left on the D-Pad 2 Skill Count Boosts offensive abilities.
    Victory Bazooka R2/RT + Square/X 3 Ki Bars Fires a damaging beam attack.
    DIE DIE Missile Barrage R2/RT + Triangle/Y 3 Ki Bars Launches several damaging projectiles.
    Charging Ultra Buu Buu Volleyball R2/RT + Circle/B (in Sparking Mode) Full Ki Bar A powerful rush attack that inflicts heavy damage.

    Gotenks Super Saiyan 3 in Versus and Online Matches

    In many situations, this form truly excels by punching up against competitors with sheer damage output. While he lacks the tricks of previous forms, his straightforward strategy can be highly effective when combined with powerful attacks and careful timing.

    By mastering Gotenks across his various forms, players can unleash an array of attacks that keep opponents guessing and capitalize on moments of vulnerability.

  • Guide to Playing Baby Vegeta in Dragon Ball: Sparking Zero

    Guide to Playing Baby Vegeta in Dragon Ball: Sparking Zero

    Overview of Baby Vegeta in Dragon Ball: Sparking Zero

    Baby Vegeta, the vengeful Tuffle parasite, is a shrewd and formidable foe in Dragon Ball: Sparking Zero. Merging Baby’s cleverness with Vegeta’s Saiyan power, this villain from GT excels in both calculated energy attacks and impressive physical strength on the battlefield.

    As Baby Vegeta transforms, his power and abilities significantly increase, culminating in his fearsome Great Ape form. Each transformation introduces unique strengths, making him a flexible and fearsome contender. In this guide, we will explore Baby Vegeta’s skills, transformations, and strategies to help you become proficient with this iconic character and outsmart your opponents in Sparking Zero.

    Baby Vegeta

    The basic form of Baby Vegeta operates similarly to the original Vegeta, featuring solid beam attacks and access to the Explosive Wave move. His standout ability is Finger Blitz Barrage, which is particularly effective for pressuring opponents when they attempt to charge or use their abilities.

    Note: When activating his Ultimate move, Baby Vegeta refers to it as ‘Big Bang Attack,’ despite the game labeling it as Final Flash. This likely highlights the Tuffle controlling Vegeta’s inability to harness Saiyan power fully.

    Super Baby 1

    In this form, Baby Vegeta boasts improved statistics, though the overall moveset doesn’t stand out significantly because he loses Explosive Wave. Players will likely choose this version primarily for DP Battle scenarios, using it as a transition to reach stronger forms rather than remaining in it for extended periods.

    Important: Unlike other Saiyans, Baby must progress through each transformation individually without the option to skip ahead.

    Super Baby 2

    This version of Baby Vegeta is nearly at the top of his evolution, offering better stats and a more robust moveset. Explosive Wave returns as an added asset for dealing with aggressive fighters, and the ability to enter Sparking Mode instantly makes him formidable. Though the Great Ape form offers better health, this version is often the one to master, especially against opponents who rely on melee grabs or rush attacks.

    Great Ape Baby

    As the most powerful iteration, Great Ape Baby possesses significant health and the option to use Explosive Wave. Though he is slower and vulnerable to counters, his strengths make him a viable choice for those who prefer larger characters. Utilize the Howl skill judiciously, as it reduces defenses but grants you a significant offensive boost when entering Sparking Mode. Be aware of characters like Tapion or Super Saiyan 3 Goku whose ultimate abilities are particularly effective against giants.

    Given these details, players can appreciate Baby Vegeta’s strategic depth while mastering his transformations and utilizing effective gameplay techniques in Dragon Ball: Sparking Zero.

  • Mastering Super Vegeta in Dragon Ball: Sparking Zero Gameplay

    Mastering Super Vegeta in Dragon Ball: Sparking Zero Gameplay

    Vegeta’s Role in Dragon Ball: Sparking Zero

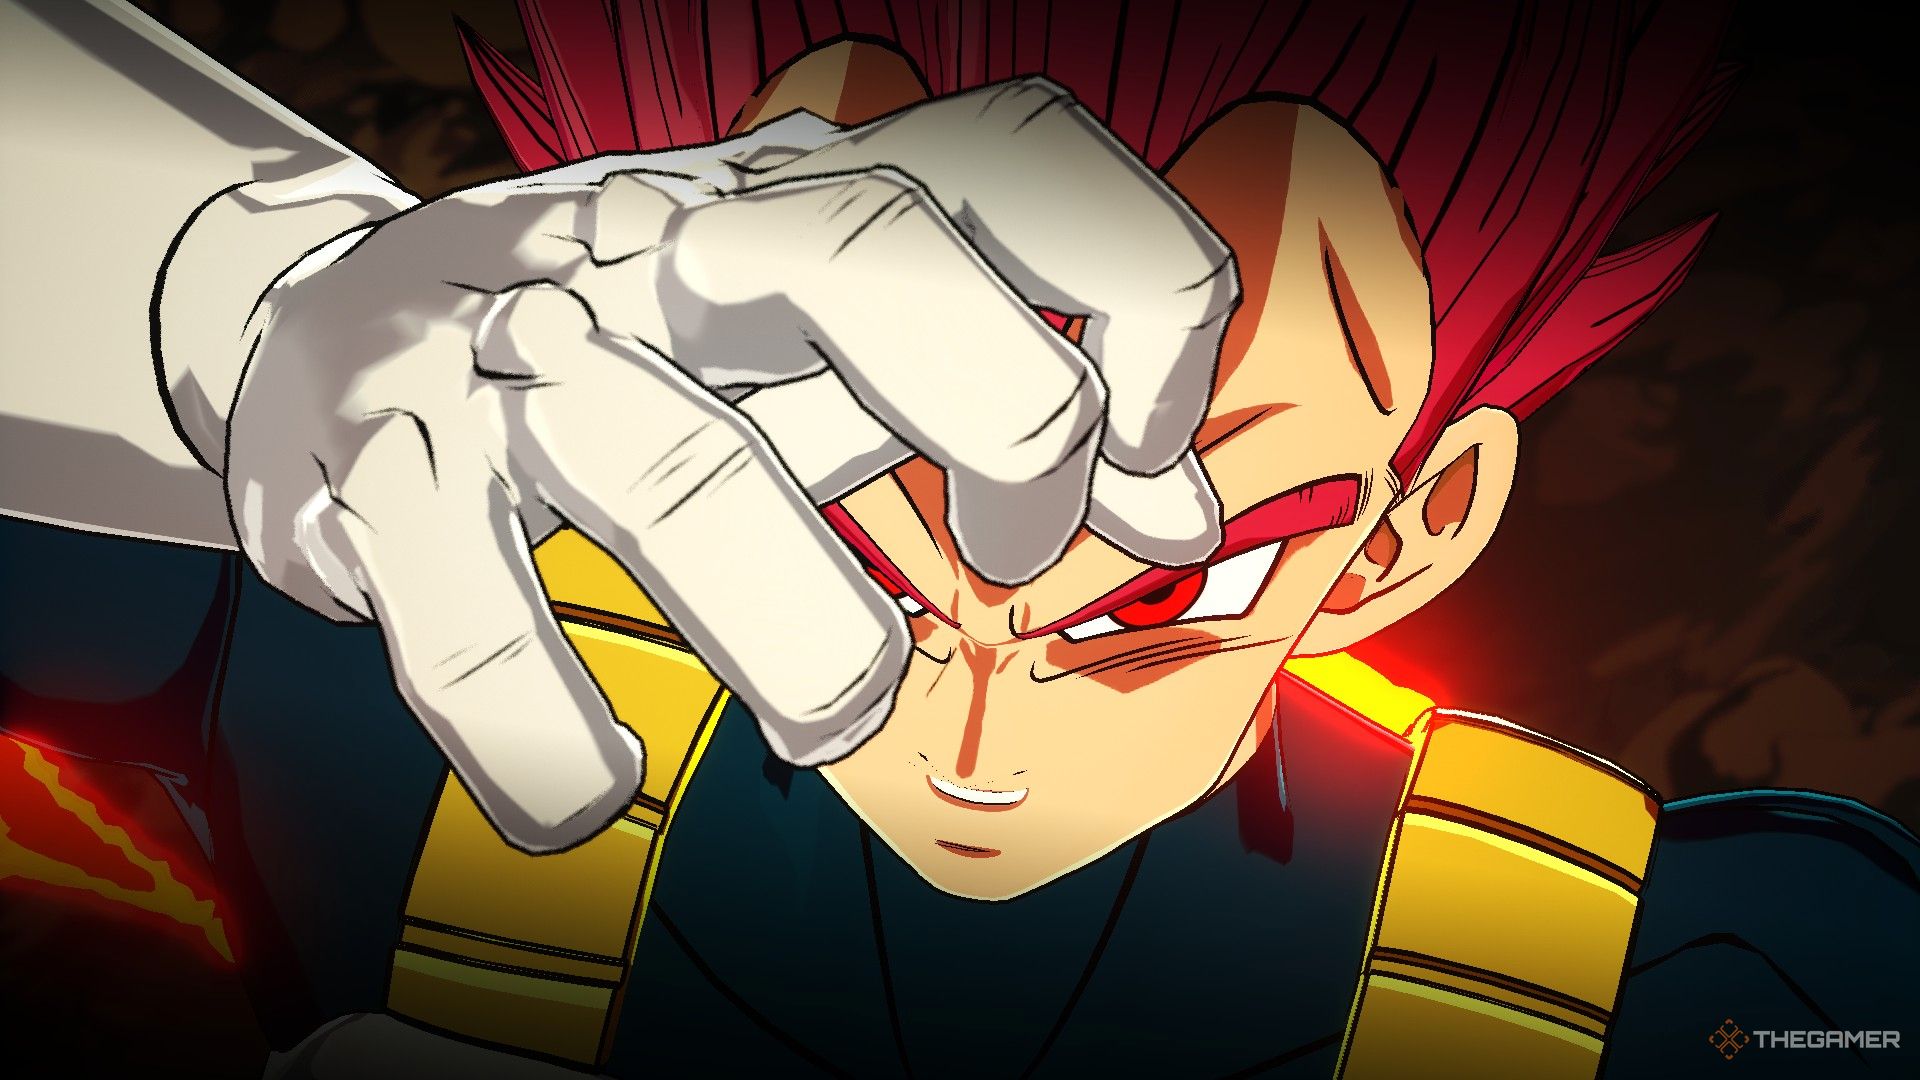
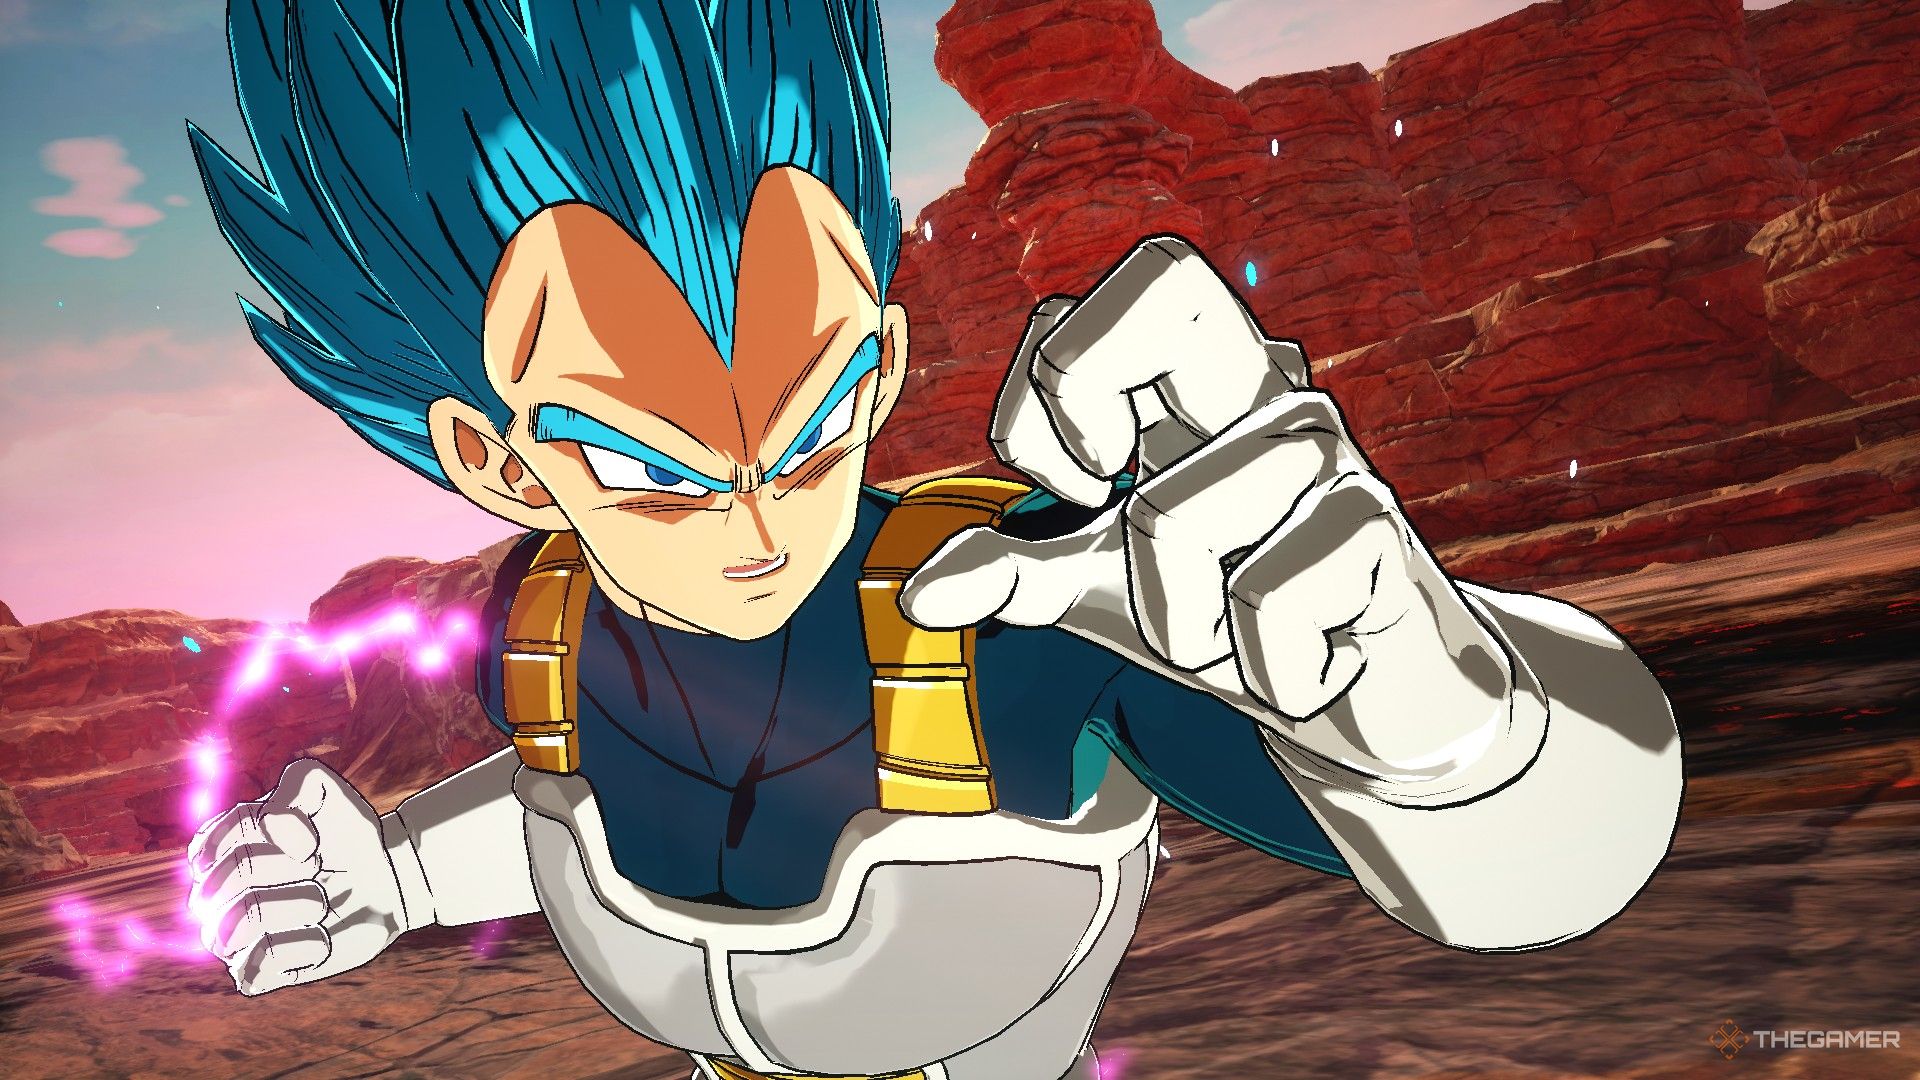
    Vegeta, the proud Saiyan prince from Dragon Ball Super, showcases his fierce power in Dragon Ball: Sparking Zero, presenting players with a fighter who excels in both versatility and damage. Players can start with Vegeta’s base form, moving through his transformations: Super Saiyan, Super Saiyan God, and the final transformation, Super Saiyan God Super Saiyan (commonly called Blue). Each transformation offers a boost in abilities and techniques, making him increasingly formidable.

    With each transformation, Vegeta enhances his unique blend of finesse and brute force, positioning him as a leading contender in both close-quarters and long-range battles. This guide will help you navigate Vegeta’s moves and transformations to unleash his full potential and decisively defeat your opponents.

    Vegeta (Super)

    In Dragon Ball: Sparking Zero, using Vegeta’s base form is often more advantageous than his other forms due to its lower DP cost of five. This allows players to switch between transformations during a match, activating their enhanced powers while spending less resource.

    In his Super form, Vegeta has access to moves like Explosive Wave, a quick entry into Sparking Mode, and a well-rounded selection of both Rush and Beam Super attacks. However, since the costs for entering Sparking Mode have been increased, the strategy of quickly transitioning to higher forms may require more careful planning.

    Moveset for Vegeta (Super)

    Move Name Input Cost Effect
    Explosive Wave R2/RT + Up on the D-Pad 2 Skill Count Releases a wave that pushes enemies back.
    All Warmed Up R2/RT + Left on the D-Pad 4 Skill Count Transitions into Sparking Mode.
    Galick Gun R2/RT + Square/X 3 Ki Bars Fires a devastating beam attack.
    Absolute Rush R2/RT + Triangle/Y 3 Ki Bars Initiates a powerful Rush attack.
    Final Flash R2/RT + Circle/B (in Sparking Mode) Full Ki Bar Unleashes a powerful beam attack.

    Super Saiyan Form

    Vegeta as a Super Saiyan

    This form leans less on defense but offers beneficial stat boosts, enhancing damage output. Combining these advantages can create a formidable character, although it’s wise to save Skill Count for transforming to even more powerful states.

    While Galick Rush unleashes a series of projectiles, much of its damage occurs in a cutscene afterward. It can be used to harass your opponent, but its cost makes it advisable to select openings more strategically.

    Moveset for Vegeta (Super Saiyan)

    Move Name Input Cost Effect
    Saiyan Spirit R2/RT + Up on the D-Pad 2 Skill Count Grants offensive boosts.
    I’ll Get You For This… R2/RT + Left on the D-Pad 4 Skill Count Enters Sparking Mode.
    Galick Rush R2/RT + Square/X 3 Ki Bars Fires multiple projectiles.
    Galick Uppercut R2/RT + Triangle/Y 3 Ki Bars Executes a Rush Super for high damage.
    Final Galick Flash R2/RT + Circle/B (in Sparking Mode) Full Ki Bar Massive Rush Ultimate attack.

    Super Saiyan God and Beyond

    Vegeta as a Super Saiyan God

    The Super Saiyan God form provides a blend of offensive buffs and defensive capabilities like the Explosive Wave. It’s beneficial for wearing down opponents before advancing to the Blue form, where finishing blows can be delivered.

    In this form, your ultimate attack options become simpler, allowing for strong Rush abilities that can set the stage for powerful finishers.

    Moveset for Vegeta (Super Saiyan God)

    Move Name Input Cost Effect
    Explosive Wave R2/RT + Up on the D-Pad 2 Skill Count Catapults enemies back.
    Saiyan Spirit R2/RT + Left on the D-Pad 2 Skill Count Offensive buffs activated.
    God Shine Attack R2/RT + Square/X 3 Ki Bars Multiple projectiles inflict damage.
    Gamma Fist R2/RT + Triangle/Y 3 Ki Bars Initiates a Rush Super.
    Prominence Flash R2/RT + Circle/B (in Sparking Mode) Full Ki Bar Devastating beam attack.

    Super Saiyan Blue

    Vegeta as Super Saiyan Blue

    Using Super Saiyan Blue means relying on powerful but trade-off abilities. For example, while Gamma Burst Flash deals moderate damage, it lacks range. Conversely, the Final God Explosion is an unblockable move that inflicts major damage but also costs you health. Due to its unique properties, this move is best used as a concluding attack rather than an opening strategy.

    Another significant skill is Limits? I Break Them!, which grants infinite duration buffs, effectively lifting Vegeta’s power level permanently for the duration of the fight. Stacking buffs like this can amplify his performance dramatically.

    Moveset for Vegeta (Super Saiyan Blue)

    Move Name Input Cost Effect
    I’m No Pushover! R2/RT + Up on the D-Pad 2 Skill Count Offensive buffs applied.
    Limits?! I Break Them! R2/RT + Left on the D-Pad 5 Skill Count Buffs with infinite duration.
    God Final Flash R2/RT + Square/X 3 Ki Bars Beam attack with heavy damage.
    Gamma Burst Flash R2/RT + Triangle/Y 2 Ki Bars Close-range beam that does decent damage.
    Final God Explosion R2/RT + Circle/B (in Sparking Mode) Full Ki Bar Explosive attack with high damage.

    In conclusion, mastering Vegeta’s transformations and abilities in Dragon Ball: Sparking Zero allows players to strategize their assaults effectively, leveraging his strengths while managing his weaknesses. This guide provides a foundation for maximizing his potential and dominating battles.

  • Mastering Syn Shenron in Dragon Ball: Sparking Zero

    Mastering Syn Shenron in Dragon Ball: Sparking Zero

    Syn Shenron, the personification of negative energy from the Dragon Balls, stands out as a formidable character in Dragon Ball: Sparking Zero. With his incredible strength and destructive skills, he overwhelms opponents with powerful attacks and a captivating presence.

    As the fight intensifies, Syn Shenron can transform into Omega Shenron, boosting his power and unlocking new, devastating abilities. This two-phase combat style allows him to effectively adjust to various fighting situations, making him a dynamic and formidable option. This guide will dive into his skill set, transformation to Omega Shenron, and optimal strategies to maximize his effectiveness in combat.

    Syn Shenron

    Move Name

    Input

    Cost

    Effect

    Explosive Wave

    R2/RT + Up on the D-Pad

    2 Skill Count

    Releases an explosive wave that pushes back enemies.

    Mystic Breath

    R2/RT + Left on the D-Pad

    1 Skill Count

    Casts a short-range unblockable cone that inflicts minor damage.

    Trap Shooter

    R2/RT + Square/X

    2 Ki Bars

    Fires multiple projectiles that can deal substantial damage.

    Blazing Storm

    R2/RT + Triangle/Y

    2 Ki Bars

    Deals moderate damage in a horizontal line targeting the enemy.

    Gigantic Blaze

    R2/RT + Circle/B (when in Sparking Mode)

    Full Ki Bar

    Attacks the target’s location for significant damage.

    Playing as Syn Shenron in Versus and Online Matches

    Dragon Ball Sparking Zero image showing Syn Shenron preparing to throw a beam.

    Although Syn Shenron is the final antagonist in Dragon Ball GT, he isn’t the highest-damaging character. However, he offers a well-rounded move set and is surprisingly quick given his size, although his throw can leave opponents recovering before the animation fully plays out.

    The gameplay of Syn and Omega Shenron differs significantly, but starting as Syn offers benefits beyond just the lower cost of Double Points: he has health recovery. Upon transforming, Omega Shenron gains an extra half bar of health—an aspect often overlooked by players.

    Transforming into Omega Shenron requires two Skill Count.

    In combat, you’ll frequently rely on Explosive Wave since Mystic Breath is too situational. Explosive Wave effectively creates space from your opponent, setting you up for a counter-attack.

    Syn Shenron’s special moves tend to annoy opponents more than inflict heavy damage, which is why they are cost-effective. Beginning with three Ki bars allows you to launch a Trap Shooter right from the start and approach your enemy from various directions.

    Gigantic Blaze serves as an intriguing option since it can be executed at any range and is launched right at your opponent. While it can be blocked, you can counter distant Super moves with it, as the cinematic will transport you to safety.

    Omega Shenron

    Dragon Ball Sparking Zero image featuring Omega Shenron.

    Move Name

    Input

    Cost

    Effect

    Wild Sense

    R2/RT + Up on the D-Pad

    2 Skill Count

    Dodges the next attack and delivers a counter.

    Power up to the very limit

    R2/RT + Left on the D-Pad

    3 Skill Count

    Enters Sparking Mode, providing buffs for offense and defense.

    Gigantic Blaze

    R2/RT + Square/X

    4 Ki Bars

    Deals over half a bar of damage to the target’s location.

    Dragon Thunder

    R2/RT + Triangle/Y

    3 Ki Bars

    Triggers a Rush Super that inflicts more than a bar of damage.

    Minus Energy Power Ball

    R2/RT + Circle/B (when in Sparking Mode)

    Full Ki Bar

    A powerful Beam Ultimate attack that inflicts two bars of damage.

    Playing as Omega Shenron in Versus and Online Matches

    Dragon Ball Sparking Zero image of Omega Shenron preparing to attack.

    Omega Shenron significantly increases damage output compared to his previous form, especially if you transform mid-fight. A notable change upon transformation is the loss of access to Explosive Wave, as you’ll gain the ability to enter Sparking Mode instantly.

    This, paired with more impactful but costly super moves, positions Omega Shenron as a character designed to finish off opponents. Although Gigantic Blaze is still available, it is now categorized as a regular Super, allowing for better counterattacking during lengthy animations.

    Omega Shenron starts with four Ki bars, allowing you to kick off the fight with either Gigantic Blaze or Dragon Thunder based on your opponent’s position.

    The rest of his moves are fairly standard for the game and are easy to master, especially if you’re familiar with it. Wild Sense functions to dodge melee attacks, while Minus Energy Power Ball may be challenging to execute but is more accessible thanks to having a skill that puts you into Sparking Mode.

  • Guide to Mastering Krillin in Dragon Ball Sparking Zero

    Guide to Mastering Krillin in Dragon Ball Sparking Zero

    Goku has had numerous friends throughout his life in the Dragon Ball universe, many of whom are remarkable fighters who have challenged and helped him surpass his own limits. However, fans will always remember the first time Goku transformed into the iconic golden-haired Super Saiyan, a moment sparked by his best friend Krillin, who has a distinctively round face.

    Though Krillin may not top the list of strongest characters in Dragon Ball: Sparking Zero, that doesn’t deter him from stepping up to any opponent he encounters. This guide will take you through his complete arsenal of abilities, including his combos, skills, and unique moves.

    Overview of Krillin

    Combos

    Move Name Input Description
    Bicycle Kick Melee Button + Ki Button Executes a rapid series of kicks, dealing moderate damage.
    Bicycle Kick 2x Melee Button + Ki Button Another rapid kick sequence for moderate damage.
    Knock Back Blast 3x Melee Button + Ki Button Launches a delayed blast that pushes opponents away.
    Gut Punch 4x Melee Button + Ki Button A quick strike that stuns the opponent for a brief moment.

    Skills and Special Moves

    Move Name Input Cost Description
    Solar Flare R2/RT + Up on the D-Pad 2 Skill Points Unleashes a bright flash that blinds and stuns the opponent momentarily.
    Afterimage Strike R2/RT + Left on the D-Pad 3 Skill Points Automatically dodges all melee attacks for 15 seconds.
    Kamehameha R2/RT + Melee Button 3 Ki Gauges Fires a beam that tracks the opponent and can be charged for additional damage.
    Spread Energy Wave R2/RT + Ki Button 3 Ki Gauges Sends out a beam that rises and rains down unblockable blasts.
    Chain Destructo Disc R2/RT + Perception Button Sparking Mode Launches a series of discs that can cause significant damage, with the final hit being unblockable.

    Recommended Strategy

    Krillin’s stats may not be impressive at first glance. With a low DP cost, only requiring three points, he can serve as a team player, allowing you to include stronger allies. However, he is far from useless.

    Krillin boasts a versatile set of skills that support both offensive and defensive tactics. His Solar Flare move can blind aggressive opponents, leaving them vulnerable to follow-up attacks. Meanwhile, the Afterimage Strike is valuable for avoiding melee attacks for an extended 15 seconds.

    Keep in mind that you should activate the Afterimage Strike before jumping into the fray for maximum effectiveness.

    The Kamehameha should be launched at the end of a combo or when your opponent tries to charge up from a distance. You can increase its damage by holding the charge but be careful, as attempting this when you’re at a distance can put you at risk.

    The Spread Energy Wave works better as a ranged attack and isn’t suitable during a combo.

    Tip: Utilize Solar Flare to ensure a fully charged Kamehameha or Spread Energy Wave; your opponent won’t be able to defend against an attack they can’t see.

    In Sparking Mode, focus on dealing as much damage as possible with enhanced combo attacks, ideally finishing with the Chain Destructo Disc.

    Note: You can execute a Kamehameha into a Chain Destructo Disc combo, but quick execution is necessary.

  • Mastering Vegito in Dragon Ball: Sparking Zero – A Guide

    Mastering Vegito in Dragon Ball: Sparking Zero – A Guide

    Vegito, the iconic fusion of Goku and Vegeta, stands out as a remarkable character in Dragon Ball: Sparking Zero. This fighter fuses the best qualities of both legendary Saiyans, showcasing immense speed, strength, and eye-catching moves. Vegito excels in both melee combat and energy attacks, making him a well-rounded contender.

    Whether your style leans toward overwhelming your foes with fast combos or thwarting their moves with clever counters, Vegito equips you with everything you need to shine. This guide will walk you through Vegito’s powers, advantages, and tactics to help you become an unstoppable force in the game.

    Vegito

    Move Name

    Input

    Cost

    Effect

    Explosive Wave

    R2/RT + Up on the D-Pad

    2 Skill Count

    Launches an explosive wave that sends opponents flying back.

    High-Tension

    R2/RT + Left on the D-Pad

    3 Skill Count

    Gains offensive buffs and boosts Ki charge speed for 15 seconds.

    Big Bang Cannon

    R2/RT + Square/X

    3 Ki Bars

    Unleashes a Beam Super that inflicts a bar of damage.

    Rampaging Rush

    R2/RT + Triangle/Y

    3 Ki Bars

    Starts a Rush Super that deals over a bar of damage.

    Super Kamehameha

    R2/RT + Circle/B (when in Sparking Mode)

    Full Ki Bar

    Ultimate Beam that inflicts nearly two bars of damage.

    Fusion Rules

    To access Vegito as a playable character, you have two options: either select him directly from the roster or fuse Goku and Vegeta during a match. If you choose Vegito from the roster, you can transmute freely between his Super Saiyan and Super Saiyan Blue forms.

    However, if you opt for fusion, your available forms will be restricted by the Goku and Vegeta you use in the merge. Characters from the end of the Z Saga can access base Vegito and his Super Saiyan form, while those from Super have access to base Vegito and his Super Saiyan Blue form.

    Typically, fusions come with an additional health bar, but in Vegito’s case, you only receive half of that when you fuse. You can only fuse while in base form, but you don’t need your partner to be in base form as well; for example, you can fuse with Goku while in Super Saiyan 3, provided that Vegeta is in his base form.

    Vegito in Versus and Online Matches

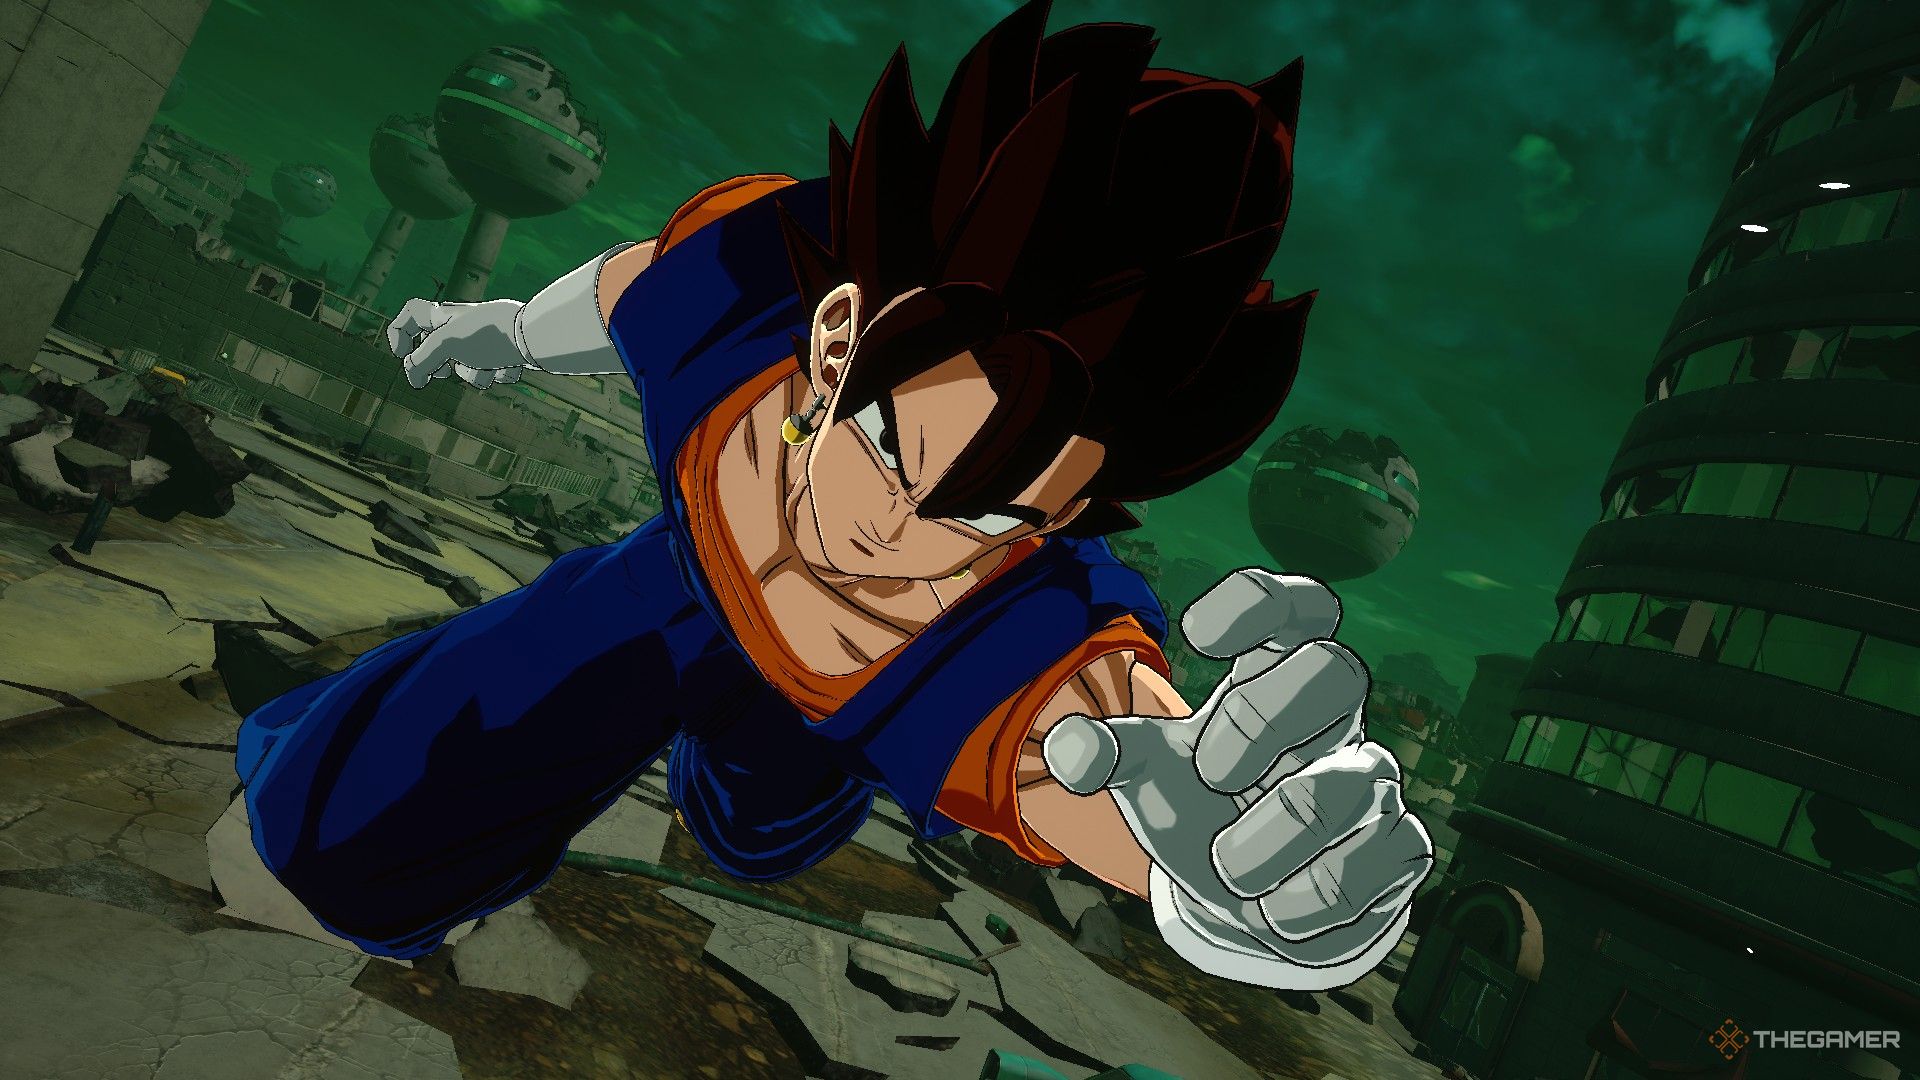
    Dragon Ball Sparking Zero image showing Vegito dashing forward.

    Regardless of how you choose to play Vegito, you’ll find that his fighting style resembles that of Vegeta, albeit with significantly enhanced stats. This advantage comes chiefly from his access to Explosive Wave, a reliable skill that effectively creates distance from aggressive foes.

    If you can land Rampaging Rush consistently, it serves as a great damage-dealing move. Otherwise, focus on transforming, as the other Vegito forms have major benefits over the base version.

    Super Saiyan Vegito

    Dragon Ball Sparking Zero image showing Vegito as a super saiyan.

    Move Name

    Input

    Cost

    Effect

    Afterimage Strike

    R2/RT + Up on the D-Pad

    3 Skill Count

    Dodges all attacks except Ki blasts for 15 seconds.

    Finish Sign

    R2/RT + Left on the D-Pad

    3 Skill Count

    Provides offensive buffs and increases Ki charge rate for 15 seconds.

    Big Bang Attack

    R2/RT + Square/X

    3 Ki Bars

    Launches a Beam Super that inflicts a bar of damage.

    Final Kamehameha

    R2/RT + Triangle/Y

    3 Ki Bars

    Fires a Beam Super causing a bar of damage.

    Beam Sword Slash

    R2/RT + Circle/B (when in Sparking Mode)

    Full Ki Bar

    Rush Ultimate that inflicts two bars of damage.

    Super Saiyan Vegito in Versus and Online Matches

    Dragon Ball Sparking Zero image showing Vegito as a super saiyan charging up.

    The real highlight of Super Saiyan Vegito is his Afterimage Strike, which is one of the strongest abilities in the game. It offers a unique defensive approach to aggression, granting you 15 seconds to attack your opponent without worrying about getting hit back.

    Other skills Vegito possesses are fairly standard, featuring two Beam moves that are quite similar. Using Big Bang Attack is advised since its animation is slightly quicker, but it’s ultimately your choice; just be sure to reserve your Skill Count for the Afterimage Strike.

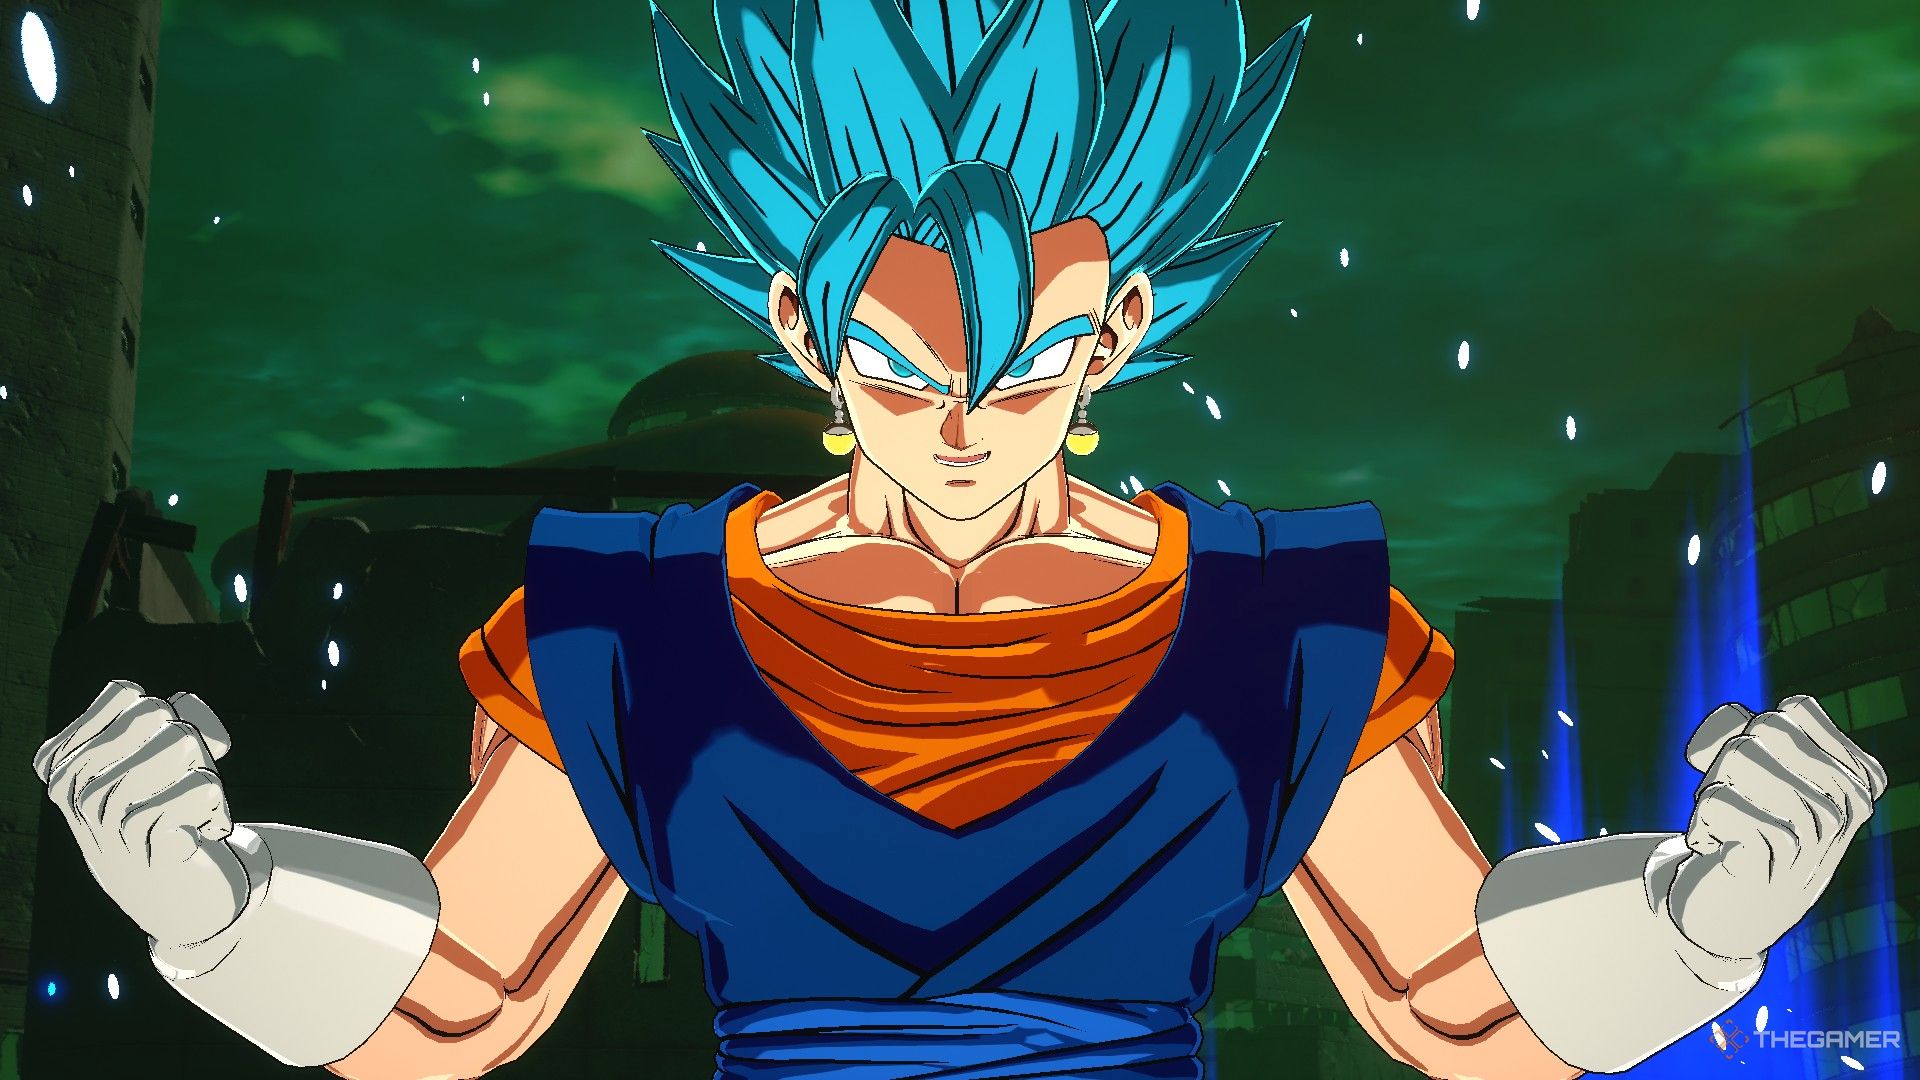
    Super Saiyan Blue Vegito

    Dragon Ball Sparking Zero image showing Vegito as a super saiyan blue.

    Move Name

    Input

    Cost

    Effect

    Settling The Score

    R2/RT + Up on the D-Pad

    3 Skill Count

    Gains offensive buffs and charges Ki faster for 15 seconds.

    Full Power Charge

    R2/RT + Left on the D-Pad

    2 Skill Count

    Fully charges your Ki.

    God Kamehameha

    R2/RT + Square/X

    3 Ki Bars

    Launches a Beam Super that deals a bar and a half of damage when fully charged.

    Omega Finishing Blow

    R2/RT + Triangle/Y

    3 Ki Bars

    Starts a Rush Super inflicting over a bar of damage.

    God Final Kamehameha

    R2/RT + Circle/B (when in Sparking Mode)

    Full Ki Bar

    Ultimate Beam attack delivering over two bars of damage.

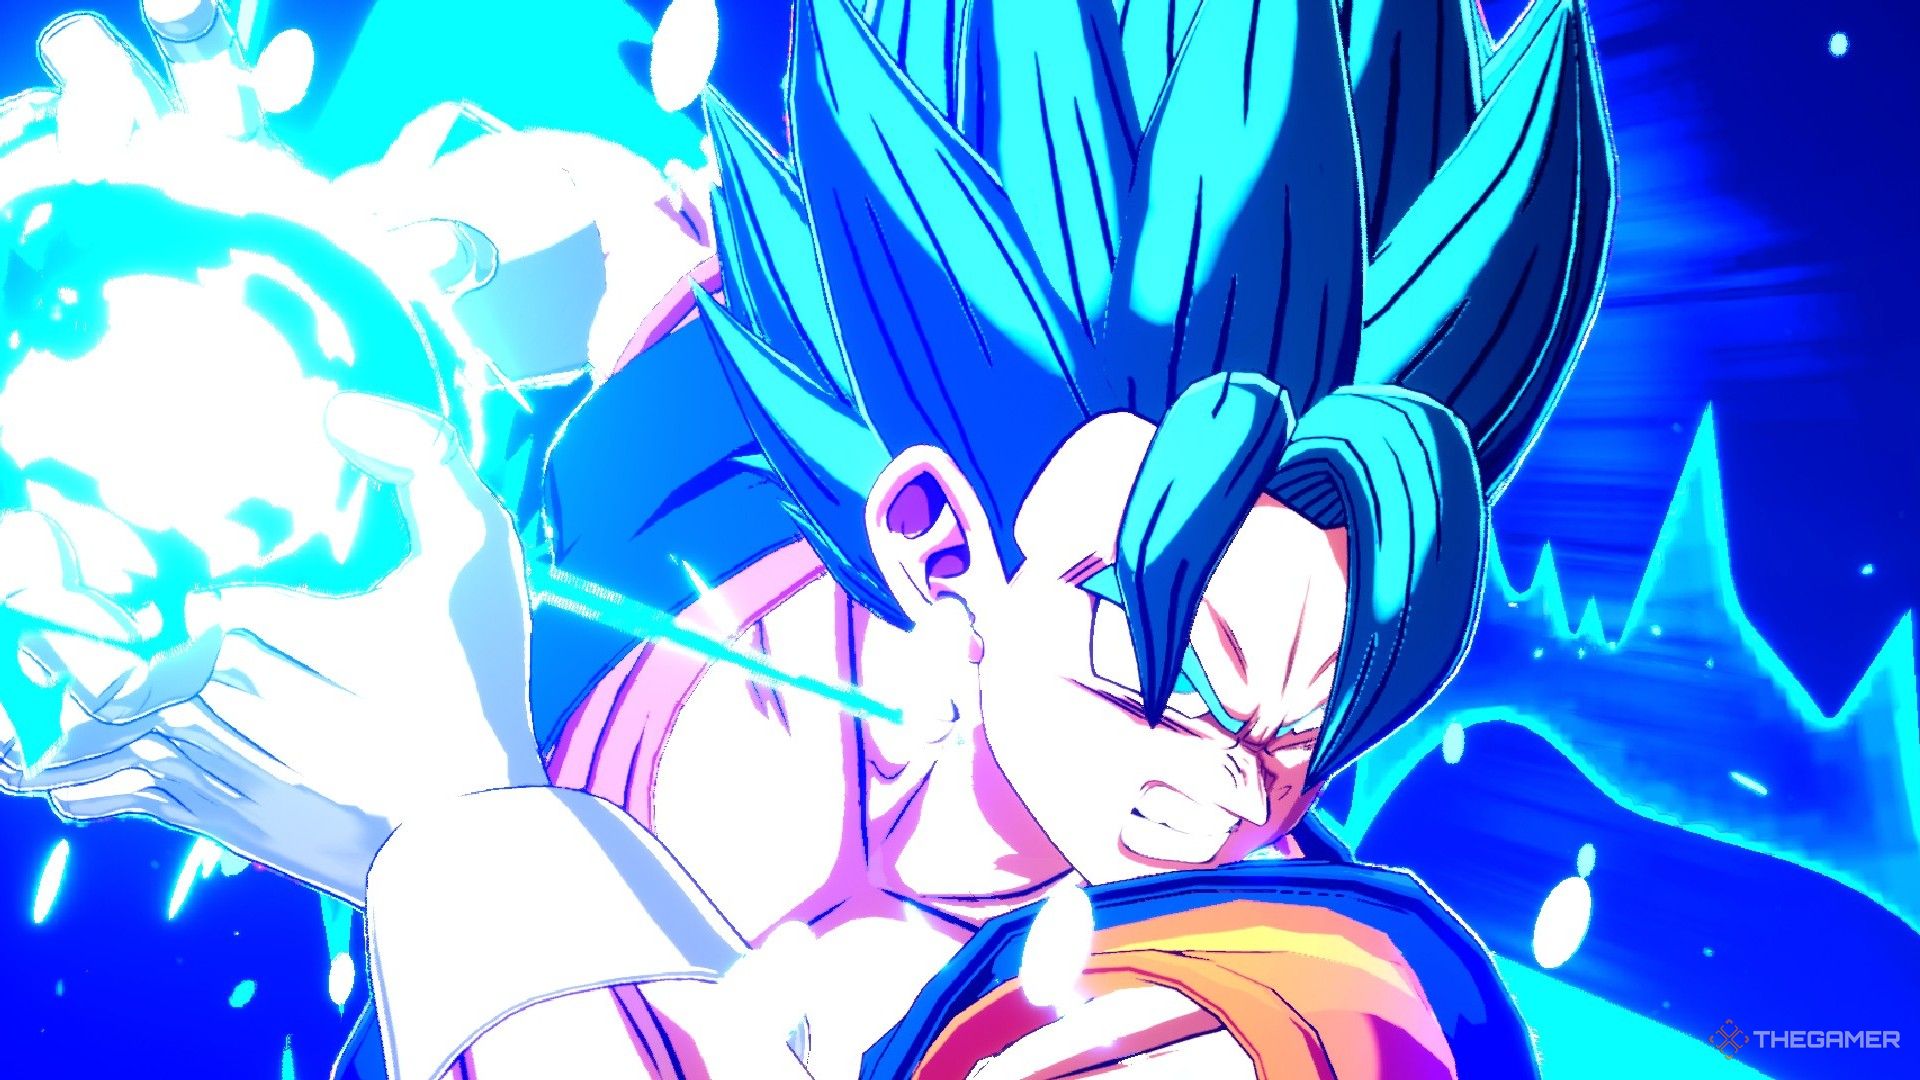
    Super Saiyan Blue Vegito in Versus and Online Matches

    Dragon Ball Sparking Zero image showing Vegito as a super saiyan blue charging up an attack.

    The Blue version of Vegito presents no hidden features; instead, he showcases some of the highest stats in the game. He possesses the same amount of health bars as many other fusions, but he delivers a significantly stronger impact with both regular attacks and special moves.

    Utilizing Settling The Score can be beneficial, as the buffs it provides can help secure a victory. However, always keep two Skill Count available for Full Power Charge. This lets you stay stocked on Ki, allowing for multiple Kamehamehas or providing the energy to counter vanishing strikes effectively.

  • Mastering Tien: A Guide to Dragon Ball Sparking Zero Gameplay

    Mastering Tien: A Guide to Dragon Ball Sparking Zero Gameplay

    Dragon Ball: Sparking Zero presents a variety of intriguing "What If" scenarios, including questions like, “What if Vegeta managed to defeat Buu?” and “What if Frieza had eliminated Goku during their battle on Namek?” However, there’s one particular scenario that has sparked the curiosity of many fans: “What if Tien was betrayed and imprisoned in the Hyperbolic Time Chamber for a millennium, becoming immortal?”

    This thought-provoking question remains unresolved, but we’ll delve into Tien’s skills in this guide. Here, we’ll break down his complete set of abilities, special moves, and combos, along with strategies to elevate your gameplay and master Tien.

    Tien

    Combos

    Move Name Input Description
    Knock Back Blast Melee Button + Ki Button A delayed strike that pushes the opponent back.
    Bicycle Kick 2x Melee Button + Ki Button A rapid series of kicks that inflict decent damage.
    Gut Punch 3x Melee Button + Ki Button A swift blow that stuns the opponent briefly.
    Gut Punch 4x Melee Button + Ki Button A quick attack that stuns the opponent briefly.

    Skills and Special Moves

    Move Name Input Cost Description
    Solar Flare R2/RT + Up on the D-Pad 2 Skill Points Emits a bright flash that stuns and blinds the opponent briefly.
    Wild Sense R2/RT + Left on the D-Pad 2 Skill Points Automatically dodges and counters the next melee attack.
    Dodon Ray R2/RT + Melee Button 2 Ki Gauges Fires a rapid beam that tracks the opponent and causes moderate damage.
    Tri-Beam R2/RT + Ki Button 3 Ki Gauges Shoots a quick projectile that deals moderate damage.
    Neo Tri-Beam R2/RT + Perception Button Sparking Mode/Health Launches an enhanced Tri-Beam that can repeatedly fire at the cost of health.

    Tien in Versus and Online Matches

    Overall, Tien’s stats may not be exceptional; however, his low DP cost of four is a positive aspect. Although his stats are basic, Tien compensates with low skill costs and versatile special moves.

    For example, Solar Flare is an incredible asset against aggressive players. It can stun and blind enemies momentarily, making them vulnerable to attacks. Just be cautious when using it, as it can be dodged, leaving you open to counterattacks.

    Tip: When activating Solar Flare, it has super armor, meaning only powerful attacks can interrupt it. You can still take some damage during it.

    Wild Sense can automatically evade an opponent’s next melee attack and allows Tien to counterattack. This move works well defensively and can also be activated in advance for offensive strategies.

    Dodon Ray delivers a quickly traveling beam attack that inflicts moderate damage. It serves well as a combo finisher or as pressure against opponents trying to charge their Ki. Its fast speed and low cost make it a critical tool in Tien’s arsenal.

    Tri-Beam launches a quick projectile that does slightly more damage than Dodon Ray, though at a higher Ki cost. In the long run, you might find Dodon Ray to be more efficient.

    Finally, Neo Tri-Beam is Tien’s ultimate technique. While a single blast delivers less damage, it can be fired up to ten times, with each successive shot escalating its damage—albeit at the expense of Tien’s health after every shot. This move is particularly effective to end a combo, especially when the opponent’s health is low.

    Note: Using Neo Tri-Beam doesn’t result in immediate death, even if you deplete all your health during the execution.

    Now you’re equipped with the knowledge to maximize Tien’s potential in Dragon Ball: Sparking Zero!

  • Mastering Cell in Dragon Ball: Sparking Zero Gameplay指南

    Mastering Cell in Dragon Ball: Sparking Zero Gameplay指南

    Cell stands out as one of the most memorable villains in the Dragon Ball franchise. In Dragon Ball: Sparking Zero, he showcases his intelligence and transformative abilities in combat. With his ability to take on multiple forms—starting from Imperfect Cell and advancing to his ultimate Perfect Form—Cell allows for various playstyles appealing to both strategic and aggressive players.

    Each of Cell’s forms comes with distinct strengths, weaknesses, and special skills, making him a flexible choice for any player. This guide will explore each of Cell’s transformations, detailing their unique abilities, and providing tips on how to use them effectively to gain the upper hand in Sparking Zero.

    Cell (1st Form)

    Moveset for 1st Form Cell

    Move Name Input Cost Effect
    Solar Flare R2/RT + Up on the D-Pad 2 Skill Count Blinds the opponent.
    Afterimage R2/RT + Left on the D-Pad 2 Skill Count Dodges the next incoming attack.
    Kamehameha R2/RT + Square/X 3 Ki Bars Fires a powerful beam super.
    Special Beam Cannon R2/RT + Triangle/Y 3 Ki Bars Delivers a strong beam attack.
    Drain Life Cell R2/RT + Circle/B (Sparking) Full Ki Bar Ultimate attack that inflicts heavy damage.

    Strategy in Versus and Online Matches

    When using Cell in his transforming state, it’s essential to keep a close eye on your health bars, as he has numerous ways to restore health through his moves. This feature makes Cell a valuable choice, even beyond direct battles.

    His grab technique provides one Ki bar and restores a quarter of his health, allowing players to sustain themselves effectively by executing repeated grabs. Additionally, his Ultimate move, Drain Life Cell, recovers more than one bar of health, which is useful in long-lasting matches.

    Note: Attacks that drain life have no effect on Android characters.

    Transforming heals Cell for half a health bar, which makes it beneficial to start in this form before transitioning to his other forms. The move Solar Flare not only disables opponents temporarily but can lead to a grab or act as setup for a powerful Ultimate attack if they are too eager to respond.

    Cell (2nd Form)

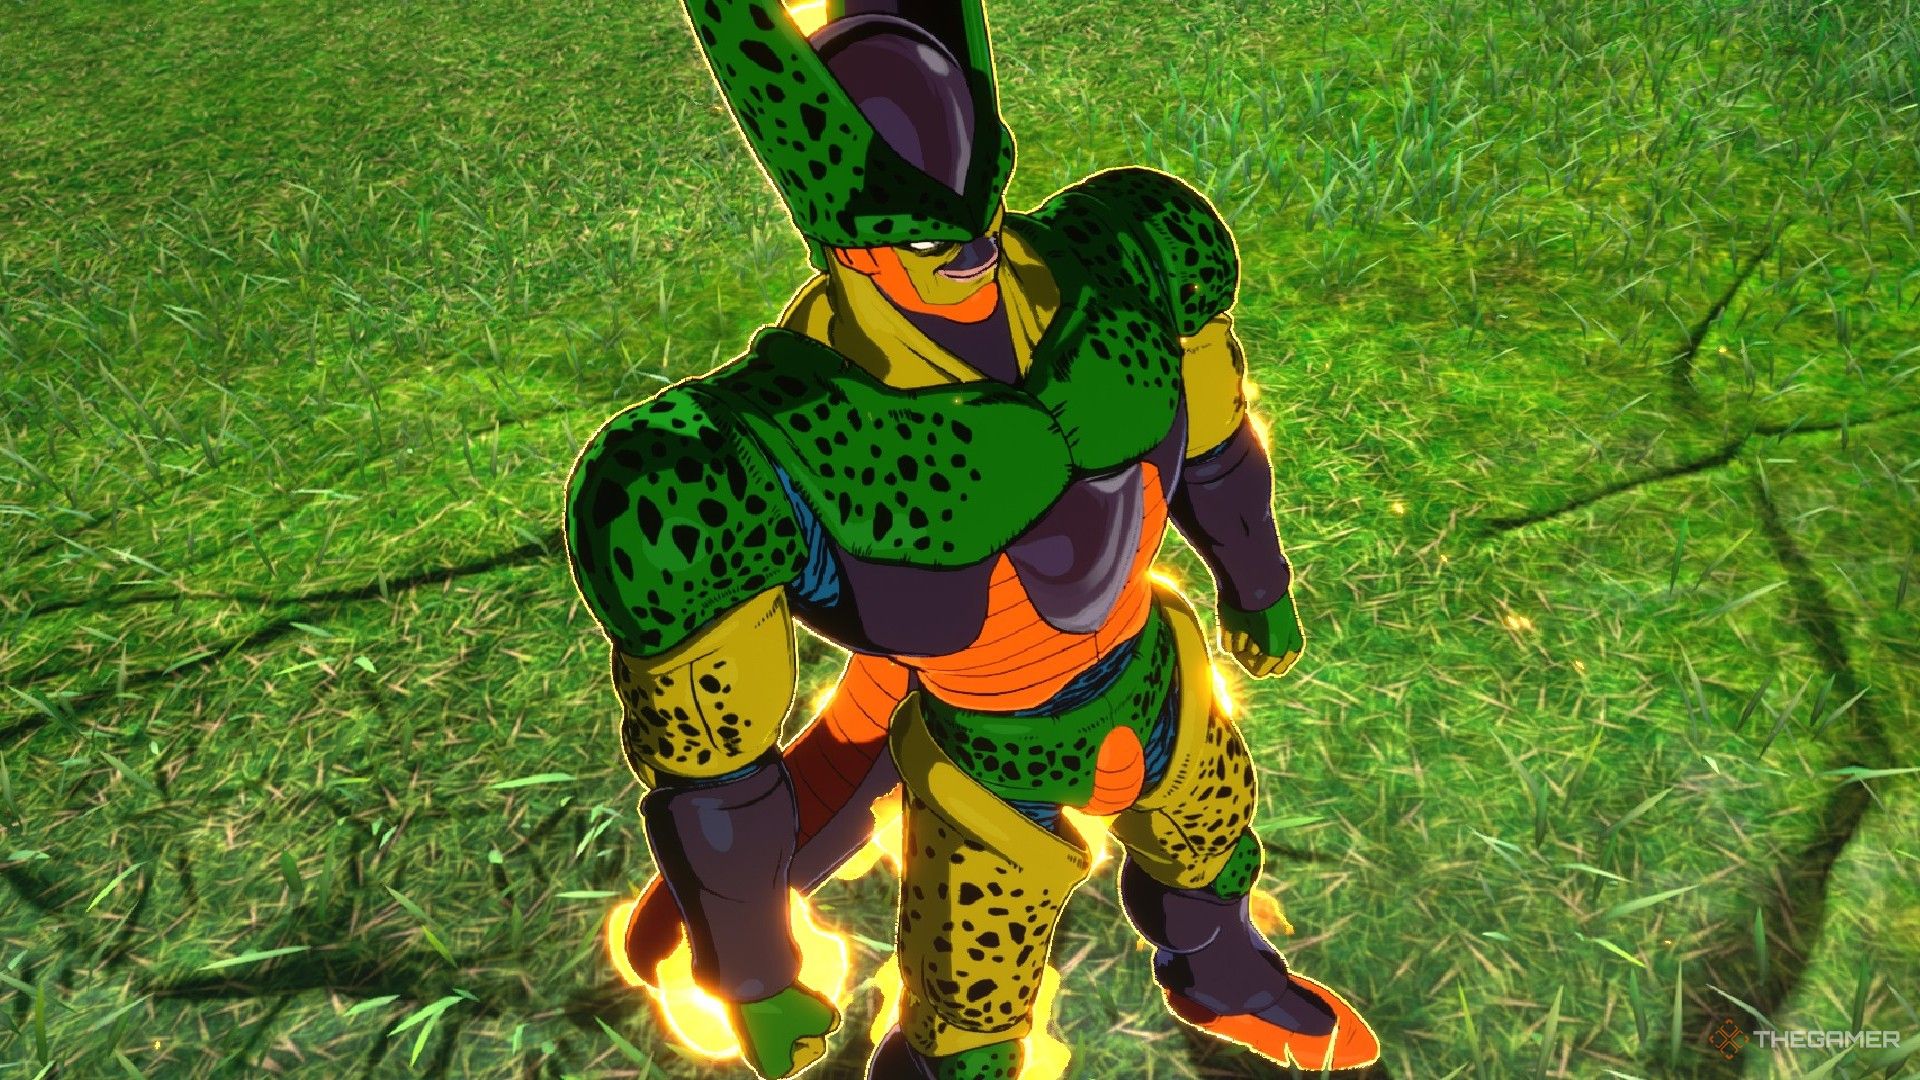
    Cell in his 2nd form

    Moveset for 2nd Form Cell

    Move Name Input Cost Effect
    Solar Flare R2/RT + Up on the D-Pad 2 Skill Count Blinds opponent.
    Pump Up R2/RT + Left on the D-Pad 2 Skill Count Provides offensive buffs.
    Big Bang Crash R2/RT + Square/X 3 Ki Bars Fires a strong beam attack.
    Drain Life Cell R2/RT + Triangle/Y 3 Ki Bars Launches a consistent rush attack.
    Unforgivable! R2/RT + Circle/B (Sparking) Full Ki Bar Unblockable area-of-effect attack.

    Strategy in Versus and Online Matches

    The healing strategy remains effective in 2nd Form, mirroring the tactics of the 1st Form. You’ll want to utilize grabs and transformations for health recovery, with transformations offering a full Ki bar.

    While many of his attacks might deal less damage than anticipated, utilizing Solar Flare can set your opponents up for combos. Reserve your Ultimate attack for moments when victory is assured, keeping in mind its unblockable nature but the high cost of leaving you vulnerable.

    Perfect Cell

    Cell in Perfect Form

    Moveset for Perfect Cell

    Move Name Input Cost Effect
    Explosive Wave R2/RT + Up on the D-Pad 2 Skill Count Creates an explosive wave to push back foes.
    Afterimage R2/RT + Left on the D-Pad 2 Skill Count Dodges the next attack.
    Super Kamehameha R2/RT + Square/X 3 Ki Bars Fires a charged beam.
    Barrage Death Beam R2/RT + Triangle/Y 2 Ki Bars Fires multiple projectiles.
    Perfect Barrier R2/RT + Circle/B (Sparking) Full Ki Bar Large area attack that deals double damage.

    Strategy in Versus and Online Matches

    In Perfect Form, Cell loses his ability to heal, transitioning to a more standard combat style. The Explosive Wave allows him to break free from combos, while Barrage Death Beam is a high-damage option with exceptional tracking to disrupt opponents effectively.

    The unique moves of this form offer great offensive options, making him a formidable choice in combat.

    Cell Jr.

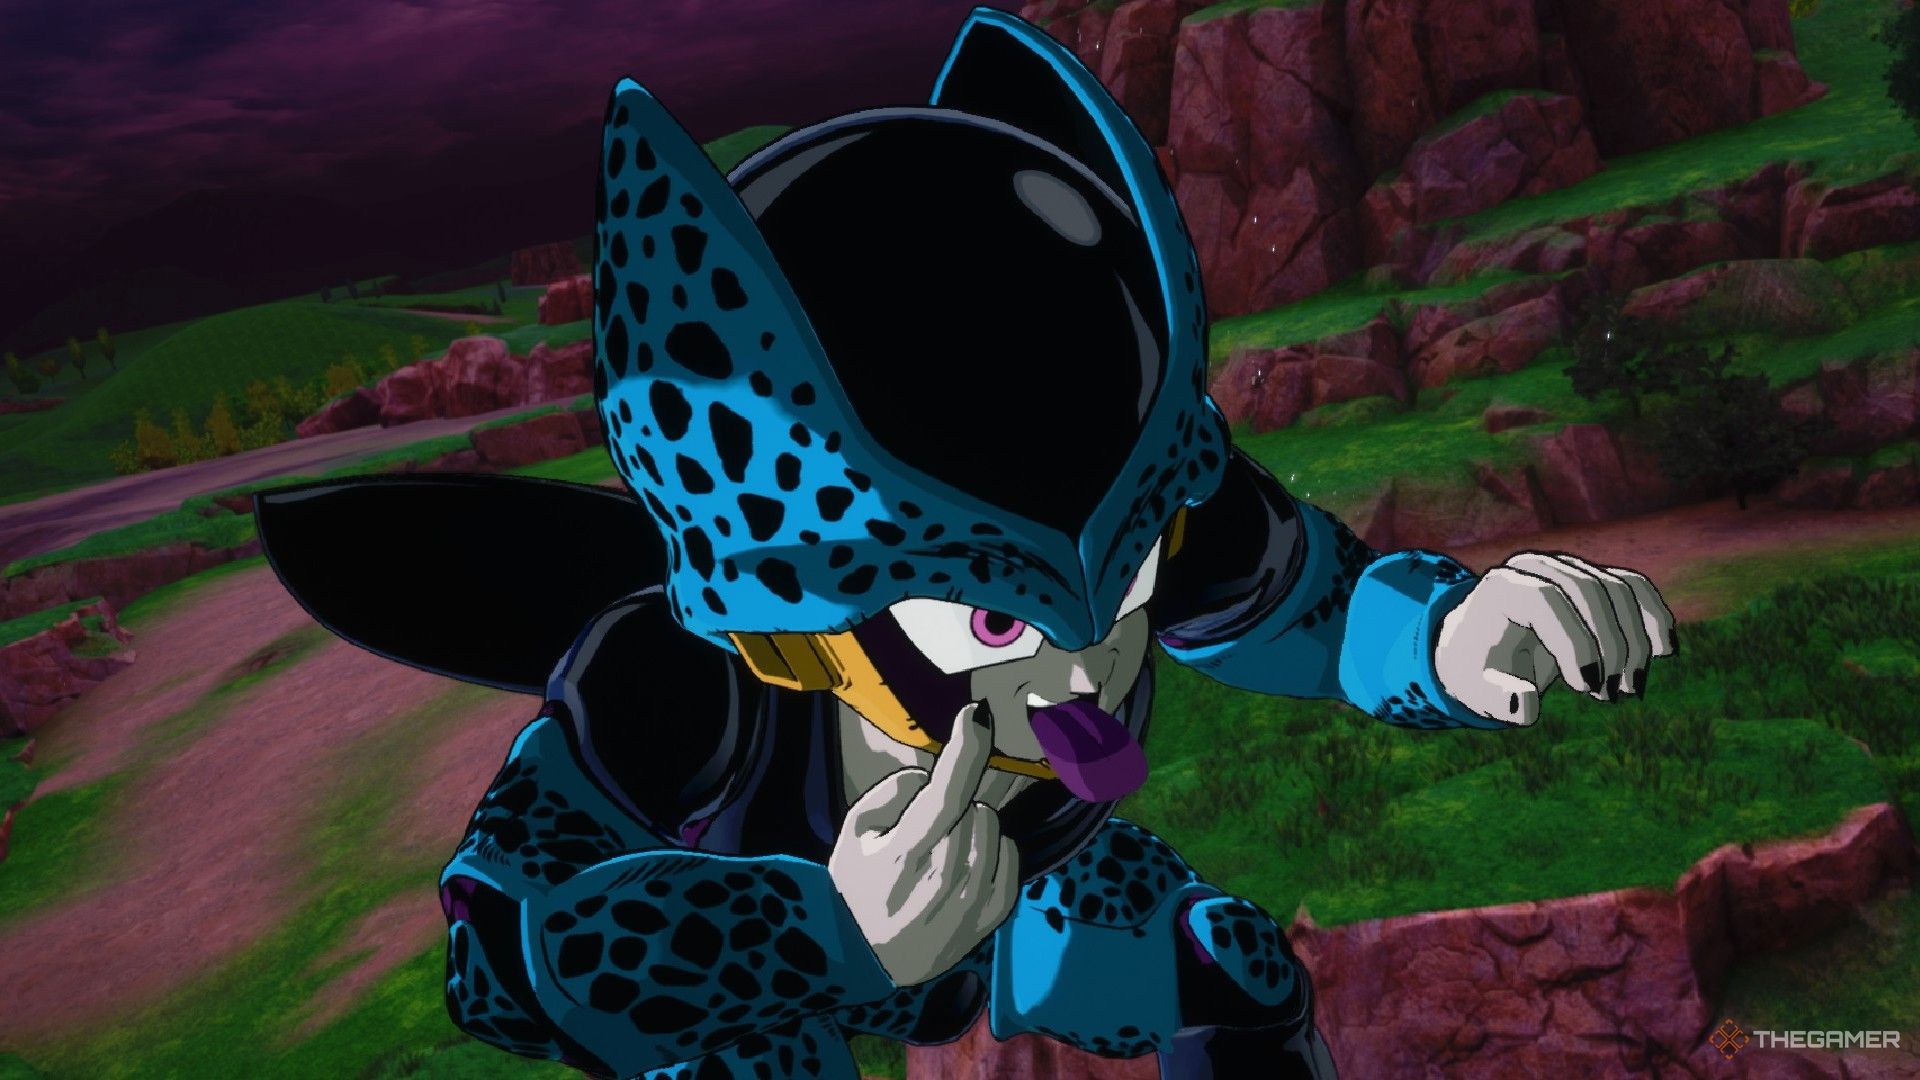
    Cell Jr

    Moveset for Cell Jr.

    Move Name Input Cost Effect
    Solar Flare R2/RT + Up on the D-Pad 2 Skill Count Blinds opponent.
    Explosive Wave R2/RT + Left on the D-Pad 2 Skill Count Sends out a wave pushing enemies back.
    Special Beam Cannon R2/RT + Square/X 3 Ki Bars Fires a beam super causing significant damage.
    Innocence Rush R2/RT + Triangle/Y 3 Ki Bars Rush attack dealing heavy damage.
    Super Kamehameha R2/RT + Circle/B (Sparking) Full Ki Bar Ultimate beam attack with high damage.

    Strategy in Versus and Online Matches

    Cell Jr. is most effective in DP Battle mode, where he offers cost-effective options for team setups. Priced at only three DP, he provides more health than most low-cost characters, allowing for diverse strategies.

    You can also select Cell Jr. multiple times in your team composition if you are skilled with the character. He features robust skills like Solar Flare and Explosive Wave; however, be cautious with the input for Explosive Wave, as it can confuse players accustomed to other characters’ controls.


    Cell’s transformations provide a range of strategies to employ. Understanding their strengths and weaknesses will allow you to maximize your effectiveness in Dragon Ball: Sparking Zero.

  • Mastering Hit in Dragon Ball: Sparking Zero Gameplay Tips

    Mastering Hit in Dragon Ball: Sparking Zero Gameplay Tips

    Dragon Ball features a roster full of formidable fighters, including titans like Janemba and Great Ape Vegeta, alongside iconic villains like Frieza and Cell. However, only one has ever succeeded in defeating Goku in battle.

    Hit, the enigmatic assassin, makes his entrance in Dragon Ball: Sparking Zero, prepared to take out every foe in his way. This guide will explore his full skill set, including combos and special techniques. By the end, you’ll possess the expertise to secure victories over any opponent daring enough to challenge you; after all, his ability to manipulate time puts him in a league of his own.

    Hit

    Combos

    Move Name Input Description
    Bicycle Kick Melee Button + Ki Button Executes a rapid series of kicks, inflicting moderate damage.
    Knock Back Blast 2x Melee Button + Ki Button Fires a delayed energy blast that sends the opponent flying.
    Spin Kick 3x Melee Button + Ki Button Spins enemies around, making them vulnerable to follow-up attacks.
    Gut Punch 4x Melee Button + Ki Button A quick jab that stuns the opponent, leaving them open for more combos.

    Skills and Special Moves

    Move Name Input Cost Description
    Ki Clone R2/RT + Up on the D-Pad 2 Skill Points Dodges and counters the next melee attack from the opponent.
    Time Skip R2/RT + Left on the D-Pad 2 Skill Points Instantly teleports behind the opponent, causing temporary disorientation.
    Assassin’s Art R2/RT + Melee Button 3 Ki Gauges Launches a ranged jab that delivers moderate damage.
    Time Skip/Jump Spike R2/RT + Ki Button 4 Ki Gauges Teleports to the opponent and unleashes a flurry of powerful strikes.
    Time Prison R2/RT + Perception Button Sparking Mode Rushes towards the opponent, hitting them with precision for heavy damage.

    Hit in Versus and Online Matches

    Hit maintains his status as a highly effective assassin, showcasing some of the top stats in the game. Because of his impressive capabilities, his DP cost is seven, which slightly restricts team-building options. Hit excels when played aggressively, ensuring that opponents rarely have a moment to recover.

    His Time Skip ability allows him to instantly reposition behind enemies, causing them to momentarily lose sight and making it tough for them to defend themselves. This move is also effective defensively against ranged attacks. On the other hand, Ki Clone can be activated preemptively to automatically evade the next melee strike from the opponent.

    Assassin’s Art sends out a ranged jab, inflicting moderate damage that can be useful at the end of combos or as a way to disrupt an opponent’s Ki charging from a distance. Alternatively, if you’re ready to spend some Ki, you might choose to utilize Time Skip/Jump Spike, which always positions Hit directly in front of the opponent, regardless of their distance.

    Time Prison operates differently from Time Skip/Jump, as it requires Hit to dash towards the opponent rather than teleport. This move should never be executed from a neutral position, as it exposes you to potential counterattacks. Instead, it is best used after launching a successful combo.

    Tips

    • Ki Clone can activate on the first melee attack, so consider using it preemptively.
    • It’s wise to enhance the damage of your Time Skip/Jump Spike only when the opponent’s health is critically low or if you’re in Sparking Mode.
    • Combining Time Skip/Jump Spike with Time Prison is possible, but you have to be swift and accurate as the timing is tight and could easily miss if you’re not careful.

    With these strategies and insights, you’ll be ready to dominate the battlefield as Hit in Dragon Ball: Sparking Zero!

  • Mastering Beerus in Dragon Ball: Sparking Zero Strategies

    Mastering Beerus in Dragon Ball: Sparking Zero Strategies

    It’s well-known that the Dragon Ball series features a multitude of formidable characters who can obliterate entire planets. In this context, Dragon Ball: Sparking Zero successfully incorporates many of these powerful figures, preserving their strength from the source material.


    Related

    Dragon Ball: Sparking Zero – Cooler Character Guide

    Everything you need to know to play as Cooler in Dragon Ball: Sparking Zero!

    This brings us to Beerus, the God of Destruction, known for his immense power and sharp temperament. With impressive stats and minimal weaknesses, he’s a favorite among players in competitive modes. This guide will detail his abilities, special moves, and provide usage tips.

    Beerus

    Combos

    Move Name

    Input

    Description

    Knock Back Blast

    Melee Button + Ki Button

    Fires a delayed attack that propels the opponent away.

    Spin Kick

    2x Melee Button + Ki Button

    Causes the enemy to rotate, making them vulnerable to subsequent melee strikes.

    Gut Punch

    3x Melee Button + Ki Button

    A fast blow that stuns the opponent briefly and disrupts their ability to counter.

    Bicycle Kick

    4x Melee Button + Ki Button

    A rapid succession of kicks that inflict moderate damage.

    Skills and Special Moves

    Move Name

    Input

    Cost

    Description

    Sleep

    R2/RT + Up on the D-Pad

    4 Skill Points

    Beerus dozes off, becoming defenseless for a few moments. If not interrupted, he will recover 30% of his max HP and refill his Ki gauge.

    Verdict of Destruction

    R2/RT + Left on the D-Pad

    3 Skill Points

    After a brief animation, Beerus enters Sparking Mode immediately.

    Sphere of Destruction

    R2/RT + Melee Button

    3 Ki Gauges

    Shoots a quick sphere that seeks out the opponent and deals moderate damage.

    Hakai Headshot

    R2/RT + Ki Button

    3 Ki Gauges

    Rushes towards the enemy, delivering heavy damage.

    Super Sphere of Destruction

    R2/RT + Perception Button

    Sparking Mode

    Creates a colossal, unblockable sphere that inflicts significant damage.

    Beerus in Versus and Online Matches

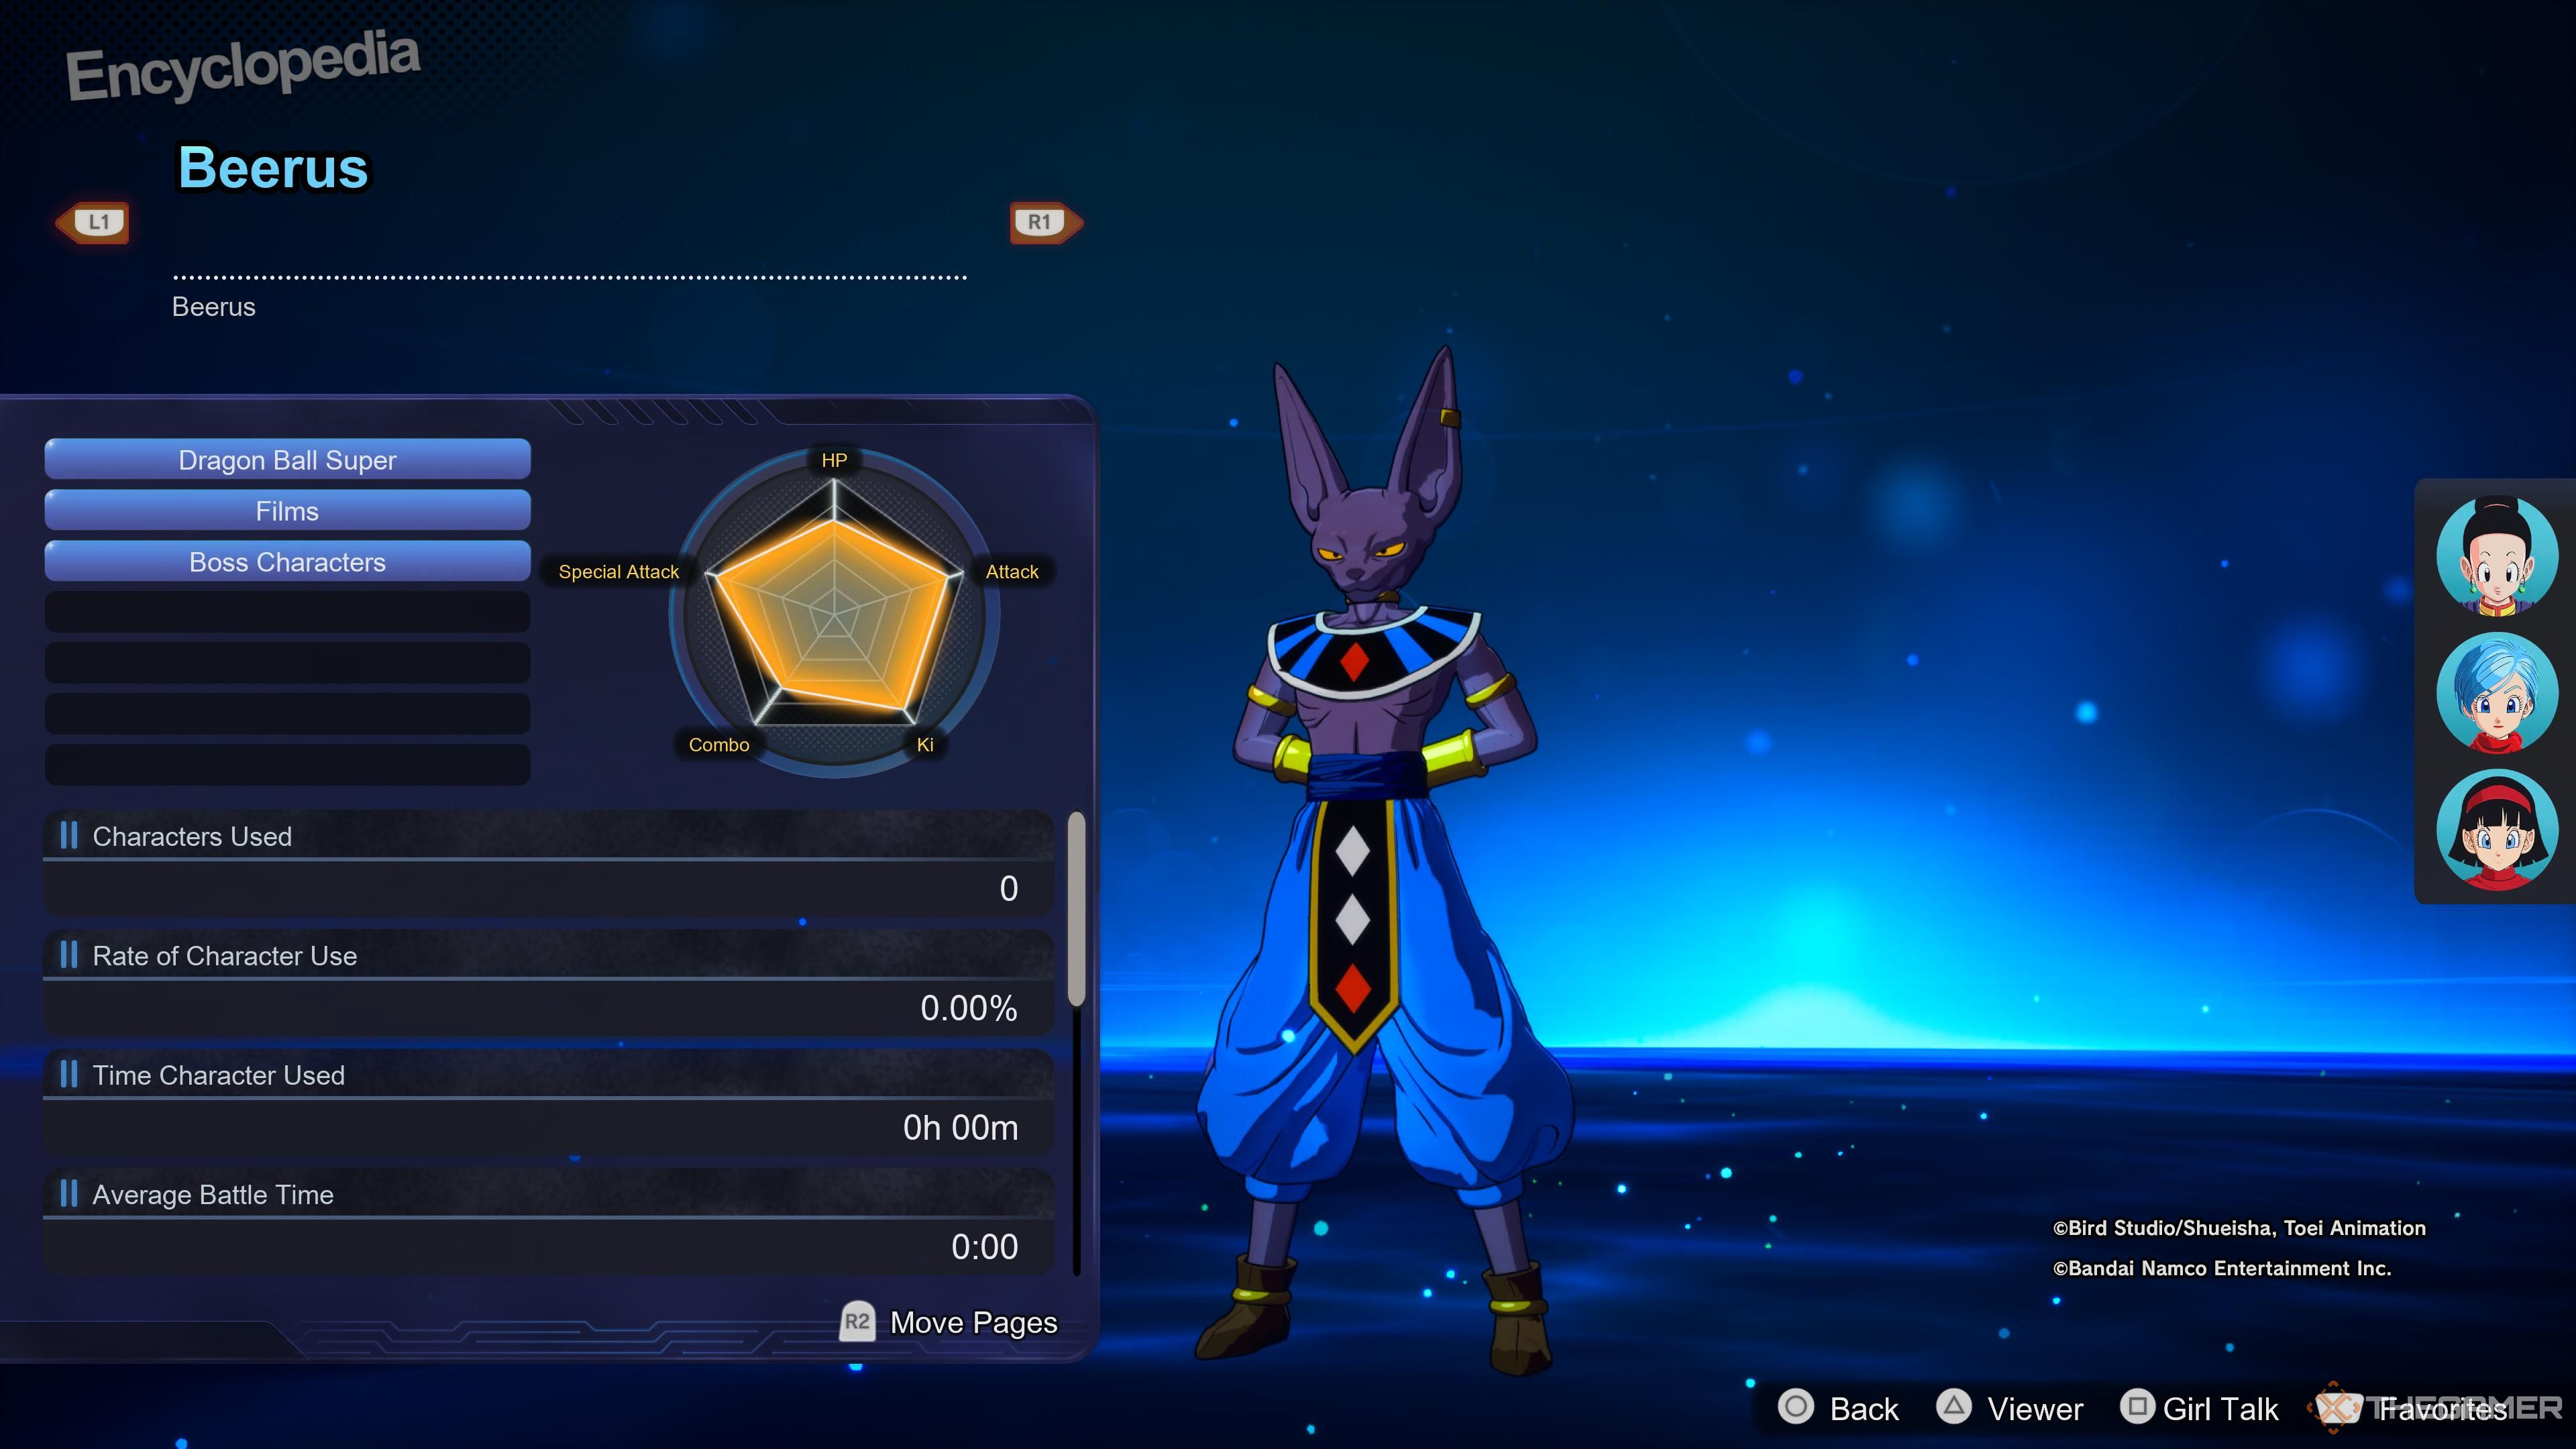
    A screen showing Beerus' character stats in Dragon Ball: Sparking Zero.

    As a deity, Beerus has outstanding stats that place him among the most powerful characters. His DP cost is a staggering 10 points, which can limit your team selection. Nonetheless, when played effectively, Beerus can hold his own against numerous fighters.

    His Sleep skill is a crucial asset, enabling you to significantly heal during battles.

    After you launch your opponent following a combo, activate Sleep quickly, as healing takes a moment.

    Be aware that using this skill will consume nearly all of your Skill Points, which may be better spent on counters or his second skill.

    Obscuring the line of sight with an object between you and your opponent can provide more safety when using Sleep.

    The Verdict of Destruction costs one Skill Point less than Sleep and instantly triggers Sparking Mode, where Beerus delivers maximum damage through a combination of melee and basic Ki Blasts before unleashing either a special or ultimate attack.

    Beerus has one rush and two blast Special Moves. Sphere of Destruction fires a rapid projectile that tracks the opponent, making it effective at long range to stop Ki charging, while Hakai Headshot serves as a finishing move that deals considerable damage and is harder to dodge.

    If the opponent is grounded after a combo, it’s wise to use the Sphere of Destruction as there’s a higher chance Hakai Headshot might completely miss.

    Super Sphere of Destruction ranks as Beerus’ strongest move. Once initiated, he generates an enormous sphere that is nearly impossible to evade and completely unblockable. During Sparking Mode, unleash a combination of melee hits and basic Ki Blasts before executing this ultimate attack.

    After landing the ultimate attack, the opponent may lose sight of you, allowing you to safely use Sleep to regain health while they search for you.