الوسم: Dead Rails

  • Completing the Quest to Solve Wolves in Roblox: Dead Rails

    Completing the Quest to Solve Wolves in Roblox: Dead Rails

    When you journey through the vast deserts of Dead Rails on Roblox, you’ll encounter numerous dangers. Undead creatures, vampires, and werewolves have overrun this desolate land, and you’ll also need to guard your train from outlaws and wolves that existed before the chaos began.

    Among all the adversaries, wolves are unique because they can be tamed and turned into allies. This means you can build a loyal pack to assist you in raiding houses and clearing towns of zombies. Here’s everything you need to know about it.

    Finding a Wolf


    Wolves typically appear in packs across the desert. Although they are not very common, each pack generally contains at least three wolves, and you might sometimes encounter a werewolf instead of one of them.

    Beware of werewolves—they’re formidable foes that usually notice you before you see them. If you’re not ready to confront them, it might be best to skip that pack in search of one without werewolves.

    Once the wolves notice you, they’ll begin to chase. When they get close enough, you’ll have an opportunity to tame them.

    Taming a Wolf

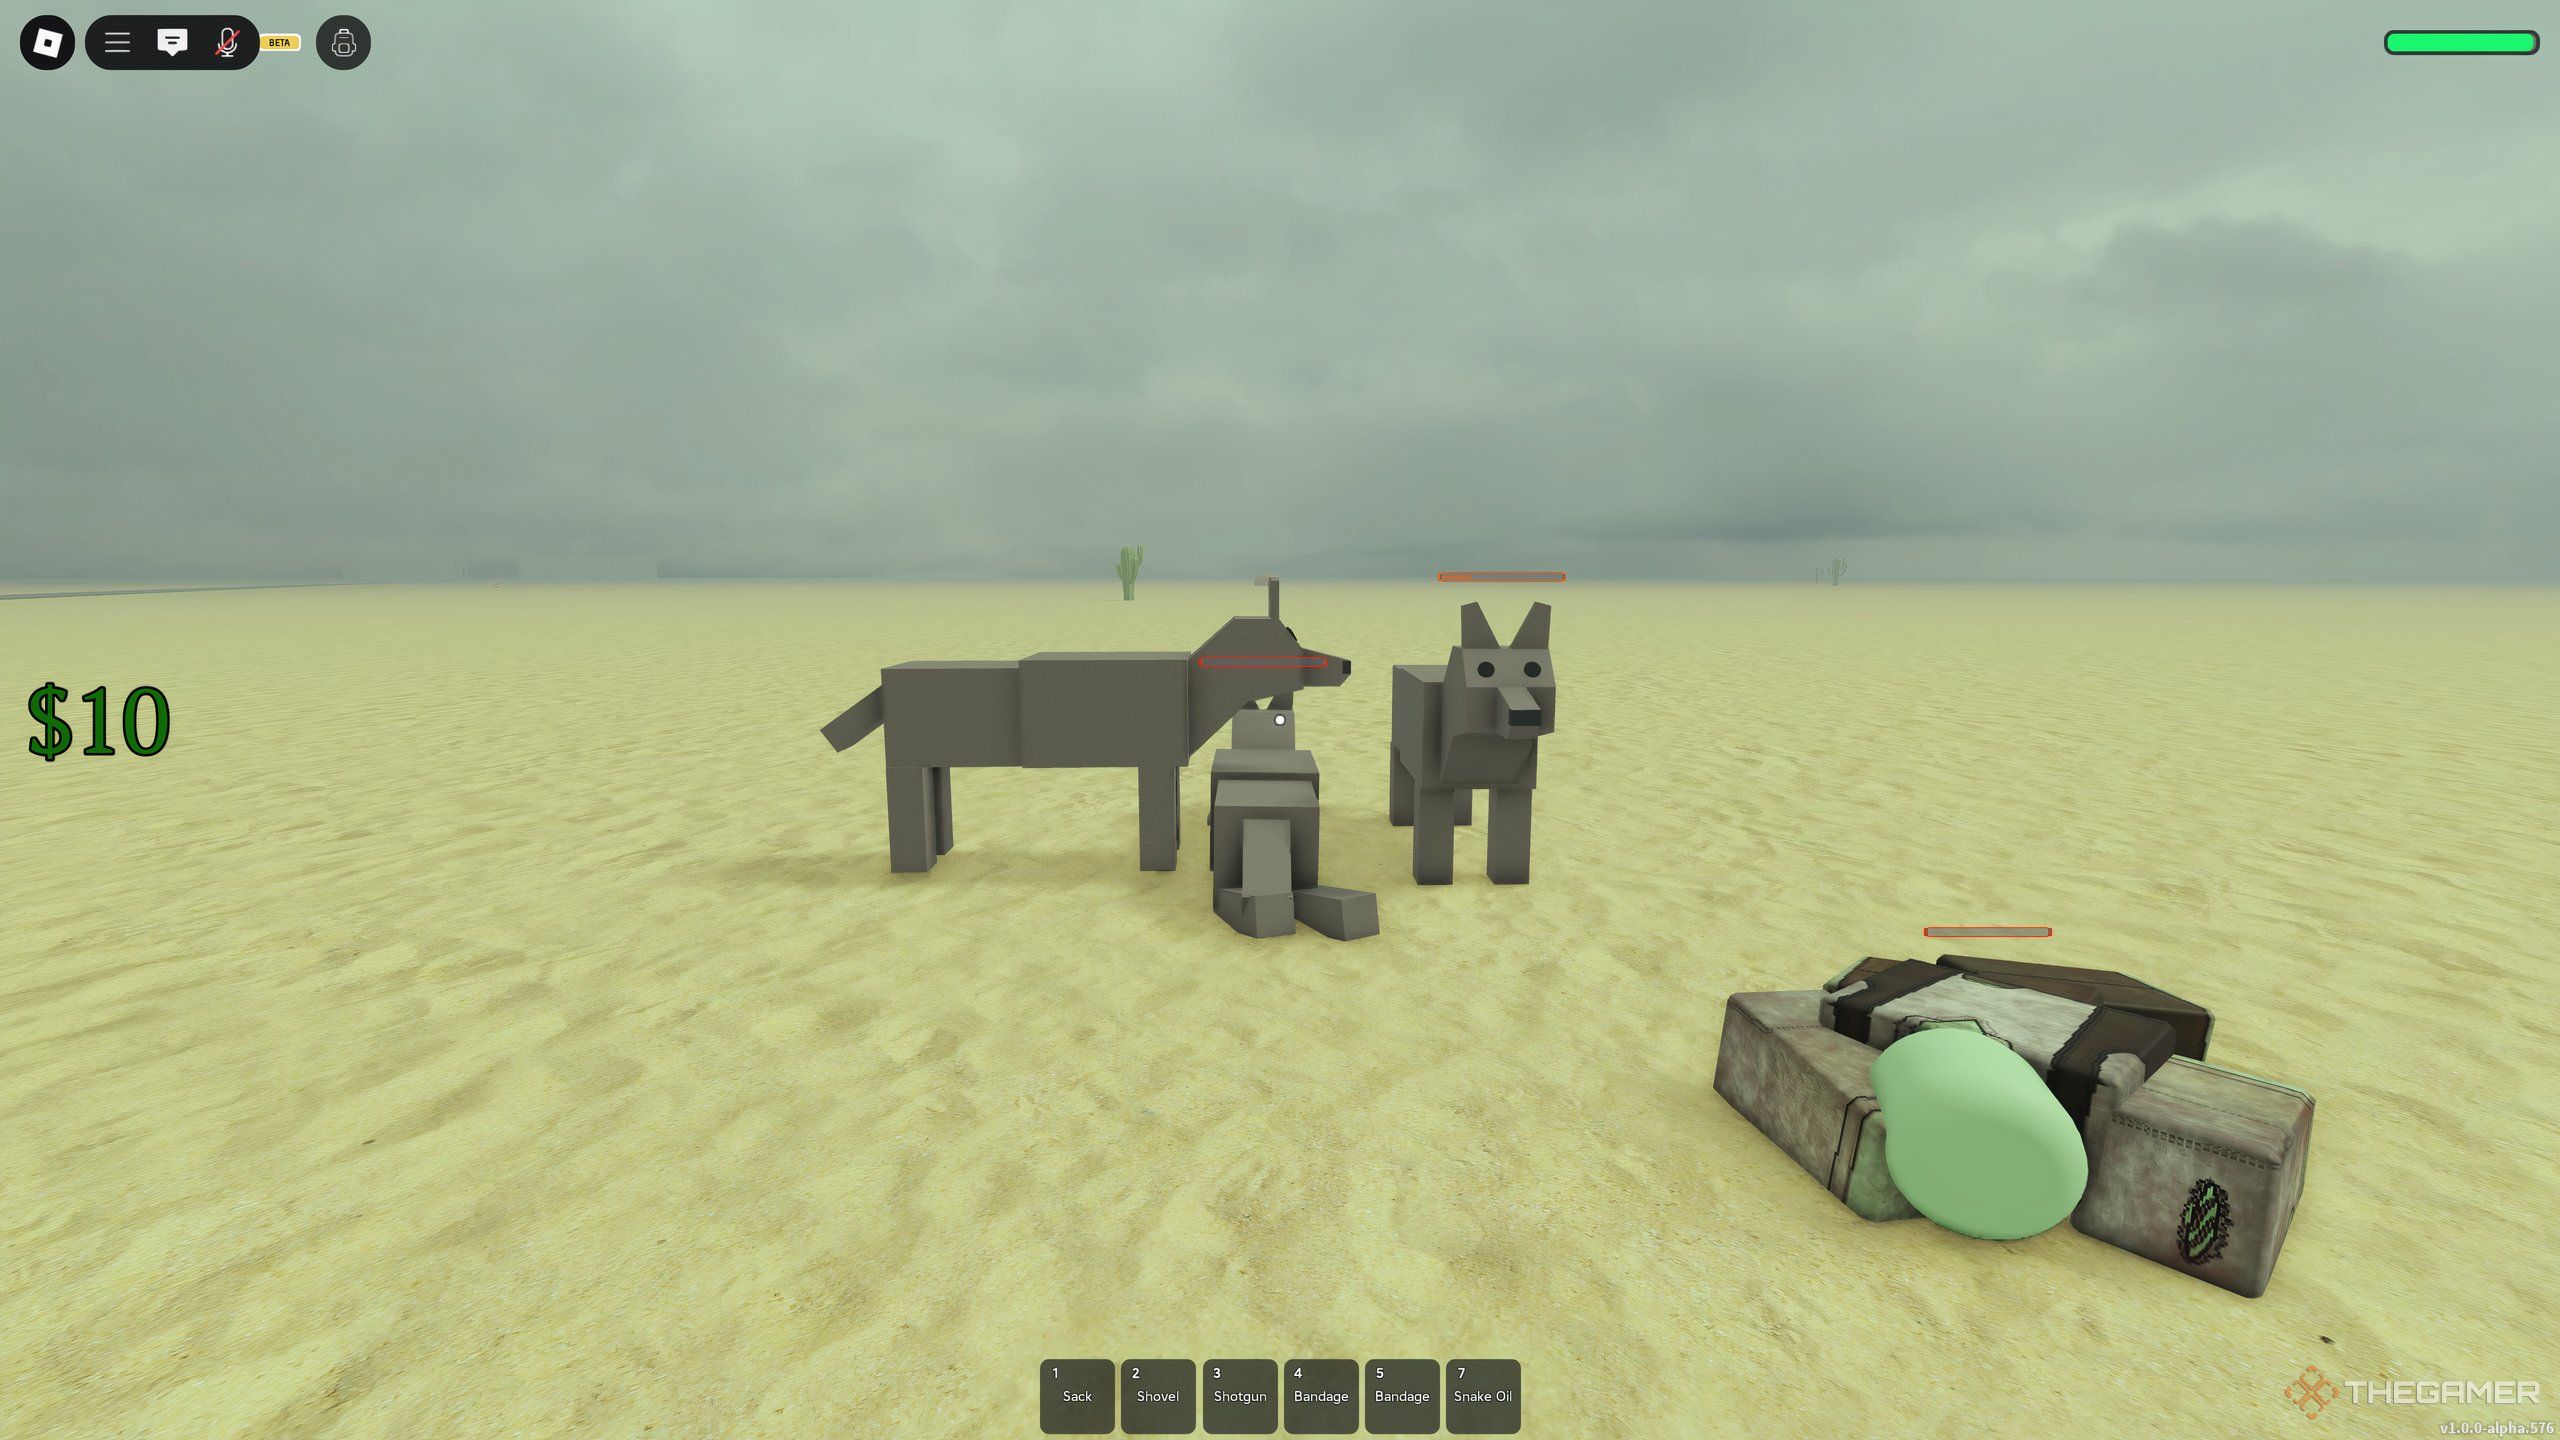
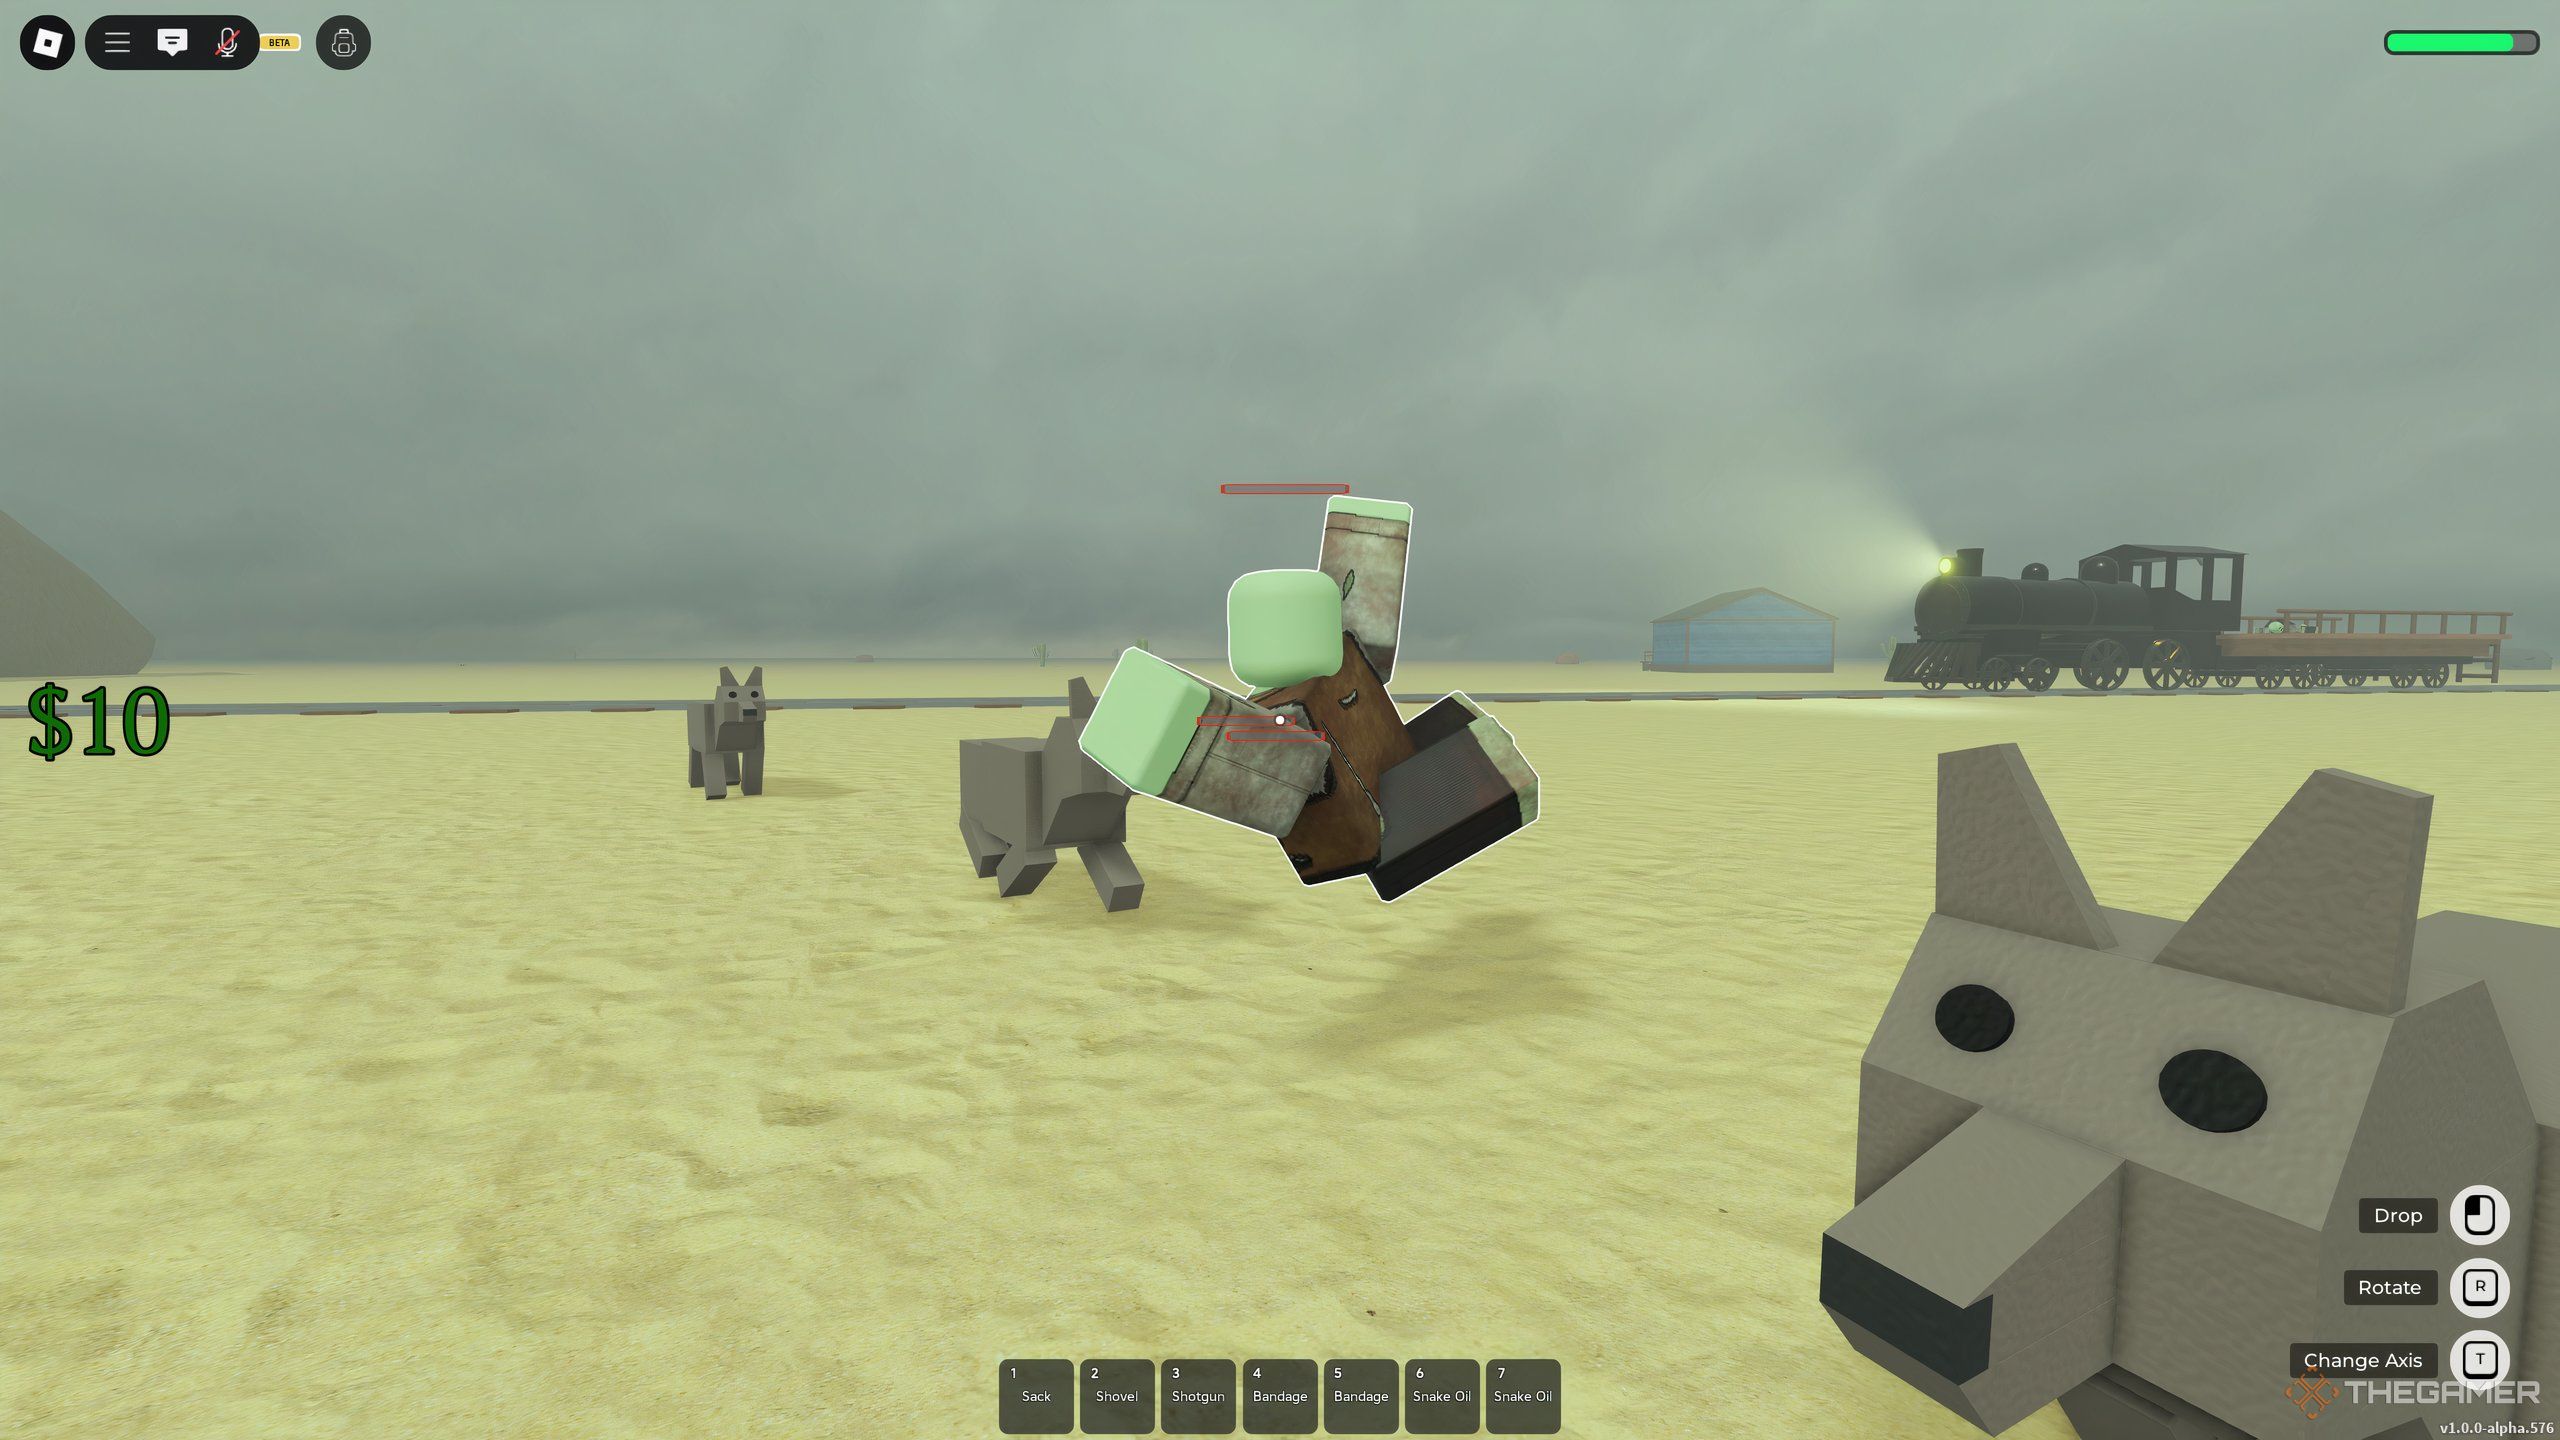
    Taming a wolf, by feeding it a corpse in Dead Rails on Roblox.

    The reason the wolves are attacking is that they’re hungry. To tame them, you’ll need to feed them corpses. Zombies are the easiest source, but any corpse will work.

    Since wolves travel in packs, it’s wise to prepare at least six corpses just to be safe.

    When the wolves approach, place the corpses in front of you. They won’t notice corpses lying around, so you should pick each corpse up and drag it towards one wolf at a time.

    A quick method to feed the wolves is to hold a corpse in front of you as the wolf approaches. When the wolf reaches you and makes contact with the corpse, they will be tamed. If the wolf gets too close before you bring the corpse to them, you might struggle to feed them while they attack.

    Watch out—once tamed, your wolves will attack anything they see as a threat to you, including other untamed wolves. This means they might turn on the pack you are trying to tame, so act swiftly before chaos ensues.

    How to Utilize Tamed Wolves

    Two tamed wolves, with one not making it, in Dead Rails on Roblox.

    Once you’ve gained your canine companions, you can store them in your sack. They can be pulled along and welded to the train. This is ideal, as you can quickly release your wolf army when launching an attack or defending your train at night.

    Instead of welding them to the floor of the wagon, consider welding them to its sides to prevent them from getting stuck in the wagon’s fence. This way, they’ll all be prepared for action at the same time when you unweld them.

  • Mastering Nightly Events in Roblox: Dead Rails Guide

    Mastering Nightly Events in Roblox: Dead Rails Guide

    In Dead Rails on Roblox, nightfall can be perilous, particularly if you’re outside the safety of the checkpoint walls. Each evening, hazardous events unfold, and you must be prepared to face these threats.

    The game centers around this concept, urging players to wrap up their activities during daylight hours and seek refuge at a checkpoint or hop on a speeding train heading towards safety. However, chances are you’ll find yourself outdoors at some point during the night. Below, you’ll find details on the various night events that can occur and tips on how to navigate their dangers.

    The Day and Night Cycle


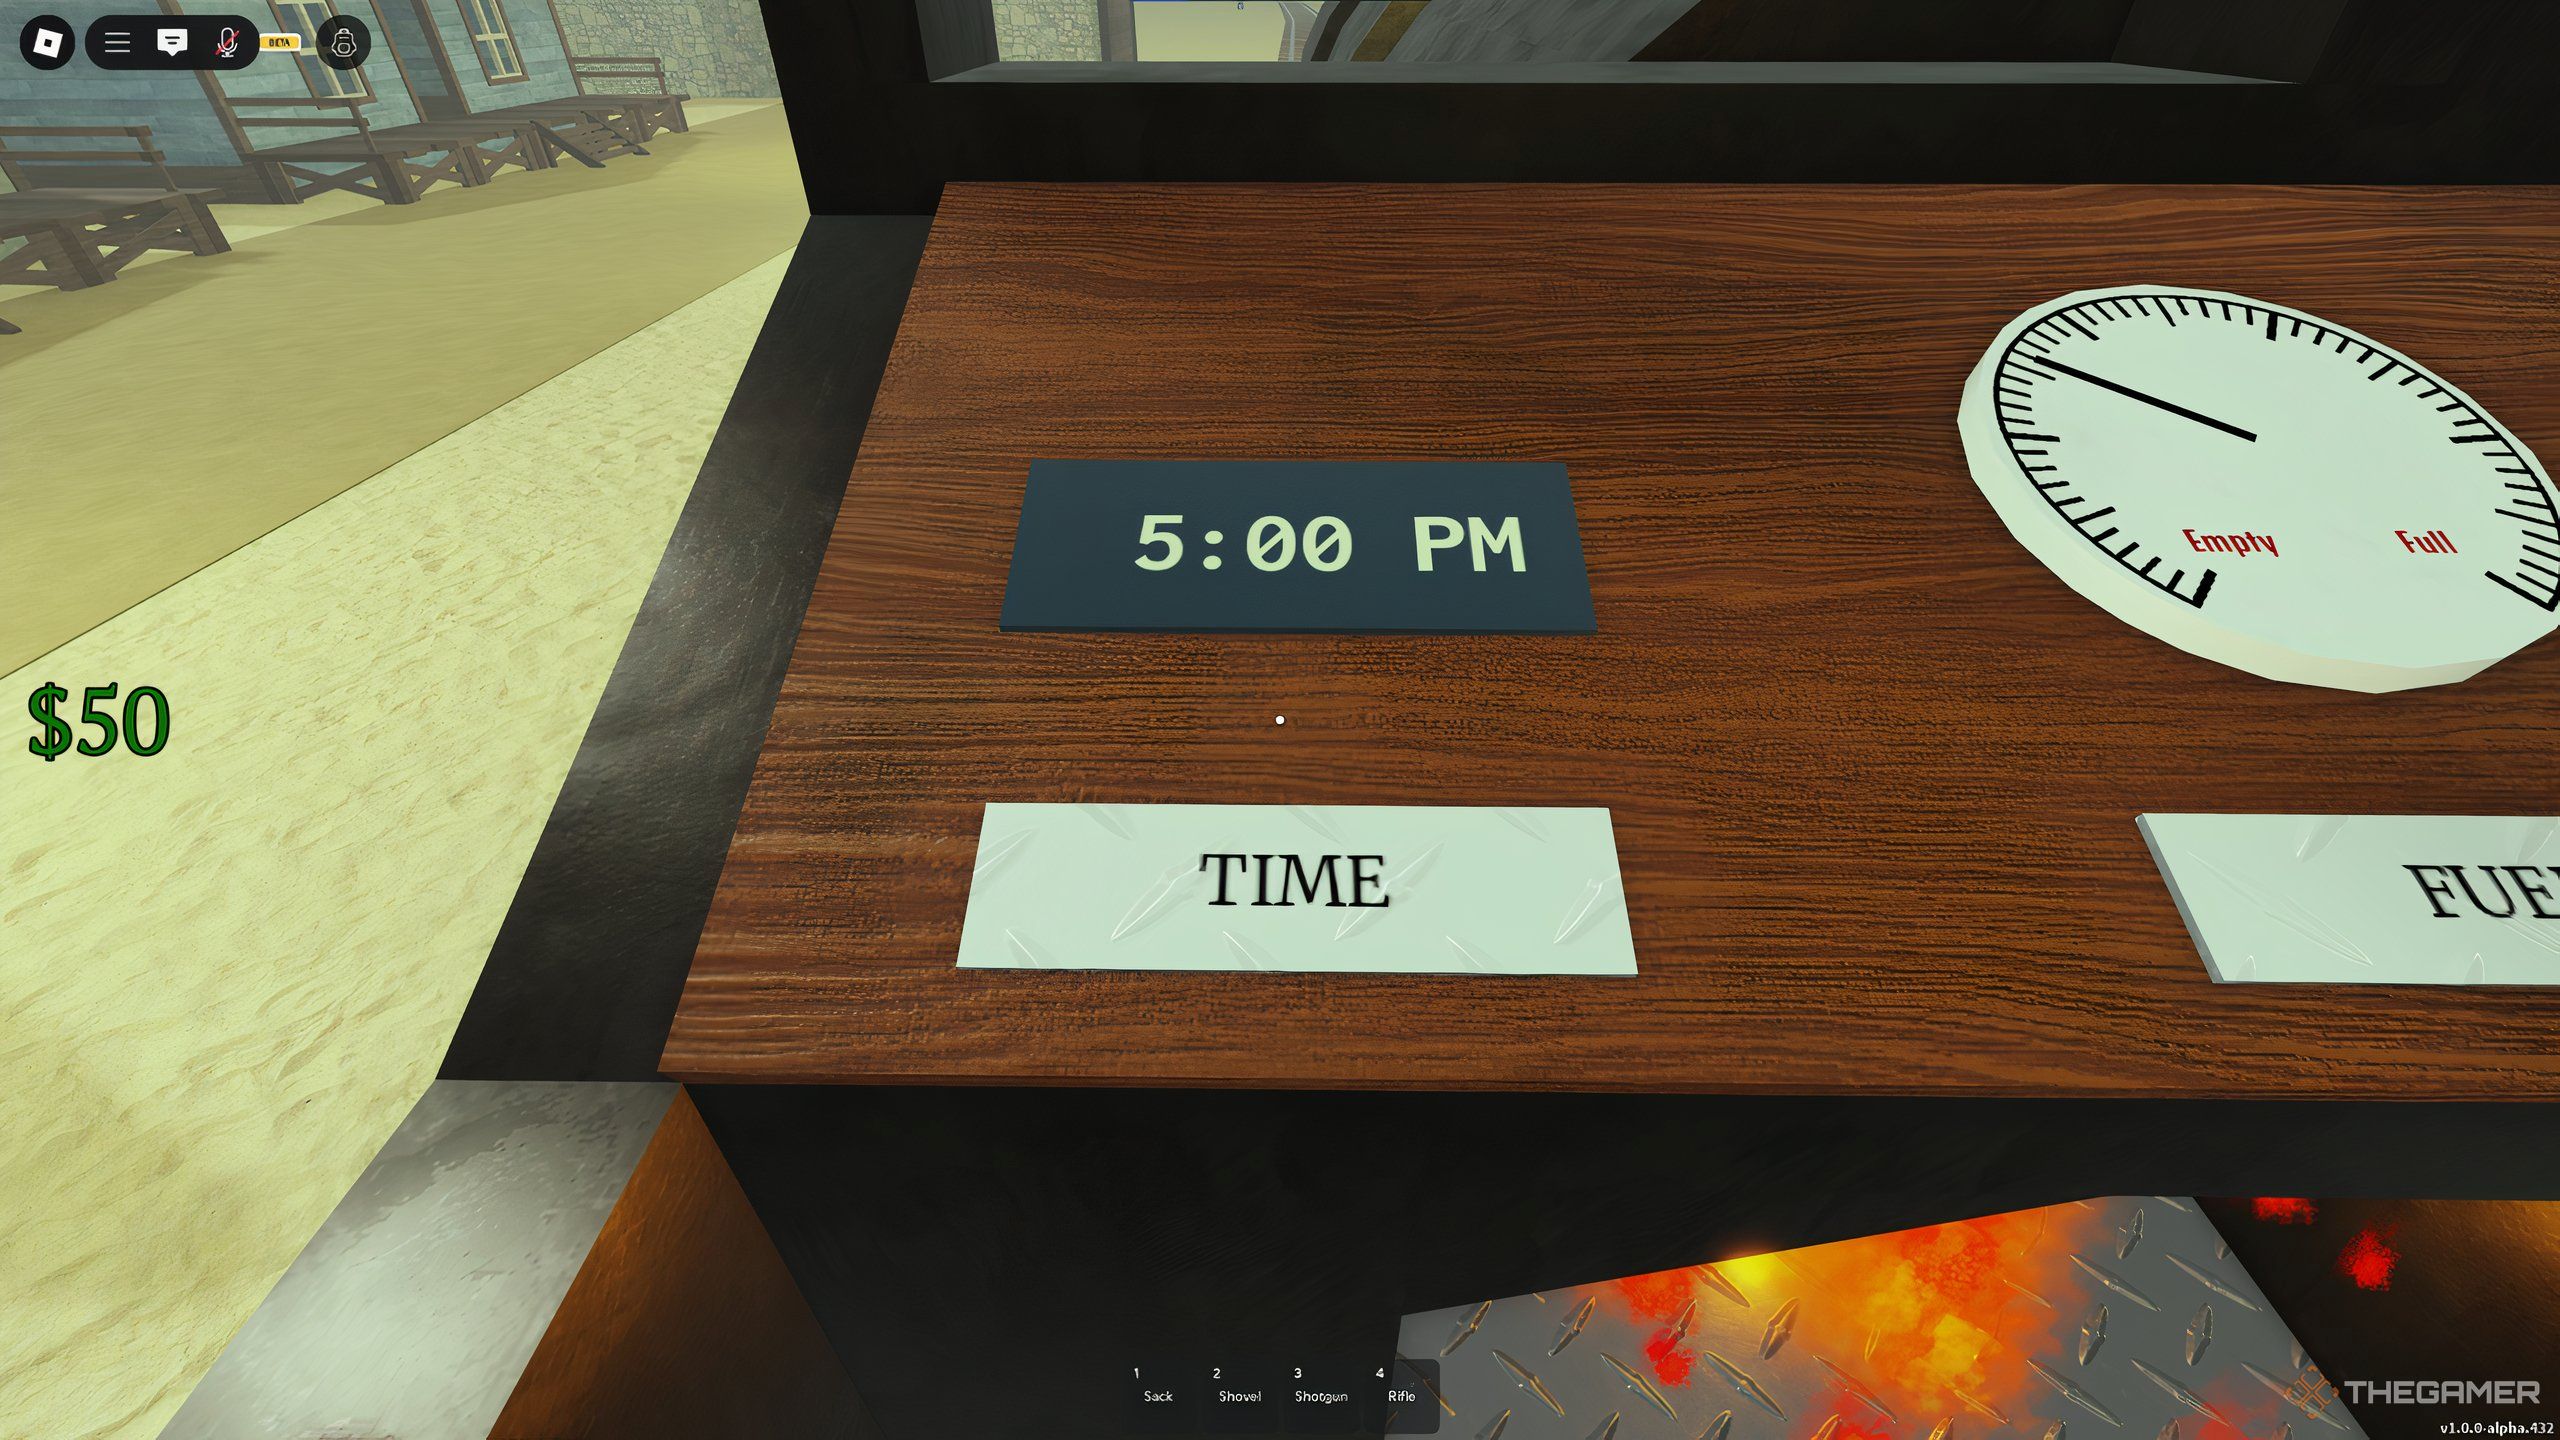
    Inside the train is a digital clock that indicates the current time. A day starts at 6:00 AM and lasts until 9:00 PM, which translates to about five real-time minutes. At 9:00 PM, the sun sets rapidly, marking the start of night, during which enemies begin to spawn near the train.

    Each night, one of four distinct events is randomly selected. You can identify the ongoing event by observing the changes in the night sky or the types of enemies around. The four possible events are:

    • Stormy Night
    • Cloudy Night
    • Full Moon
    • Blood Moon

    What to Do Each Night, Regardless of the Events

    A Werewolf charging at the player in Dead Rails on Roblox.

    Your safest bet for the night is to stay inside a checkpoint. The turrets mounted on the walls provide protection even if enemies manage to breach the checkpoint. You can then collect and sell the defeated foes, or use them as fuel for your train.

    If you find yourself outdoors, consider your fuel supply. If you think you can reach the next checkpoint without running out, and you’re not interested in fighting enemies for their corpses, speed towards the checkpoint. Any enemies caught in front of the train will be eliminated, while the ones behind will be left behind.

    Be mindful of the time when approaching a town. At night, it’s not safe to be in a zombie-infested area, as you’ll need to barricade yourself in a building to survive. If it’s too late to enter a town, you can always return on horseback later.

    Assuming you’re outside and unable to move your train, here are specific strategies for various night scenarios.

    Stormy Night

    A stormy night in Dead Rails on Roblox.

    The stormy night is the least threatening of the four, with no enemies spawning around you. Instead, you’ll experience cloudy skies with a greenish-blue hue and rain.

    Your main hazard comes from lightning, which can take out a player with full health if struck. Lightning often targets buildings, objects, and even the train, posing a risk if you’re nearby.

    You can mitigate this by using a lightning rod to attract strikes or choose the Priest class, which grants immunity to lightning.

    Cloudy Night

    A cloudy night in Dead Rails on Roblox.

    On a cloudy night, the sky turns overcast, and fast-moving runner zombies spawn around your train. While individually weak, they can quickly outnumber and overwhelm you.

    If caught outdoors, climb atop your train for a better vantage point and pick off zombies as they appear. This is crucial since their advantage lies in their numbers.

    A rifle works best in this situation. If you have a shotgun but cannot spot enemies, position yourself in front of the stopped train—its light will help you see any approaching dangers.

    Full Moon

    A full moon in Dead Rails on Roblox.

    A full moon night is the most perilous, as werewolves emerge around the train. The night begins with a clear sky, and the full moon is prominently displayed.

    Werewolves are the strongest enemies in the game aside from the final boss. They’re agile, deal heavy damage, and possess a lot of health.

    If you’re stuck outside, your best bet is to look for their glowing red eyes in the dark. Engage them from a distance with a rifle, and switch to your shotgun when they get closer.

    Once dawn breaks, be sure to collect their remains and attach them to the train, as each corpse sells for $20 at trading posts in checkpoints.

    Blood Moon

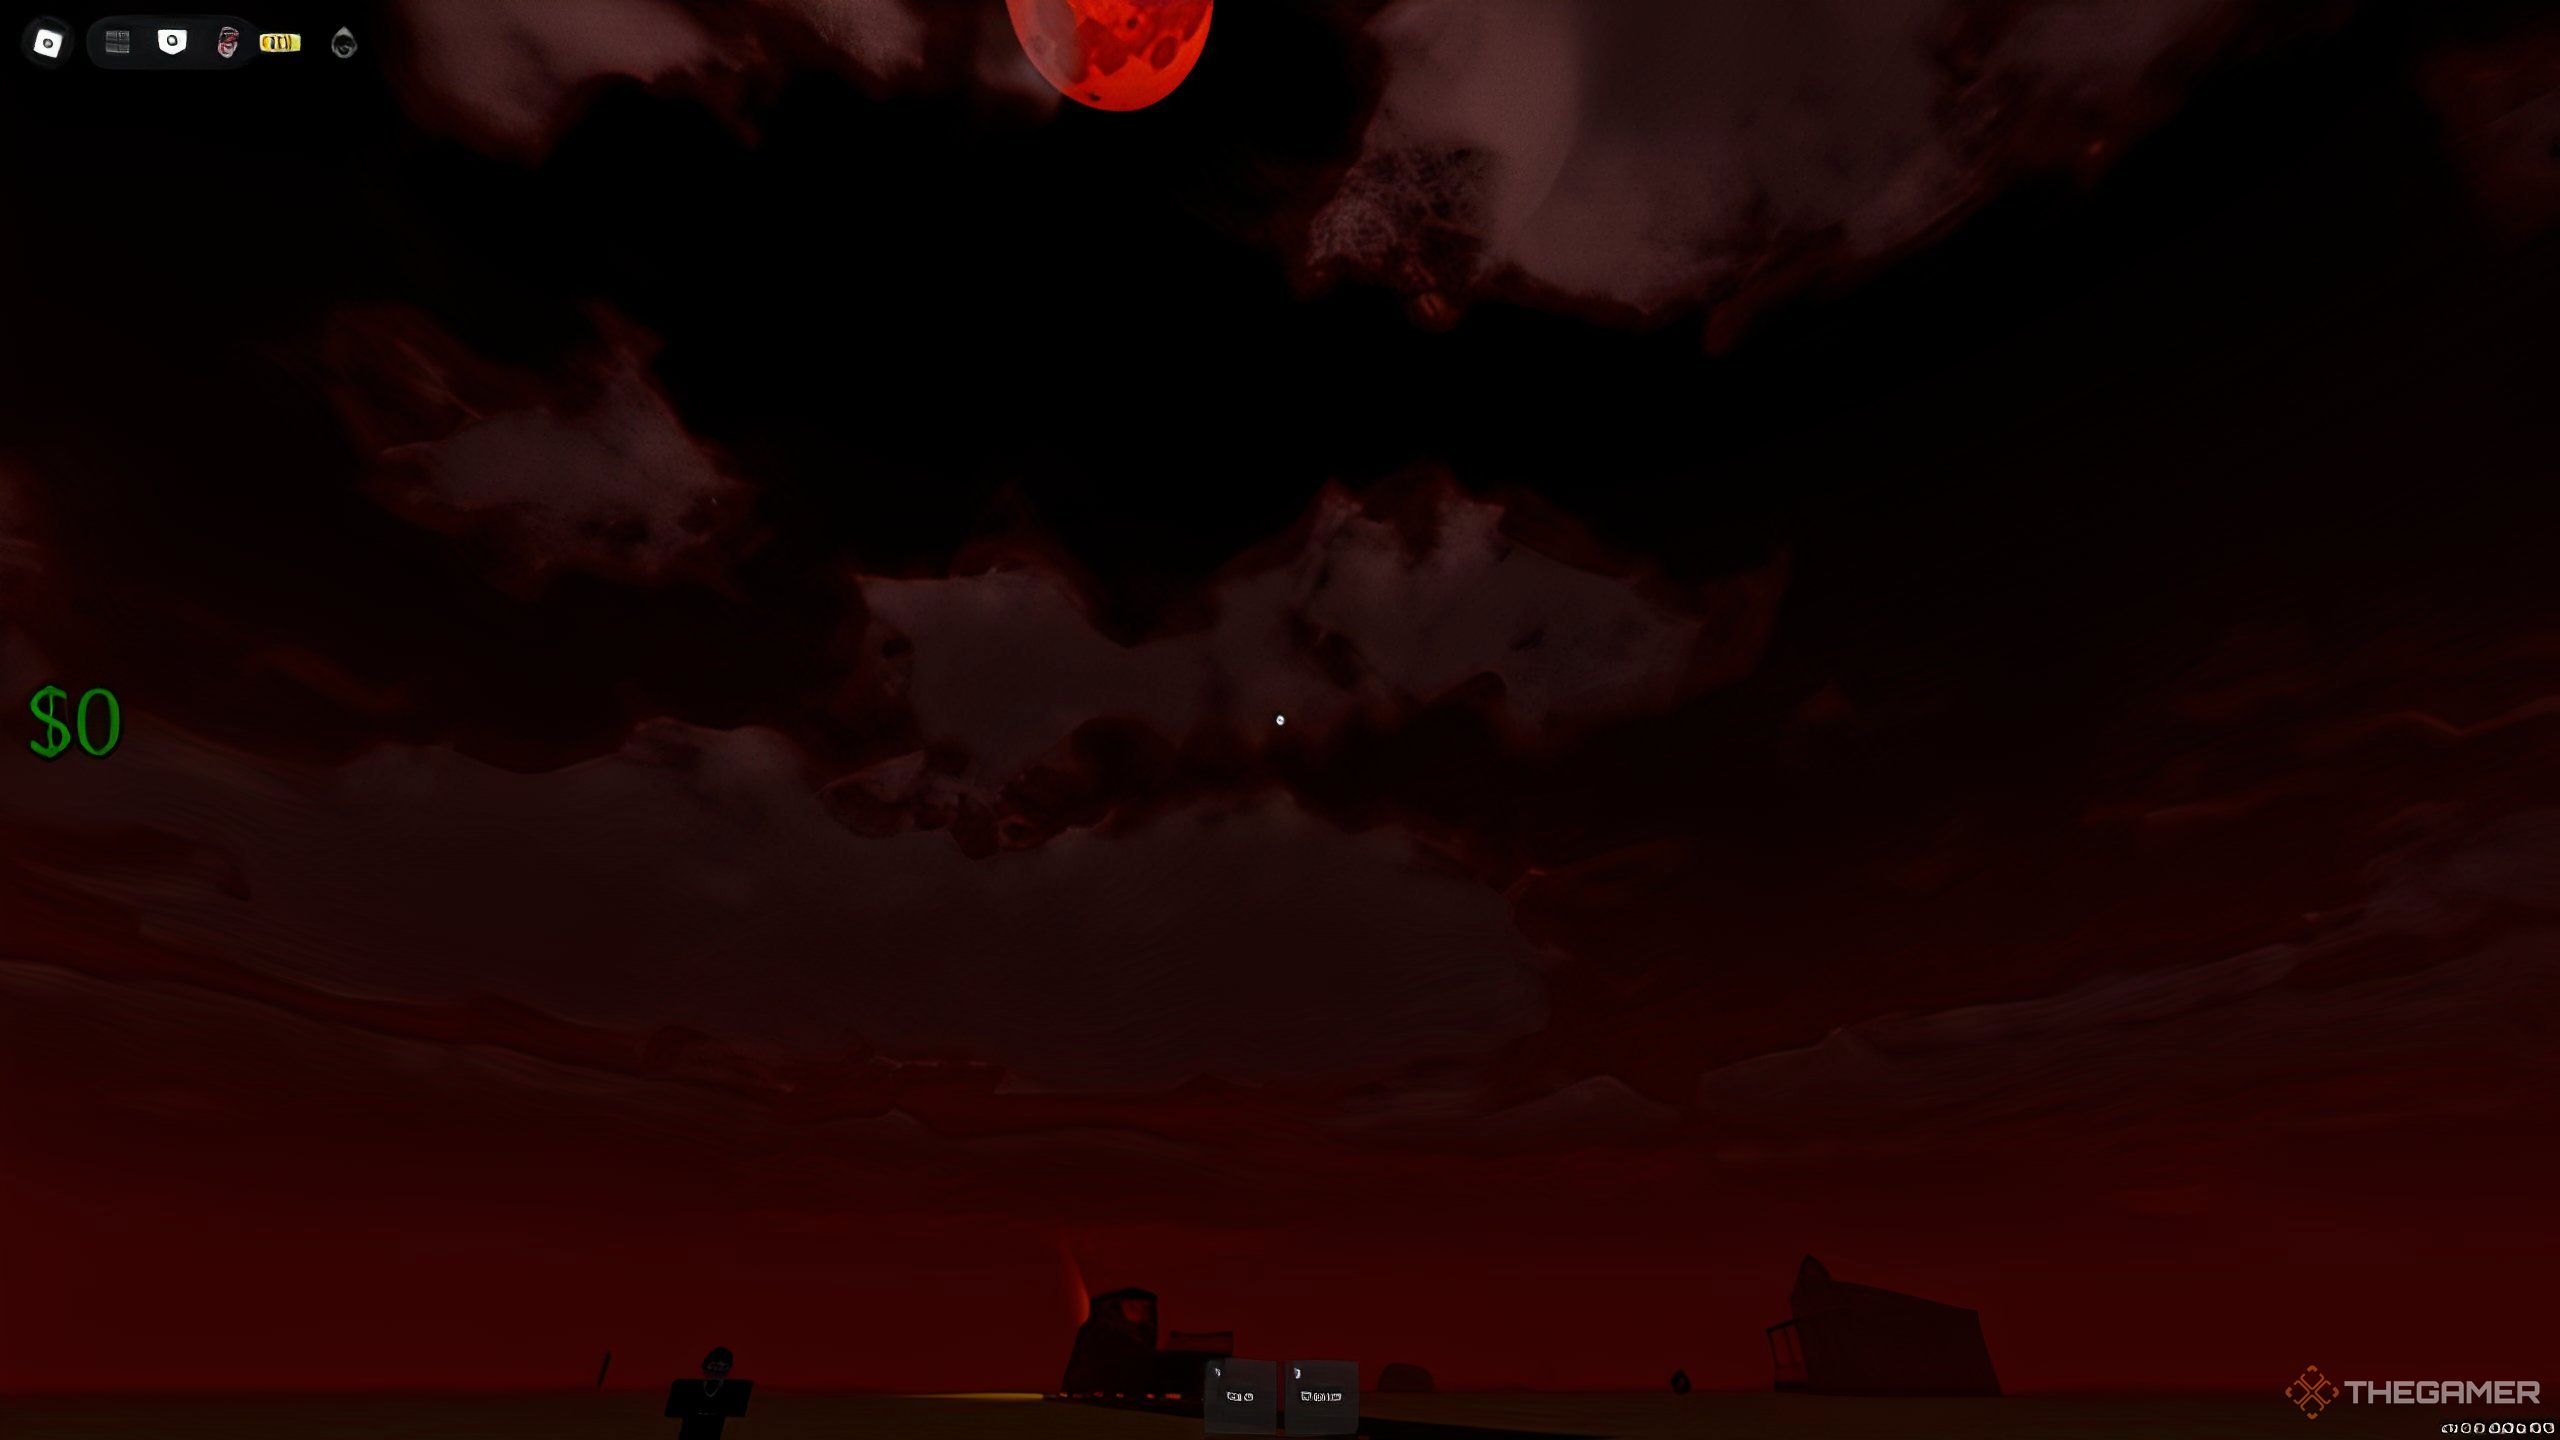
    A Blood Moon in Dead Rails on Roblox.

    The Blood Moon event features a stunning red sky and moon, which makes spotting enemies easier. During this time, vampires appear around the train.

    Vampires move slowly but possess high health and can teleport to your location. Staying within a confined space during this event can lead to your downfall, so ensure you’re in an open area.

    When they teleport behind you, you’ll have mere seconds to respond, so position yourself where you can easily spot them.

  • Unlocking Bonds in Roblox: Dead Rails Guide

    Unlocking Bonds in Roblox: Dead Rails Guide

    Dead Rails has become a major hit on Roblox, blending action, strategy, and survival into an engaging experience. With regular updates introducing fresh content, players remain hooked as the game constantly evolves.

    Set against an expansive desert backdrop, Dead Rails pushes players to maintain their train while collecting vital resources that can be exchanged for weapons, upgrades, and healing supplies. One of the game’s most prized currencies is Bonds, crucial for unlocking new equipment, making important purchases, and ensuring survival in the harsh game environment.

    What Are Bonds?

    In Dead Rails, Bonds are the central in-game currency, essential for both advancement and survival. They are used for buying various items in the lobby, including weapons, ammo, and upgrades. Bonds feature a distinctive, vintage aesthetic with sepia and red colors, setting them apart from standard in-game currency. Unlike regular coins, Bonds are seen as the game’s premium currency due to their rarity and value. Players can earn Bonds during their gameplay or buy them directly using Robux.

    What Are Bonds Used For?

    Bonds can be exchanged for a wide range of essential items in the game’s lobby, allowing players to secure weapons, ammunition, armor, supplies, and even different character classes.

    Items Available for Purchase With Bonds

    In the game lobby, players can acquire various items and gear using Bonds to aid in their next expedition across the desert in Dead Rails. These purchases can streamline progress by providing critical survival items, weapons, and resources.

    Item Cost Description
    Bandages 1 Bond For healing and reviving teammates.
    Snake Oil 2 Bonds Grants a temporary speed boost and health regeneration.
    Helmet 7 Bonds Provides head protection, mitigating incoming damage.
    Chest Armor 10 Bonds Grants additional defense against attacks.
    Coal 2 Bonds Keeps the train operational by refilling the engine.
    Molotov Cocktail 3 Bonds Fire-based explosive effective for crowd control.
    Rifle 5 Bonds A mid-range weapon suitable for dealing with bandit threats.
    Rifle Ammo 2 Bonds Needed to reload the rifle (12 rounds).
    Shotguns 3 Bonds Close-range weapon effective against groups of enemies.
    Shotgun Shells 2 Bonds Required ammo for shotguns (12 rounds).
    Revolver 3 Bonds Reliable firearm ideal for quick shots.
    Revolver Ammo 2 Bonds Extra bullets for revolvers (24 rounds).

    Note: All items purchased in the lobby will only last for one run. If you die, you’ll lose everything and have to buy them again. Plan your purchases carefully.

    Classes Available With Bonds

    In Dead Rails, players can access different classes by visiting the Tailor’s Hut. Each class offers unique skills that provide various tactical benefits, allowing for specialization in different roles. Unlike items, classes can persist through multiple runs but are generally pricier, requiring careful investment.

    Class Cost Description
    High Roller 50 Bonds Collects double moneybags but has a higher risk of lightning strikes.
    Survivalist 75 Bonds Increases damage when injured.
    Ironclad 100 Bonds Strong defense but slower moving speed.
    Arsonist 20 Bonds Deals double fire damage and starts with Molotov cocktails.
    Doctor 15 Bonds Possesses healing items and can revive teammates.
    Vampire 75 Bonds Increased speed and melee damage but vulnerable to sunlight.
    Conductor 50 Bonds Drives the train faster but has less health and no melee weapon.
    Miner 15 Bonds Starts with coal and a headlamp for illumination.
    Priest 75 Bonds Immune to lightning strikes.
    Cowboy 35 Bonds Spawns with a revolver and a horse.
    Zombie 75 Bonds Can consume bodies for health but loses access to some healing items.

    Different Ways to Earn Bonds

    In Dead Rails, players have multiple opportunities to earn Bonds. The gameplay isn’t easy, making it essential to seize every chance for survival.

    • Team Play: Towns and castles can be perilous thanks to their enemy occupation. Working with a team can make these loots faster and mitigate risk.
    • Nighttime Opportunities: Night brings challenges but also chances to collect valuable resources by selling enemy remains and finding fuel.

    At The Town Bank

    As you navigate Dead Rails, you’ll encounter key locations, including towns filled with dangers like zombies. Banks in these towns are crucial spots for acquiring Bonds, but accessing them typically requires defeating specific enemies to obtain security codes.

    At The Castle

    Around 40,000m into the game, you’ll encounter a large castle filled with high-value items but also high dangers. It holds a wealth of Bonds and weapons for players brave enough to secure it.

    Exploring the Desert

    While traversing the desert, Bonds can occasionally be found in random spots, though this method is less reliable. Instead, focus on structured strategies like looting towns or raiding castles for more consistent rewards.

    Ending the Game

    At the conclusion of your journey, you will find the Bandit Hideout, the final challenge where you can collect many Bonds. Be prepared as this area is tough; bringing items that boost your movement speed will help maximize your chances.

    In-Game Challenges

    The latest update introduced a challenge system that allows players to earn Bonds in various ways. Located near the Daily News Post, the Challenges Board lists tasks that reward Bonds, encouraging exploration and engagement with the game’s mechanics.

    Challenge Requirement Reward
    Tame a Unicorn Saddle a wild unicorn or find a tamed one. 5 Bonds, 1 Star
    Escape the Game Travel 80Km and successfully lower the bridge. 5 Bonds, 1 Star
    Bounty Hunter Kill 5 outlaws and return their bounties. 5 Bonds, 1 Star
    New Sheriff Defeat 50 outlaws in a single game. 15 Bonds, 3 Stars
    Werewolf Hunter Kill 100 werewolves in one game. 15 Bonds, 3 Stars
    Zombie Hunter Kill 200 zombies in one game. 15 Bonds, 3 Stars
    Unkillable Complete the game without player deaths. 30 Bonds, 9 Stars
    Pacifist Finish without any player killing enemies. 30 Bonds, 9 Stars
    Pony Express Finish without using the train. 30 Bonds, 9 Stars

    Each challenge is designed to inspire players to explore different facets of gameplay, leading to a steady influx of Bonds for future runs.

    Purchasing Bonds with Robux

    If you’re in a hurry for Bonds, you can buy them using Robux. Here are current rates:

    • 5 Bonds – 49 Robux
    • 10 Bonds – 79 Robux
    • 20 Bonds – 129 Robux
    • 50 Bonds – 199 Robux

    This option is perfect for players looking for immediate access, but for those who prefer earning them through gameplay, raiding towns, looting the castle, and exploring will always be the best free methods.
  • Unlocking Horses in Roblox: A Guide to Dead Rails

    Unlocking Horses in Roblox: A Guide to Dead Rails

    In Dead Rails on Roblox, how fast you can move is crucial, especially when trying to escape from zombies, vampires, or other foes. A fantastic way to boost your speed in these tense situations is to locate a horse. Riding one can help you reach your destinations much quicker when you’re off the train.

    Before you can hop on a horse, you need to find one, but you’ll also require a saddle to actually use it. Below, we’ll go over everything you need to know about horses and how to utilize them in Dead Rails.

    How to Tame a Horse


    Generally, there are several ways to acquire a horse in Dead Rails. Some methods are straightforward but require in-game currency, while others are free yet involve more danger.

    To control a horse, a saddle is also necessary, which can be challenging to obtain. Let’s dive into the details of each method.

    Finding a Wild Horse


    The player character shows a black horse next to the train in the desert in Dead Rails.

    One of the safest ways to find and tame a horse is to look for it in the desert. Often, you can spot these animals in herds.

    However, getting close and saddling a horse can be tricky because they tend to run away. A good strategy is to corner the horse so it can’t escape. You might be able to guide it into a building or even up against your train. Just make sure to move in a way that keeps it from bolting in the opposite direction.

    Once you get close, pull out the saddle and interact with the horse to put it on. Now you’re ready to ride.

    This method makes it much easier to move between locations and escape from threats more efficiently.

    Additionally, you can ride a unicorn to bring it to the Sheriff’s office for a higher payout. A living unicorn nets you $250, compared to just $150 for a dead one.

    Finding a Horse on the Farm


    The player character shows a barn in the middle of the desert in Dead Rails.

    You can also locate a horse in barns on farms, which can sometimes be found in the desert. These farms are easy to spot, thanks to the tall wheat fields and red barns nearby. Once you find one, eliminate any enemies first, then check the barn. While there’s no guarantee of finding a horse, it’s a common occurrence, and you might even come across one already saddled.

    Stealing from Bandits


    The player character shows bandits on horses while being in the train in the desert in Dead Rails.

    The riskiest method to acquire a horse is to steal one from bandits. This approach requires you to confront the entire gang to get what you want. Bandits, much like horses, are relatively easy to find in the desert, so just keep an eye out for their camps. Be cautious, as they might even ambush you.

    When fighting bandits while mounted, be careful to avoid killing the horse. If you defeat an enemy on a horse, you can then approach and ride it, as it will already be saddled.

    How to Get a Saddle


    The player character shows a General Store in Dead Rails.

    There are two main ways to get a saddle. As previously mentioned, one option is to find it in a barn on a farm; this is the most cost-effective method. The other way is to purchase a saddle for $50 at the General Store. However, finding this item isn’t guaranteed, so you may have to check multiple stores before acquiring it.

    Remember, you won’t find the saddle for sale at the first outpost you visit.

  • Reviving Teammates in Roblox: Dead Rails – Your Complete Guide

    Reviving Teammates in Roblox: Dead Rails – Your Complete Guide

    Surviving in Roblox’s Dead Rails is a lot more enjoyable and efficient when you’re with friends or other players, but it also introduces new responsibilities. While you’re still the one in charge of healing yourself, your teammates might not always be focused or may find themselves in trouble, requiring you to come to their rescue as well.

    Staying healthy in a zombie-infested desert is crucial, so it’s essential to learn everything there is to know about healing yourself and bringing teammates back to life. We’re here to guide you through all the medical aspects of Dead Rails, ensuring you’re never caught in a tight spot.

    How To Heal


    The only way to heal in Dead Rails is to use consumables that you’ve purchased. You can buy these items at the Doctor’s building, and there are two types available. Here’s a complete rundown of these consumables, including their effects and prices:

    Consumable Description Price
    Bandage

    Instantly restores a portion of your health and can also revive allies.

    $10
    Snake Oil

    Restores full health when used. It’s pricey but a reliable way to stay in the game.

    $35

    As you navigate through Dead Rails, make sure to stock up on both Bandages and Snake Oil. You don’t necessarily have to carry them in your inventory; you can store them in the cargo area of the train.

    Just remember to grab them before heading out to face zombies, as they can take you down quickly.

    How To Revive Teammates


    The player character shows Bandage on a table in the Doctor building in the starting location in Dead Rails.

    If you’re playing with others, someone may end up dying at some point. But don’t worry; unlike playing solo, this isn’t the end of the game. A player can revive any fallen teammates. If you manage to stay alive, all you need to bring a teammate back is a Bandage.

    Simply go to your teammate’s body while holding the Bandage, and interact with it to revive them.

    Make sure the teammate you want to revive is currently online, or it won’t work. If everything goes smoothly, your partner will come back to life as soon as you use a Bandage.

  • Quick Cash Strategies in Roblox: Dead Rails Guide

    Quick Cash Strategies in Roblox: Dead Rails Guide

    Roblox’s Dead Rails offers an exciting rogue-like adventure set in a post-apocalyptic world. In this game, you’ll take control of a train as you navigate through a desert wasteland, battle against zombies, and scavenge for valuable loot. To thrive and fend off zombie hordes, you’ll need to gather resources and earn money to purchase weapons, medical supplies, fuel, and upgrades for your train.

    The General Store and Gunsmith offer reasonable prices, so make sure to collect plenty of cash during your journeys to acquire everything you need. You’ll have opportunities to earn money between safe zones, but not everyone knows the best ways to maximize their earnings, which is where we come in.

    Tips for Quick Cash

    In Dead Rails, the primary method to make money is by selling loot you collect on your adventures and bringing it back to the fort. At first, it might seem like a slow way to earn cash, but there are several effective strategies you can employ.

    Explore Everything

    If you’re new to the game, your first priority should be collecting as much loot as you can. Always stop at every building you see to gather valuable items and zombie bodies for fuel.

    Caution at Night: Be particularly careful during nighttime. It’s advisable not to stop your train during these hours, as the zombie spawn rate is significantly higher. You’ll encounter them all around, so ensure you have enough fuel to keep moving until daylight returns.

    You can only carry up to ten items in your inventory, but there’s no need to stress about that. Any additional loot can be stored in your train’s cargo area. When searching buildings, grab everything you find, regardless of whether it falls under the Valuable or Junk categories; both can be sold for cash.

    Visit Towns

    Once you’ve made some initial cash from individual houses, prepare to gear up for city excursions. Towns can be dangerous due to the high number of zombies. To stay safe, ensure you purchase firearms and ammunition to keep opponents at bay. The cities are full of buildings packed with loot, so don’t skip them as you traverse through.

    Sometimes, you’ll discover a bank in these towns—a true jackpot if you do. Within the bank, you’ll likely find a vault containing gold bars that can sell for $50 each. However, don’t get too excited too fast; accessing the vault requires figuring out the code, which can be obtained by defeating a specific zombie wearing a black cylindrical hat.

    Bounty Rewards

    For seasoned players, the best way to earn cash is by collecting the bodies of unique enemies. You can turn these in for rewards at the Sheriff’s building. Various enemies can be sold for bounties, and here’s a quick list of some you might encounter:

    Enemy Description Bounty Reward
    Vampire Spawns only at night; can teleport, so avoid close range fights. $15
    Werewolf Appears only at night in the outskirts; identifiable by the large moon; difficult to defeat. $20
    Bandit Multiple types exist, found in camps; will also attack the player. $35
    Unicorn A rare find, but its corpse can yield up to $250. $250

    In summary, to efficiently make money in Roblox’s Dead Rails, employ these strategies and consistently reinvest your earnings on new gear and supplies. Upgrade your train with various defenses to keep enemies at bay as you progress.