الوسم: Dawntrail

  • Completing the Mamool Ja Allied Society Daily Quests in FFXIV: Dawntrail

    Completing the Mamool Ja Allied Society Daily Quests in FFXIV: Dawntrail

    The Mamool Ja are a pretty reserved group in Final Fantasy 14, mostly found living peacefully in the Yak T’el forests. Only a small number of them travel to the Eorzean continent for mercenary work. During the Warrior of Light’s adventures in Tural, they’ve encountered several Mamool Ja, both as allies and adversaries, gaining insights into their way of life.

    By taking part in the Mamool Ja’s Allied Society quests, you can delve deeper into their culture while earning rewards. These Disciple of the Land quests also help level up your gathering skills as you work toward acquiring the special Allied Society mount. Below, we’ll explain how to unlock the Mamool Ja Allied Society so you can start completing their daily quests.

    How to Unlock Mamool Ja Daily Quests


    To get started with the Mamool Ja Allied Society, you must first finish a series of Aether Current-related side quests in Yak T’el. These quests initiate from two main quests: ‘Aiming High’ and ‘Lost and Powerless’. Completing these will lead you to ‘One Forest’, followed by ‘Cultivating Hope’, which is vital for unlocking the Mamool Ja.

    Before you can accept ‘Cultivating Hope’, you need to be a level 90 or higher Disciple of the Land.

    Here’s a list of all the side quests you’ll need to complete, along with their starting points:

    Quest

    NPC and Location

    Aiming High

    Ty’at Roh – Yak T’el (X:13.3, Y:13.4)

    Hunting for the Family

    Ty’at Roh – Yak T’el (X:12.3, Y:11.9)

    A Hunter’s Dream

    Ty’at Roh – Yak T’el (X:11.3, Y:14.4)

    The Trial Commences

    Ty’at Roh – Yak T’el (X:30.9, Y:14.9)

    Lost and Powerless

    Shiidil Ja – Yak T’el (X:32.0, Y:31.3)

    Remembering a Dream

    Shiidil Ja – Yak T’el (X:31.7, Y:31.0)

    Budding Promise

    Gotoll Ja – Yak T’el (X:34.7, Y:32.6)

    Skill of a Veteran

    Gotoll Ja – Yak T’el (X:34.7, Y:32.6)

    One Forest

    Gotoll Ja – Yak T’el (X:34.7, Y:32.6)

    Cultivating Hope

    Gotoll Ja – Yak T’el (X:35.6, Y:32.0)

    After finishing ‘Cultivating Hope’, you will gain access to the Mamool Ja and can start completing daily quests to enhance your reputation with the Allied Society.

    Mamool Ja Exchange Rewards


    The base of the Mamool Ja Allied Society in Final Fantasy 14.

    As you complete daily quests for the Mamool Ja, you’ll earn Mamool Ja Nanooks, which can be exchanged for various rewards. As your reputation with the Mamool Ja increases, more items will become available for purchase.

    Item

    Cost

    Reputation

    Gatherer’s Guerdon Materia XI

    3 Mamool Ja Nanook

    Friendly

    Gatherer’s Guerdon Materia XII

    9 Mamool Ja Nanook

    Friendly

    Gatherer’s Guile Materia XI

    3 Mamool Ja Nanook

    Friendly

    Gatherer’s Guile Materia XII

    9 Mamool Ja Nanook

    Friendly

    Gatherer’s Grasp Materia XI

    3 Mamool Ja Nanook

    Friendly

    Gatherer’s Grasp Materia XII

    9 Mamool Ja Nanook

    Friendly

    We’ll update these rewards as we unlock them!

  • Unlocking and Utilizing Facewear in FFXIV: Dawntrail Guide

    Unlocking and Utilizing Facewear in FFXIV: Dawntrail Guide

    With the launch of the Final Fantasy 14 Dawntrail expansion, Fashion Accessories have evolved, and Spectacles are now categorized as Facewear. If you already have Spectacles and log into Dawntrail expecting immediate access, you might be in for a surprise.

    When you try to access the Facewear option from your Character menu, you will be notified that this feature is not yet unlocked. For those curious about the whereabouts of your cherished Spectacles or those looking to acquire them for the first time, here’s everything you need to know.

    Updated December 25, 2024: This article has been revised to include the newest Facewear options.

    Unlocking Facewear


    Similar to Fashion Accessories, to unlock Facewear, you need to acquire some Facewear items, which can be bought from various NPCs and the Market Board. More details on this will follow.

    New Facewear Spectacles will be labeled as ‘The Faces We Wear’ followed by the specific item name. For example, the previous Rose-colored Spectacles are now named The Faces We Wear – Rose-colored Spectacles.

    Confusion may arise for players who had Spectacles before this feature transformation.

    Transforming Your Old Glasses into Facewear

    The Calamity Salvager in Final Fantasy 14.

    Your Spectacles may no longer appear in your Fashion Accessories menu, but there’s no need to worry. You can still convert them into Facewear. Just visit any Calamity Salvager and select ‘Spectacles Exchange’ to turn them into Facewear.

    Calamity Salvager NPCs are located at:

    • Limsa Lominsa – Upper Decks at (X:11.4, Y:14.4)
    • Old Gridania at (X:10.0, Y:8.4)
    • Ul’dah – The Steps of Thal at (X:12.6, Y:13.1)

    Once you do this, your Spectacles will be accessible from the Facewear menu!

    Where to Find Facewear

    The Gold Saucer Attendant in Final Fantasy 14.

    The locations where you previously acquired Spectacles still offer the new Facewear versions, along with additional items introduced with the Dawntrail expansion. Here’s where to acquire Facewear:

    Item

    How to Obtain

    The Faces We Wear – Simple Spectacles

    • Buy from Bango Zango at (X:9.9, Y:11.4) in Lominsa Lominsa – Lower Decks for 3,000 gil.
    • Buy from Maisenta at (X:11.5, Y:11.2) in New Gridania for 3,000 gil.
    • Buy from Roarich at (X:10.6, Y:9.5) in Ul’dah – The Steps of Nald for 3,000 gil.

    Also available on the Market Board.

    The Faces We Wear – Monocles

    • Buy from Bango Zango at (X:9.9, Y:11.4) in Lominsa Lominsa – Lower Decks for 3,000 gil.
    • Buy from Maisenta at (X:11.5, Y:11.2) in New Gridania for 3,000 gil.
    • Buy from Roarich at (X:10.6, Y:9.5) in Ul’dah – The Steps of Nald for 3,000 gil.

    Also available on the Market Board.

    The Faces We Wear – Thick-rimmed Glasses

    Buy from the Gold Saucer Attendant in The Gold Saucer at (X:5.1, Y:6.6) for 30,000 MGP.

    The Faces We Wear – Contemporary Prince-nez

    Buy from the Gold Saucer Attendant at (X:5.1, Y:6.6) for 40,000 MGP.

    The Faces We Wear – Rimless Glasses

    Buy from the Gold Saucer Attendant at (X:5.1, Y:6.6) for 70,000 MGP.

    The Faces We Wear – Minstrel’s Spectacles

    Buy from the Gold Saucer Attendant at (X:5.1, Y:6.6) for 90,000 MGP.

    The Faces We Wear – Oval Spectacles (Previously False Spectacles)

    Buy from the Gold Saucer Attendant at (X:5.1, Y:6.6) for 100,000 MGP.

    The Faces We Wear – Shaded Spectacles (Previously False Shaded Spectacles)

    Available as a reward from Series 1 of Crystalline Conflict.

    If you have this, you can visit the Calamity Salvager to collect its Facewear version.

    The Faces We Wear – Classic Spectacles (Previously False Classic Spectacles)

    This item could be a reward from various Subaquatic Voyages:

    • Anthemoessa (Sirensong Sea)
    • Seafarer’s End (Sirensong Sea)
    • Drifter’s Decat (Sirensong Sea)
    • The Lilac Sea 3 (The Lilac Sea)

    Also available on the Market Board.

    The Faces We Wear – Rose-colored Spectacles

    Buy from Trisassant in Old Sharlayan at (X:12.0, Y:13.3) for 3x Rokkon Potsherds.

    Also available on the Market Board.

    The Faces We Wear – Prince-nez

    Exchange with Jonathas at (X:10.6, Y:6.2) in Old Gridania for two Achievement Certificates.

    The Faces We Wear – Magnifiers

    Buy from the Gold Saucer Attendant in The Gold Saucer at (X:5.1, Y:6.6) for 40,000 MGP.

    The Faces We Wear – Brass Goggles

    Exchange with Jonathas at (X:10.6, Y:6.2) in Old Gridania for two Achievement Certificates.

    The Faces We Wear – Under-rim Glasses

    Available for 500 Purple Crafters’ Scrips at any Scrip Exchange NPC.

    The Faces We Wear – Oval Reading Glasses

    Buy from the Gold Saucer Attendant in The Gold Saucer at (X:5.1, Y:6.6) for 70,000 MGP.

    The Faces We Wear – Elegant Rimless Glasses

    Buy from the Gold Saucer Attendant in The Gold Saucer at (X:5.1, Y:6.6) for 90,000 MGP.

    The Faces We Wear – Cat Eye Glasses

    Possible reward from the Cenote Ja Ja Gural Treasure Dungeon.

    Also available on the Market Board.

    The Faces We Wear – Slim Frame Glasses

    Possible reward from the Cenote Ja Ja Gural Treasure Dungeon.

    Also available on the Market Board.

    We will update this list as more Facewear items become available.

    Using Facewear

    A player in the Facewear menu in Final Fantasy 14.

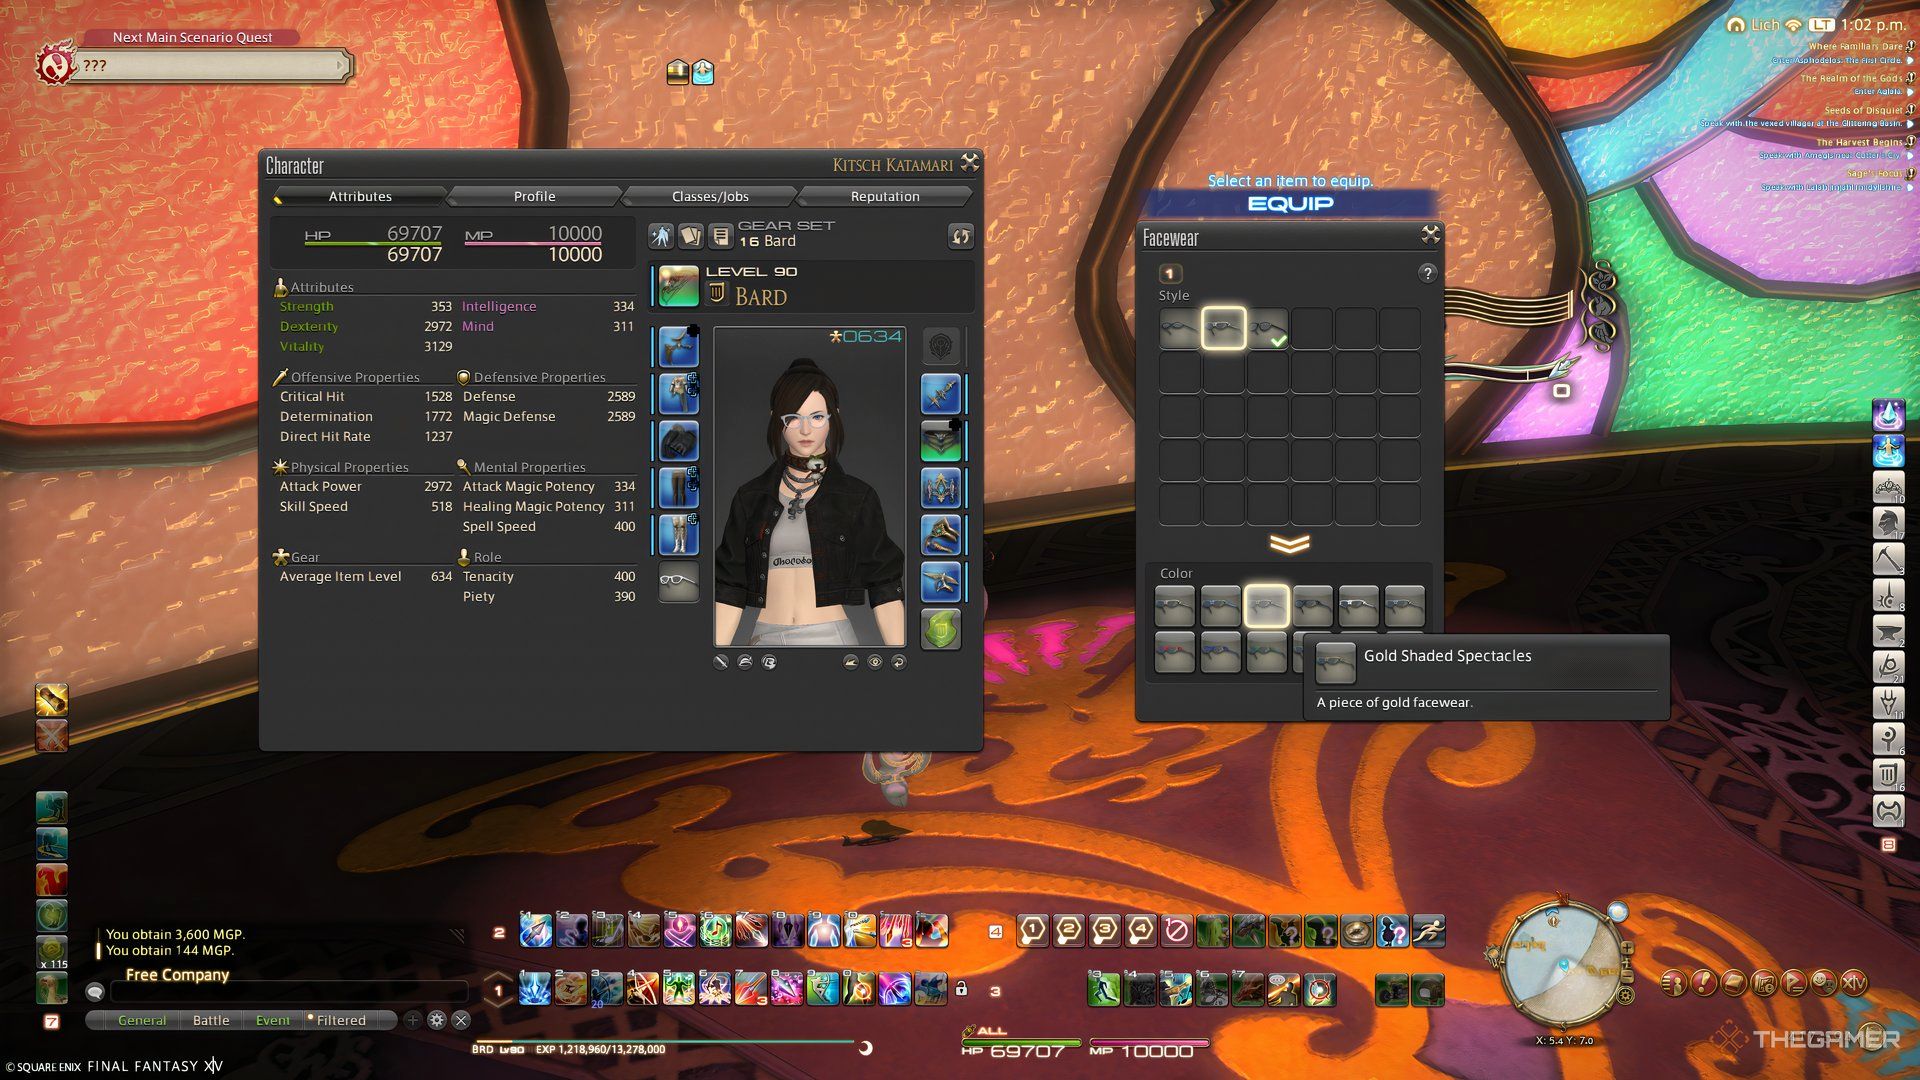
    You can access the Facewear menu by clicking the Facewear icon in the Character equipment window or by selecting ‘Facewear’ from the main Character menu.

    All Facewear you have unlocked or purchased will be listed here, and you can choose what to equip. Each piece of Facewear also offers a choice of 12 different colors.

  • Yuweyawata Dungeon Guide: Final Fantasy XIV Dawntrail Tips

    Yuweyawata Dungeon Guide: Final Fantasy XIV Dawntrail Tips

    The Yuweyawata Field Station is a level 100 dungeon featured in Final Fantasy 14: Dawntrail. While on the quest to find the young king Gulool Ja’s mother, you discover a research facility where Zoraal Ja was supposedly experimenting with the souls of beasts for warfare purposes.

    To uncover the truth about Gulool Ja’s mother, you and your team will explore this research center and confront any remaining threats. Let’s dive into everything you need to know about Yuweyawata Field Station, including how to unlock it and strategies to defeat its bosses.

    How To Unlock Yuweyawata Field Station


    To access this dungeon, you’ll need to complete the quest ‘In Search of the Past’. Begin this quest with G’raha Tia in Solution Nine (X:6.2, Y:15.2) during the 7.1 Main Scenario Quests. Make sure to finish the ‘Dawntrail’ main quest, along with two patch quests, ‘A Royal Invitation’ and ‘Alexandria Mourns’.

    You must have an item level of 690 to enter Yuweyawata Field Station.

    Lindblum Zaghnal


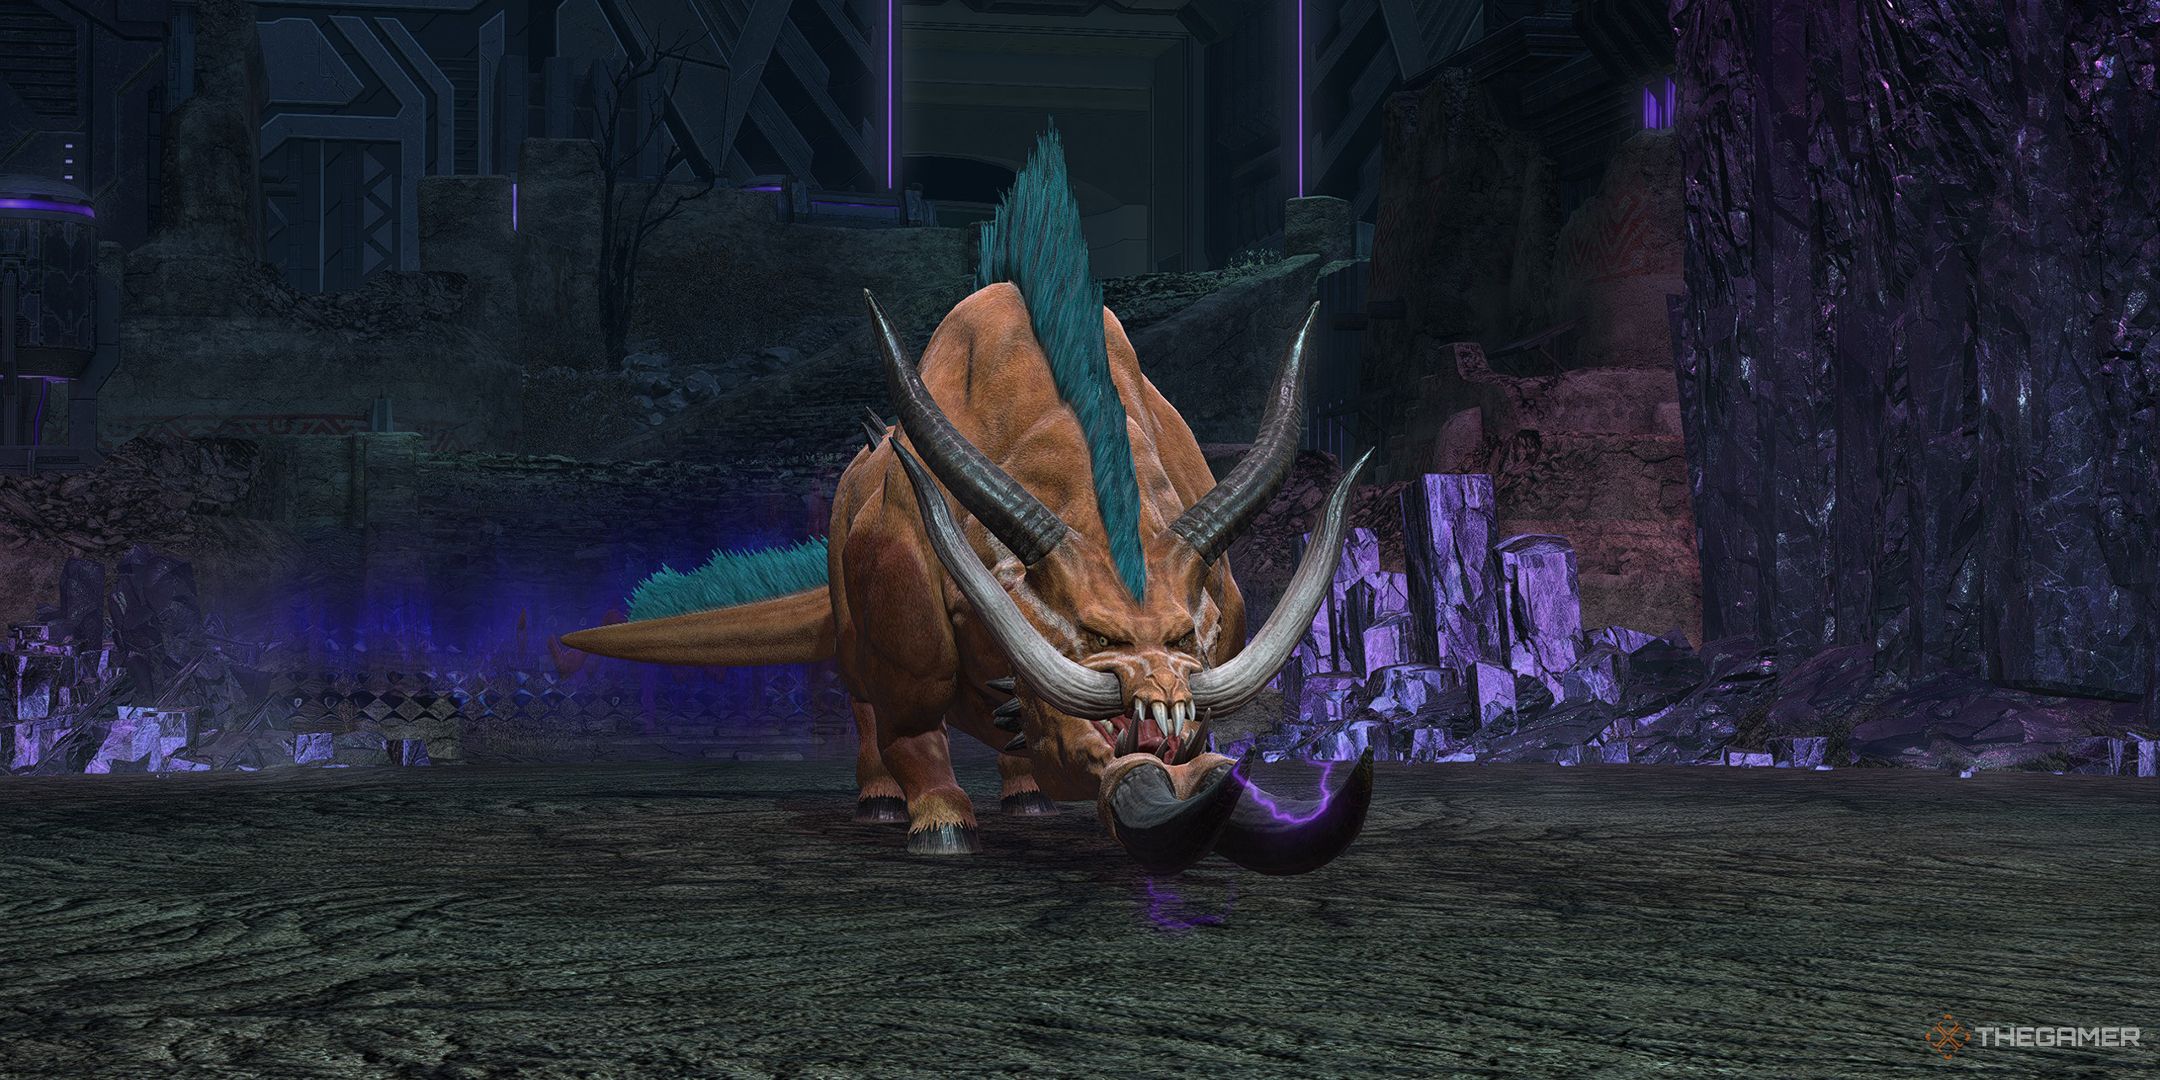
    Lindblum Zaghnal, the first boss of the Yuweyawata Field Station Dungeon.

    Your first challenge in the Yuweyawata Field Station is facing the Lindblum Zaghnal, whose attacks and strategies you’ll need to understand to win.

    Attack Name

    Type

    Details

    Electrical Overload

    Roomwide AoE

    This attack causes damage to all group members.

    Gore

    Special/AoE

    The boss jumps to a crystal, channels electricity, then follows up with Caber Toss.

    Caber Toss

    Line AoE

    Three columns of electric damage shoot from the crystal. After that, the boss drops the crystal as a large AoE.

    Lightning Storm

    AoE Marker

    All players receive markers; spread out while avoiding the lines from the previous attack.

    Gore/Sparking Fissure

    Special/AoE

    The boss uses Gore repeatedly while summoning Raw Electrope. Destroy them before they can finish their charge to prevent more damage.

    Keep in mind that the AoE from the Caber Toss can be quite large, so be sure to position yourself accordingly. Focus on defeating the Raw Electrope as they appear to avoid wiping due to the Sparking Fissure.

    Overseer Kanilokka


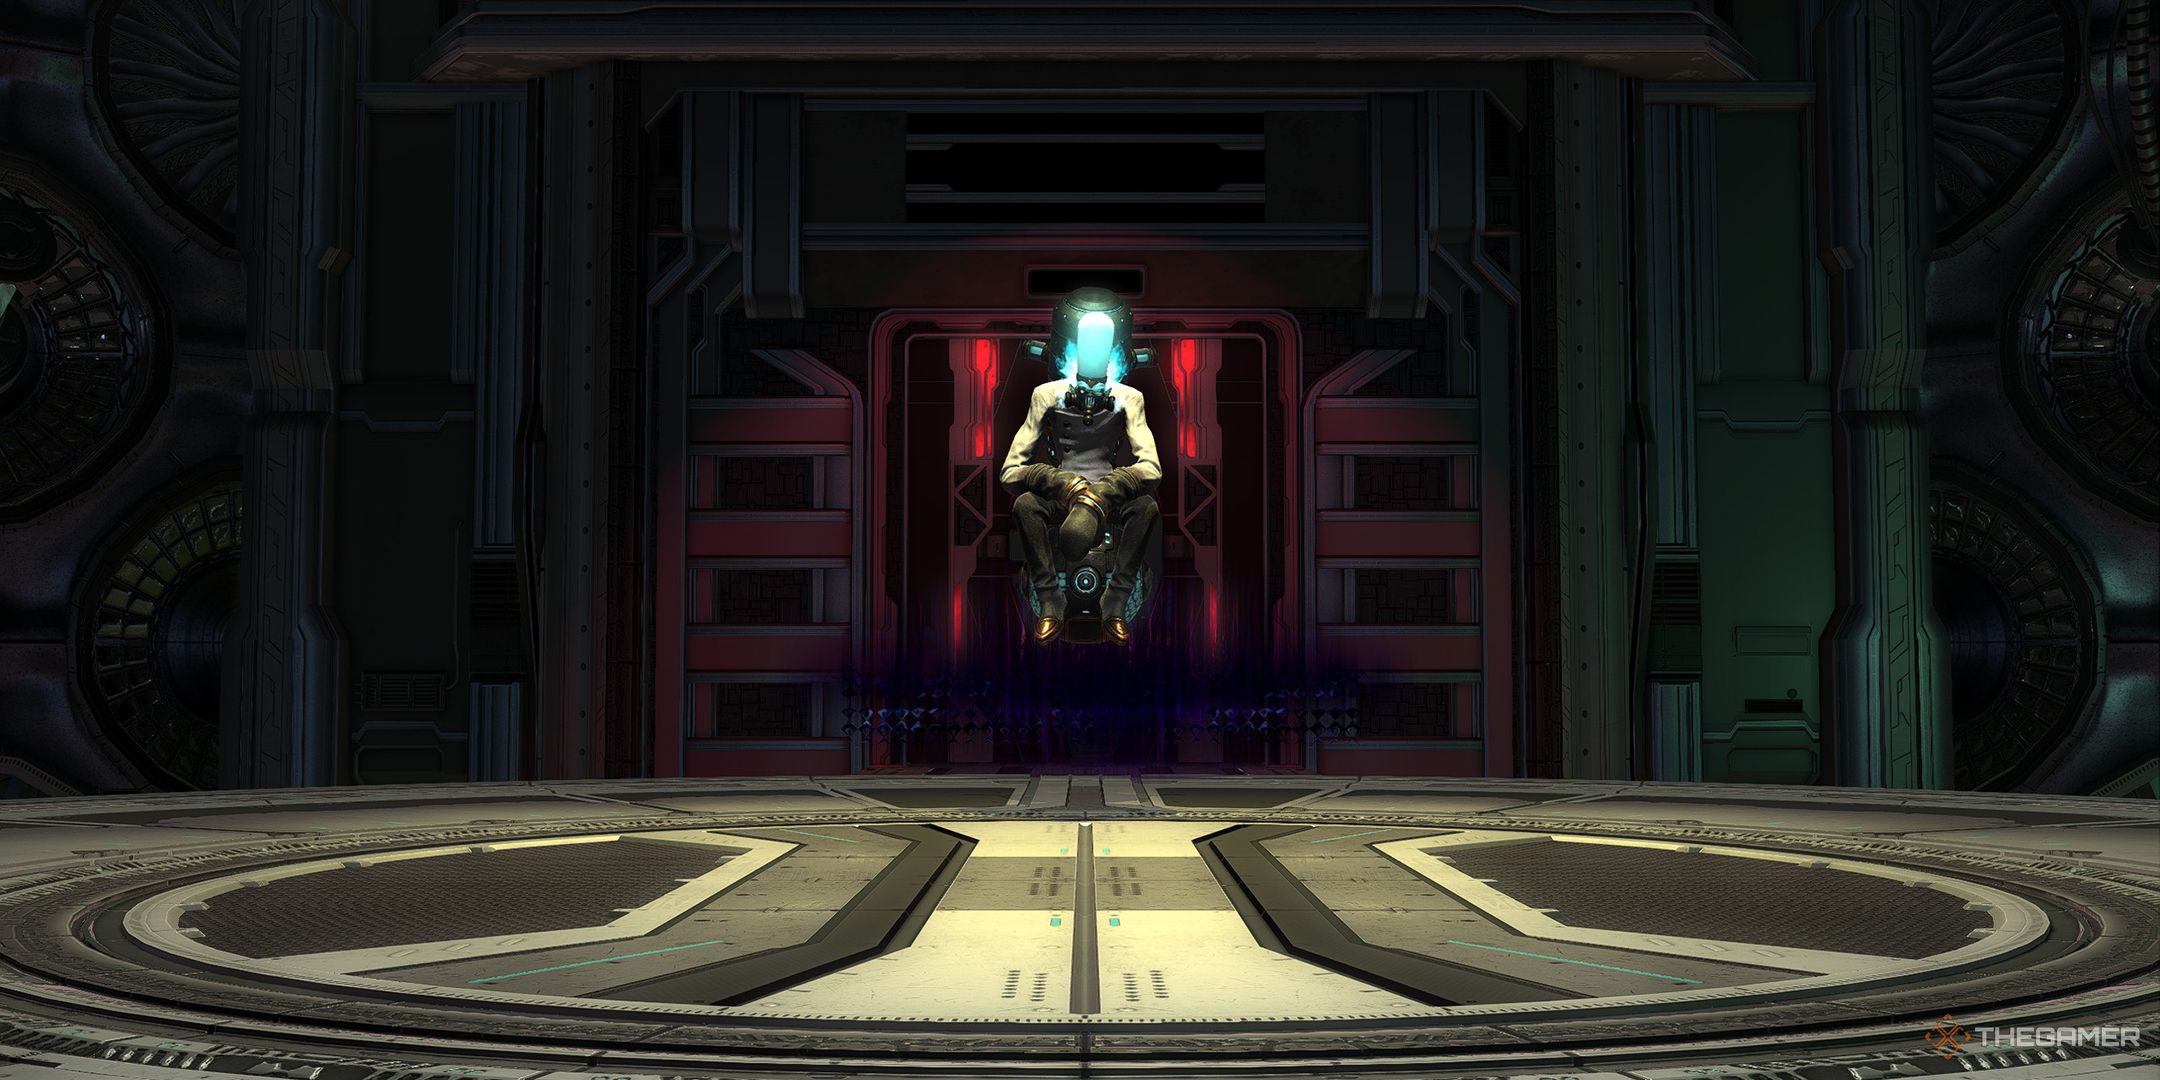
    Overseer Kanilokka, the second boss in the Yuweyawata Field Station Dungeon.

    Next up is Overseer Kanilokka, the second boss of this dungeon. Understanding his moves is crucial for success.

    Attack Name

    Type

    Details

    Dark Souls

    Tankbuster

    This hits the main target with severe damage. Mitigate as needed.

    Free Spirits

    Roomwide AoE

    Deals damage to all players and fills the arena’s edges with dangerous AoE. Avoid these while dodging additional semi-circular AoEs.

    Phantom Flood

    Ring AoE

    This creates a large ring AoE with a safe spot in the center, while also expanding the hazardous areas.

    Dark II/Telltale Tears

    Conal AoE/AoE Markers

    The boss launches conal AoEs and targets three non-Tank players with AoE markers, requiring spread positioning.

    Lost Hope/Necrohazard

    Dizzy Marker/Proximity AoE

    The boss clears part of the red puddle while applying a Dizzy Marker to all players and then casts Necrohazard. Navigate carefully to avoid damage.

    Bloodburst

    Roomwide AoE

    Deals damage to all party members. Use AoE healing to assist recovery.

    Soul Douse

    Stack Marker

    A random player is marked; group to mitigate the incoming damage while dodging conal AoEs.

    Overseer Kanilokka will repeat these attacks throughout the encounter. As the fight progresses, expect Free Spirits to be combined with Telltale Tears. Although the mechanics are manageable, the timing of the Dizzy Marker may require some practice.

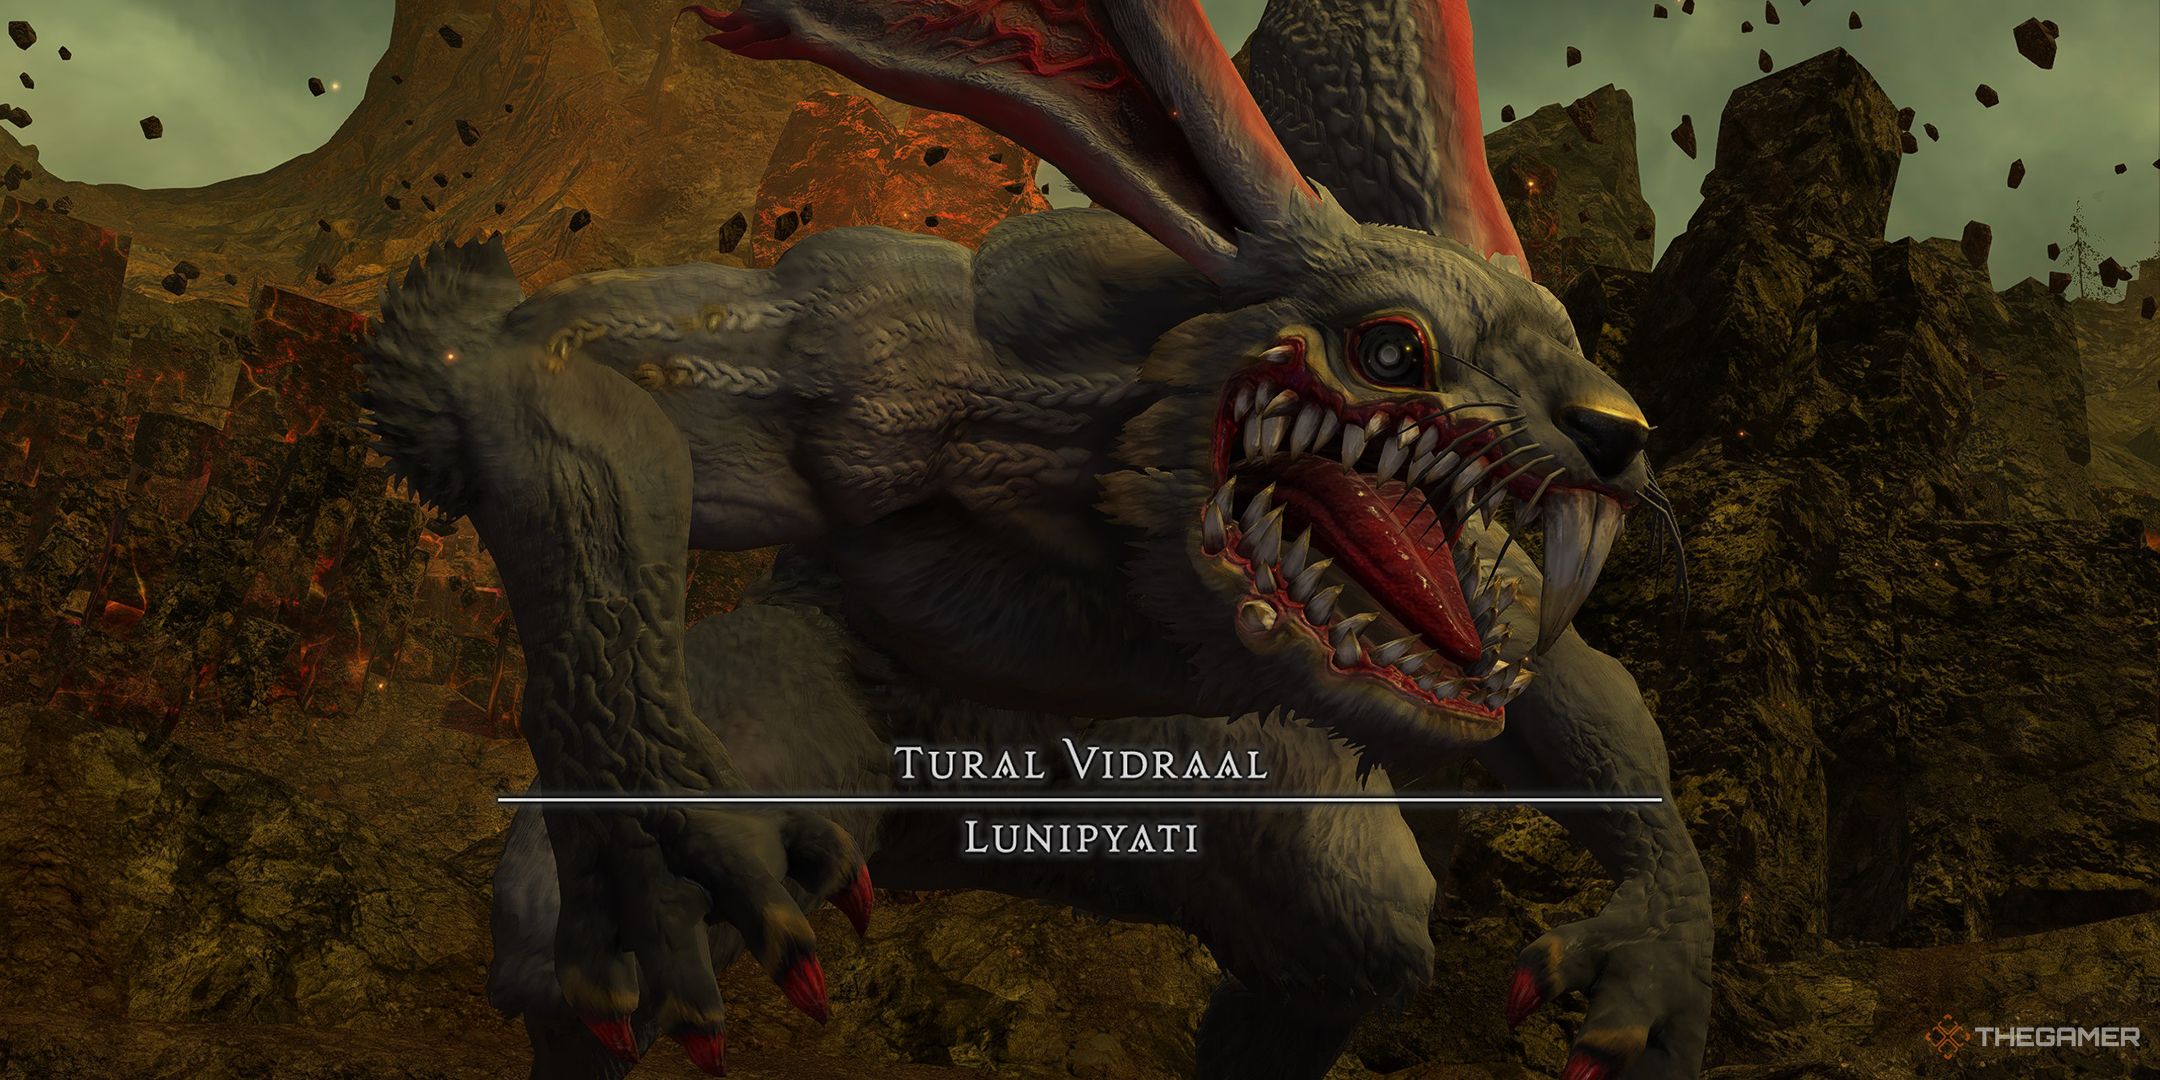
    Lunipyati


    Lunipyati, the final boss of the Yuweyawata Field Station Dungeon.

    The final boss of this dungeon is Tural Vidraal Lunipyati, and here’s what to expect during the fight.

    Attack Name

    Type

    Details

    Raging Claw

    AoE

    The boss strikes, damaging half the arena. Stay behind to avoid.

    Leporine Loaf

    Roomwide AoE

    Deals damage and creates a dangerous AoE puddle around the edge of the arena.

    Boulder Dance

    Circle AoE

    This starts with small circles that grow in specified directions; find safe spots to avoid damage.

    Jagged Edge

    AoE Markers

    Affects all party members; spread out to mitigate overlapping damage.

    Earth Spiral

    Circle AoEs

    Creates semi-circle lines followed by circle AoEs; dodge between gaps.

    Crater Carve

    AoE

    Destroys the center of the arena, creating a deadly void that persists.

    Beastly Roar

    Proximity AoE

    A proximity attack; stay away from the boss to minimize damage.

    Circling Spikes

    Circle AoEs

    A series of circle AoEs that move along the arena’s edge; approach the boss to evade.

    Turali Stone IV

    Stack Marker

    Targets a player to group and absorb incoming damage.

    Sonic Howl

    Roomwide AoE

    Inflicts damage to all players.

    Slabber

    Tankbuster

    A high-damage attack targeting the tank.

    Throughout the encounter, Lunipyati will repeatedly utilize Beastly Roar, Circling Spikes, Turali Stone IV, Sonic Howl, and Slabber. Stay alert to avoid falling into the hole created by Crater Carve, as that could immediately end the fight.

    Once you defeat Lunipyati, collect your rewards and exit the dungeon to progress in your main questline.