|
THE DATA ARCHEOLOGIST |
Invite Juni to join your team. |
Follow Juni’s adventure to Helion Gate and retrieve the Shipmind with her. |
|---|---|---|
|
THE FREELANCER |
Invite Yu-Jin to your team. |
Enjoy drinks at the Far Spindle bar until Yu-Jin agrees to join your team. |
|
THE SIGNALCHASER |
Invite Luis to your team. |
Decide against following Yu-Jin during his mission on The Hollow, opting for Luis instead. |
|
THE SPINDLEJACK |
Invite Kadet to your team. |
After forming a friendship at Far Spindle, head to the Scatteryards, and you’ll have an opportunity to recruit her. (Visit Wellspring first to get a haznav). |
|
THE BIG BROTHER |
Invite Femi to your team. |
Catch up with Femi at Flotsam station, complete the ‘Cutter’s End’ mission for him, then choose him over Nia for your crew. |
|
THE LITTLE SISTER |
Invite Nia to your team. |
As mentioned above, finish the ‘Cutter’s End’ mission but select Nia over Femi. |
|
THE FUGITIVE |
Invite Flint to your team. |
Complete Flint’s Hunter mission on Olivera and welcome them aboard when it’s time to leave. This is nearly unavoidable. |
|
PAY YOUR WAY |
Purchase the feed lines from Karsten in Hexport. |
Pay 400 cryo to Karsten in Hexport. To achieve this, prioritize earning cryo on Hexport, and skip the signal contract since it takes too long for the payout. |
|
THE BETTER CREW |
Outsmart Vesna to find the hidden wreck. |
Locate the wreck during Yu-Jin’s ‘Hidden Wreck’ mission at Far Spindle before time runs out. Neglect the goal to explore the planet and focus on the floating debris and empty ship objectives until you find the hidden wreck. |
|
MEANS OF PRODUCTION |
Encourage a non-violent mutiny on the Headstream. |
Instead of siding with Serafin on Wellspring, find his sister and follow her storyline through. |
|
EVIL EX |
Take Bliss on your Darkside Recon mission. |
Choose to deploy Bliss at the start of ‘Darkside Recon.’ |
|
SLEEPER PRIME |
Extract the Prime Shipmind without alerting Conway. |
Complete the ‘Shipmind Wreck’ that keeps Conway’s stress level in check. |
|
STRANGER DANGER |
Refuse to turn over the drive from Hexport. |
During ‘Hexport Remains,’ a stranger will offer cryo for the conway data drive. Opt not to hand over the Hexport drive. |
|
FRIEND OF A FRIEND |
Don’t abandon Marko on Darkside. |
In ‘Darkside Recon,’ your crew will go into hiding and Marko will be captured. Complete the task to rescue him before stealing the supplies for this to unlock. |
|
WHATEVER HAPPENS HAPPENS |
Achieve a positive outcome with a faulty die. |
Succeed in the 20% chance of a favorable result by using a faulty die. |
|
COLD NEVER BOTHERED ME |
Extract the ice core without ruining the load. |
Complete the ‘Ice Rich Asteroid’ mission before the ice stress level hits maximum. Take your time and aim for high dice rolls. |
|
MUSHROOM SAMBA |
Decide not to clean out the Cargo Bay. |
While transporting spores to Greenbelt for Nemba, you’ll encounter an infestation in your bay. Choose to keep the spores, and you’ll be able to cultivate them for resources. |
|
DUSTHOUSE BLUES |
Retrieve all three stepsilk husks from the wreck. |
Successfully gather all three husks for Aki without letting the objectives’ stress levels max out. It’s manageable as long as you stock up on supplies and only utilize high dice rolls. |
|
PROUD RIG OWNER |
Unlock all possible paint jobs for the Rig. |
Finish the ‘Paint The Rig’ task for Surya in the Scatteryards. |
|
INTERSPECIES SOLIDARITY |
Provide a home for a stowaway. |
During the main storyline, a side quest involving a “supply thief” will arise. Capture or starve it out. You’ll have the option to use supplies as bait or wait a few cycles until it reveals itself; both methods are effective. |
|
BRAIN SCRATCH |
Interact with the drone mind. |
During ‘Hexport Remains’, visit the Ruined Docks to discover the drone mind. |
|
PILGRIM BLOOM |
Uncover the origins of Olivera. |
Return to Olivera after your first mission on Darkside. Karman will invite you back to Olivera. |
|
THE GOOD THE BAD AND YU-JIN |
Find the fraction drive without losing Yu-Jin. |
Support Yu-Jin through his entire side story. You’ll have this choice during his mission at the hollow once you locate the drive. |
|
HEXPORT EXPORT |
Escape Hexport before Laine spots you. |
Secure the feed tubes before Laine’s timer expires at Hexport. The simplest approach is to complete Karsten’s task right away and then deny Juni the data core. However, this will prevent you from recruiting Juni, so it’s wiser to help Juni first and then let them assist you in stealing the feedlines (which takes just a bit longer). |
|
CORE CONSERVATOR |
Extract the core from the Solheim Derelict safely. |
Extract the Solheim Derelict core without alerting the Warden. You won’t be pressed for time, so just concentrate on high dice rolls to manage warden stress. |
|
CITY OF DARKNESS |
Get through Darkside Recon incognito. |
Avoid maxing out the detection stress level during ‘Darkside Recon.’ This is tricky since getting caught is part of the plan, but one strategy is to steer clear of the crisis node and finish your objectives using only high dice rolls. It’s often better to allow the node to accumulate detection stress each cycle than to risk failing and gain two stress per roll. |
|
MEMORIES OF MAYWICK |
Set a three-part trap for the Hunter. |
Complete all three trap tasks before the Hunter arrives during Flint’s side story on Olivera. Intuition and endurance are key skills, while Nia & Juni’s high skills are especially beneficial due to the time limitations. |
|
NOBODY’S PUPPET |
Break free from Laine’s control, permanently. |
This achievement is inevitable during the main storyline. |
|
POSSIBLE FUTURES |
Finish rebooting your frame. |
Advance through the main story until the game concludes. |
|
A SYSTEM IN CRISIS |
Complete the game on DANGEROUS difficulty. |
Finish Citizen Sleeper 2: Starward Vector at the highest difficulty level. In this mode, repairing dice is significantly harder, so managing stress becomes crucial. A helpful tip is to use your lower dice rolls to rest in your ship bay at the end of each day. |
الوسم: Citizen Sleeper 2
-
Complete Achievement Guide for Citizen Sleeper 2: Starward Vector
-

Unlocking Sketches and Rig Colors in Citizen Sleeper 2
After impressing Surya with your shipfitting efforts in the Scatteryards, you’ll unlock a new paint color for your vehicle and the “Paint The Rig” quest. While it may sound straightforward, the universe of Citizen Sleeper 2: Starward Vector is all about gaining luck the hard way, so adding a splash of color to your rusty old scrapheap takes a bit of work.
Specifically, Surya is looking for you to create sketches of various hubs to spark his creativity. He’s willing to pay you 150 cryo just for agreeing to this task. Moreover, for each completed sketch, you will earn another 150 cryo and also unlock new paint jobs for your rig.
How To Find The Sketches And Unlock All Rig Color Schemes
To complete this task, you’ll need to create three sketches at three different locations: Far Spindle, Greenbelt, and The Hollow. If you happen to miss out on Wellspring, don’t fret, as it’s not part of this quest (and neither is Darkside). Each hub features an eye icon, making them easy to spot as you scout for your sketches. Be aware that if you don’t have any points in Intuit, it might take you a couple of cycles to finalize your sketch.
Fortunately, these tasks are among the few “safe” activities in the game, so failing won’t affect your energy or stress levels.
Completing these sketches is one of the easiest ways to earn cryo in the game. If you want to take a route from the Scatteryards through the hubs, the best path is: The Hollow – Greenbelt – Helion Gate – Far Spindle – Flotsam – and back to Scatteryards, or vice versa.
Just keep in mind that this route consumes a lot of fuel, so it’s wise to pace yourself and tackle other tasks along the way.
For instance, it’s wise to work on the Diagnose Your Frame quest in Flotsam before making your way to Helion Gate to complete The Shipmind Wreck quest with Juni.
You can submit the sketches to Surya either one at a time or all at once. Once Surya receives all three sketches, you’ll finish the quest and earn a skill point along with the Proud Rig Owner achievement.
-

Mastering the Darkside Recon Contract in Citizen Sleeper 2
In the mission "Darkside Recon" from Citizen Sleeper 2: Starward Vector, you’ll find yourself on a perilous journey with many twists and turns. Your choices will significantly affect your experience. Danger lurks at every turn, and executing tasks out of order can lead to losing access to important crew members early on.
This guide aims to assist you in navigating the contract, explaining the repercussions of your decisions, and clarifying every option you encounter. We’ll also highlight hidden rewards along the way.
Getting Ready for the Darkside Recon Contract
Before diving into this mission, it’s crucial to decide who to bring along. Marko is set, so you’ll need to choose your second crew member. Juni is the most advantageous pick due to her enhanced interface skills. However, if you opt for Bliss, she offers unique dialogue with characters that appear during this mission, adding depth to your story experience.
Tip:
Choosing Bliss also unlocks an achievement!
Be aware that you will lose your supplies at a certain point. Entering with five supplies might not be wise if you’re short on cash. All supplies are lost once you complete either the objectives at Docker’s Rest or The Rise.
Note:
It’s advisable to tackle The Rise last to avoid unnecessary setbacks.
Neutralizing the Surveillance System
Start by eliminating the surveillance system; otherwise, you’ll face escalating tension. Marko’s utility here is limited, but if you have Bliss or Juni on your team, you’re at an advantage.
Location Options Type/Cost Risk Level Dock Surveillance Cut -

Mastering the Aphelion Beacon Contract in Citizen Sleeper 2
In many respects, The Hollow is a typical space station you’ll find in Citizen Sleeper 2: Starward Vector. It offers a few ways to earn some Cryo and allows you to restock supplies for your ship. However, it also presents crucial contracts that advance the storyline.
Among these contracts is the one that can secure Yu-Jin as a team member or allow you to replace him entirely. Additionally, you can repair a satellite array and gain some valuable skill points. Here’s a guide to help you through it all.
The Hollow Station
The Hollow Station consists of two main areas: The Hollow Core and the Radius Markets. To unlock the facilities on the Hollow Heart space station, you’ll start with The Hollow Core.
Location Options Type/Cost Risk Level The Hollow Core Explore The Axis Engage Risky Intercept Signals Interface Risky Debris Dealer
Hollow Heart
Buy Fuel 5 Cryo – Fill Fuel 50 Cryo – Buy Scrap Components 22 Cryo – Sell Processed Scrap 60 Cryo – Depot Storage
Hollow Heart
Buy Meal 40 Cryo – Buy Supplies 15 Cryo – Fill Supplies 75 Cryo – Sunward Pole
Hollow Heart
Help With Repairs Engineer Risky Signal Ship
Hollow Heart
Interpret Signals Intuit Risky Align Arrays Interface Risky Sell Solheim Data 1 Data / 8 Cryo – Help Helion Dispatch
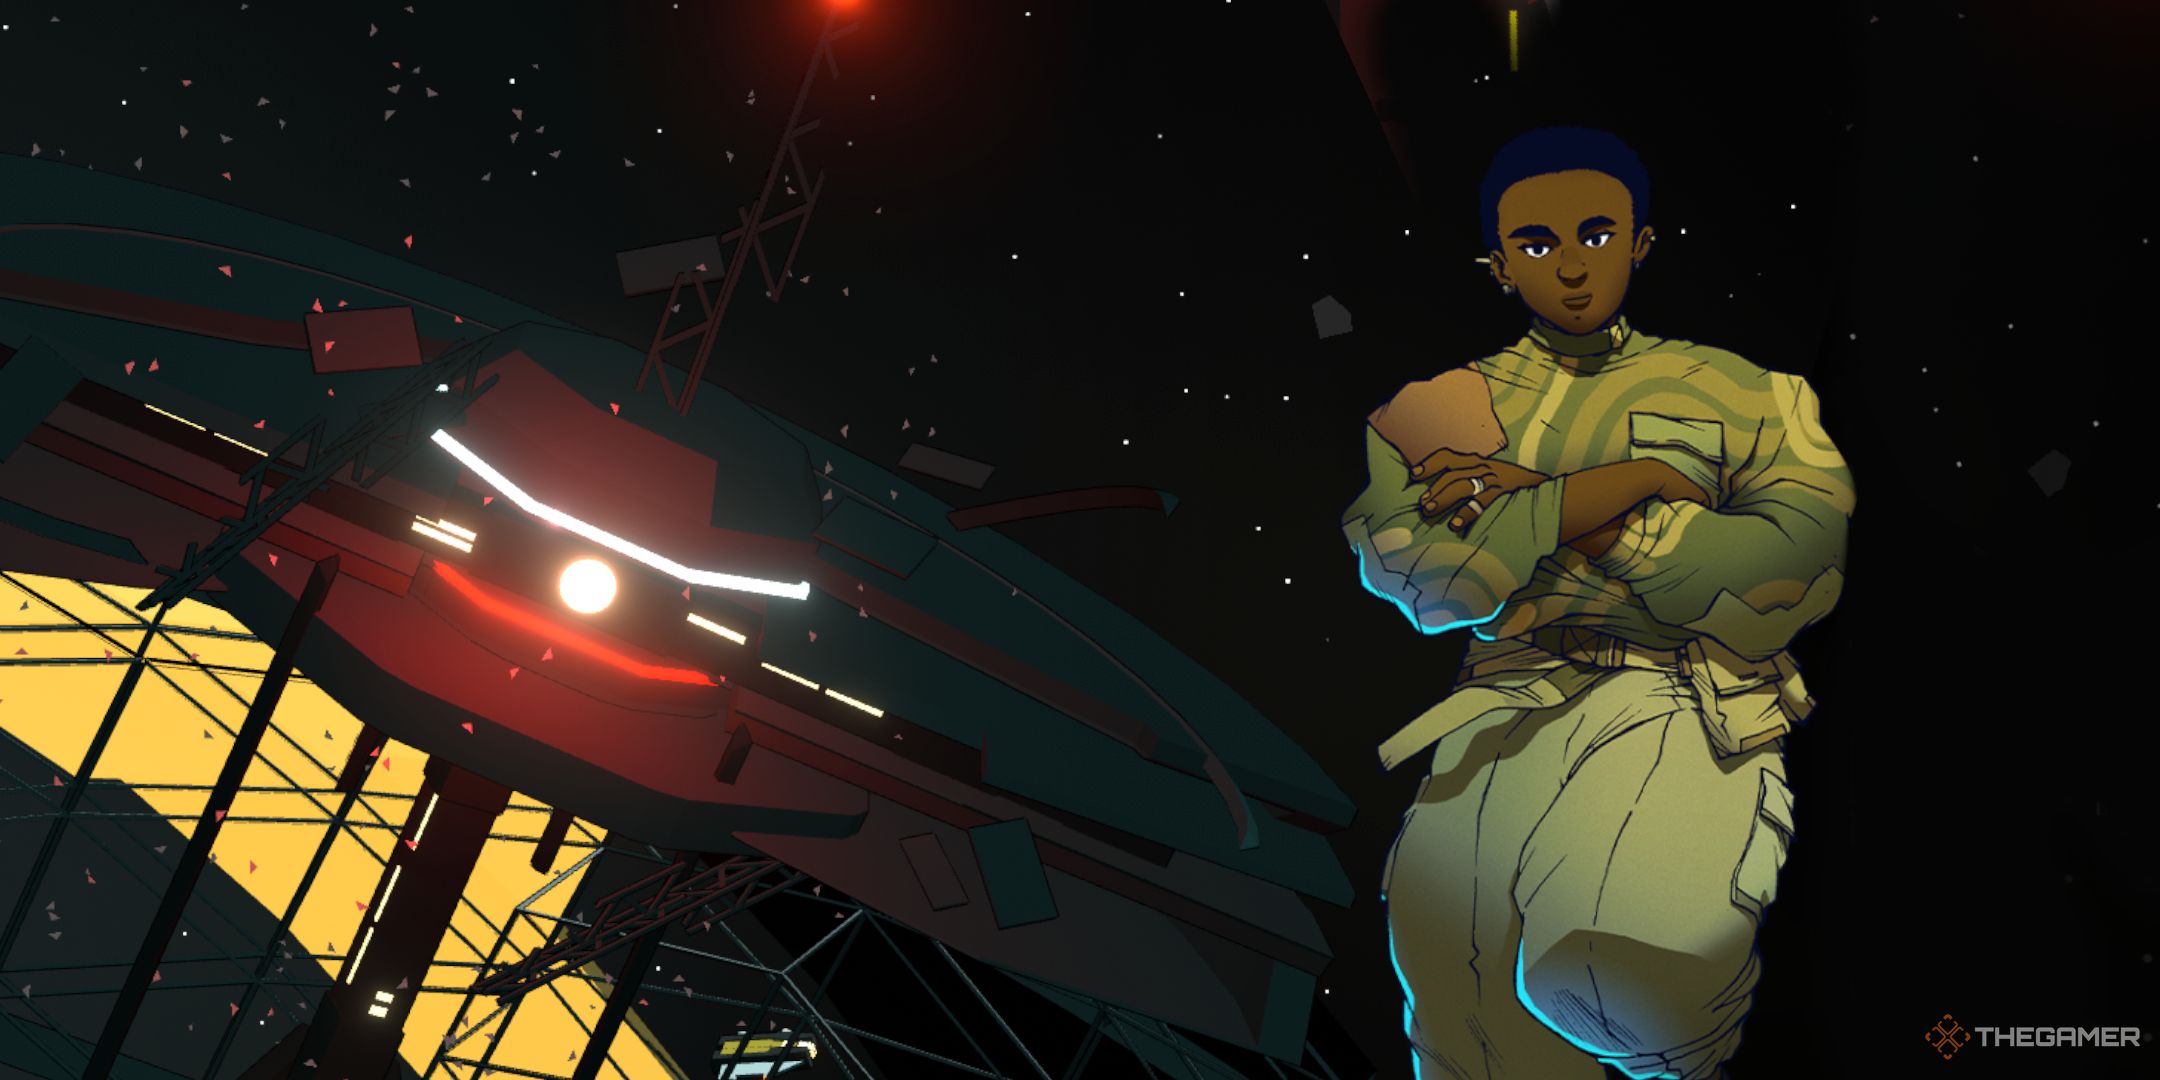
You can earn a Drive by assisting with repairs at Sunward Pole. After finishing the “Conway Aftermath” task, you’ll speak with Cyrene, who will ask you to fetch a new relay from Holm’s Rock.
Location Options Type/Cost Risk Level Beacon Region Disengage Systems Interface Danger Cut Connections Endure Danger Upon reaching Holm’s Rock, you’ll unlock a new area called The Old Relay. After completing the Relay Recycling objective, return to The Hollow to finish the “We’ll Be Right Back” mission, which involves installing the Array and two Engine Parts. This will grant you another skill point.
The Radius Market

The second location you’ll explore is the Radius Market, where you can complete the “Ghosted Contact” task to progress with Yu-Jin’s Drive. After this section, you’ll find Luis and gain access to the Aphelion Beacon Contract.
Location Options Type/Cost Risk Level Radius Markets Ask Around Engage Risky Watch The Markets Intuit Risky Aphelion Beacon Contract
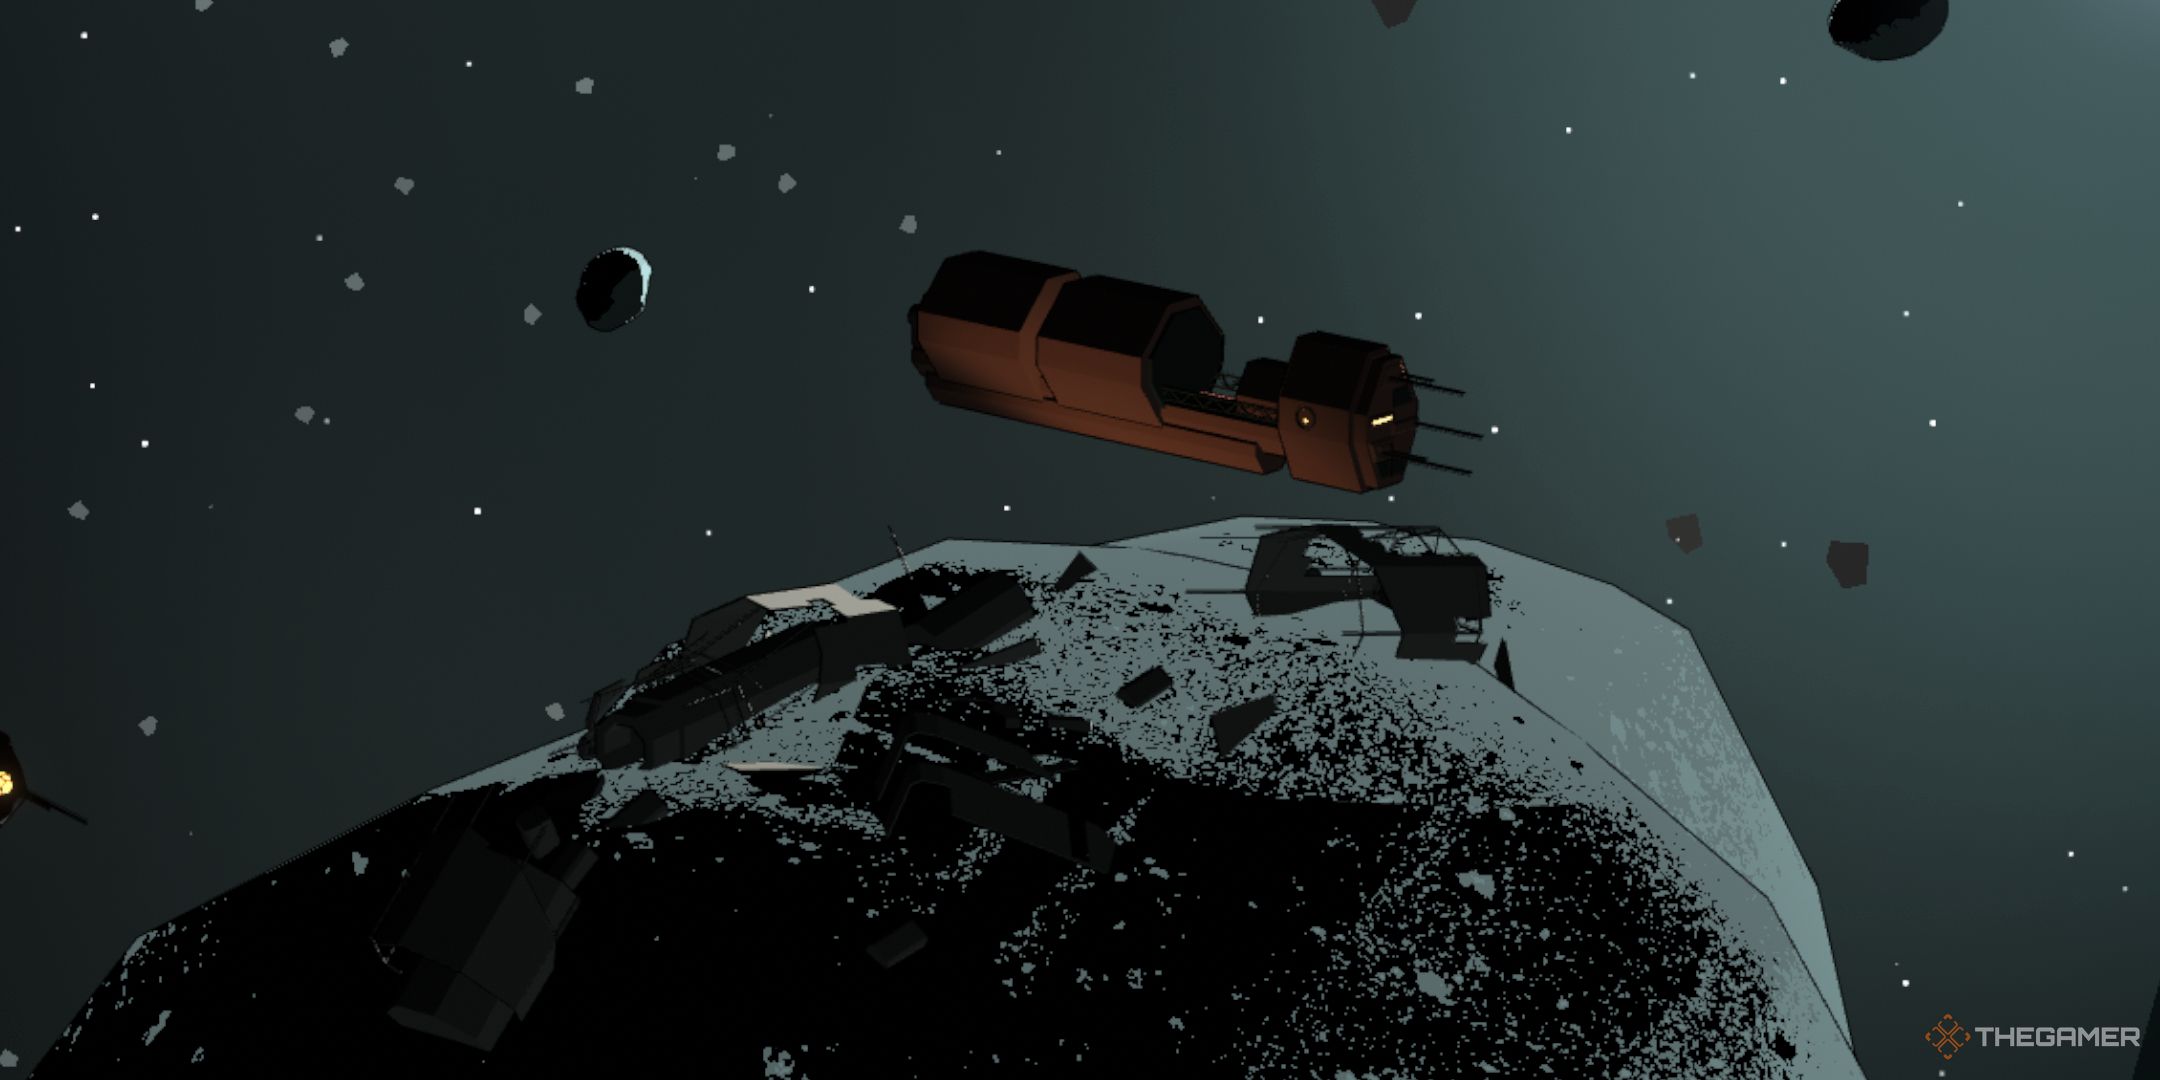
After finding Luis, he will provide you with the beacon’s coordinates. Your next task is to venture out into space and locate it using several beacons. Yu-Jin will accompany you, but if you have her available, make sure to bring Juni along, as her Interface skill is extremely useful.
Start your journey from the Beacon Region and navigate to the Aphelion Beacon. Don’t worry about time constraints; there are none in this section.
Location Options Type/Cost Risk Level Beacon Region Search Rocks Endure Danger Triangulate Signal Interface Danger Aphelion Beacon
Beacon Location
Analyze Site Intuit Danger Decrypt Signal Interface Danger The next segment involves repairing your ship after it becomes disabled. Although the narrative implies urgency, there doesn’t seem to be any actual timer.
Location Options Type/Cost Risk Level Aphelion Beacon
Onward Vector
Rewire Beacon Engineer Risky Decrypt Signal Interface Risky Disabled Drive
Onward Vector
Bypass System Engineer Danger Forced Startup Endure Risky After completing the Final Vector and Drive Activation tasks, you’ll pinpoint the drive’s location and find yourself in a tense situation. Your priority here should be to ensure Yu-Jin’s safety; abandoning him will result in his permanent loss. However, if you choose to leave Yu-Jin behind, it will open the option to recruit Luis, who possesses valuable Interface and Intuit skills.
-

Completing the Solheim Bunker Contract in Citizen Sleeper 2
Holm’s Rock is one of the vibrant space stations in Citizen Sleeper 2: Starward Vector. It provides the standard facilities, plus some unique features specific to its massive rock structure. This is your first chance to utilize the Solheim Data sticks you’ve likely gathered, transforming them into valuable Rare Components.
While you’re at Holm’s Rock, you can also get the coordinates for a Solheim Bunker, which is tied to another contract. This guide will walk you through what to expect at the Holm’s Rock space station and the related Solheim Bunker contract.
Holm Terminus
To access all that Holm’s Rock has to offer, you’ll need to complete Holm’s Terminus’s objective: "No Place Like Holm." Keep in mind that most items at Holm’s Rock are expensive. It’s best to only buy what you truly need and to hold onto your Engine Components unless you really need extra cash.
Here’s a summary of your options at Holm’s Terminus:
Location Options Type/Cost Risk Level Holm’s Terminus Barter With Locals Engage Risky Explore The Tunnels Endure Risky Lotic Freighter Buy Fuel 6 Cryo – Fill Fuel 60 Cryo – Help Offload Freight Endure Risky Senna’s Rest Buy Supplies 20 Cryo – Fill Supplies 100 Cryo – Sell Engine Components 35 Cryo – Buy A Meal 15 Cryo – Suncatchers Debug Array Systems Interface Risky Fix Broken Arrays Endure Risky Unseal The Bay Unlock Neovend Printer 3 Solheim Data – Unseal The Bay
Once you finish the “No Place Like Holm” objective, you can access the Unseal The Bay area. To enter, you’ll need to enter three Solheim Data pieces. Doing so grants you access to a Neovend printer, which can create Rare Components for only two pieces of Solheim Data each. Unfortunately, you can only operate the printer six times before it becomes unusable.
Solheim Bunker Contract
After spending a bit of time at Holm’s Rock, your crew member Juni will inform you about a nearby Solheim Bunker. Upon her guidance, you will gain access to the Solheim Bunker Contract. It’s a good idea to have Juli as a crew member, and consider adding either Juni or Yu-Jin to fill the last spot; both are effective, so choose the one that complements your sleeper’s skills best.
When you reach the bunker, your first task is to get past the sealed entrance. If you have Yu-Jin or Bliss with you, this should be straightforward. Juni can easily handle the Access The Spire section. After that, the Warden will appear, and you’ll need to keep track of their Stress levels, which increase with each cycle you spend there.
You’ll have access to two areas: the Ring Facility and the Bunker Core. It’s best to clear the Bunker Core first. Once you finish the Bunker Cache objective and obtain the core, you can move on to searching the Ring Facility for hidden treasures.
Completing the Solheim Souvenir objective will reward you with a model of your rig, which will become relevant for future gameplay. Plus, finishing the Solheim Tech objective nets you two Rare Components.
Here’s a summary of the tasks within the Solheim Bunker:
Location Options Type/Cost Risk Level Sealed Entry Cut The Seal Engineer Risky Force The Hatch Endure Danger Access Spire Hack Doorway Interface Risky Ring Facility Explore Hab Units Intuit Risky Search Storage Endure Risky Bunker Core Extract Hardware Engineer Danger Scrape Cache Interface Risky Explore Holm’s Rock and the Solheim Bunker to make the most out of your adventures in Citizen Sleeper 2!
-
Recruiting Femi and Nia in Citizen Sleeper 2: Starward Vector
The Cutter’s End contract in Citizen Sleeper 2: Starward Vector becomes accessible after you reach a specific stage in the game, particularly after upgrading the HazNav ship. While this mission doesn’t have failure conditions, it includes several objectives with varying danger levels, and you might miss out on certain bonus rewards if you’re not careful.
Your task, should you choose to take it, involves assisting Femi in confronting his sister, Nia. We recommend accepting this mission since it offers the chance to add a new crew member to your team.
How to Acquire the Cutter’s End Contract

After obtaining the HazNav upgrade at Wellspring Space Station, head back to Flotsam Station where you’ll meet Femi, who is quite frustrated. He’ll inform you that Nia has left with a crew and it’s your job to help him find her. You will now see a countdown labeled “Femi’s Patience.” You have four cycles to take action.
You can check Femi’s Patience anytime by selecting the Cutter in the dock. If you don’t start the contract on time, Femi will leave, and you won’t hear about Nia or Femi again.
When you’re ready, choose the Cutter’s End contract from the navigation menu and set off. Femi is required as a crew member for this mission. For your second crew member, we suggest bringing Bliss. You’ll face several Engineer checks, while there will be fewer Interface checks, making Juni not the best option.
Exploring the Borehole and Central Shaft

Once the mission begins, you can explore two areas: the Borehole and the Central Shaft. Regardless of your choice, you will end up in the Tunnel Complex. I tried both paths, and the outcomes are quite similar, so choose the one that your crew can navigate most easily.
Location
Options
Type/Cost
Risk Level
Borehole
Map Borehole
Interface
Danger
Spelunking
Engage
Danger
Central Shaft
Cut A Path
Engineer
Danger
Clear Debris
Endure
Danger
Tunnel Complex
Cutter’s Path / Cutter’s Tunnel
Force A Path
Endure
Danger
Find A Safe Path
Intuit
Danger
The Machine Room and Tailing Pit

After navigating through the Tunnel Complex, you’ll have two choices. You can either break into the Machine Room, where Nia is located, or salvage parts from the machine in the Tailing Pit. Searching the pit will provide you with two engine components and a Rare Component. It’s highly recommended to salvage from the Tailing Pit before rescuing Nia, as that option will vanish once you complete the Machine Room objective.
Location
Options
Type/Cost
Risk Level
Machine Room
Cutter’s Maze
Cut Doorway
Engineer
Risky
Break Doorway
Endure
Danger
Tailing Pit
Cutter’s Maze
Search Pit
Intuit
Danger
Clear Pit
Endure
Danger

Upon completing the minor side mission, you’ll receive one Upgrade Point. When you return to the Flotsam space station, you’ll have the chance to either recruit Femi or Nia. Although Nia has better Intuit abilities, pairing Femi with Yu-Jin can provide strong support for Engage and Endure checks.