الوسم: chest

  • How to Find and Opening Hernand Castle Chest in Crimson Desert: Completing and Solving

    How to Find and Opening Hernand Castle Chest in Crimson Desert: Completing and Solving

    After starting your journey in Crimson Desert and exploring the map, you’ll notice many icons appearing on your minimap, especially in the main cities. These icons point you to various traders selling gear, but many also mark locations for free loot.

    One good example is the strongbox chests. Sometimes, you’ll see a large chest icon near certain buildings. When you arrive, like at Hernand Castle, you’ll need to complete a small puzzle to unlock the reward inside.

    How to Find the Hernand Castle Strongbox

    If you haven’t found the strongbox yet, start by teleporting to the Abyss Nexus in the city. Before heading toward the strongbox, make sure you have a mask and at least one key. After spawning at the teleport point, follow the path heading up to the castle on your left.

    Keep following this route until you enter the castle. Inside, take the right entrance into the hallway. Once inside, take the first right to find some stairs. Climb these stairs and continue upward until you reach a secluded room at the top. Use a key to open this room and access the strongbox.

    How to Solve the Hernand Castle Strongbox Puzzle

    When you approach this strongbox, you’ll see musical keys you can press for interaction. To unlock it, you need to press these keys in a specific order to play a tune. You can listen to the correct melody by interacting with the playback device located on the right side of the strongbox.

    As you rotate the device, the tune plays repeatedly, allowing you to study it. If you’d prefer, you can just press the keys in this sequence to solve the puzzle immediately:

    • Row one, key one
    • Row two, key four
    • Row two, key three
    • Row two, key four
    • Row one, key three
    • Row two, key one
    • Row one, key three

    Once you’ve successfully completed the puzzle, you can loot the box if you have a mask. Inside, you’ll find a Lavish Meal recipe. Wait for the theft meter to decrease, then exit the castle.

    Additional Tips

    There are many other items in the small cabinets within this room, so it’s a good idea to gather everything you can.

  • How to Open the Puzzle Chest in Hubble Castle Using Completing and Solving in DQ7 Reimagined

    How to Open the Puzzle Chest in Hubble Castle Using Completing and Solving in DQ7 Reimagined

    “Dragon Quest 7 Reimagined” features complex puzzles, and one of the trickiest is the statue crossing puzzle found in the Grand Conjuratorium. This puzzle has confused many players since the game’s original release on PlayStation, but it’s actually quite straightforward once you understand the pattern.

    The key to solving this puzzle lies in walking through doorways in a specific sequence to reveal hidden platforms, which in turn unlock treasures. Interestingly, this same puzzle appears twice in the game: once in the Conjuratorium itself and again in Hubble Castle’s Water Tower. In both locations, following the same pattern will unlock a hidden chest or access a new area containing valuable items.

    If you’ve been struggling to figure out this riddle, here’s how to solve it:

    How to Solve the Statue Puzzle

    The only clue you get comes from a woman in a previous version of the game’s region. You’ll find her on the second floor of the Water Tower (located east once you enter the castle).

    Here’s a simple step-by-step guide:

    1. Stand underneath the statue on the left side of the room.
    2. Walk straight through the center of the room and exit through the east wall.
    3. Move around to the top outside of the room.
    4. Walk through the center again and exit through the bottom wall.

    By following this pattern in the Water Tower, you will open the chest in the middle of the room. When performed in the Grand Conjuratorium’s entrance hall, this same steps will lift a walkway to the stairs, granting access to a new area filled with more treasure.

    Extra Tip

    The secret area in the Grand Conjuratorium contains a tablet fragment and a statue. Speaking to the statue will grant you a more powerful version of The Great Leveller—an upgrade that becomes especially useful after completing the story events at Hubble, making the trip well worth it.

  • Completing Atomfall: Solving the Protocol Documents Chest Key

    Completing Atomfall: Solving the Protocol Documents Chest Key

    Upon your arrival at Wyndham Village in Atomfall, you’ll find various chests that are locked and keys whose uses aren’t immediately clear. One significant chest you’ll discover is the Protocol Documents Chest, which requires a particularly elusive key.

    There are several methods to obtain the Protocol Documents Key, but one approach stands out among the rest. We’ll guide you through the best strategy to grab the key without compromising potential options later in the game.

    Location of the Protocol Documents Chest

    The Protocol Documents Chest is located in the Village Hall of Wyndham Village, specifically positioned at the back of the room near the stage. You can find it in the village area at coordinates 33.4E, 79.3N.

    You’re free to visit whenever you want to meet with Captain Sims. The chest can be found to the left of a set of drawers at the rear of the room.

    Optimal Method for Acquiring the Protocol Documents Chest Key

    If you’re eager to obtain the key quickly, you can defeat Captain Sims and loot the key from him. However, be aware that this will trigger an attack from the other Protocol guards in the Village Hall, so it’s best to be well-prepared for combat.

    Keep in mind that killing Sims will block you from accessing an ending linked to him and some other story elements, making this option less appealing.

    Instead, a better strategy is to retrieve the key from the Protocol Outpost at coordinates 34.9 E, 80.8 N within the village. Avoid attempting to enter through the front gate, as you’ll be attacked on sight by numerous guards.

    To access the outpost, navigate to the rear where you’ll find a shed as shown in the accompanying image. Climb onto the crates inside and drop down into the shed.

    Next, start to crawl under the door while keeping an eye on the two guards moving around. They will occasionally walk in opposite directions, away from a nearby ladder that leads up the tower. When they turn away, silently move to the ladder and start climbing.

    Be aware that the guards may notice you, including the one stationed in the tower. Just ignore them and reach the chest at the top as quickly as possible.

    Afterward, open the chest to obtain the Protocol Documents Chest Key. If you face attacks while retrieving the key, make your way down the hill toward the beach on the village’s edge. You should be able to escape without further pursuit.

    Contents of the Chest

    • One Grenade
    • Combat Stim Recipe – Make sure to learn this as soon as possible!
    • 15 SMG Ammo
    • Peerless SMG
    • A note titled “One Spike In The Concrete”
    • Sims’ Personal Diary

    If you’re early in the game, the SMG will be a valuable addition, so equip it immediately. The notes also provide intriguing background information on Sims and his activities in the village.

  • Unlocking the Chest in Path of Silence in AC Shadows

    Unlocking the Chest in Path of Silence in AC Shadows

    After spending some time in Assassin’s Creed Shadows, it’s clear that following the game’s recommended routes is the best way to navigate from one area to another. If you attempt to shortcut through the mountains, it’s very easy to become disoriented. However, there are sections where the guiding white line won’t appear, making exploration trickier.

    These elusive routes are known as hidden trails, and you can discover numerous ones scattered across the map. One particularly tricky trail is the Path of Silence, where it’s easy to lose your way if you aren’t attentive to your environment.

    Locating the Path of Silence

    To find the Path of Silence, begin by heading to the Tamba province, located north of Harima and west of Yamashiro. You’ll notice the Tamba Highlands on the eastern part of this province.

    By zooming in on the map at 2x, the path can be located just below where “Tamba” is labeled on the map. To access it, head slightly west from Green Fields Kakurega, then travel straight south past the Ruins of Kumoryuji Temple’s fast-travel point.

    Completing the Path of Silence

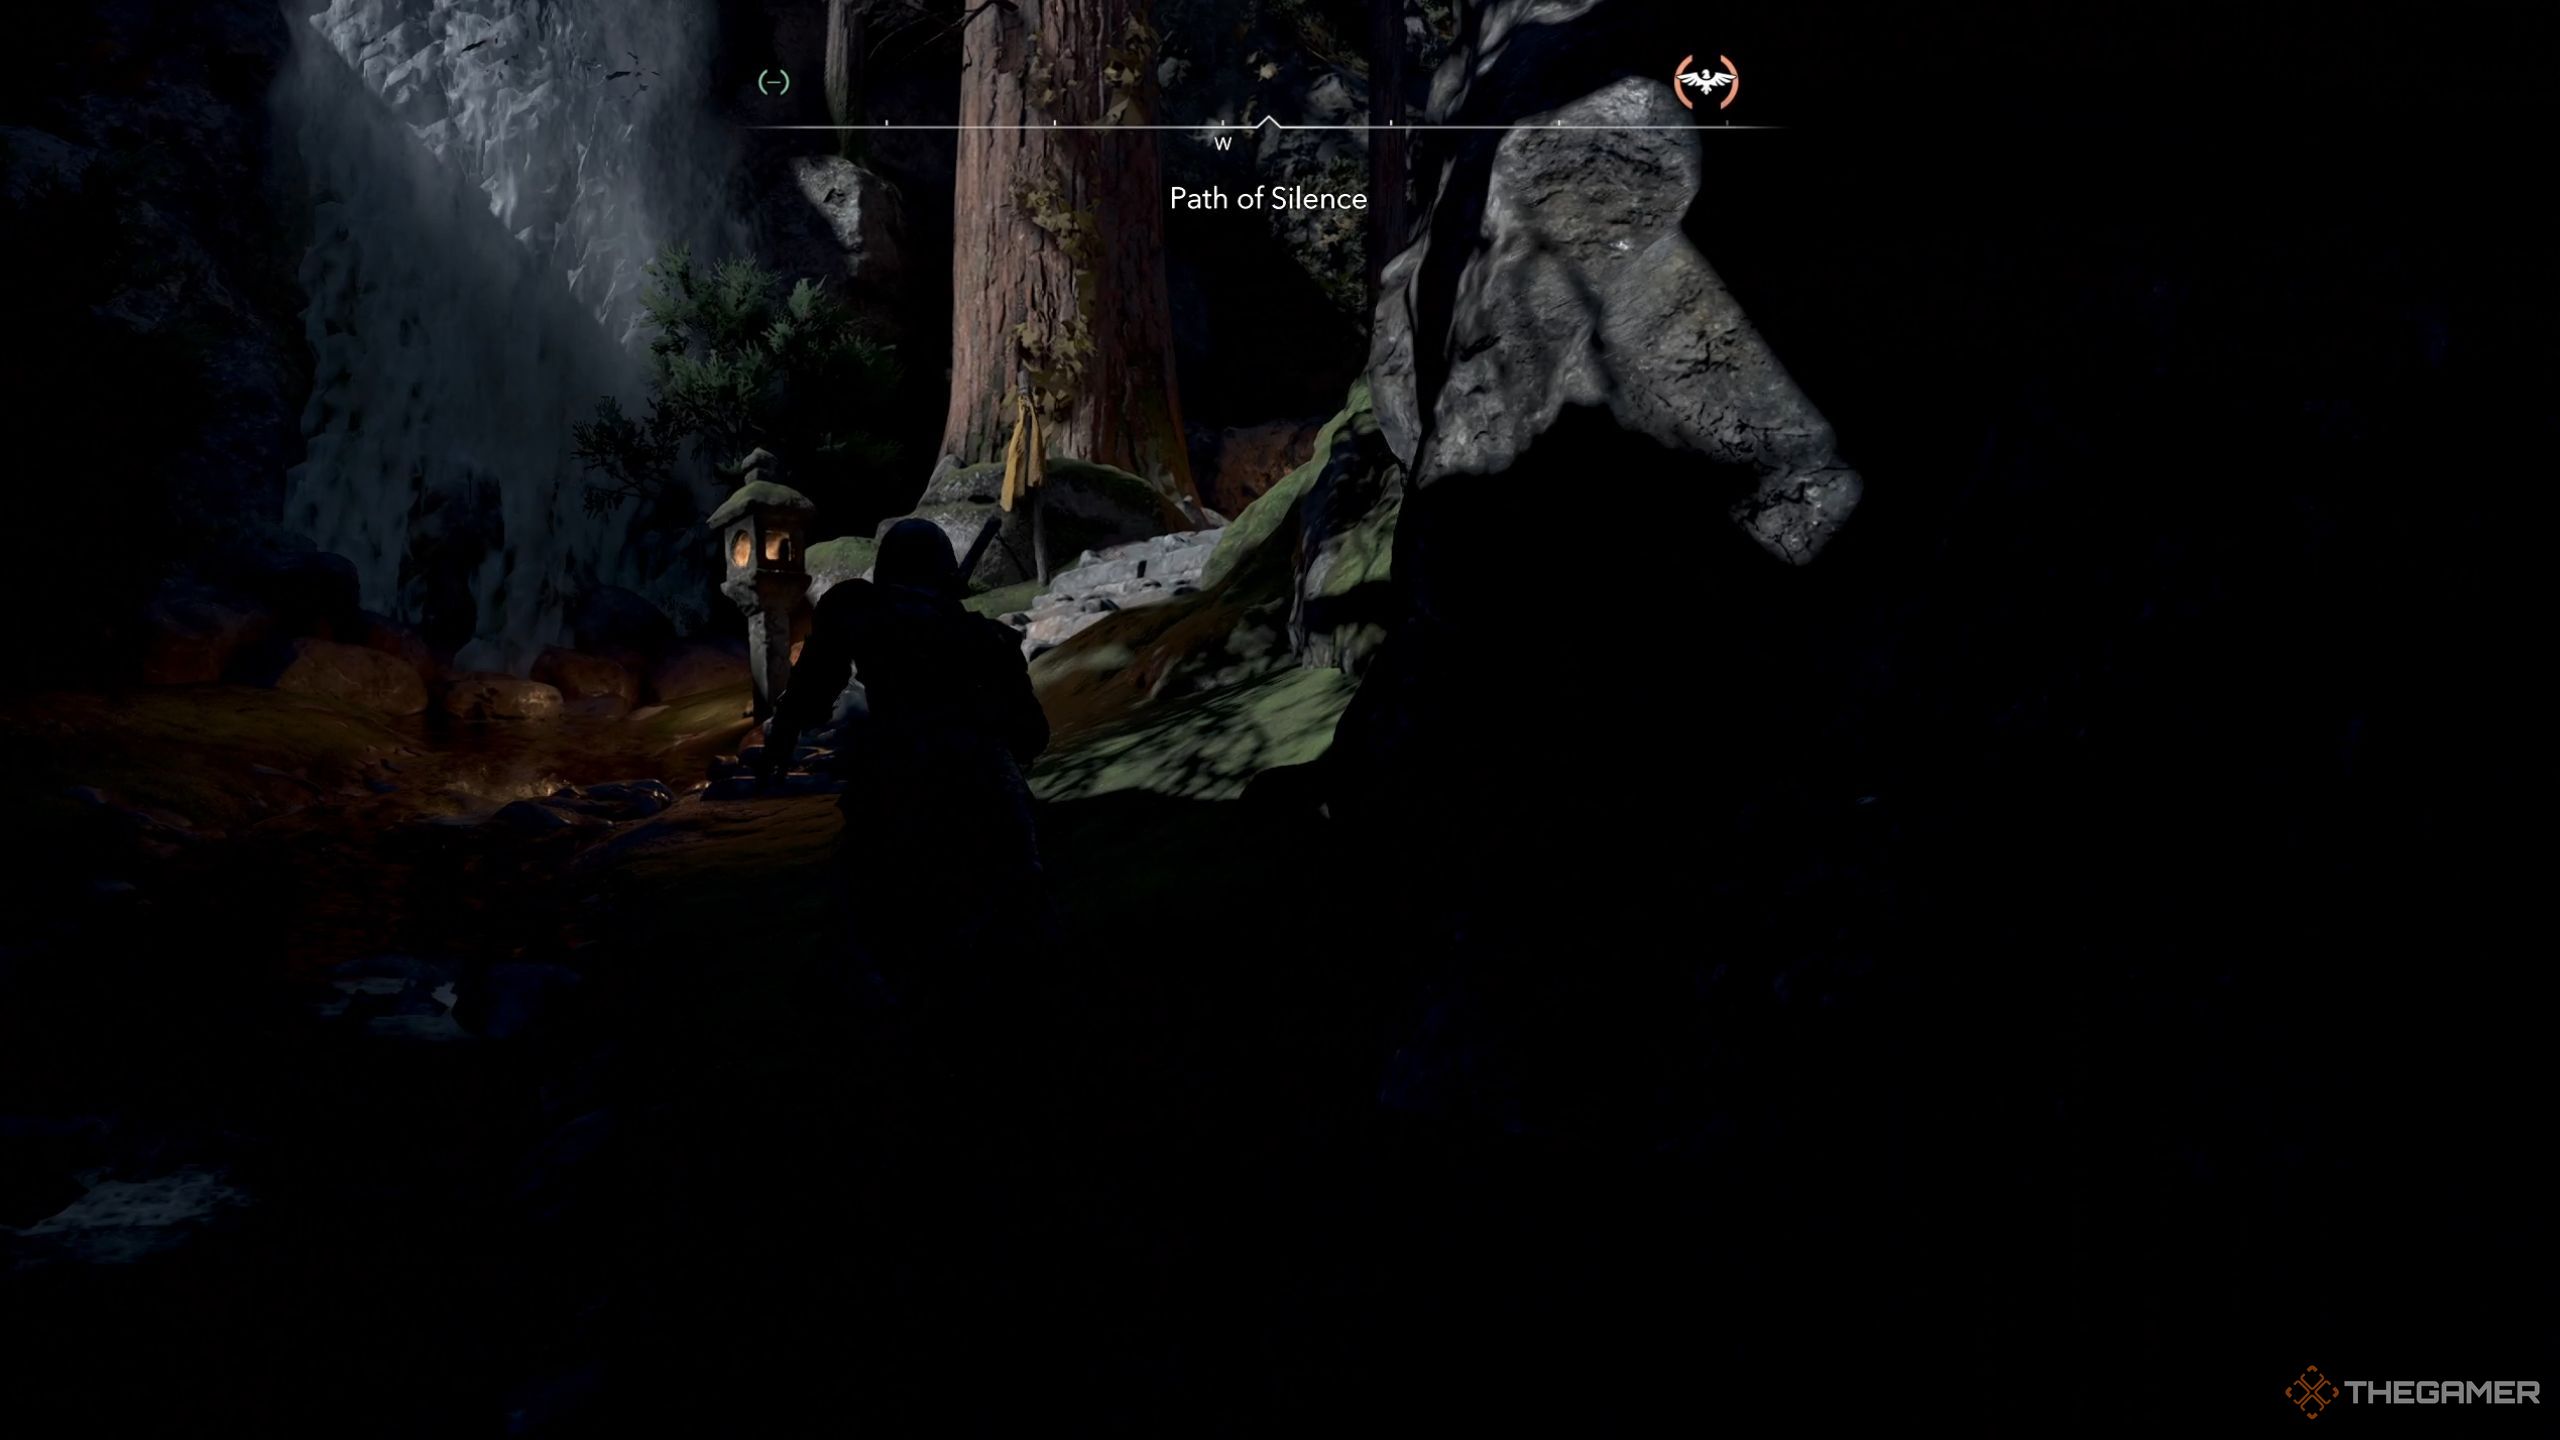
    Once you arrive at the Path of Silence, you’ll spot a yellow ribbon tied to a tree on one side, with a shrine on the opposite side. Start by climbing the wall to the right of the shrine marked with yellow. Upon reaching the top, take the stairs on your right and then jump through the gap to your right.

    Proceed through this gap to find a small area where Naoe can crawl. After crawling through, climb the wall on the right again and maneuver through the rope. On the other side, slide down into the shallow water and leap up onto the wall marked with yellow in front of you.

    Next, you’ll reach a broken bridge. Here, grapple across to the other side, navigate through a small gap in the wall, jump up another wall, and then drop down into the water. After landing, go on land to your left, climb up the wall, and pass through another crawl space.

    You’ll then perform some parkour across a tree branch in the center. Use the rope to reach the top of the small island in the water before grappling to the opposite side.

    Assassins Creed Shadows Path of Silence walkthrough part five.

    Ascend another wall, and the rest of the path is relatively simple: just jump across some tree branches and grapple once more. Afterward, you’ll go up a few stairs to find a chest waiting for you at the end.

    Rewards from the Path of Silence

    Assassins Creed Shadows Path of Silence final chest.

    At the end of the Path of Silence, you can claim a rare chest containing the Hibiki’s Hood, a purple-tier headgear for Naoe. Additionally, you will earn 1,000 XP and one Knowledge Point, which can be used to unlock improved abilities across all skill trees for both characters.

  • Finding the Earthy Aegis Treasure Chest in Avowed

    Finding the Earthy Aegis Treasure Chest in Avowed

    Exploring a vast world like Avowed can make hours vanish in the blink of an eye. While you can wander freely, the main storyline holds the key to unlocking further areas of the game.

    During your adventures, you’ll stumble upon various chests, but you can also embark on treasure hunts using maps found in different locations. One such map is the Earthy Aegis, and here’s how to locate it.

    Earthy Aegis Chest Location

    Among all the treasure maps in the Emerald Stairs area of Avowed, Earthy Aegis stands out as one of the toughest to interpret. The map lacks a distinctive landmark and only depicts a distant ruin tower containing the treasure. This tower is located in the western part of the area near Tama’s Cabin.

    To get there, teleport to the beacon below the cabin and head north along the designated path. Once you reach the top, you’ll notice the tower to the left of the beacon on your map. The chest is inside the cabin, but you won’t be able to enter through the main door. You need to navigate around using a tree branch.

    Move toward the cliff to the right of the cabin. You’ll find a branch extending around it. Carefully walk along this branch until you see an opening in the cabin where the chest is visible. In the lower right corner of this opening, there’s a small switch that you can press to unlock the door on the other side.

    After the door opens, walk back along the tree branch, and you’ll be able to enter the cabin and claim your prize.

    Inside the sarcophagus, you’ll discover a unique shield called Nature’s Ward. This special shield has the ability to inflict damage on enemies when you block their attacks and has a chance to cure any poison affecting your character.

  • Unlocking Palworld’s Biggest Storage Chest: A Guide

    Unlocking Palworld’s Biggest Storage Chest: A Guide

    Palworld is an adventure-packed survival-crafting game where players encounter numerous creatures known as Pals. As you advance, you’ll have the opportunity to construct bases, weapons, and various useful tools. However, gathering materials for these creations can be cumbersome, especially when it comes to managing your inventory space.

    The game includes chests and various storage options that allow you to store items you don’t currently need, helping to declutter your inventory. With the Feybreak expansion, a new storage option has been introduced: the Advanced Chest, which surpasses previous storage solutions. Here’s how to craft one.

    Crafting the Advanced Chest

    You can access the Advanced Chest from the Technology menu once you’ve reached level 58. Before crafting it, you must unlock it using four Technology Points. After unlocking, you’ll need the following materials to create the Advanced Chest:

    • 20x Hexolite
    • 50x Carbon Fiber
    • 20x Nails

    To obtain Hexolite, refine hexolite quartz found on Feybreak Island. Carbon Fiber can be produced from charcoal, which you can typically gather from elevated areas like mountains, using a production assembly line. Similarly, you can manufacture nails at any production assembly line by using iron ore ingots.

    Keep in mind, the Advanced Chest is considerably larger than other storage units, so plan accordingly when crafting it.

    The Advanced Chest offers 54 inventory slots to hold your items, making it a valuable asset for storage. It boasts 15,000 health points, making it more durable than any other chest in the game. Like other chests, it comes with customizable settings that allow you to dictate the type of items your Pals can store within it.

  • Complete Guide to Chest and Crystal Cluster Locations in Ys X: Nordics

    Complete Guide to Chest and Crystal Cluster Locations in Ys X: Nordics

    Exploring Ys X: Nordics – A Guide to Termina Island

    At first, Ys X: Nordics may feel a bit slow, but things will pick up when Carnac comes under attack. This event introduces you to a variety of characters, including several villains like Jord and Odr. Odr will engage you with his ship and lead you to the Tyrant, ultimately taking you to Termina Island.

    Termina Island is a vast area waiting to be explored if you want to repair your ship. You will encounter numerous enemies and face various puzzles throughout your journey.

    Overview of the Main Area on Termina Island

    The main surface of Termina Island consists of three sections. Each new area can be accessed through a cave system. The first challenge you will encounter involves fast-moving enemies that can dodge your attacks. To effectively battle these foes, trigger their dodge moves, then follow up with powerful attacks.

    Navigating through these areas is relatively straightforward. Here’s a quick guide on what to do:

    1. In the first area, head to the top left of the map to find the Gullinboard. Use this to return to the swampy river, which you can now cross to enter the first cave.
    2. Inside the cave, continue along the only visible path. Eventually, you’ll need to utilize the mana rail to traverse the beach area. A puppet will become visible as you use this rail, guiding you to the second cave.
    3. Proceed to the end of the area, where you’ll face off against the Magna Diga boss and conclude your storyline on Termina Island after purifying the puppet.

    Treasure Locations on Termina Island’s Main Area

    Here’s a list of treasure troves you can discover in the main area:

    Number Type Reward How To Get
    1 Crystal Cluster Crystal Shards As you advance, look to the right in a small hidden spot for this cluster.
    2 Crystal Cluster Crystal Shards Found on a small path leading downward into the island.
    3 Chest 3x Fishing Bait Located on your right near ruins while heading to the top left of the first area.
    4 Chest Gullinboard This is at the top left corner of the initial area, necessary to continue.
    5 Chest Gale Boots After crossing the swamp water with the Gullinboard, look for this chest on the right near a merchant tent.
    6 Crystal Cluster Crystal Shards You’ll find it on the right as you enter the second area of the surface.
    7 Chest 25x Basic Craft Stock While using the mana rail, jump halfway to get this chest on an island in the middle.
    8 Crystal Cluster Crystal Shards Visible in a corner to the right after using the mana rail further into the area.
    9 Crystal Cluster Crystal Shards Near the second cave entrance; use the cyan-colored boost to reach it.
    10 Chest Mead Head to the end of the optional area to find this red chest.
    11 Chest 3x Fishing Bait S Utilize the mana rail in the optional area, which will take you directly to this chest.
    12 Crystal Cluster Crystal Shards Located behind a pillar on the left in the third area.
    13 Chest Heartfire Tome Progressing in the third area, you’ll notice a path to the left containing this red chest.
    14 Crystal Cluster Crystal Shards Easily spotted as you move through the area.
    15 Chest 1000x Gold Look for this chest as you continue along the area.
    16 Buried Treasure 800x Gold Can be found through mana sensing at a designated location.
    17 Buried Treasure 5x Dark Drops Same process as above, located in the area.
    18 Buried Treasure Axe Star Accessible in the same manner as the others.
    19 Buried Treasure Empty Lunch Box Use mana sensing to locate this buried treasure.
    20 Buried Treasure 5x Fishing Bait S Can be found via the same mana sensing technique.
    21 Buried Treasure Lyre Star Look for this treasure using the same sensing method as above.

    Note: Buried treasures can only be collected after you unlock Mana Sense during your adventure.

    Adventure through Termina Island Cave One

    The first cave on Termina Island offers a straightforward experience, but be wary of deep water pools. Should you drown, your character respawns at the last land position, so it’s best to maneuver using the Gullinboard to cross them.

    At one point, you will encounter a fork in the path and should choose the right route. Here, use your board on the mana rail to surf across. In the next room, move to the left and climb up onto the higher platform. Here, you’ll need to interact with a broken pillar, which will create a straight mana rail leading through the cave.

    Treasure Locations in Termina Island Cave One

    Number Type Reward How To Get
    1 Chest 2x Antidote In a corner of the initial open room filled with enemies.
    2 Crystal Cluster Crystal Shards Located straight ahead when the path first branches in the cave.
    3 Chest Sword Seal+ Found when taking the straight path at the branch in the cave.
    4 Crystal Cluster Crystal Shards Near the broken pillar you will need to interact with.
    5 Chest Sea God’s Incense After fixing the mana rail, use it and then jump toward the left before reaching the red chest.
    6 Buried Treasure 5x Rainbow Drops Located toward the end of the cave on the left side.

    Termina Island Cave Two Exploration

    At the start of the second cave, your first task will be to jump between two mana rails. Continue deeper into the cave until you enter a large room filled with multiple mana rails. Take the right path and grapple over the gap at the end.

    Keep using your Gullinboard on various rails and boosters to reach the top of the area, allowing you to enter the last section of Termina Island’s surface.

    Treasure Locations in Termina Island Cave Two

    Number Type Reward How To Get
    1 Crystal Cluster Crystal Shards After the first mana rail, an optional path on your left leads to these items.
    2 Chest Chalice Seal+ Located along the optional path after the first mana rail.
    3 Crystal Cluster Crystal Shards Found right after the first grapple in the large room.
    4 Chest 3x Celadon Clay Automatically visible on a higher platform along your path.
    5 Chest Shield Seal+ Found further along your upward path in the cave.
    6 Crystal Cluster Crystal Shards Near the exit of the second cave, identifiable by a pressure plate.
    7 Chest Armament Blueprint: Fireball Activate the pressure plate to unlock the door and reach this chest using boosts.

    Navigating Termina Island requires skill and exploration, but your efforts in uncovering the treasures and facing enemies will enhance your adventure in Ys X: Nordics. Enjoy your journey!

  • Complete Guide to Chest and Crystal Cluster Locations on Lecto Island in Ys X: Nordics

    Complete Guide to Chest and Crystal Cluster Locations on Lecto Island in Ys X: Nordics

    Ys X: Nordics is a game that starts off at a leisurely pace but gradually picks up as you dive deeper into the main story. Initially, players will find themselves wading through a fair amount of dialogue with limited combat, until they reach Balta Island. Here, you must complete a trial to unite Adol and Karja as shield brethren.

    To get started, you’ll venture to Lecto Island, which is the first significant island you’ll need to explore in its entirety. Along the way, be on the lookout for hidden treasures and crystal clusters as you traverse the landscape.

    Lecto Island: Main Area Overview

    As you approach Lecto Island, you’ll need to dock your ship at the back, since a Griegr ship occupies the front. After stepping off, move inland a little until you discover a spot to use a mana string to cross to the other side.

    Continue deeper into the island until you reach a fork in the path. Take the right route (left on the minimap) which leads to a higher platform. Here, you’ll find another mana string opportunity that allows you to enter a cave and advance the story.

    Tip: You’ll encounter several giant boars in this area. It’s wise to focus on dodging their attacks before attempting to strike back.

    Treasure Locations in the Main Area

    As you explore the main area of Lecto Island, you’ll uncover various treasures. Here’s a breakdown of what and where to find them:

    Number Type Reward How To Get
    1 Crystal Cluster Crystal Shards After using the mana string for the first time, look for it on a cliff to your right.
    2 Chest 10x Basic Ingredients This chest is visible on the minimap near the crystal cluster above.
    3 Chest 2x Stimulant Found on the northern edge before diverging into one of the paths.
    4 Chest Arion Charm After the second mana string, this chest is to your left and guarded by a boar.
    5 Crystal Cluster Crystal Shards Jump down to the small river in the lower area to find this cluster.
    6 Buried Treasure Gold Located in a small ditch at the area.
    7 Buried Treasure 3x Rainbow Drop Found after the path divides at the right edge.

    Note: You won’t find buried treasure right when you arrive; continue the story until you unlock the mana sense ability.

    Cavern of the Rite: Area Overview

    Upon entering the Cavern of the Rite, you’ll navigate through a series of rooms filled with traps and enemies. The initial rooms will feature pressure plates. You can sprint through these areas to avoid projectile traps.

    In the first room, timing your movements is essential to dodge boulders, while the next will challenge you with four enemies that you need to evade. After dodging, get close for a powerful attack.

    Eventually, you’ll need to use Karja’s mana burst to reach higher platforms. Clear all enemies in the following rooms and use Adol’s burst to break through thorn walls to proceed. You’ll eventually face a miniboss named Ziomander.

    Tip: Ziomander has substantial health, so focus on using your strongest skills to defeat it swiftly.

    As you progress, defeat a few Griegr in a larger room. Use the path on the right to climb higher and find a lever that opens the door ahead. Move past a room filled with more traps and enemies, using mana string to reach and defeat the Griegr.

    This will lead you to the final room where you can initiate the boss fight against Ioi, concluding your adventure on Lecto Island.

    Treasure Locations in the Cavern of the Rite

    While exploring the Cavern of the Rite, you’ll find several treasures. Here’s a list of what to look for:

    Number Type Reward How To Get
    1 Chest Armor Seal This chest is visible as you make your way through the cavern.
    2 Crystal Cluster Crystal Shards Found in the open upon entering the second room after the chest mentioned above.
    3 Crystal Cluster Crystal Shards Located in the center after you enter the large room in the cavern.
    4 Chest Breath Formula Use Karja’s burst near the broken platforms left as you enter the big room, then Adol’s burst to clear the blockage.
    5 Chest Warrior Bandana Found along the path while attempting to activate the lever in the big room.
    6 Buried Treasure Shield Star Located on the left path at the rear of the big room in the cavern.
    7 Crystal Cluster Crystal Shards Another cluster found in the center of the rooms as you explore.
    8 Chest 3x Cureleaf These two chests can be found on either side of the platform in the room following the big one.
    9 Chest Axe Seal
    10 Buried Treasure Black Strong-Arm Located towards the end of the cavern, accessible with mana sense.

    By following these tips and treasure maps, you’ll enhance your adventure in Ys X: Nordics while mastering the challenges throughout Lecto Island and the Cavern of the Rite. Enjoy your journey!