الوسم: Brighter Shores

  • All Main Quests in Brighter Shores Uncovered

    All Main Quests in Brighter Shores Uncovered

    The primary questline in Brighter Shores leads you through different regions where you’ll interact with new characters, battle formidable foes, and enhance your abilities. Like many aspects of the game, progress requires you to reach a specific level.

    This guide will outline all the main quests in Brighter Shores, detailing the level requirements for each quest. It will provide a general overview of what’s needed to finish each quest without going into excessive detail, as there are numerous main quests across four distinct areas.

    Completing the final quest in each section will grant you entry to the next area.

    Hopeport Main Quest


    The primary quests in Hopeport are quite straightforward, as many serve as tutorials for the game. Below is a list of the main quests in Hopeport.

    Generally, side quests are not mandatory for progression. Additionally, some side quests may have high skill level requirements, so you can return to them later.

    It’s advisable to tackle side quests when possible, but don’t be concerned if you progress to the next area without finishing a quest like The Brannof Inheritance, which requires you to be a level 50 Alchemist and a level 61 Chef.

    Quest

    Description

    Requirements

    Welcome to the Guard

    Your task is to speak to a few NPCs and then obtain a sword.

    N/A

    Defend Hopeport

    Fight two goblins (these will be highlighted for you).

    Just finish the previous quest.

    Assist Marcus Mint

    Move a crate in the Town Square for Marcus.

    Complete the previous quest.

    Heal Captain Degreene

    Gather Brown Kelp for Ebsworth.


    Return to the Apothecary and create a 10% Healing Potion.

    Finish the previous quest.

    Debrief

    Speak with Corporal Binns.

    Just complete the previous quest.

    Level Up

    This step involves leveling up significantly.


    You will also need to finish Bow Training.

    Complete the previous quest.


    Reach Level 15 Guard.


    Achieve a total level of 60.

    Help Commander Hackett

    This appears only if you finish Level Up before starting The Obelisk.


    You just need to complete The Obelisk.

    Finish the previous quest.


    Do not complete The Obelisk.

    Total Level Required To Move On: 60

    Hopeforest Main Quest


    An enemy in Brighter Shores corrupted.

    You will embark on three main quests in Hopeforest. Although there are fewer quests than in Hopeport, these tend to be more extensive.

    Quest

    Description

    Requirements

    Hide and Seek

    This quest requires you to follow Binns to track a set of footprints.


    Eventually, this leads to Dryad Glade, where the quest shifts to Nullify the Corruption.

    N/A

    Nullify the Corruption

    This quest is quite lengthy (refer to our walkthrough!) and involves completing several fetch quests for the Dryad.


    You will have the option to choose your class during this quest.

    Complete the previous quest.


    Reach Level 8 Woodcutter.


    No need to be Scout level 20, but you must defeat level 20 enemies.

    Get Clearance from Jal

    This quest is primarily about leveling up.

    Complete the previous quest.


    Reach Level 60 for Hopeforest.


    Achieve a total level of 153.

    Total Level Required To Move On: 153

    Mine of Mantuban Main Quest


    A player standing inside the Leech Pools in Brighter Shores.

    Once you’ve achieved a total level of 153, you can progress into the Mine of Mantuban. Here, you’ll encounter the following quests. This will mark the first moment in the main story where you need to return to a previous area.

    Quest

    Description

    Requirements

    On The Trail of Corruption

    This resembles the initial quest in Hopeforest; you’ll essentially be tracking a trail.


    We recommend leveling up your Minefighter skill, as you will face level 14 enemies here.

    Reach Level 10 Miner.

    Nullify More Corruption

    You’ll start by battling several enemies and then move on to some fetch quests to eliminate further corruption.


    The strongest enemy you’ll encounter is level 17, so keep leveling your Minefighter skill.

    Complete the previous quest.


    Reach Level 14 Miner.

    Report Back to Hopeport

    Return to Hopeport, where you must speak with a few NPCs.

    Complete the previous quest.

    The Horn of Hopeport

    In this quest, you need to find the Horn of Hopeport within goblin-infested tunnels.

    Complete the previous quest.

    Returning the Horn

    You will now return the Horn to Lord Brannof.

    Complete the previous quest.

    Negotiation with a Cyclops

    You must gather Gnomic Silver for the Cyclops, which can be mined.

    Complete the previous quest.


    Reach Level 20 Miner.


    Reach Level 65 for the Mine of Mantuban.


    Achieve a total level of 252.

    Total Level Required To Move On: 252

    Crenopolis Main Quest
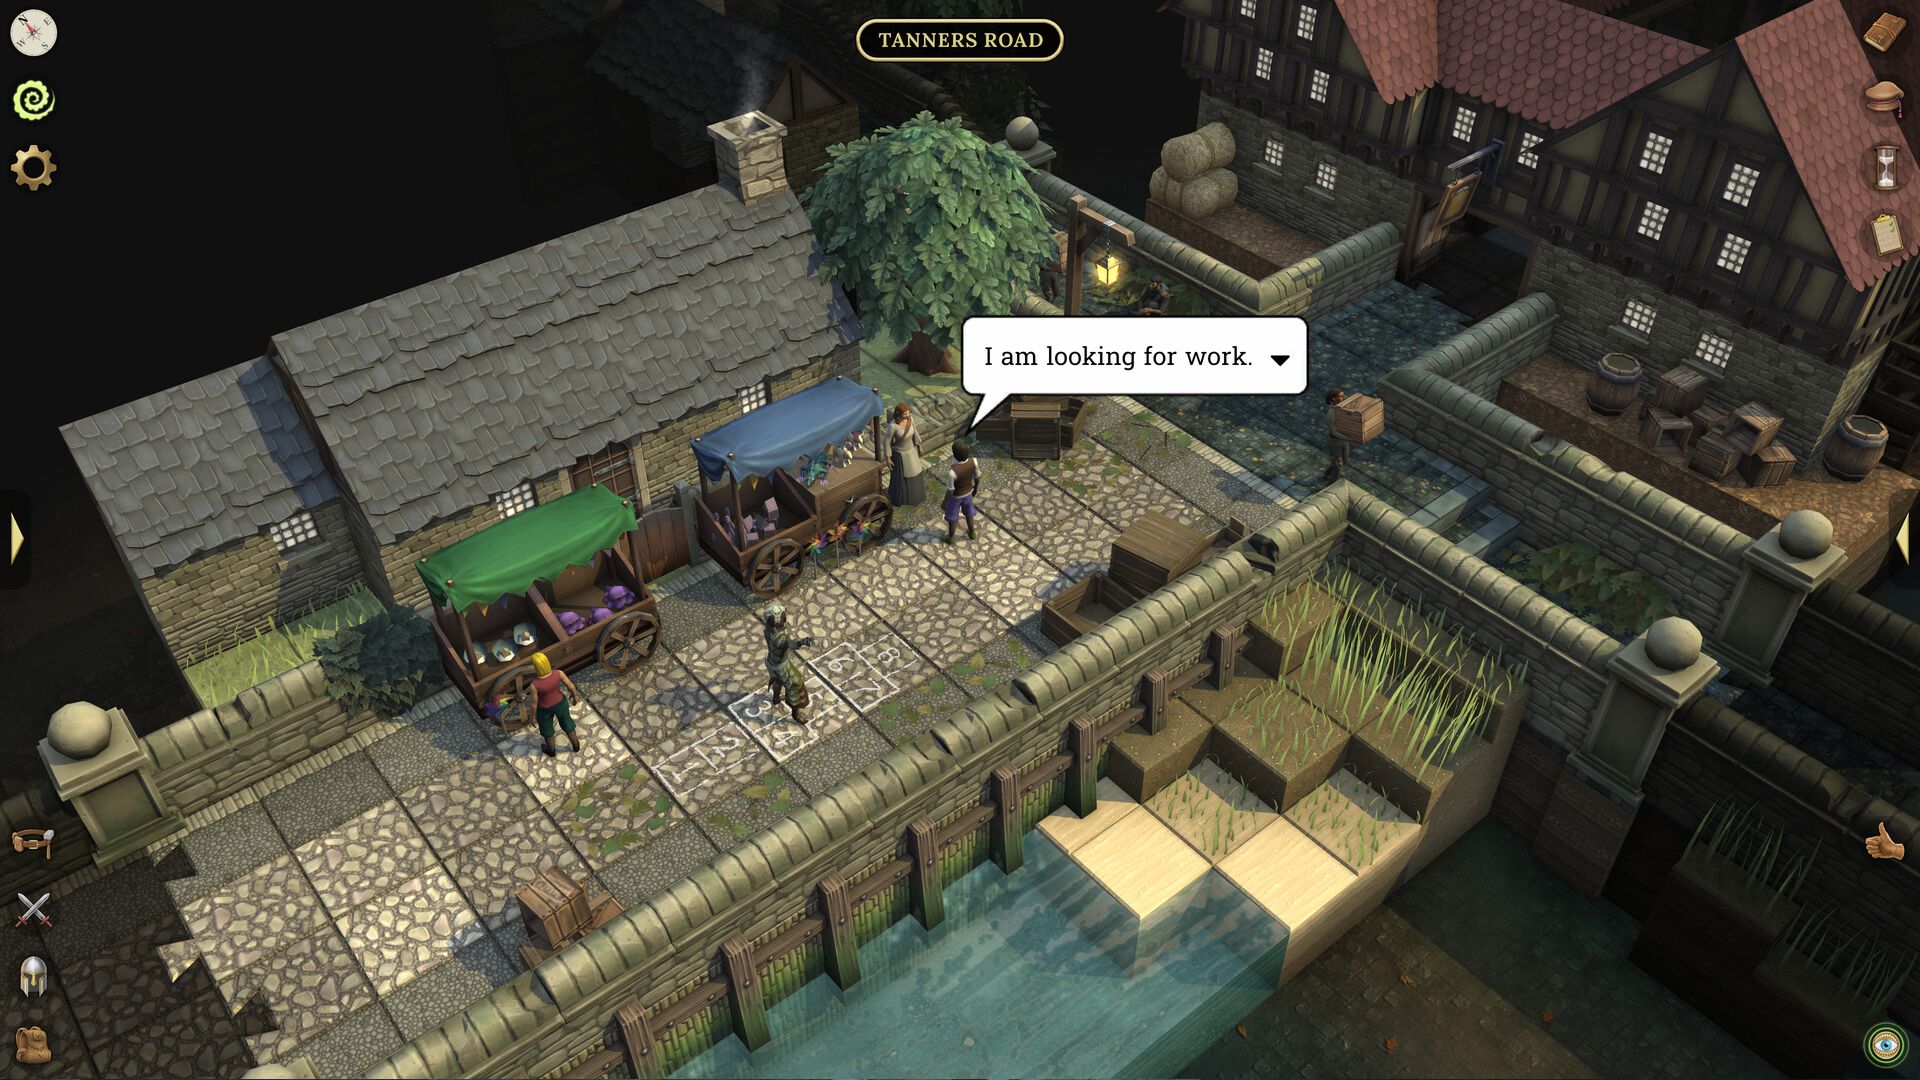

    A player standing on Tanner's Road in Brighter Shores.

    Finally, we have the main quests in Crenopolis. Currently, this is the last area you can explore. Below are the six main quests you can complete here. However, since this is not the end of the game, the final quest does not have that ‘epic conclusion’ feel.

    Quest

    Description

    Requirements

    Find Captain Waltain

    Talk to Captain Waltain in Crenopolis and purchase some Handcuffs (36 Silver).


    You’ll also need to chat with NPCs and end up at the Goose Inn Bar to speak with Rachella.

    N/A

    Help Rachella

    This is a lengthy quest requiring you to collect several items, listed below:


    Street Hag Earrings.


    Leatherworker’s Patches.


    Bottled Water of Delight.


    Greenstowe Silver Candlestick.


    Clockwork Sheep.


    Beef Joints.

    Complete the previous quest.


    Reach Level 8 Merchant.


    Reach Level 10 Leatherworker.


    Reach Level 16 Detective.

    Head to Stonemaw Hill

    Simply talk to Rachella and then travel to Rocky Road (located in Hopeport).


    You will not be able to pass through the gate. Thus, you must return to Crenopolis, try climbing a tree unsuccessfully, and talk to Waltain.

    Complete the previous quest.

    Getting Clearance from Waltain

    This quest mainly involves talking to NPCs (alongside some leveling).

    Finish the prior quest.


    You must also complete Spider’s Nest, a side quest in Hopeforest (requires Level 20 Woodcutter and Level 32 Carpenter).


    Reach Level 60 in Crenopolis.


    Achieve a total level of 342.

    Retrieving the Golden Cog

    You’ll now be able to climb the tree and enter Helfar’s Wall.


    From there, make your way to the Artifact Room, defeat a guard, witness Toblaine transforming into a dragon-human, and instruct him to return.

    Complete the previous quest (including Spider’s Nest).

    Return to Drogentyne

    Simply talk to Drogentyne at Rocky Road and show him the cog.

    Complete the previous quest.

    Stonemaw Hill has not yet been introduced in the game, thus you won’t be able to access it until the fifth episode is released. In the meantime, keep exploring the world and improving your skills.

  • Collecting Brown Kelp in Radiant Shores: A How-To Guide

    As you embark on your adventure in Brighter Shores, you’ll quickly realize that a wealth of opportunities awaits you. With an abundance of items to collect, recipes to create, and creatures to battle, deciding where to start can be overwhelming. However, every action you take contributes to the growth of your character in the game.

    In the initial chapter, Hopeport, you can engage in foraging, which allows you to gather essential materials for crafting various recipes. Let’s explore what you need to know about obtaining Brown Kelp, which is the first material you’ll gather as a Forager.

    Where to Locate Brown Kelp

    Brown Kelp is a basic resource for foraging at level zero and is crucial for crafting basic healing potions. If you aim to improve both your Alchemy and Foraging skills, stockpiling this item is key, so it’s important to know where to find it.

    You can find Brown Kelp in two specific spots within Hopeport: the East Beach and Jellyfish Landing. Both locations are situated to the south and west of the Town Square and the main street of Hopeport.

    Visually, Brown Kelp resembles a clump of light-brown fabric, making it easy to identify compared to other items in the vicinity.

    As you progress, you’ll be able to upgrade Brown Kelp into higher-tier varieties. Here’s a breakdown of the different types of Kelp that you can gather as a Forager:

    Kelp

    Forager Level

    Brown Kelp

    0

    Green Kelp

    47

    Silver Kelp

    161

    You can collect all types of Kelp from the same two locations in Hopeport. If you’re a Forager above level 47, you can still gather Brown Kelp by using the Past Action option to select lower-tier items.

  • Finding Your Cape in Brighter Shores: A Guide

    Finding Your Cape in Brighter Shores: A Guide

    Brighter Shores provides a wide range of armor and gear for you to equip. While most of these items are meant for protection, you can also find decorative pieces, like capes, to show off your profession levels.

    Are you looking to get your own cape? In this guide, we’ll explore how to acquire a cape in Brighter Shores and the different options available. Keep in mind that you won’t have access to these capes from the beginning, as they require you to reach certain levels in your professions.

    Brighter Shores is currently available in Early Access on Steam, so the content may change over time. We will revise this guide as needed.

    Where To Buy Capes

    You can purchase capes at a location called The Cloakroom. If you haven’t been there yet, it’s located in an alley that goes north from Old Street East. This is right across from the Enchantress Shop.

    Once you enter this alley, named Pipe Alley, The Cloakroom is the only accessible building. Just go inside, and you’ll be in the right place to buy capes!

    What Capes Are Available?


    Every profession has its own capes available for purchase, but they are linked to different levels. Each profession offers four capes, with the options unlocking at the same level for all professions. For instance, the first cape becomes available when you hit level 50.

    Below are the four tiers by level for the capes. Each tier comes with the same price, which can be quite steep. Currently, it appears that these capes are purely cosmetic and don’t provide any gameplay advantages.

    Cape Tier

    Level Required

    Price

    1

    50

    504 Silver

    2

    100

    1 Gold 290 Silver

    3

    200

    3 Gold 160 Silver

    4

    500

    9 Gold 360 Silver

    You can find capes for professions that aren’t connected to Hopeport as well.

  • Exploring Wild Edibles: A Guide to Foraging in Brighter Shores

    Exploring Wild Edibles: A Guide to Foraging in Brighter Shores

    Foraging in Hopeport: A Guide to Brighter Shores

    Foraging is one of the key professions you can pursue in Hopeport while playing Brighter Shores. It plays a crucial role in leveling up as both an Alchemist and a Chef since it involves collecting essential ingredients.

    This profession encompasses a lot, and you’ll need various tools to successfully forage. In this guide, we’ll cover everything you need to know about foraging in Brighter Shores, including some tips for beginners who are just starting.

    Getting Started with Foraging

    To begin foraging, you don’t need any tools! When you first enter Hopeport, you’ll be at level 0 in foraging, which means the first item you’ll be able to forage is Brown Kelp. Luckily, you may have already collected some of this during the tutorial.

    For a quick reminder, Brown Kelp can be found on the East Beach, right below the Sea Road. Picking up Brown Kelp will earn you some experience points. Keep collecting it until you reach level two. Once you hit that milestone, you’ll be able to purchase Secateurs, which are used to gather more advanced items.

    Foraging Tools Available

    You’ll utilize three tools for foraging: Secateurs, a Trowel, and a Pond Net. Each of these has upgraded versions available for purchase, which are necessary to fully advance in the profession. Here’s an overview of the equipment and their upgrades:

    Equipment Base Level Required Base Cost Upgraded Versions Unlock At
    Secateurs 2 13 Silver, 200 Copper Ver. 2: Level 84 (374 Silver), Ver. 3: Level 168 (1 Gold, 10 Silver)
    Trowel 6 46 Silver, 800 Copper Ver. 2: Level 78 (352 Silver), Ver. 3: Level 192 (1 Gold, 140 Silver)
    Pond Net 10 54 Silver Ver. 2: Level 102 (439 Silver), Ver. 3: Level 242 (1 Gold, 410 Silver)

    Upgrading Plants through Levels

    As you level up, the plants around Hopeport will also upgrade, allowing you to return to areas and find relevant items. For instance, Brown Kelp will evolve into Green Kelp when you reach level 47 foraging. This is significant for anyone working on leveling up other professions, as certain dishes may require specific ingredients found in these locations.

    Enchanting Your Foraging Equipment

    You can enchant all three pieces of foraging equipment at the Enchantress of Hopeport. By paying a fee in silver, you can obtain an experience boost tied to the item slot. For example, enchanting your Secateurs can cost 55 silver for a 0.4% XP boost, and it remains with you even if you upgrade to a better version.

    Overview of Foragables in Brighter Shores

    Here’s a comprehensive list of foragables you can find in Brighter Shores, along with the level at which they become available:

    Level Foragable
    0 Brown Kelp
    2 Creamy Wallplant
    4 White Periwinkle
    6 Horn Shell
    8 Piper Potato
    10 Tangled Pond Weed
    12 Mauve Bellplant
    14 Huge Monument Piece
    … …
    490 Miniscule Monument Piece

    There are a total of 500 levels in the Forager profession. Upon reaching level 500, you’ll unlock the Ultimate Forager Cape.

    Foragable Locations

    Finally, here are the locations for various types of foragable items:

    Foragable Type Location
    Kelp East Beach and Jellyfish Landing
    Wallplant Old Street East and West
    Periwinkle Brannof Boulevard
    Shell East Beach and Seashells Seashore
    Pond Weed Overgrown Pond
    Nettle Overgrown Pond
    Monument Piece Crater and Wasteland
    Potato Fallen Monument and Overgrown Field
    … …

    This guide should give you a head start in your foraging adventure in Brighter Shores! Happy foraging!

  • Fishing Adventures in Luminous Waters: A Complete Guide

    Fishing Adventures in Luminous Waters: A Complete Guide

    Fishing Guide for Hopeport in Brighter Shores

    As you journey through Hopeport in Brighter Shores, you’ll have the chance to advance in various trades. One timeless trade you’ll encounter is fishing. Rather than relying on just a basic fishing rod, you’ll have access to an array of fishing gear that will help you catch different fish throughout the game.

    This guide will provide a comprehensive overview of fishing in Brighter Shores, covering everything from the basics to tips for leveling up your fishing skills. Keep in mind, just like other professions in Brighter Shores, fishing requires a fair amount of practice and effort.

    Note: Brighter Shores is still in Early Access on Steam, and content may change. We will continue to update the information as necessary.

    Getting Started with Fishing

    To begin your fishing adventure, you first need to acquire a Fishing Spear. This can be bought at the fishing supply store to the right of the Town Square, located in a small building marked with a fishing sign.

    The spear costs 12 silver, which is a manageable amount. If you don’t have enough silver yet, consider defeating enemies, raiding chests, or selling items you’ve foraged.

    With your spear in hand, it’s time to find fish that match your current skill level. At level zero, you’ll be able to catch a Mottled Flounder, which is located along the beach south of the Sea Road. This area is introduced during a tutorial where you collect kelp to create a potion, so it should be familiar to you.

    As you progress and level up, you will unlock more fish species that you can catch. Remember, the fish you target should align with your current skill level.

    Fishing Equipment Overview

    There are five types of fishing gear available, all of which must be obtained from Melv’s Fishing Supplies. To enhance your fishing skill, you’ll need to buy upgraded versions of this equipment as you level up:

    Equipment Base Level Required Base Cost Upgraded Versions Unlocked At
    Fishing Spear 0 12 Silver Version 2: Level 15 (126 Silver)
    Version 3: Level 43 (340 Silver)
    Version 4: Level 113 (957 Silver)
    Version 5: Level 173 (1 Gold 730 Silver)
    Version 6: Level 310 (3 Gold 560 Silver)
    Fishing Rod 20 72 Silver Version 2: Level 66 (309 Silver)
    Version 3: Level 116 (734 Silver)
    Version 4: Level 157 (1 Gold 270 Silver)
    Version 5: Level 205 (2 Gold 20 Silver)
    Version 6: Level 363 (4 Gold 130 Silver)
    Cast Net 28 86 Silver 400 Copper Version 2: Level 179 (716 Silver)
    Lobster Pot 39 106 Silver Version 2: Level 175 (1 Gold 50 Silver)
    Oyster Net 73 334 Silver Version 2: Level 231 (1 Gold 800 Silver)

    Utilizing Bait

    Once you achieve level 20 and unlock the Fishing Rod, you can start using bait. There are six primary types of bait, each crafted from different materials. Here’s a summary of each type along with its key ingredient:

    Bait (Fish Used On) Level Unlocked Main Material
    Dab 20 Sea Slug (levels 20 to 446)
    Mackibut 25 Grubs (level 25 to 419)
    Wraddock 3 Maggots (level 31 to 463)
    Herring 34 Maggots (level 34 to 270)
    Sturlet 45 Grubs (level 45 to 481)
    Bream 48 Worms (level 48 to 296)

    Upgrading Your Fish

    Leveling up in your fishing skills brings rewards such as improved fish availability. For instance, when you reach fishing level 10, you’ll receive a notification for the Lonely Pufferfish. Rather than searching for it, it replaces the previous version of the pufferfish on your map. This means you can now catch this upgraded fish for better experience points.

    Selecting a fish on the map allows you to revert to earlier versions, which can be useful if you need a specific fish for a quest or recipe. The map will constantly show you the type of fish available in each location.

    Enchanting Fishing Equipment

    You can enhance your fishing gear at the Enchantress, which provides useful experience boosts. This enchantment is applied to the item slot, meaning you only need to buy it once for each slot.

    For example, after purchasing the Fishing Spear Enchantment for 55 silver (to gain a 0.4% XP boost), it will apply to any spears you might acquire later on. Although enchanting can be costly, it is an effective investment for gaining experience rapidly.

    Fish Species in Brighter Shores

    There are numerous species of fish you can catch in Brighter Shores. The guide below lists fish you can aim for, along with the level requirement to unlock them:

    Level Fish Unlocked
    0 Mottled Flounder
    2 Lesser Eel
    4 Sandy Pufferfish
    6 Olive Flounder
    8 Gray Eel
    10 Lonely Pufferfish
    12 Stone Flounder
    14 Yellowtail Gurnard
    16 Rocky Eel
    18 Lemon Pufferfish
    20 Common Dab
    22 Arrowtooth Flounder
    25 Spotted Mackibut
    28 Placid Bass
    31 Ballan Wraddock
    34 Ridged Herring
    … (Continue listing as needed)
    490 Prime Ray

    There are a total of 500 fishing levels. Upon reaching level 500, you will earn the Ultimate Fisher Cape.

    Fish Locations

    Each fish type has specific habitats. Here’s a list to help you find them in Hopeport:

    Fish Type Location
    Eel Eel Street Bridge
    Pufferfish Wilhope Crossing
    Bream Central Waterfront
    Herring Boardwalk
    Oyster East Waterfront
    Dab Vacant Pier
    Sturlet Vincible
    Wraddock Little Lucy
    Flounder East Beach
    Lobster West Waterfront
    Bass Seashells Seashore
    Cod Starfish Point
    Ray Ray Bay
    Gurnard Pirate Hideout

    With this guide, you’re well-equipped to dive into fishing in Brighter Shores! Enjoy the waters and happy fishing!

  • Unlocking Income Opportunities in Brighter Shores

    Unlocking Income Opportunities in Brighter Shores

    In Brighter Shores, money plays a vital role. You’ll need it to purchase equipment related to your professions and various materials from different vendors scattered throughout the game world. When you start, your funds will be quite limited, but luckily, there are plenty of ways to earn some quickly.

    This guide will explore effective strategies for increasing your income in Brighter Shores. There are two main types of currency in the game: silver and copper (which can be converted into silver). Since silver has a higher value, we will focus on methods to earn silver rather than just accumulating copper.

    Brighter Shores is currently in Early Access on Steam, which means some features may change. We will keep this guide updated as necessary.

    Selling Fish


    Fishing is an excellent way to earn money. You can use a Fishing Spear and continue fishing as long as you have enough space in your inventory. We recommend targeting eels or pufferfish in the river areas south of the Town Square (especially at the Eel Street Bridge and Wilhope Crossing).

    After catching some eels and pufferfish, head south to the fishmonger located just beyond the Eel Street Bridge to sell your haul. The distance between the fishing spots and the fishmonger is short, enabling you to make quick trips.

    As you gain experience and level up beyond the fishing spear, you’ll unlock the ability to catch higher-level fish that sell for even more silver, but this is a solid way to start earning early in the game.

    Selling Equipment

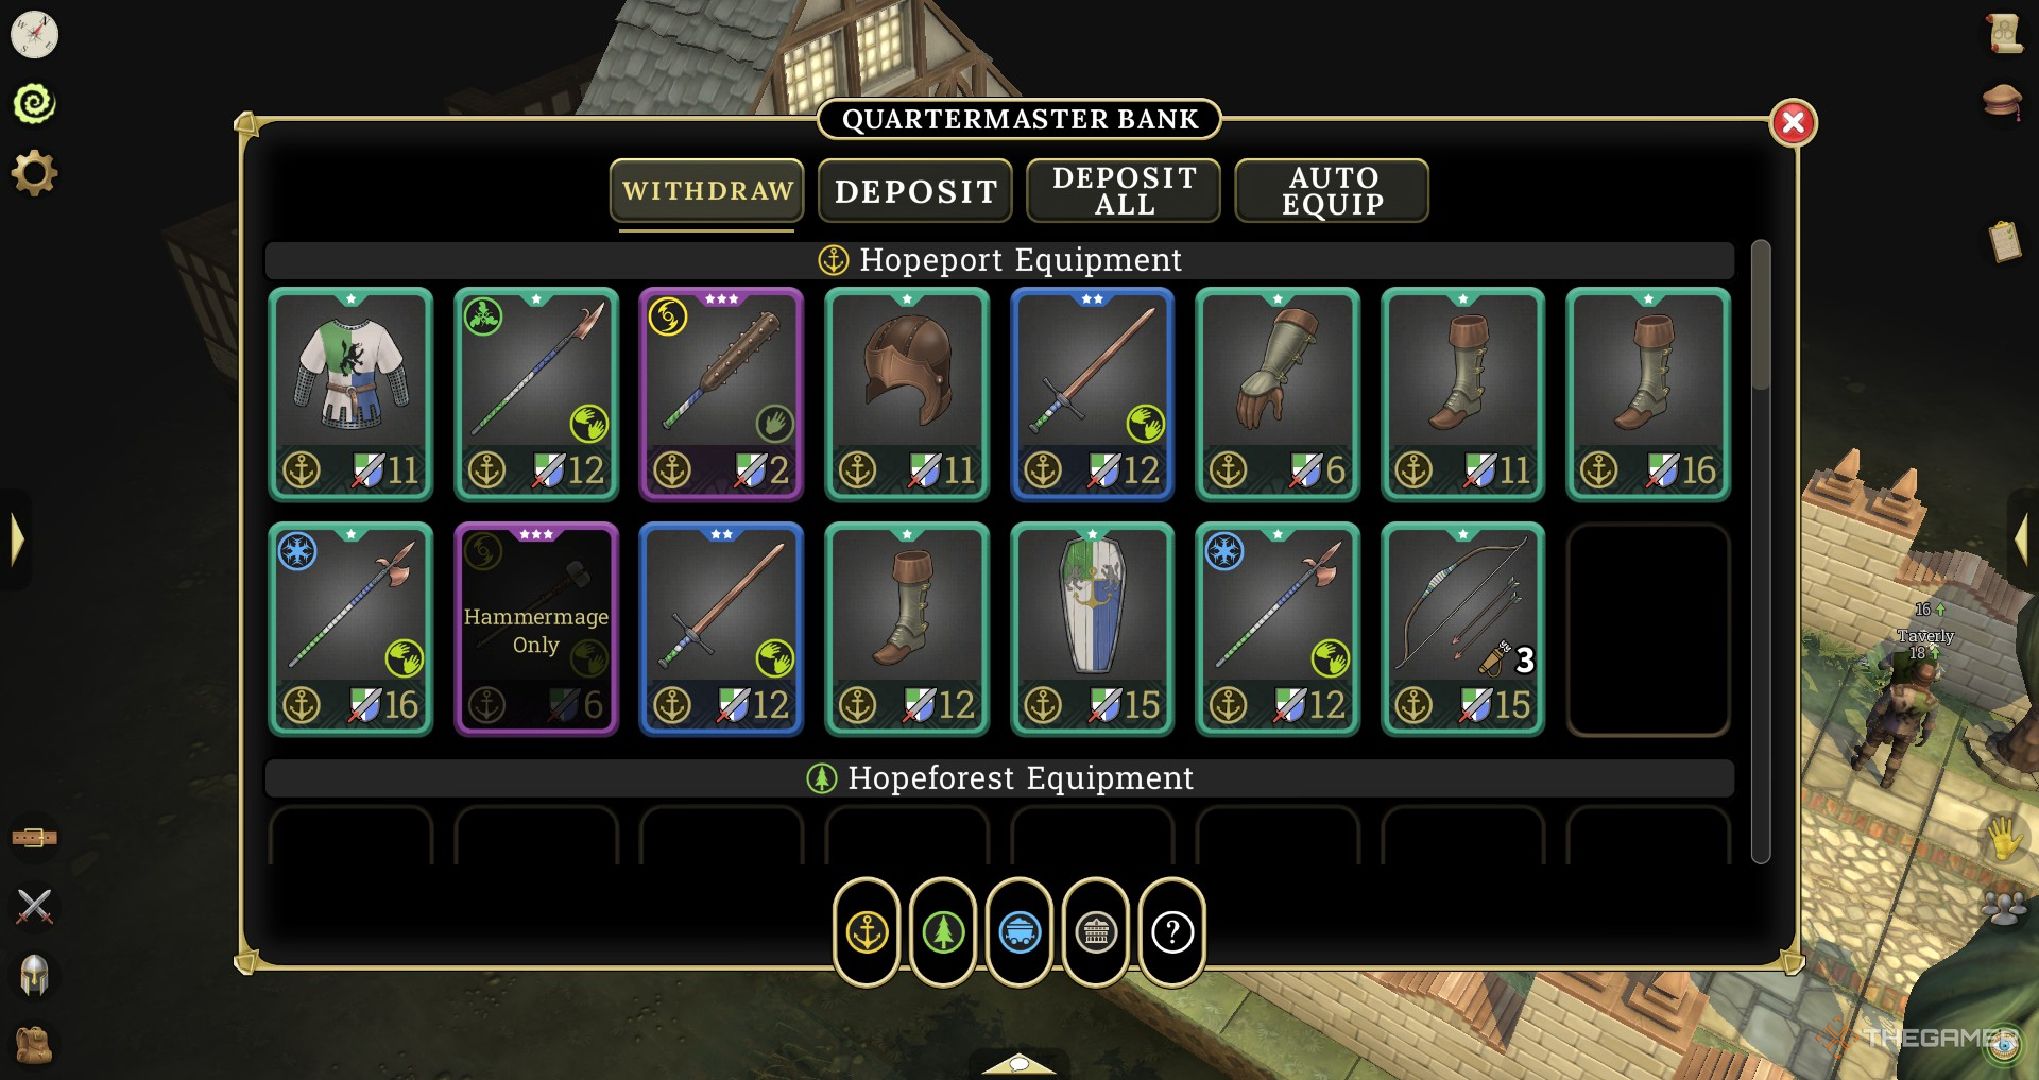
    A player in Brighter Shores evaluating their equipment.

    When engaging in combat to improve your Guard skill, you’ll gain experience and may acquire equipment. There’s a good chance that you might end up with gear that is better than what you currently have, but you’ll also likely collect items that you don’t need.

    If you have extra gear, we highly suggest selling it to the Quartermaster. This provides a hassle-free way to earn some extra cash since you acquire the gear while leveling up your Guard skill in Hopeport.

    Selling Cooked Dishes

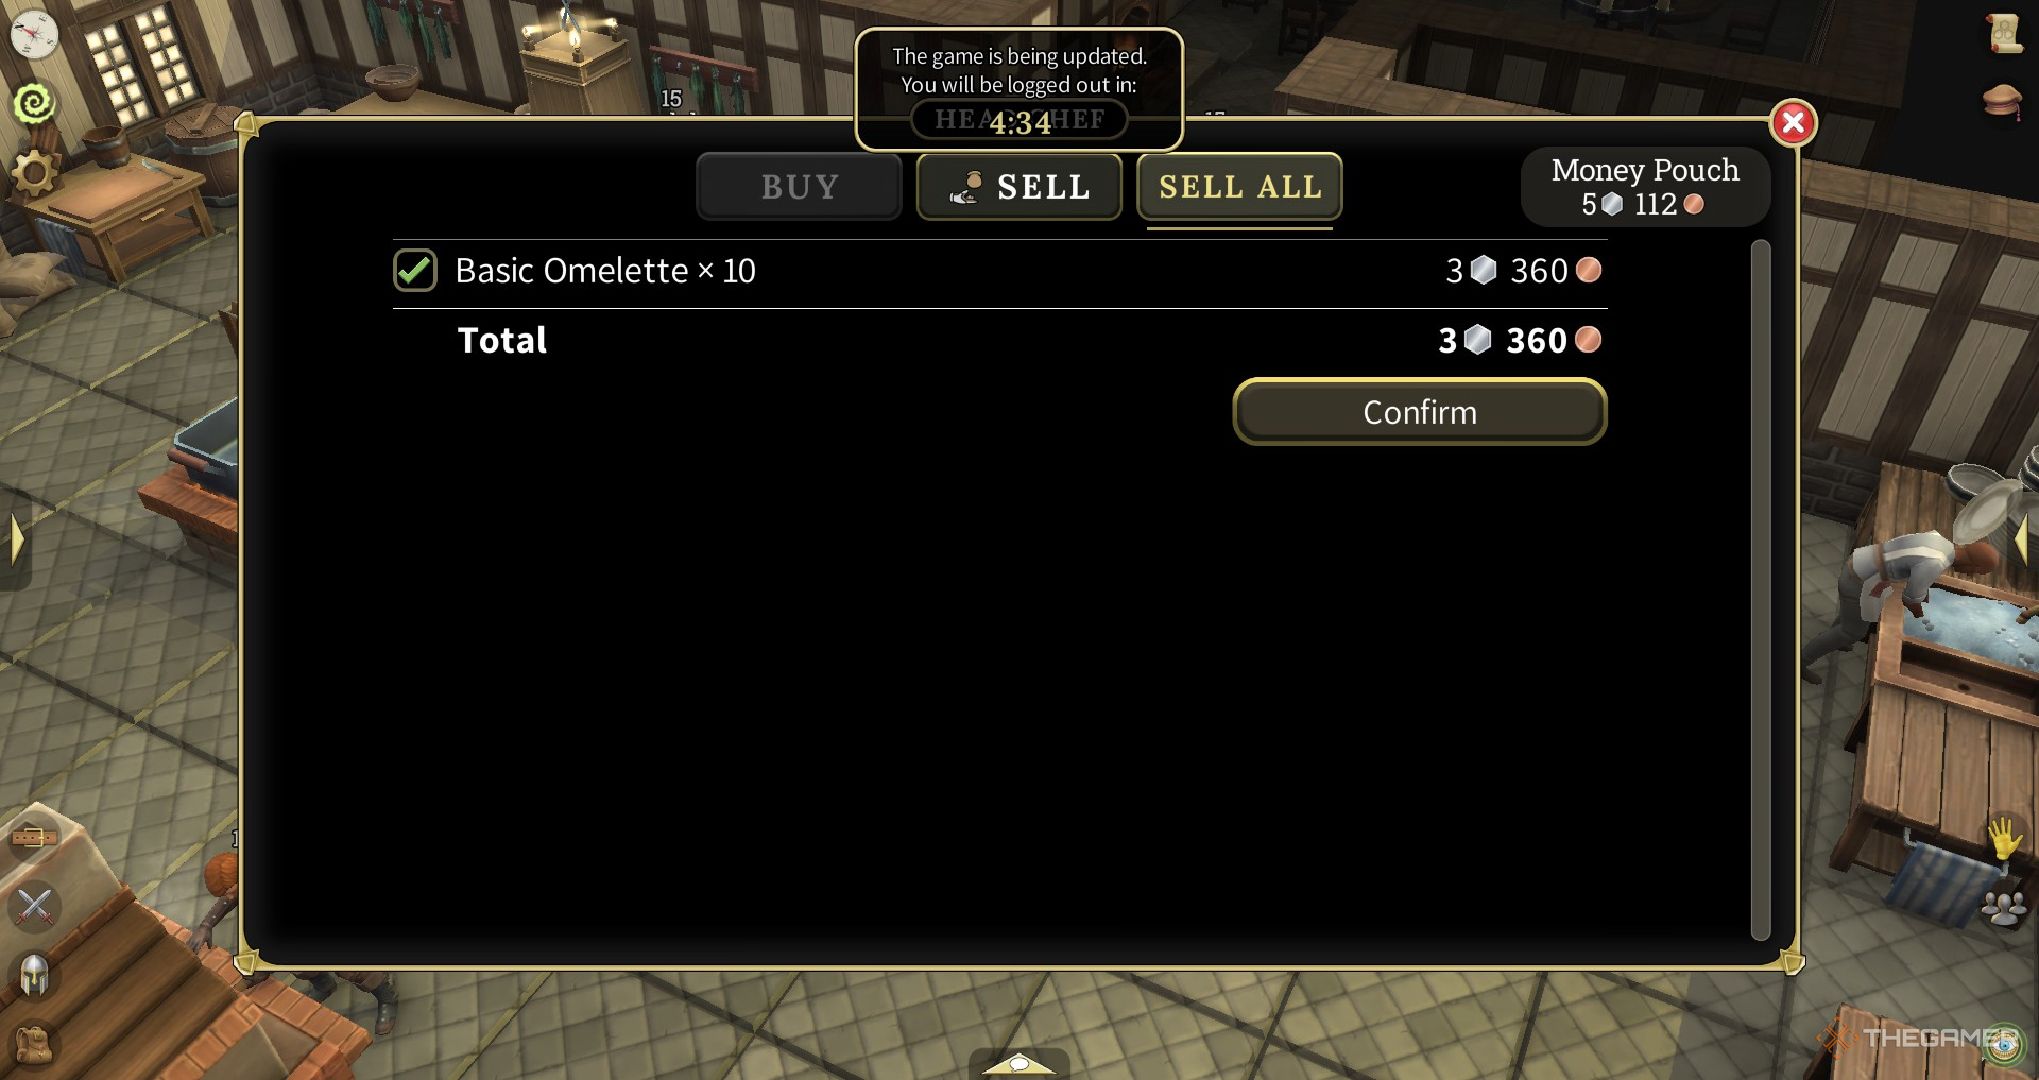
    A player in Brighter Shores selling Omelettes.

    Cooking is another profession worth exploring. By cooking raw ingredients, you increase their value, making them more profitable to sell.

    You might need to purchase some ingredients from a vendor, like NPC Kevin, but don’t let that discourage you. If you sell the finished dish, you’ll find that you end up making more money than you initially spent.

    For instance, making a simple Omelette—which requires buying eggs from Kevin—will yield greater profits compared to the cost of the ingredients.

    Completing Chef’s Bounties

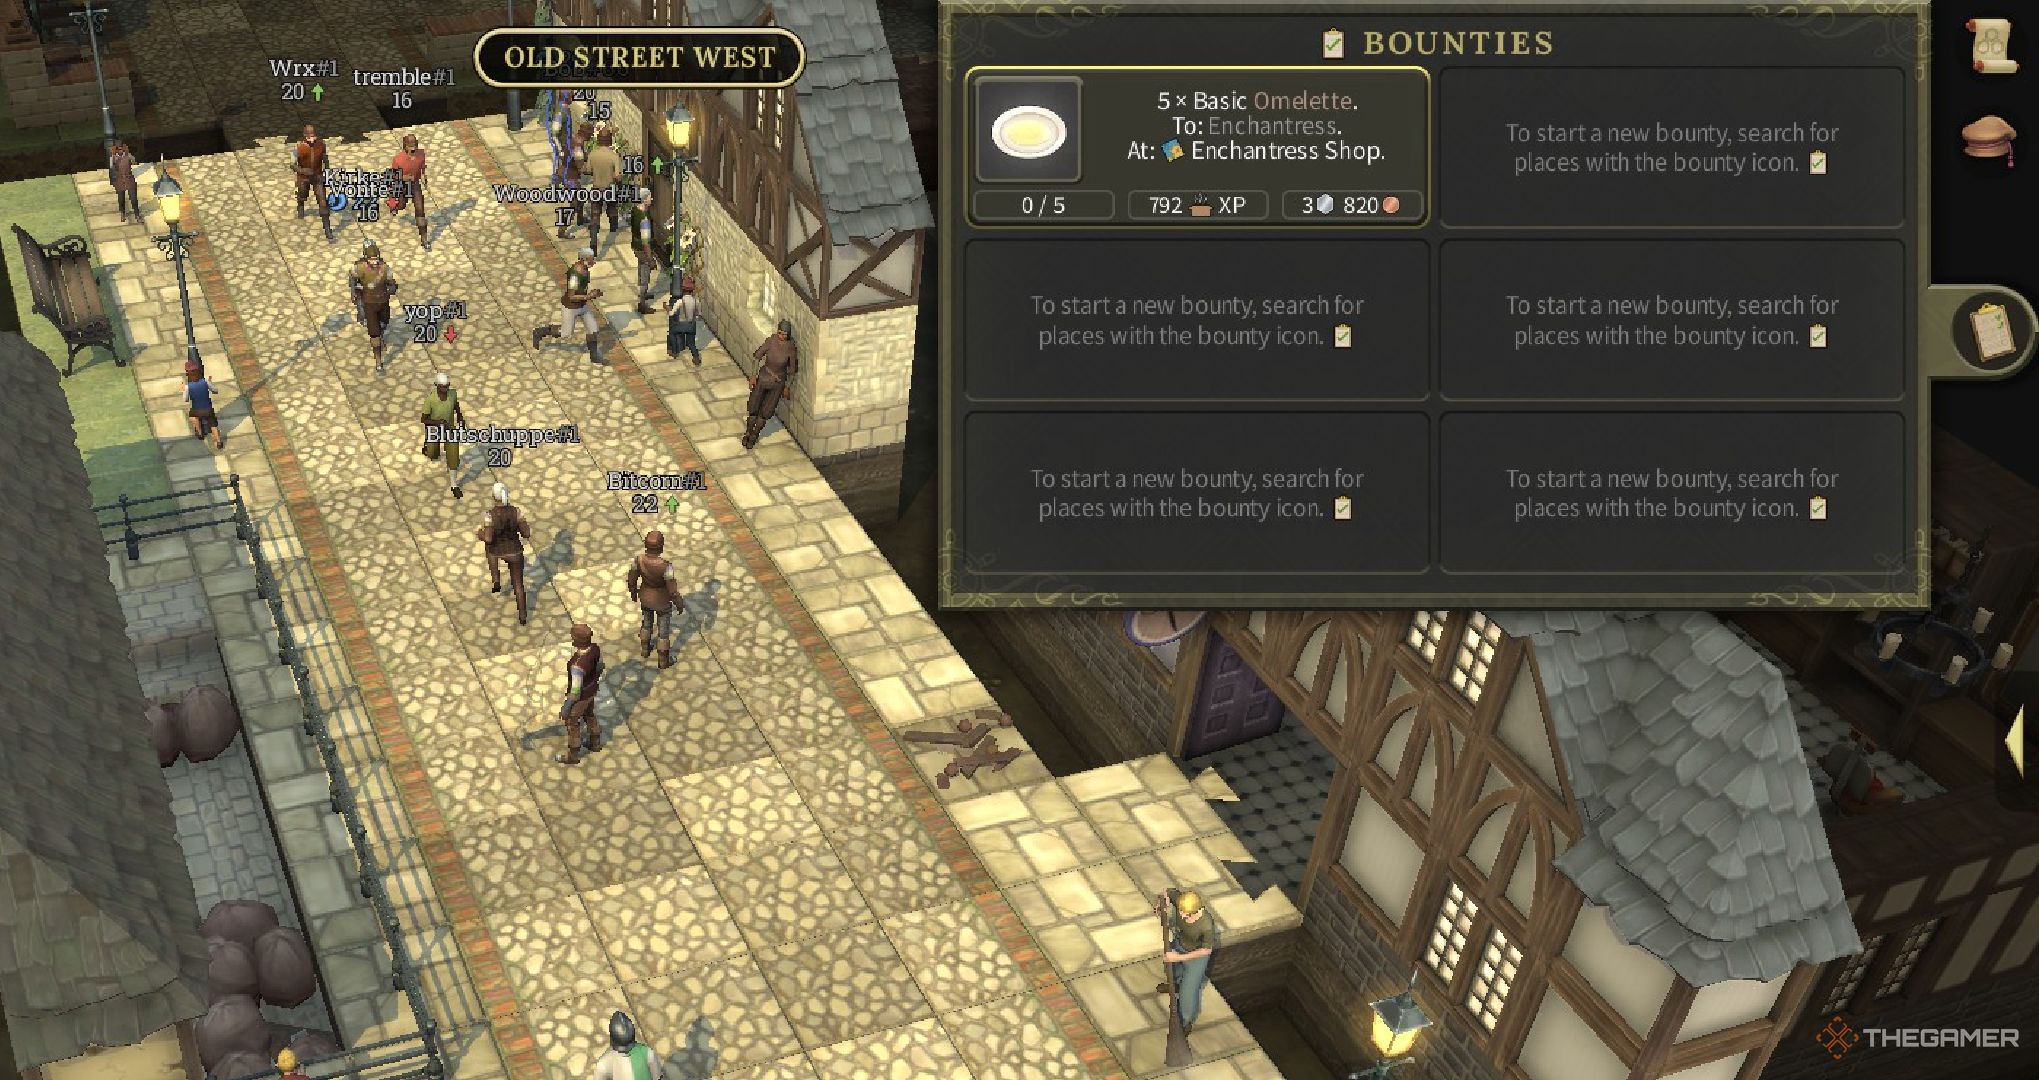
    A player in Brighter Shores looking at a bounty.

    Once you’ve reached level nine in the Chef profession, you can start taking on Chef’s Bounties. These are food delivery quests for local townsfolk. Even though you may need to gather the ingredients initially, these mini-quests can yield a significant amount of silver.

    For example, one bounty might ask you to deliver five Omelettes to the Enchantress. Completing this task only requires you to gather and cook eggs, and for your efforts, you can earn around 792 experience points (for cooking) as well as 3 silver and 820 copper.

    You can accept multiple bounties at once, so it’s worth it to take on more if you can handle the workload! The bounties on the Chef’s Bounty Board change from time to time, so if you’ve taken all that are available, just wait for new ones to show up.

    Opening Chests

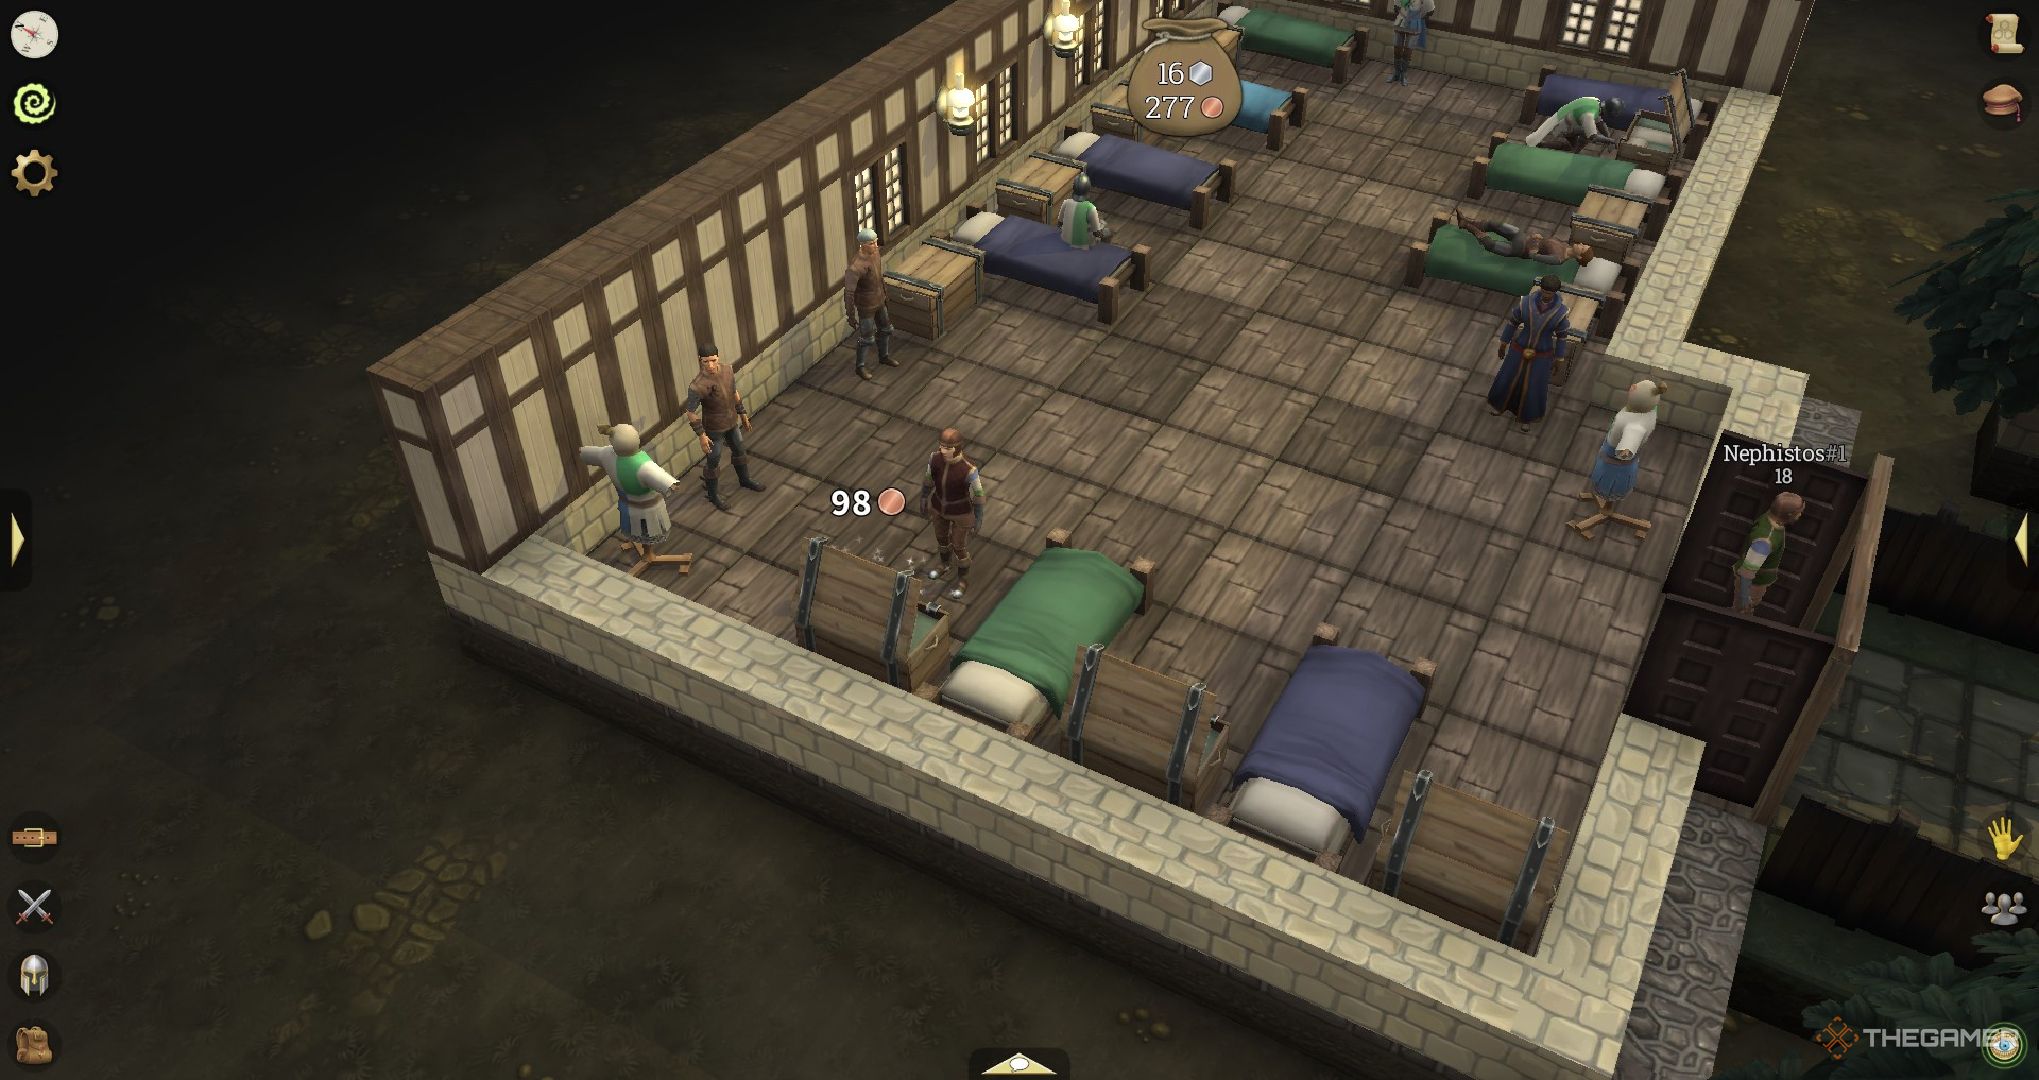
    A player looting chests in the barracks.

    Occasionally, you will find chests tucked away in buildings. When you search these chests, they can provide a small amount of copper. The loot from a single chest may not be substantial, but places like the Barracks located in the Training Grounds contain multiple chests.

    At present, it seems that chests can reset after a short period. This means that you can loot a chest, wait a minute, and loot it again. While this may be adjusted in future updates, it currently serves as an easy way to earn extra money.

    Defeating Enemies

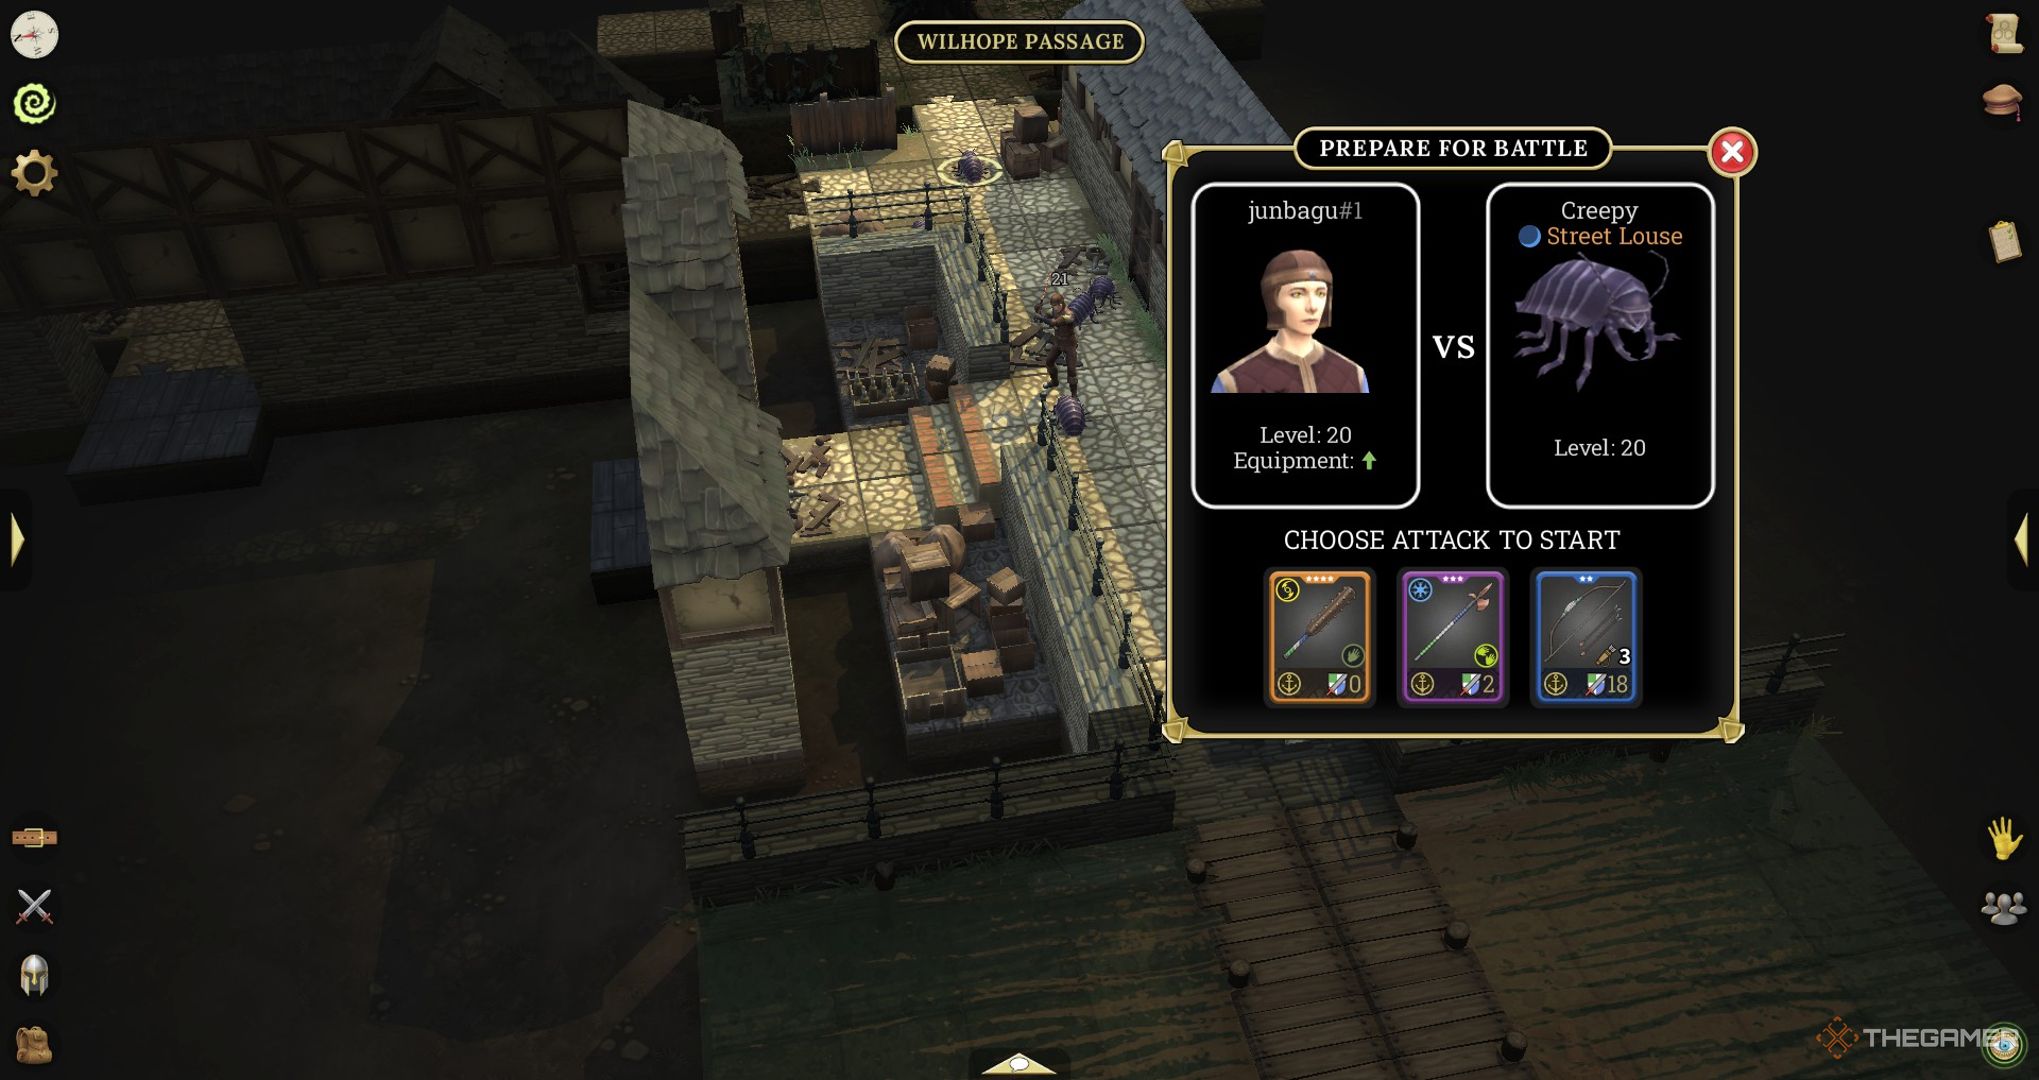
    A player in Brighter Shores inspecting a Street Louse.

    Another way to earn some money is by defeating enemies you encounter. As previously mentioned, defeating foes may yield equipment drops, and you’ll always receive some money upon defeating an enemy.

    While the payout might be modest at the beginning of the game, if you focus on farming to enhance your Guard profession, you’ll find that your earnings can really accumulate over time.

    In conclusion, grinding, selling, and processing your loot is the most effective way to earn money (especially silver) in Brighter Shores!