الوسم: Bosses

  • How to Complete and Solve Every Fortnite Chapter 7 Season 2 Boss

    How to Complete and Solve Every Fortnite Chapter 7 Season 2 Boss

    There are four bosses planned for Fortnite Chapter 7, Season 2, with three appearing right at the start of the season update. These include Dark Voyager Echo, Ice King, and Dread Punisher Squibbly.

    The Foundation is meant to be a boss, but for now, he’s just a friendly NPC at New Sanctuary. However, during the Ice King Battle Pass quests, the Ice King encourages players to try fighting him. Here’s everything you need to know about locating and defeating each boss in Fortnite Chapter 7, Season 2, and what loot they drop.

    All Boss Locations in Fortnite Chapter 7, Season 2

    This season has four bosses, each expected to drop a mythic weapon. Currently, only three are active, and only one drops a mythic item. These bosses spawn randomly at various locations, often favoring a couple of specific spots:

    • Dark Dominion
    • Frigid Fortress
    • The coast south of Battlewood Boulevard
    • Lighthouse southwest of Squibbly Shores
    • Squibbly Shores

    We will update you once each boss starts dropping their mythic weapons.


    Dark Voyager Echo

    Dark Voyager Echo is generally found in Dark Dominion or south of Battlewood Boulevard. He drops the Dark Voyager Obliterator Shotgun when defeated, along with a shield potion and 1,000 gold. He’s a tough boss, capable of summoning drones that shoot laser pulses at attackers.

    He will attack immediately on sight, so bring an assault rifle, along with an SMG or shotgun. Landing a few good headshots can quickly break his shield and take him down.


    The Ice King with Lady Windfrost

    You can find the Ice King near the red-roofed houses close to Dark Dominion or at Frigid Fortress. He’s always accompanied by Lady Windfrost, who provides backup with firepower and heals him with Chug Splashes. The Ice King can unleash ice blasts that cause damage, and he has a massive whirlwind blizzard attack covering a large area.

    To beat him, stay mobile to avoid Lady Windfrost’s attacks and try to get the high ground. Focus your fire on the Ice King. Trying to take her out is unnecessary; she will fall when he does, so wasting ammo on her isn’t recommended. Defeating him currently yields a legendary assault rifle and a self-revive kit, along with 1,000 gold. His mythic weapon should be available soon.


    Dread Punisher Squibbly

    Dread Punisher Squibbly is often seen wandering solemnly among the corals outside the lighthouse near Squibbly Shores or closer to the floating fragment in the center of the area. Like the others, he attacks you on sight, so be prepared.

    He can shoot with his assault rifle, throw exploding squids, and activate a stealth shield. Although he can go invisible temporarily, you can notice a shimmer if you look closely. When defeated, he drops a legendary assault rifle, some extra exploding squids, and 1,000 gold. A mythic weapon is also expected to be added soon.

  • How to Find and Defeat All Verso’s Drafts & Optional Bosses in Clair Obscur: Solving Expedition 33

    How to Find and Defeat All Verso’s Drafts & Optional Bosses in Clair Obscur: Solving Expedition 33

    The Drafts section of Verso in Clair Obscur: Expedition 33 is a colorful area filled with candy, children’s toys, and a generally friendly vibe. Still, there are enemies here that will attack if you get too close, including some tough bosses.

    The main threat in this zone is Osquio, but there are also optional bosses to find and defeat. Most of these are warped versions of other enemies, with a few unique ones mixed in. Here’s where to find each of them.

    ### Chromatic Franctale Location

    Most of the Verso Drafts is on a big hill. As you go down, you’ll reach a flat area where there’s a large grey archway. Next to the archway, there are two big drums in a pond.

    Walk through the middle of these drums to find a rope that takes you to a lower area. Down there, you’ll encounter the Chromatic Franctale boss.

    #### Tips for the Fight

    Most of its attacks involve shooting lasers or throwing its own head. This boss’s attacks are stronger than usual, hitting more times per strike. However, the lasers are pretty easy to predict, so blocking or parrying works well. Using parries is your best strategy here.

    —

    ### Chromatic Machinepieds Location

    To find this boss, head to the carousel. Enter through the large grey archway at the bottom of the hill, then go to your left into a small passage. The boss awaits at the end of this corridor.

    #### Tips for the Fight

    This enemy attacks rapidly, making most moves hard to dodge. But the boss’s single punch is easy to parry. Since most of its attacks are quick, attacking aggressively can be effective. Remember, this boss is weak to Earth skills, so use those to your advantage.

    —

    ### Monsieur Frappe Location

    Monsieur Frappe is a chunky Gestral standing under a big umbrella near the carousel. To start the fight, shoot him, then talk to him. This isn’t a typical battle; you don’t attack him directly. Instead, you need to parry his attacks three times to win.

    His attacks are tricky because he throws random moves that are tough to time. It might take some trial and error, but it’s manageable.

    #### Tips for the Fight

    You won’t deal damage by attacking normally. Instead, shoot his balloons to make other balloons appear, which will fire into the air. Shoot those balloons also to deal damage and start the fight properly. Timing your parries is crucial here, but once you get the hang of it, winning is straightforward.

    —

    ### Chromatic Licorne Location

    Licorne isn’t hiding in a hard-to-reach spot. It roams around the water near the Reverie Paths flag, close to the merchant Najabla. You need to climb some large toy blocks in this area, doing some platforming past wooden beams and obstacles. Follow the path on the right once you reach a certain point to find the boss.

    #### Tips for the Fight

    Licorne’s attack speed is quick, but its moves are easy to read and parry. Focus on timing your parries to block its hits. When counterattacking, use Earth skills since the boss is vulnerable to them.

    —

    ### Chromatic Barbasucette Location

    This boss is out in the open near the water by the Reverie Paths. Unlike some others, it’s easy to find. It lingers around the area, making it simple to approach.

    #### Tips for the Fight

    This enemy uses a lot of candy-based shields, which can be broken by shooting the candy pieces. Destroying these sweets not only removes its shields but also damages it. Use Earth attacks to deal heavy damage, as they are its weakness. Its strikes can be powerful but are generally telegraphed and easy to block.

    —

    ### Romanifo Location

    Romanifo appears as a simple Gestral child standing by the pool filled with seesaws and surrounded by balloons. To start the fight, shoot the balloons, then talk to Romanifo.

    #### Tips for the Fight

    This fight is different: Romanifo doesn’t take damage from normal attacks or skills, nor does it attack you directly. Instead, you need to shoot its balloons to spawn a series of smaller balloons that fire into the air. Shoot those balloons too to deal damage. Timing and precision matter here.

    —

    ### Licornapieds Location

    To reach Licornapieds, pass through the gingerbread door using the birthday cake. After that, navigate past enemies to find a train. Take the train to reach the boss.

    #### Tips for the Fight

    Licornapieds combines many attack patterns from previous enemies, so you’ll recognize its moves. It’s slightly easier to predict and dodge its attacks. Use Earth skills when attacking, as the boss is weak to them. Keep chipping away at its health to win.

  • How to Find and Defeat All Bosses for Their Medallions in Fortnite Chapter 7, Season 1

    How to Find and Defeat All Bosses for Their Medallions in Fortnite Chapter 7, Season 1

    In Fortnite Chapter 7, Season 1, there are four main bosses to defeat, each offering a unique ability, a mythic weapon, and a special medallion kit. While these bosses have similarities to previous NPC bosses, they also come with some key differences.

    Before chasing after them, it’s helpful to know if the battles are worth your effort. Here’s everything you need to find and defeat each boss in Fortnite Chapter 7, Season 1.

    How to Find and Beat Boss NPCs in Fortnite

    Similar to last season, bosses will appear randomly at specific locations across the map. These locations change with each match. Watch for a boss skull icon on the map that signals their presence. Additionally, when in the Battle Bus, look for a streak across the sky where a meteor is falling—that indicates a boss is nearby, leading to guaranteed encounters.

    This season, bosses can be found at least nine different spots:

    • Ripped Tides
    • Classified Canyon
    • Peelian Swamp (west of Painted Palms)
    • Paws Inn (east of Wonkeeland)
    • Sunset Falls (south of Wonkeeland)
    • Sus Studios
    • Innoloop Labs
    • Battlewood Boulevard
    • Humble Hills

    Each boss is accompanied by two NPC henchmen and wields a mythic weapon. It’s often easier to focus fire on the boss rather than the henchmen. Knowing what weapon each boss has allows you to plan your attack carefully to minimize damage.

    When defeated, bosses drop healing items, their mythic weapon, and a boss medallion kit. Picking up the medallion kit takes some time, so decide if you really want to hold onto it. Each kit grants a power specific to that boss, along with extra health and shields. Unlike previous boss medallions, these take up inventory space and cannot be dropped.

    The medallion kits now show the exact location on the map with a skull icon, rather than just a vague outline, making it easier to locate them.


    How to Find and Defeat Human Bill

    Human Bill, the blue alien (sorry, human), carries a mythic Arc Lightning Gun, his unique power, and a Chug Jug. To take him down, keep your distance and use mid to long-range weapons. Avoid the short-range Arc Lightning attacks, which are most deadly in close combat. His henchmen aren’t too tough, but be mindful of other players who might hear the fight from afar and try to steal your loot.

    Defeating Human Bill awards you with his mythic Arc Lightning Gun, his medallion kit—which gives a boost to health and shield—and the ability to use the Low-Gravity Power. This power helps you avoid fall damage and traverse the map more easily.


    How to Find and Defeat Beach Brutus

    Beach Brutus, holding the mythic Twin Hammer Shotguns, is a tough opponent. He also drops a Chug Jug and his special medallion kit that grants the Automatic Shield Regeneration ability.

    To beat Brutus and his two henchmen, attack from a distance because his weapons excel at short-range. Focus your fire on Brutus; once he’s down, his henchmen will fall too. Defeating him yields the mythic Twin Hammer Shotguns, which have fast reload times and increased damage, along with his medallion kit.


    How to Find and Defeat Hush

    Hush wields the mythic Deadeye Assault Rifle and a few grenades. She drops her mythic rifle, a Chug Jug, and her medallion kit after defeat. She is flanked by two henchmen as well.

    Winning against Hush requires mobility since she’s highly accurate with her mid-range rifle. Stay out of her line of fire and avoid getting hit by grenades. Her mythic AR has a boosted headshot multiplier, making it a strong weapon for skilled players. Her medallion kit grants the Zero Point Dash ability, allowing swift movement across the map.


    How to Find and Defeat Yule Trooper

    Yule Trooper appeared during the Winterfest 2025 event on December 18, 2025. He throws Chiller Grenades, creating ice whirlwinds that cause damage, and wields the mythic Holo Rush SMG. When defeated, he drops his SMG, a Chug Jug, and his medallion kit.

    It’s best to keep your distance when fighting Yule Trooper, since his SMG is powerful and optimal at mid-range. Dodge his icy grenades and avoid the whirlwinds. Use weapons like assault rifles or the Arc Lightning Gun to deal damage safely. His medallion kit transforms you into the Yule Trooper, providing permanent stamina and a health boost. It also grants a low-gravity power to prevent fall damage and help you move around the island more easily.

  • All World Bosses Location Guide in Where Winds Meet for Completing and Solving

    All World Bosses Location Guide in Where Winds Meet for Completing and Solving

    “Where Winds Meet” offers a wide variety of gameplay options, including multiplayer social and cooperative modes, as well as single-player survival adventures. There’s content suited for every type of player. As you explore the colorful world, you’ll come across challenging bosses and dangerous enemies.

    World bosses are scattered throughout the map and vary in difficulty. These enemies are hidden and will attack when a player gets close enough. Some players might want to steer clear of these bosses, while others might be eager for the challenge. Whichever approach you choose, it’s helpful to know where these bosses spawn so you can plan your encounter.

    Qinghe World Bosses

    Beginning in the Qinghe area, players can test their skills against several world bosses.

    Note: Each boss can only be fought and defeated once in the game.

    Boss Location Notes
    Puppeteer – Sheng Wu Near Verdant Wilds Wayfarer, roughly midway between Bamboo Abode and Battlecrest Slope Starting point is near the Verdant Wilds.
    Puppeteer – Curtain Call On a small island north of Sundara Land and Floral Expanse Beyond Located on an island, requiring navigation across water.
    Sleeping Daoist Close to the Path of Karma boundary stone at Jadebrook Mountain Positioned near Jadebrook Mountain’s boundary area.
    Earth Fiend Deity Next to Moonveil Mountain, south from the Witherwilds and the lake Found along the road leading south from Witherwilds.
    Snake Doctor Underground west of Encircling Lake, in southern Qinghe Accessible in the underground caves beneath Moonveil Mountain.
    Yi Dao Touch the sword in Blissful Retreat area, near a destroyed building between two Cat Plays, then enter the Dreamscape Within the Blissful Retreat’s Dreamscape, after touching the sword.
    Coffin Keeper Lord North of Mercy Garden, at the top of the map in a specific area The fight triggers in a large clearing when entering from Mercy Garden.

    Kaifeng World Bosses

    Moving to the Kaifeng area, players will face tougher challenges, as enemies here are more powerful. Be sure to identify each boss’s attack pattern and learn its counters to defeat them efficiently and earn rewards.

    Boss Location Notes formation
    Wolf Maiden At the edge of Desperation Ridge, guarded by wolves Found at the boundary of the farmland area.
    Two Lions In Greentown, southeastern part, in a large clearing Fight begins upon entering a clearing in Greentown.
    Ghost Master In Mistveil Forest, near East Mistveil fast travel point Move across the bridge into Mistveil Forest to find the boss.
    Nameless General On the grounds of the Martial Temple Located within the Martial Temple, in the left section of buildings.
    Additional bosses feature similar location-specific encounters, emphasizing exploration and awareness of signposts left by other players to confirm you’re in the right spot.
  • Completing Bosses in Death Stranding 2: A Solving Guide

    Completing Bosses in Death Stranding 2: A Solving Guide

    Hideo Kojima is known for breaking the fourth wall in his games, incorporating playful references and mechanics that offer a unique experience to the player. In Death Stranding 2: On the Beach, one of these features is called “Pretend You Won.”

    This option can easily be overlooked during the main storyline. However, if you miss it, there’s no need for concern! It’s designed for players who may struggle with certain parts of the game, and it’s entirely optional. Let’s explore what “Pretend You Won” entails in Death Stranding 2.

    Understanding “Pretend You Won”

    In Death Stranding 2, you can skip boss battles without having to face them head-on. You’ll only see this option after losing the fight.

    For instance, during my encounter with the Giant Ghost Mech in Main Order 39, when Sam’s health was depleted, he entered the Seam—the space he visits when he’s about to Repatriate. Typically, there’s only an option to press Square to return. However, I noticed a new choice: pressing Triangle to “Pretend You Won.”

    When you select Triangle, a prompt appears stating that you will skip the battle as if you emerged victorious, although this will slightly impact your order results.

    After using the “Pretend You Won” feature, a series of slides narrate what happened during the battle. Following that, I experienced the usual cutscene that plays when you actually win the fight.

    On the Results screen, you’ll see the unique label “Imaginary Victory,” accompanied by an illustration of Sam sleeping. You still receive likes for completing the order, but it’s less than what you would earn if you had fought the battle. For example, I earned 505 likes for the Imaginary Victory and an additional 200 for “defeating” the Giant Ghost Mech.

    If you encounter a boss that seems too challenging, you can always use “Pretend You Won” to move ahead in the story.

  • Completing Challenges: Solving Random Invasion Bosses in Elden Ring

    Completing Challenges: Solving Random Invasion Bosses in Elden Ring

    Elden Ring Nightreign marks a significant shift from the original Elden Ring, introducing various ways to make shorter matches more engaging and memorable. The game accomplishes this by altering enemy placements, adjusting the areas you explore during a run, and randomizing the weapons and bosses you encounter.

    Despite these random elements, some predictability remains. For example, you can expect that enemies in a camp will vary each time you play. However, you can’t anticipate when a formidable foe like the Fell Omen might unexpectedly confront you and disrupt your progress. Various Nightlords can invade your runs, so it’s essential to know how to prepare for these encounters.

    What Are Raids?


    Each run in Nightreign feels unique, but there are some consistent elements to expect. If Misbegotten have overrun an encampment, a Leonine Misbegotten will always be stationed at the top of the hill. You can always count on finding a mini-boss beneath a castle’s tunnels, even if the specific enemy varies from run to run. Certain aspects remain consistent despite the randomness.

    Raids, on the other hand, are completely unpredictable. They can strike at any moment, no matter the time of day or where you are in your run. They might happen just minutes into your journey or even alongside other bosses. They can catch you off-guard in a significant location or in a remote area. This unpredictability makes responding to them both exhilarating and daunting.

    When a Raid occurs, typically only one will happen during a run, although that’s not always guaranteed. It’s wise to stay prepared, as they can appear at any time and are fully capable of ending your run.

    Every Raid and How to Beat It

    There are four types of Raids you can encounter. Three come from lesser Nightlords, while one involves an invasion by the Fell Omen. Each functions differently, so here’s how to prepare and ultimately defeat them.

    Fell Omen Raid

    The dreaded Morgott, known here as the Fell Omen, can invade at any moment. Once he does, he will relentlessly pursue your party. You cannot escape him. He will chase you until either you or your party falls. Over time, he might give up his chase, especially if he has marked all members of the party, but it’s better to confront him than to run.

    The Fell Omen can also be fought as a boss at the end of Nights one and two, but this battle differs from the Fell Omen Raid.

    In combat, the Fell Omen typically locks onto one player, indicated by a red target circle. He will primarily chase that player, giving others a chance to strike while he’s focused. Be ready for him to switch targets, though.

    With a team effort, you can bring him down. He is prone to staggering and can bleed, so a full assault with heavy weapons can keep him immobilized. Stay brave—he’s still just flesh and blood.

    Augur Raid

    Augur, a giant aquatic Nightlord, floats around the battlefield like a creature of the sea. However, in Raid form, he appears in a weaker version, but still demands your full attention.

    This Raid is signaled by a message about large bubbles forming above you. These bubbles will have a blue-purple color and will descend slowly to trap anything inside. To escape, you must engage with Augur directly inside the bubbles.

    Once you enter the battlefield, you can’t exit until the fight is over, so be ready for a challenge.

    Upon entering, the screen will go black for a few seconds as you transition to a new arena. During this fight, Augur relies on a Spinning Dash attack and Wave Splashes, which are manageable to dodge. Expect him to stay closer to the ground than in his Nightlord form. Still, bring a ranged weapon and spells, especially those with a Lightning element.

    Sentient Pest Raid

    The Sentient Pest Raid is one of the more challenging encounters—not due to the boss’s strength, but because locating them can be quite tricky. The Raid begins with a message announcing a swarm of locusts descending, resulting in a darkened sky. These locusts can siphon your levels and cause massive explosions on the ground.

    If you’re caught in these explosions, you’ll lose a level and the Runes associated with it. Unlike typical deaths that cost you one level, these locusts can strip away multiple levels at once. So, how do you defeat this swarm?

    You need to find their master, but unlike other Raids, this one isn’t marked on your map. To locate them, follow the locusts after an explosion. They will fly back to their master’s position in a predictable manner.

    Once you reach them, the outline of Sentient Pest will become visible, revealing the moth section of the Nightlord—not the scorpion. The moth doesn’t fight back, so while you must be cautious of the locust explosions, defeating it will restore any lost Runes and levels.

    Equilibrious Beast Raid

    The Equilibrious Beast offering multiple deals in Elden Ring Nightreign.

    The Equilibrious Beast Raid offers a different experience. Instead of defeating a boss, this encounter revolves around making deals. When they appear, the entire party will be cursed, reducing max HP by approximately 40%. This curse remains until you break it.

    You can lift the curse in two ways, with Equilibrious Beast marked on your map by a red circle. The first option, which you should avoid if possible, is to defeat them. Attacking the Equilibrious Beast will summon Libra, who is just as formidable as their Nightlord form. While defeating them dispels the curse, it’s difficult to overpower them with reduced HP.

    The second—and preferable option—is to make a deal. Libra will ask for Runes to break the curse. The required amount can vary greatly, ranging from 15,000 Runes up to 35,000. So, once you’re cursed, hold off spending Runes, ensuring you have enough by the time you reach Libra to lift the curse.

    After paying to lift the curse, your HP will be restored. You can talk to Libra again for additional deals that are more balanced, allowing for upgrades without significant drawbacks.

    The Reward from Every Raid

    Each successful Raid brings unique rewards. Here’s what you can gain from each:

    • Fell Omen – There are two rewards: if you fail, you’ll lose a level and receive the Unhealed Wounded Carved By The Night, which increases all damage taken. If you succeed, you’ll receive Traces of Grace-Given Lord, enhancing your attack power with every new Site of Grace discovered.
    • Augur – Defeating Augur grants the Unifying Fate perk, enabling your flasks to restore FP in addition to HP.
    • Sentient Pest – Conquering Sentient Pest rewards you with Integration of Intelligence, providing random large Runes when defeating enemies. It also restores any Runes lost from level reductions.
    • Equilibrious Beast – After paying to remove the curse, you’ll acquire Demon’s Plating, enhancing attack power based on your Runes. You can also engage Libra again for additional, beneficial deals without penalties.

    Currently, these four Raids are all available in the game, but it’s possible more will be introduced in the future. Now, you’re better equipped to manage the ones that exist.

  • Mastering Boss Battles: Your Ultimate Terraria Order Guide

    Mastering Boss Battles: Your Ultimate Terraria Order Guide

    Terraria features a wide variety of bosses, each presenting unique challenges and experiences. These tough and often unusual foes are central to the game’s progression, as preparing for each subsequent battle is key to advancing your journey.

    From your initial skirmish with the Green Slime wielding a copper shortsword to the epic final battle against the Moon Lord, navigating through the multitude of bosses can be a bit daunting, especially for newcomers. Below is an overview of how to approach boss encounters in Terraria.

    While it’s advisable to tackle the bosses in the sequence outlined here, feel free to mix things up if you prefer!

    Last Updated December 27, 2024 by Jacqueline Zalace: Looking for a complete list of all Terraria bosses in order? We have updated this guide to include more comprehensive information about each boss, including biome specifics and ways to resummon them.

    Pre-Hardmode Boss Order


    In Terraria, there are eight pre-Hardmode bosses, of which two are entirely optional. Tackling the mandatory bosses is essential for progressing toward Hardmode. The following list presents the recommended order to face these bosses.

    Optional Pre-Hardmode Bosses

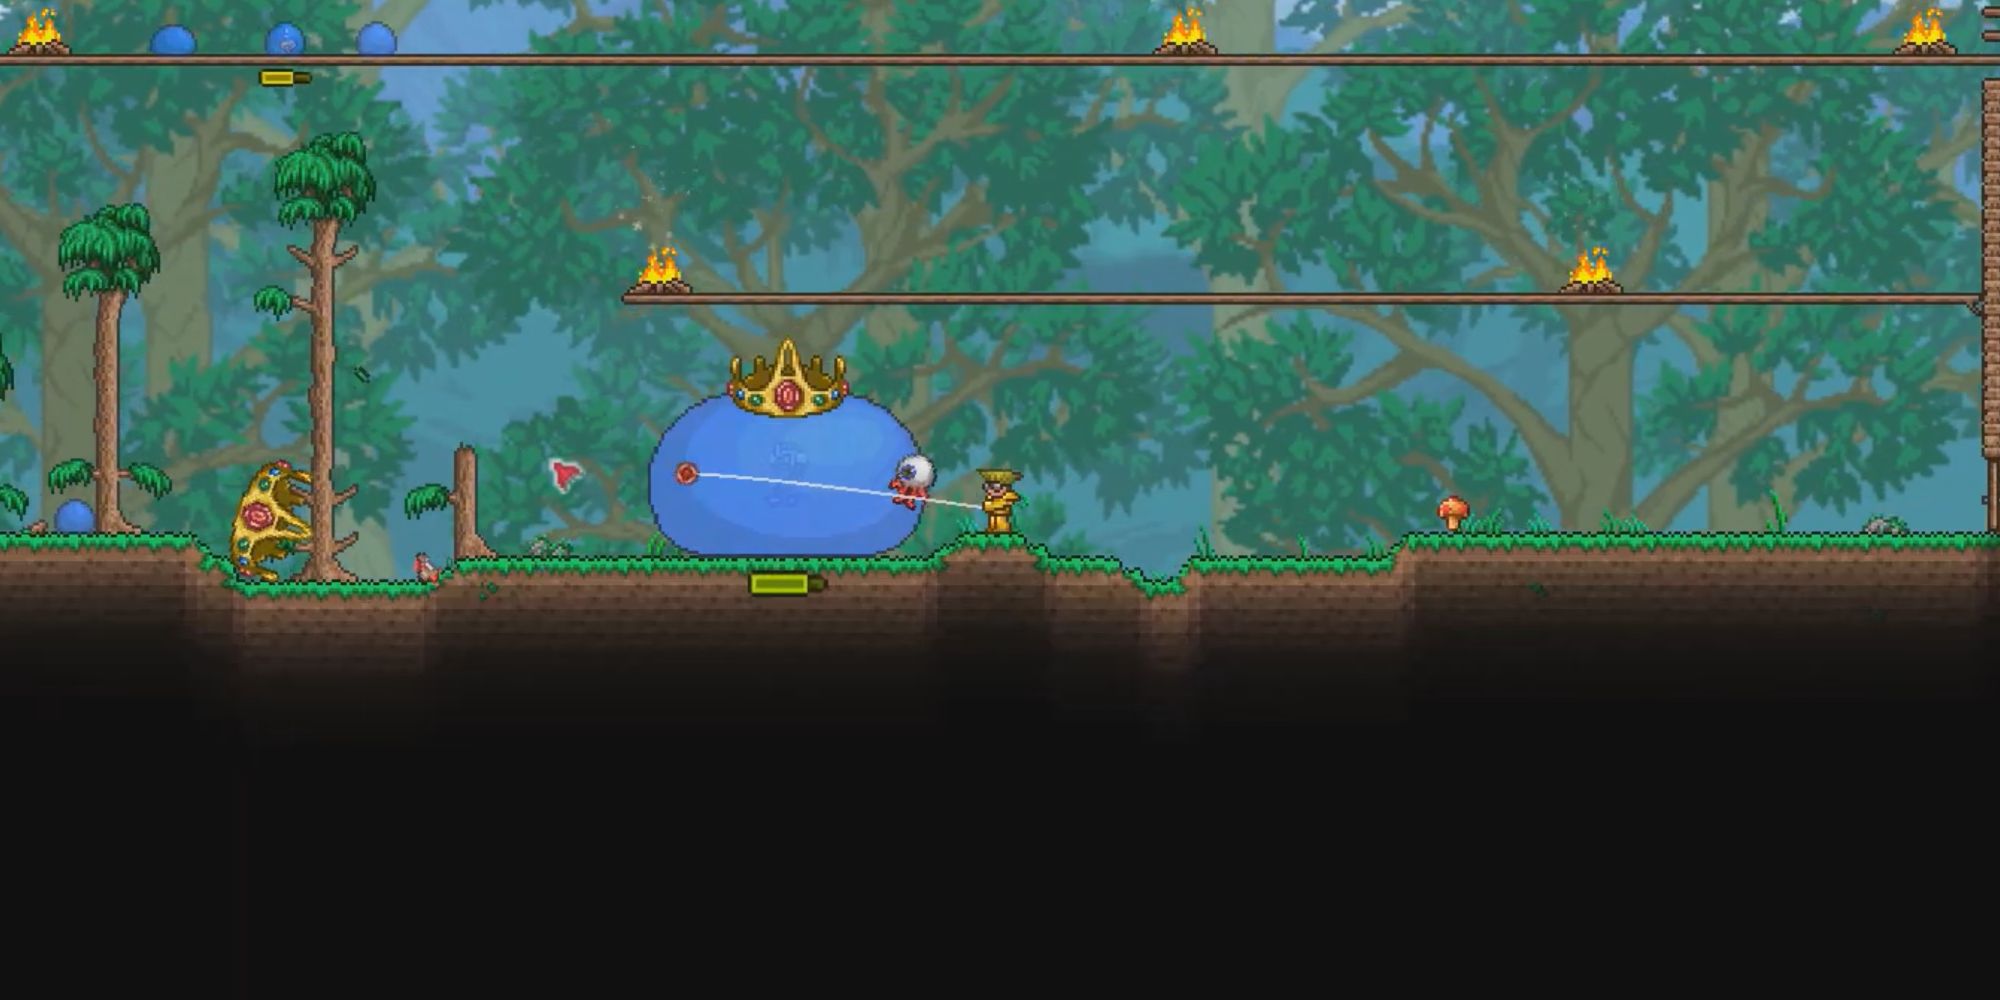
    Terraria Boss Fight with King Slime.

    In addition to the six pre-Hardmode bosses listed earlier, there are also a couple of optional bosses to take on. Below are these optional bosses, along with their spawning criteria.

    Boss

    How To Spawn

    Biome Notes

    King Slime

    Defeat at least 150 Slimes during a Slime Rain event.
    Summoned using the Slime Crown.
    This boss can also occasionally spawn on its own.

    Any biome

    Deerclops

    This boss originates from the Don’t Starve Together crossover.

    Can spawn during a Blizzard if you have 9 Defense or 200 HP.
    Summoned using the Deer Thing.

    Snow biome

    Hardmode Boss Order

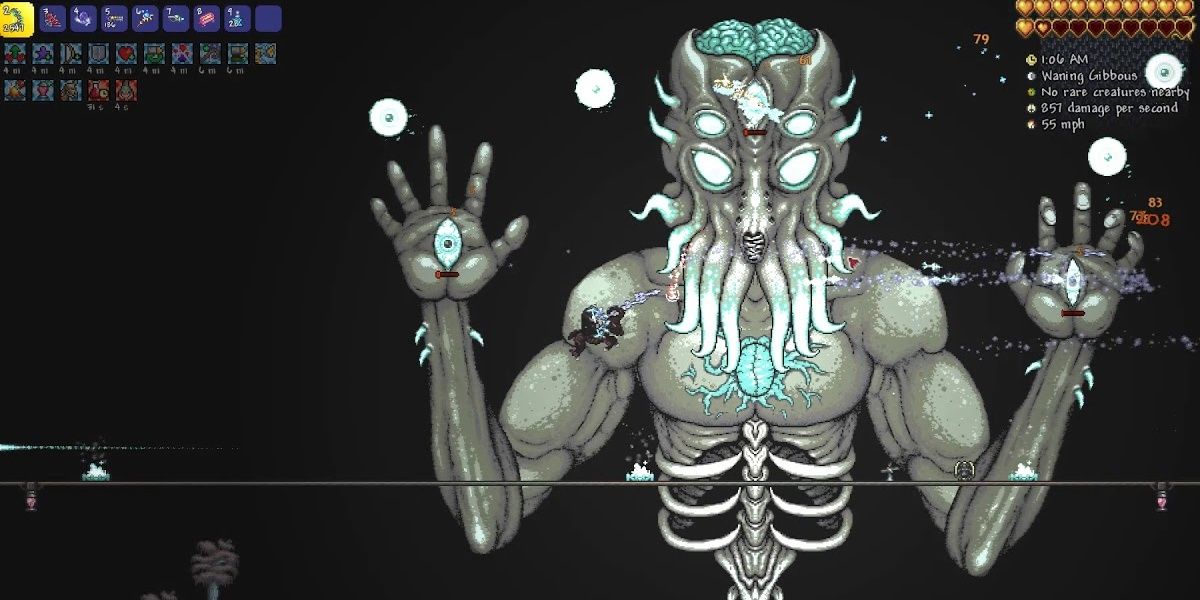
    A player fighting the Moon Lord at night.

    Once you’ve defeated the Wall of Flesh, you’re thrust into Hardmode, where the challenges level up significantly, including the bosses. Before diving into battles with the Mechanical Bosses, it’s a good idea to gather loot and acquire more powerful gear.

    You might explore the Hallow biome to find Mimics or purchase the Leaf Wings from the Witch Doctor in the Jungle. You can also start breaking Altars to access Hardmode ores.

    Once you’re geared up and feeling strong, here’s the recommended order to take on the Hardmode bosses.

    Optional Hardmode Bosses

    A player facing Queen Slime.

    Similar to pre-Hardmode, there are three optional bosses in Hardmode. Given that these bosses are more challenging, we’ve included an additional column for this section to highlight the best timing for each encounter.

    Boss

    When To Defeat?

    How To Spawn

    Queen Slime

    This boss can be defeated right after your world reaches Hardmode.

    Summoned with Gelatin Crystals found in the Hallow biome.

    Duke Fishron

    It’s advisable to defeat the Golem before challenging Duke Fishron. You might also consider fighting the Duke just before facing the Moon Lord.

    Use a Truffle Worm as bait while fishing in the ocean.

    Empress of Light

    Defeat after Plantera.

    Spawned by killing a Prismatic Lacewing in the Hallow biome.

    Is Mechdusa a Hardmode Boss?

    A player fighting Mechdusa in Terraria.
    via schmuck/Steam

    If you’ve been researching Terraria bosses, you might have come across the name Mechdusa. But who is this character?

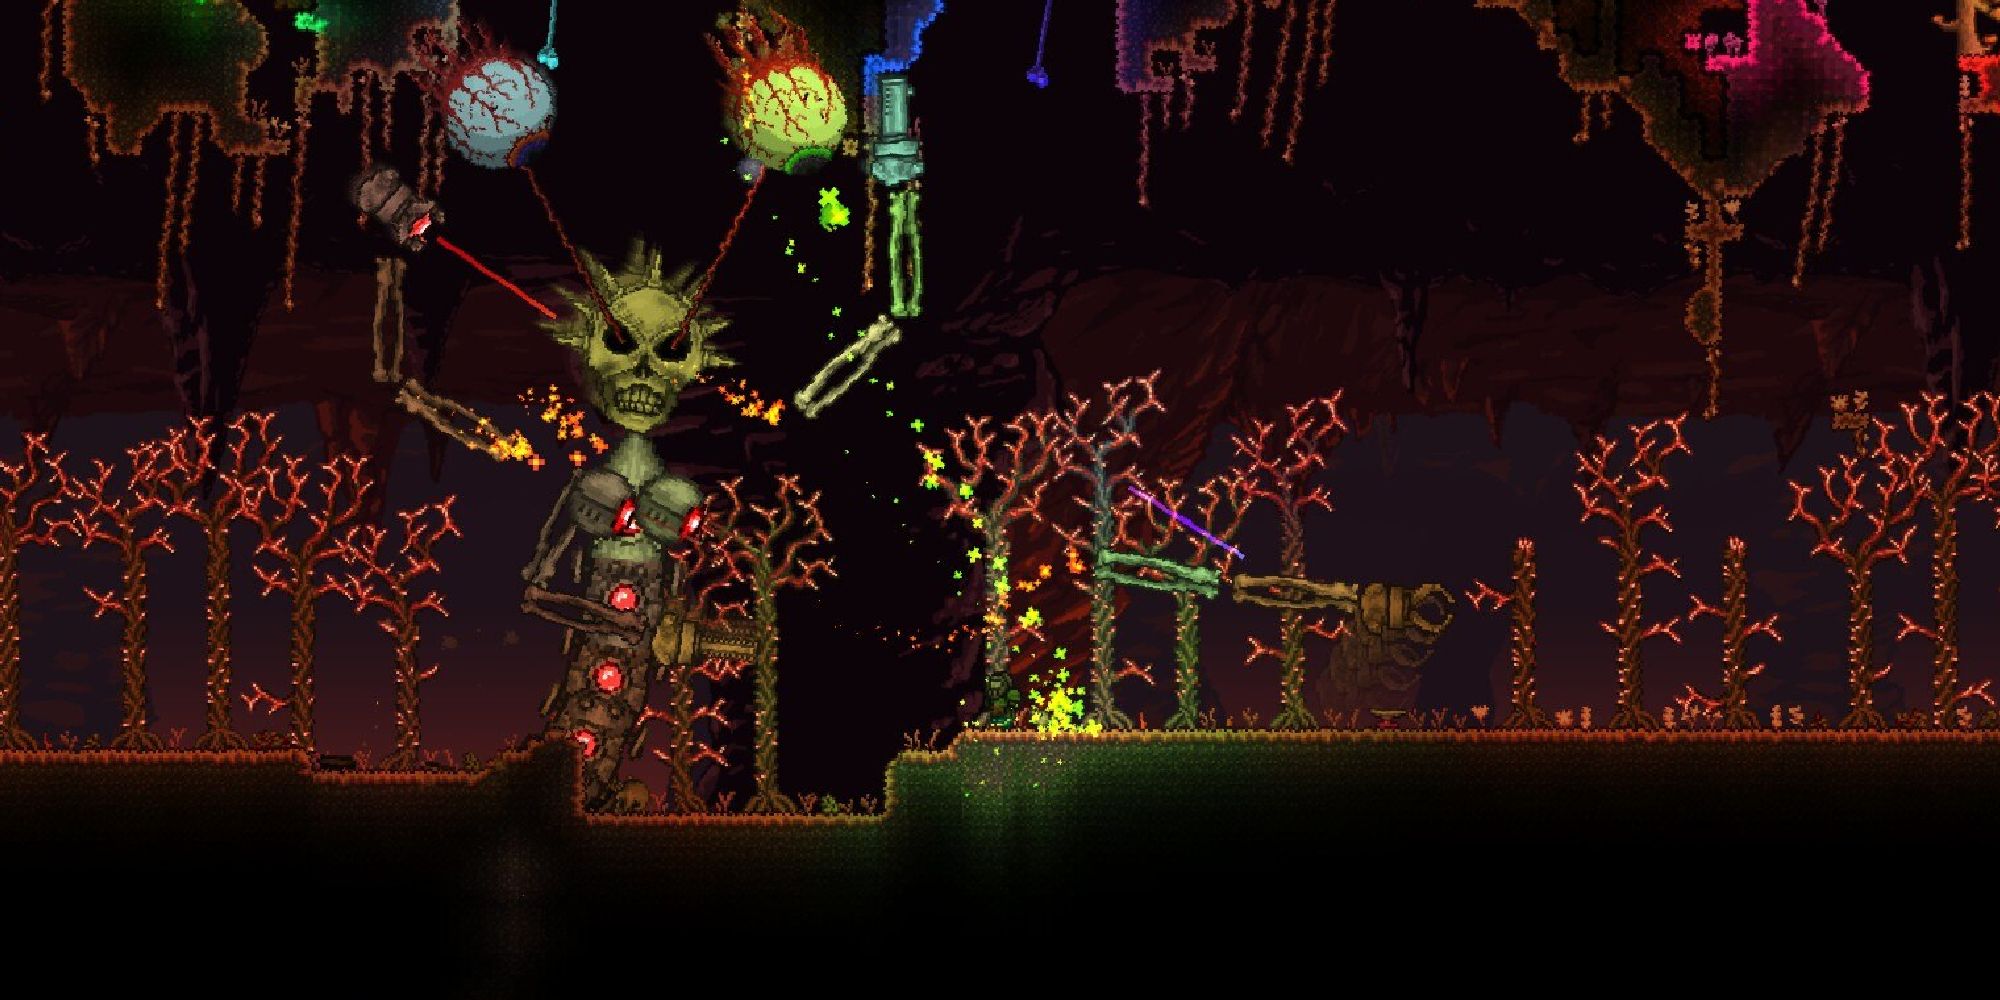
    Mechdusa is a Hardmode boss that appears exclusively in the “Everything” seed when you utilize Ocram’s Razor. This formidable foe merges the three Mechanical Bosses: the Twins, the Destroyer, and Skeletron Prime.

    This makes Mechdusa quite challenging, but rest assured, if you’re not playing in the “Everything” seed, you won’t have to contend with this formidable opponent.

    Can You Resummon Bosses?

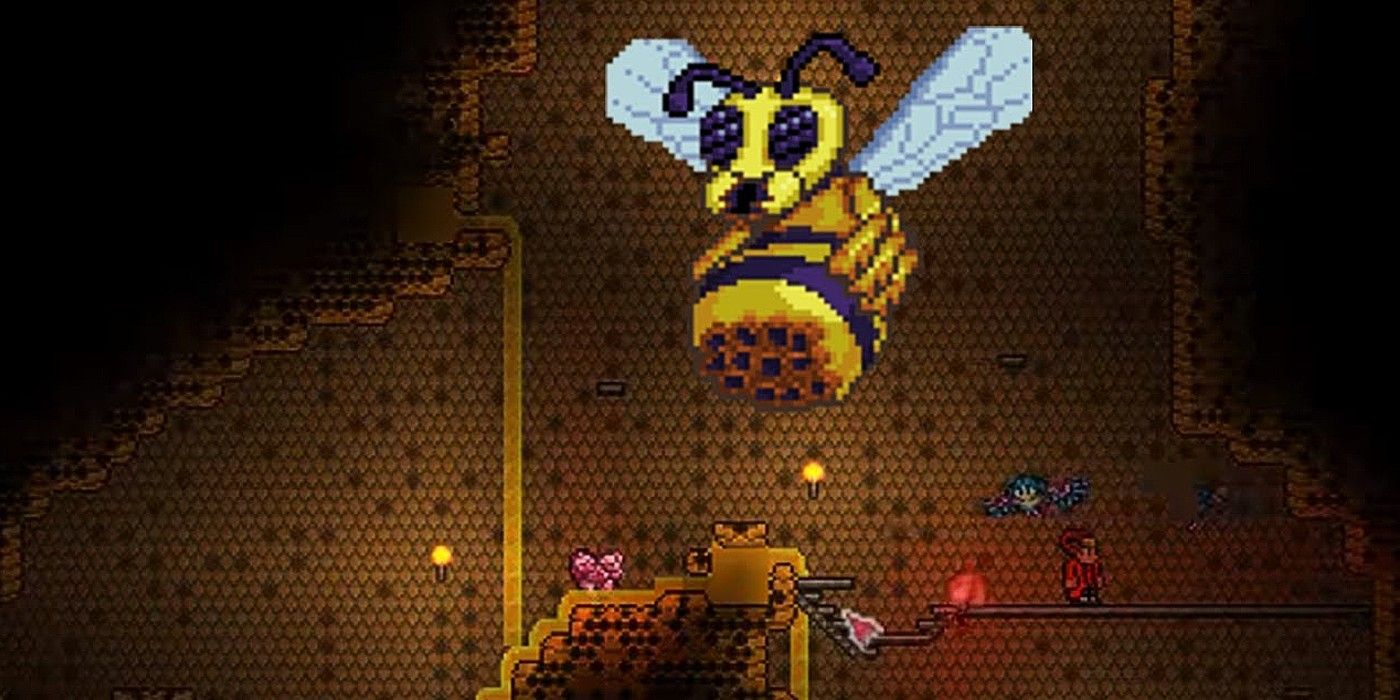
    A player battling the Queen Bee.

    The answer is yes, you can resummon every boss in the game. Each boss has a specific summoning item required to call them back into battle. For instance, to resummon the Queen Bee, simply use the Abeemination in the Jungle or Underground Jungle.

    For all mentioned bosses, we’ve detailed the items needed to resummon each one.

  • Mastering Rival Boss Fights in Sonic X Shadow Generations

    Mastering Rival Boss Fights in Sonic X Shadow Generations

    In the Sonic part of Sonic X Shadow Generations, you will face three Rival Bosses before you confront the final boss. This guide will detail how to unlock each Rival Boss and offer strategies to defeat them.

    The Rival Bosses in Sonic Generations are Metal Sonic, Shadow the Hedgehog, and Silver the Hedgehog. Here’s a breakdown of how to unlock and defeat each one.

    How to Unlock Rival Bosses

    Sonic Generations features nine levels split across three different areas, each representing a unique era from Sonic’s history. Every area has its own Rival Boss, who guards a Chaos Emerald.

    A Rival Boss in an area becomes accessible once you complete all three stages located within that area. Specifically, you must finish both Act 1 and Act 2 of each level.

    Once you’ve wrapped up every stage, challenge gates will emerge on the map, allowing you to face the Rival Bosses. You’ll encounter each Rival waiting for you on the map. Just approach them to start the battle.

    You can skip facing Rival Bosses until later in the game, allowing you to progress all the way to the final boss. This is when you’ll need all seven Chaos Emeralds.

    Metal Sonic represents the classic era, tracing back to Sonic CD from 1993.

    In Metal Sonic’s stage, you’ll navigate a 2D platform as he chases you. He starts by dashing directly at you. To avoid getting hit, jump over him and then land on his head to inflict damage. After getting hit, he will unleash an energy wave. Adjust your speed to dodge this and jump on him again once the wave is cleared.

    Next, he will try throwing objects at you. During this phase, managing your speed is key. Either accelerate or slow down to dodge the obstacles.

    Afterwards, he will combine his attacks, charging toward you while energized. Run away from him until his energy wears off, then jump on him one last time to defeat him.

    How to Beat Shadow

    The fight with Shadow draws inspiration from his debut in Sonic Adventure 2, playing out like a race.

    In this battle, you’ll race against Shadow to collect energy orbs. Gather two orbs to gain a temporary boost.

    If Shadow gets two orbs first, he unleashes his power, which means you’ll have to dodge a barrage of Chaos Spears. This can be managed with the quick step maneuver (using back triggers on your controller).

    Although dodging Shadow’s attack is straightforward, it can prolong the battle unnecessarily. To prevent him from charging his attack, stay in front and collect the energy orbs first by gathering rings and performing tricks off ramps.

    To defeat Shadow, you’ll need to charge an attack. Once charged, it leads you to a new area where you must boost into asteroids. Sending the asteroids flying into Shadow will slow him down. When he’s sufficiently slowed, keep boosting into him to drain his rings and score a victory.

    How to Beat Silver

    Silver is the third and final Rival Boss in Sonic Generations, and his level harkens back to the infamous 2006 game, Sonic the Hedgehog (commonly known as Sonic ‘06).

    This encounter revolves around speed management, so you’ll want to use your boost efficiently, especially for the fight’s last phase.

    Your initial chance to attack Silver will come when he’s manipulating debris. Boost close to the first piece, execute a homing attack on it, and keep going until you reach Silver for a direct attack.

    Between your attacks, make sure to keep your boost meter filled. Collecting rings helps, or you can bump into the scattered debris, as long as it’s not the debris Silver is controlling.

    Your second chance to attack occurs when he lifts debris to form a ramp. Boost so you land on that debris, then continue until you’re back in range to hit him again.

    Sometimes, Silver will float three pieces of debris above you, with one crashing down first. When this happens, rush to the spot where that debris fell to dodge the incoming pieces. He can also launch energy blasts your way as you close in, which can be dodged using the quick step method.

    After hitting him four times, he enters his final phase. Silver will gather a massive pile of debris, and the perspective shifts so you are running away from it. Here, having a charged boost is crucial for survival. If you do, keep boosting while dodging the falling debris. Eventually, reach him and land one last homing attack to win the fight.