الوسم: berserker

  • Completing the Frantic Berserker in Tainted Grail: The Fall of Avalon

    As you begin your journey in Tainted Grail: The Fall Of Avalon, you’ll notice several fellow prisoners locked in the cells around you. Taking the time to explore the island pays off, as there are numerous hidden secrets and loot waiting to be discovered. Among these items, you’ll encounter a mini-boss known as the Frantic Berserker.

    If you’re not paying attention, it can be easy to overlook him. Luckily, we’ve pinpointed his location and included tips on how to vanquish him so you can get some impressive early-game gear before tackling the challenges of Avalon. Here’s where to find him!

    Where to Locate the Frantic Berserker

    Before you leave the Island Asylum, make sure to challenge the Frantic Berserker for extra experience and loot. He’s tucked away in a cell, repeatedly hitting the wall.

    To access his cell, you’ll need to go into the room beneath the bridge, where you’ll encounter several Red Priests. If Caradoc hasn’t already dealt with them, take them down quickly, then take the path through the archway into a pit.

    Jump into the pit to discover a pile of bodies, then turn around and use a lockpick to unlock the sealed door behind you. Follow the tunnel leading to the Frantic Berserker’s cell.

    If your character isn’t a stealth build and you don’t have a lockpick, check the kitchen area near your cell for a few options.

    How to Defeat the Frantic Berserker

    You have two strategies for this encounter. One option is to unlock the cell door with a key and confront him face-to-face, which isn’t recommended if you’re still lacking gear. Alternatively, you can scale the rocks to a ledge that overlooks the cell area.

    If you’ve got magic or a bow and arrows, this spot is ideal for honing your skills. The cell functions as an enclosure for the Frantic Berserker, so he can’t escape or reach you if you stay on the ledge.

    No matter how you approach it, a cutscene will trigger that introduces you to this formidable foe.

    You can also gain experience by practicing dodging up close. Drop down into the Frantic Berserker’s cell and prepare for a melee battle. Fortunately, he isn’t armed, but the helmet he wears will inflict damage on you whenever you land a hit.

    Keep your distance moving in circles to avoid his attacks while getting close enough to strike when he lowers his guard. He won’t take long to defeat, and once he’s down, you can collect two valuable items.

    The Thorn Helmet provides two points of armor and returns five points of physical damage to attackers when they strike you in melee. Additionally, the Athlete’s Pride ring boosts your maximum stamina by five.

    Regardless of your playstyle, these are useful items to equip until you find better gear outside the Island Asylum.

  • Completing the Quest for All Transcendental Sword Soulstones in Berserker: Khazan

    Completing the Quest for All Transcendental Sword Soulstones in Berserker: Khazan

    The Transcendental Sword mission is crucial for achieving the best outcome in The First Berserker: Khazan. Although it’s not the longest mission, it’s filled with traps and hidden treasures that can easily trip you up. The mechanics of lowering bridges can also create confusion for players navigating the area.

    Fortunately, we’re here to guide you through every step of this mission. We’ll help you locate treasures and strategize on how to tackle the formidable foes you’ll face within this dungeon.

    Passage to Darion Castle

    Begin your journey by moving straight ahead and taking your first right turn to engage the Passage To Darion Castle Blade Nexus. If you’d like, you can have a chat with Lantimos here, who will share some insights on the sword’s history. Make sure you have the Undead Hunter lantern activated and invest a skill point in the Rest in Peace javelin skill.

    As you proceed back down the hallway, be warned of an Undead Archer waiting at the end, with an Undead Vagrant lurking on your left, ready to ambush you. After eliminating these foes, you can find a Fire Resistance Elixir near the archer’s location.

    The First Soulstone

    Next, descend the stairs. While it may appear that your only option is to go down the ladder, attack the wall to the right of the ladder to break open a hidden area containing the first Soulstone (1/2). After dealing with two archers, you’ll encounter an undead warrior who will rise from the ground. Once the Soulstone is shattered, drop attack one of the Undead Vagrants below; one is lounging in the corner while another patrols.

    Continue forward until you face a Renowned Warrior’s Shadow. Defeat them to lower the nearby bridge. Then, backtrack to the ladder, ascend, and return to the area where you previously fought the archer and vagrant.

    Descend the stairs into a hallway, keeping an eye out for an arrow trap. You’ll also need to be aware of an Undead Assassin patrolling this area. Take a left to collect a Fire Cleanse Potion and continue down the hallway, avoiding another arrow trap as you reach a raised drawbridge. Cut the rope holding it up to cross and obtain the Unstable Soul Tearstone.

    Next, climb down the ladder and defeat the two Vagrants you encounter. On your left, there’s a room containing Ghost Twin Blades behind a wooden screen, but watch out for traps. Move down the hallway and take a left to kill the archer while steering clear of yet another trap tile, facing a gap where you can see a raised bridge. Use a javelin on the rope to lower it.

    Now, climb back up and locate the platform hanging over the edge; jump to land on the bridge you’ve just lowered and activate the Path of the Fallen Blade Nexus.

    Path Of The Fallen

    Before heading through the large doors, consider equipping a Hallucination Cleanse Potion. Once prepared, open the doors and engage in battle with an Elite Soulbound Knight. This opponent uses ranged tactics and will summon a spirit to imitate his attacks. When he fades from view, be prepared to counter both the spirit’s stab and the knight’s thrust.

    He also performs a Burst Attack, which is easy to dodge or counterattack. Be cautious, as excessive hits from the spirit can cause you to experience hallucinations and invert your controls.

    The Day the Black Moon Rose 3

    After defeating the knight, return to the entrance and break the wall to the right, revealing The Day the Black Moon Rose 3 diary fragment. Ascend the stairs to find a chest that contains a Strategist’s Ring, Necklace of the Bloodmoon, and two Chaos Cleanse Potions.

    Take a left into the adjacent room and head down the stairs; you’ll encounter three Yoma Jesters and a Yoma Shaman. Defeat them, activate the lever to lower the statue, and continue into the hallway where you’ll discover another Unstable Soul Tearstone.

    There’s a Yoma Pursuer present along with a fire arrow trap behind them, so tread carefully to avoid being pushed into harm’s way. Once you’ve dealt with this section, open the gate to reach the Tomb of the Forgotten Black Nexus.

    Tomb of the Forgotten

    Inside this area, you’ll find foes such as Yoma Shamen, Yoma Pursuers, Undead Shieldbearers, and more. Pick up the Earth Enhancer past the barricades on the left, then look for an area with an overhang. Position yourself to perform a drop attack on either the Shaman or the Pursuer below.

    You will spot more Shamans down there, including a hidden Pursuer at the end of the section. After finishing them off, return to where you first jumped down and look for a hole in the ground. Jump down and deal with the Shamans, then climb back up the ladder.

    Continue forward until you reach a steel-grated bridge, then drop down and follow the path to an open area where an Undead Shieldbearer and an Undead Ice Archer await. Take out the Shieldbearer and then eliminate the archer, but be cautious—another Shieldbearer will make their presence known shortly after.

    If you didn’t handle the Shamans earlier, they’ll bombard you with skull projectiles, so it might be beneficial to retreat to the backroom to deal with them. In this backroom, you will face a Renowned Spellblade’s Shadow, an agile enemy that performs thrust attacks and projectiles. Make sure to dodge sideways to avoid being hit.

    The Jarling

    After defeating the Spellblade’s Shadow, be wary of arrow traps as you proceed left. You’ll find the jar holding this mission’s Jarling alongside the arrow slits.

    The Second Soulstone and Hismar Conquest 1

    In the following room, take on two Undead Vagrants. Climb the ladder and look to your left to find the Hismar Conquest 1 diary fragment. After grabbing it, ascend the stairs, and you’ll discover the second Soulstone (2/2) inside a cage above. Shoot it with a javelin.

    At the end of the bridge, prepare for battle with a powerful Servant of Chaos. Strive to circle behind him to avoid his beam attacks and defend against his heavy strikes. You could try counterattacking his Burst Attacks, but it’s safer to maintain your distance as they come in pairs.

    Elite Corrupted High Cleric

    After defeating the Servant of Chaos, follow the path as it veers left until you reach a chest containing a Ghost Hilt, Butcher’s Helm, Butcher’s Pauldrons, Butcher’s Gauntlets, Butcher’s Leggings, and Butcher’s Shoes.

    Return to the gate where you fought the golem, pull the lever, activate the Veiled Path Blade Nexus, and head forward to combat the Elite Corrupted High Cleric. Use Brink Guarding to defend against his attacks while staying close. He’ll occasionally cast magical circles you’ll want to avoid, especially when you’re further away.

    His charged shield rush can catch you off-guard, so be prepared to dodge through him if he gains distance before striking. Next, proceed through the final gate to face the last boss of this stage: the Remnant of Elamein.

    The Remnant of Elamein Boss Fight

    As often is the case with returning boss fights, the combat against Elamein will share similarities with your last encounter. However, she will have access to all her abilities from the start. Expect to see her lightning projectiles almost immediately.

    When she dodges to the side, she will often disappear and reappear in front of you, usually launching an overhead slash, spinning side slash, or shield bash. Be aware that she will frequently double these actions, so if she comes at you with an overhead strike, prepare for an even larger follow-up attack.

    Keep the pressure on her, aim to attack from her blind spot with guard-penetrating hits, and you’ll take her down with relative ease. Once defeated, enjoy the cutscene and converse with Daphrona to wrap up the mission.

  • Conquering Gilsan in the First Berserker: Khazan Completion Guide

    Conquering Gilsan in the First Berserker: Khazan Completion Guide

    In The First Berserker: Khazan, there are several bonus missions, with “Birth of Evil” being a notable one. This mission brings an engaging storyline where your goal is to eliminate the remaining Knivesveil forces and rescue Seona. You can begin this mission by visiting the Vitalon Residence located in the Capital City of Vitalon.

    This area contains two Soulstones and a Jarling, along with a rather challenging elite enemy. Below, we will guide you through a detailed walkthrough, including locations for the Soulstones and Jarling, as well as strategies to defeat your foes.

    Completing the Birth of Evil Quest

    Where to Find the Jarling


    After you activate the first Blade Nexus, head east to the stairs where you will encounter some enemies. Watch out for their spinning attack, as it can inflict significant damage. Defeat these foes, then continue straight ahead. You will come across some chaos matter; hit the one on your left and quickly retreat.

    Once it detonates, retaliate against the enemy to the left and eliminate the one on the right. Following that, take the left path, clearing the chaos matter if you wish, and draw the attention of the enemy on the right.

    Khazan shooting at the Chaos Matter in The First Berserker: Khazan.

    This enemy has a lot of health, so try to lure him slightly to the left, destroy the chaos matter, and step back. He will get caught in the explosion, giving you a chance to strike and make a counterattack. Take him down, then deal with the sharpshooters.

    You’ll find a chest behind the sharpshooter who was firing at you from the north. Collect this loot before climbing the stairs right in front of the Double-Edged Butcher you just defeated. There, you’ll see jars on the ground; destroy them to reveal the Jarling.

    First Soulstone Location

    Khazan standing in front of a Soulstone In The First Berserker: Khazan.

    Observe the staircase to the east of the Double-Edged Butcher. Descend and you will discover even more chaos matter. Destroy the central one to stagger all nearby enemies. After you’ve dealt with them, take out the chaos matter on your right to collect some Lacrima.

    Return to the previous area, turn right, and go left. Destroy the cart to clear the way to the staircase. Ascend to destroy the first Soulstone. After that, head downstairs and go east. There, an elite enemy named Lunatic Destroyer will rush at you, but there’s a chaos matter that can prove extremely helpful in this fight.

    Defeating the Elite Enemy

    Guide the enemy close to the chaos matter and eliminate it to stagger him. Then, launch your combos and take the counterattack opportunity. This should help you chip away about 50% of his health. As he replenishes his stamina, unleash another combo on him.

    If you hear a peculiar noise without a screen indication, the enemy is preparing for a grab attack. This move is lightning-fast, so dodge backwards immediately when you see him reaching out. His swings are slow, which can throw off your timing, so avoiding them rather than trying to parry is advised.

    Watch out for his annoying combo where he charges up his first hit and then immediately strikes again, followed by a delayed third hit, which can be followed up with another quick blow. If you dodge this combo successfully, he can enhance it with a sixth delayed hit.

    Khazan standing in front of a staggered Elite Enemy in The First Berserker: Khazan.

    His leap attack is also unguardable. The elite enemy will leap toward you and charge his weapon. This attack is delayed, so time your counterattack wisely.

    He also performs normal weapon slam attacks that can be dodged.

    Once you’ve defeated this elite enemy, loot the area and make your way up the stairs located west of where you collected the Lacrima.

    Finding the Second Soulstone

    Nobles' Manor Blade Nexus in The First Berserker: Khazan.

    Enter Nobles’ Manor and activate the Blade Nexus. Proceed up the stairs, destroy the barricades, and continue climbing. First, eliminate the enemies firing arrows at you. Here, be particularly cautious of the Knivesveil Outlaw, as he’s quite powerful.

    However, if you execute long combos on him, he won’t stand much of a chance. When he begins a kick combo, it’s best to retreat quickly.

    The Knivesveil Outlaw has an attack that cannot be dodged or parried. If you get hit, be wary of the follow-up attack.

    Khazan standing in front of the second Soulstone in The First Berserker: Khazan.

    After eliminating all enemies, you’ll need to destroy the Soulstone found in the room behind the pillar to the northeast of the staircase (you might have already taken care of it during the fight). Then, proceed to the east, defeat the enemies there, and head down the staircase to acquire the Augment of Wisdom.

    After obtaining the item, head back up the staircase and approach the door ahead. Before entering, move to the left and open the chest. Then, open the door, absorb the Lacrima, and activate the Blade Nexus.

    Defeating Gilsan

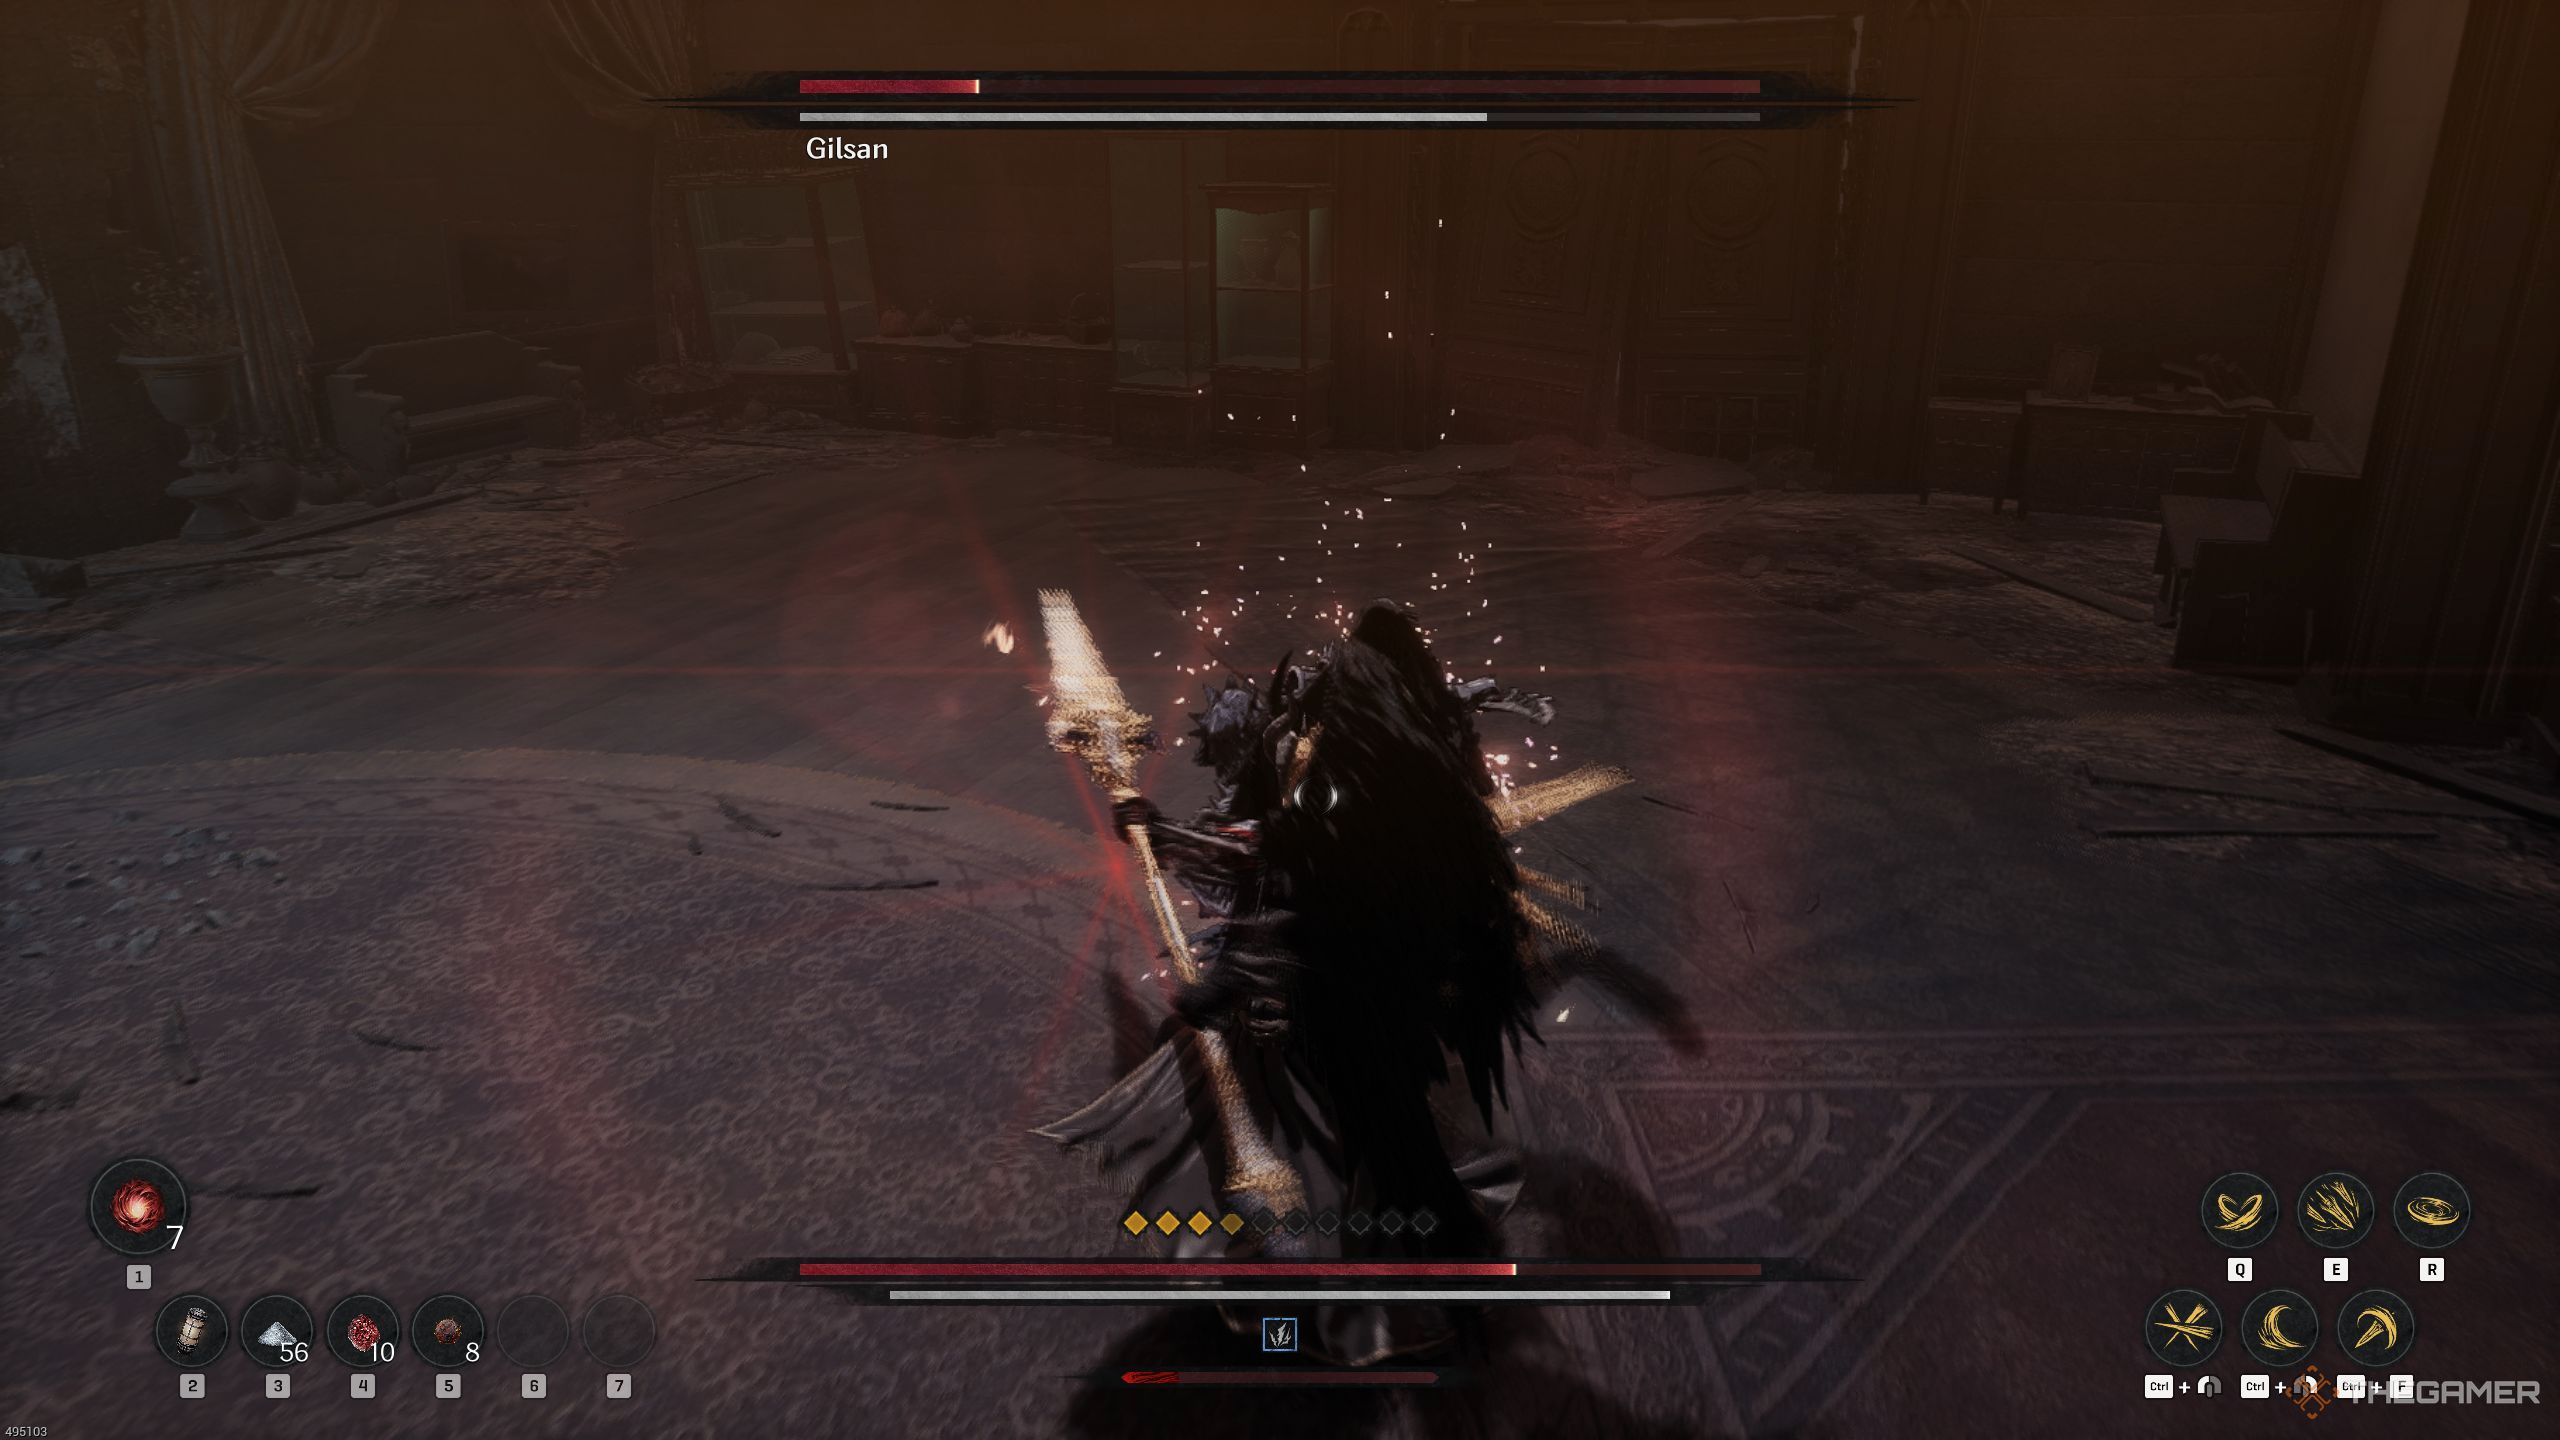
    Gilsan isn’t too tough as a boss, but you may face difficulties at the start due to additional enemies in the arena. Move quickly toward the enemy shooting at you directly ahead and take him down. Then, deal with the one on the staircase to make confronting Gilsan much easier.

    Gilsan is a humanoid boss, and your attacks will consistently stagger him. However, managing your stamina effectively is crucial.

    It’s wise not to underestimate Gilsan and to finish him off quickly. Even if you stagger him during your combos, he can launch a drop kick, which deals significant damage. He might follow that up with combos that can be hard to dodge.

    Khazan parrying Gilsan's Attack in The First Berserker: Khazan.

    Gilsan is a boss you’ll want to parry since he uses daggers. He employs intricate combos, hitting you twice before using a cross slash. In another combo, he can hit you four times in a row.

    He has variations in his leap attack, delivering either a double or single slash that carries substantial poise. He can also execute two kicks, leading to a massive knockdown.

    The most perilous move he can perform is the unguardable leaping cross slash followed by a leaping overhead slash.

    Reward from defeating Gilsan in The First Berserker: Khazan.

    Both these attacks can deal a lot of damage and are either dodgeable or counterattackable. It’s usually better to counterattack as it allows you to deal damage in return.

    In general, this fight shouldn’t cause much trouble, but the key is to monitor your stamina and avoid being trapped by his combos and knockback moves.

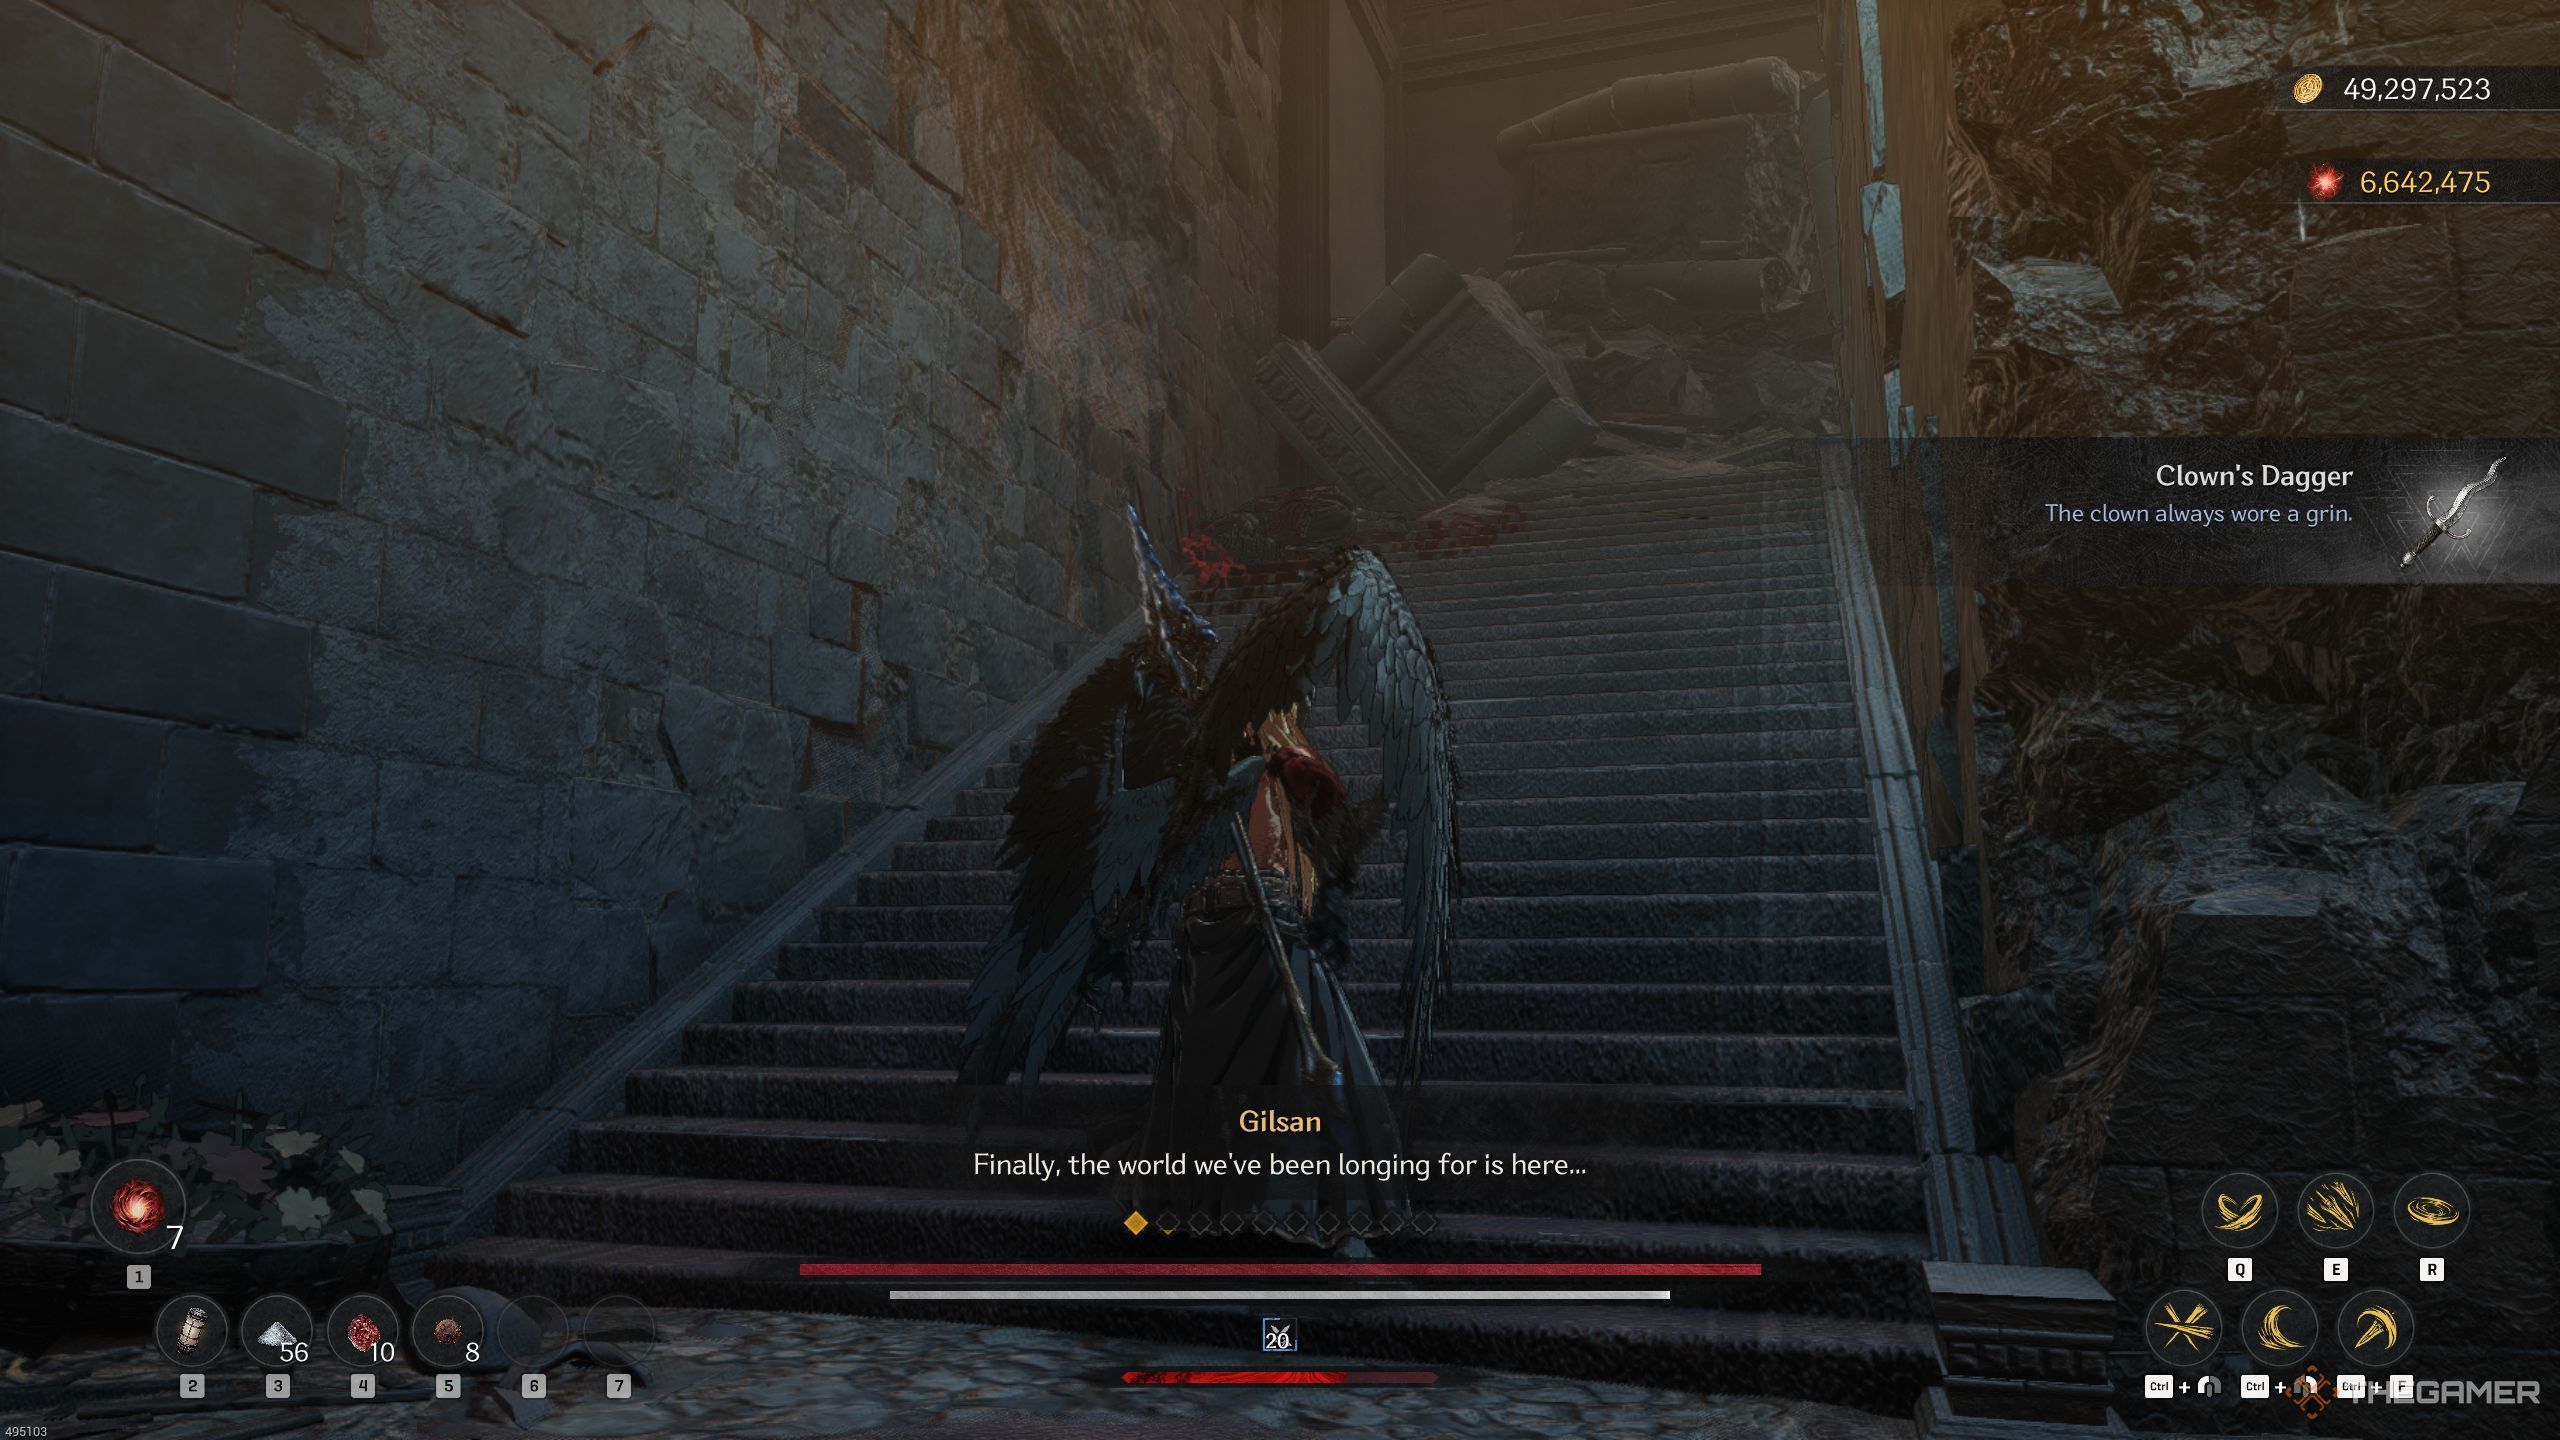
    When you defeat him, you may receive random pieces from the Dragonscale set, a variety of weapons or accessories, and Transmutation Mist, along with a Clown’s Dagger. Once you finish the mission, speak with Seona and return to the Crevice.

  • Completing Vow Soulstones and Treasures in Berserker: Khazan

    Completing Vow Soulstones and Treasures in Berserker: Khazan

    The Vow is a challenging side quest in The First Berserker: Khazan and one of the last missions you receive. This mission is packed with valuable collectibles hidden behind deceptive illusory walls throughout the bloody ruins. The layout can also be quite confusing, with numerous twists and turns to navigate.

    In this guide, I will provide clear directions, point out all the chests, and help you collect every item so that you can leave this dungeon fully prepared. As we progress, I’ll highlight traps and warn you about the enemies you’ll face. That’s my promise.

    Forbidden Passage


    Enemies

    Yoma Jester, Yoma Shamans, Yoma Pursuer, Elite Renowned Swordsman’s Shadow, Undead Shieldbearer, Undead Ice Archer, Undead Swordsmen, Undead Archer, Undead Vagrant, Undead Summoner

    Notable Items

    Unstable Soul Tearstone, Special Cleanse Potion, Ghost Spearhead, Ghost Relic, Large Spirit Ore, Netherworld Energy


    Hismar Conquest 3

    Soulstones?

    1

    Jarling?

    Yes!

    Start this stage in The Great Temple Underground Ruins. Go through the gate, down the stairs, and onto the elevator, arriving at the Forbidden Passage Blade Nexus. Before moving on, it’s wise to equip armor that offers increased resistance to the Plague effect, as you will encounter a lot of blood that can quickly inflict this status.

    Behind a statue, you can find an Unstable Soul Tearstone and an illusory wall. Strike it to reveal a room containing a Yoma Jester and two Yoma Shamans. Opening the chest here will yield a Temple Knight’s Spear, Temple Knight’s Ring, Necklace of Gratitude, and three Transmutation Mists.

    Next, take the passage to the left of the statue in front of the Blade Nexus. Retrieve the Plague Cleanse Potion located in front of the statue. Proceed down the hall and confront a frenzied Yoma Pursuer, flanked by a Shaman on the left. When you reach a ladder, climb down to enter a narrow corridor. Be cautious; there’s an arrow trap near the ladder that’s challenging to avoid. Hide behind the metal casket on your right when the arrows shoot. A Shaman patrols nearby, so stay alert.

    You can time it so the arrows take out the Shaman if you’re feeling adventurous.

    Elite Renowned Swordsman’s Shadow

    In the following area, you’ll find two Shamans. Be cautious as the ground will collapse, dropping you into an arena with an Elite Renowned Swordsman’s Shadow. If you tread carefully, you can take out the Shamans before falling in. Once you jump down, you’ll have an opportunity to strike the Renowned Swordsman’s Shadow from behind.

    This opponent is familiar by now. He’ll heal himself with attacks, but that’s nothing new. Be careful not to stand in the blood, as it will cause the Plague effect. A Special Cleanse Potion is located in the center of the room, while a Ghost Spearhead can be found in the corner.

    The First Soulstone

    Go through the locked gate, then take a right. You’ll discover another illusory wall. Break it to uncover the Soulstone (1/2) hidden behind it. Continue down the hallway until you reach a fork; take the left path to confront two Yoma Pursuers.

    Descending the stairs, you’ll come across another illusory wall. Watch your step, as you’ll trigger an arrow trap if you’re not careful. Sprint down the hallway to evade the initial arrow. At the end is a chest containing a Ghost Relic, Great General’s Helm, Great General’s Pauldrons, Great General’s Gauntlet, Great General’s Leggings, and a pair of Great General’s Combat Boots. Return to the fork and take a right.

    The Jarling’s Location

    The Vow Jarling in The First Berserker Khazan.

    You’ll enter a room with two frenzied Yoma Pursuers. Just in front of the statue is a Large Spirit Ore. The next room will split again; head right first to find a Lightning Enhancer in one corner and a Jarling in the other. Then, kick down the ladder that leads back to the arena where you fought the Renowned Swordsman’s Shadow. Don’t descend the ladder yet; instead, go back and take the left pathway. A Pursuer is lurking there. This will lead you into a massive chamber.

    The Netherworld Energy found during The Vow mission in The First Berserker Khazan.

    In this large room, you’ll confront an Undead Ice Archer across the chamber, along with two Undead Shieldbearers who will engage you as soon as you enter. Retreat to the previous room to fight the Shieldbearers first, then take down the Ice Archer, either with javelins or by closing the distance. Collect the Netherworld Energy located next to where the Ice Archer was, along with a Lightning Enhancer. You can then drop down to the lower area.

    Here, you’ll face off against three Undead Swordsmen, an Undead Archer, and two Undead Vagrants. Watch for the Ice Archer who will be firing at you from the hallway. Once you’ve dealt with this group of enemies, look for a Concentrated Poison Essence in a nearby cell, as well as a Lightning Spirit Fuel and an Unstable Soul Tearstone in the center of the room. Move towards the hallway that has the Ice Archer, eliminate them with a javelin, and take the first left to duck into an alcove.

    The Hismar Conquest 3 document found during The Vow mission in The First Berserker Khazan.

    You’ll find a trap trigger next to the alcove, so step around it and enter the room where the Ice Archer was. There’s another Vagrant waiting in this space. You’ll then find a room with a Summoner and two Shieldbearers. It’s crucial to defeat the Summoner first. Once they’re gone, open the gate behind them to reveal a room with an elevator. Don’t take it down just yet; instead, walk around the area to locate the Hismar Conquest 3 document. After that, head down to the next floor using the elevator.

    Ruins Bridge

    The cavern encountered at the end of The Vow mission in The First Berserker Khazan.

    Enemies

    Yoma Pursuer, Crypt Devourer, Servant of Chaos

    Notable Items

    2x Unstable Soul Tearstones, Devourer’s Scroll, Reese’s Ring


    Hismar Conquest 4, Hastily-Written Note

    Soulstones?

    1

    Jarling?

    No.

    Take a right and bind to the Ruins Bridge Blade Nexus. Cross the bridge and descend the stairs. To the right, you’ll spot a Poison Enhancer. The path will take you into a huge cavern. Beware, that isn’t a Soul Tearstone: it’s your old adversary, the Crypt Devourer. Approach that area with caution.

    The Hismar Conquest 4 document found during The Vow mission in The First Berserker Khazan.

    This area is swarming with 15 Yoma Pursuers, with three frenzied ones. Thankfully, you can defeat most of them one by one. I recommend circling the cavern and clearing out the Pursuers as you go. Once you’ve cleaned out the area, make your way back to the entrance. Head to your left to discover 15 Transmutation Shards. Continue following the wall around, and you will find the Hismar Conquest 4 document hidden behind the waterfall.

    Please keep following the left wall and you’ll discover a treasure chest containing a Claw-Slit Dual Wield, Trooper’s Ring, Necklace of Preparation, and two Hallucination Cleanse Potions. You’ll find two frenzied Pursuers nearby the chest.

    Continue along the left wall to find three Vitality Spheres and two Willpower Orbs. Be cautious, as the glowing corpse you see hides yet another Crypt Devourer, so be sure to take them out with a javelin. Nearby, on a rock in the center of the stream, you’ll find seven Spirit Ores.

    The Second Soulstone

    In the next area, you’ll find an Unstable Soul Tearstone. Navigate down and around, and you’ll encounter a large Servant of Chaos golem. Defeat it to collect a Devourer’s Scroll. To your right, tucked behind a statue, is the second Soulstone (2/2). Proceed through the doors to gather another Unstable Soul Tearstone and activate the Hidden Chamber Blade Nexus. From here, you only need to advance and face the stage’s boss: The Specter of Pleuvious.

    The Specter of Pleuvious

    Fighting Pleuvious during The Vow mission in The First Berserker Khazan.

    The Specter of Pleuvious is essentially a more powerful version of the Soulbound Knight. This means not only increased health and damage, but also the ability to summon two spirits to aid him. Furthermore, his spear has a much longer reach than that of the standard Soulbound Knight.

    Much like the regular Soulbound Knight, he will mirror Pleuvious’s moves. However, there’s a twist: the spirits he summons can arrive with a delay, making timing your dodges trickier. This allows him to attack from one side while the spirits assault you from another, and the spirits can also mask his Burst Attack, where they will execute a thrust attack in succession followed by his lunge.

    If you interrupt Pleuvious, the spirits will still complete the move he intended to use before you disrupted him.

    Pleuvious summoning spirits into the air during The Vow mission in The First Berserker Khazan.

    If the spirits hit you, they’ll deal a significant amount of Hallucination status infliction, which is why it’s crucial to have a Hallucination Cleanse Potion ready for this fight.

    The best moments to attack Pleuvious are right after you’ve dodged both his and his spirits’ strikes. Also, when he is in the process of summoning the two spirits into the air, he is particularly exposed.

    Reese's Ring found at the end of The Vow mission in The First Berserker Khazan.

    Upon defeating the Specter of Pleuvious, you’ll receive the Hastily-Written Note along with some gear. Now, head into the chapel to find Reese’s Ring on the table. Interact with the diary to wrap up The Vow mission.

  • Completing the Challenge: Solving Reese in Berserker Khazan

    Completing the Challenge: Solving Reese in Berserker Khazan

    Defeating Reese: The Penultimate Boss of The First Berserker: Khazan

    Reese serves as the second-to-last boss in The First Berserker: Khazan, and her battle presents a unique and multifaceted challenge. In her initial phase, she utilizes magic-based attacks, reminiscent of other foes like Trokka or Bellerian. However, as the fight progresses, she transforms into a more aggressive opponent, charging at you like Maluca or Skalpel.

    In this guide, I’ll walk you through both phases of the fight, helping you recognize her vulnerabilities, avoid her strengths, and navigate her extensive skill set. We’ll also provide tips for optimizing your character build for this encounter.

    Preparation for the Fight Against Reese

    Before facing Reese, it’s crucial to strategize effectively. One key aspect of this fight is that she can be interrupted. Using a heavy strike from a greatsword can halt her attacks entirely. While any weapon can be effective, the greatsword provides a distinct advantage due to its damage potential.

    Additionally, invest skill points in your Counterattack ability. Reese features one of the easier-to-counter Burst Attacks among the game’s bosses, allowing you to frequently execute Counterattacks. Enhancing this skill will help you deal more damage while recovering resources.

    Given Reese’s reliance on chaos magic, it’s essential to equip armor that offers chaos resistance. If your build is strength-focused, the Radiant Guardian set is ideal. If you lack strength, opt for the Saint set. Don’t forget to bring along Chaos Cleanse Potions to mitigate her effects.

    Reese’s First Form

    In the first phase, Reese predominantly keeps her distance, bombarding you with ranged magical attacks. She aims to lay explosive magical sigils underfoot, forcing you into a defensive position. While she does have some close-range strikes, they are less threatening than her ranged onslaughts. Every spell she casts pertains to chaos magic, which can inflict the chaos status on you and hinder your combat effectiveness.

    AOE Attacks

    Throughout the battle, Reese will use giant sigils on the battlefield. Standing on these sigils will result in chaos damage, making it critical to avoid them. She can also raise her staff to trigger their explosive power, causing significant harm. Your priority should be never to stand on a sigil while engaging her.

    Reese can create a sword of light to initiate melee attacks or manifest a sigil directly underneath you. Expect these spells to increase in size, but the best strategy remains consistent—dodge to the side as she casts.

    Tip: You can disrupt Reese’s sigil summoning by attacking her during the process.

    Projectile Attacks

    One of Reese’s fastest attacks involves her launching a sword of light at you. She may also conjure three portals that fire beams converging on your position; these have a minor homing capability. While flying, she’ll generate new portals just before shooting beams, heralded by a high-pitched sound. Sprinting sideways immediately after the portal’s appearance will help you evade these projectiles.

    Reese’s Melee and Burst Attacks

    Reese displays a few melee attacks as well. She can perform wing swipes, which, while slow and limited in range, can deal quite a bit of damage. If both wings swing in unison, she attempts a powerful grab attack that can severely harm you. Dodging at the sight of wings will keep you safe from all wing-based assaults.

    Her Burst Attack is particularly exploitable. After the symbol appears, she will charge toward you in a straightforward manner, leaving it easy to Counterattack, even if you’re not accustomed to using this ability.

    Reese’s Demonic Form

    Upon defeating her in her human form, Reese will resurrect in her demonic form. Many of her attacks remain consistent, and you should tackle them just as you did before. However, her offensive capabilities increase sharply in this phase, including the addition of teleportation.

    New Attack Patterns

    Her teleportation predominantly manifests through a sequence of melee slashes, which culminate in a powerful explosive attack. She has also enhanced her four-hit rush combo, followed by quick energy projectiles. Reacting quickly will be essential, especially as her attacks become more complicated.

    Reese will eventually pulse with chaos energy, signaling a significant attack. After a few successful hits, it’s advisable to back away and prepare for her devastating burst.

    Conclusion

    After successfully navigating her various attacks and dodging her powerful spells, you will be rewarded with the Faded Memories Scroll. This victory allows you to proceed to the game’s final mission, where you will confront Ozma. Prepare wisely for this ultimate challenge!

  • Completing the First Berserker: Solving Maluca’s Challenge

    Completing the First Berserker: Solving Maluca’s Challenge

    The First Berserker: Khazan – Boss Encounter with Maluca

    In The First Berserker: Khazan, players are thrown into a brutally engaging soulslike experience filled with intense boss battles that truly test your skills. One of the standout challenges is the battle with Maluca, located deep within the Throne of the Veil.

    While the fight against Maluca is visually stunning and incredibly thrilling, it also demands near-perfect gameplay execution. A single mistake can see you respawning at the Blade Nexus, feeling defeated. However, with the right approach, you can navigate through the chaos and increase your chances of victory.

    Overview of Maluca

    Maluca is arguably one of the most formidable bosses in The First Berserker: Khazan. He possesses astonishing speed, inflicts massive damage, and can strike from nearly any range with his various attacks. This is just during the first phase of the encounter.

    Once Maluca enters his second phase, he becomes infused with Chaos, gaining access to a host of new, quick-moving assaults that are difficult to dodge. His damage output significantly increases, which can make for a disastrous situation if you find yourself on the receiving end. Prepare yourself for an arduous fight!

    Maluca’s Battle Information

    Mission Veiled Knives
    Recommended Level Level 51
    Optional? No
    Rewards – Chaos-Ridden Greatsword
    – Chaos-Ridden Gauntlet
    – Necklace of Good Fortune
    – 3 Transmutation Mist
    – 8,265 Gold
    – 23,532 Lacrima

    Strategy to Defeat Maluca

    If you’ve managed to get through Maluca’s initial attacks, you’re well on your way to victory. However, be ready for more than a few challenging moves that can send you back to the starting point if you’re not careful.

    Maluca’s Attacks

    Overhead Slam: As soon as the battle starts, expect Maluca to dash forward and perform two consecutive Overhead Slam attacks. Look for him to lift his sword up high behind him while turning towards you. Just before he swings down, guard to reflect the hit. Repeat this for the second slam, then counter with three to four attacks to deal some damage.

    Burst Attack: After the Overhead Slams, Maluca often follows up with his Burst Attack. When you see the symbol on your screen, wait a moment, and then counter as soon as he strikes to deal significant damage and stagger him. This gives you an opening for additional hits!

    Big Boot: Maluca will also execute his Big Boot, charging at you before delivering a powerful kick. When you notice him lift his leg, stop moving and prepare to guard when he executes the kick for a chance to reflect and retaliate.

    Charged Projectiles: Maluca will gather energy into his blade before launching three powerful projectiles at you. The first two are launched quickly and the last one is slightly delayed. Evade to the side when you see him plant his foot to avoid getting hit.

    Dual Blade Combo: Watch out for the thrusting attack followed by a spinning slash and an Overhead Slam. You need to guard twice due to the two blades and reflect the final slam for a chance to strike back.

    Twirling Slam: In this attack, Maluca will leap into the air and spin downwards. Guard just before he hits the ground to halt his momentum and allow yourself to land multiple hits in return.

    Second Phase: Chaos Phase

    Upon entering the second phase, Maluca is engulfed in Chaos. He often begins with a Devastating Slam, leaping high in the air and crashing down to create shockwaves. Run away from him as he descends and guard in time to dodge the subsequent shockwave.

    Prepare for attacks like the Time Altering Slash, where he will slow down time before blinking towards you. Evade quickly once you see the tempo slow to avoid the strike.

    Lunging Grab: This attack involves Maluca leaping and attempting to grab you with his sword. The moment his katana glimmers, evade to either side to dodge the grab and follow up with attacks while he’s vulnerable.

    Taunting: Occasionally, Maluca may create distance and taunt you. Rush him down and attack, knowing that your initial strikes will be blocked. This should provoke him into a counterattack, giving you the chance to reflect and strike back.

    Charged Projectiles (Phase Two): The Charged Projectiles attack returns but with greater speed and frequency. Instead of attempting to reflect these, focus on evasion and run in for the counterattack once he pauses.

    Final Tips

    Stay alert and learn Maluca’s patterns through repeated attempts. Each phase brings new challenges that require quick reflexes and sound strategy. With determination and the right tactics, you’ll emerge victorious against Maluca in The First Berserker: Khazan. Keep pushing forward; victory is within reach!

  • Completing Volbaino in the First Berserker: Khazan Challenge

    Completing Volbaino in the First Berserker: Khazan Challenge

    After navigating through Phraugh Village in the “First Act of Revenge” quest of The First Berserker: Khazan, you’ll face the formidable Volbaino. This creature, a blend of human and deer, brandishes a hammer and a spike with remarkable enthusiasm. Expect him to whirl around the arena, unleash long combos, hurl his weapons at you, and ignite the ground in his wake.

    The arena itself is crucial to this battle. To survive, you’ll have to dart between the various levels of the room. Moreover, Volbaino sets his spike ablaze, so even the best-timed guards might not keep you safe. But don’t worry; we’ll guide you through everything you need to know to defeat this beast once and for all.

    Preparing for the Volbaino Boss Fight

    First, ensure you have the Necklace of Sealed Fire from your time in Phraugh; it’s in a house where you must stop a Dragonkin Sentry from alerting others. If you skipped it, you’ll find it near the Central Storehouse Entrance Blade Nexus. Additionally, gather a few Fire Cleansing Potions and equip them.

    Regarding your armor choice, it ultimately depends on your playstyle. Personally, I recommend the Ashen Wolf set, as wearing five pieces grants you an extra Nether charge.

    You can wield any of the three weapon types, but I find that using Dual Wield provides significant advantages, especially when combined with the Whirlwind ability. This will conveniently help you evade certain attacks. Regardless of your weapon, make sure to equip a skill that allows Brink Guards to inflict damage, as you’ll be relying on them frequently.

    Managing the Volbaino’s Fire Buff

    Volbaino will often clash his weapons, igniting the spike early in the fight. The fire buff will time out eventually, but expect him to reapply it quickly. The main risk with this buff is that it ignores your guard, and that includes your Brink Guard.

    Besides the Necklace of Sealed Fire and cleansing potions you should bring into battle, you’ll want to actively dodge his spike attacks during the fire buff. Volbaino has several attack patterns where he alternates between his two weapons. While you can still block his hammer strikes, you’ll need to evade the spike attacks.

    The exception comes when he begins to rapidly slam his weapons; in this case, create some distance. If you can’t escape, attempt to Brink Guard these strikes. Dodging during such a flurry is risky as the attacks come in fast. The fire resistance from your necklace should help mitigate the fire damage you might take.

    If you do catch fire, the Fire Cleansing Potions will allow you to remove it instantly.

    Strategies to Defeat Volbaino

    During your first encounter with Volbaino, focus on using Brink Guards against nearly all of his attacks. Most of his moves follow a consistent rhythm, making them simpler to time and guard against. Your best chance to hit him occurs after he executes a horizontal swing and follows it up with two vertical slashes, alternating hands, before delivering a jump attack. He uses this pattern often, presenting a perfect opportunity to land some damage.

    If the spike is on fire, you must evade its strikes to avoid fire damage. However, you can safely Brink Guard against the jumping attack.

    Additionally, Volbaino will slam his spike down into the ground, followed by striking it like an anvil, which generates a shockwave. When he does this, retreat briefly and rush back in once he’s vulnerable post-shockwave.

    If you’re utilizing Dual Wield and have equipped the Whirlwind ability, you can use it to bypass the shockwave by getting airborne.

    When Volbaino makes a low, 360-degree spin, prepare for him to follow with six rapid vertical attacks. After the flurry, he’ll execute a Brink Attack, lunging forward. If you dodge right after those six strikes, he’ll miss his attack, leaving him open for your strongest counter.

    There’s also another Brink Attack to watch out for; when he charges at you, he’ll perform an unblockable swipe with his spike. Keep an eye on that spike: as it comes down, dodge away. Timing may be tricky, but you’ll learn to anticipate it.

    Volbaino’s Second Phase

    Once you’ve whittled his health down to about half, Volbaino will scramble up a wall, preparing to execute a massive jump slam. While he’s climbing, you can hit him with javelins. He’ll pause while on the wall, so keep launching javelins until he leaps off. Dodge right before he lands to avoid damage and secure your chance to counterattack.

    From this point onward, when Volbaino slams his spike down, he’ll start pulling it up. He’ll be open to attacks during this, but once he yanks it free, a substantial pool of fire will form. Stepping into that area results in fire damage, but you can safely throw javelins at him. Moreover, this is an excellent time to climb the ladder to reach the upper levels.

    You can climb that ladder anytime Volbaino is stunned. It benefits you to do so when the opportunity arises, even if it’s early in the fight.

    When Volbaino licks his spike, make haste to the second floor, as he will ignite the entire ground below. If you’ve already climbed the ladder while he was preoccupied pulling up his spike, you’ll be safe on the upper level and can easily evade the flames.

    Throughout the second phase, Volbaino will continue using the same combos from earlier, leaving him exposed at times. Stay alert, utilize your Brink Guards, dodge his flaming spike attacks, and strike when it’s safe. Before long, you’ll emerge victorious.

  • Completing the First Berserker: Solving Rangkus’s Challenge

    Completing the First Berserker: Solving Rangkus’s Challenge

    The First Berserker: Khazan – Facing Rangkus

    In The First Berserker: Khazan, you’ll encounter tough battles that will have you celebrating each victory, especially after numerous attempts—typical of a soulslike game. One of the bosses you’ll face is Rangkus, who will definitely push your skills to the limit with his powerful and often frustrating moves.

    While not the hardest opponent in the game, Rangkus still poses a significant challenge. It may take some time to learn his patterns and devise a strategy against him. The good news is that once you understand how to counter his more powerful attacks, taking him down becomes much easier!

    Overview of Rangkus

    Rangkus is an incredibly tough boss in The First Berserker: Khazan, and defeating him will be highly rewarding after the effort you’ll put in. Expect a heated second phase that could lead to a nail-biting finish.

    Before we tackle strategies for taking down Rangkus, let’s review what you can earn from this battle and some helpful information about him.

    Rangkus Information

    Attribute Details
    Mission Traitor Revealed
    Recommended Level Level 43
    Optional? No
    Rewards – Furious Bandit’s Dual Wield
    – Furious Bandit’s Leggings
    – Slayer’s Ring
    – x2 Transmutation Mist
    – x19,144 Lacrima

    How to Defeat Rangkus

    By the time you reach Rangkus, the intensity of battle ramps up, and you’ll need to stay sharp and ready for anything. While he can be tough to handle, once you learn his tricks, he’s not insurmountable.

    Overhead Slam Combo

    Rangkus often opens with his Overhead Slam Combo, consisting of three powerful strikes using his large mace. The sequence begins with an Overhead Slam, followed by a Right Swing, and concludes with a Heavy Swing from the left.

    Understanding how to reflect these attacks is key, as doing so will stagger him momentarily. For the opening slam, wait for him to start bringing the mace down before blocking to reflect it. Then, as he swings again, guard as soon as you see the mace move toward you. For the last swing, there will be a slightly longer pause, so apply the same timing.

    If executed correctly, Rangkus will stagger and fall to a knee, giving you an opportunity to rush in and deal significant damage!

    Rolling Slash Combo

    Another frequent move from Rangkus is the Rolling Slash Combo. This starts similarly with an Overhead Slam, quickly followed by him rolling toward you to slash with his mace, and concluding with a spinning slash linked into a backslash.

    Again, you’ll want to reflect all four of these attacks. Handle the Overhead Slam as before, then guard as he rolls in. For the spinning slash, wait until he plants his feet before swinging, and for the backslash, reflect as he attempts it.

    Doing this will provide another chance to inflict considerable damage on him—an excellent way to gain an early edge in the battle.

    Exhausted State

    If you’ve successfully reflected both initial combos, Rangkus might be close to exhausting his stamina. This opens up an opportunity to attack aggressively while he is momentarily weakened, allowing you to unleash a torrent of skills for maximum damage!

    Charged Slam Combo

    Rangkus will also utilize a Charged Slam Combo, which consists of two sequential Overhead Slams, followed by a Heavy Swing and finishing with a Charged Slam. You should handle these first strikes just as before. Wait for the Heavy Swing and block, then be prepared for the Charged Slam as he raises his mace.

    When you see him begin to lower it, guard before it lands to reflect the damage, and if you’re close enough, you can land a few hits afterward!

    Charged Stomp

    Rangkus has an attack called the Charged Stomp, where he raises his leg, absorbing energy. He then forcefully slams it down, causing upheaval in front of him. This move may appear tricky to reflect since he holds it in the air for some time, but watch for when he begins the stomp and guard to reflect.

    If timed correctly, you’ll have a window to retaliate with your own strikes!

    Grappling Hook Slam

    Expect Rangkus to perform a Grappling Hook Slam. He’ll summon a grappling hook to hoist himself into the air, following up with a heavy slam upon landing. Guard the moment he starts his descent to reflect the slam and counterattack while he’s recovering.

    Second Phase Attacks

    As you push through the fight, Rangkus will eventually reveal his flamethrower, signaling the start of the second phase. Prepare for different attacks that will challenge your dodging skills even more.

    Flamethrower Twirl

    Among his new capabilities is the Flamethrower Twirl, where he spins around unleashing fire. To avoid this, dash behind him and circle around as he spins. Afterward, you’ll have a brief chance to strike.

    Stamina Juice

    Occasionally, Rangkus will retreat to drink a potion that replenishes his stamina, making the fight even more challenging. Be ready for heightened aggression as he becomes more relentless.

    Flamethrower Grappling Hook Slam

    His Flamethrower Grappling Hook Slam consists of him spraying flames followed by a grappling hook dive that culminates in a heavy slam. Guard the initial fire and prepare to reflect the slam.

    Fire Canon Attacks

    Rangkus will use a Fire Canon to launch fireballs at you while trying to close distance. Stay close to him when he launches the fireballs and dodge to avoid his attempts to grab.

    You’ll also need to watch for his Fire Canon Shotgun Blast, which can instantly take you down if hit. Use quick dashes left and right to avoid damage.

    Conclusion

    As the fight progresses, Rangkus will cycle through a variety of fiery and damaging moves. Mastering the timing of your reflections and dodges, along with understanding when to attack, will be crucial to your victory. While this encounter may take time to master, don’t get discouraged—perseverance is key to overcoming Rangkus!

  • Completing Gear Augmentation in The First Berserker: Khazan

    Completing Gear Augmentation in The First Berserker: Khazan

    The First Berserker: Khazan offers a wealth of activities, mainly through missions and bonus quests that provide ample rewards upon completion. While you will gradually uncover new systems by progressing through the main storyline, some features are only available through these bonus tasks.

    A prime example is the Kaleido mission, which is a brief bonus task that grants you the power of Gear Augmentation. This allows you to modify the Random Attributes of your gear and increase its level. It’s an essential feature, but you’ll only gain access by completing this bonus mission!

    How to Complete Kaleido

    Once the bonus mission begins, the Blade Nexus will be right ahead. Activate it to create a checkpoint and use your Lacrima if you have enough to upgrade your Stats. After that, descend the stairs where you’ll notice Flame Traps and Specters in the distance.

    Watch for the Flame Trap to turn, allowing one plume of fire to pass by. Once the fire moves past, sprint behind it and match its speed until you arrive at the open area before the next trap. Here, the Specters will notice you. Use your Javelin to take them out before moving forward.

    A collectible lies to the far left of the next set of traps. Perform the same maneuver with both traps to reach the item and collect x2 Fire Cleanse Potions. These will be invaluable later in the level!

    Continue Ahead

    Next, return to the main area and traverse the next series of traps toward the staircase. Expect to encounter two Specter Archers here, but you won’t be able to pause because of the Flame Traps. Keep pace with the first Flame Trap as you did before, then dodge past the second one.

    If executed correctly, you’ll avoid any fire damage and find yourself right in front of the Archers. Eliminate them quickly, then proceed up the staircase. At the top, turn right to spot a corpse on the ground. Absorb it for some Lacrima and Soul Tear Dust!

    Turn around and go left from the stairs to see another Specter in the distance. Use your Javelin to take it out instantly, then move ahead. You’ll notice a purple item on your left. Approach it, and two Specters will emerge from behind barricades to ambush you.

    Defeat the Specters and grab the item, which contains a Water Enhancer. Continue down the main path until it forks. The left side leads to an open room, while the right leads to a staircase. Be sure to take the left path!

    Left Pathway

    Going left will lead you into an open room filled with Specter Zombies. Remember, as you eliminate some, others may rise from the ground, so stay prepared. Keep an eye on your Stamina since their health is quite low.

    Finish off the Specters and open the chest to receive Butcher’s Pauldrons, Butcher’s Leggings, Butcher’s Shoes, and x3 Transmutation Mist. Afterward, head back to the staircase and start climbing!

    Up the Staircase

    Climb the staircase to reach the upper floor of the Silent Temple, where you’ll find several Specter Soldiers. Pick off a few with your Javelin, then finish the rest without difficulty. Move towards the end of the floor, spotting a ladder on your left. Climb down to the platform below.

    Loot the item on the floor for the Fallen Lord’s Scroll and an Augment of Wisdom. On this platform, there’s a ladder you can interact with to kick it down, creating a useful shortcut for later.

    Climb back up the ladder to the second floor and head toward the staircase straight ahead. To your right, you’ll find a corpse. Absorb it to receive a good amount of Lacrima and Soul Tear Dust!

    The Final Stretch

    Descend the staircase into a large room where a patrolling Specter Knight resides. With a massive shield and spear, this foe poses a decent challenge. However, if you lure him near the staircase, the other enemies won’t be able to interfere, allowing you to defeat him more easily.

    Countering the Specter’s attacks will drain its Stamina Gauge, enabling you to unleash your skills for significant damage— that’s your path to triumph! Once you defeat the Specter Knight, head to the left of the stairs you descended, and take another left to find an item in the back right corner. Loot it for x2 Lightning Resistance Elixirs and x3 Stone.

    Advance slightly forward from the item until you encounter a large stone column. Peek around to the right to spot a Specter Archer. Use your Javelin to eliminate it, then check to the left of the column to find another on a nearby staircase, and defeat that one as well!

    More Flame Traps and Treasure!

    With all enemies eliminated, carefully climb the lone ladder in the room to reach the catwalk above. Upon arrival, you’ll see a series of rotating Flame Traps. With little room to maneuver, they’re trickier to navigate this time, despite following the same principles as before.

    To cross the catwalk safely, time your movements from Flame Trap to Flame Trap effectively; you can’t solely rely on dodging due to their close proximity. So, pay attention to the timing when transitioning to the next trap, then gently follow it out until you’re clear.

    Two chests await you at the end. First, open the chest on the right to obtain the Imperial Soldier’s Dual Wield, Wanderer’s Leggings, Necklace of Resilience, and Earth Enhancer. For the chest on the left, open it quickly and then run away, as it’s rigged with explosives! After the explosion, loot the remains for the Necklace of Protection and x25 Treated Gem!

    Almost Done

    If you have enough health, proceed off the catwalk and head up the stairs where the Specter Archers were positioned. At the top, you’ll spot a Blade Nexus. Finally! Rest here to replenish your health and spend your Lacrima, then move towards the fog wall to wrap up this bonus mission!

    Defeat the Specter Soldiers

    On the other side of the fog wall await…two Specters. One is a Caster and the other a Knight. This isn’t exactly a boss fight and isn’t at all what we expected. Still, there’s no reason to complain! Concentrate on the Caster first, as they’re the more fragile and can cause problems from a distance.

    Once you take out the Caster, you can shift your focus entirely to the Knight, which you’ll handle similarly to the previous encounter. Piece of cake! After defeating the Specter Knight, Oksana will appear towards the back of the room. Talk to her and head back to The Crevice to complete the bonus mission!

    Augmentation Unlocked

    Finally, back at The Crevice with the ability to use Gear Augmentation. Now, you can alter your equipment’s Random Attributes using resources or merge equipment together to increase your Gear’s Level. This will prove incredibly helpful as you progress in the game, so be sure to unlock it now!

  • Completing Crafting in The First Berserker: Khazan

    Completing Crafting in The First Berserker: Khazan

    Unlocking crafting materials begins early in The First Berserker: Khazan. However, it may take some time before you can utilize these materials effectively, and you’ll need to complete a few tasks first.

    This guide will explain how to obtain Qazumaka, the blacksmith, find his hammer, and give you a rundown on crafting in The First Berserker. Additionally, we’ll also cover the weapon augmentation process, which is closely connected to crafting.

    How to Unlock Crafting

    To start crafting, you need to complete two essential steps. The first step is to defeat Aratra, who is the fifth boss you’ll face. After defeating him, Qazumaka will appear at the Crevice. Speak to him, and he will mention that he needs his hammer. This interaction will unlock the Blacksmith’s Heirloom side quest. Once you complete this quest, you will receive the hammer he requires. Afterward, return to Qazumaka to continue.

    After you complete these tasks, you’ll have access to crafting weapons and armor. If you’re looking to create specific weapons or armor pieces, make sure to gather their blueprints first. These blueprints can be located throughout the game, often hidden in different stages, while some can be unlocked by accomplishing certain challenges.

    For example, in the Forgotten Temple, you can obtain the Hunter’s Scroll by defeating the ‘epic’ miniboss. In Phraugh Village, the Ashen Wolf Scroll is located at the bottom of the hill where a boulder rolls down. You can also acquire the Forgotten Warrior’s Scroll by defeating the Lunatic Destroyer after executing 30 perfect guards.

    Where to Find Rare Materials

    Most materials can be acquired by dismantling unwanted gear. However, for certain armor sets, you’ll need unique ingredients that can only be obtained by defeating specific bosses repeatedly. This mechanic is reminiscent of Monster Hunter.

    How to Augment Equipment

    Although augmenting isn’t strictly part of the crafting system, it goes hand-in-hand with it. After completing the Kaleido side mission, which you can undertake following your victory over Aratra, Oksana will enable you to augment your gear. Augmentation allows you to enhance your equipment by sacrificing other items of the same type that are of a higher level. This is an effective way to utilize gear you collect that doesn’t provide set bonuses.

    Augmenting a sword

    By following these guidelines, you’ll be well on your way to mastering crafting and augmenting equipment in The First Berserker: Khazan. Happy crafting!