الوسم: Atlyss

  • Mastering the Bandit Role in Atlyss

    Mastering the Bandit Role in Atlyss

    In Atlyss, you play as a soul rescued from purgatory. Your mission is to battle the forces of evil throughout the realm to revive this enchanting world to its original splendor. As you advance in the game, your strength will grow, allowing you to confront tougher enemies and emerge victorious.

    Upon reaching level 10, you can choose a specific class, each offering its own distinct skills and advantages. If you opt for the Bandit class, you’ll enjoy enhanced mobility and the ability to weaken your foes, enabling swift victories.

    Bandit Class Overview


    The Bandit Class boasts several valuable skills that focus on mobility and reducing enemy armor. Some abilities deal area-of-effect damage, making them particularly effective against groups of foes.

    This class can be more challenging to master compared to the Mystic and Fighter Classes, as it doesn’t allow the use of shields and relies less on direct confrontation. However, with practice, you can become a formidable opponent against any number of enemies.

    How to Unlock the Bandit Class
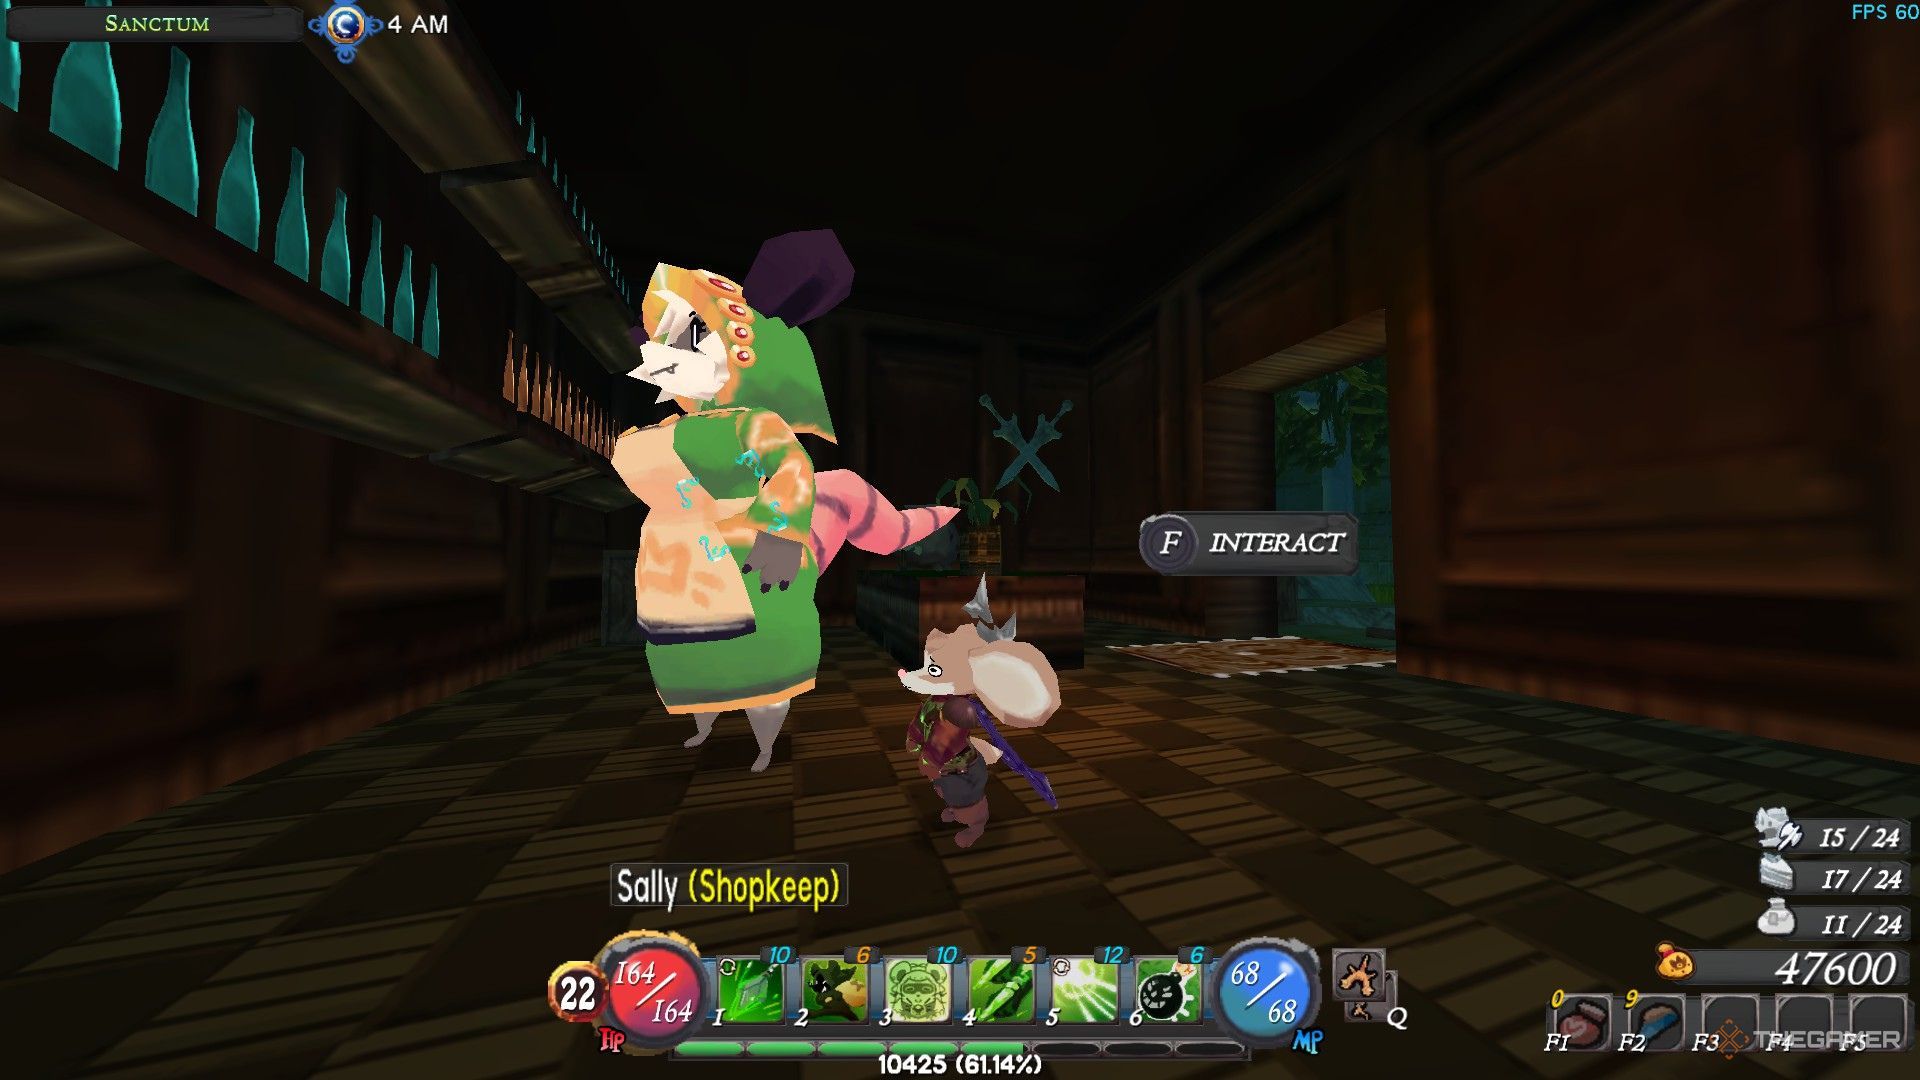
    Sally the Shopkeep in Atlyss.

    At level 10, you can approach Sally and accept the Devious Pact quest from her. She can be found in her shop, just outside Angela’s library. Upon accepting the quest, the Tome of the Bandit will automatically be added to your inventory.

    To equip the Bandit Class, go to the Consumables section of your inventory and use the Tome of the Bandit. This will reset all your skill points, allowing you to acquire new abilities from the Bandit Skillbook.

    Sally also offers quests for Katar and Bow Mastery. If you accept these quests, you will receive the Mastery Scroll for those weapons. Simply use the scroll from your inventory, and spend skill points to enhance your proficiency with those weapons.

    Bandit Class Skills
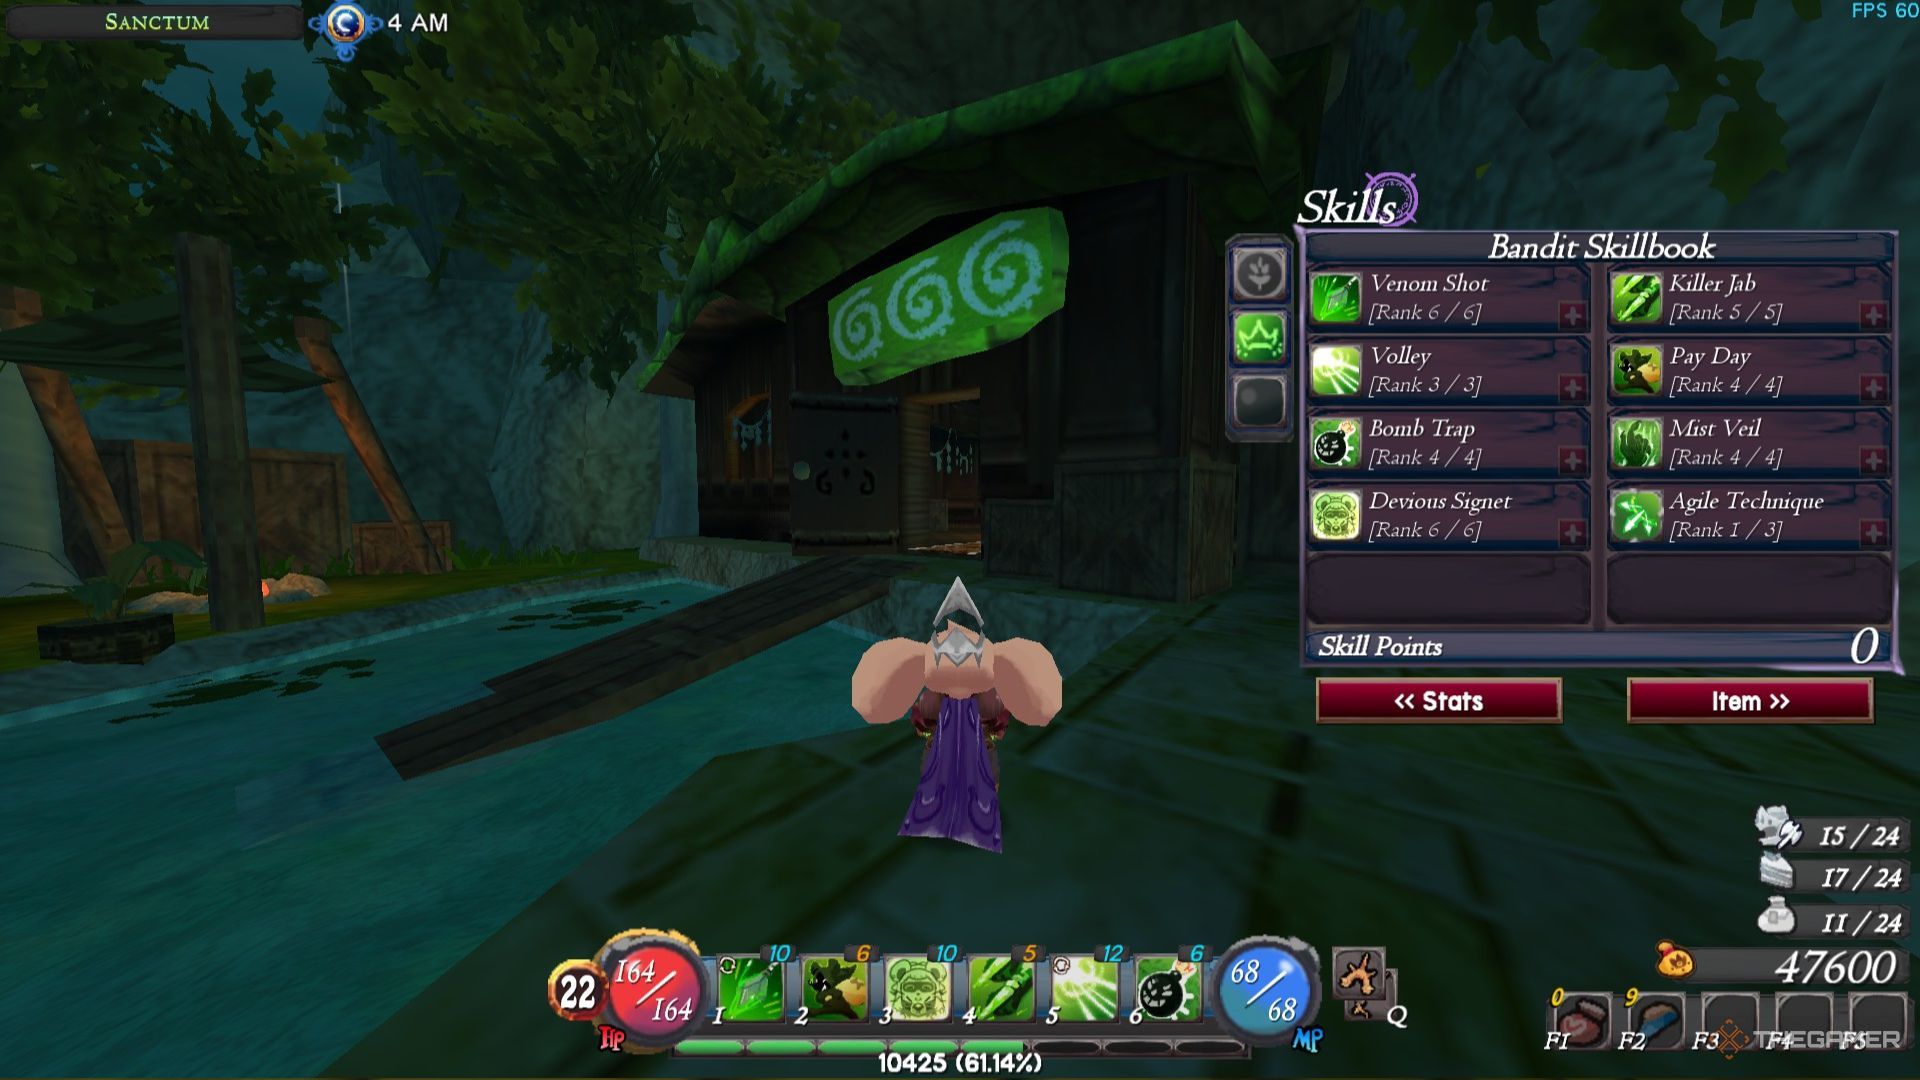
    A maxed-out Bandit Skillbook in Atlyss.

    The Bandit Class is proficient with Katars and Bows, both of which are crucial to its skills. Some abilities require a melee weapon, while others necessitate a ranged weapon. You can tailor your skills to suit your playstyle—whether you prefer a pure melee approach, a ranged strategy, or a blend of both.

    Bandit Class Skills

    Name

    Description

    Usage

    Venom Shot

    You shoot an arrow at an enemy, causing damage over time and temporarily reducing their armor.


    This skill is exclusive to ranged weapons.


    Leveling up increases damage over time and enhances the armor reduction effect.

    This serves as your primary armor reduction skill. While the initial damage is lower, the reduction in armor is significant.


    If you’re focused on ranged abilities, maxing out this skill is highly beneficial. For melee builds, consider it only if you need armor reduction.

    Killer Jab

    This melee ability delivers burst damage to an enemy, reducing their armor by 10 points and their movement speed by 20%.


    Upgrading this skill boosts damage but does not enhance armor or movement speed reduction.

    This skill is vital for countering enemies with high armor, making it an excellent choice for melee builds. Ranged players should avoid this unless they’re mixing builds.

    Volley

    Volley allows you to target a small area with a ranged weapon, dealing manual damage over time to enemies caught within it.


    Leveled up, it increases the damage done over time in the focused area.

    This skill is effective when carefully charged and aimed. It is particularly advantageous against groups of enemies but less so for melee builds.

    Payday

    This melee skill stuns the target briefly while inflicting damage.


    Ranking up increases both the damage dealt and the amount of currency dropped. The enemy’s level affects the drop rate and stun duration.

    While the currency drops are minor, the stunning effect makes this skill worthwhile for melee characters. It can also hit multiple targets, making it useful in dungeons.

    Bomb Trap

    This skill allows you to set a bomb that will explode shortly after, dealing significant area damage and knocking back enemies.

    Bomb Trap is a game-changer for the Bandit class, delivering massive damage in a wide area. It has a short cooldown and can be used while escaping, making it versatile for both melee and ranged builds.

    Mist Veil

    This skill grants temporary invisibility while restoring health. Enemies will stop moving until you attack or get hit.


    Using items does not break invisibility.


    Levelling it up enhances its duration and the amount of health restored.

    This is an essential skill for any build, allowing for safe retreat and healing during challenging situations. Using items while invisible further enhances its utility.

    Devious Signet

    A support skill that boosts evasion and critical strike chance for allies within a small radius. It has a duration of 35 seconds and a cooldown of 40 seconds.


    Upgrading the skill improves both the evasion and critical strike rate.

    Very powerful in multiplayer, but beneficial in single-player too, particularly for melee classes.

    Agile Technique

    This passive ability enhances movement options.


    Each rank adds unique movement capabilities absent in other classes.

    The triple jump gained from this skill aids exploration but further ranks may not be practical. It’s better to invest skill points in other abilities.

    Bandit Class Gameplay Tips

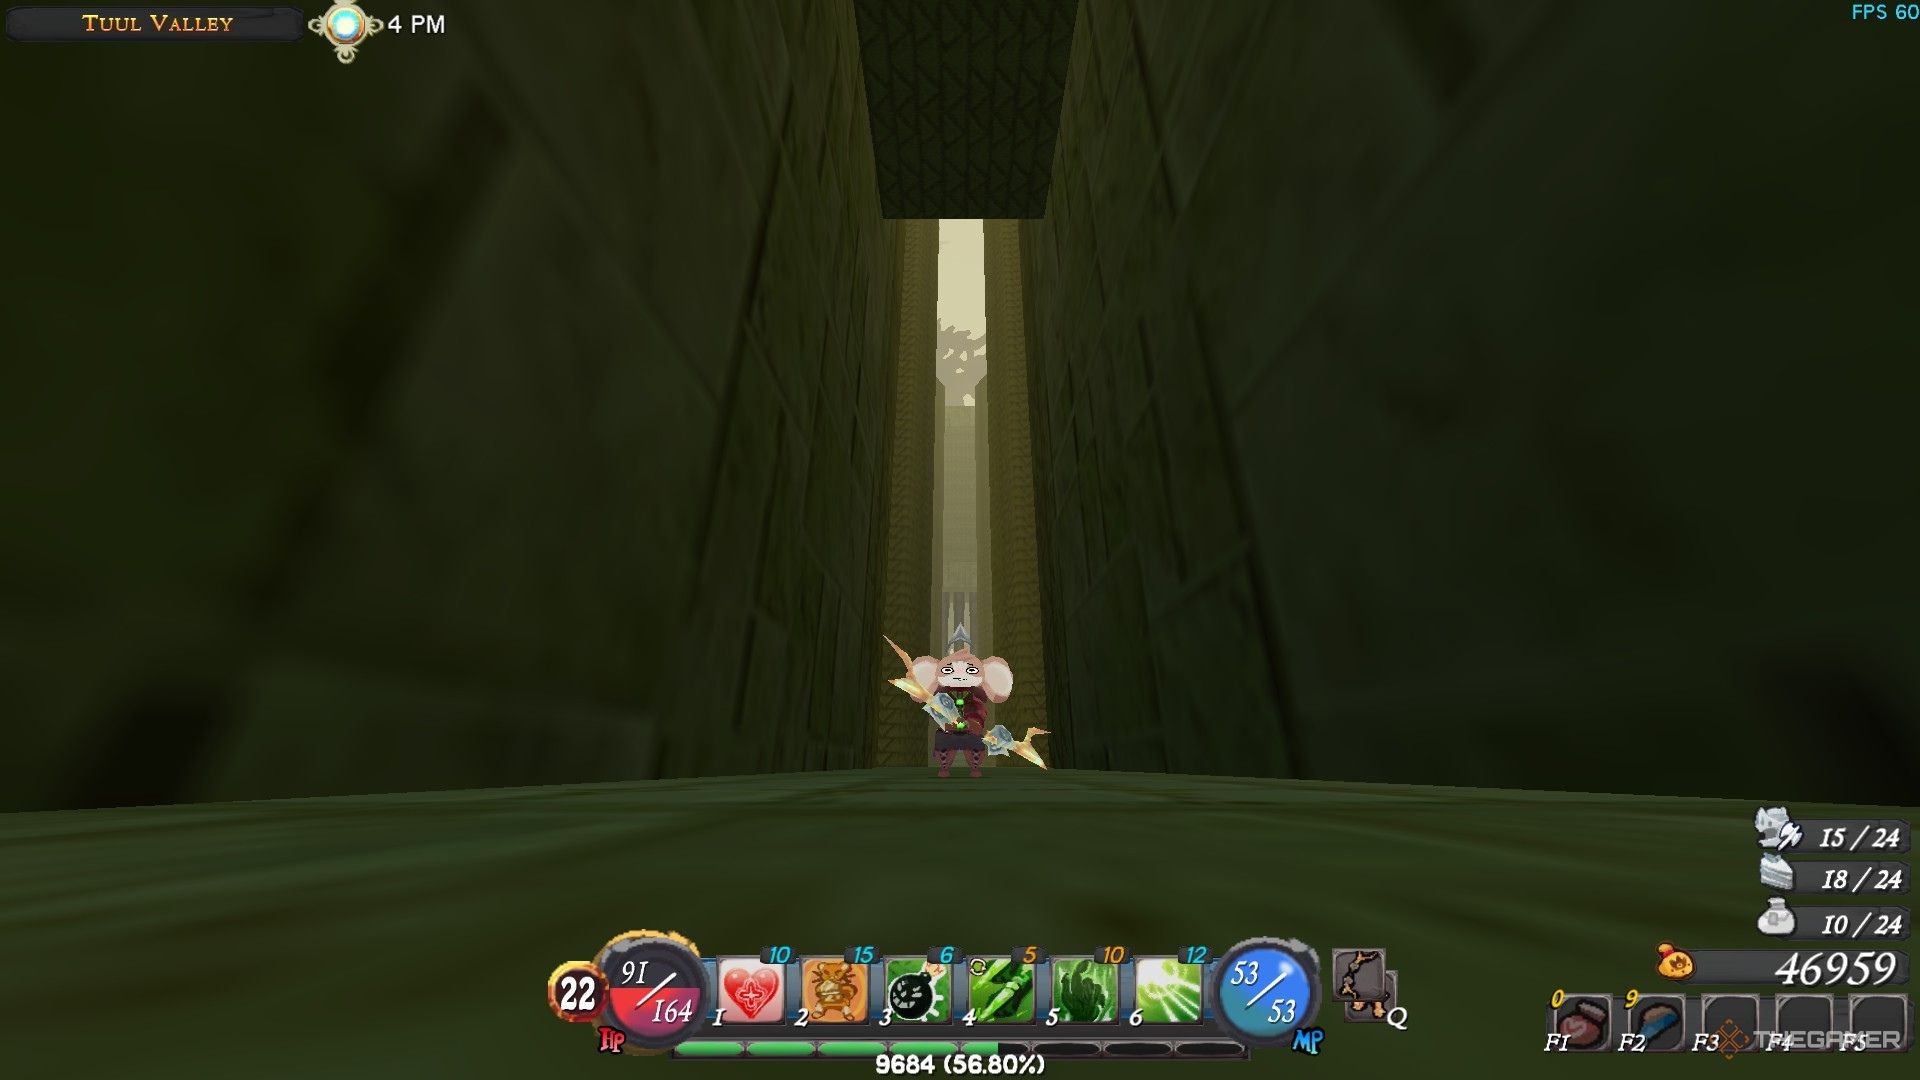
    Player positioned in a corridor within the keep in Tuul Valley.

    As a Bandit, mastering your timing for parrying is crucial when engaging enemies up close, especially since you won’t have a shield. Use your skills wisely; Mist Veil and Devious Signet provide substantial survivability, while Bomb Trap can be used to damage foes as you retreat.

    Always be prepared to back off when necessary. In melee combat, focus on using Killer Jab, Bomb Trap, and Payday for damage while relying on Mist Veil to escape safely. Investing in a good starting skill like Sturdy can also help you deal damage without taking too many hits.
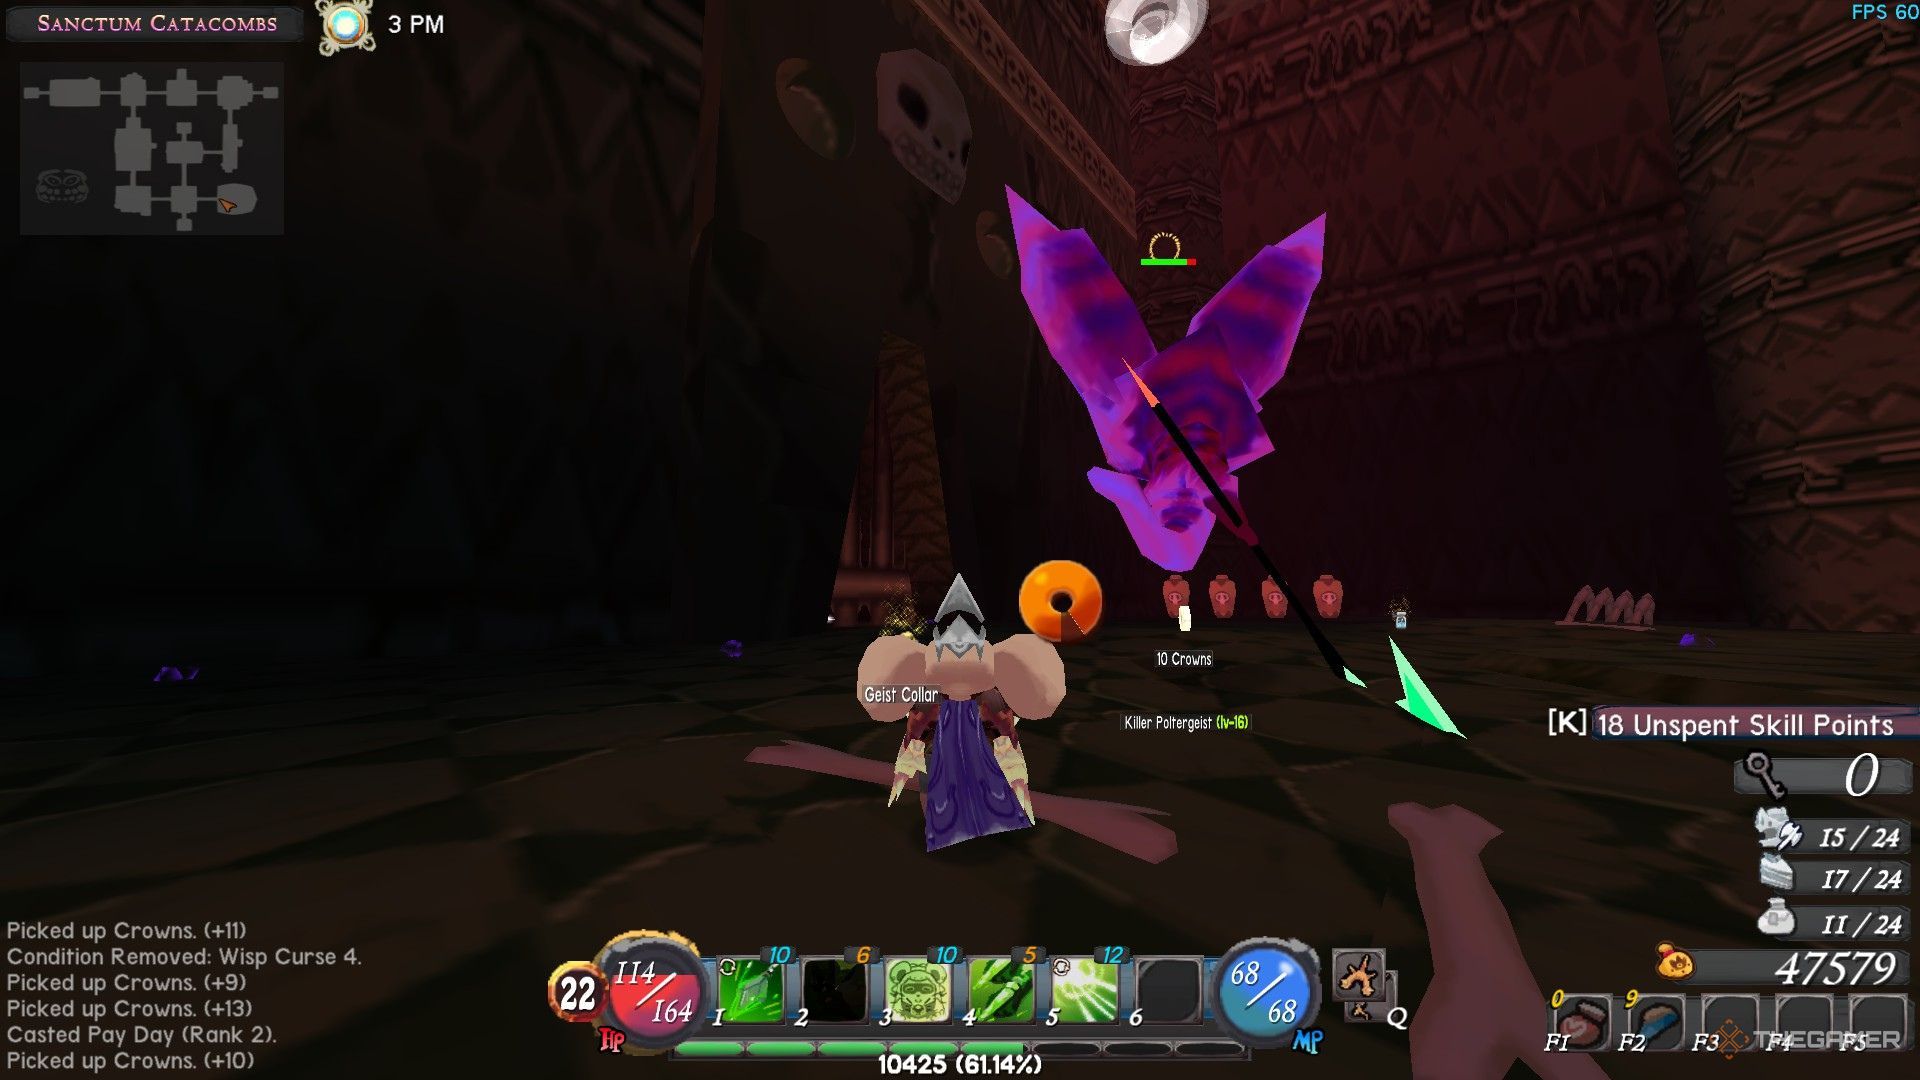
    The player stunning an enemy using the Payday skill in Atlyss.

    For ranged strategies, using Bomb Trap allows you to drop a bomb while creating distance from an opponent. Venom Shot is effective for hitting single targets quickly, making boss encounters more manageable.

  • Quick Tips for Rapid Leveling in Atlyss

    Quick Tips for Rapid Leveling in Atlyss

    Atlyss is a role-playing game (RPG) that becomes increasingly challenging as you progress through different areas. There are numerous dungeons and locations to explore, each filled with formidable enemies that can pose a significant threat if you’re not adequately prepared. The key to overcoming these challenges is to enhance your skills and abilities.

    You have various options for gaining experience to prepare for new areas you wish to explore. As you advance in levels, you’ll be able to face tougher opponents, utilize superior gear, and embark on fresh quests and dungeons that were previously inaccessible due to level restrictions.

    How to Level Up Quickly in Atlyss

    In the early stages of the game, you can easily gain levels by defeating standard enemies found in dungeons or the Outer Sanctum region. However, after reaching level 10, gaining levels becomes significantly harder, as merely defeating enemies will not suffice to level up quickly.

    Continuously defeating the same enemy will not yield experience once you out-level them. In contrast, challenging an enemy that is several levels above you might lead to missed attacks, but the experience gained from defeating them will be substantial.

    It’s advisable to engage enemies that are close to your level instead of opting for those that are much higher.

    Exploring Dungeons

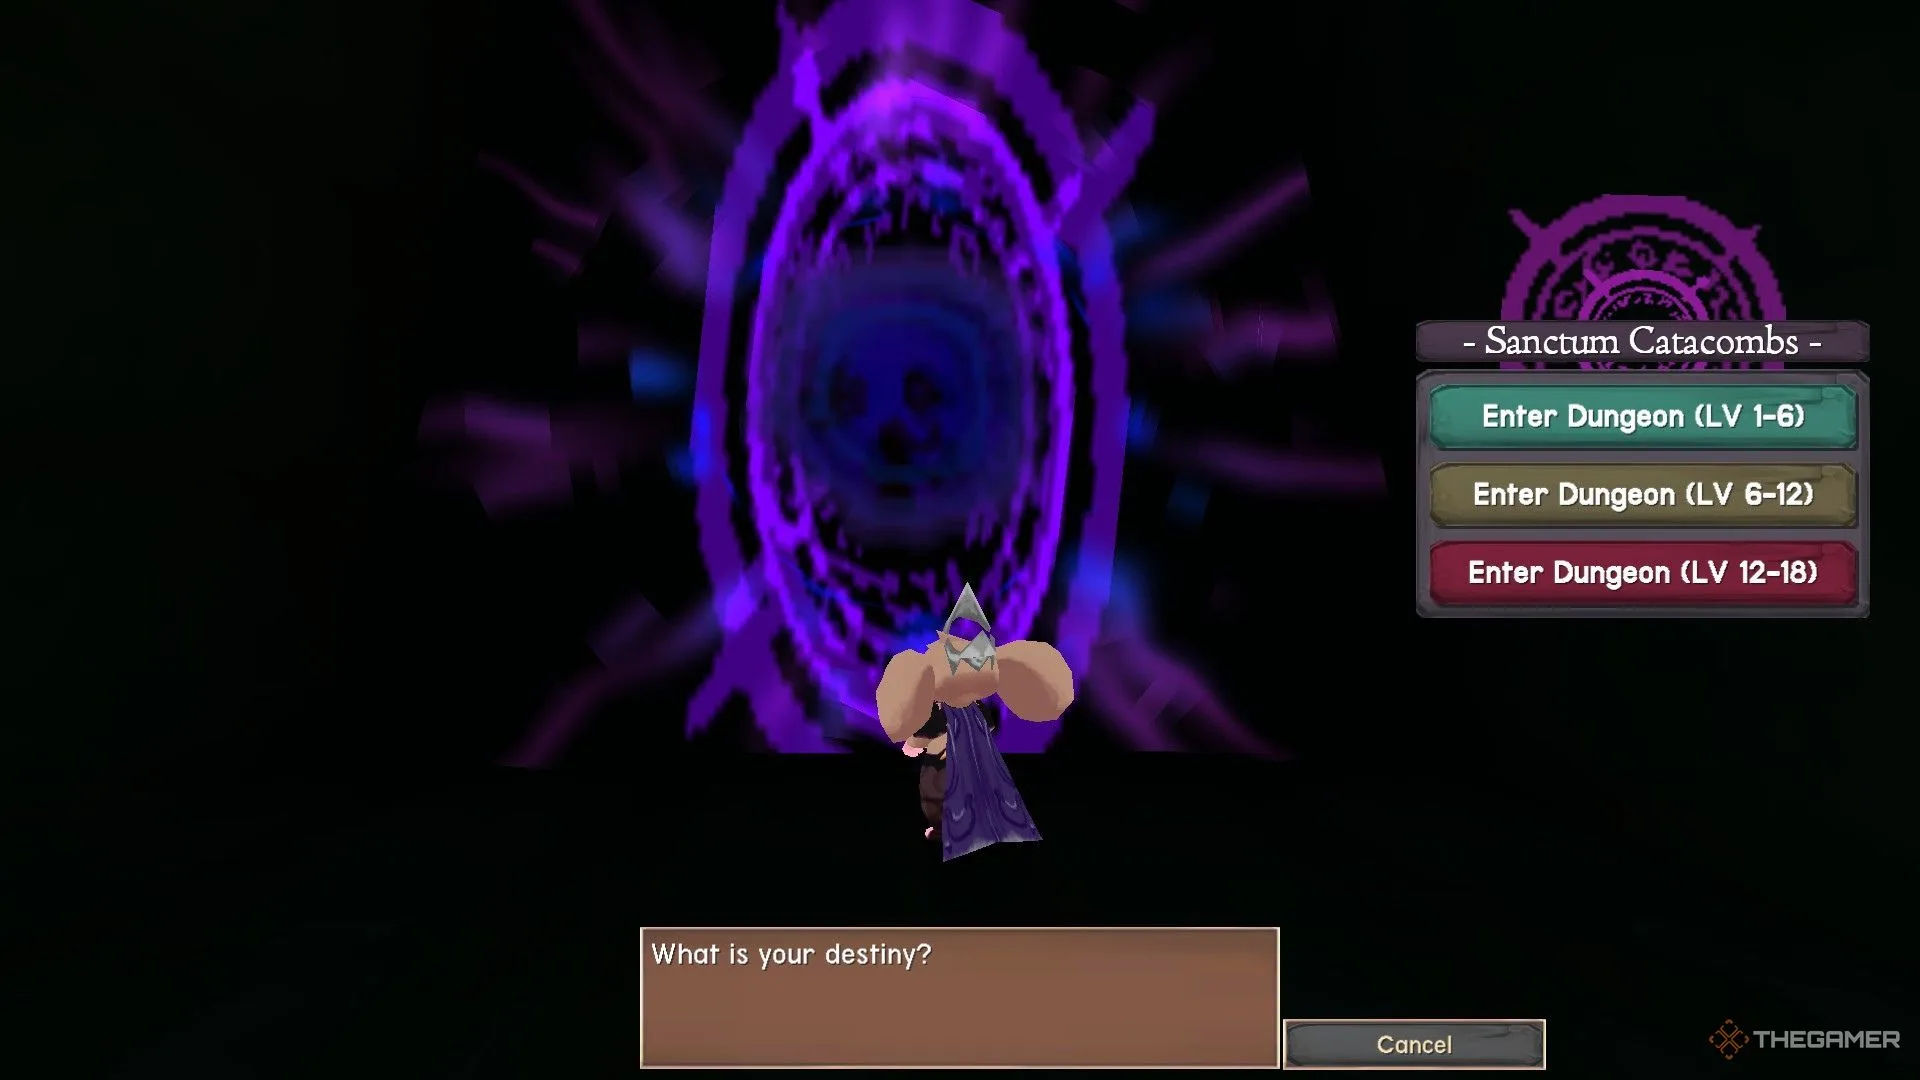
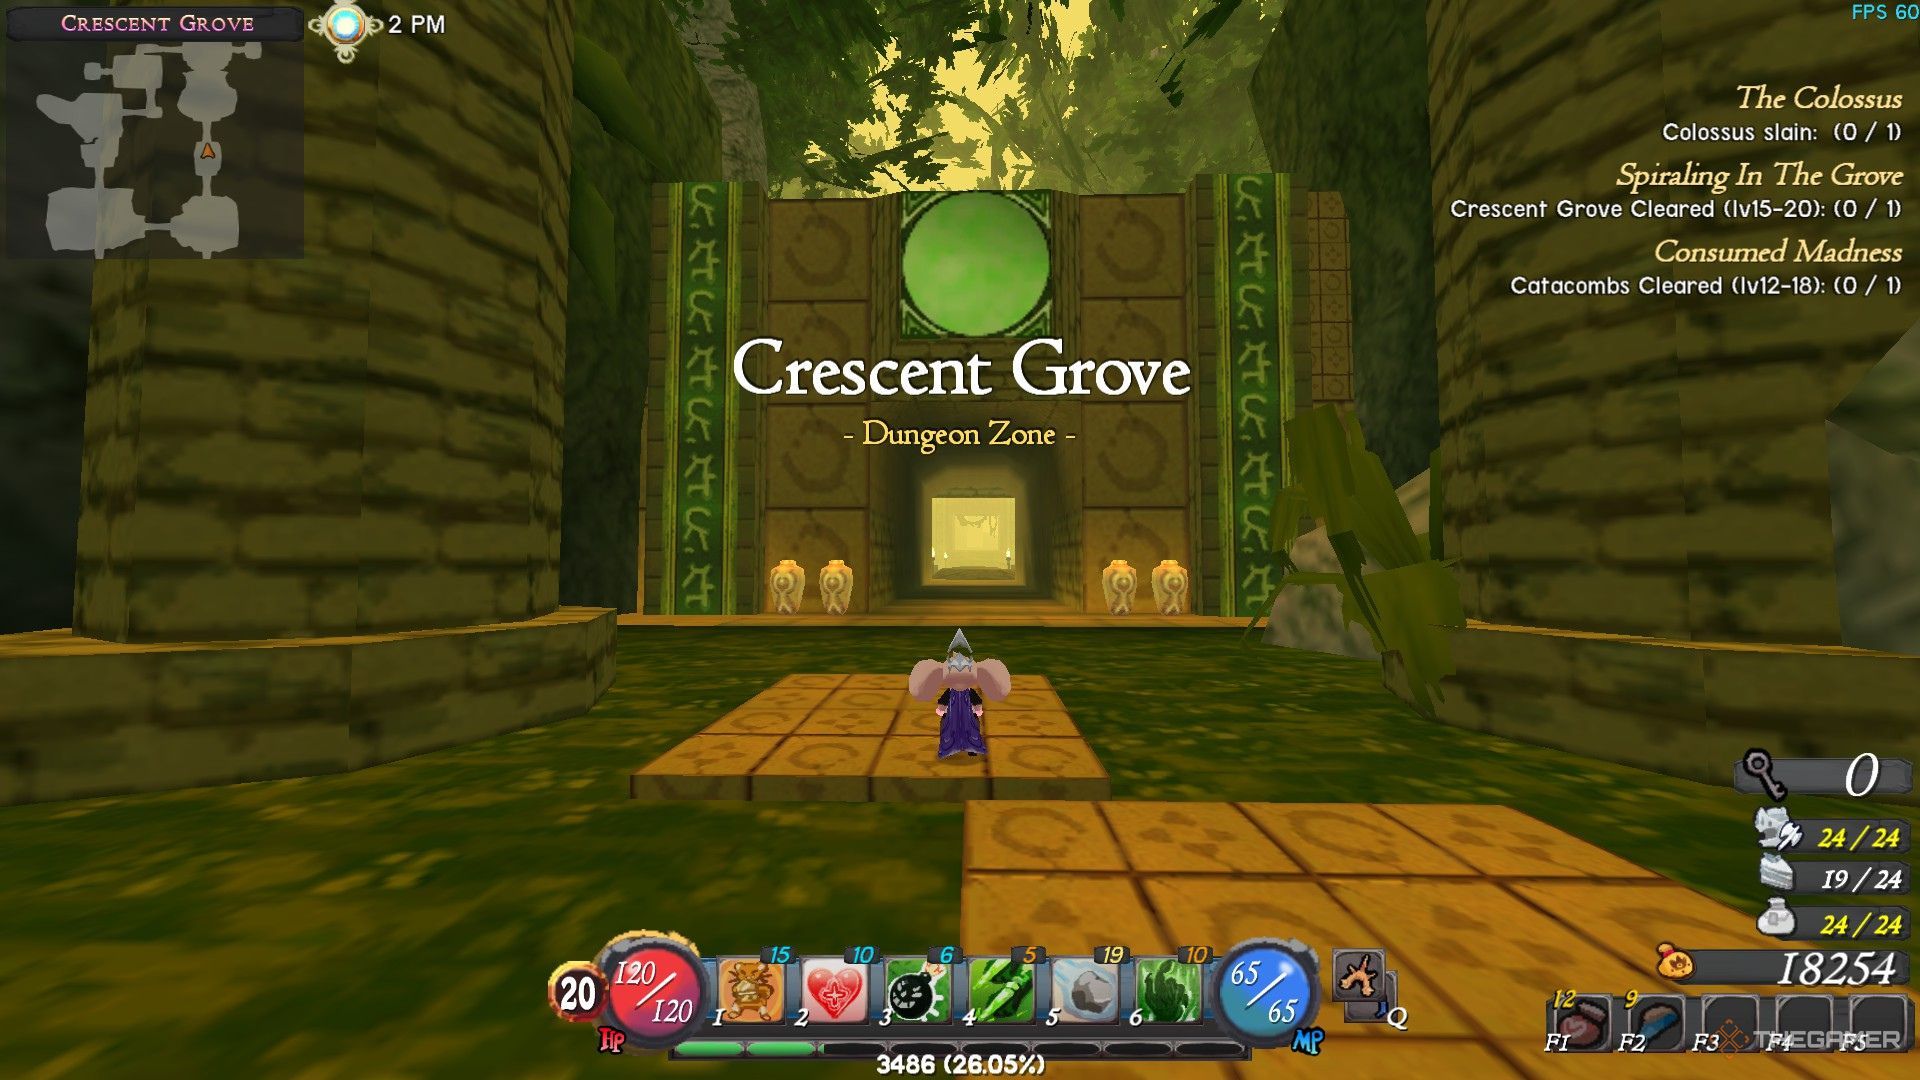
    The player is entering the Crescent Grove Dungeon in Atlyss.

    Dungeons are designed to pit you against enemies that are slightly stronger than you initially. As you progress, you will gradually bridge the level gap and become confident in tackling all foes.

    If you die in a dungeon, you will automatically respawn at the Resurrection Point, allowing you to return to the spot where you were defeated and continue from there. Successfully completing challenges within a dungeon also rewards you with chests that may contain weapons or gear.

    Taking on Repeatable Quests

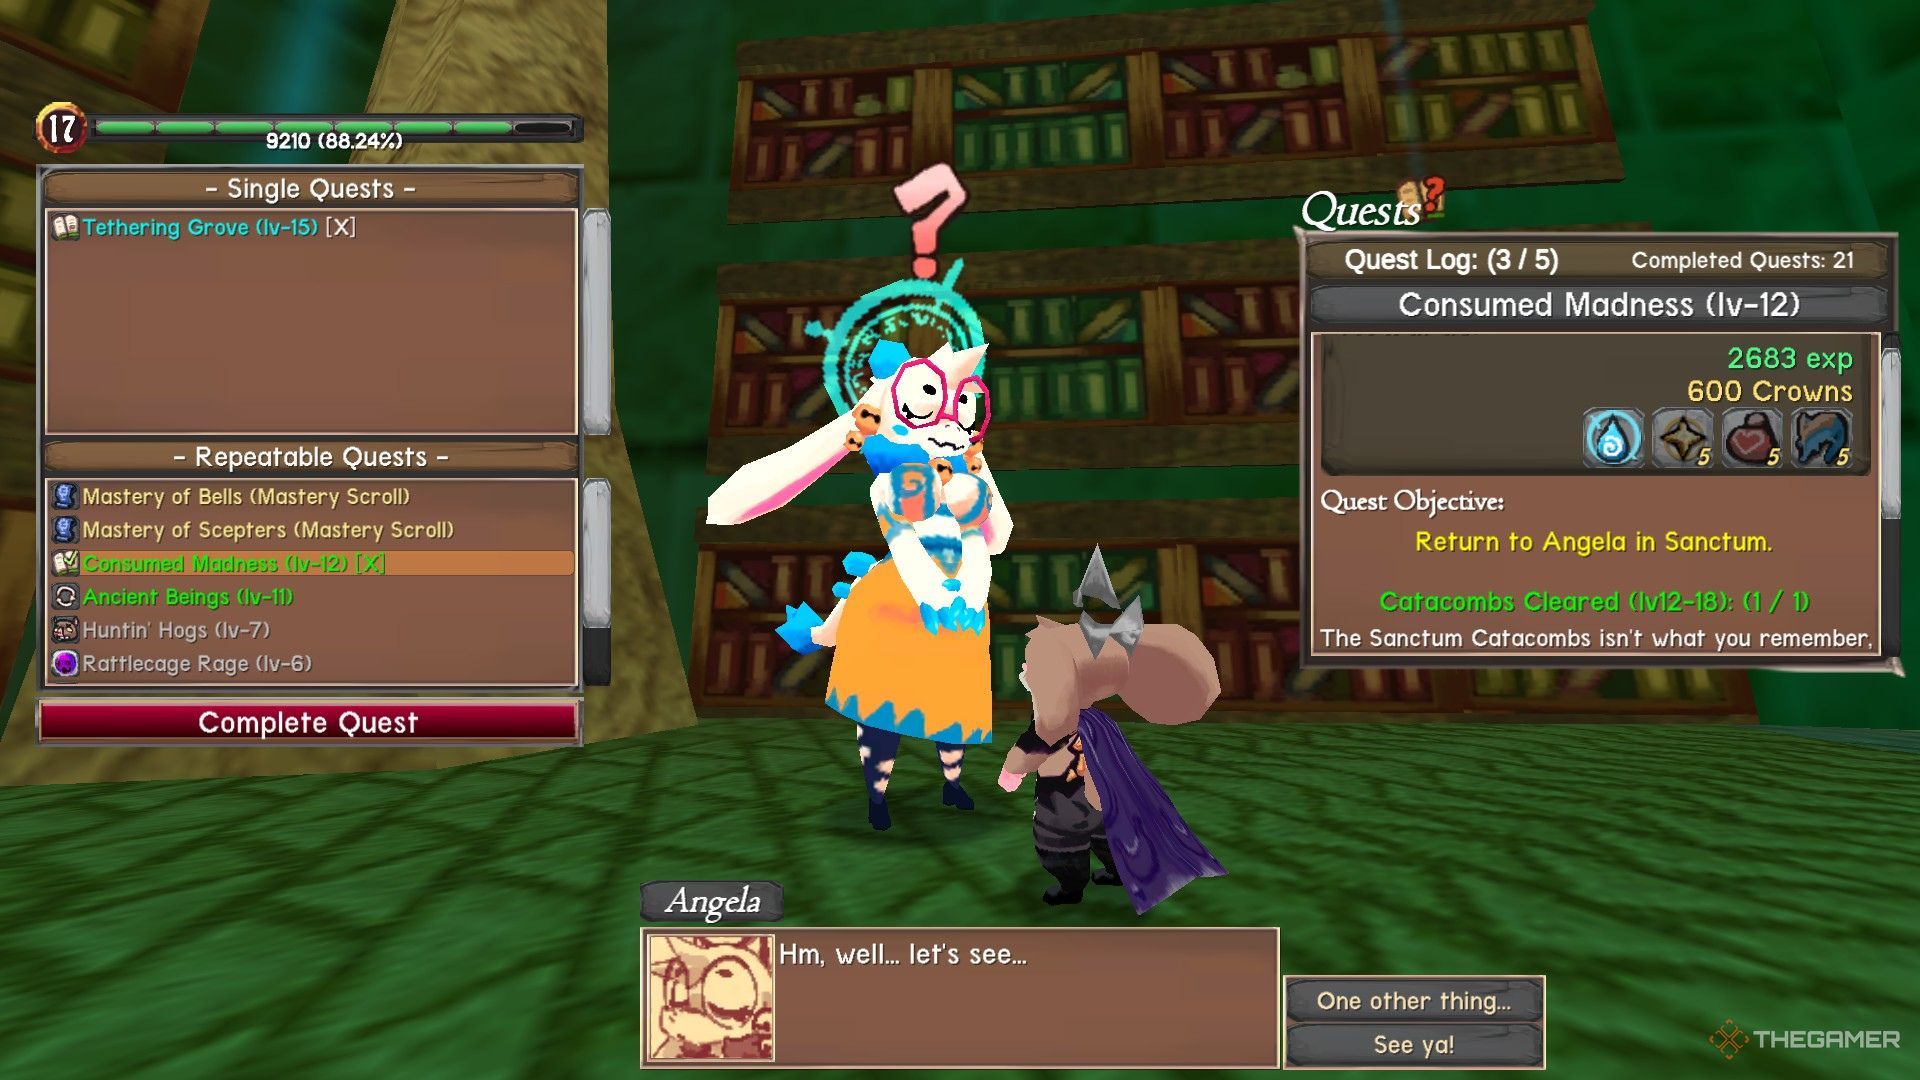
    The player completes the Consumed Madness Quest by speaking with Angela in Atlyss.

    The various guardians in the Sanctum provide a range of repeatable quests. These quests often involve defeating specific enemies multiple times, clearing a dungeon, or taking down a boss.

    Taking on these quests before diving into a dungeon or a farming area for experience is a strategic move, as it allows you to gain rewards from both activities. Completing repeatable quests yields significant experience and crowns, and may also provide valuable items.

    You can accept up to five different quests at a time.

    Buying Tomes of Experience

    The image shows the Tome of Experience available at Sally's Shop in Atlyss.

    A Tome of Experience can be purchased for around 3200 crowns and delivers 780 experience, while the Tome of Lesser Experience costs 750 crowns and grants 150 experience when used. While this might seem expensive at the start, you’ll accumulate plenty of crowns as you progress.

    You can acquire these tomes from Sally, who runs a shop located next to Angela’s home in the Sanctum. However, resorting to purchasing experience is not the most effective method for leveling up and should be used sparingly, especially when you find yourself just short of experience and prefer not to repeat a dungeon run.

  • Conquering Lord Kaluuz: A Guide to Victory in Atlyss

    Conquering Lord Kaluuz: A Guide to Victory in Atlyss

    Conquer Dungeons with Atlyss

    In Atlyss, you and your friends can delve into dark dungeons and face off against the evils lurking within. Some dungeons are home to optional bosses who are significantly more powerful than the other foes you’ll encounter.

    Taking down these formidable foes often hinges on meticulous planning, skill, patience, and understanding of their tactics. Lord Kaluuz, the final boss of the Sanctum Catacombs, presents a greater challenge and is much more troublesome than Lord Zuulneruda. However, once you learn the strategy to defeat Kaluuz, you’ll be eager to challenge him repeatedly for the experience points he offers.

    Where to Find Lord Kaluuz

    You can find Lord Kaluuz in the third and final stage of the Sanctum Catacombs. You’ll need to reach level 12 to unlock this dungeon. Remember, defeating Kaluuz is optional; you don’t need to conquer him to clear the dungeon.

    The entrance to the Sanctum Catacombs is through the world portal located in Angela’s home within the Sanctum.

    Lord Kaluuz can be located by passing through the large purple portal in a small chamber inside the dungeon after overcoming all the challenges. Keep in mind that while each dungeon’s layout may vary, Kaluuz’s portal remains in the same spot.

    Preparing for the Fight Against Lord Kaluuz

    Lord Kaluuz is a much stronger version of Lord Zuulneruda, who players might have faced at the end of the second stage. Both bosses share numerous attack patterns and can summon regular dungeon enemies to complicate the fight.

    This boss is at level 18, so it’s advisable to be at least level 16 before taking him on. You should also be confident in defeating any enemy from the dungeon’s third stage, as you’ll likely encounter them during the battle.

    Make sure to stock up on healing items, like the Bunjar, since dungeon enemies can inflict heavy damage, and some, like the Miasma, can deal damage over time. It’s also wise to allocate skill points into area-damage class skills to increase your effectiveness in this encounter.

    Lord Kaluuz’s Attack Patterns

    Lord Kaluuz primarily utilizes ranged attacks, but he can also deliver powerful melee strikes. Unlike Lord Zuulneruda, Kaluuz attacks more frequently, leaving less downtime for players to recover stamina.

    Moves Description How to Counter
    4x Cage Kaluuz throws cages that spread in four directions. They’ll enlarge as they travel. Avoid the cages from a distance, and if close, parry the initial attack then block.
    3x Orb Attack The boss retreats to shoot three orbs that explode on impact. Dashing or jumping can help avoid them, but blocking is also an option at the cost of stamina.
    Double Punch Kaluuz throws two punches at melee range, each dealing major damage. You can avoid it by dashing back or parrying the first punch to prevent the second.
    Big Mouth Wave A long-range beam attack that Kaluuz uses after disappearing from the arena. Listen for the sound cue, then dash away as it reappears to dodge the beam.

    Strategies to Defeat Lord Kaluuz

    When the battle starts, your primary goal should be to close the gap and engage Kaluuz in melee combat. This keeps him from using his 3x Orb Attack, which is most dangerous from a distance. While in close range, you’ll need to stay cautious of his double punch and cage attacks.

    Occasionally, Kaluuz will retreat to unleash his orb attack, so be prepared to dodge quickly and return to close range. After you reduce his health to half, Kaluuz will disappear and summon additional enemies to join the fray.

    During this phase, focus on eliminating these additional foes with long-range or area-of-effect attacks, as they can complicate your fight with Kaluuz.

    If you possess the Sturdy skill, activate it while jumping at Kaluuz to start your attack. This skill can absorb damage from other enemies, allowing you to focus fully on Kaluuz until it expires.

    Rewards for Conquering Lord Kaluuz

    Defeating Lord Kaluuz will earn you roughly 300 crowns and about 2000 experience points. A large chest will also appear in the arena, potentially containing valuable equipment. The experience gained is a significant boost that will help you level up quickly, setting you on the path for your next adventures beyond the Crescent Keep.

  • Mastering Atlyss: How to Seek and Conquer Lord Zuulneruda

    Mastering Atlyss: How to Seek and Conquer Lord Zuulneruda

    About Atlyss

    Atlyss is an action-packed RPG that keeps players engaged with its dynamic combat system as you face off against a variety of intriguing monsters and formidable bosses. If you don’t come prepared, you might find yourself easily overwhelmed in this captivating fantasy realm.

    Meeting Lord Zuulneruda

    One challenging boss you’ll encounter is Lord Zuulneruda, located in the Sanctum Catacombs. The first encounter may prove difficult, but once you learn its attack patterns and level up your character, you’ll find that defeating this boss becomes quite manageable.

    How to Locate Lord Zuulneruda

    Once you reach level 6, you can confront Lord Zuulneruda in the Sanctum Catacombs. The Catacombs have three tiers, each with a suggested level range that you must meet to proceed to that section.

    In particular, you can find Lord Zuulneruda in the middle section, which is recommended for levels 6 through 12.

    Important Note: The dungeon resets each time you enter, making the exact location of the boss tricky to pinpoint. However, once you complete the preceding trials, you’ll always have a path to the boss’s arena.

    After making it to the second tier, look for a small room featuring a purple portal that leads directly to Lord Zuulneruda. When you step through, the boss will break free from its petrified state as you approach.

    Additionally, after reaching level 6, you’ll have the opportunity to accept a quest from Enok, the Fighter Guardian, located in the barracks of the Inner Sanctum. If you’ve already conquered the boss, you can return to the dungeon again for additional rewards.

    Preparing for the Boss Battle

    Though the Sanctum Catacombs unlock at level 6, keep in mind that Lord Zuulneruda is categorized as a level 12 boss. If you’re below level 10, you’re likely to find this fight extremely tough. Focus on leveling up by taking on other enemies in the Catacombs until you reach at least level 10 and choose a class.

    Selecting a class and acquiring good gear will help you tackle Lord Zuulneruda more effectively. Make sure to bring along some healing items, such as Bunpots, since the fight could take an extended period, and your Recovery Skill alone may not suffice.

    Additionally, invest in Class Skills that can manage crowd control. This is particularly helpful for clearing out enemies that may join the fight against Lord Zuulneruda.

    Understanding Lord Zuulneruda’s Attack Patterns

    When you face Lord Zuulneruda, you’ll notice it primarily uses ranged attacks, which can be countered more effectively if you stay close. Although many of its projectiles can be blocked, it becomes quite difficult to maintain that defense when the boss summons additional foes during the fight.

    Here’s a summary of Lord Zuulneruda’s attacks:

    • Purple Cage: A glowing purple projectile that stops mid-air. Avoid by moving out of its path or parrying.
    • Three Purple Orbs: These orbs follow you briefly after being shot. Dash after the attack to dodge them, or prepare to block.
    • Purple Energy Wave: A powerful straight-line attack that can deal massive damage if you’re caught. Dash away to evade it.
    • Twin Punches: Melee attack that can be parried, but be cautious of standing too close.

    Strategies for Defeating Lord Zuulneruda

    As the boss fight commences, your main goal is to stay close to Lord Zuulneruda while delivering consistent damage and effectively blocking or parrying its attacks. Should you struggle, utilizing ranged attacks while maneuvering to avoid projectiles can also be a viable strategy.

    Once the boss’s health drops below fifty percent, it will temporarily disappear, and several lesser enemies will attack you, requiring your focus to fend them off. Lord Zuulneruda will return shortly after, but managing the additional foes will be crucial to winning the encounter.

    If you find the arena overwhelming due to the spawns, prioritize defeating the smaller enemies first, as this will make handling the boss much more straightforward.

    After you’ve taken down all the additional attackers, return your attention to Lord Zuulneruda and stay aggressive until its health is completely diminished. Make use of your Class Skills for maximum damage to finish the fight efficiently.

    Rewards for Conquering Lord Zuulneruda

    Upon defeating Lord Zuulneruda, you will earn significant experience and a treasure chest will appear in the arena, potentially containing valuable loot like weapons and equipment.

    After claiming victory, return to Enok and complete the Voice of Zuulneruda quest to receive 800 crowns and over 900 experience points, along with the Geistlord Ring as an additional reward.

  • Conquering the Slime Diva in Atlyss: A Winning Strategy

    Conquering the Slime Diva in Atlyss: A Winning Strategy

    Quick Links


    Introduction to Atlyss

    Atlyss is an engaging RPG that challenges players to face a variety of unique monsters and formidable bosses. While tackling groups of enemies is already demanding, the real test comes when you confront bosses. Being well-prepared is essential to successfully navigate these memorable encounters.


    Encountering the Slime Diva

    The Slime Diva is one of the first bosses you’ll meet in Atlyss, but don’t let her status as an early encounter deceive you—she poses a significant challenge. You’ll receive the quest to defeat her from Angela in the Inner Sanctum after completing a task where you defeat 15 Slimeks in Effold Terrace. However, it’s wise to level up a bit and enhance your gear before attempting to take her on.


    How to Locate the Slime Diva

    To begin the quest to defeat the Slime Diva, head to Angela in the Inner Sanctum after completing the initial 15 Slimek defeat quest. The quest’s instructions simply outline that defeating multiple Slimeks will trigger the appearance of the Slime Diva in Effold Terrace, without additional guidance.

    To access Effold Terrace, use the portal at the Outer Sanctum Gate. From there, proceed straight to the Outer Sanctum portal right ahead of you. On entering the Outer Sanctum area, advance until you encounter a few cliffs.

    Jump over the cliffs to find a portal. This will lead you to the Effold Terrace field zone. Once you arrive, your immediate goal isn’t to engage the Slimeks directly in front of you, as that’s not where you need to go just yet.

    Instead, direct your efforts to the left, where you’ll discover a group of four Slimeks. Defeat them repeatedly and wait for them to respawn. After enough Slimeks are defeated, the Slime Diva will appear alongside a couple of smaller slime minions.


    Preparing for the Boss Battle

    As a level 10 boss, the Slime Diva will likely be a tough opponent if you’re below level 8. If your level is too low and your equipment lacks quality, you could struggle against the Slimeks prior to facing the boss.

    A helpful strategy for leveling up quickly is to venture into the Inner Sanctum from the portal near Angela’s location, where you can find strong early-game weapons and gear.

    It’s also wise to allocate some skill points into Vitality to increase your health pool, allowing you to withstand more damage. Investing in the Recovery Skill is a smart move since you may take some hits while dealing with the Slimeks and the Slime Diva’s minions before facing her directly.


    Understanding the Slime Diva’s Movements

    The Slime Diva has a few tricky attacks, but defeating her minions can simplify the battle. Once they’re out of the way, you can concentrate solely on the Slime Diva without distractions.

    Here’s a breakdown of her attack patterns:

    1. Slime Shower: The Slime Diva launches several small slimes at you. Keep an eye out for her hands glowing before this attack, as it’s an indication she’s about to strike. The best way to dodge this is by moving quickly to either side.

    2. Ball of Acid: She releases a large acid ball that can bounce and create puddles of damage. This attack is slow, enabling you to sidestep it effectively.

    3. Spire of Acid: The Diva creates green circles on the ground which erupt into damaging spires. You can easily dodge the initial activation by avoiding the glowing circles.

    4. Wand Strike: In close combat, she may hit you with one of her wands. You can block this attack or dash away as she raises her wand.

    Strategies to Defeat the Slime Diva

    When the Slime Diva appears, first take out her smaller minion slimes. They have lower hit points than the Slimeks, making them easier to defeat. Allowing them to live could complicate dodging the Slime Diva’s attacks.

    Once it’s just you and the Slime Diva, stay mobile around the arena. Use the Recovery Skill to heal anytime you’re low on health. Keep in mind that not all of her ranged attacks will be blocked by the pillars in the arena.

    Your main strategy should involve continuously moving around the boss while slowly chipping away at her hit points with jump attacks, attacking only after she has finished one of her moves. If you get struck, use the Recovery Skill to heal as you move away.

    For a different approach, invest your skills in the Rock Throw ability. With 15 to 20 rocks in your inventory and the skill at least at rank 3, you can distract her by running in circles, throwing rocks to deal damage.


    Rewards for Defeating the Slime Diva

    Upon defeating the Slime Diva, you’ll earn Green Lipstick and Slime Diva Ears, both valuable for trading. The lipstick can be sold for 18 crowns at Sally’s Store, while the ears fetch 20 crowns. However, the true reward comes when you return to Angela in the Inner Sanctum and complete the "Diva Must Die" quest, earning you 1200 crowns and significant experience to help boost your level quickly.

  • Essential Atlyss Tips for New Users

    Essential Atlyss Tips for New Users

    Atlyss is an expansive action RPG where you can take on hordes of foes, either solo or with friends. The game features various classes and weapons, allowing you to select the ones that best suit your playing style as you set off to uncover the world beyond the Sanctum.

    There’s an abundance of activities to engage in, including combat, exploration, and completing quests. However, diving into such a vast world without the right guidance can feel daunting, especially if you’re new to this genre. This beginner’s guide offers helpful tips to prepare you for your adventures through this fascinating realm filled with unique creatures.

    Choose Your Race Based on Initial Skills

    In Atlyss, you can choose from five different races, each with its own unique starting skill that significantly influences how you play early on. After reaching level ten, you also have the option to select a class.

    While each race begins with its individual skill, you can learn the skills of other classes by collecting skill scrolls throughout the game. However, you won’t be able to access these skills until later in your adventure, so it’ll be essential to utilize your race’s initial skill in the beginning stages.

    Initial Skills Chart

    Race Skill Effect
    Imp Siphon Leech Launches a projectile that damages enemies while healing you.
    Poon Leg Up Temporarily boosts your movement speed and evasion.
    Kubold Alacrity Lets you use your next skill without spending HP or MP.
    Byrdle Inner Focus Guarantees that the next attack will be a critical hit.
    Chang Sturdy Makes you immune to knockback attacks and auto-parries for a short time.

    Make sure to choose a race that aligns with how you want to play since these initial skills can be highly advantageous in combat. Learning when to deploy these skills effectively is also crucial.

    You can obtain skill scrolls from shops within the Sanctum or from vendors in the field.

    Master Parrying Techniques

    Parrying in Atlyss is relatively easy due to a generous timing window. Even if you miss, you may still block the attack or suffer reduced damage. However, becoming accustomed to the attack animations of certain enemies will require practice.

    A useful trick for gauging the parry window is to press the block button and notice how long the shield flickers before stabilizing. If an opponent strikes during the flicker, you’ll successfully parry their attack.

    Successfully parrying stuns your enemy momentarily, giving you an opening to attack. You can even parry multiple opponents at once if they strike simultaneously. However, be cautious, as some boss ranged attacks can be particularly difficult to parry.

    Quickly Acquire the Recovery Skill

    As soon as you gain your first skill points after leveling up, prioritize getting the Recovery Skill. This skill allows you to heal over time at the cost of a small amount of MP.

    Keep in mind that the recovery effect will cease if you take damage, and it can’t be activated during combat. You’ll have to either use it outside of enemy encounters or while escaping. Since MP regenerates over time, this skill will help you maintain your health during your exploration.

    Allocate Stat Points to Vitality

    You’re likely to take a lot of hits early in the game, as many low-level creatures can swiftly deplete your health. It’s wise to allocate a significant portion of your stat points to Vitality to raise your maximum health.

    Investing in Vitality not only boosts your health but also maximizes the benefits of your Recovery Skill. If your Vitality is low, the health recovered will be much less significant. Staying alive as long as possible is crucial because dying means you’ll have to respawn from a checkpoint.

    Use Recall Frequently

    Traveling between teleport points outside the Sanctum can become tedious. When you need to clear your inventory, complete a quest, or buy consumables, it’s best to use the Recall spell to return to your base quickly.

    Activating Recall or dying in the field unlocks a teleport point inside the Sanctum, allowing you to return to your last-used teleport point outside. This skill proves invaluable throughout your journey, especially when you want to avoid the hassle of backtracking.

    Train in the Sanctum Catacombs

    The Sanctum Catacombs serve as an excellent area for farming experience early on. You can choose from three different level brackets, and upon dying, you resurrect nearby, making it easy to resume your farming efforts.

    This setup allows you to take down foes slightly stronger than you, earning considerable experience towards leveling up and unlocking your chosen class at level ten. Additionally, you can discover valuable equipment and weapons in chests scattered throughout the catacombs.

    Make Use of Jump Attacks

    Jump attacks are an effective strategy against tougher enemies. Given that foes continuously spawn around you, the best approach is often to retreat while inflicting damage, which is precisely what jump attacks allow you to do.

    By utilizing jump attacks, you can dash through enemies, dealing minor damage as you evade them. This allows you to whittle down tougher enemies without facing them head-on.

    Utilize Shields With Weapons

    As you level up, the items in shops improve, enabling you to buy higher-quality gear. If you’re wielding a one-handed weapon like a longsword, you should also use a shield. Certain shields provide a passive defense bonus, even when equipped alongside dual-wielded weapons such as daggers.

    Always check the shield’s description for its damage threshold. Attacks from creatures below this threshold may be automatically blocked, which makes it easier to handle low-level enemies without much trouble.

    With these tips, you’ll be well-prepared to take on the challenges that await you in Atlyss. Enjoy your adventure!