الوسم: Aloft

  • Locating the Leviathan in Aloft: A Complete Guide

    In the cooperative survival game Aloft, you find yourself in an enchanting realm filled with floating islands. Each island boasts its own unique ecosystem, rich with resources that can be gathered—provided you do so in a sustainable manner. Your primary objective is to maintain the health of these islands, but you’ll face challenges as some are plagued by a mysterious fungal corruption.

    As you explore and gather various forms of knowledge scattered across the islands, you’ll unlock new technologies that will help you in your quest. Mastering all the available technology is essential, as it will enable you to cleanse the Leviathan, your most formidable challenge yet.

    Locating the Leviathan

    The Leviathan is a living island that evades easy discovery because it is constantly in motion. While sailing or exploring, you might catch a glimpse of it soaring overhead, but there’s a more reliable method to pinpoint its exact location.

    Using a Stormchaser device, you can detect the direction of the Leviathan. Here’s what you’ll need to get started:

    • Whistling Core x1
    • Charcoal x1
    • Clean Water x1
    • Windstone x5

    Once you activate the Stormchaser, follow the trail of smoke to navigate toward the Leviathan.

    Note on Tracking the Leviathan

    Keep in mind that your Stormchaser can only track the Leviathan for a limited time. Once that window closes, you’ll have to reactivate it using the same materials. Be sure to have extra supplies handy for ongoing tracking of the elusive Leviathan.

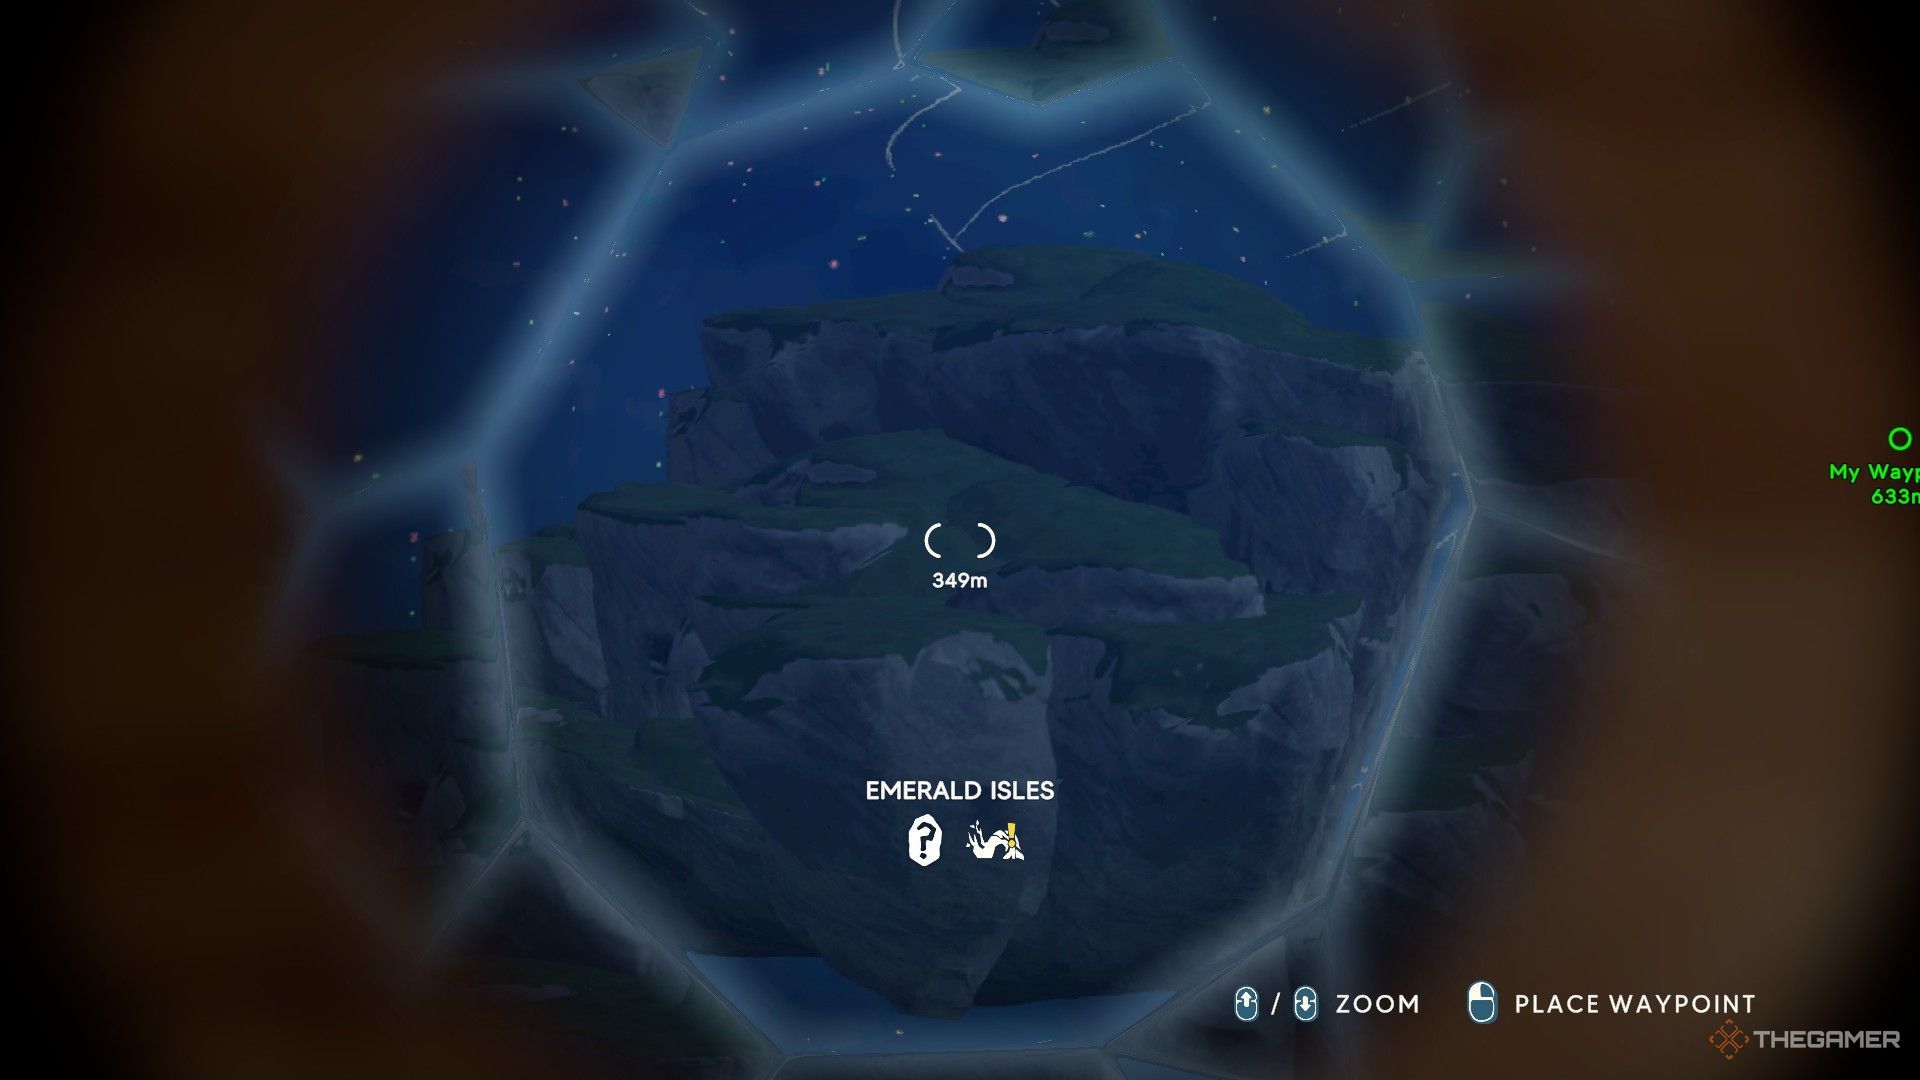
    When you finally spot the Leviathan, you’ll notice that it consists of multiple smaller islands. Upon arrival, it will appear on your map like other islands, allowing you to mark it. A green beam will guide you to its location whenever you need it.

    Defeating the Leviathan Boss

    Upon discovering the Leviathan, you’ll find that the islands on its surface are similarly afflicted by the same corruption as those elsewhere. To save the Leviathan, you must destroy each Corruption Node dotting its surface.

    There are many Corruption Nodes scattered across the Leviathan, and you’ll need to eliminate them while also fighting off the hostile fungal creatures that will attack you as you cleanse the islands.

    Your mission is straightforward, but it’s important to note that it won’t be an easy task. Preparation is key to overcoming the corruption.

    Equip Yourself with the Right Gear

    To combat the Leviathan effectively, equip yourself with a weapon coated in Mykter Antidote. Corruption Barriers protect several nodes, and only a properly coated weapon will be able to penetrate them. Keep in mind that the coating will wear off over time, so be ready to recoat your weapon back home or have a second one prepared.

    Additionally, a bow will be essential. It allows you to attack nodes from a distance, keeping you safe from attacking vines and creatures. Some Corruption Nodes might be positioned too high, making ranged attacks the best choice.

    The Leviathan is always on the move, which means if you’re knocked off, getting back on board can be quite a challenge. Avoid the vines guarding the Corruption Nodes; they can hit you hard and send you flying away.

    Lastly, make sure you carry several bandages so you can heal when you take damage.

    Nourish Yourself for Battle

    Having a good meal before facing the Leviathan is crucial. Different dishes will boost your health and provide useful buffs. You can carry two types of food in your stomach at a time, and drinking Clean Water or Coffee can give you a Hydrated buff, increasing your attack speed or granting you the Zippy buff for added momentum.

    Aim to prepare dishes that offer the highest health benefits and the best buffs. If possible, cook meals that give you the Efficient buff for enhanced attack power and the Energetic buff for quicker movement.

    Stock up on these dishes and drinks so you can replenish your buffs throughout the battle.

    Rest Well

    Rest is essential for survival, as sleeping will grant you buffs that improve your combat performance. While clearing corruption on the Leviathan’s islands, you’ll find that the ecosystem begins to restore. Here, on the cleansed islands, you can find a safe spot to rest and recover before your next fight.

    If you sleep in a bed, you’ll gain the Well-Rested buff, which increases your movement speed. Moreover, you can perform the Lay Down action on the ground to receive the At Peace buff, granting minor regeneration as long as it remains active.

    Restore Nature’s Balance

    Every time you restore an ecosystem, you’ll earn the Enthusiastic buff, which enhances your damage, movement speed, attack speed, and momentum. This buff will significantly bolster your efforts against corruption, so be sure to take advantage of it before heading into battle.

    What Comes Next After Cleansing the Leviathan

    Once you’ve eradicated corruption from the Leviathan, you can explore its islands without fear. Each one is teeming with resources, including Wind Crystals and Salt Crystals. Take advantage of this newfound accessibility to gather as many supplies as possible.

    If you’ve collected enough basic resources, look for the distinctive purple Wisteria flowers hanging from the cliffs on the Leviathan—exclusive to these islands. These flowers are vital for crafting items like Wisteria Tea, Teapots, and Wisteria Vines.

    While you can’t transform the Leviathan into a permanent home base, you’re welcome to construct structures on its surface. Use your creativity to enhance these unique islands, taking advantage of the ample space offered by their interconnected nature.

    You can set your Home Island above the Leviathan, but because it is a moving entity, your base will quickly drift out of reach. To build effectively on the Leviathan, ensure you have all necessary materials in your inventory before starting any constructions.

  • Discover Extra Charcoal Locations in Aloft

    Discover Extra Charcoal Locations in Aloft

    Aloft presents an expansive world filled with distinctive floating islands. Although many islands may appear similar, their placement varies with each new game, making it tricky to locate specific islands on the map. Fortunately, most resources are available on several islands, so it’s beneficial to explore them all for crafting materials.

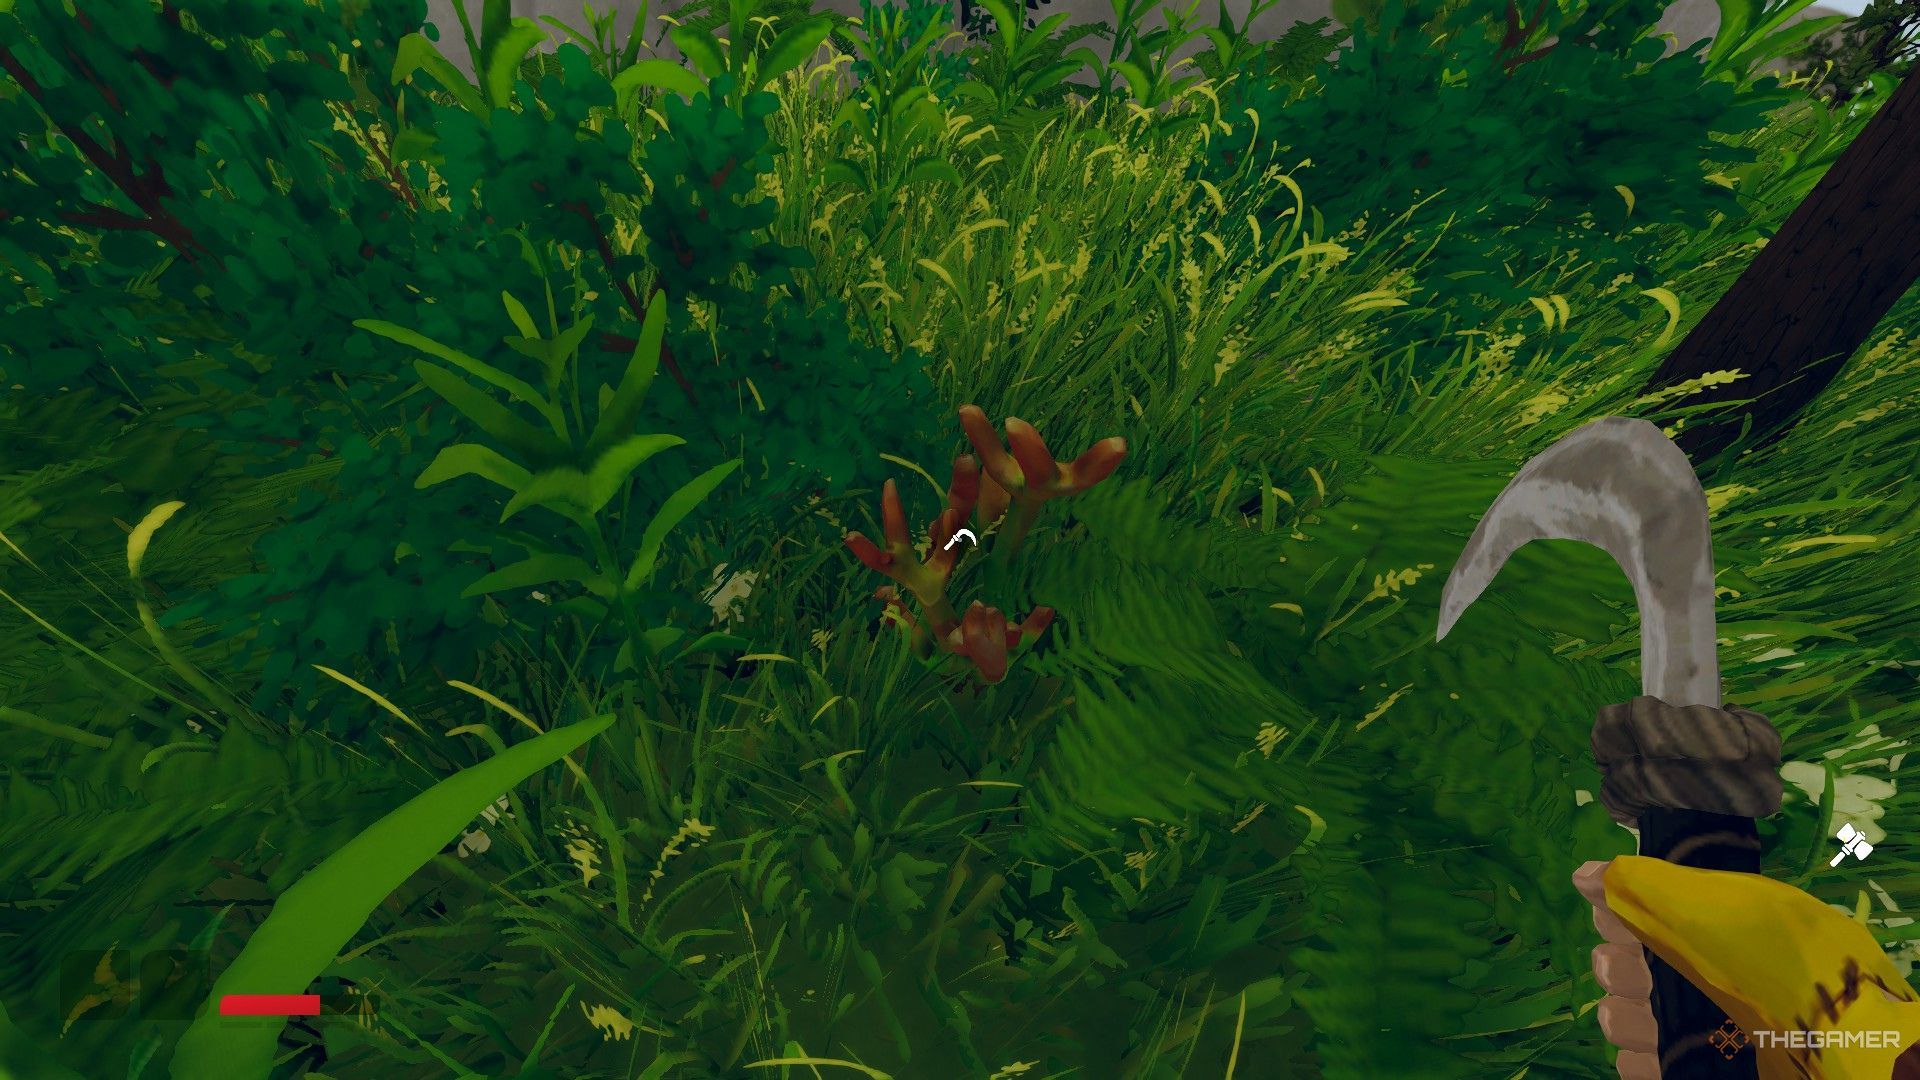
    Charcoal is one such resource you can collect from various floating islands, but finding and gathering it can be tricky because it’s often hidden among the dense vegetation. This guide will help you successfully gather charcoal.

    How to Obtain Charcoal in Aloft

    To collect charcoal, you must find it on an island. Look for the distinctive black stumps protruding from the ground. When you get close, an axe icon will appear, indicating that you will need an axe to gather charcoal. You can craft an axe by following these steps in your inventory’s crafting tab:

    • Combine two stones to create a sharp stone.
    • Add the sharp stone to a piece of wood.
    • Hit the craft button to make your axe.

    If you’re short on materials, you can easily find stones and wood on any island. Stones can either be picked up from the ground or mined from larger rocks using a pickaxe. You can gather wood by collecting branches from trees. Once you’ve crafted an axe, simply hit the black stumps to add charcoal to your inventory.

    If you’re having difficulty locating charcoal, you can use console commands to add it directly to your inventory. Press F1 to open the console and type “give coal x,” replacing x with any number to receive that amount of charcoal.

    How to Utilize Charcoal in Aloft

    Crafting clean water using charcoal in Aloft.

    Charcoal serves multiple purposes and is essential for various crafting recipes. You can mix it with dirty water to create clean water or combine it with wood to fashion a torch. Additionally, to sketch structures using a sketchbook, you’ll need charcoal and a piece of paper in your inventory.

    On a workbench, you can create even more items using charcoal, including sketchbooks. It’s also useful for igniting campfires, where you can cook numerous dishes using a cooking plate.

  • A Guide to Collecting Bones in Aloft

    A Guide to Collecting Bones in Aloft

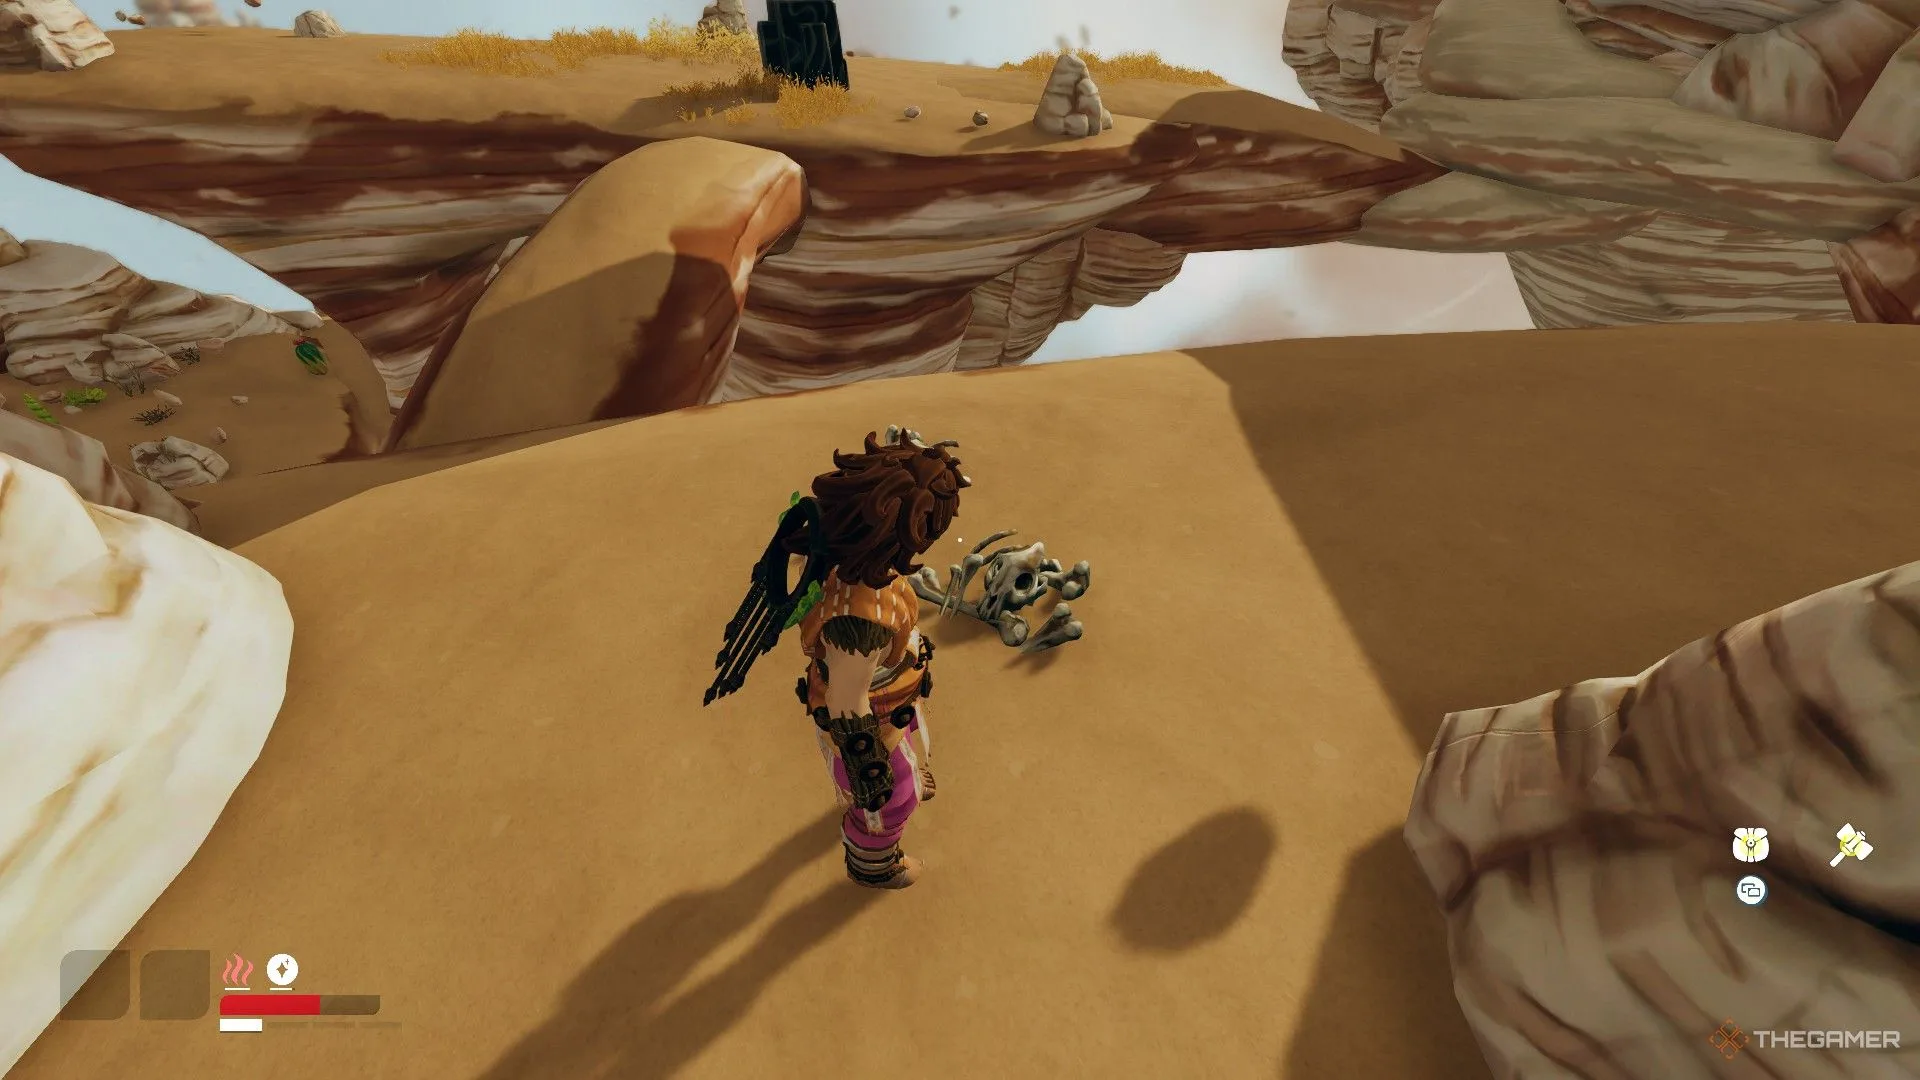
    Bones serve as a valuable resource in Aloft for acquiring late-game gear and materials. However, they are relatively rare in the Red Cliffs, which is the game’s third biome. This area, inspired by a summer theme, presents a hot environment that can make exploration challenging. Beneath these dry conditions, you’ll discover the remains of what were once thriving habitats.

    Bones have multiple purposes; you can transform them into pigments for customization. Nonetheless, we suggest utilizing them to craft essential gear that will aid you in overcoming formidable foes and gathering resources across the more challenging islands.

    How to Obtain Bones

    Bones are a late-game resource you can collect after reaching the third biome. They are scattered throughout the islands of Red Cliffs, but can be somewhat elusive. To find them, you’ll need to sail to various islands in the area. You can gather bones only in an ecosystem that is entirely pristine.

    You won’t find small skeletal remains in unhealthy ecosystems; only larger bones can be collected in clean areas.

    How to Utilize Bones

    Sharp Bone is showcased in the crafting menu in Aloft.

    You can use bones to create Sharp Bones by combining two bones and one Hardstone. When you mix bones with other materials, you can craft a variety of Bone Tools and Weapons.

    Gear

    Materials Required

    Bone Hammer

    • 1 Carved Darkwood
    • 1 Waxed Rope
    • 1 Bone

    Bone Dorkip

    • 2 Carved Darkwood
    • 1 Waxed Rope
    • 1 Sharp Bone

    Bone Pickaxe

    • 1 Carved Darkwood
    • 1 Waxed Rope
    • 1 Sharp Bone
    • 1 Bone

    Bone Sickle

    • 1 Carved Darkwood
    • 1 Waxed Rope
    • 2 Sharp Bones

    Bone Sword

    • 1 Carved Darkwood
    • 1 Waxed Rope
    • 3 Sharp Bones

    Bone Axe

    • 1 Carved Darkwood
    • 1 Waxed Rope
    • 1 Sharp Bone

    Bones can also be used in the Pigment Pool to create Bone White Pigment, useful for dyeing items.

    If you craft a Bone Tipped Arrow, you can take down enemies more effectively. This arrow requires two feathers, one Darkwood, one Sharp Bone, and one Waxed Rope to create.

  • Mastering Bandage Usage in Aloft: A Quick Guide

    As a traveler exploring various islands in the survival game Aloft, it’s your mission to heal the regions suffering from a corruption that’s harming their ecosystems. This corruption has unleashed strange, aggressive fungi that are stifling the life of these islands, making it hard for plants and animals to thrive.

    To eliminate the corruption affecting these islands, you must destroy Corruption Nodes and Corruption Cores while fending off the hostile creatures guarding them. During your battles, you may get hurt and lose health. To keep going, you’ll need to know how to heal yourself effectively.

    How to Craft Bandages and Heal

    Your health status is represented by a red bar located in the bottom left corner of your screen. As you take hits, this bar will deplete. If your health reaches zero, you’ll blackout and return to your starting point.

    To recover, you’ll need bandages. There are two types, each requiring different materials to create.

    Bandage

    Materials

    Description

    Leaf Bandage

    • Reishi Mushroom x1
    • Leaf Cloth x2

    Heals minor wounds.

    Wool Bandage

    • Honey x1
    • Reishi Mushroom x1
    • Wool Cloth x2

    Heals moderate wounds.

    Once you have your bandages, you’ll need to place them in a tool slot. From your inventory, simply drag the bandage to a slot in your toolbar corresponding to a keyboard number for easy access. You can also use your scroll wheel to switch between tools.

    A good idea is to keep your bandages near your weapon. This way, you can quickly switch between your weapon and bandages by just using your scroll wheel during combat.

    With the bandage equipped, scroll to it and left-click to apply it to your injuries. Your health will gradually recover as you use the bandage.

    While applying the bandage, keep the button pressed down for it to take effect properly. Avoid just tapping it to maximize its healing potential.

    How to Increase Health

    As battles become tougher, keeping your health from hitting zero becomes increasingly challenging. Therefore, finding ways to boost your health bar is crucial.

    You can increase your maximum health by eating food. Consuming different meals can provide you with significant health benefits. The more difficult the ingredients to gather, the better the health bonuses.

    Remember, you can only consume two food items at a time before reaching fullness. If both slots are filled, you won’t be able to eat anything else. So, choose dishes that provide the greatest health boost for your hardest encounters.

    If you need to clear room in your stomach, just drink Digestive Tea.

    Gourmet versions of meals offer a higher health boost for a longer duration compared to regular dishes. To make Gourmet dishes, you must unlock their recipes.

    These recipes can be discovered in Lost Treasures and chests during your adventures. After you unlock a Gourmet recipe, you have a chance to create that version every time you cook the dish.

    Gourmet dishes are counted as unique items, so they cannot be stacked in your inventory or storage.

    How to Regenerate Health

    If you run out of bandages during a fight, there’s no need to panic—there are still ways to recover your health.

    Sleeping in a bed will restore your health completely, but it also means time will advance. If you sleep at dawn, you’ll wake up in the afternoon; if you sleep in the afternoon, you’ll wake up at night. The Lay Down option is a good alternative if you want to stay on the same time of day.

    To Lay Down, choose a safe spot and look straight down. A Lay Down prompt will appear above your crosshair. By lying down, your health will gradually replenish, allowing you to fully recover before re-engaging in battle.

    You can perform the Lay Down action on any flat surface.

    If you take a moment to lie on the ground, you’ll eventually gain the At Peace status, which lasts for ten minutes and provides minor health regeneration.

    This At Peace status can trigger even if your health is already full. You just need to wait patiently while you lay down. It’s a beneficial state to be in before taking on the corrupt forces across different islands.

  • Discovering Insects in Aloft: A How-To Guide

    Discovering Insects in Aloft: A How-To Guide

    In the co-op sandbox survival game Aloft, you find yourself in a whimsical world where islands float in the sky. You have the freedom to glide through the clouds or navigate between islands aboard an island ship. As you explore these aerial lands, you’ll uncover diverse ecosystems, learn hidden secrets, and confront a corruption that must be addressed.

    The environment of each island is shaped by its biome. Every biome offers a variety of resources that can be harvested, but it’s important to do this sustainably to protect the island’s ecosystem. One resource you can gather from these islands is insects.

    Various Types of Insects

    There are many types of insects scattered across the various islands, each particular type corresponding to the specific biome you are exploring.

    Insect

    Biome

    Ladybug

    Emerald Isles

    Blue Beetle

    Emerald Isles, Fallen Heights

    Bee

    Fallen Heights

    Horned Beetle

    Red Cliffs

    Worm

    All Biomes

    Restoring an Ecosystem with Insects

    When an island’s ecosystem is struggling, you should reference your field guide to identify missing insects. If the island’s environment is in need of insects, release native insects suited to that biome back into the area. You will need to introduce a different type of insect for every additional insect species the ecosystem requires.

    Worms are excellent for restoring any ecosystem since they act as both an insect type and a decomposer.

    To set an insect free, open your inventory, highlight the insect you want to release, and hold down the F key.

    Finding Insects

    You can often find insects on tree stumps, either on top of them or on their sides. They also tend to dwell on fallen logs.

    Another method for discovering insects is to use your Dorkip to dig up Turf; there’s a chance you might find an insect along with each patch of Turf you gather.

    Using your Dorkip on Turf is the best way to retrieve worms.

    If you have a Decomposer, consider building a Worm Box nearby, as this will eventually lead to the spawning of a worm inside it over time.

  • Unlocking Creative Mode in Aloft: A Step-by-Step Guide

    In the survival game Aloft, you become an adventurer in a realm filled with floating islands. This charming journey invites you to navigate the skies while discovering islands that feature various biomes and rich ecosystems. Sadly, a strange corruption has begun to spread across many islands, wreaking havoc on their life forms. Your mission is to eliminate this corruption and revive the islands’ ecosystems.

    If you’d like to explore the world at your own pace, you can use console commands to modify different world and environment settings. With just a few commands, you can fully experience the potential of your survival adventure.

    Console Command List

    To access the command console, simply press F1. Enter the desired commands in the text box and hit enter to activate their effects.

    Command

    Effect

    charfirsttime

    Resets your initial character actions, letting you replay your first interactions as if they were new.

    cloudtimescale X

    Adjusts the speed of cloud movement. Replace X with your desired value.

    conditions

    Determines if conditions will activate. Turning it on means your character will be affected when specific triggers occur.

    creative on

    Your character will unlock all crafting recipes. This setting cannot be reversed once applied.

    cropgrow X

    Boosts crop growth speed by up to 100 times. Set X to your chosen value.

    damagemultiplier X

    Increases the damage dealt based on your specified multiplier X, with a maximum of 100.

    debug crop

    Shows the growth progress of crops.

    enginetimescale X true

    Lets you adjust the game’s timescale.

    exhaustiongodmode

    Enables or disables the exhaustion mechanic.

    fog X X

    Sets fog levels in the environment, with the numbers indicating the minimum and maximum fog.

    getplayerposition

    Retrieves your current coordinates.

    give X

    Grants a specified amount of an item to your inventory using the item’s ID or name. Any excess items will be dropped on the ground.

    godmode

    Makes your character invulnerable.

    heal X

    Adds a specified number of points to your health.

    hideui

    Hides the user interface. You may have difficulty performing certain actions while in this mode.

    invisible

    Removes your character’s visual model.

    killnodes

    Eliminates corruption on a selected island and removes all hostile creatures.

    learnbluestone default

    Randomly learn to craft a new recipe.

    lodbias X

    Adjusts the level of detail in your environment.

    noclip X

    Enters ghost mode, allowing you to float and pass through objects.

    photomodefilters

    Turns on Photo Mode filters selected from the menu.

    progression X

    Destroys a specified number of corruption nodes.

    This command may harm game data.

    rain X

    Sets X to indicate rain intensity.

    renderdistance X

    Sets X for your desired render distance.

    sailgodmode

    Turns on to make your ship invulnerable.

    spawn

    Creates a specified type of animal. If unspecified, one of each friendly type will be spawned.

    spawn

    Creates a specified enemy or corrupted creature. If no enemy is specified, one of each type will spawn.

    teleport X

    Teleports you to an island. Setting X to 0 takes you to the spawn island.

    time X

    Changes the time of day, using a 24-hour format for X.

    unstuck

    Allows you to move freely if you get stuck.

    vroom X

    Increases your sailing speed with X as the multiplier.

    wind X

    Adjusts the speed of the wind by replacing X with your chosen value.

    Item Code Commands

    You can also spawn items without needing their Item IDs, though you’ll be limited to the available item sets.

    Some Item IDs might include items that have not yet been added.

    Item Code

    Description

    give advanced 1

    Spawn 1 of every advanced resource.

    give basic 1

    Spawn 1 of every basic resource.

    give gear 1

    Spawn 1 of every gear type.

    give mealsbasic 1

    Spawn 1 of every basic meal.

    give outfits 1

    Spawn 1 of every outfit type.

    give seeds 1

    Spawn 1 of every seed type.

    give tools 1

    Spawn 1 of every tool type.

    give veggies 1

    Spawn 1 of every vegetable.

    You have the option to determine the quantity of items you want to spawn. Any items that exceed your inventory space will be dropped on the ground.

    For a safer experience, it’s advisable to use a separate game file when trying out commands. This way, you can explore freely without putting your game data or progress at risk.

  • How to Obtain a Grass Patch in Aloft

    How to Obtain a Grass Patch in Aloft

    In the survival game Aloft, you navigate enchanting sky islands with the goal of eliminating the corruption that threatens the land. Your adventure takes you from one floating island to another, where you can use a glider or transform an island into a ship for sailing.

    Each island features distinct biomes that create a rich ecosystem, providing a variety of resources essential for your journey. To efficiently gather materials like wood and stone, you’ll need to create tools from the resources you discover. One of the earliest tools you can craft is known as the Dorkip.

    How To Craft A Dorkip

    A Dorkip can be created easily and is one of your first crafting projects. To make one, you will require:

    • Wood: x2
    • Sharp Stone: x1
    • Rope: x1

    Combine these items and press the craft button to manufacture your Dorkip. This versatile tool can function both as a spear in combat and as a hoe for farming.

    How To Use A Dorkip

    While a Dorkip can serve as a weapon, its primary use lies in tilling the soil. When you set up a farming plot on your island, you’ll need your Dorkip to prepare the ground for planting seeds.

    Additionally, the Dorkip allows you to dig soil outside your island. By using the tool on a piece of land, you can uproot the surface to collect an item called Turf. This grassy material is useful for crafting or for laying patches of grass on bare soil.

    If you dig up Turf, there’s a chance you might also uncover a bug along the way.

    Using the Dorkip in special locations, like spots where stones form an X, could reveal hidden treasures buried underground. You will also find it necessary to use your Dorkip to harvest Clay found in the Red Cliffs.

  • Removing Status Effects in Aloft: A Quick Guide

    Removing Status Effects in Aloft: A Quick Guide

    You are an adventurer exploring the expansive skies in the survival game Aloft. Your mission is to navigate from one floating island to another to restore ecosystems and eliminate the corruption threatening the land. Each island is filled with various plants and animals, with some harboring hostile creatures that you need to deal with.

    To thrive on your quest to heal the land, it’s crucial to monitor your own physical condition. Several elements can influence your health, including the environment and the food you consume. Some conditions can boost your exploration and combat abilities, while others may pose significant risks.

    Types of Status Effects

    Status effects come in different forms. Positive effects provide you with beneficial boosts that can enhance your combat abilities, improve your resource-gathering skills, and more. In contrast, negative effects can hinder your performance, making you more vulnerable to damage, particularly in battle.

    There are also neutral effects that neither bolster nor weaken you but serve as indicators of your body’s status; for instance, the Digesting condition.

    Positive Status Effects

    You can gain numerous positive status effects by taking care of yourself through adequate rest, enjoying well-prepared meals, and donning suitable clothing for the environment.

    Completing specific tasks can also provide you with a performance boost.

    Status Effect

    Effect

    How to Obtain

    Well-Rested

    Increases movement speed.

    Sleeping in a bed.

    Hydrated

    Boosts attack speed.

    Drinking various beverages or water.

    Efficient

    Increases attack damage.

    Eating various food recipes.

    Zippy

    Doubles momentum gained.

    Drinking a cup of coffee.

    Energetic

    Reduces movement combo duration.

    Eating various food recipes.

    Productive

    Increases resource yield when gathering.

    Eating various food recipes.

    At Peace

    Health slowly regenerates.

    Lying down for a short while.

    At Home

    Doubles the duration of positive effects.

    Being on your home island.

    Enthusiastic

    Enhances damage, movement, attack speed, and momentum.

    Restoring an island’s ecosystem.

    Heat Protection

    Temporarily grants protection against heat.

    Wearing linen clothing.

    In addition to positive status effects, many dishes also provide extra health points. Though these won’t appear in your status list, they work in a similar fashion for a limited time.

    Negative Status Effects

    Negative status effects usually stem from changes in your environment. These can be triggered by the current biome or by attacks from hostile creatures.

    Viewing Your Status Effects


    When you acquire a status effect, a notification will appear on the right side of your screen, indicating which effect you received. You will also see various icons for your active status effects above your health bar in the lower-left corner of the screen.

    Negative status effects will be displayed in a red shade, both in notifications and as icons in the lower left, allowing you to differentiate them from positive effects.

    To get complete details on each status effect as well as a list of those you have, visit the Conditions tab in your menu.

    Open your menu and tap the heart icon at the top of your screen. This will display the Conditions page, where you can see a list of your current status effects, each accompanied by a brief description and a timer showing the remaining duration.

    Hover over any status effect to reveal its full description, including how you obtained it.

    Removing Status Effects

    Both positive and negative status effects have a limited duration and will fade away after several minutes. You can track how long each effect lasts via the timer next to it on the Conditions page.

    While you must wait for negative status effects to clear, you can instantly remove positive status effects gained from food.

    You can only consume two types of food before feeling completely full, at which point you won’t be able to eat more or replace what you have consumed. Thus, your access to new status effects from food is limited.

    To eliminate all food effects, drink Digestive Tea. To prepare Digestive Tea, you’ll need one Clean Water and two Leaves. Use a Cooking Plate over a fire, select the recipe for Digestive Tea, or manually combine the ingredients to create it.

  • Crafting Your Space in Aloft: A Guide

    Crafting Your Space in Aloft: A Guide

    Quick Links

    Use Building Materials to Create Your Home Island

    When you’re navigating the vast skies in Aloft, you’ll discover plenty of opportunities to enhance your home island. As you gather resources, why not invest some time into building structures and creating a cozy home?

    Whether you’re aiming to construct a grand ship, design a comfortable living space, or invent a unique architectural style, we’ve got everything you need to get started on furnishing your space in Aloft.

    Use Building Materials to Design Your Home Island

    As you progress through the game, you’ll likely feel the desire to upgrade your home island with new buildings and furnishings. The Construction Menu provides various options, allowing you to customize your island to fit your vision with structures, furniture, and decorative items.

    This menu is also where you’ll find essential machinery, sailing gear, and valuable items for your home, like cooking supplies and beds. However, this guide focuses mainly on the materials and furniture you can use to enhance your island.

    Once you obtain your sketchbook for the first time, keep it handy, as you can replicate furniture designs that catch your eye. Encountering abandoned villages, temples, ships, or leftover homes on your explorations? Simply interact with your sketchbook when you’re near these structures to copy their designs. You can then recreate them on your island whenever you’re back!

    Remember that different shapes of the same item, such as lamps and wall hangings, count as separate designs, so be sure to check if something appears unique. These pieces usually require the same number of resources and will change visually to match your design once built.

    Build on Your Home Island and Others

    You can construct recipes on any island that’s suitable for building, but first, you need to heal any unhealthy ecosystems. Most building activities will take place on your home island, where you can create ships, elaborate homes, and decorations. Plus, when you build on your home island, you draw from your stored resources, so there’s no need to gather supplies before expanding.

    Occasionally, you’ll need to build on other islands, especially to reach knowledge stones located in hard-to-access spots. If you don’t want to use your materials for a one-off build, consider constructing a temporary staircase to access these stones, then take it down afterward.

    When you’re building, there are three ways to place items, giving you different levels of control over their positioning:

    1. Automatic: This mode allows pieces to snap together when positioned next to each other, aligning them effortlessly.
    2. Manual: This mode gives you finer control over the placement, enabling adjustments on a four-point Y-axis in addition to the horizontal X-axis.
    3. Disabled: Here, you can freely rotate the piece in any direction and place it wherever you like.

    Using a combination of these modes generally yields the best results when building in Aloft, giving you complete creative flexibility for your island.

    If you’re unhappy with your construction or want to redecorate, you can destroy any building structures in Aloft. Simply use the right mouse button and strike the structure with your hammer, whether on your home island or while exploring elsewhere.

    Furniture and Building Recipes in Aloft

    Below, you’ll find a comprehensive list of recipes you can use to furnish and enhance your home. We’ve organized the information into two sections: one for structural building items and another for furniture and decorations. You’ll find your structural recipes in the Building tab of the construction menu, while everything else is under the Decoration tab.

    Each item marked with an asterisk indicates it has multiple styles or sizes available. While they may require the same materials, they can count as separate designs when you use your sketchbook, so it’s wise to confirm if what you want is new.

    Remember, you can’t craft a recipe unless you’ve learned it, so having the materials doesn’t guarantee you can build it if you don’t know how.

    All Recipes in the Building Tab

    Menu Section: Wooden Structures

    • Wood Dock: 9 Wood, 4 Rope, 2 Windstone Crystals
    • Wooden Foundation: multiple designs available
    • Wooden Wall: options for variations available
    • Wooden Door: and others listed below…

    All Recipes in the Decoration Tab

    Menu Section: Furniture

    • Wool Curtains: 1 Plank, 5 Wool Fabric, 1 Charcoal
    • Wood Table: and various seating options that follow…

    When you unlock any of these recipes through knowledge stones or your sketchbook, feel free to use them to personalize your home island! Rearranging and redecorating can make your journey between islands even more enjoyable.

  • Unlocking the Spyglass in Aloft: A Quick Guide

    Unlocking the Spyglass in Aloft: A Quick Guide

    Aloft presents a vast universe where you guide your own island through the boundless skies. To ensure your Home Island stays on course, it’s essential to create high-quality sailing gear. Additionally, having a clear destination in mind is crucial.

    Since every island has its unique characteristics, it’s important to assess what each one offers before making your landing. The best tool for this task is the Spyglass, which lets you view distant objects and scout islands beforehand.

    How to Craft a Spyglass in Aloft


    To create a Spyglass, you first need to set up a workbench. This requires at least five pieces of wood in your inventory. If you already have your workbench ready, gather the following materials to craft the Spyglass.

    Crafting a Spyglass

    Materials Needed

    How to Gather

    1x Wood

    You can gather wood by collecting branches from trees or chopping down trees with an axe.

    1x Leaf

    While chopping trees, you can also collect leaves along with wood.

    1x Rope

    Create rope at a workbench using 2x Mykter Fibre, which can be obtained from corrupted mushroom enemies or by defeating larger tentacled mushrooms on corrupted islands.

    2x Windstone Crystal

    Find Windstone Crystal inside caves. These glowing blue stones are hard to miss, and you can sometimes find them scattered outside. Use a pickaxe to mine them.

    Once you’ve gathered all the necessary items, head to the workbench and select each material to craft the Spyglass. After you create it, make sure to equip the Spyglass in one of your equipment slots to use it effectively. You can then peer through the Spyglass to spot distant objects.


    Player using a Spyglass to zoom in on an island in Aloft.

    The Spyglass also helps you gather extra information about islands, such as whether they contain unexplored caves or if they are corrupted.

  • Crafting a Sickle for Efficient Harvesting in Aloft

    Crafting a Sickle for Efficient Harvesting in Aloft

    Aloft presents an exciting universe where you can soar through the air while establishing home islands and exploring fresh biomes and uncharted territories. Before diving into these adventures, though, you’ll need to get a handle on crafting and gathering resources. Once you’ve gotten the basics down, you’ll be free to explore any island and rejuvenate the land.

    The sickle is among the first essential tools you’ll want to craft. It plays a crucial role in gameplay since it allows you to gather seeds that help restore the damaged ecosystem. However, crafting one can be tricky without some guidance.

    How to Craft a Stone Sickle

    To utilize a sickle, you’ll first need to cut small plants, gather herbs, and obtain seeds. Start by constructing a workbench, which you can do anywhere with five pieces of wood. With the workbench set up, you can craft a Stone Sickle using the following materials:

    Crafting a Stone Sickle

    Materials Required

    How to Obtain

    2x Sharp Stone

    To create a Sharp Stone, combine two regular stones. This can be done without a workbench—just navigate to your inventory, select the Crafting tab, and combine the two stones. You’ll need two Sharp Stones to make a Stone Sickle.

    1x Wood

    Gathering wood is straightforward. Approach trees to collect branches, or chop them down with an axe to harvest wood.

    1x Rope

    Rope requires two pieces of Mykter Fibre, which you can obtain by defeating mushroom enemies or from large tentacled mushrooms found on corrupted islands. Like Sharp Stones, you can craft rope without a workbench.

    Once you have gathered all the necessary materials, you can craft a Stone Sickle at your workbench and then equip it. Certain items, like glasswort and wheat, can only be collected using a sickle. When you approach these plants, a sickle icon will appear, indicating that you can use your Stone Sickle to harvest them.

    The image shows the player approaching a Glasswort plant with a sickle in hand in Aloft.

    While its main purpose is to clear away small plants, the Stone Sickle can also be used for combat against mushroom enemies and to hit the weak spots of large mushrooms.

  • Mastering Sword Crafting in Aloft: A Complete Guide

    Mastering Sword Crafting in Aloft: A Complete Guide

    In Aloft, you can create a wide range of items to make your adventures smoother and more enjoyable. However, some items are essential for overcoming obstacles in the game, and you’ll need to learn how to craft them.

    One useful item you can make early in the game is the Stone Sword. It’s a reliable weapon that allows you to engage in various combat actions without losing too much momentum. Here’s how you can create your first Stone Sword, enabling you to tackle mushroom enemies with confidence.

    How to Craft a Stone Sword


    To create a Stone Sword, you need to have a workbench. You can set up a workbench anywhere by accessing the build menu and selecting the home tab. Choose the workbench option and place it for five pieces of wood from your inventory.

    If you already have a workbench, go to it and open the crafting menu. You’ll need the following items to craft a Stone Sword:

    Stone Sword Crafting Requirements

    Materials Required

    How to Obtain

    1x Rope

    You can craft rope from two pieces of Mykter Fiber, which you can get by defeating mushroom enemies on any corrupted island. This can be done without a workbench by going to your inventory and switching to the crafting tab.

    3x Sharp Stone

    Sharp Stones can also be made without a workbench, requiring just two regular stones.

    1x Wood

    You can gather wood by chopping down trees with an axe or collecting branches from them.

    After crafting your Stone Sword, don’t forget to equip it from your inventory. Swords serve various purposes, and you can further upgrade your weapon at the upgrade station later on. This can include increasing its sharpness for a limited time or applying fungicide, necessary for accessing specific areas as you advance in the game.

  • Decoding Map Table Symbols in Aloft: What They Mean

    Decoding Map Table Symbols in Aloft: What They Mean

    When you first enter the world of Aloft, you might think the map is impressive. But wait until you discover just how extensive it really is! The game features a massive sky populated with countless islands waiting to be explored and restored.

    As you navigate from one section of the map to another, you’ll uncover uncharted islands while keeping track of which ones are thriving. Utilize those lost atlases you’ve collected during your travels to enhance your sailing skills and gather valuable information.

    How to Use the Map in Aloft


    Refer to Your Map Table Frequently While Flying

    Your first significant discovery during the Forgotten Legacy quest will be a map table. This large, circular map can be positioned at the bridge of your home island next to your helm, allowing you to track islands across this expansive world. The islands that cluster together form an archipelago, and collections of archipelagos within a segment of your map are termed sectors.

    When you place the map table, you can access it anytime. It displays all the archipelagos in any sector you’ve previously visited. Your ship is represented as an island with a circle and a point on one side—this point helps you identify the position of your helm for accurate steerage. When your ship icon enters a new sector, that entire area will be revealed.

    While the islands in Aloft are hand-crafted, the locations where they appear are random. Everyone can explore the same hundreds of islands, but the arrangement of these islands will differ across various world seeds.

    There’s an array of vital map symbols to keep in mind—such as distinguishing which islands were uncovered via lost atlases or which ones feature frescoes. Furthermore, the map shows colors to indicate the health status of each island’s ecosystem. Some islands, which were previously considered healthy, may revert to an unhealthy status until you visit them, and stepping onto these islands will restore their health back to green.


    A character steering an island at the helm with a map table just beside her.

    Use Symbols to Fine-Tune Your Search on the Map

    On the right side of the screen, various symbols are available to highlight islands with particular characteristics, such as those you’ve located using lost atlases or islands that include frescoes. Once a specific feature is selected, other islands become less visible, while the desired islands stand out with a bright color and a thicker black border.

    You can also place beacons to mark islands of interest. Once you unlock the beacon recipe in the Sailing section of the building menu, you can position them with different symbols that correspond to the icon set found on the right of your map table. After setting a beacon, remember its symbol and select it on the map table when you wish to revisit that island—it will be easily identifiable by the beacon marker.

    Every Symbol on the Map in Aloft and Their Meanings

    Symbol

    Meaning

    Island Colors

    Gray Dot

    This indicates an island you haven’t explored yet. Visiting for the first time will change its color to one of the options below.

    Green Dot

    This signifies an island you’ve visited that has a healthy ecosystem, according to the field guide.

    Yellow Dot

    Pink Dot

    This represents an island you’ve visited that is corrupted. You’ll need to return and address the corruption nodes (as well as fend off adversaries) to aid in the healing process.

    Symbols

    Checked Gate

    This marks an island that contains a fresco, offering valuable sailing knowledge.

    Circular Swirl

    This signifies an island where you can find a lost atlas.

    Always consult your map table when you’re uncertain about your next destination—there’s a vast sky filled with adventures waiting for you!

  • Common Inquiries Surrounding Aloft

    Common Inquiries Surrounding Aloft

    Open-world sandbox survival enthusiasts are bound to be enchanted by Aloft, an adorable new title from Astrolabe that launched into early access on January 15. With countless randomly generated islands waiting to be discovered, animals to tame, crops to cultivate, and corruption to combat, there’s plenty of adventure ahead!

    Here’s a compilation of frequently asked questions by players, including ourselves, since diving into Aloft, along with their answers. Whether you need tips or sailing advice, we’ve got the information you seek.

    When Is the Full Version of Aloft Expected to Release?

    While Aloft made its early access debut on January 15, there is no official release date for the full version yet. Despite being in early access, the game offers a wealth of content that keeps players engaged. Updates regarding the full release will be shared on the developers’ Discord and their social media platforms as they continue to enhance the game.

    At launch, the game primarily supports Steam, although players have successfully run it on Steam Decks and Macs as well. The developers are planning to expand to console platforms after the full version is released on Steam.

    How Do Momentum and Health Work?

    In Aloft, combat encounters are common unless you’re in Peaceful Mode, especially when exploring corrupted islands. When you take damage, your health bar (shown in red) decreases, but fret not; you have options to heal! Early in the game, you can create basic bandages at your workbench, so always carry some with you during your adventures.

    To use a bandage, just hold down the button to heal more, up to a limit. Typically, we find that two bandages are enough to fully recover. But sticking to bandages isn’t your only option; you can also sleep in any bed, be it on your home island or one you discover, to regain all health. Moreover, consuming fruits, vegetables, and cooked meals will also help restore health.

    As for momentum, it differs from health as it allows you to power up your attacks during combat. You’ll notice white bars under your health meter representing your momentum, which replenishes when you deal damage.

    Where Should I Go Next?

    In a game like Aloft, which emphasizes exploration and cozy vibes, there’s no fixed path to follow. You can navigate the map freely, though you might encounter barriers like intense storms that hinder passage.

    Always check your map table for new destinations and familiarize yourself with the symbols used there. The islands are grouped into archipelagos, each with its ecosystem. The map table also indicates the health of these ecosystems and tracks any corrupted islands you’ve encountered.

    If you want to mark a new destination, you can use a Lost Atlas at the map table, allowing you to set waypoints even in unrevealed sectors. Additionally, after crafting the recipe, you can consult the Stormchaser, which will guide you to the nearest island with resources, for a small fee.

    Is the Map Consistent Across Saves?

    Although many of the starting islands, especially in the initial archipelago, share similarities to ensure a smooth introduction, maps are generally unique across different saves. Each new save generates a completely different map, even if you’re playing on the same device.

    We confirmed this by launching a new game and found that, while starting tools remained consistent, the map layout differed entirely.

    Where Did My Home Island Go?

    Setting up your home island in Aloft after completing the Forgotten Legacy quest can be rewarding, but it can also be disconcerting if you can’t find it later!

    To return to your island, simply open your inventory and select the Teleport to Home option. If you’re gliding and can’t access your inventory, you can look for a home icon that points in the direction of your island.

    Additionally, there’s a Despawn Home Island feature, which temporarily removes your home island from the world. This can be helpful if you’re encountering issues like getting stuck while sailing or visiting a friend’s island in multiplayer mode.

    Once you’re ready to bring your home island back, just click the Spawn Home Island button in the Home Islands menu. If you decide to move to a different home island, you can use the Delete Home Island option, but be warned—this action is irreversible, so ensure you’ve gathered any desired resources from that island before proceeding.

    Tool Durability in Aloft

    As you journey through the islands of Aloft, you’ll discover plenty of spare weapons and tools, but rest easy knowing that your tools don’t deteriorate over time. Although you can upgrade them, they won’t break or lose efficiency.

    However, sails on your home island do have a durability: they can suffer damage from debris as you fly. When you encounter rocky obstacles, be prepared to repair your sails. You can fix them using a hammer and the materials you used to craft the sail, be it leaf paper or wool sheets.

    When you build sails, consider that different materials offer varying benefits in terms of weather resistance and wind performance, so check the crafting menu for specifics before making a selection.

    Gardening Requirements

    If you’re confused about planting in Aloft, especially concerning tilling soil, here’s the scoop: you cannot plant crop seeds directly in the ground. For crop seeds to flourish, you must create a Farm Plot, which requires wood and processed soil.

    This recipe becomes available fairly early in the game. Once you craft a Farm Plot, you can plant a crop seed, but remember to water it, either naturally or through buckets you’ve crafted. Most plants regenerate their produce within a few days, offering a reliable source of fresh ingredients for your character.

    Why Isn’t My Home Island Moving?

    Navigating your island in Aloft isn’t just about steering; it depends on various factors. If your island isn’t moving while at the helm, check a few things:

    First, observe the four colored bars displayed in the bottom-right corner—these represent essential metrics for your island’s movement. The gray bar indicates weight, while the other bars measure the status of your sails, rudders, and lifts. If any of these fall below the line, your island may be too heavy to move.

    Also, keep an eye on wind direction; consult the top-right screen corner for current wind conditions. It’s crucial to navigate with the wind to optimize your speed. Lastly, ensure there are no obstacles, such as debris damaging your sails or being stuck against another island. If so, consider despawning and respawning your island for a better position in the sky.

  • Aloft: Your Guide to Acquiring Wooden Cogs

    Aloft: Your Guide to Acquiring Wooden Cogs

    Wooden Cogs play a crucial role in the early stages of Aloft. They unlock various crafting possibilities and enable you to build new machines. The devices you create on your home island will not only help you gather better materials but also enhance the efficiency of crafting other components.

    However, you might overlook Wooden Cogs if you haven’t constructed a Millstone on your land. This machine is essential for processing Mykter Fibres, another resource you might find yourself short on. Wooden Cogs are also vital for crafting sails later in the game.

    How to Craft Wooden Cogs

    Creating Wooden Cogs requires some time, as you’ll need to gather resources using some machinery. To craft them, combine the following materials at your Workbench:

    • Three Mykter Grease
    • Two Carved Wood

    To create Carved Wood, use one Hardstone and three pieces of Wood on your Workbench.

    How to Get Mykter Grease

    Mykter Grease is made using the Millstone in Aloft.

    Mykter Fibre is crucial for creating Mykter Grease. To collect it, you must explore corrupted islands found throughout the game map. These islands host tall fungi plants; breaking their nodes will purify the area. You’ll also encounter smaller fungal enemies that can be defeated with your sword.

    Once you’ve gathered Mykter Fibre, you can process it by using the Millstone. Refer to the materials needed to create your Millstone.

    By placing the Mykter Fibre inside, you’ll automatically produce Mykter Grease.

    How to Use Wooden Cogs

    The Spinner and Sawmill are shown in Aloft.

    Wooden Cogs are vital for building machinery in Aloft, allowing you to convert raw materials into refined products. If you’re aiming to reach new islands, you’ll need to craft better sails, which require Wooden Cogs for making both Wool and Linen Sails. They are essential in the construction of various production facilities:

    • Sharpening Station
    • Sawmill
    • Spinner
    • Loom
    • Flax Break
    • Pottery Wheel
  • Upgrading Weapons and Tools in Aloft: A Complete Guide

    Upgrading Weapons and Tools in Aloft: A Complete Guide

    If you’re exploring the vast world of Aloft, it’s important to make the most of your journey across its large map. The good news is that once you familiarize yourself with your tools and weapons early in the game, you’ll gain access to impressive upgrades that can enhance your gameplay experience.

    First, you’ll need to discover the recipe for the Upgrade Station along with the components required to add three upgrade parts to it. This will allow you to enhance your tools and weapons in three significant ways: sharpening, coating, and adding Trinkets.

    As you traverse the map and explore the three distinct biomes, keep an eye out for knowledge stones, which will lead you to recipes for pieces of the Upgrade Station. Each biome appears to house one upgrade, and unlocking the first one will also give you the frame for the Upgrade Station itself.

    Once you obtain the frame for any Upgrade Station, you can construct and place it on your home island. However, without recipes for additional upgrade parts, your progress will be limited. In Aloft, you can find and install three different upgrades for the Upgrade Station, allowing you to pull materials directly from your island’s storage when you’re ready to use them.

    Be sure to visit the Upgrade Station frequently to ensure that your tools are fully buffed before heading out on your next expedition. The enhancements have a limited number of uses, so keeping everything upgraded is essential.

    One upgrade you’ll want to pay attention to is the Coating Station. After getting started with the Research Lab, you will frequently want to return here to coat your gear with fungicide before tackling corrupted islands. This antidotal coating will yield healthy mykter samples for further study back at the Research Lab. The more samples you collect, the more research opportunities you’ll have!

    Next up is the Sharpening Station, where you can put all those hardstones you’ve collected to good use. Each use requires two hardstones, and when you refine a tool or weapon, you’ll notice an increase in damage output. This added sharpness is signified by a small diamond icon that appears under the corresponding inventory item.

    Finally, the Customization Station lets you utilize the Trinkets you’ve crafted. Here, you can install Trinkets onto your weapons and tools, granting various status boosts, from enhanced damage against enemies to improved resource gathering during specific weather conditions. Experiment with different Trinkets to find the combination that aligns best with your playstyle.

  • Ways to Obtain Wool in Aloft

    Ways to Obtain Wool in Aloft

    Obtaining Shears in Aloft is essential once you’ve explored the Emerald Isles to your satisfaction. After crafting the Shears, you can travel to Fallen Heights and discover what the second biome has to offer. With these Shears, you’ll be able to gather wool from your friendly animals like Alpacas and Sheep.

    To create wool, you’ll need to gather resources from the islands, which are readily available. However, turning that wool into usable fabric requires additional steps. By using wool sails, you can venture further by navigating from your home island. Additionally, creating wool threads allows you to build a Loom, which is necessary for processing other types of fabrics.

    Crafting Shears

    To craft Shears, gather the following materials:

    • One Carved Wood
    • Two Hardstones

    These materials can be acquired on the Emerald Isles, which are accessible from the start of the game. To find Hardstones, look for black square nodes in the area and use your pickaxe to break them apart.

    Create a Stone Pickaxe using one sharp stone, one stone, and one piece of wood.

    To obtain Carved Wood, combine three Wood and one Hardstone on your workbench. After this, you’ll be ready to craft your Shears.

    Collecting Wool

    The player stands near a sheep in Aloft.

    While exploring Emerald Isles, you’ll likely come across several Sheep or Alpacas. You can bring them back to your farm by using Hay and taking care of them. Over time, these animals will grow wool, which you can collect using your Shears by standing next to them. They will continue to regrow wool as long as they are well-fed.

    Using Wool

    Wool Square Sail is displayed in Aloft.

    Wool is a versatile resource that allows you to craft essential machinery like the Loom and Spinner. To produce Wool Cloth, you must construct a Loom using Wool Threads.

    Once you have Wool Cloth, you can utilize it to make Wool Sails. These sails are necessary to access the second biome, Fallen Heights. You can create several types of sails:

    • Wool Square Sail
    • Wool Bermuda Sail
    • Wool Lateen Sail
    • Wool Gaff Sail
    • Wool Junk Sail