The Genshin Impact codes for version 5.3 recap have been released, offering players a chance to claim free Primogems, Mystic Enhancement Ore, and Mora. This time, you have a little longer—several days instead of just a few hours—so make sure to take advantage of these gifts during this festive season.
Upon redemption, these promotional codes will add items to your inventory, frequently including Primogems, Mystic Enhancement Ore, Hero’s Wit, and Mora to support your in-game quests. Be sure to revisit this page regularly for updates on new Genshin Impact codes as they become available, and act fast to ensure you don’t miss out!
The code below is semi-permanent and can be redeemed occasionally. If you’ve used it before, check back in a few months for another chance to get rewards:
GENSHINGIFT – 50 Primogems, 3 Hero’s Wit
How to Redeem Genshin Impact Codes
You can redeem Genshin Impact codes on the official website’s gift redemption page. Make sure you’re logged in with your Hoyoverse account, verify that your correct regional server and character nickname are displayed (these fields auto-fill when you’re logged in), then enter the redemption code and click “redeem.” If you can’t find the redemption page, look under the “More” tab on the homepage. Keep in mind that you can’t redeem certain Genshin Impact codes until you reach Adventure Rank 5 or higher.
More Genshin Impact Guides
While the codes are redeemed online, the rewards will be delivered to you via Genshin Impact’s in-game mail system. In-game mail typically expires after one month, so be sure to collect your rewards promptly!
You can also redeem codes directly in the game. Go to the Account menu under Settings, select the ‘Redeem Now’ option, and enter the code there. Just remember that your rewards will still arrive via in-game mail, so check there afterward.
Expired Genshin Impact Redemption Codes
If a code isn’t working, it may have expired. Here are some invalid codes for your reference:
AEXK6S4U93CF – 10,000 Mora, 3 Brilliant Chrysanthemum, 10 Adventurer’s Experience, 5 Fine Enhancement Ore
EMVDL6W28D8A – 10,000 Mora, 5 Adventurer’s Experience, 5 Fine Enhancement Ore, 5 Jueyun Chili Chicken, 5 Stir-Fried Fish Noodles
GENSHIN52X8399 – 30,000 Mora, x3 Vayuda Turquoise Sliver, x3 Hero’s Wit, x3 Guide to Kindling, x5 Mystic Enhancement Ore
HVDLLZ29Y26W – 10,000 Mora, 3 Brilliant Chrysanthemum, 10 Adventurer’s Experience, 5 Fine Enhancement Ore
HVQAUTYB8NKE – 20,000 Mora, 15 Adventurer’s Experience, 10 Fine Enhancement Ore
My Ranger build in Path of Exile 2 excels with an often-overlooked combination of agility and damage output, making it a lethal choice for adept players. This setup leverages the classic bow and arrow mechanics while enhancing it with powerful lightning and ice damage effects. It’s designed to carry you through the early game, and we’ll be updating it soon with recommendations for the best ascendancy. Read on to learn how to transform your Ranger into a formidable damage dealer within Path of Exile 2.
Top Ranger Build in Path of Exile 2
(Image credit: Grinding Gear Games)
This Ranger build focuses on harnessing elemental damage, particularly lightning and ice, paired with precision. The combination results in a character that can deal impressive damage while maintaining a quick escape ability when necessary.
The inspiration for this setup stems from Mobalytics’ Fubgun, who developed an outstanding lightning damage build that has influenced our design. Let’s break down the essential elements of this build and what you need to prioritize.
Equipment
Weapon:Shortbow or Warden Bow. Look for enhancements that increase lightning or physical damage, boost dexterity, and improve your quiver bonuses.
Quiver:Fire Quivers are a solid choice as they add fire damage; consider ones that increase physical damage or grant health recovery on enemy kills.
Head:Choose helmets that boost evasion, dexterity, and accuracy.
Body:Body armor should also enhance dexterity, evasion, and accuracy.
Bracers/Gloves:Consider using Northpaw Suede Bracers, which enhance physical damage and critical hit damage.
Belt:Look for flasks that provide charge and recovery bonuses.
Shoes:Prioritize upgrades for movement speed and dexterity.
Amulet:Enhancements for dexterity and maximum life are ideal.
Skill Gems:
Bow Shot
Lightning Arrow:Pair with Pierce and Chain.
Lightning Rod:Combine with Scattershot.
Escape Shot:Use with Frost Nexus.
Stormcaller Arrow
Freezing Salvo:With Magnified Effect.
Herald of Thunder:Integrate with Innervate.
Wind Dancer
Snipe
Passive Skills:
Initially focus on skills that enhance projectile damage until you obtain Honed Instincts. Afterward, shift your attention to skills that boost accuracy, offer stat bonuses, and enhance quiver attributes. Important skills to acquire include Eagle Eye, Blur, Vile Wounds, and Master Fletching.
How the Build Operates
(Image credit: Grinding Gear Games)
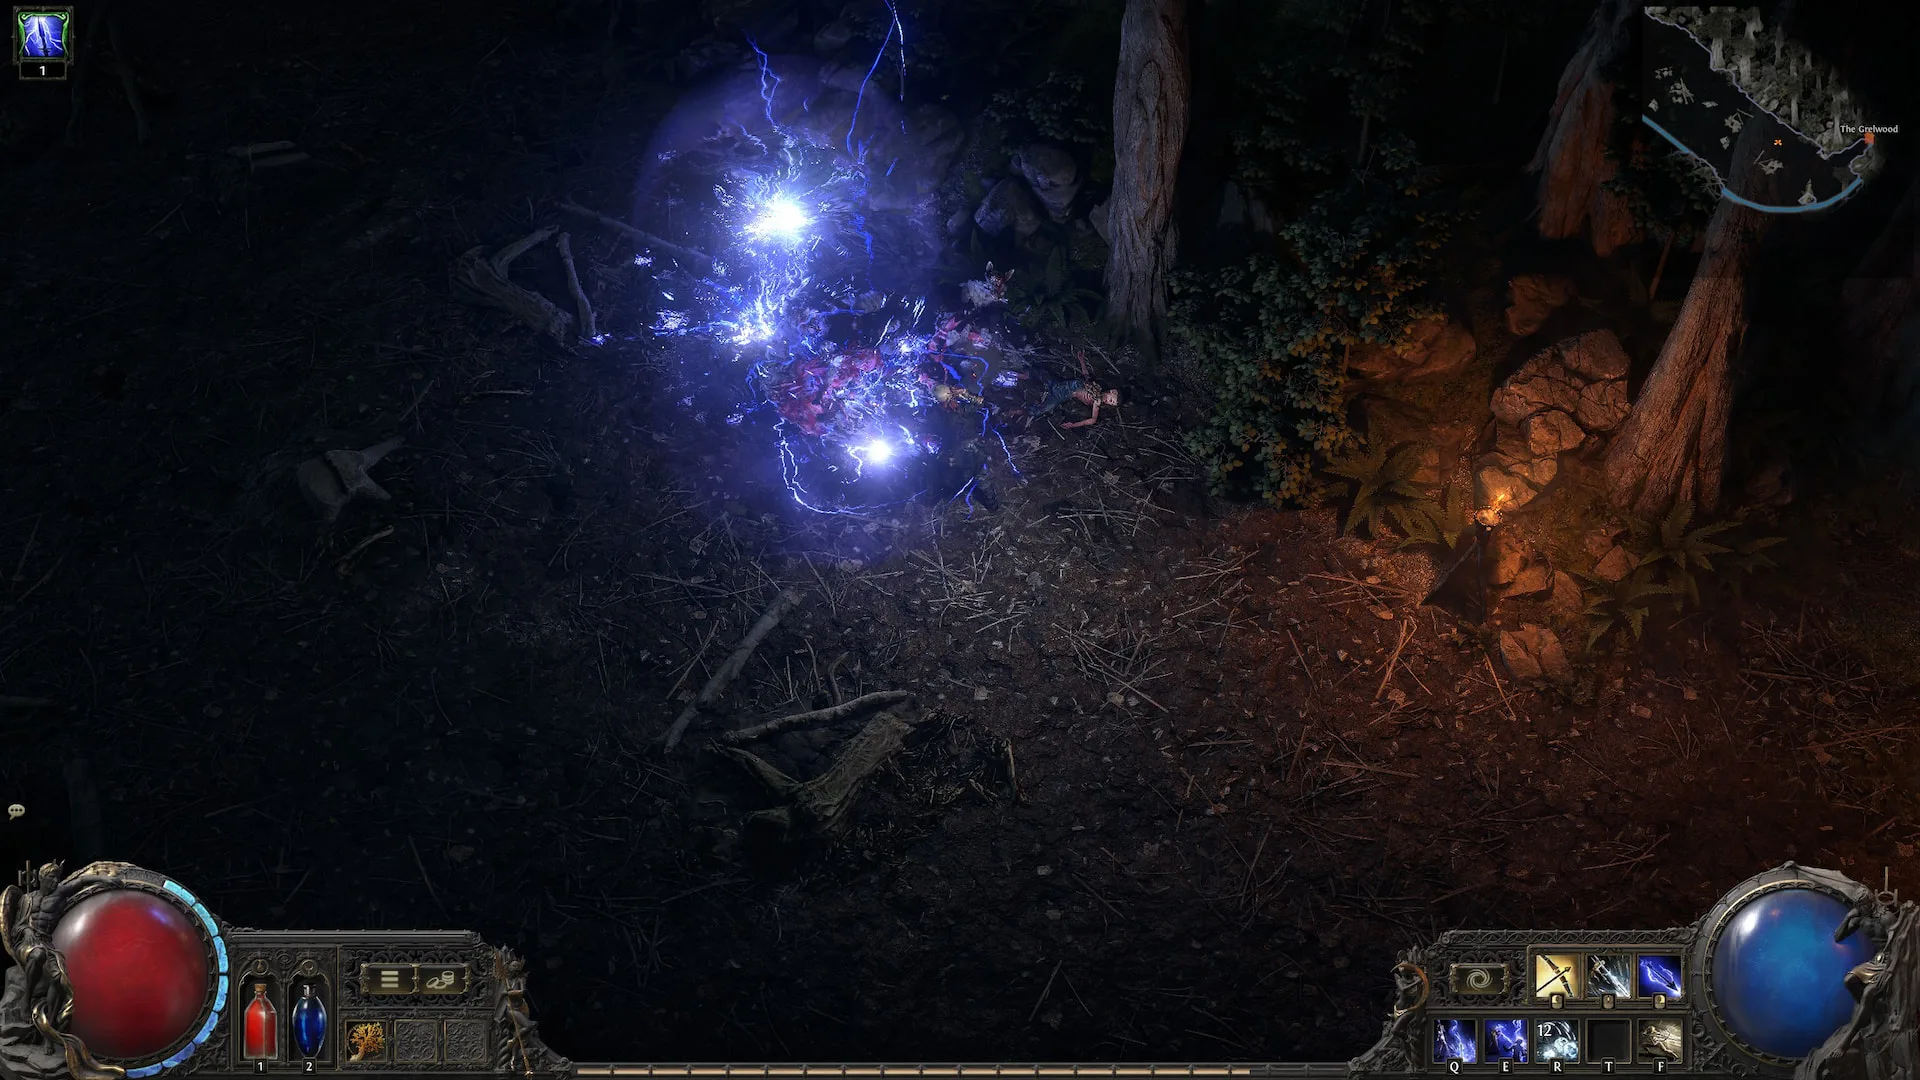
This build combines passive and active lightning skills to deliver significant damage while employing ice skills to create distance from the various threats in Wraeclast. Your typical combat strategy will start with casting Lightning Rod for its excellent area-of-effect lightning damage, followed by unleashing Lightning Arrow on your enemies.
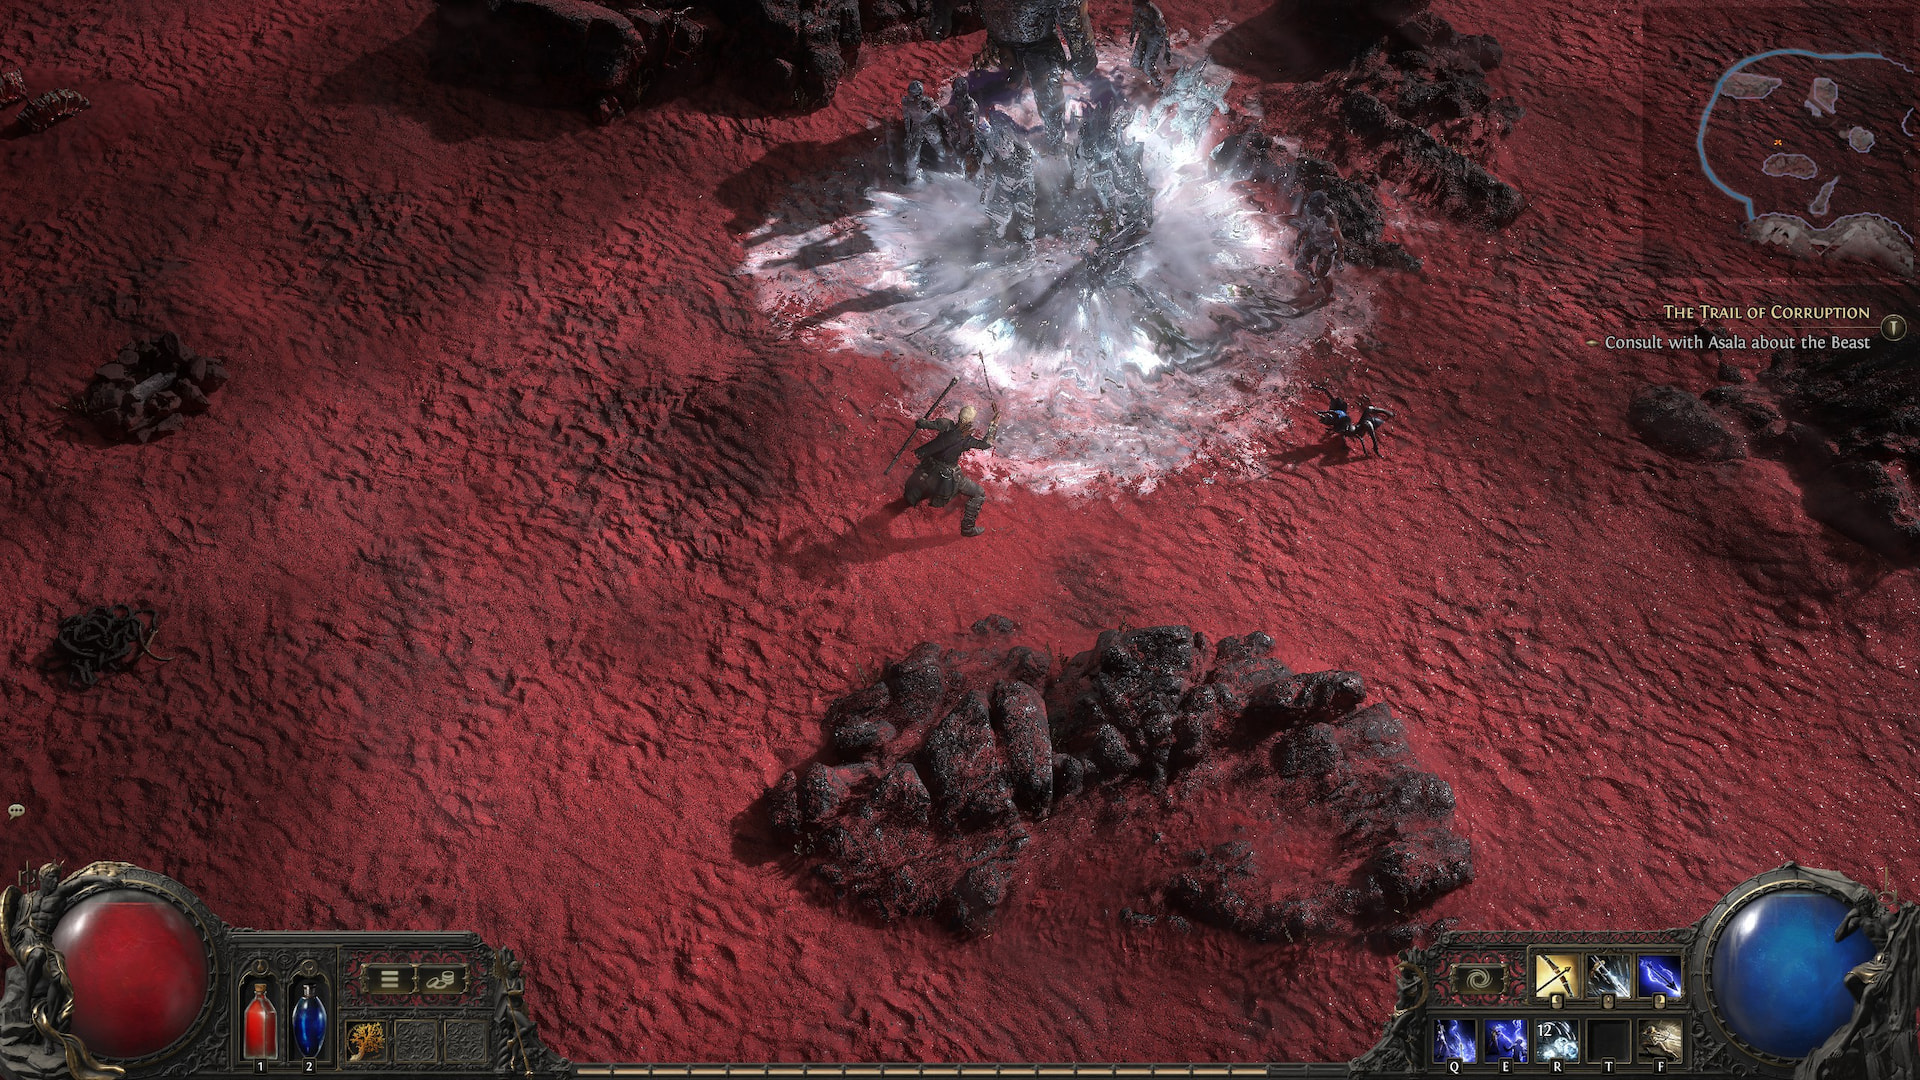
In tighter situations, you can use Freezing Salvo to immobilize foes, then strike with Lightning Rod and Lightning Arrow for quick eliminations. Escape Shot is invaluable for quick escapes, aided by the increased evasion from Wind Dancer. Additionally, Herald of Thunder provides an extra boost to your attacks, releasing lightning strikes upon defeating shocked enemies.
Snipe and Stormcaller Arrow are potent against bosses, delivering heightened critical and lightning damage; however, they require patience as they are not the quickest options. Wait until the boss is either at a safe distance or distracted by another player before launching your attack.
The trading system in Path of Exile 2 (POE2) is integrated with a dedicated trading site, fostering a community where players can exchange items and equipment to enhance their builds or acquire specific abilities. For newcomers to trading, the process isn’t always clear, so we’ve outlined everything you need to know below, including how to trade in-game and how to use the POE2 trading site. Let’s dive in!
Understanding Trading in Path of Exile 2
To trade items in POE2, you have two options:
Right-click on other players in safe zones (like the Clearfell Encampment) and choose “Trade.” This sends a trade request. If the other player accepts, you can then offer items and see what they’re willing to trade in return. If both parties agree, the trade will be completed.
Use the Trading Site, where players can list or search for items and negotiate trades through Direct Whispers.
It’s crucial to note that gold cannot be traded; you can only exchange items from your inventory that occupy space. Gold is used solely for transactions with NPCs, but anything purchased from a merchant can be traded (and the recipient can then resell it for a smaller profit).
If you really want to give someone gold, you can load them up with unwanted items for them to sell to merchants to convert into cash.
Is There a Trade Site for Path of Exile 2?
Yes, there is a trading site for POE2, which you can find here. After logging in with your in-game account, you can list your items for trade and search for items others are offering. You can set various parameters and see all available matches.
When you find an item of interest, you can directly contact the owner via Direct Whisper to work out the details of the trade. The Trading Site is widely regarded as the best method for trading within the community, offering a variety of options for every Path of Exile 2 class and build.
In "Path of Exile 2," Ascendencies represent unique subclass specializations. Currently, during the Early Access phase, players can choose from 12 different Ascendencies—two for each character class. Choosing an Ascendancy is a significant decision since it cannot be reversed and will heavily influence your character’s build as you progress through the game.
To help you navigate your options, we’ve outlined each Ascendancy available in "Path of Exile 2," detailing their features and how they function, including how to earn the Ascendancy points you’ll need.
How to Unlock Ascendencies in Path of Exile 2
To unlock Ascendencies, you must reach Act 2 and complete the Trial of Sehkemas. After finishing this trial, you’ll be able to interact with the altar nearby. This will allow you to select your class’s Ascendancy and grant you two Ascendancy Points, which serve as your subclass’s unique skill tree.
To acquire all available Ascendancy points in "Path of Exile 2" (currently eight), you need to defeat the Trial of Sehkemas in Act 2 and the Trial of Chaos in Act 3, both in Normal and Cruel modes. Each victory will reward you with two Ascendancy Points for that particular character.
Every Ascendancy and Their Abilities
Below, you can find a comprehensive list of Ascendancies in "Path of Exile 2," along with the skills you can unlock through each.
Mercenary Ascendencies
Witchhunter
Weapon Master: Transform 20 Passive Skill Points into Weapon Set Skill Points.
Pitiless Killer: Learn the Culling Strike skill.
Judge, Jury and Executioner: Acquire the Decimating Strike skill.
Witchbane: Enemies have a Concentration value equal to 40% of their maximum life. Hitting them breaks their Concentration based on the damage dealt.
No Mercy: Inflict up to 30% more damage to enemies depending on their lost Concentration.
Obsessive Rituals: Learn Sorcery Ward with reduced armor and evasion.
Ceremonial Ablution: Enhance the effect and recovery rate of Sorcery Ward.
Zealous Inspiration: Enemies have a chance to explode upon defeat, dealing damage based on their max life.
Gemling Legionnaire
Crystalline Potential: Boost the quality of all skills by 10%.
Implanted Gems: Increase all skill levels by 1.
Advanced Thaumaturgy: Cut skill costs by 30%. Skill gems have heightened attribute requirements.
Integrated Efficiency: Add three more skill slots.
Gem Studded: Use two copies of the same Support Gem in different skills.
Thaumaturgical Infusion: Gain additional maximum resistances based on support gem colors.
Adaptive Capability: Highest attribute can satisfy gem requirements.
Enhanced Effectiveness: Double inherent bonuses from attributes.
Sorceress Ascendencies
Stormweaver
Scouring Winds: Your exposure lowers affected resistance by an extra 20%.
Tempest Caller: Learn the Elemental Storm skill and trigger it on critical spell hits.
Rain Dancer: Boost cooldown recovery rate of Elemental Storm.
Heavy Snows: Inflict two chills on targets, reducing their action speed.
Shaper of Winter: All damage contributes to chill magnitude.
Strike Twice: Targets can suffer from two shocks simultaneously.
Shaper of Storms: Your hits increase shock chance.
Constant Gale: Gain Arcane Surge, enhancing cast speed and mana regeneration.
Force of Will: Increase Arcane Surge effects with maximum mana.
Heart of the Storm: Recoup elemental damage as energy shield.
Chronomancer
Now and Again: Skills have a chance to not consume cooldowns.
Unbound Encore: Learn the Time Snap skill.
Ultimate Command: Learn Time Freeze.
Footprints in the Sand: Learn Temporal Rift.
Quicksand Hourglass: Gain a temporary boost to cast speed.
Apex of the Moment: Slow enemies in your area.
Circular Heartbeat: Regain a portion of damage taken as life.
The Rapid River: Effects occur over a brief duration.
Monk Ascendencies
Invoker
Lead Me Through Grace: Gain Spirit based on armor stats.
… And Protect Me from Harm: Gain physical damage reduction from evasion.
Faith is a Choice: Learn the Meditate skill.
I am the Blizzard: Convert damage to cold damage and create chilled ground.
I am the Thunder: Convert damage to lightning and create shocked ground.
… And I Shall Rage: Learn the Unbound Avatar skill.
The Soul Springs Eternal: Increase energy for meta skills.
Sunder My Enemies: Critical hits ignore elemental resistances.
… And Scatter Them to the Winds: Learn Elemental Expression skill.
Acolyte of Chayula
Ravenous Doubts: Instant mana leech.
Consuming Questions: Leech mana from energy shield instead of recharging it.
Chayula’s Gift: Raise maximum chaos resistance and double its effects.
Reality Bending: Chance to convert damage into chaos damage.
Waking Dream: Learn Into the Breach.
Lucid Dreaming: Doubled effects and duration of Flames of Chayula.
Embrace the Darkness: Manage your maximum darkness.
Grasp of the Void: Convert damage to extra chaos damage.
Sanguimancy: Learn Life Remnants and adjust costs.
Vitality Siphon: Spell damage leeched as life.
Open Sores: Infinite duration curses.
Blood Barbs: Convert damage to physical and influence bleed.
Gore Spike: Increased critical damage based on health.
Sunder the Flesh: Base critical chance for spells.
Grasping Wounds: Prevent damage from hits.
Crimson Power: Gain maximum life from energy shield.
Infernalist
Altered Flesh: Convert damage types.
Beidat’s Gaze/Will/Hand: Reserve life for increased maximums in mana, spirit, and energy shield.
Demonic Possession: Learn to shapeshift into a demon.
Mastered Darkness: Manage demon flame.
Bringer of Flame: Boost ignite chance.
Seething Body: Gain fire damage based on your or allies’ health.
Loyal Hellhound: Summon a hellhound to absorb damage.
Grinning Immolation: Take damage on critical hits.
Warrior Ascendencies
Titan
Stone Skin: Increased armor from body gear.
Earthbreaker: Chance to cause aftershocks from slam skills.
Ancestral Empowerment: Boost slam skills’ damage and area effect.
Colossal Capacity: Additional inventory space.
Hulking Form: More effects from small passives.
Crushing Impacts: Cause stuns on primed enemies.
Surprising Strength: Extra damage on heavy stunned foes.
Mysterious Lineage: Increase maximum life.
Warbringer
Anvil’s Weight: Break armor based on damage dealt.
Imploding Impacts: Lower enemy armor below zero.
Jade Heritage: Gain jade over time through a learned skill.
Answered Call: Trigger skills with totems.
Wooden Wall: Damage absorbed by totems.
Renly’s Training: Increased block chance from shields.
Turtle Charm: Ability to block damage without raised shields.
Warcaller’s Bellow: Damage from corpses when you warcry.
Greatwolf’s Howl: No cooldowns on warcries.
With this guide, you can make informed choices about your Ascendencies and the skills you unlock throughout your journey in "Path of Exile 2." Enjoy building your character!
The Bloated Miller is the first boss you’ll face in Path of Exile 2, and defeating him is essential to progress to the Clearfell Encampment, the game’s initial hub. This boss fight represents a significant increase in difficulty and serves as the final challenge in the tutorial. If you can’t overcome this boss, you won’t be able to access the main game. If you’re struggling, here’s how to defeat the Bloated Miller, along with useful strategies and weaknesses that any character class can leverage.
Tips and Strategies for Beating the Bloated Miller in Path of Exile 2
(Image credit: Grinding Gear Games)
The Bloated Miller is especially potent in melee combat, so it’s best to maintain your distance and chip away at his health. However, some classes may not have that option. Here are some handy tips to help players of all classes exploit the Miller’s weaknesses and emerge victorious.
Ensure you’re well-equipped. Make sure to equip all the weapons and skill gems you collected during the tutorial before the fight. Take some time to practice on the undead outside the arena to familiarize yourself with your skills.
Keep your distance. The Bloated Miller becomes more dangerous in close quarters; however, he can also charge at you and unleash shockwaves from afar.
If you’re fighting up close, try to position yourself behind him. The Miller primarily targets opponents in front of him, so staying behind is a safer option.
Dodge to the sides, not backward or forward. The boss’s attacks usually have a long reach but limited width, so move around him instead of retreating straight back.
Don’t focus on the minions he summons. How you deal with these summons can vary based on your character class. For example, Witches can use them to create their own undead. Generally, it’s most effective to keep your focus on the Miller while avoiding the slower minions. If you’re playing a Sorcerer or a character with area-of-effect attacks, you can take down the minions with the same moves that hit the Bloated Miller.
If you use elemental attacks, keep them going. Many elemental effects build up with consecutive hits, so if you have frost or poison abilities, employ the same attack repeatedly for maximum effect.
With these tips, you should find the Bloated Miller easier to handle. If you’re still struggling, you can grind for better gear in the earlier areas of the game. Expect a tougher challenge against the Devourer boss in the next mission, but don’t worry—our guide can help with that too. And if you realize that your chosen skills aren’t ideal, we’ll also show you how to respec in Path of Exile 2, though you’ll need to wait a bit before that option becomes available.
In Avowed, your character’s background provides a foundation of attributes—essentially a starting build. While you make several choices during character creation, these aren’t strict limitations; you can freely change your character’s skills later on, apart from certain dialogue options that accompany your background once you enter the game world. Avowed has introduced some new mechanics that might leave you unsure about the specific impacts of various backgrounds. If you’re considering redistributing points to tweak your skills, I’m here to clarify everything about Avowed backgrounds, the attributes involved, and even some potential build ideas.
Avowed Attributes
Image credit: Obsidian
Avowed attributes are quite straightforward, each one affecting two key aspects of your character. The fun twist is that Might controls damage from both weapons and magic, making it essential for any character build.
Might
Boosts damage from weapons and spells, along with carry capacity.
Constitution
Increases health and physical resistances, particularly against poison and bleeding.
Dexterity
Speeds up attack rates for weapons and abilities, reload times, and actions such as parkour or using consumables.
Perception
Enhances Critical Hit chances and range for all weapons, making guns, bows, and wands more effective at distance.
Intellect
Increases maximum Essence for spellcasting and elemental resistances against fire, electricity, and cold.
Resolve
Boosts maximum Stamina and the Second Wind ability, allowing for more frequent comebacks after defeat.
Avowed Builds
Image credit: Obsidian
Given that Avowed attributes are straightforward, it becomes easy to identify the skills necessary for different builds. The only surprising factor is that Might influences all damage, so regardless of your desired role, you’ll want to invest significantly in this stat.
Warrior
Might for damage, Constitution to increase health and physical resistance, and Resolve to improve stamina usage and recovery after being knocked down.
Mage
Might for damage, Intellect to maximize spell-casting power, and Perception for range to keep your fragile character out of harm’s way.
Rogue/Ranged
Might for damage, Dexterity to enhance attack speed, and Perception for increased effectiveness at a distance and higher critical hit rates.
All Avowed Backgrounds
Image credit: Obsidian
Every background in Avowed essentially acts as presets with attribute points allocated to align with each character’s backstory. However, you have the option to redistribute all your points right at the beginning. Any background you choose can utilize all game abilities and equipment, so the primary restriction lies in the ‘unique dialogue options’ you receive and a starting weapon.
This means that backgrounds aren’t a permanent restriction; they’re more like initial suggestions for stats that fit certain archetypes. For instance, you could choose the War Hero background, which suggests a tank fighter, and then redirect all your points towards Intellect to craft a mage character who still retains the War Hero’s dialogue options.
Avowed Arcane Scholar Background
The Avowed Arcane Scholar is one of the best magical starting choices. It emphasizes Dexterity, Perception, and Intellect, enhancing your spellcasting, attack speed, and range. It also features a respectable Might stat for some initial damage output.
For dialogue options, you can expect more choices related to ‘occult knowledge, legal matters, historical insights, and poetry.’
Here’s a complete breakdown of the Avowed Arcane Scholar stats:
Might 2
+6% Damage
+20% Carry Capacity
Constitution 0
+0% Maximum Health
+0% Poison and bleed resistance
Dexterity 2
+7% Attack Speed
+13% Action Speed
Perception 2
+4% Critical Hit Chance
+10% Maximum Range
Intellect 3
+15% Maximum Essence
+18% Elemental Resistance
Resolve 1
+5% Maximum Stamina
+12% Second Wind Efficiency
Avowed Court Augur Background
The Avowed Court Augur is a unique option, as it starts with no Might or Constitution, resulting in the lowest damage and health among all backgrounds. Instead, it prioritizes Perception and Intellect, offering solid range and magic capabilities. This makes it a classic glass cannon, albeit one with no damage points.
Choosing such a fragile, magic-oriented character from the start might not be ideal. If you seek spell focus, the Arcane Scholar is a better choice, as it comes with extra Might for damage. The Noble Scion below may also serve as a better magic option, providing a bit more health upfront.
In terms of dialogue options, this character is viewed as eccentric enough to be ostracized and specializes in mysticism, wielding “power from the shadows” through influence and deception.
Here are all the Avowed Court Augur background stats:
Might 0
+0% Damage
+0% Carry Capacity
Constitution 0
+0% Maximum Health
+0% Poison and bleed resistance
Dexterity 2
+7% Attack Speed
+13% Action Speed
Perception 3
+6% Critical Hit Chance
+15% Maximum Range
Intellect 3
+15% Maximum Essence
+18% Elemental Resistance
Resolve 2
+10% Maximum Stamina
+23% Second Wind Efficiency
Avowed Noble Scion Background
The Avowed Noble Scion presents an unclear class, appearing to be another magic-focused option with emphasis on Dexterity, Perception, and Intellect for a blend of speed, range, and magic prowess. Its stats, however, are leveled out, giving up a point in spellcasting Intellect to bolster Constitution and health.
The only notable characteristic in dialogue seems to be wealth.
Here are all the Avowed Noble Scion attributes:
Might 2
+6% Damage
+20% Carry Capacity
Constitution 1
+5% Maximum Health
+6% Poison and bleed resistance
Dexterity 2
+7% Attack Speed
+13% Action Speed
Perception 2
+4% Critical Hit Chance
+10% Maximum Range
Intellect 2
+10% Maximum Essence
+12% Elemental Resistance
Resolve 1
+5% Maximum Stamina
+12% Second Wind Efficiency
Avowed Vanguard Scout Background
The Avowed Vanguard Scout is akin to a rogue-like fighter, with attributes centered on speed and range using physical weapons. It acts as a quicker, slightly less powerful version of the tanky War Hero. If you don’t plan on using ranged options, consider reallocating some Perception points to boost your Might for greater damage.
Dialogue options highlight subterfuge, tracking, and espionage.
Here are all the Avowed Vanguard Scout attributes:
Might 1
+3% Damage
+10% Carry Capacity
Constitution 2
+10% Maximum Health
+12% Poison and bleed resistance
Dexterity 2
+7% Attack Speed
+13% Action Speed
Perception 3
+6% Critical Hit Chance
+15% Maximum Range
Intellect 1
+5% Maximum Essence
+6% Elemental Resistance
Resolve 1
+5% Maximum Stamina
+12% Second Wind Efficiency
Avowed War Hero Background
The Avowed War Hero is the quintessential tank fighter, with all points concentrating on health, damage, and stamina. It’s designed to be upfront in battles, capable of taking and dealing substantial damage. This attribute set is purely physical, so if you have any interest in magic, this choice isn’t for you.
Dialogue options are less pronounced, mostly referencing a history of combat and scars.
Zenless Zone Zero codes are becoming increasingly sought after because they offer valuable rewards, yet there are often only a few available at any given time. By redeeming these codes, you can instantly enhance your inventory with useful items, saving you the trouble of grinding for them. Using the Zenless Zone Zero codes provided here will help accelerate your progress in this gacha adventure, allowing you to focus more on exploring New Eridu and The Hollow to uncover the mysteries lurking within. Don’t forget to watch for the upcoming livestream event in early December, which will reveal a new limited-time ZZZ code.
Promotional codes that grant Polychrome are especially beneficial since this resource is essential for creating Master Tapes. These tapes activate Signal Searches, a feature of the gacha system that lets you unlock new Agents from the Zenless Zone Zero tier list for your team. If you aren’t satisfied with the characters you receive, you can reroll and try for different ones. Additionally, you will earn a good amount of Denny, the in-game currency used for purchases, as well as experience-enhancing items to help you acquire more support characters from the Zenless Zone Zero Bangboo tier list. Below, you’ll find a list of active Zenless Zone Zero codes and instructions for redeeming them.
Zenless Zone Zero Codes
ZENLESSGIFT – 50 Polychrome, two Official Investigator Logs, three W-Engine Power Supplies, one Bangboo Algorithm Module
HSAHLWFEFE – 60 Polychrome, 6,666 Denny
ZZZ4PC – 50 Polychrome, two Official Investigator Logs, three W-Engine Power Supplies, one Bangboo Algorithm Module (valid only on PC)
Currently, there are only two general Zenless Zone Zero codes available, as most initial promotional codes have already expired. However, if you’re playing on PC, you can access a third code that’s not valid on other platforms. While no expiration dates are listed, many of the newer codes can reach their maximum redemption limits quickly, so be sure to use them as soon as you can.
If you completed the pre-registration process mentioned earlier, your rewards will be granted to you at the start of your adventure, as global pre-registrations have exceeded 40 million, unlocking all rewards.
How to Redeem Zenless Zone Zero Codes
(Image credit: HoYoverse)
Similar to other HoYoverse action RPGs, players can redeem Zenless Zone Zero codes through the official website’s redeem code page. Keep in mind that you need to have started the game and created a character for this option to be available. After logging in, select your regional server, and your character’s nickname will appear. At that point, you can enter the Zenless Zone Zero redemption codes to add them to your account.
(Image credit: HoYoverse)
You can also enter redemption codes directly in the game, but you must complete the ‘Business x Strangeness x Justness’ Prologue mission first and unlock the mailbox. Once you reach that point, open the in-game menu, select ‘More’, then tap on ‘Redemption Code’. This will open a text box for you to enter your Zenless Zone Zero code. After hitting the ‘Redeem’ button, you will receive a confirmation message if the code is valid, and you can then check your in-game mailbox for your rewards. Be aware that some codes may require you to reach Inter-Knot level five or higher before they can be redeemed.
ZZZHOYOLAB – three Official Investigator Logs, 10,000 Denny [expired]
4BPDRBT459RH – 6,000 Denny [reached max usage limit]
NB6D9SB4MPSZ – six Crystallized Plating Agents [reached max usage limit]
NIJIZZZ – 50 Polychrome, 5,000 Denny, two Senior Investigator Logs [reached max usage limit]
NS6U9TTLM6AV – two Bangboo Algorithm Modules [reached max usage limit]
USNC9SB4499R – six W-Engine Power Supplies [reached max usage limit]
XTNDQAS44985 – four Official Investigator Logs [reached max usage limit]
ZZZ2024 or ZZZTVCM – 50 Polychrome, 6,000 Denny [reached max usage limit]
ZZZFREE100 – 300 Polychrome, 30,000 Denny, two Senior Investigator Logs, three W-Engine Energy Modules [expired July 11, 2024]
Livestream 1.1 code:
UNDERCOVERRNB – 300 Polychrome, 30,000 Denny, two Senior Investigator Logs, three W-Engine Energy Modules [expired August 4, 2024]
Livestream 1.2 code:
TOURDEINFERNO – 300 Polychrome, 30,000 Denny, two Senior Investigator Logs, three W-Engine Energy Modules [expired September 14, 2024]
Livestream 1.3 code:
VIRTUALREVENGE – 300 Polychrome, 30,000 Denny, two Senior Investigator Logs, three W-Engine Energy Modules [expired October 26, 2024]
The Zenless Zone Zero codes listed above have either expired or reached their maximum usage threshold, so they can no longer be redeemed for rewards. However, I’ve included them here for reference.
Monster Hunter Wilds offers a crossplay feature in both its beta version and the upcoming full game, enabling players on different systems to team up for hunting adventures. This means whether you’re on PS5, Xbox Series, or PC, you can join your friends in tackling the toughest monsters. In this guide, we’ll break down how the crossplay system works and how to connect with friends on various platforms, because it’s teamwork that will help you conquer the fiercest beasts in Monster Hunter Wilds.
Understanding Monster Hunter Wilds Crossplay
(Image credit: Capcom)
Joining a game with crossplay in the Monster Hunter Wilds beta is quite straightforward, as it’s enabled by default. The multiplayer setup utilizes a lobby system, where players are automatically connected to servers, even when playing solo.
To team up with friends or join different lobbies, navigate to the main menu when selecting your character. This section is also where you can change your appearance in Monster Hunter Wilds. From here, you can customize your lobby conditions—either by looking for lobbies that meet specific criteria or by entering a friend’s Hunter ID. You can find this unique code in the “Hunter Profile” section of the pause menu.
If you’re playing on the same platform, simply pause the game and select the option to “invite a friend.” This will take you to the console’s user interface, where you can send an invite to your buddy. And if you’re curious about which gear to equip for your hunts, we have a tier list of the best weapons in Monster Hunter Wilds available!
In Monster Hunter Wilds, we’ve put together a tier list of the best weapons available. With 14 different tools for hunting both in the beta version and the upcoming full game, we’ve tested each one to determine which are the top performers and which could use some improvement. From the iconic Long Sword to the versatile Insect Glaive, our rankings are always evolving as we discover more about the unique traits and strengths of each weapon.
We’re confident about our current choices for the best weapons in MH Wilds. Each weapon has its own strengths, but we’ve identified some real standout options that cater to both newcomers and experienced players. And yes, the Long Sword continues to be a formidable choice.
Top Weapons in Monster Hunter Wilds
(Image credit: Capcom)
Based on our experience with the Monster Hunter Wilds beta, here are some of the best weapons we’ve found:
Long Sword: The Long Sword is well-known in the Monster Hunter community for its favorable treatment from developers. It allows players to unleash incredibly damaging attacks by charging the Spirit Gauge. Additionally, with the Wound system, it’s easy to achieve a Focus Strike that maximizes damage. It’s also user-friendly, making it a solid option for those who want to dive into combat without dealing with a steep learning curve.
Bow: The bow is another weapon that’s simple to pick up. Its powerful ranged shots can inflict significant damage from a distance, making it feel like a sniper build. With some evasive abilities and allies to distract foes, archers can take down monsters from afar.
Dual Blades: While their damage isn’t the highest, Dual Blades excel at applying status effects quickly. They offer excellent evasion capabilities, making agile players nearly untouchable. Once mastered, the Dual Blades allow for swift attacks and strong moves like Archdemon Mode that boosts damage. As long as players manage their stamina well, they can keep the beasts at bay.
Monster Hunter Wilds Weapon Tiers and Rankings
(Image credit: Capcom)
After testing during the Monster Hunter Wilds beta, here’s our current tier list for the best weapons:
S-tier weapons
A-tier weapons
Dual Blades
Hammer
Heavy Bowgun
Sword & Shield
Great Sword
Insect Glaive
Light Bowgun
B-tier weapons
Switch Axe
Charge Blade
Gunlance
Lance
Hunting Horn
Keep in mind that this ranking comes from the beta version, and things are likely to change in the full game. New gear, equipment options, and balance adjustments can significantly influence which weapons stand out. For now, if you’re enjoying the beta, this guide should help you maximize your effectiveness in hunts.
Best Weapons for New Players in Monster Hunter Wilds
(Image credit: Capcom)
For newcomers to Monster Hunter Wilds, we suggest starting with either the Dual Blades, Long Sword, Great Sword, Hammer, or Sword & Shield. These choices are either straightforward to handle (like the Dual Blades) or offer defensive features that give players some leeway (like the Sword and Shield).
The game provides a brief quiz at the beginning to help determine what might suit you, but it doesn’t always account for how easy or intuitive certain weapons are. Therefore, some players may find certain weapons more challenging to use compared to others, such as the Hunting Horn or Insect Glaive. The options mentioned above are generally easier and more approachable for new players.
Once you’ve chosen a weapon, check out its guide in the menu to get a full understanding, and practice with low-level monsters or even some smaller wildlife. Mastery won’t happen instantly—and that’s perfectly normal! These skills take time to develop, and most players usually concentrate on two or three weapons at most.
The beta test for Monster Hunter Wilds is just around the corner, allowing players to jump into a series of exciting hunts on their Seikret mounts. You’ll also get a chance to customize your hunter and Palico, with your designs carrying over to the full game set to release in February 2025. If you’re eager to get an early taste of the action, here’s everything you need to know to join the Monster Hunter Wilds beta during the upcoming open testing period.
When is the Monster Hunter Wilds beta?
The Monster Hunter Wilds beta will be launched in two phases: the first is an exclusive early access period for PlayStation Plus subscribers on PS5, followed by a full open beta available for players on PS5, Xbox Series, and PC via Steam. Here are the dates and times:
PS5 PlayStation Plus Exclusive Early Access: Begins – October 28 at 8 PM PDT / 11 PM EDT / 3 AM GMT (October 29) Ends – October 30 at 7:59 PM PDT / 10:59 PM EDT / 2:59 AM GMT (October 31)
Open Beta for PS5, Xbox Series, and Steam: Begins – October 31 at 8 PM PDT / 11 PM EDT / 3 AM GMT (November 1) Ends – November 3 at 6:59 PM PST / 9:59 PM EST / 2:59 AM GMT (November 4)
How to access the Monster Hunter Wilds open beta
The Monster Hunter Wilds open beta will be accessible to all players on PS5, Xbox Series, and Steam without requiring any online subscriptions. However, PlayStation Plus is needed to participate in the exclusive early access phase. You can pre-download the beta from the respective stores after these times, ensuring you’re ready to play when the servers launch:
PS5 (PlayStation Plus subscribers only): Available from October 27 at 8 PM PDT / 11 PM EDT / 3 AM GMT (October 28)
For PS5, Xbox Series, and Steam: Available from October 30 at 8 PM PDT / 11 PM EDT / 3 AM GMT (October 31)
Keep in mind that while you can play the Monster Hunter Wilds open beta online without a PlayStation Plus or Xbox Game Pass Core/Ultimate subscription, you will need one for online play in the full version of the game once it launches in February 2025.
What’s included in the Monster Hunter Wilds beta?
Players will begin the Monster Hunter Wilds beta with access to the full Character Creation suite, allowing you to craft your hunter and Palico exactly how you want them. You can remake your character as often as you’d like during the beta, and your creation will carry over to the complete game, so you can dive right into your adventure when it launches.
After creating your character, you can watch the opening cutscene and complete a tutorial where you’ll hunt a Chatacabra, familiarizing yourself with the game’s weapons and mechanics. Following that, you can jump into an open-world hunt against a Doshaguma, aiming to take down the pack’s alpha while riding your Seikret and exploring the expansive environment. Anytime during these hunts, you can send an SOS Flare for assistance from other players through crossplay, or call in up to three NPC Support Hunters to help you out.
Rewards for taking part in the Monster Hunter Wilds beta
All participants in the Monster Hunter Wilds beta will earn the Open Beta Test Bonus Pendant, which can be attached to your hunter. Additionally, you’ll receive the Open Beta Test Bonus Item Pack, which contains:
Mega Potion x 10
Ration x 5
Lifepowder x 5
Max Potion x 2
Herbal Medicine x 2
Nulberry x 2
Armor Sphere x 5
To qualify for these rewards, you need to create character data during the Monster Hunter Wilds open beta and play the full game on the same platform as the beta.