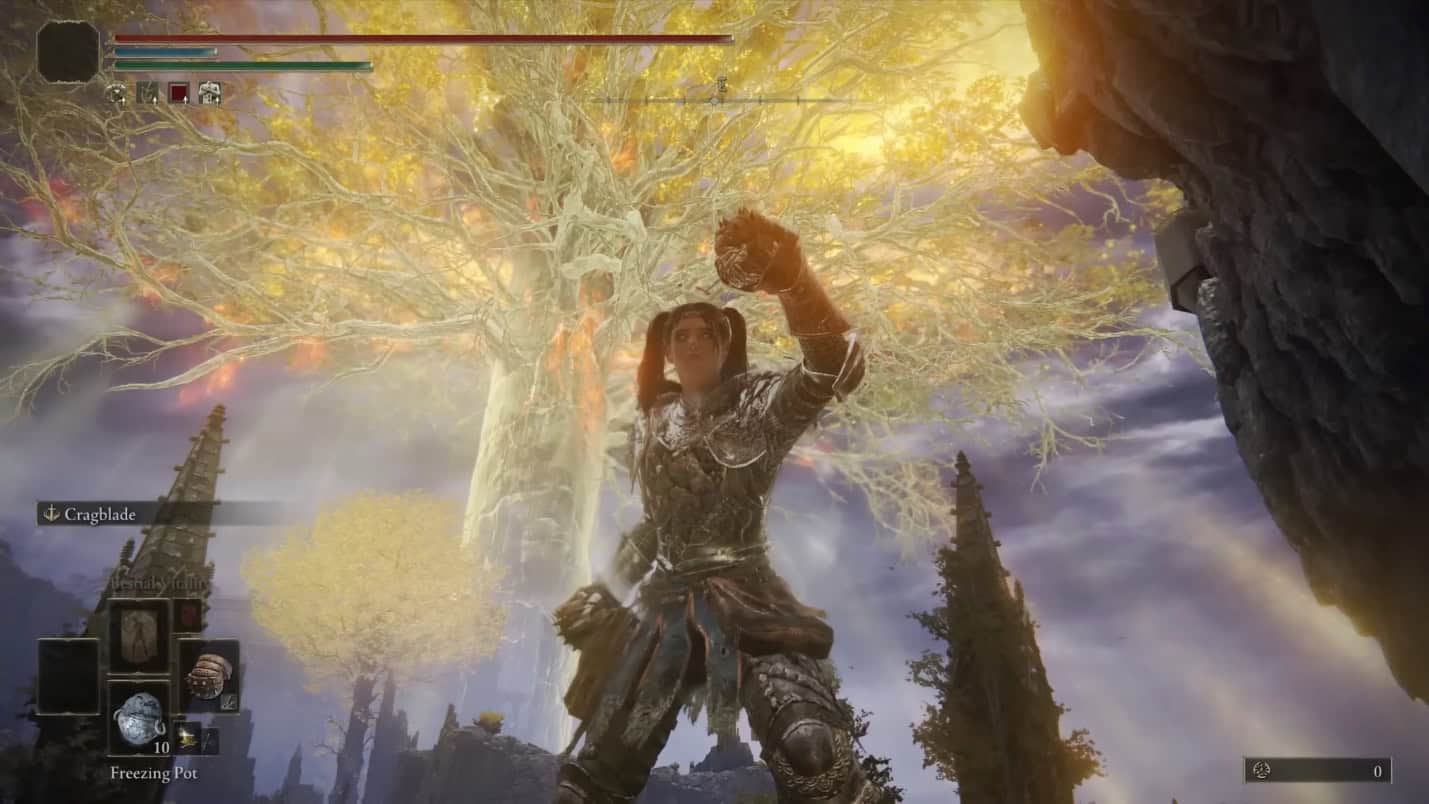
In Elden Ring, the Spiked Caestus is a dual-wielded weapon option, allowing you to use one or both at your discretion. If you prefer melee combat, this weapon should definitely be in your arsenal. Its primary drawback is its lack of range, but it delivers significant damage to foes.
Acquiring the Spiked Caestus is quite simple; head to the Isolated Merchant located in the Caelid region to make your purchase. This guide will lead you through finding the weapon and understanding its effects in Elden Ring.
Location of the Spiked Caestus in Elden Ring
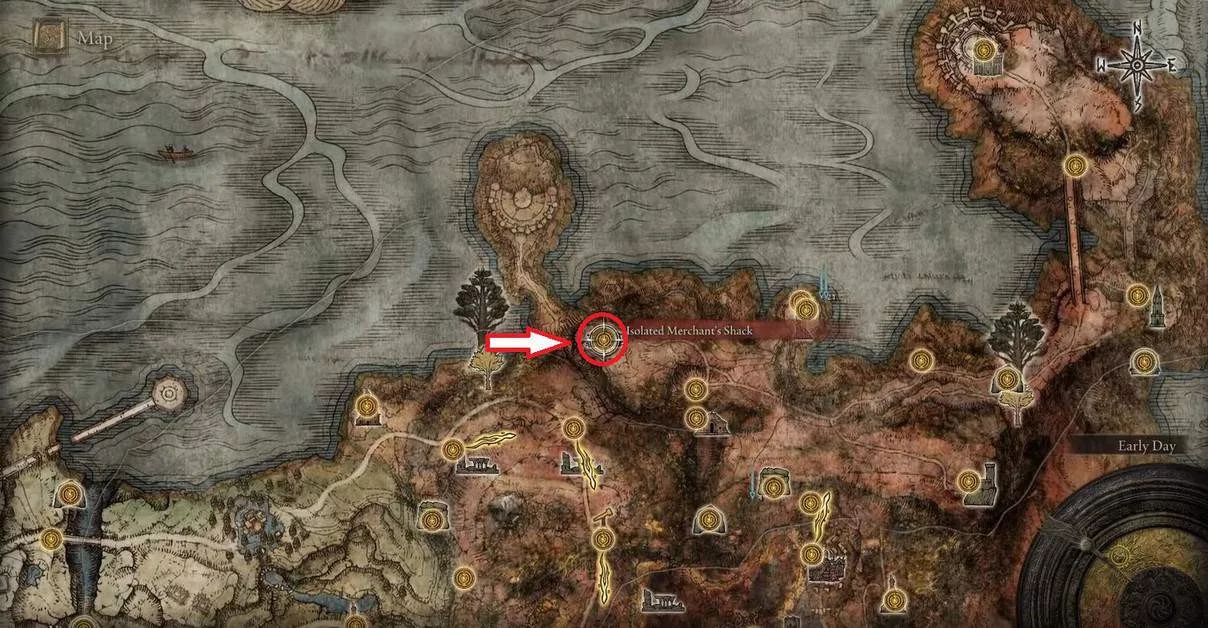
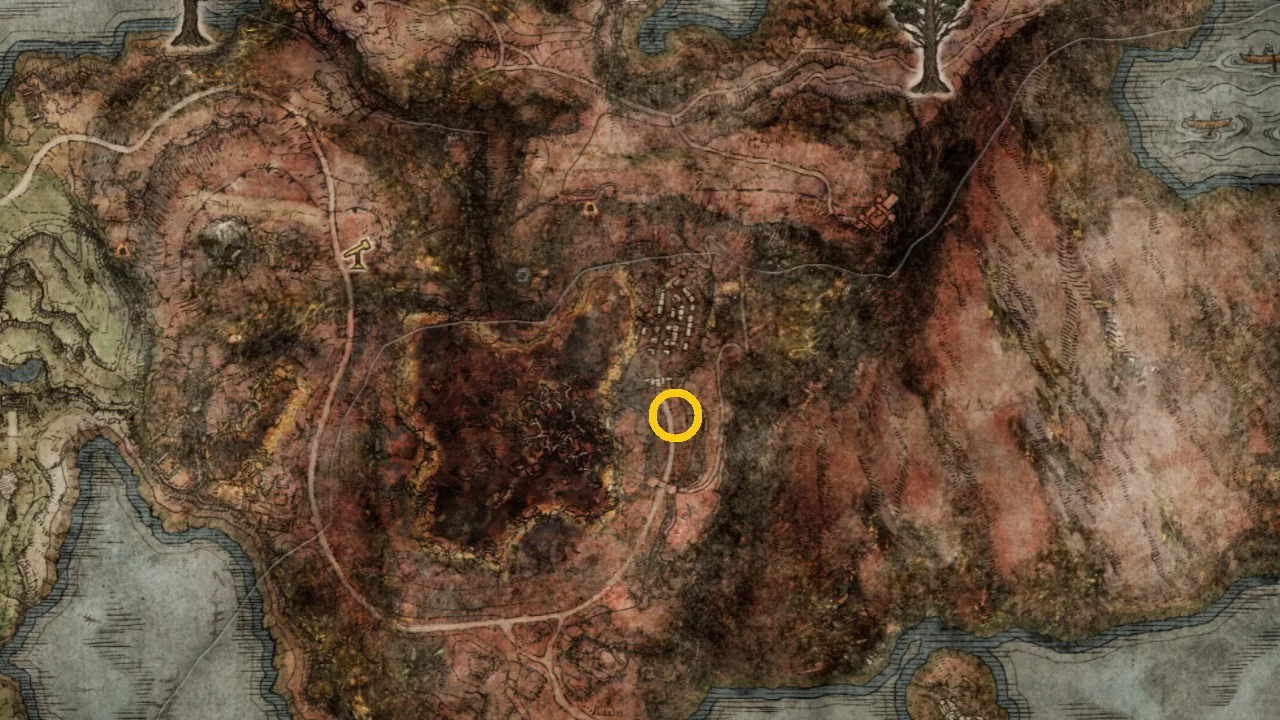
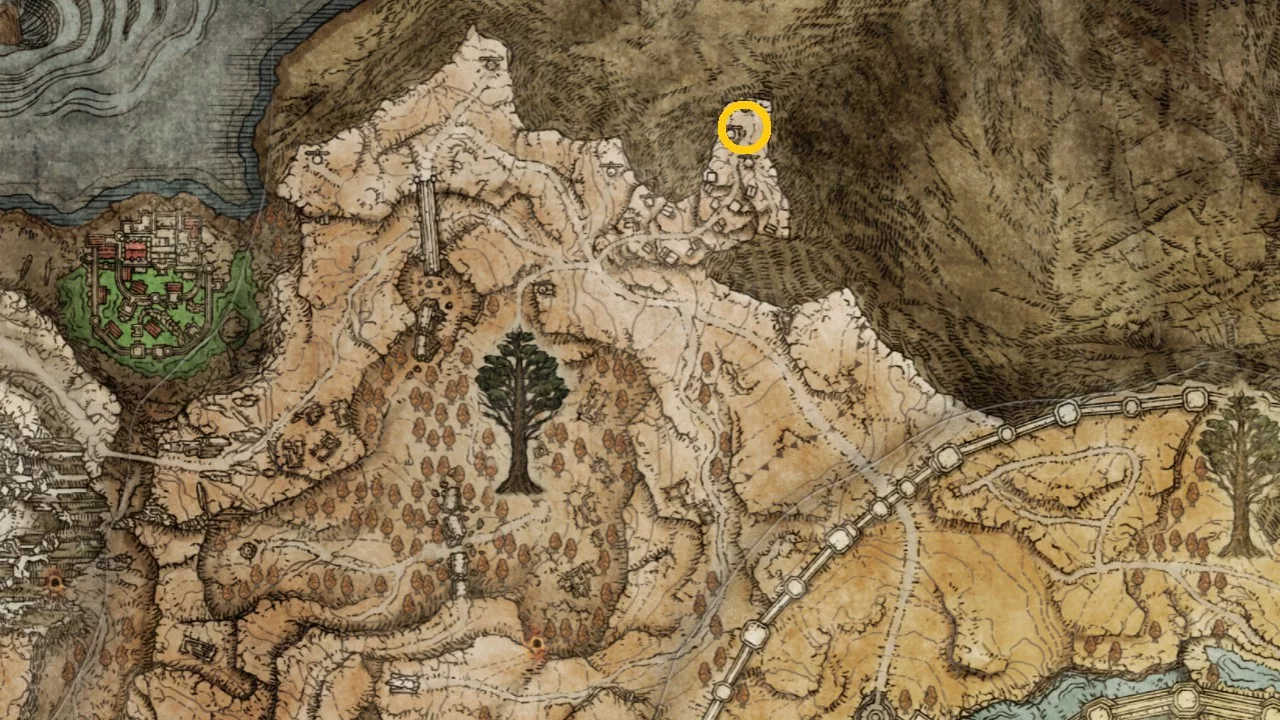
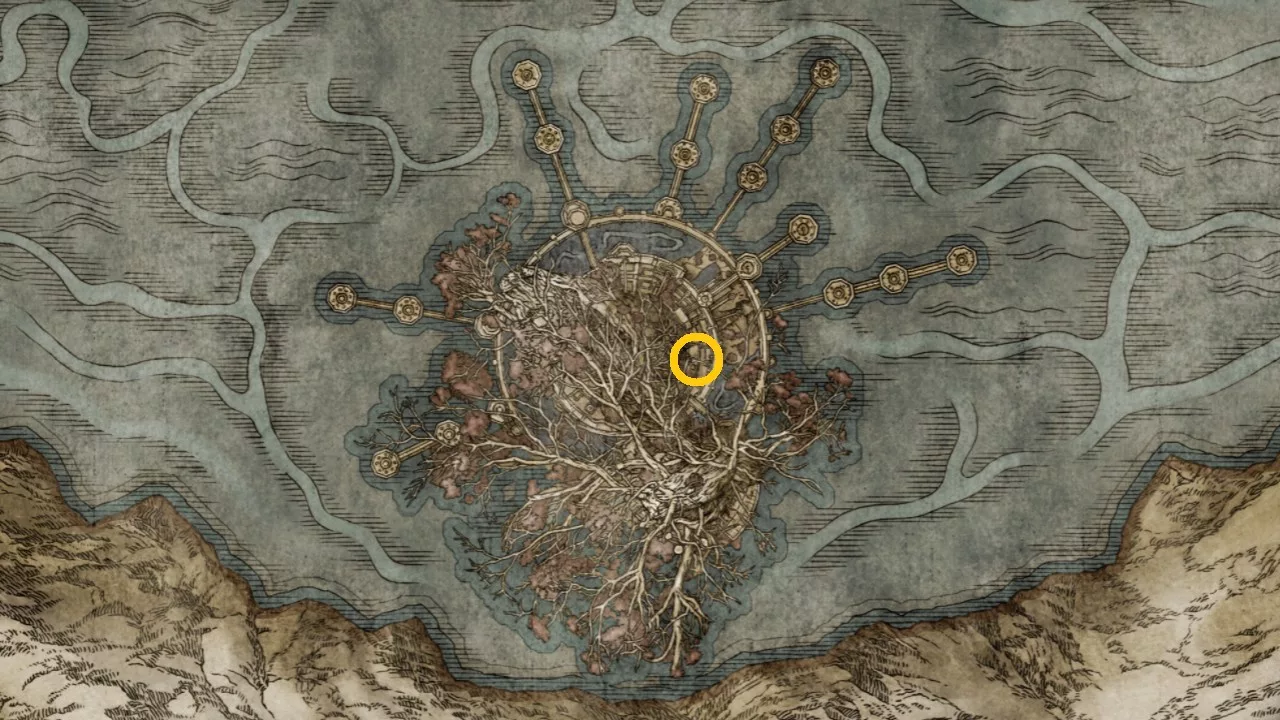
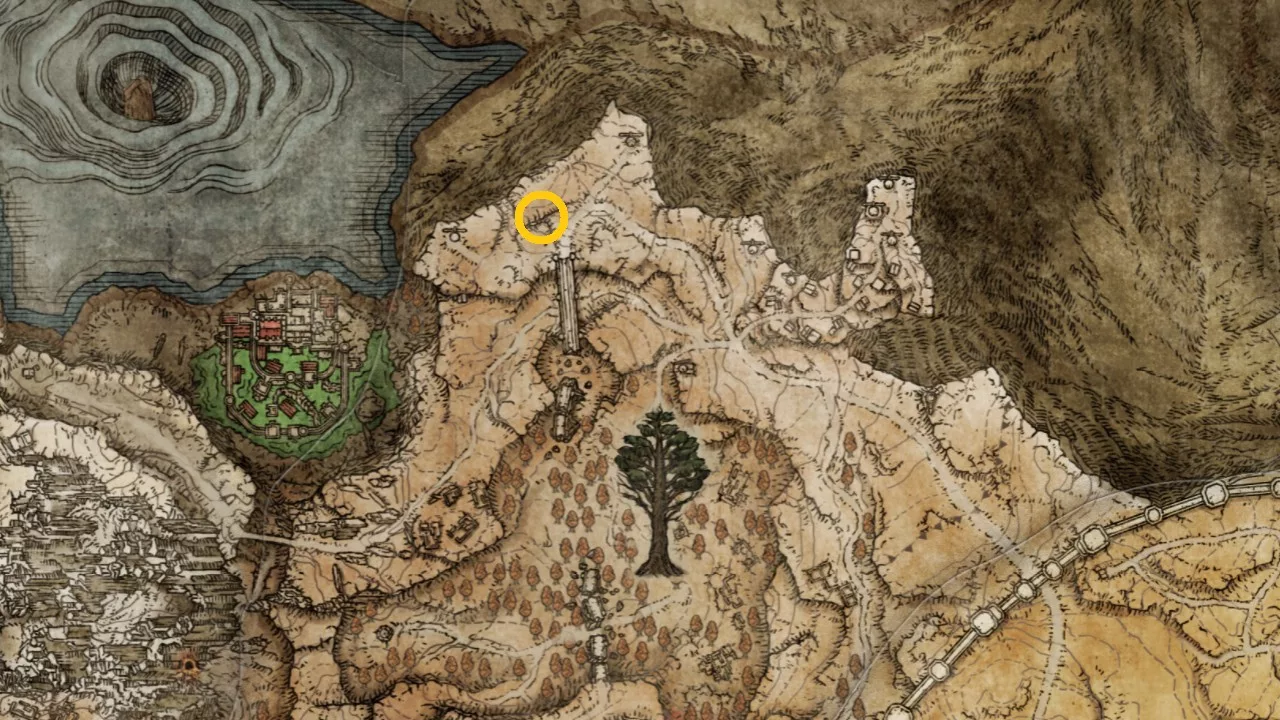
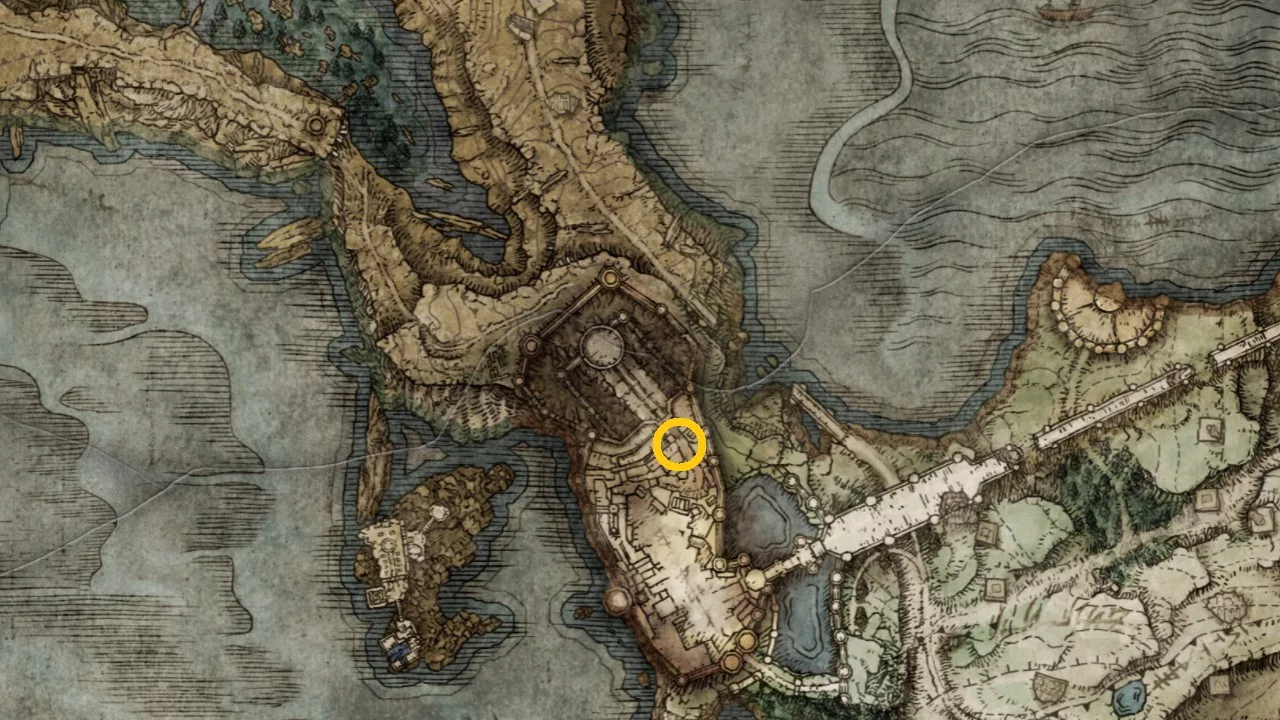
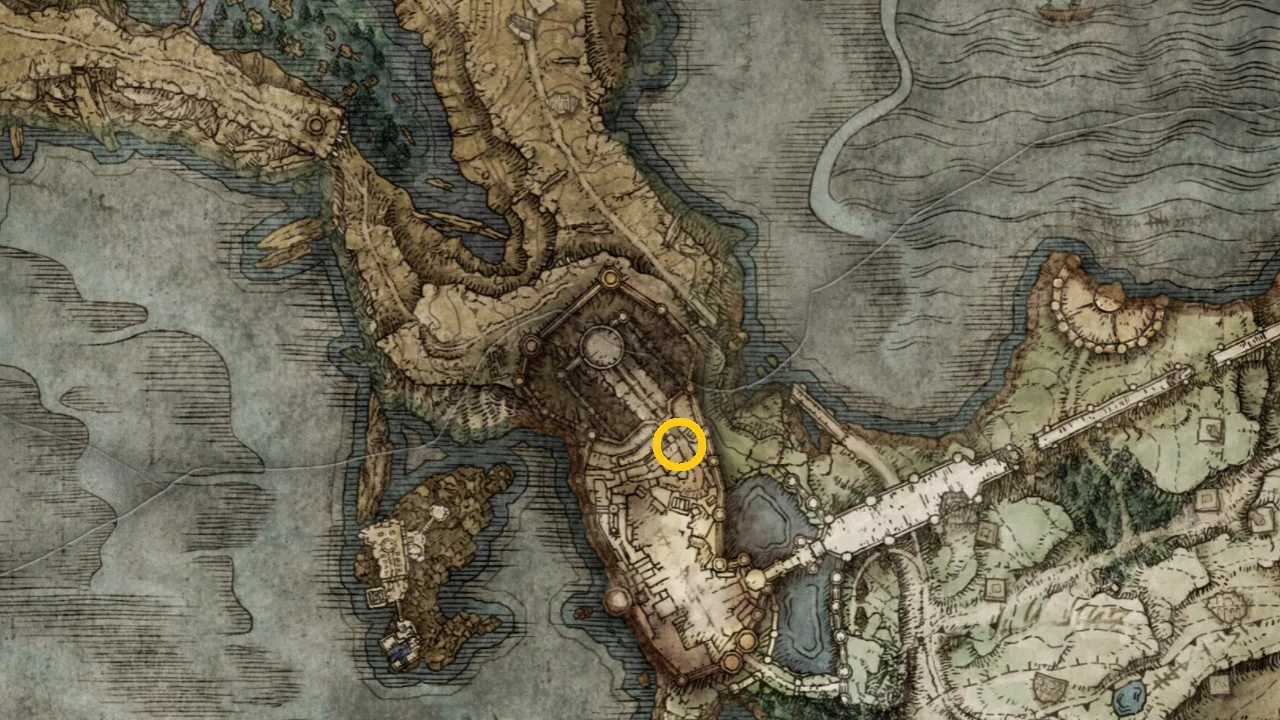
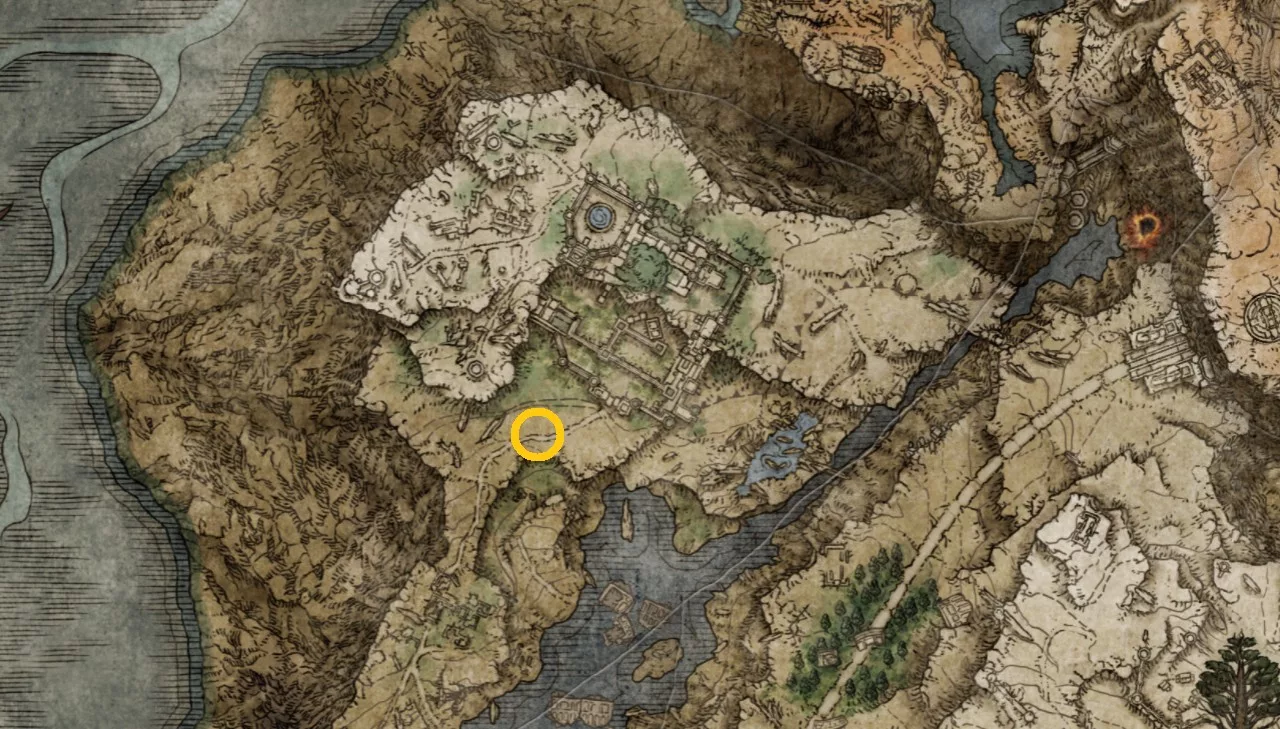
To obtain the Spiked Caestus, make your way to the Isolated Merchant’s Shack situated in the Dragonbarrow area to the north of Caelid.
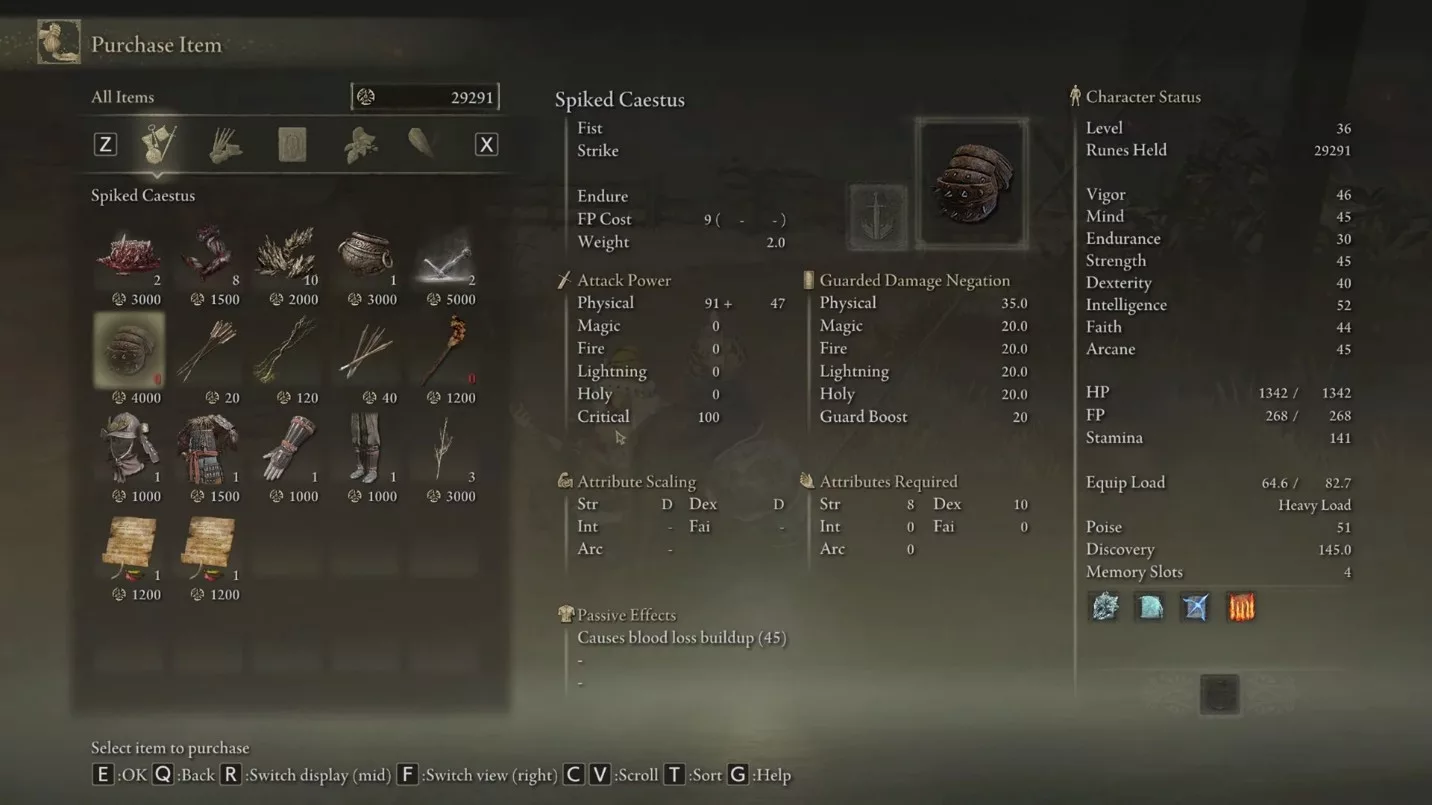
Once you arrive at the location, you’ll find the Isolated Merchant standing outside his shack. Speak with him to buy the Spiked Caestus for 4,000 runes.
Effects of the Spiked Caestus in Elden Ring
The Spiked Caestus scales effectively with both Strength and Dexterity, allowing for impressive damage output, though it is strictly a close-combat weapon. It features the endure ability, which consumes 9 FP to activate and enhances your blocks while increasing damage resistance.
Additionally, the weapon is equipped with spikes that inflict blood loss, giving you an upper hand against adversaries by allowing you to drain substantial health due to its bleeding effect.
The Queen’s Bedchamber is a location in Elden Ring that many players tend to overlook. The challenging boss encounters along the route contribute significantly to the difficulty of reaching the Queen’s Bedchamber.
Depending on which route you choose, the enemies you face will vary. Players will either encounter a version of Godfrey or Sir Gideon Ofnir before reaching the Bedchamber in Elden Ring.
Finding the Queen’s Bedchamber in Elden Ring
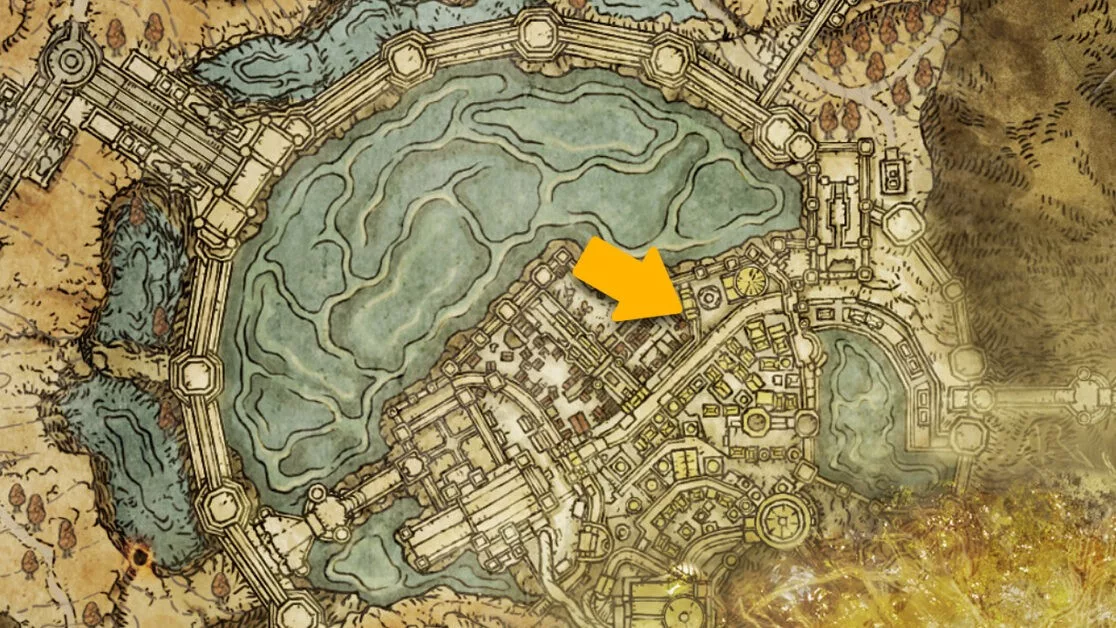
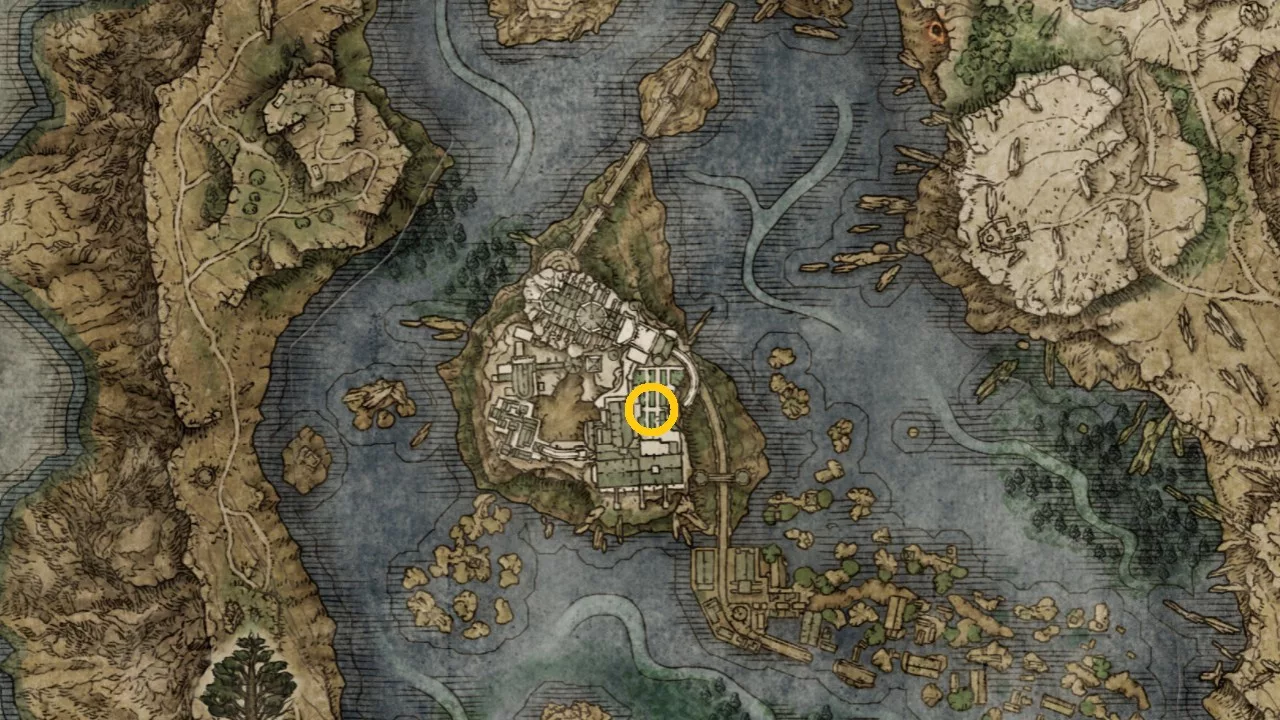
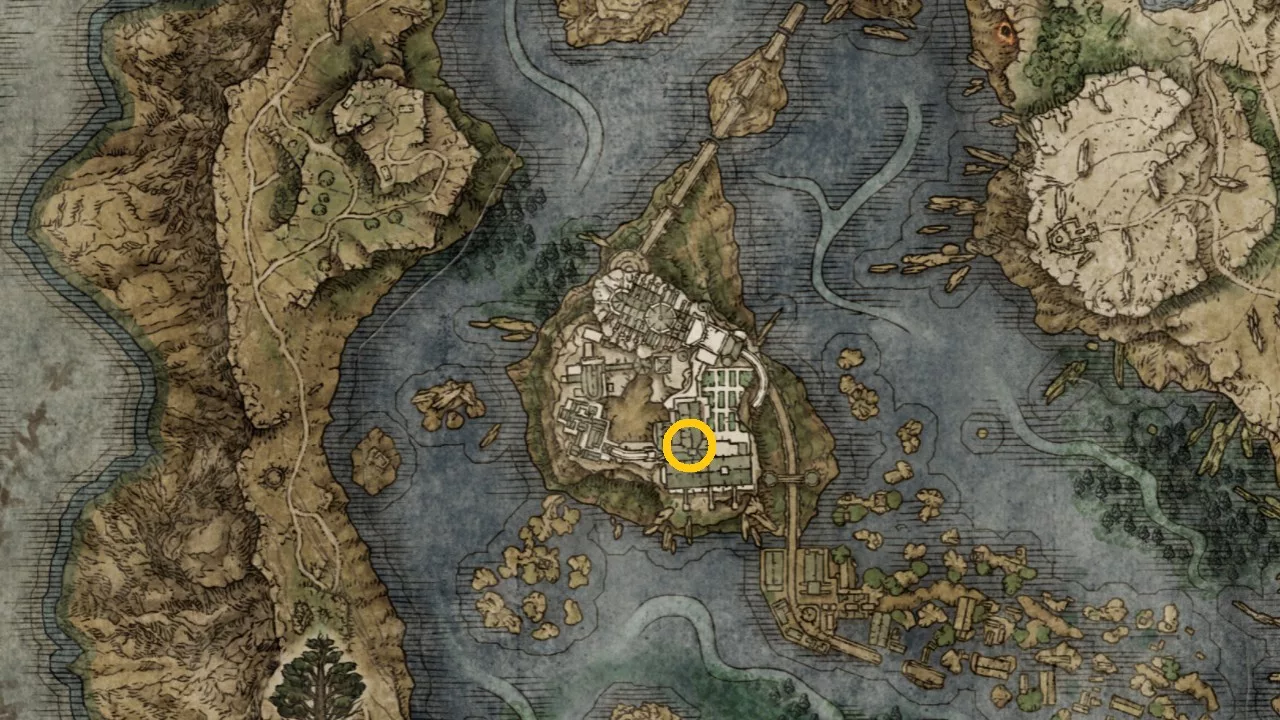
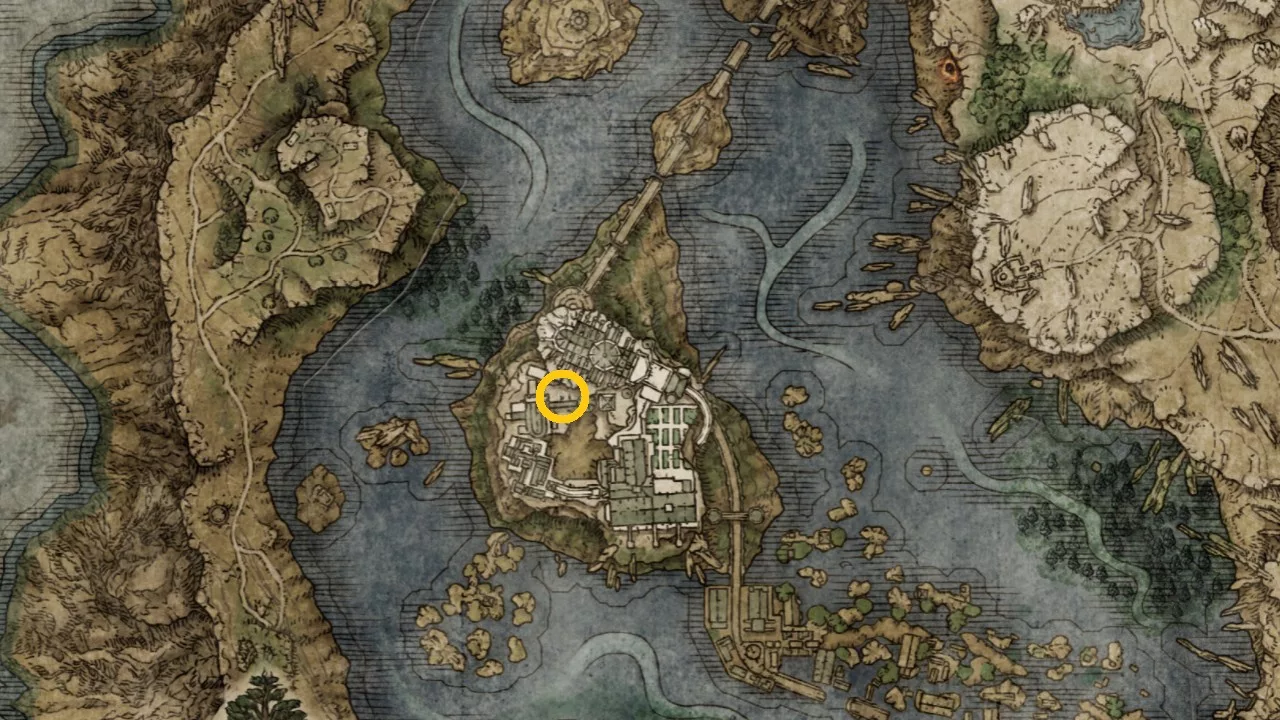
You can find the Queen’s Bedchamber situated within the Leyndell Royal Capital, an area that you might have overlooked during your explorations.
There are no limitations on your return; feel free to come back to the Leyndell Royal Capital and seek out the Queen’s Bedchamber in Elden Ring at your own pace.
1. Approach Via the Avenue Balcony
From the Avenue Balcony, notice a massive grey dragon to your left. Descend the staircase and proceed into the hallway towards the dragon.
Be cautious; there’s an annoying archer guard lurking here. You can either avoid him or sneak close while dodging his arrows to eliminate him quickly.
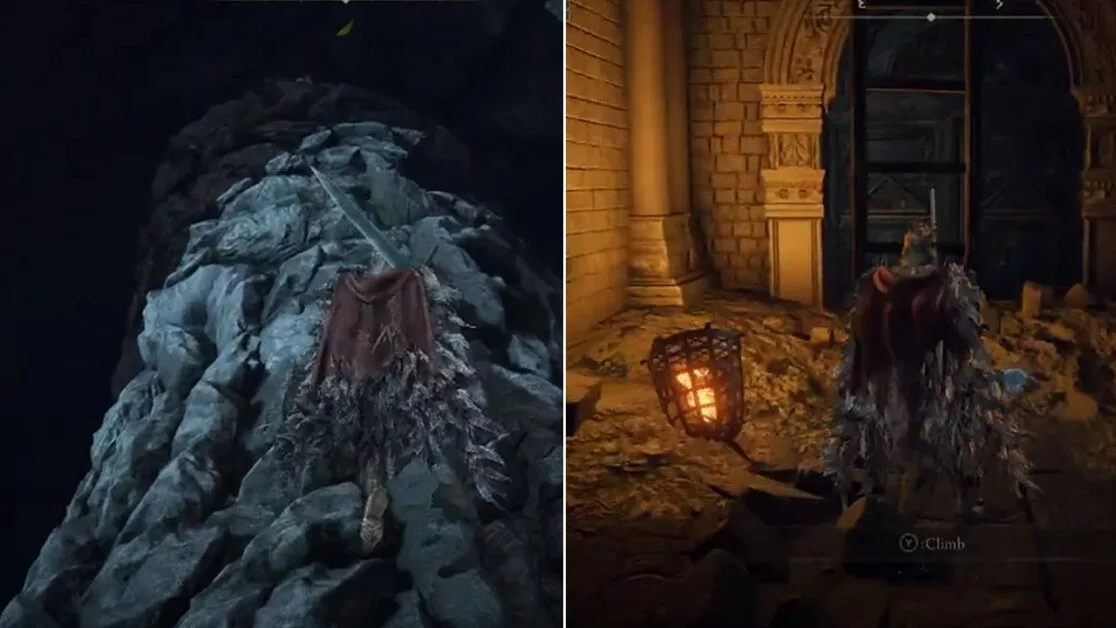
Once you exit the hallway, the dragon’s tail will be visible. Ascend the tail and traverse across it to its wings. Head towards the right wing and spot a broken pathway with a ladder on the right.
Jump onto this pathway; the ladder leads directly to the passage that will take you to the Queen’s Bedchamber in Elden Ring.
Climb the ladder and press forward toward the Queen’s Bedchamber. Continue until you encounter a stairway. There might be enemies along the way, which you can either ignore or choose to engage.
Pursue onward until you spot a large tree branch. Jump onto it and traverse along the branch to arrive at the palace entrance. Here awaits your battle against Godfrey, the first Elden Lord in Elden Ring.
Upon defeating Godfrey, take the path to the right leading to another tree branch. This branch will guide you directly into the bedchamber. Jump onto it to access the balcony. Once there, make your way around to the back to enter the Queen’s Bedchamber in Elden Ring.
Be prepared; upon discovering the Lost Grace in the bedchamber, you’ll be accosted by a Black Knife Assassin. This nimble adversary can be quite a handful, and it may take some time to vanquish this formidable foe in Elden Ring.
2. Approach From Leyndell Ashen Capital
Upon arriving at Leyndell Ashen Capital, you’ll spot a large dragon. Similar to before, approach its tail, climb atop it, and then head to the right wing, where you’ll leap onto the pathway to the left.
Ascend the ladder and proceed as previously described. However, this time, rather than heading toward the large tree branch, you can simply jump to the left side past the broken railing.
Continue up the stairs until you find an elevator leading up to the Queen’s Bedchamber in Elden Ring. But first, you will need to confront Sir Gideon Ofnir, the All-Knowing, before entering.
After defeating him, head towards the right side and follow the large trunk along the same path as before to reach the balcony. From there, take the curved route to navigate your way to the Queen’s Bedchamber in Elden Ring.
Millicent’s questline is among the most comprehensive side stories in Elden Ring, spanning across three distinct areas: Caelid, the Altus Plateau, and the Mountaintop of the Giants.
This guide will walk you through every step needed to finish Millicent’s quest in Elden Ring. You’ll find details on locations, bosses, and items essential for completing this journey. So without any further delay, let’s dive in.
Visit Gowry’s Shack
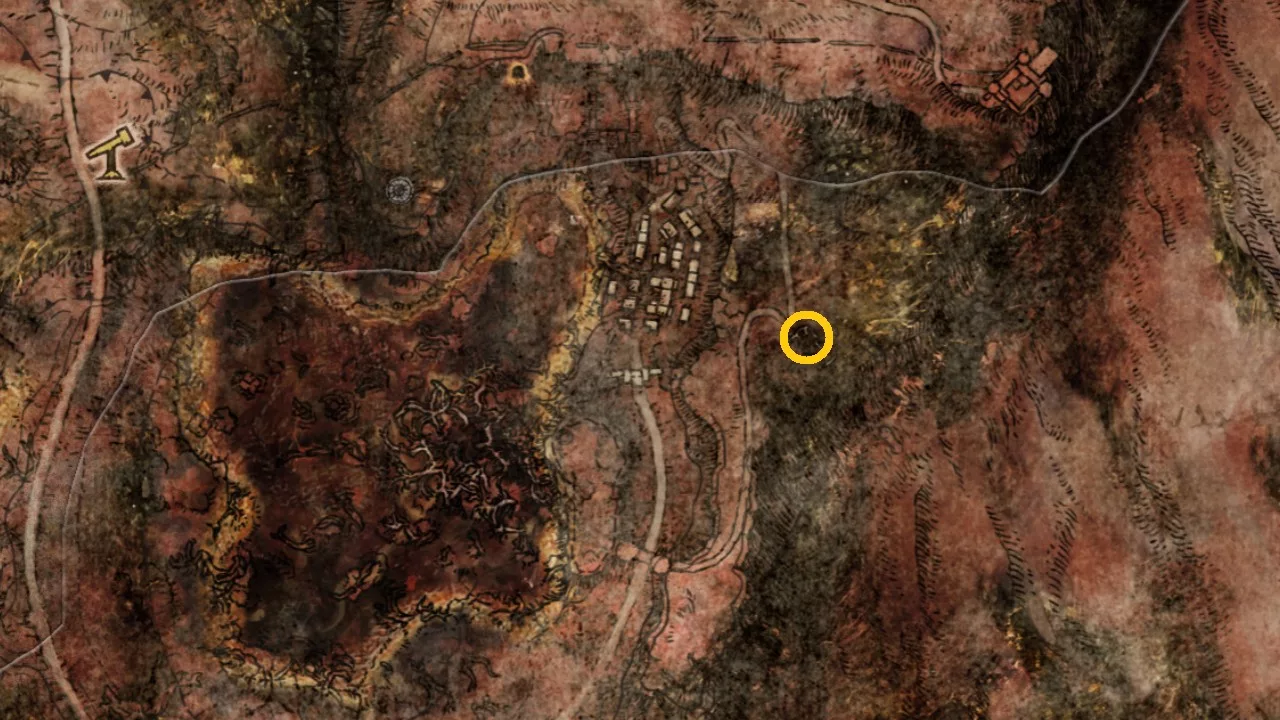
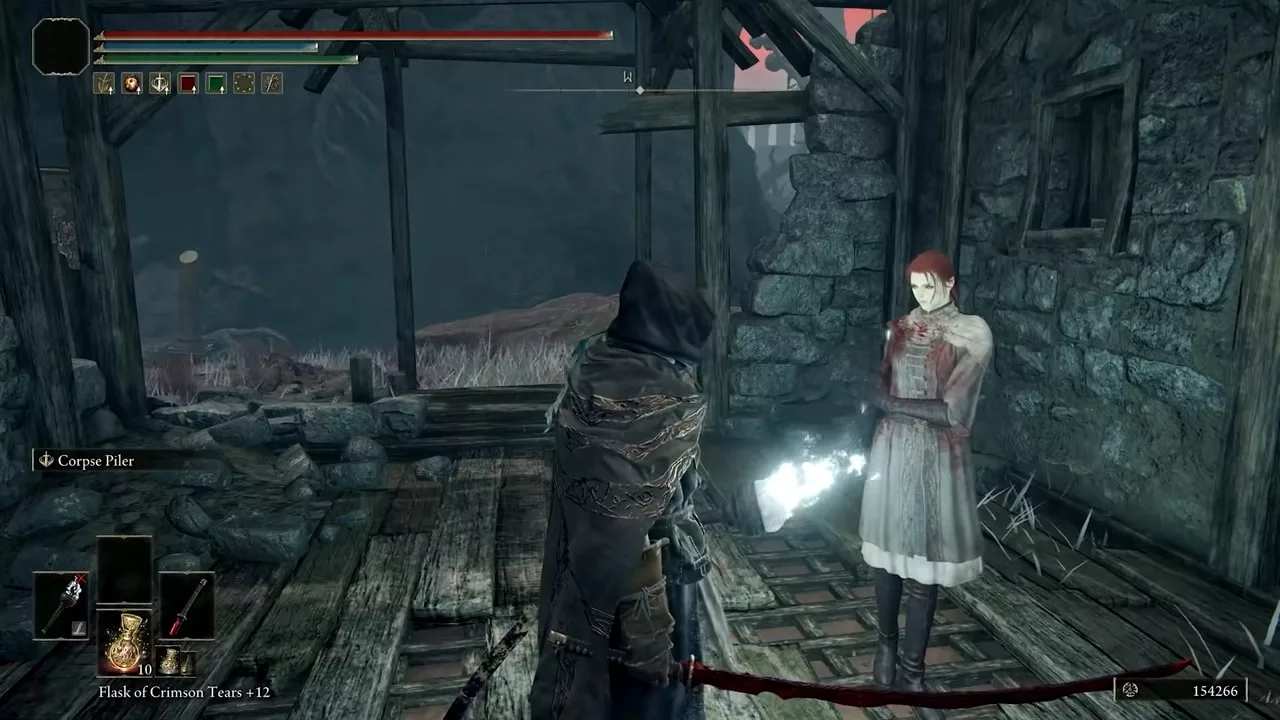
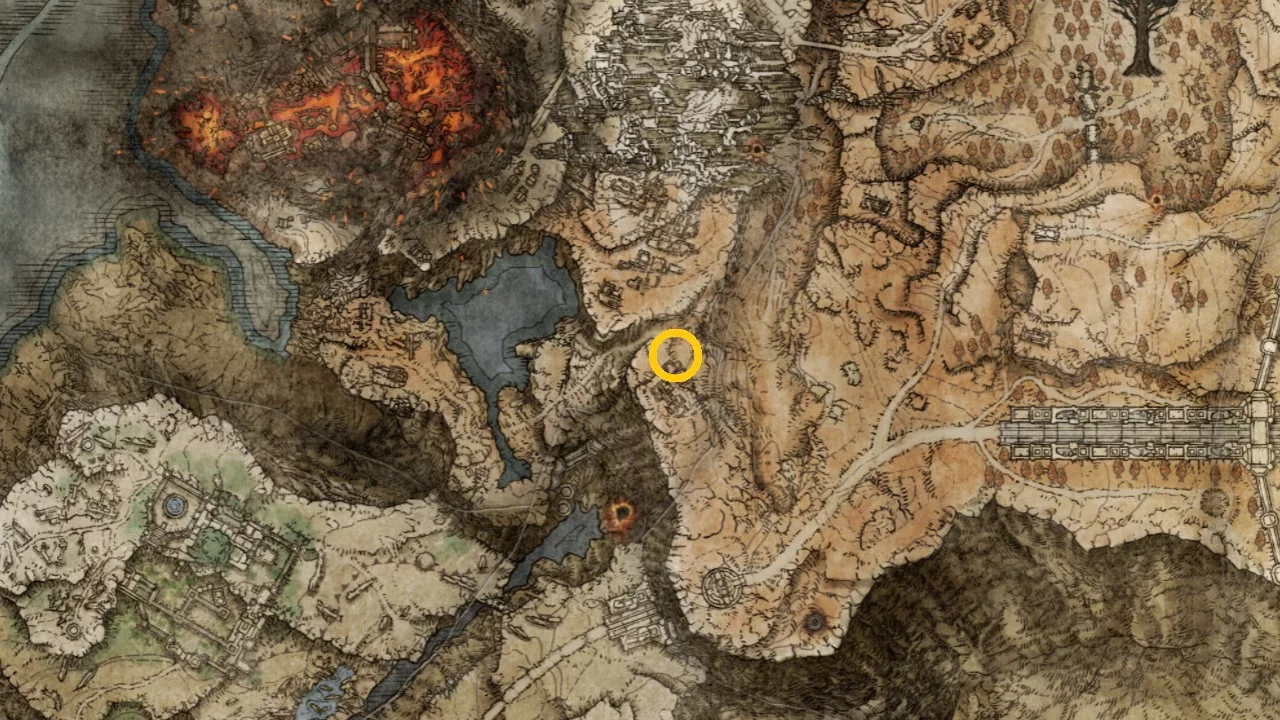
To kick off this questline, head to the southern region of Caelid (specifically the southern part of Sellia) to find Gowry patiently waiting at his shack. Use the route from the Southern Aeonia Swamp Bank Site of Grace, moving southwest, to reach his location.
Speak with him and choose the “Hear the request” option when prompted. Gowry then informs you about Millicent, who rests atop the Church of Plague in Sellia while enduring her debilitating affliction.
Your new mission is to locate the Unalloyed Gold Needle, which may not fully cure her illness but will certainly alleviate her suffering.
Locating the Unalloyed Gold Needle
The Unalloyed Gold Needle is not tucked away in a secret vault; you will need to venture into the Swamp of Aeonia located in Central Caelid to acquire it.
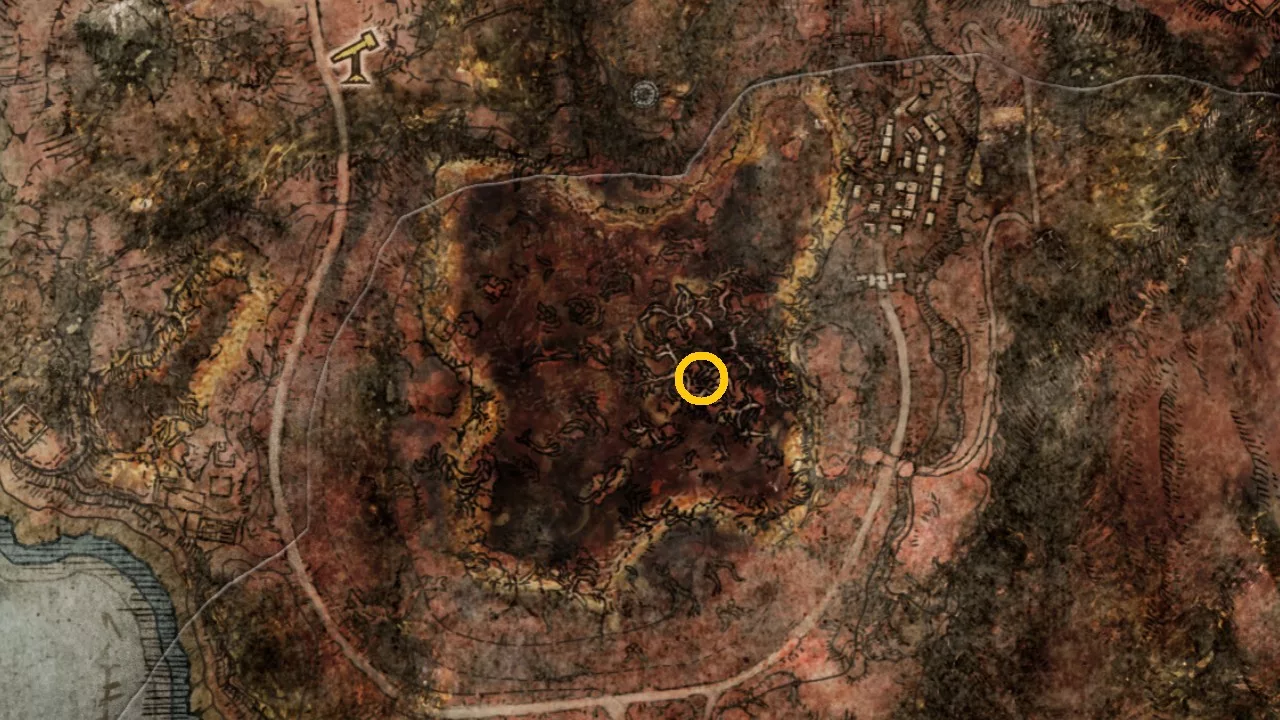
You can find the Unalloyed Gold Needle west of Gowry’s Shack, specifically at the Heart of Aeonia, as marked on the map above. Be prepared to defeat Commander O’Neil, who is a challenging boss guarding this item.
Return to Gowry’s Shack
Now that you have the needle, return to Gowry and hand it over. Then, take a moment to rest at the nearby Site of Grace before speaking to him again. He will provide you with the repaired needle, which you must deliver to Millicent.
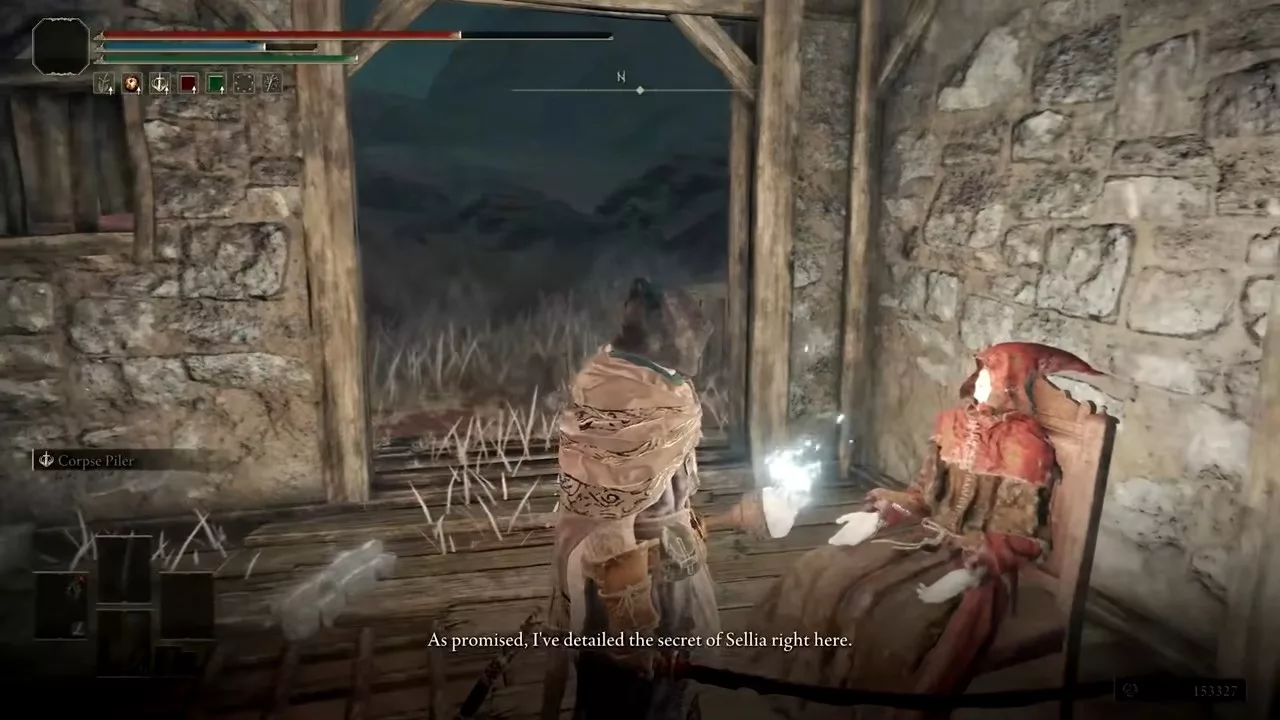
During this second interaction, Gowry will elaborate on the mysteries of Sellia, the sorcery town where the next phase of this quest unfolds, leading you to Millicent at the Church of Plague.
Encounter and Cure Millicent at the Church of Plague
After receiving the Secrets of Sellia from Gowry, make your way to the Church of Plague to meet Millicent and offer her the Unalloyed Gold Needle.
The church is heavily guarded by numerous foes. You can choose to sneak past them or defeat them in order to enter the church, which contains a Site of Grace and a Sacred Tear for your flask.
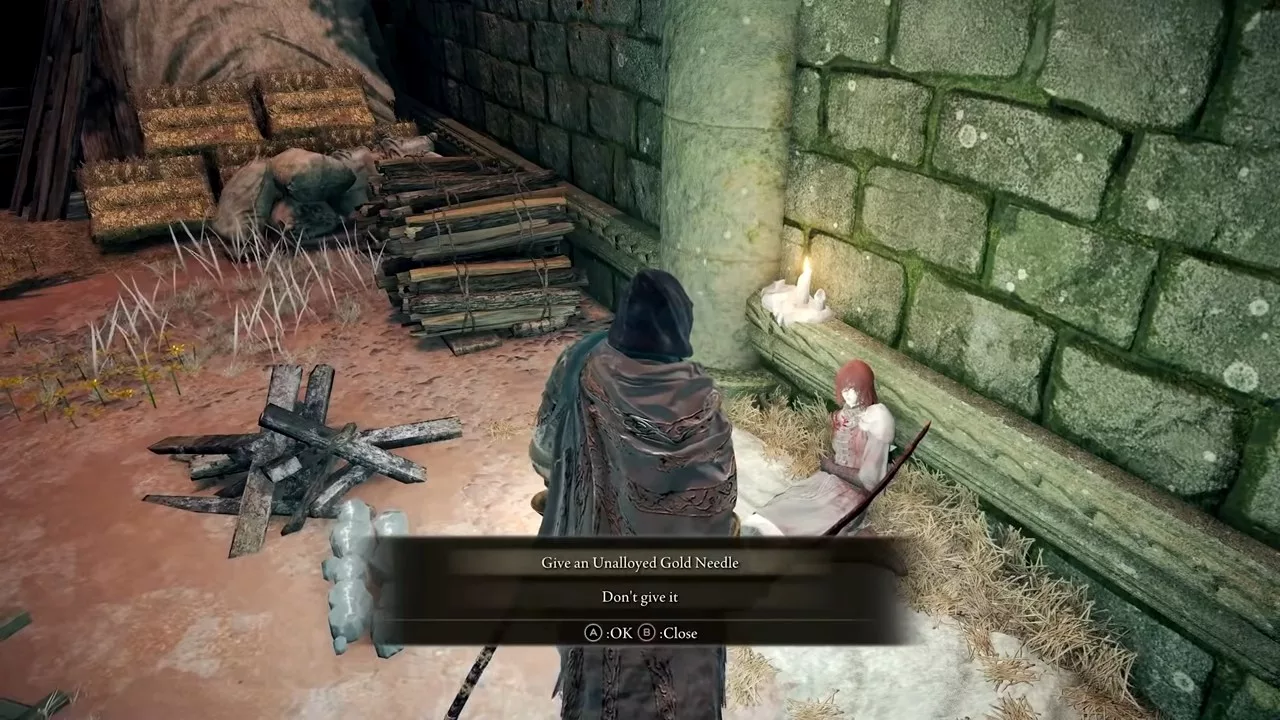
Inside, Millicent is found resting against the western wall. Speak to her, and she will discuss her curse. After concluding your dialogue, a prompt will appear to give her the Needle.
Select “Give the Alloyed Needle” when prompted. After she uses the needle, check back with her later to receive the Prosthesis-Wearer Heirloom talisman.
Head Back to Gowry’s Shack and Chat with Millicent
Once you’ve cured Millicent at the Church of Plague, return to Gowry’s Shack. However, this time you will meet Millicent, who is now exploring the area and recalling her memories.
Once your conversation ends, check back at the shack much later to talk to Gowry. He expresses his gratitude for your efforts in retrieving the needle for Millicent and healing her. You will then have several options: “Study Sorcery,” “Millicent paid a visit,” and “Leave.”
It is advisable to inform Gowry about Millicent in order to progress in the questline. By doing so, Gowry will assign you the task of ensuring Millicent’s safety as she regains her memories, which helps you move forward in the storyline.
Locate Millicent in the Altus Plateau
After your conversation with Gowry, proceed to meet Millicent to the north of the Erdtree-Gazing Hill Site of Grace, situated near a cliff.
Speak with her as she shares her memories coming back. The first name mentioned is Malenia; she expresses her desire to find her. To continue the quest, you must retrieve Valkyrie’s Prosthesis for her.
Where to Find Valkyrie’s Prosthesis
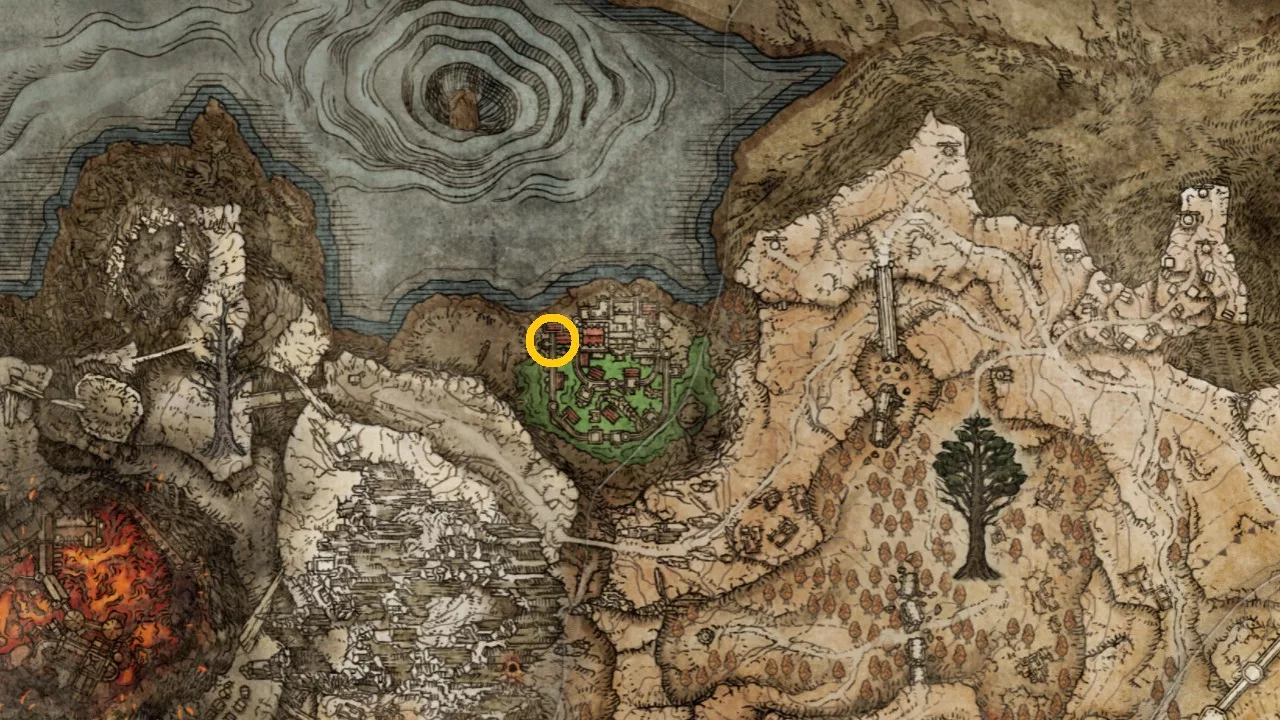
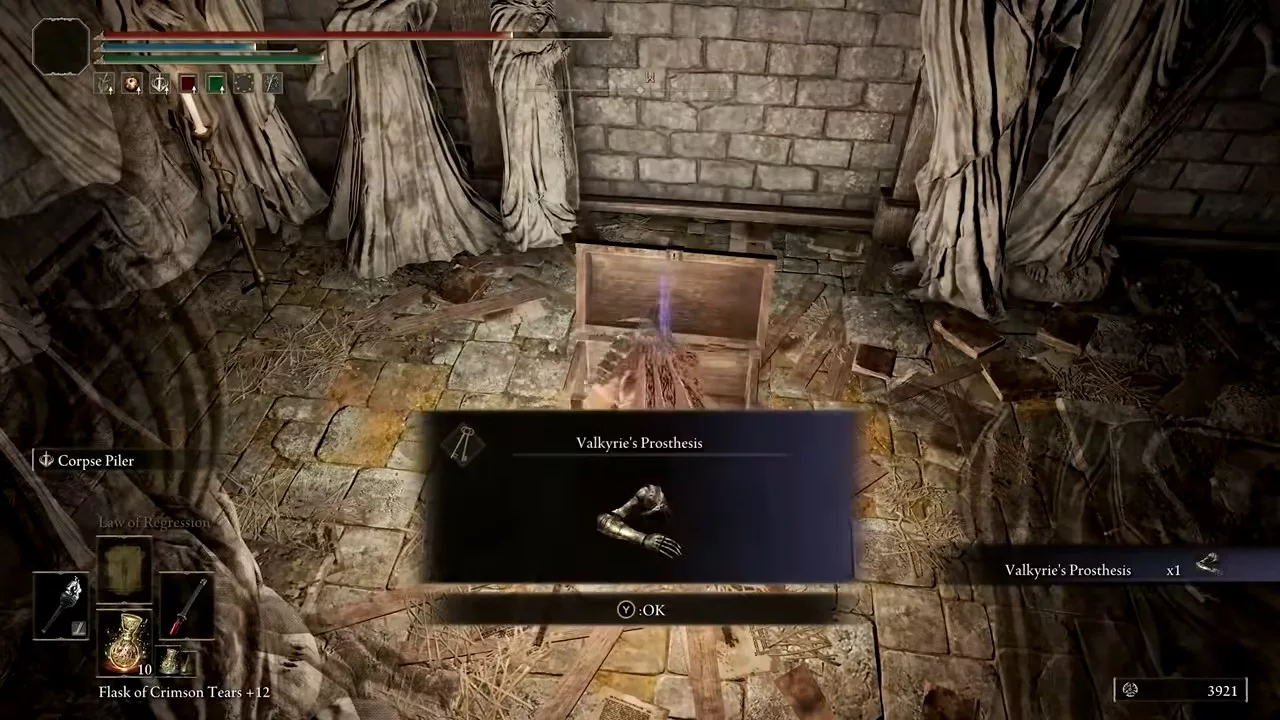
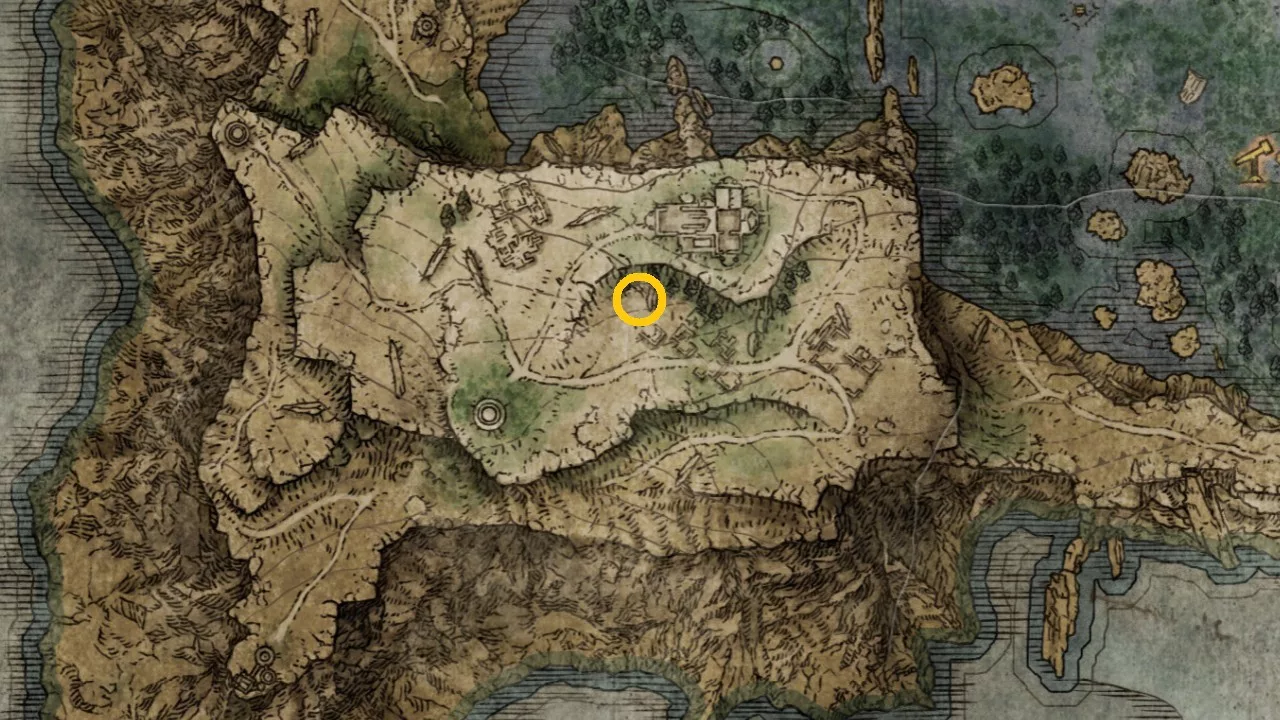
Once you’ve talked to Millicent at Erdtree-Gazing Hill, head to the Shaded Castle in the northern Altus Plateau to find Valkyrie’s Prosthesis. The precise location is shown on the map above.
The prosthesis can be found inside a room protected by a Cleanout Knight. After retrieving it, head back to Millicent and present her with the prosthesis. Make sure to exhaust the dialogue with her to successfully conclude this section of the quest.
Defeat Godskin Apostle at Windmill Village
After handing Valkyrie’s Prosthesis to Millicent, proceed towards the Windmill Village, located along the northern road of the area. Explore until you encounter the local leader, Godskin Apostle.
Once found, engage him near the wind turbines. After defeating this boss, rest in the area to prompt Millicent’s appearance. Speak to her when she arrives, and she will express her gratitude for the prosthesis. As a token of appreciation, she offers to assist you in a battle.
Locate Millicent at the Mountaintop of Giants
The next chapter of Millicent’s questline occurs at the Mountaintop of Giants in Elden Ring. You will find Millicent at the Ancient Snow Valley Ruins Site of Grace. Upon arrival, speak with her as she reveals the existence of a Medallion that provides access to Haligtree, where she believes Malenia can be found. This medallion is comprised of two halves, and both are required to continue your quest.
Locating Haligtree Secret Medallion Halves
To proceed with the quest, you must find both halves of the Haligtree Secret Medallion.
Left Half of Haligtree Secret Medallion
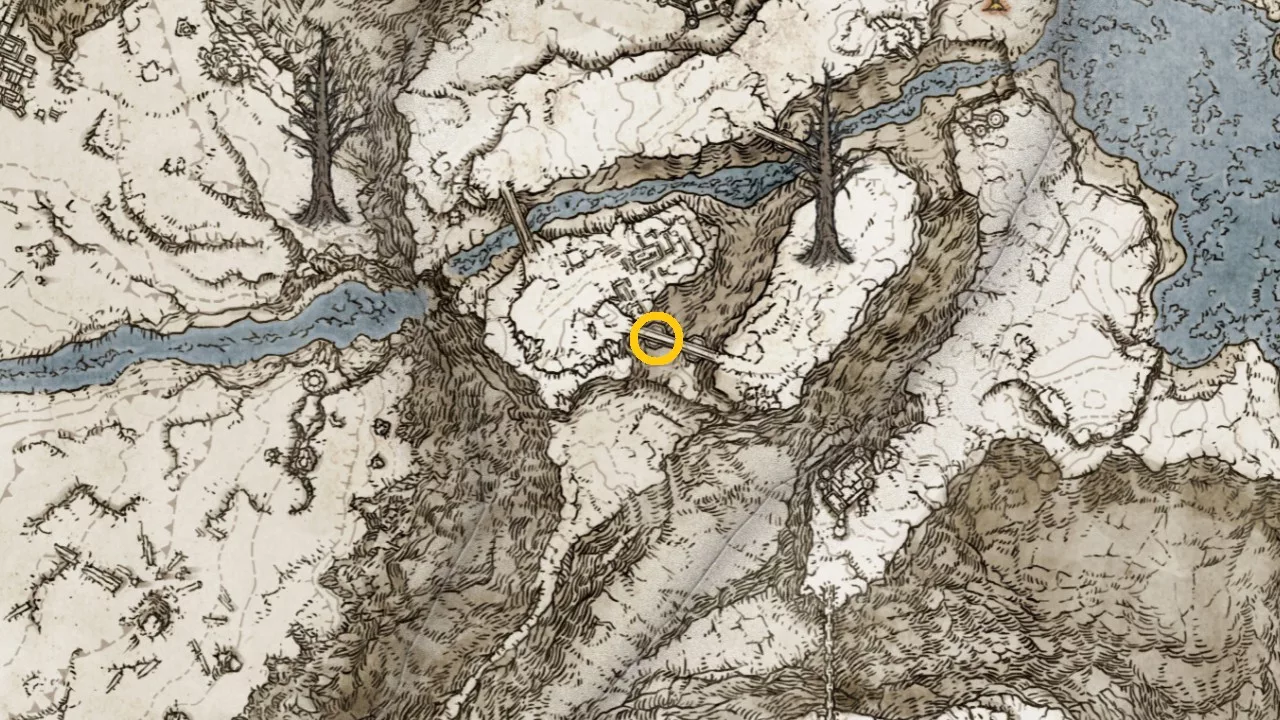
The left half of the medallion can be located within Castle Sol. Travel to the northern section of the map and take down Commander Niall. Afterward, head to the location marked on the map above to retrieve it.
Right Half of Haligtree Medallion
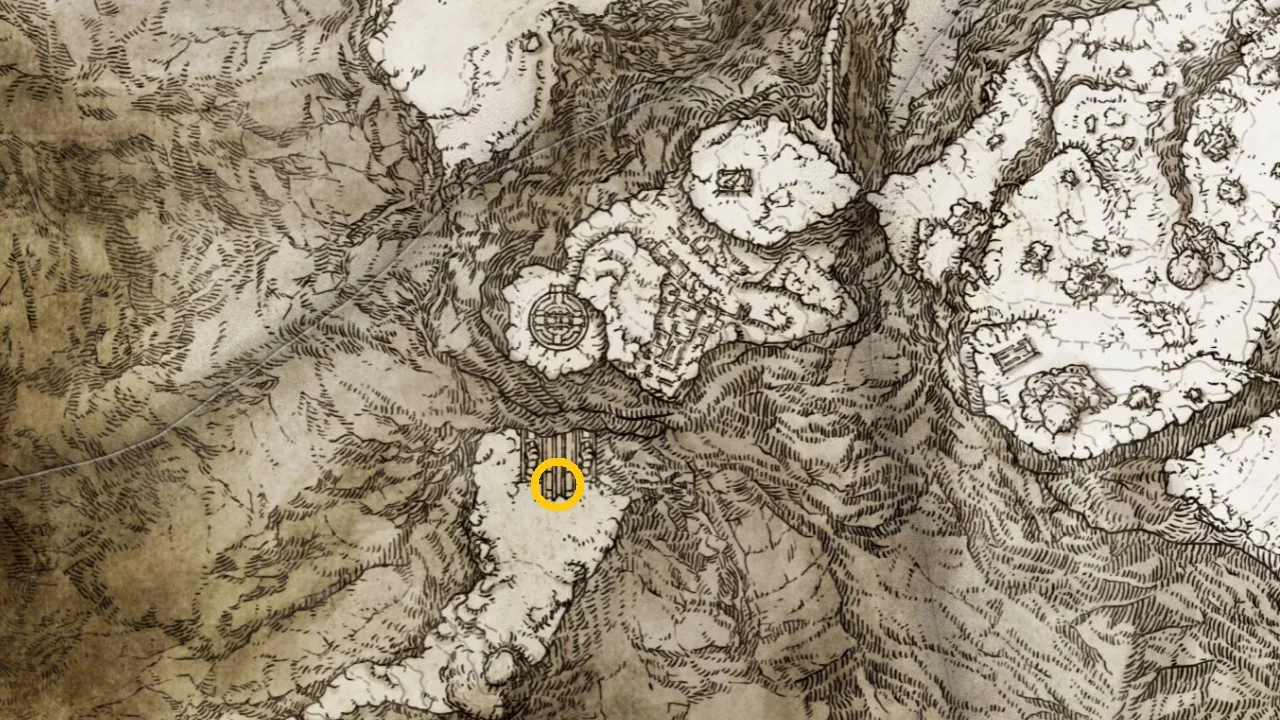
The right half of the Haligtree medallion is found in the Village of the Albinaurics, beneath the cliffs surrounding the Cathedral of Manus Sellus. Make your way to the rear of the village and speak with a character named Albus, from whom you will receive the right half of the Haligtree medallion.
Reach Miquella’s Haligtree and Speak with Millicent
After acquiring both halves of the Haligtree Medallion, use fast travel to the Grand Lift of Rold located in the Forbidden Lands. Choose the Hoist Secret Medallion option in front of the lift, initiating a cutscene.
Upon entry, you will unlock the hidden path to Haligtree, but lighting four flames in Ordina, Liturgical Town, is a prerequisite for entering Haligtree. Locate the evergaol in Ordina and find four statues holding candles throughout the area.
Three flames can be found in the watchtowers: one on the right and two on the left. The fourth statue is at ground level. Once all four flames have been ignited, ascend the staircase in Ordina to reach Miquella’s Haligtree.
Upon arrival at Miquella’s Haligtree, navigate downwards, facing various giant ants and Albinaurics. Continue to press forward until you encounter Loretta, Knight of the Haligtree, boss. Afterward, proceed to the Player Room in Haligtree to find Millicent. Speak with her as she discusses Malenia to complete this part of the quest.
Defeat the Ulcerated Tree Spirit Boss
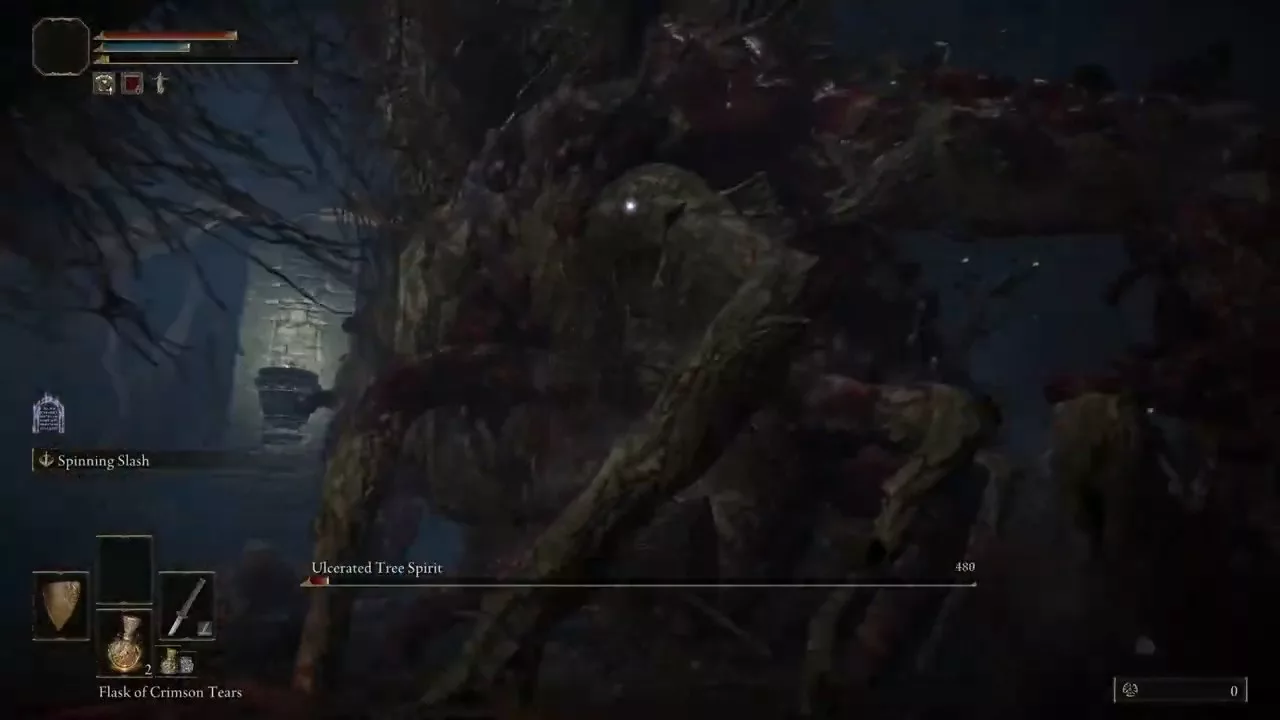
As you explore Miquella, you will encounter the Drainage Channel Site of Grace past the inner wall. This will lead you to the Ulcerated Tree Spirit Boss. Eliminate this boss, and then rest at a site of grace to prepare for the final stages of the questline.
Millicent Quest Choice
The concluding step of this chapter requires you to make a choice. Head back to the Drainage Channel Site of Grace where you’ll encounter two options.
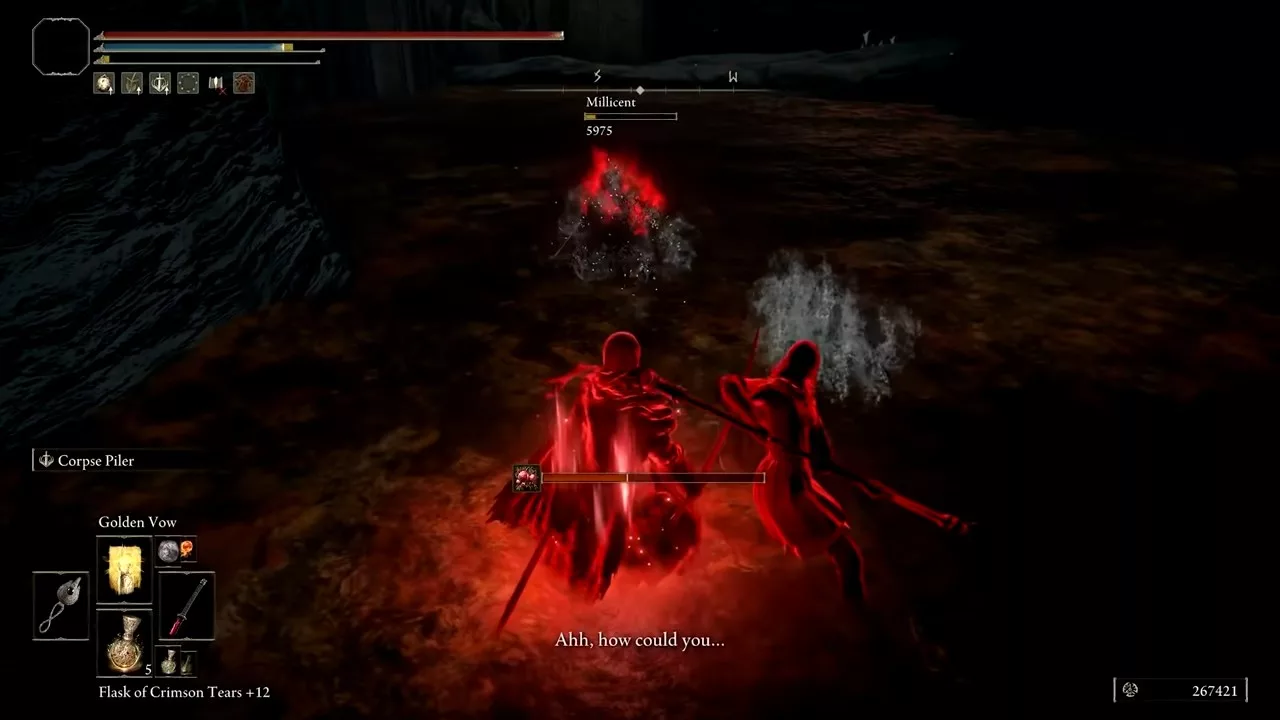
You can either opt for the yellow sign to fight alongside Millicent against enemies, leading you to receive the Rotten Winged Sword Insignia talisman, which boosts attack power. Alternatively, choosing the red sign will pit you against Millicent, rewarding you with Millicent’s Prosthesis.
Finding Miquella’s Needle and Defeating Malenia
The final task in Millicent’s questline involves heading to the Haligtree Roots and engaging in a boss battle against Malenia. This fight consists of two phases, and you can find detailed strategies in our Elden Ring Malenia Boss guide.
After you successfully defeat Malenia, return to the area to use the Unalloyed Gold Needle. Finally, head back to Gowry to wrap up the questline.
You can obtain Miquella’s Needle after completing all parts of Millicent’s questline. Simply utilize the Gold Needle on a scarlet blossom located in her boss chamber to receive Miquella’s Needle as your reward.
Using Miquella’s Needle to Reverse the Frenzied Flame Ending
To undo the Frenzied Flame Ending with Miquella’s Needle, simply head to the area of Dragonlord Placidusax and engage in a boss fight. You can choose to use the Needle either before or after defeating Dragonlord Placidusax.
Once cured, your eyes will revert to their original color, and you will be unable to make another pact with the Three Fingers, thus concluding the Millicent questline in Elden Ring.
Scarlet Rot and Poison are among the most frustrating and lethal status ailments in Elden Ring, and one of the best strategies to eliminate them is by utilizing the Flame Cleanse Me Spell.
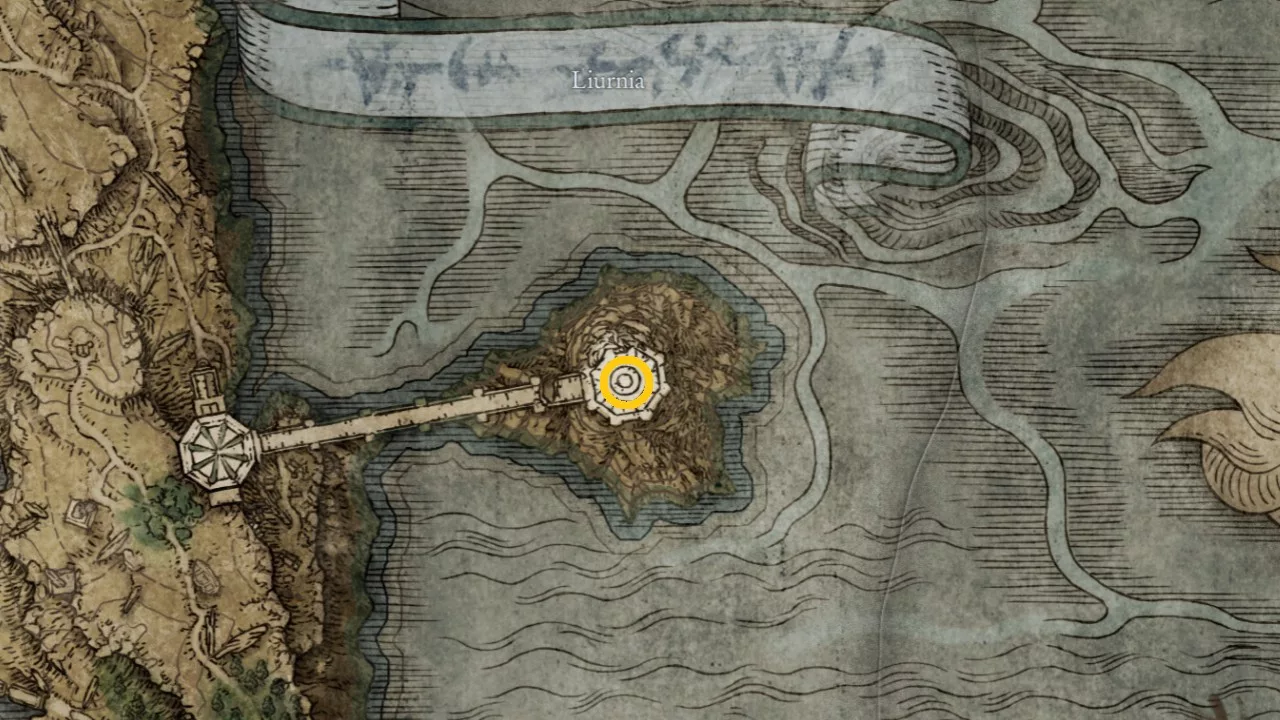
You can discover this incantation at the Fire Monk Camp, situated in the Liurnia region. To cast it, you need a minimum of 12 Faith and a Seal equipped. Each use will cost you 14 FP.
Flame, Cleanse Me Location in Elden Ring
You can find the Flame Cleanse Me incantation at the Fire Monk Camp in Elden Ring. Navigate northwest from the Artist’s Shack or southwest from the Eastern Tableland in the Liurnia region.
The Fire Monk Camp is positioned at the southeastern edge of the Church of Vows. Start from the nearest Site of Grace, and once you reach the camp, look for some red tents at this specified location.
Be aware that the enemies in this area will protect the corpse containing the spell you seek, so proceed with caution. There are numerous foes around, so tackle them one at a time to avoid being overwhelmed.
After defeating the enemies, search the camp, and to the right of the fire, you’ll find the Flame Cleanse Me Incantation on a lifeless body. To equip this incantation, you must visit a Site of Grace to memorize your spells.
How to Use Flame, Cleanse Me in Elden Ring?
To use Flame, Cleanse Me in Elden Ring, you will first need 12 Faith. The Finger Seal is the most suitable seal for this incantation. Equip the seal in either hand, and then use that hand to cast the incantation by pressing the appropriate attack button.
This incantation is essential for traversing areas like the Lake of Rot, where a single mistake could result in severe Scarlet Rot buildup.
It’s important to note that using Flame, Cleanse Me will inflict Fire damage on you. The flames enable you to cleanse negative status effects in the game. You might want to acquire some Fire-resistant gear or cast Flame, Protect Me to reduce the Fire damage you take.
Flame, Cleanse Me Not Working
Many players encounter issues where this incantation fails to work even after they’ve acquired it and met all the necessary requirements. The solution is to ensure you have a seal equipped, as it functions like a weapon. The Flame Cleanse Me Incantation will only activate with a seal, not with a staff or any other weapons. Make sure to equip it in either hand and use that hand to cast the incantations for the seal to work correctly.
The Intelligence attribute is crucial for wielding a specific type of magic known as Sorceries in Elden Ring. In contrast to other attributes, it also enhances your defenses against magic attacks. You can improve your Intelligence by spending Runes at any Site of Grace and leveling up.
To further enhance your Intelligence, you will require certain items like the various Glintstone Crowns, Greathood, Godrick’s Great Rune, among others in Elden Ring.
1. Marika’s Scarseal
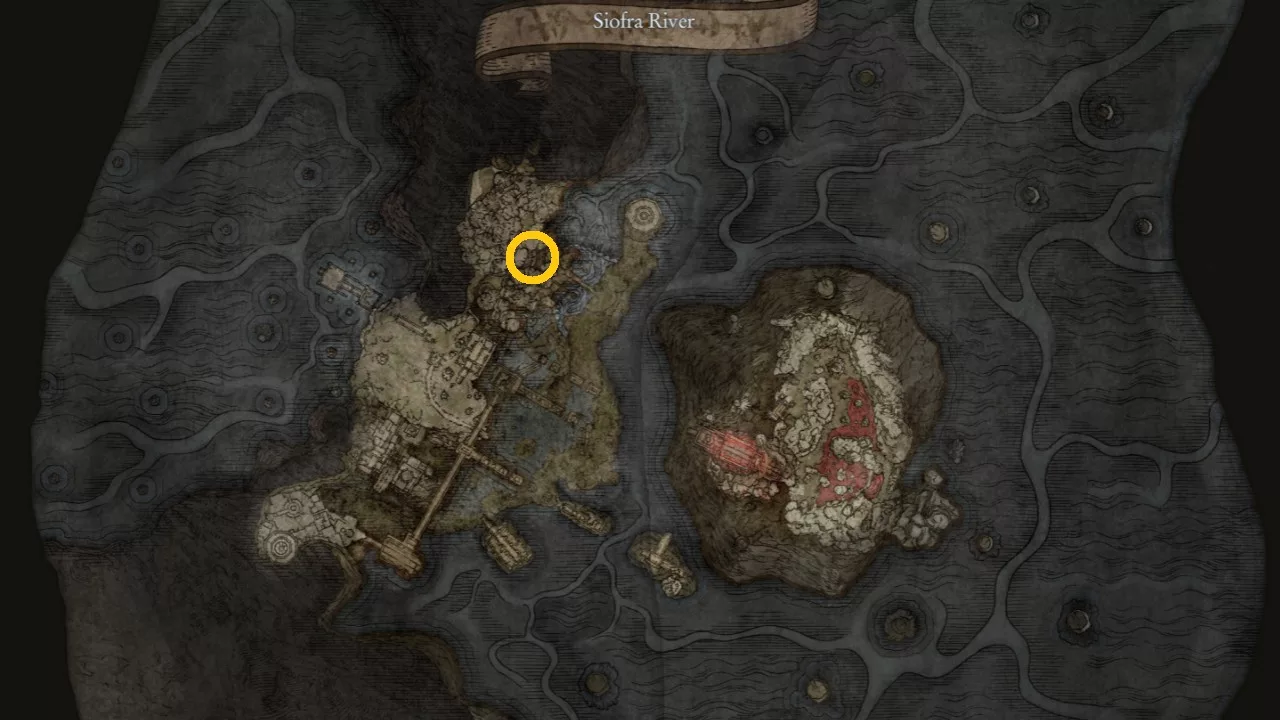
Location: This item is located in the Siofra River, concealed behind the waterfall near where you defeat the Dragonkin Soldier.
Marika’s Scarseal boosts your Intelligence, Mind, Arcane, and Faith by +3 each. However, equipping this Talisman also increases damage taken by 10%.
2. Marika’s Soreseal
Location: You can find it inside a sealed room in Elphael, Brace of the Haligtree (Legacy Dungeon). To access this area, you need a Stonsword Key.
Marika’s Soreseal is a Talisman that can be quite challenging to obtain compared to others. It enhances Intelligence by +5, while also boosting Faith, Arcane, and Mind by +5 each. However, similar to Marika’s Scarseal, it increases damage taken by 15%, making you more susceptible to harm.
3. Stargazer Heirloom
Location: The Stargazer Heirloom is found on a corpse at the top of the Divine Tower of Liurnia.
Stargazer Heirloom is a Talisman that solely increases your Intelligence, setting it apart from others.
4. Olivinus Glintstone Crown
Location: To acquire this armor piece, travel to Raya Lucaria Academy using the nearest Site of Grace (Schoolhouse Classroom).
Olivinus Glintstone Crown is a helm that belongs to the Raya Lucaria Sorcerer set. Equipping this helm boosts your Intelligence by +3 but reduces your HP by 10%.
5. Karolos Glintstone Crown
Location: To equip this item, you will need to defeat some crabs located in the courtyard of the Raya Lucaria Academy.
Karolos Glintstone Crown is part of the Raya Lucaria Sorcerer armor set. Wearing this helm will enhance your Intelligence by +3 but will reduce your stamina by 9%.
6. Twinsage Glintstone Crown
Location: To obtain this helm, you must defeat a crystal crab situated on the rooftop of the Raya Lucaria Academy and claim it as a drop.
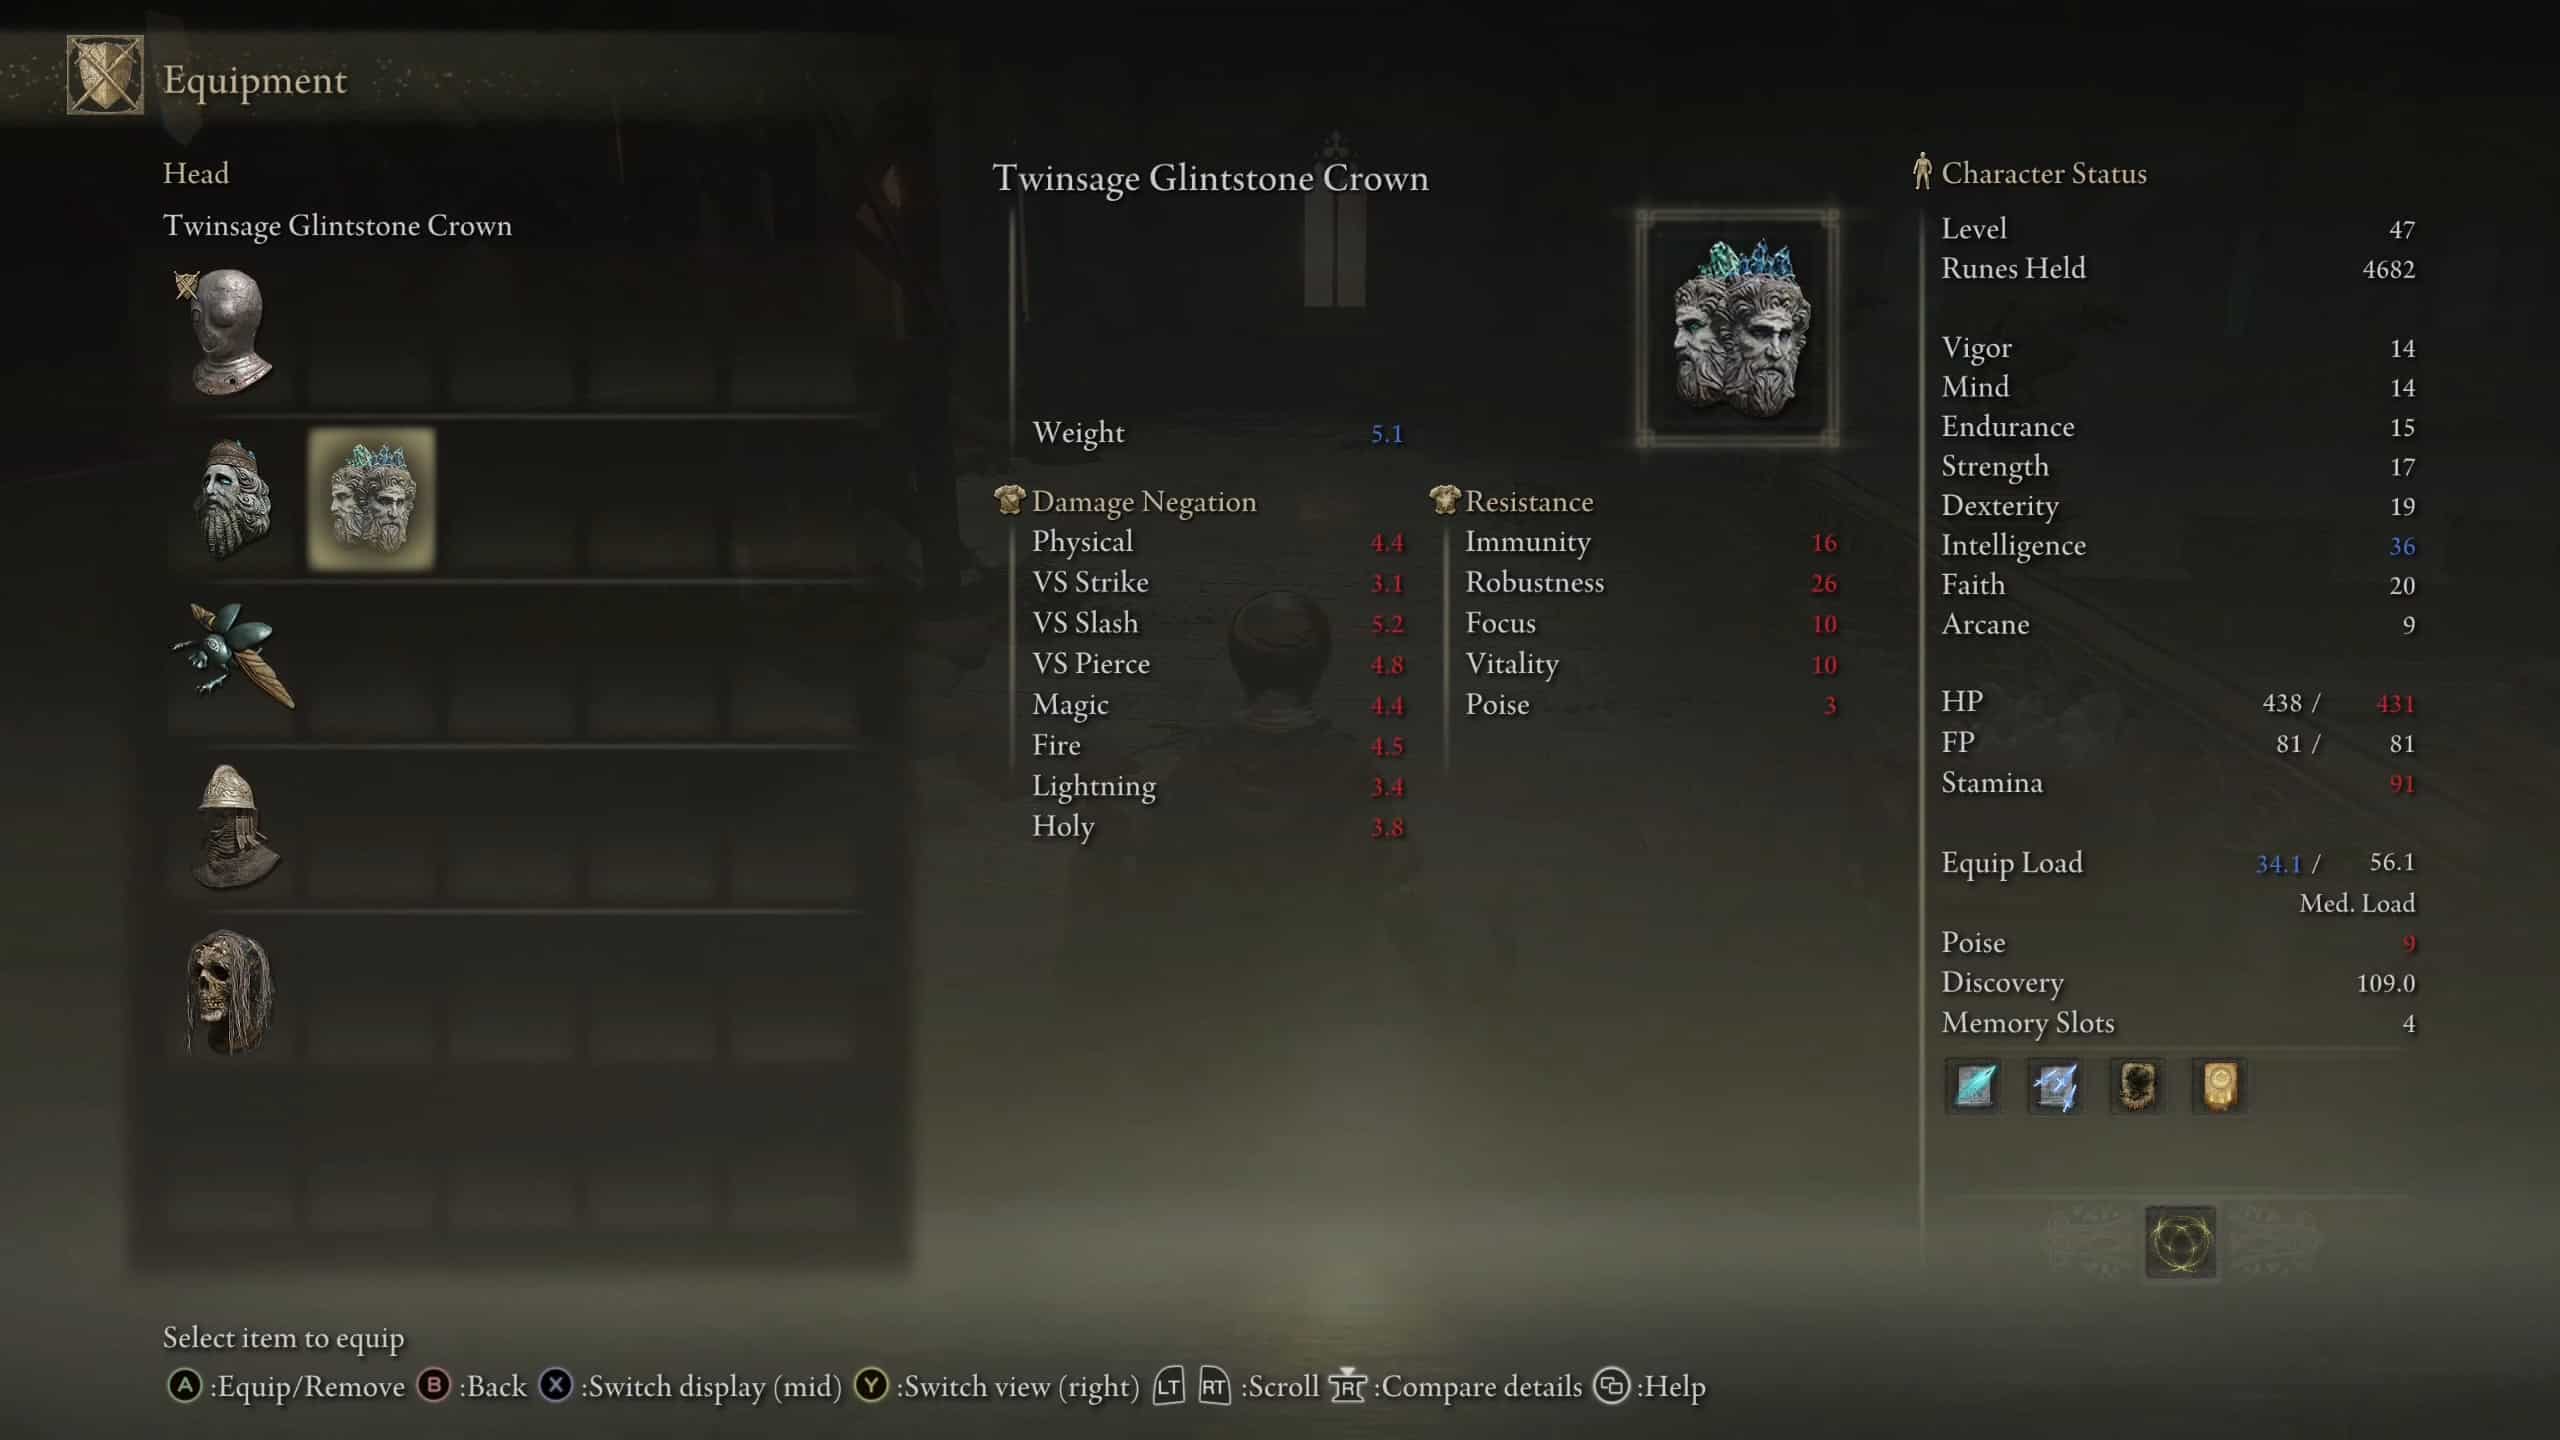
The Twinsage Glintstone Crown is a helm that belongs to the Raya Lucaria Sorcerer armor set. Wearing this helmet enhances your Intelligence by +6, but it also decreases both your stamina and HP by 9% each.
7. Lazuli Glintstone Crown
Location: You can acquire this helmet by defeating a crystal crab within the Raya Lucaria Academy, located in the tower with the wooden floor.
The Lazuli Glintstone Crown is a helm belonging to the Lazuli Sorcerer armor set. Wearing this piece boosts your Intelligence by +3 and also increases your Dexterity by +3. However, this comes at the cost of reducing your HP by 18%.
8. Haima Glintstone Crown
Location: To acquire this helm, travel east of West Windmill Pasture and defeat a battlemage stationed across the bridge. Retrieve the helm from their corpse to enhance your Intelligence.
Haima Glintstone Crown is part of the Battlemage Set Armor set. Wearing this helm will boost your Intelligence and Strength by +2 each, though it reduces your FP by 10%.
9. Hierodas Glintstone Crown
Location: To collect this crown, travel to Mt. Gelmir and search for a corpse located in Hermit Village.
Hierodas Glintstone Crown is a helm that belongs to the Errant Sorcerer Armor set. Equipping this helm raises both Intelligence and Endurance by +2 each, but it reduces your FP by 10%.
10. Witch’s Glintstone Crown
Location: This crown can be obtained as a reward for completing Sellen’s questline, which you will receive at the conclusion of the quest.
The Witch’s Glintstone Crown is another helm from the Raya Lucarian Armor set that can be equipped to enhance your Intelligence. It raises both Intelligence and Arcane stats by +3 each, but it diminishes your stamina by 18%.
11. Queen’s Crescent Crown
Location: This helm can be purchased for 7,000 Runes from Finger Reader (Enia) after defeating Rennala, Queen of the Full Moon.
Queen’s Crescent Crown, part of the Queen of the Full Moon Armor set, increases your Intelligence by +3. Notably, there are no drawbacks associated with wearing this crown.
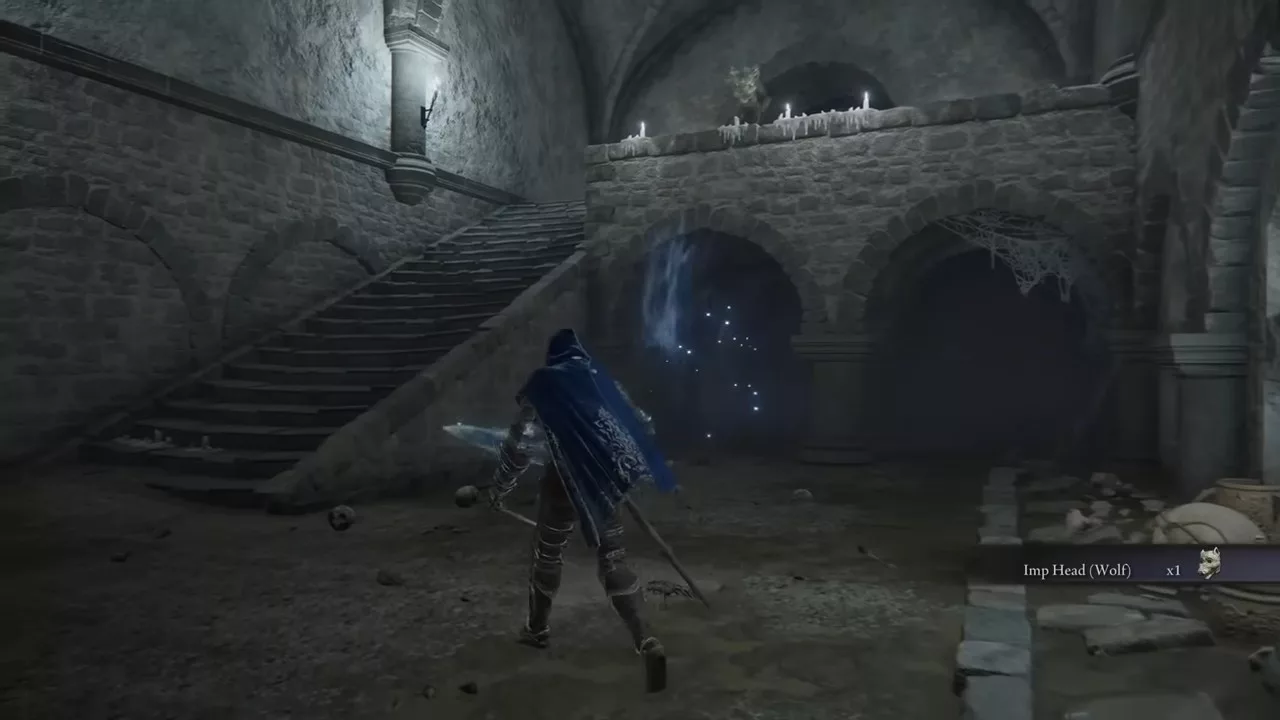
12. Imp Head (Cat)
Location: This helm can be dropped by Imps in various locations.
The Imp Head is a unique cat-shaped helm that is not part of any set. Wearing this helm grants a +2 boost to your Intelligence, and it has no associated drawbacks.
13. Greathood
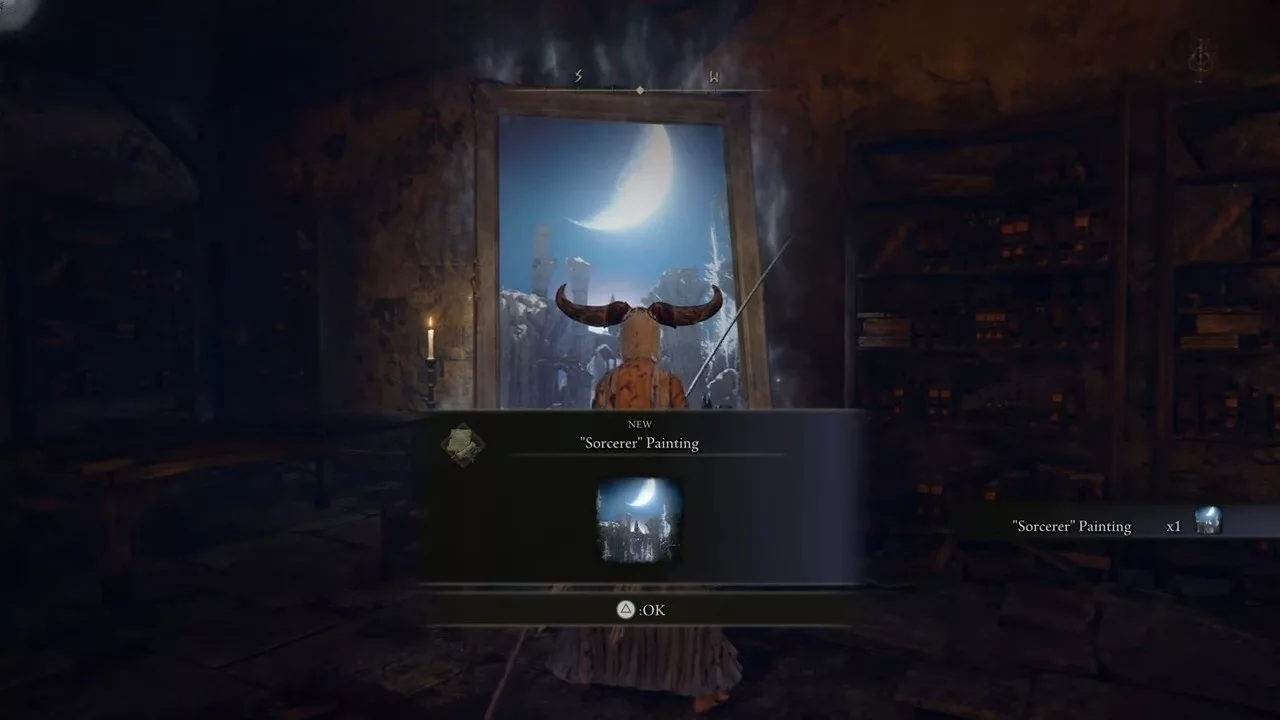
Location: Solving a puzzle in the Sorcerer painting rewards you with the Greathood. Start this puzzle in Castle Sol.
Greathood is another standalone helm designed to boost Intelligence. Equipping it raises both Intelligence and Faith by +2 each while also reducing your HP by 10%.
14. Godrick’s Great Rune
Location: To obtain Godrick’s Great Rune, visit Stormveil Castle and defeat Godrick the Grafted. This boss victory grants you the Great Rune.
Godrick’s Great Rune is one of the most unique items that enhance your attributes overall, not just Intelligence, in Elden Ring. Since it is a special item, it can only be acquired by defeating the boss. Equipping it boosts all attributes by +5 each, with no negative effects.
15. Grafted Blade
Location: To acquire this Greatsword, you must confront and defeat Leonine Misbegotten at Castle Morne.
The Grafted Blade is a Greatsword that can also enhance your Intelligence. With its default skill called Oath of Vengeance, you can temporarily boost all attributes by +5 each for 60 seconds.
16. Intelligence-Knot Crystal Tear
Location: You can find this item by heading to the Road to Manor (Site of Grace) and dropping down from the cliff to face a series of finger creepers to obtain the Crystal Tear.
The Intelligence-knot Crystal Tear is a key item that provides special effects when mixed with the Flask of Wondrous Physick. Combining this Crystal Tear with physick grants a +10 Intelligence boost for a duration of 3 minutes.
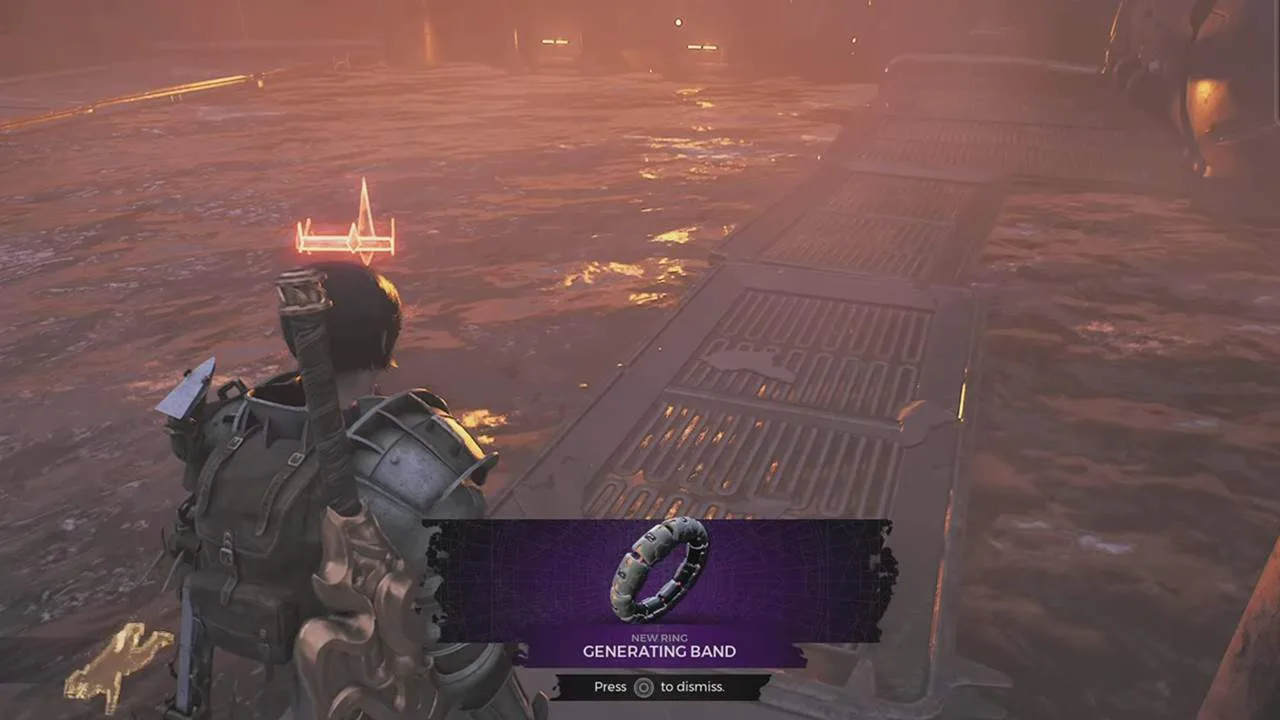
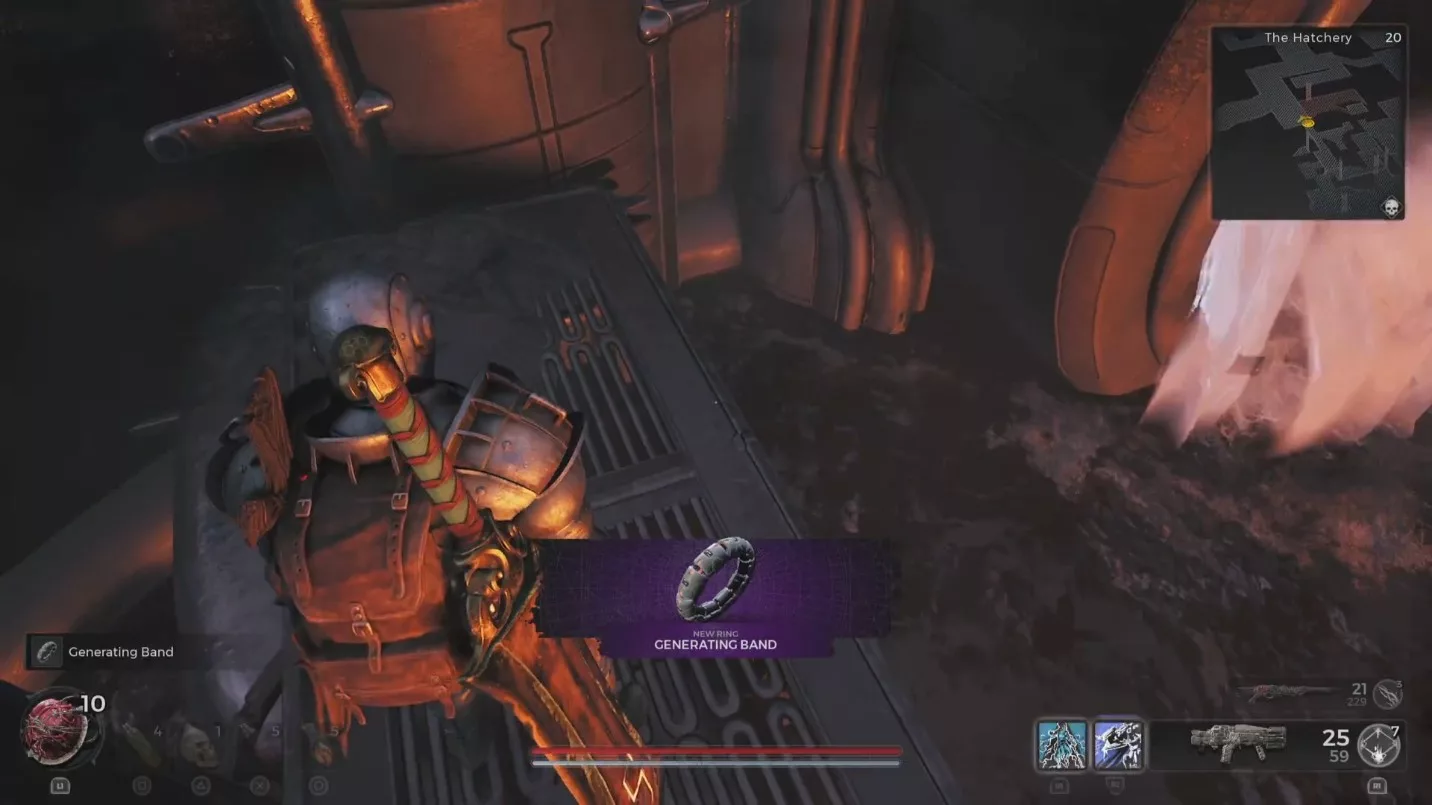
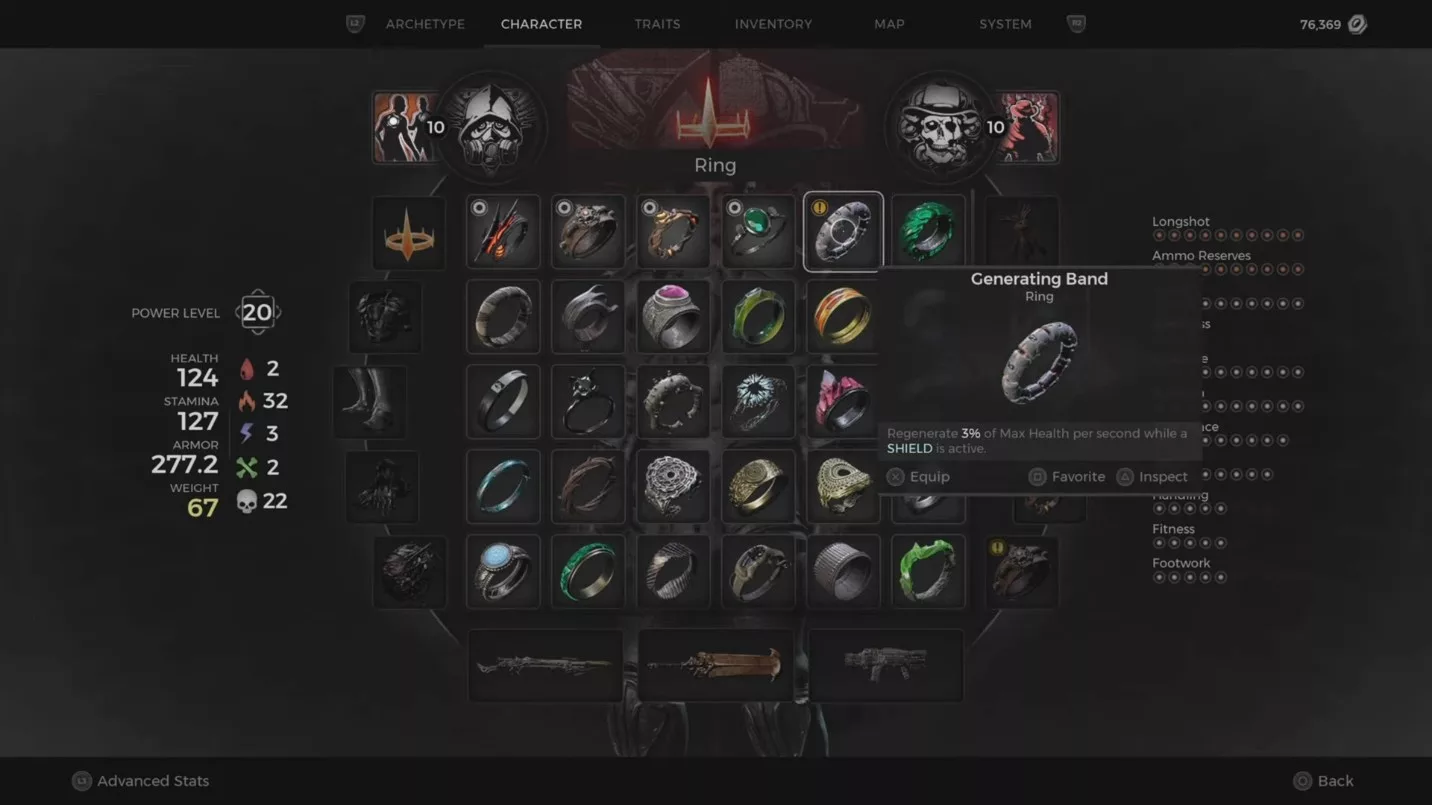
Showcasing the exceptional craftsmanship of Drzyr, the Generating Band is a health-oriented Ring in Remnant 2 that enhances your health regeneration by 3 percent. To obtain this ring, you must participate in The Flooded Room event set in the world of N’Erud.
The challenge with the Generating Band lies in its location, which differs for each player, but we have compiled some valuable hints to help you secure the ring.
Finding the Generating Band in Remnant 2
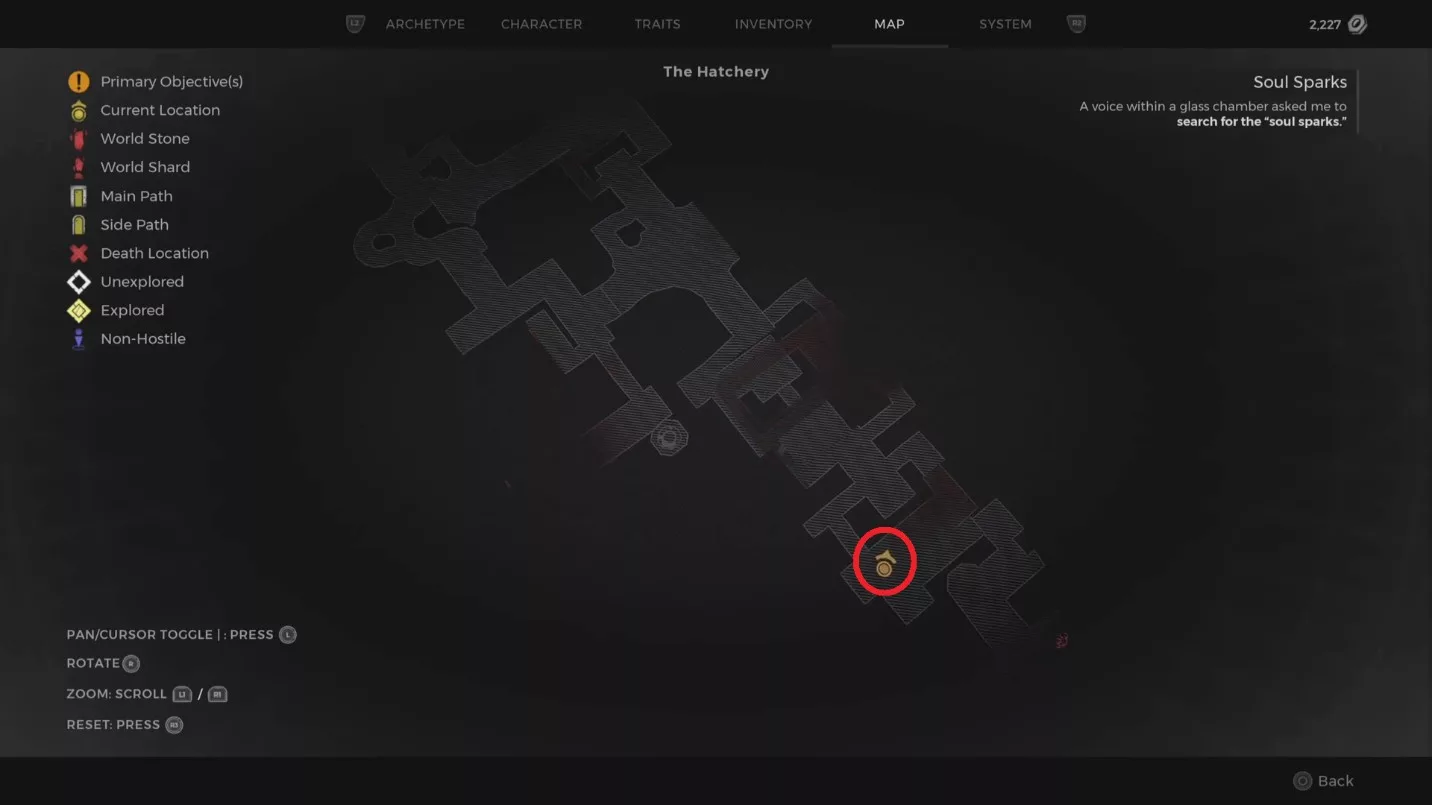
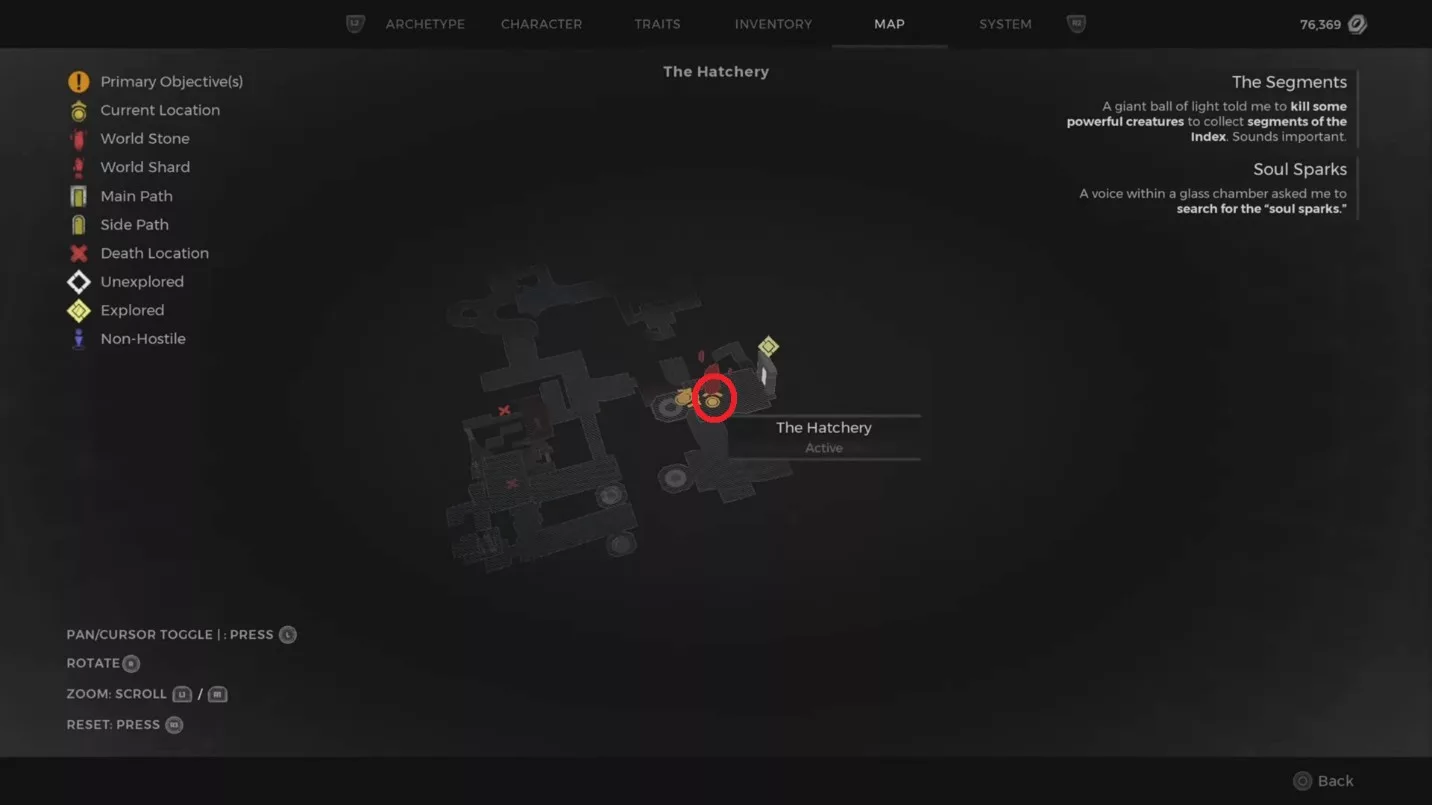
To acquire the Generating Band, reroll the campaign in Adventure Mode and head to The Hatchery Dungeon in N’Erud. Upon entering the dungeon, take the elevator down, defeat the enemies, and leap to the lower level, where you will discover a ladder.
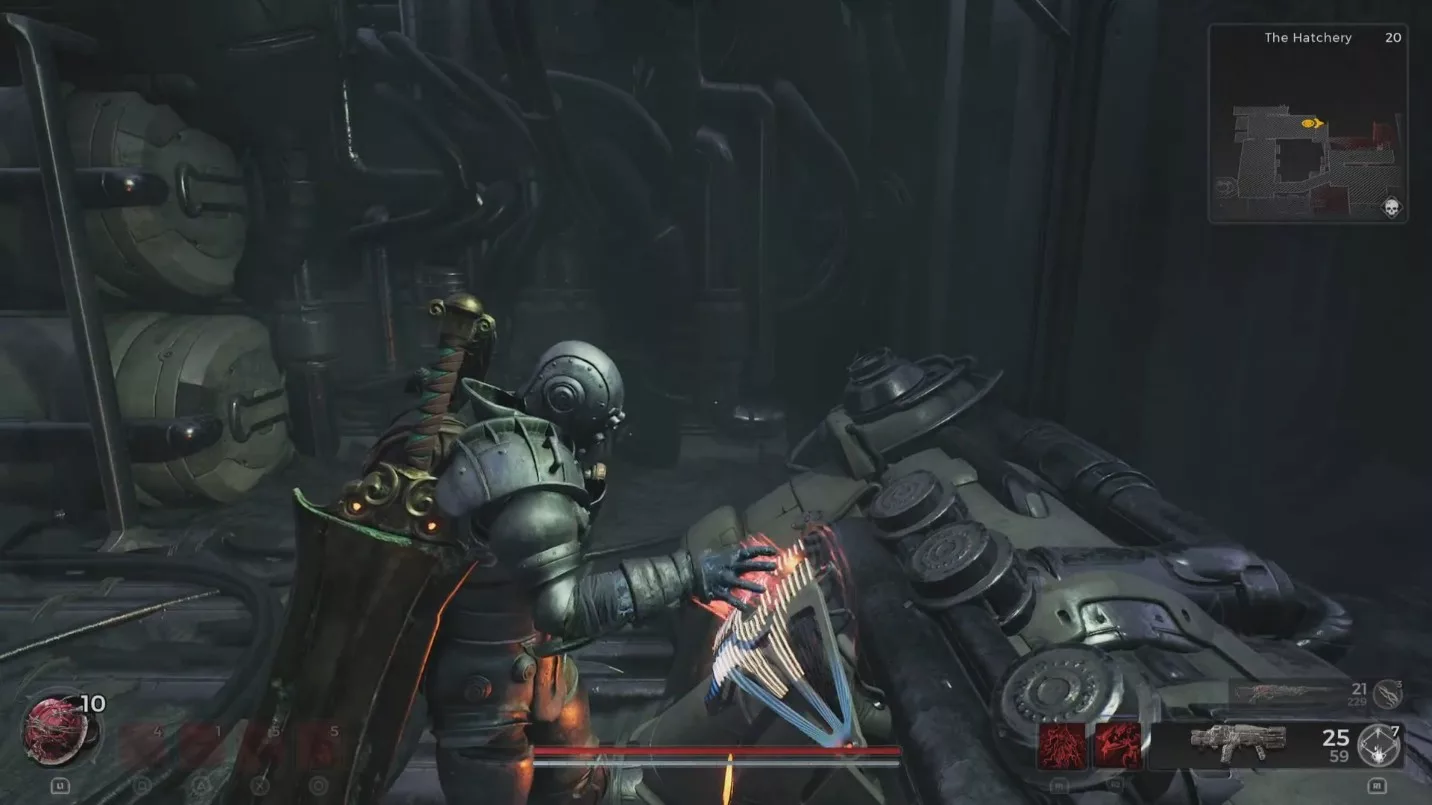
Ascend via the ladder and take the elevator to the flooded section in Remnant 2. This area will guide you to the console room. Activating the console will reduce the water level, which you can observe through the window ahead.
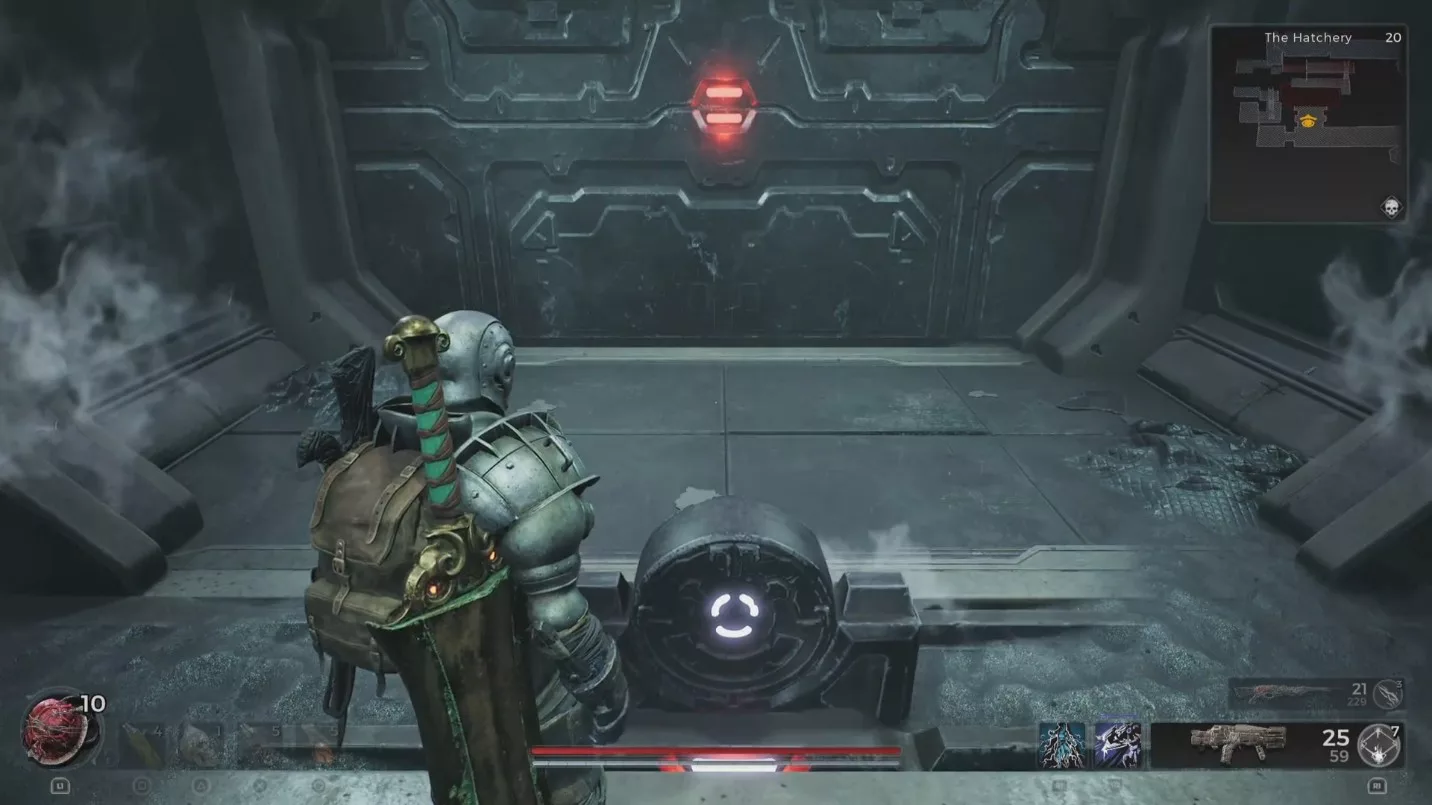
Ride the elevator down to the red locked door located at the end of the corridor. Occasionally, there will be a drop instead of an elevator, but don’t worry. Just descend through the hatch at the bottom to arrive at the locked door.
Before entering, it’s crucial to note that you need to collect three items in the room by parkouring to the top before the water level rises. Therefore, act quickly; based on our experience, the fastest method is to start on the left side of the boxes to grab the Subterfuge Link Ring first. Then, leap across to collect the Insulation Driver Amulet and proceed to claim the Generating Band Ring.
Keep in mind that if you drown while having the Generating Band Ring in your inventory, you’ll respawn at the nearest checkpoint. The specific location where we located the ring is detailed below.
Stats of the Generating Band
This ring is among the finest for health regeneration builds in Remnant 2. While your shield is active, the Generating Band enables you to restore 3 percent of your maximum health every second.
To maximize the band’s effectiveness, synergize it with the tightly wound coil; doing so will activate the shield every time you expend 75 rounds from your magazine, giving you an extensive health pool. Additionally, if you incorporate the Tranquil Heart alongside the band, it will double your health regeneration for a duration of 15 seconds.
Generating Band Synergies
The Generating Band is well-suited for a variety of builds, including those utilizing the Medic Archetype, Challenger Archetype, or Handler Archetype. These setups maintain your shield for continuous healing, making the band an excellent companion.
If you prefer tank-style builds like the Engineer Class, harness the extra healing to withstand powerful enemy attacks. It also complements versatile equipment often found in these configurations, such as the Burden of the Divine Ring from Losomn or The Dense Silicon Ring from The Labyrinth.
The Prince of Death’s Staff is a mid-tier staff in Elden Ring that you can find in Nokron, the Eternal City. Like all staffs, it is used to cast sorceries and spells, but locating it can be quite challenging.
This guide will pinpoint the exact area where you can find The Prince of Death’s Staff in Elden Ring. We will also examine its stats and scaling, as well as how it compares to another staff, the Carian Regal Scepter. Without further ado, let’s dive in.
Location of the Prince of Death Staff in Elden Ring
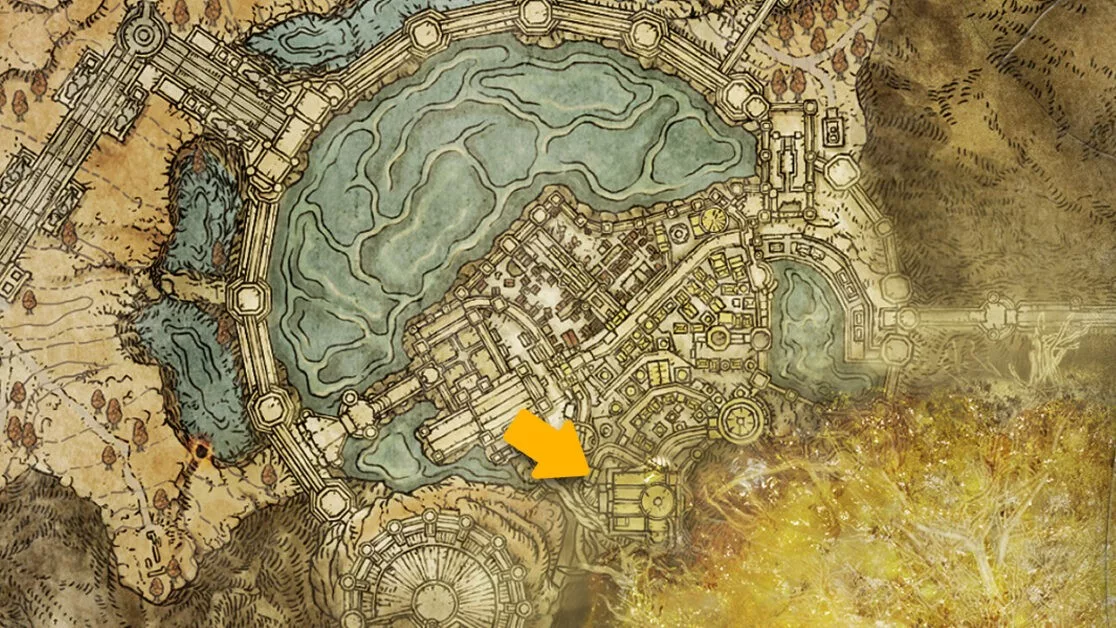
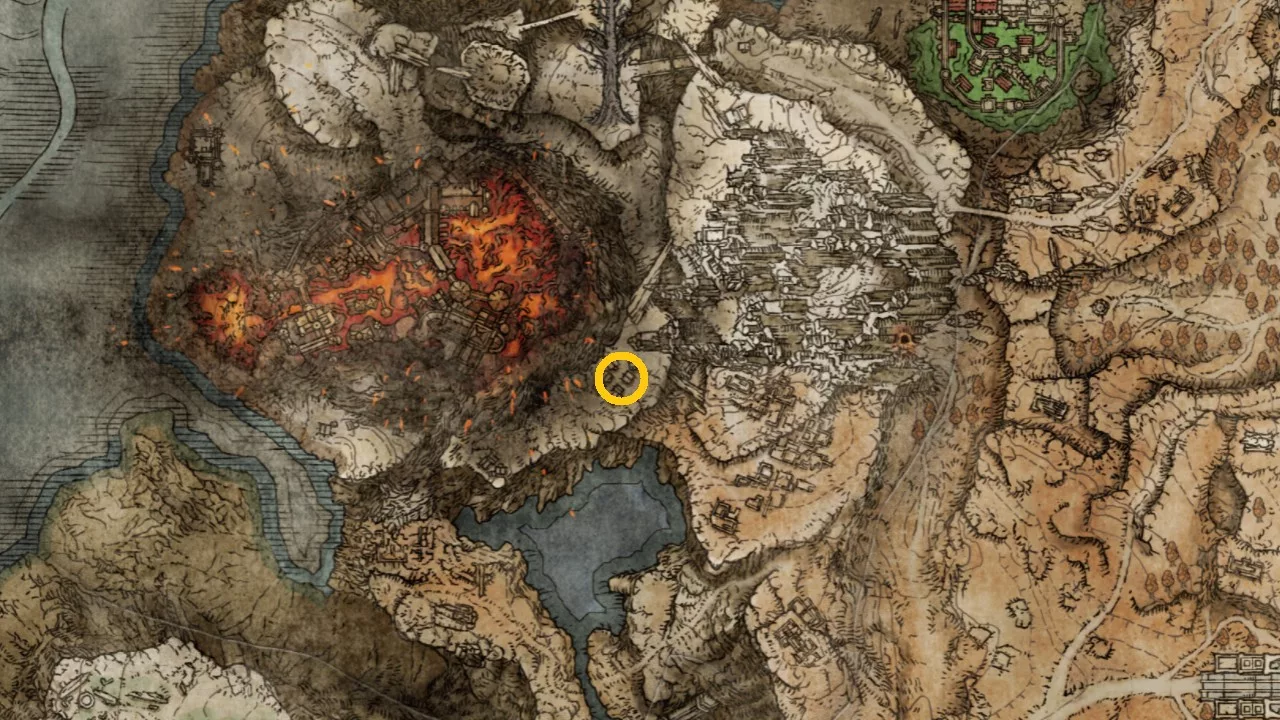
The Prince of Death’s Staff is located atop a tower in The Nameless Eternal City. To access it, you first need to navigate to the Deeproot Depths. The tower can only be reached from the rooftops.
The rooftops are easy to traverse due to their ramp-like layout. You can climb onto any roof, and right after your first interaction, make a left jump down.
Continue moving left until a branch directs you toward the tower. All you have to do is ascend to the top of the tower to claim the Prince of Death’s Staff in Elden Ring. You can access the Deeproot Depths through two methods:
1) Defeat the Valiant Gargoyle
Your first option involves defeating the Valiant Gargoyles at the Siofra Aqueduct Site of Grace in Elden Ring.
Once the gargoyles are dealt with, proceed to the waterfall area behind the boss arena. Here, you’ll find a coffin that transports you directly to the Deeproot Depths. Upon exiting the coffin, you’ll be right next to a Site of Grace for a much-needed rest.
From the Site of Grace known as The Great Waterfall Crest, head forward while keeping to your right. You’ll discover a root extending out from a cliff. Step onto it and drop down to the log below.
Continue straight, veering to the right again, and you’ll come upon an area overrun with large roots. To your right will be a series of roofs forming ramps that lead upward, culminating in another root. Follow it to reach the tower’s summit where the corpse holding the Prince of Death’s Staff lies.
2) Navigate the Frenzied Flame Proscription
You can utilize this method only after defeating the boss Mohg, the Omen.
Go to the Cathedral of the Forsaken Site of Grace. You will need to move a chest that obscures a hidden passage behind it. Proceed through this passage to reach the Frenzied Flame Proscription Site of Grace in Elden Ring.
From this point, roll toward the southeastern wall to unveil another hidden passage that leads to a chest. Loot the chest and move into the wall behind it to unlock a secret pathway that heads toward the Deeproot Depths in Elden Ring.
Follow the instructions above, and you’ll find yourself at the exact location of the Prince of Death Staff in Elden Ring.
Prince of Death Staff Stats
The Prince of Death’s Staff inflicts 25 Physical and 144 Sorcery damage. This weapon also has a critical damage rate of 100.
This staff’s most significant advantage is a 10 point boost to death sorceries, making spells like Ancient Death Rancor or Explosive Ghostflame much more effective when cast.
Utilizing the Prince of Death’s Staff is ideal for sorcery builds that heavily rely on Faith and Ghost Sorceries.
This weapon scales primarily with Intelligence and Faith, but it cannot be infused with an Ash of War, nor does it possess a default skill.
Is the Prince of Death’s Staff superior to the Carian Regal Scepter?
The Prince of Death’s Staff boasts superior sorcery scaling compared to the Carian Regal Scepter in Elden Ring. Consequently, it becomes significantly stronger in the latter stages of the game due to its Faith and Intelligence scaling.
On the flip side, the Carian Regal Scepter allows you to use a unique Ash of War which enhances damage, placing it among the top staves in Elden Ring. Thus, if your focus is on the late-game experience, the Prince of Death’s Staff is the better choice.
However, the Carian Regal Scepter is effective to utilize during the mid-game, especially with its ability to empower full moon sorceries and infused Ash of War.
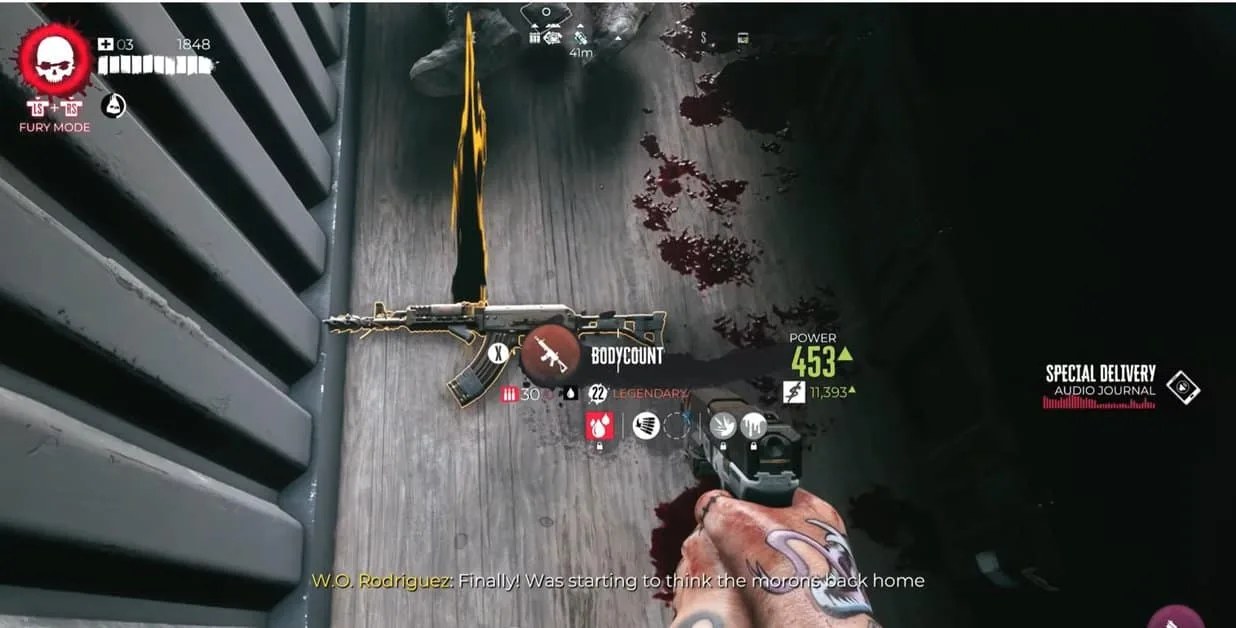
If you’re in search of one of the top rifles in the game, look no further than the Body Count in Dead Island 2. This legendary rifle features impressive stats and damage capabilities. You can obtain it by completing specific side quests along with a Lost and Found weapon mission in Dead Island 2.
We’ve detailed the entire process so you can follow along with ease.
Finish the Main Storyline
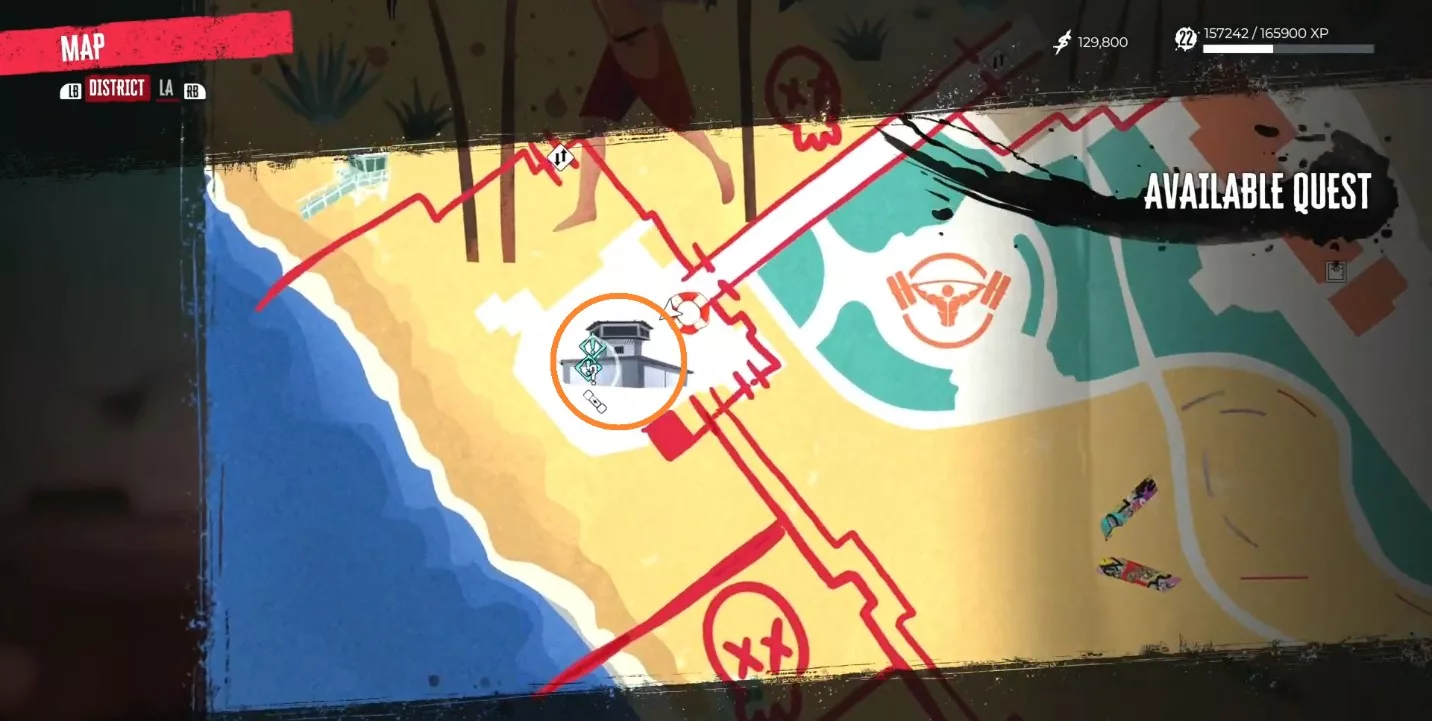
To acquire the Body Count legendary rifle, you’ll first need to complete the primary storyline of Dead Island 2. Afterward, head back to Venice Beach and navigate to the guard tower.
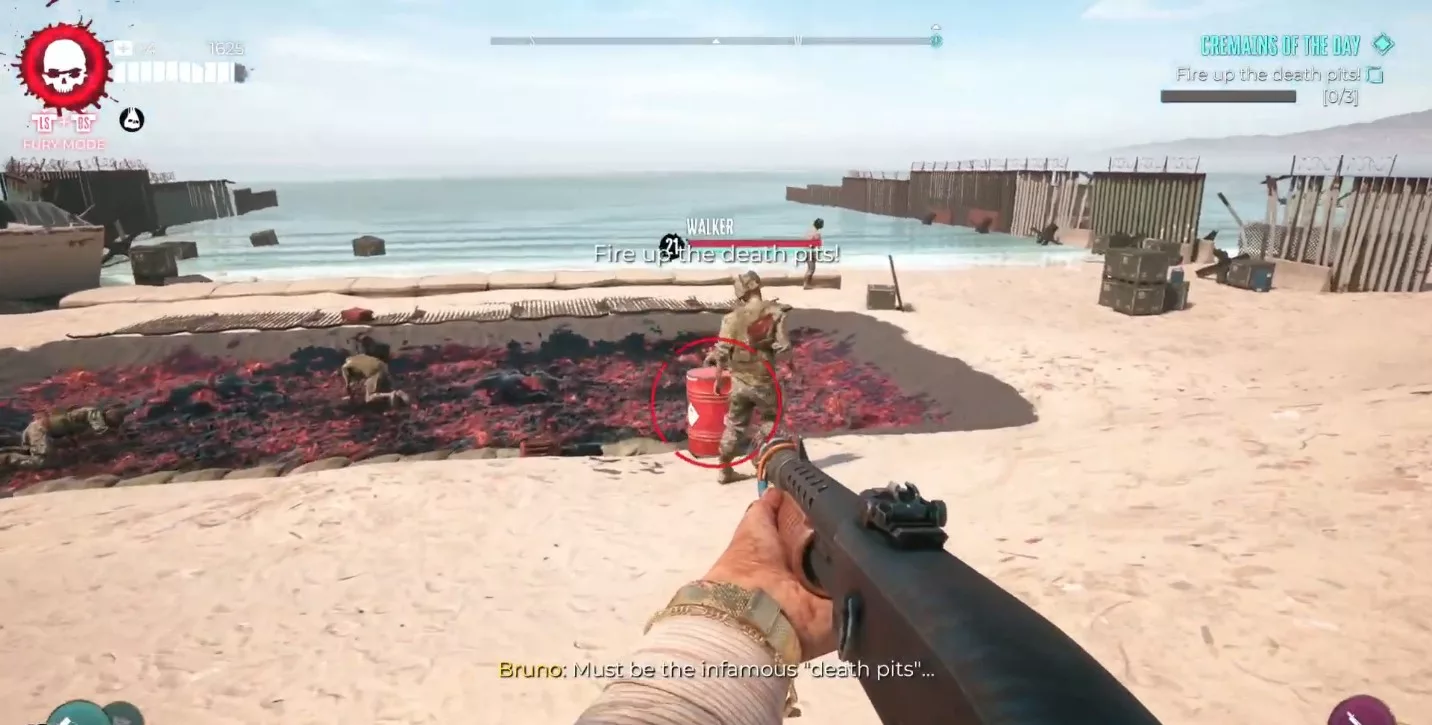
Once you’re at the top of the tower, you’ll meet a soldier named W.O. Rodriguez who offers a side quest titled Cremains of the Day.
Finish Cremains of the Day
In this quest, you’ll need to ignite a fire in the death pit, which can easily be done by shooting the oil container.
Be cautious as the watchtower is filled with traps while making your way to Rodriguez.
After wrapping up the side mission, return to Rodriguez for your reward, then head to the military base to initiate the Lost and Found quest. Completing this quest will unlock the [REDACTED] side quest that ultimately grants you the Body Count Rifle.
It’s essential to complete all the quests in the specified order to unlock the weapon.
Finish the Redacted Lost and Found Quest
You will need to eliminate Lieutenant Ford at the military base. He can be found transformed into a zombie within the west barracks under a tent. Defeat him to trigger the side quest.
If he doesn’t appear, consider completing all other available side quests in Dead Island 2 before checking again. You must defeat the Lieutenant to acquire the Journal he drops.
Follow the journal left by Lt. Ford and return to the containers near the tower’s beachfront area. Look for a container surrounded by zombies, enter it, and open the chest to claim your weapon.