Quick Links
The RE (2nd Loop) missions in Slitterhead offer players a chance to revisit earlier missions in alternate realities, where you can alter outcomes, unravel secrets, and claim rewards like new outfits, masks, and memory fragments.
In the case of Insidious Sucker RE (2nd Loop), your goal is to track down the White Suit Slitterhead to discover their intentions, taking you through a mission filled with unexpected turns and surprises. These missions are considered the heart of the game and often provide the most engaging experiences!
Beginning Insidious Sucker RE (2nd Loop) in Slitterhead

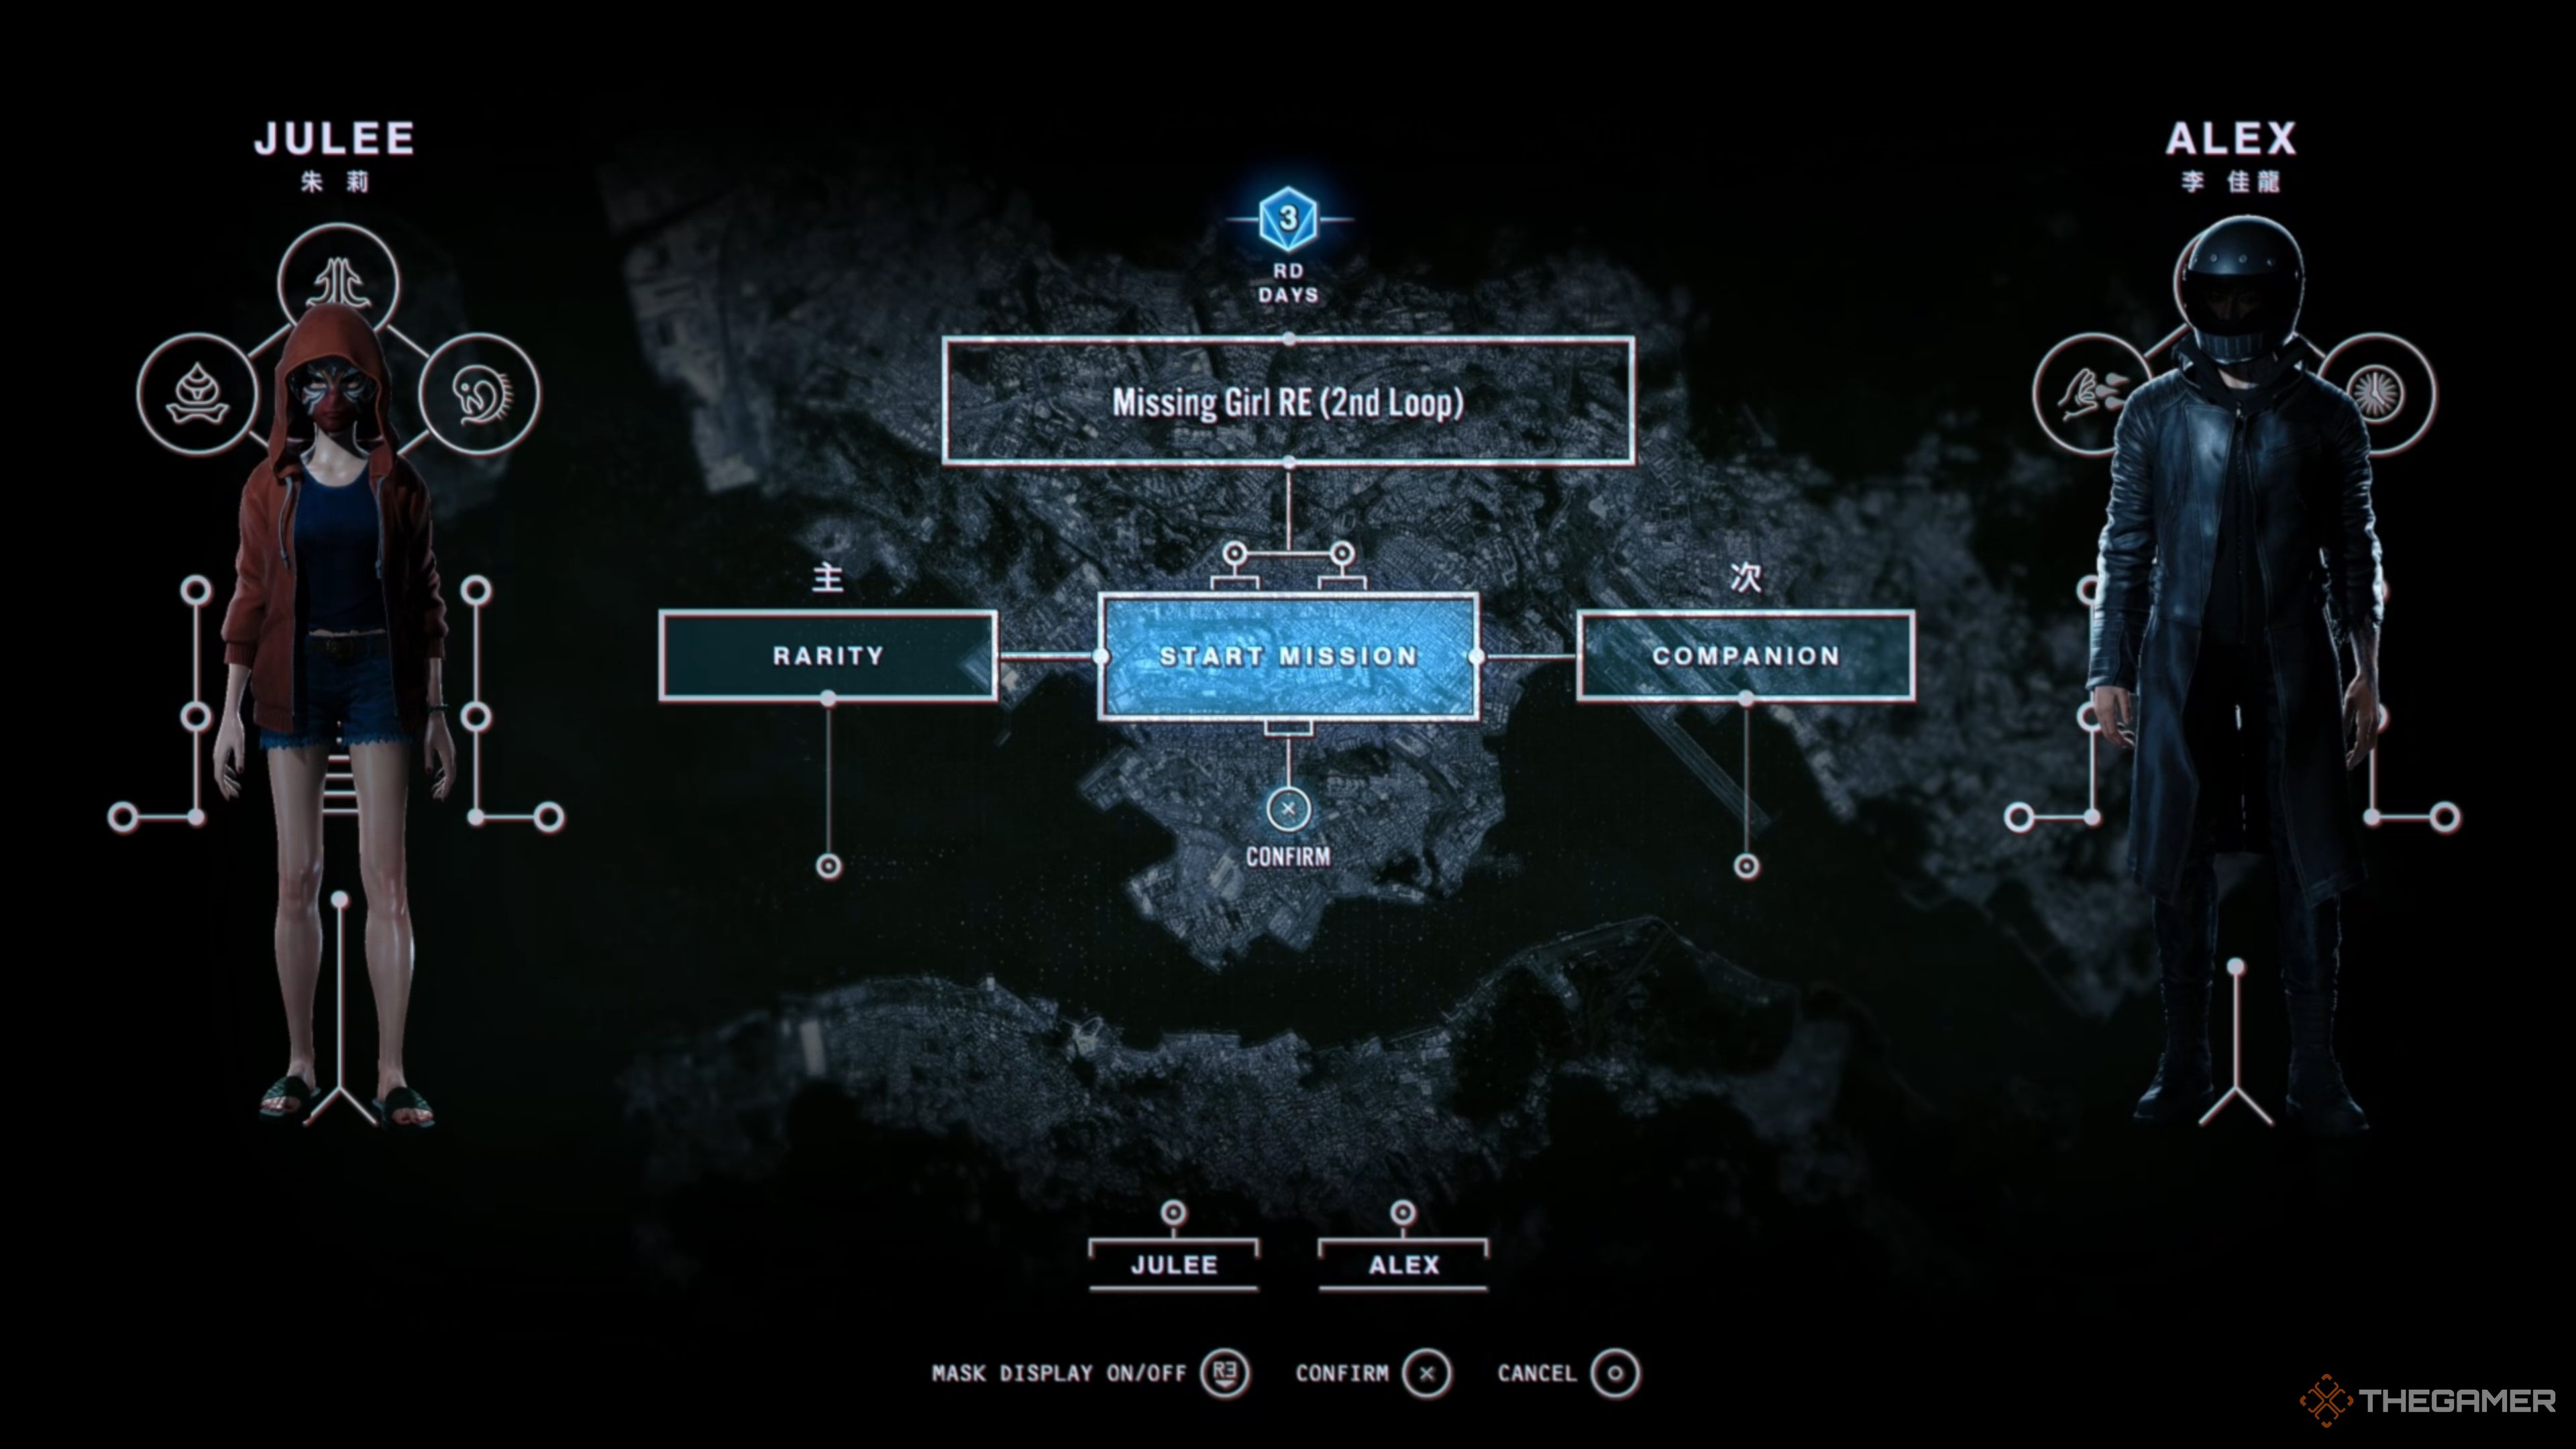
Alex is the main Rarity for the Insidious Sucker RE (2nd Loop) mission in Slitterhead, meaning he can’t be replaced by another character. However, you can pick any Companion Rarity you want to join you.
We strongly recommend choosing Edo because he’s one of the most effective Rarities in the game, delivering massive damage with his Burning Edge Skill. Other Rarities like Julee, Anita, and Tri can also perform well, but it’s advisable to avoid Blake and Doni due to their range-focused abilities.
Entering the Main Street
When you enter the mission, you’ll start in the back alleys and need to find your way to the main street. Begin by following the navigation marker through the alleyways until a small group of lesser Slitterheads ambushes you.
If you have chosen Edo as your Companion Rarity, activate Burning Edge and wield your Blood Weapon to take them out quickly. If not, the Blood Well and Bloody Blast combination will still work, though it might take a bit longer. After clearing them, continue towards the marker leading you into the main street.
Defeating Slitterheads
After you leave the back alley, you’ll approach the overpass, where you’ll be confronted by additional Slitterheads. This time, they will be standard Slitterheads, but luckily, Alex’s Blood Well and Bloody Blast combo will be particularly effective here.
Activate Burning Edge and start attacking them to eliminate them quickly. After defeating the Slitterheads, head towards the main street for a brief cutscene.
Defeat the Slitterhead Swarm Within the Time Limit
The White Suit Slitterhead will challenge Alex to defeat a swarm of Slitterheads in under five minutes, which can prove to be quite strenuous. Thankfully, both Alex and Edo are powerful Rarities, making this task more manageable.
Initially, you will face a few lesser Slitterheads along with one normal enemy, allowing you to utilize your Blood Well and Bloody Blast combo to dispatch them quickly. However, as the challenge escalates, Mantis Slitterheads will begin to appear alongside waves of lesser Slitterheads.
When the tougher Slitterheads arrive, switching to Edo is a smart move. Activate his Burning Edge and use Angel Step repeatedly to inflict substantial damage. You can also swap back to Alex occasionally to unleash his Blood Well and Bloody Blast combo.
Taking down enough enemies will reveal a health bar at the top of your screen, indicating your progress in defeating the incoming Slitterhead Swarm. Alternating between your Rarities and leveraging their strongest Skills will streamline this process. Just be sure to heal with Alex after using his combo since it consumes a lot of health!
Pursuing the White Suit Slitterhead
A brief cutscene will play after you complete the challenge, showing Alex inspecting a nearby corpse, which reveals it’s not Lisa. Afterwards, return to the main street to trigger yet another cutscene, propelling you into a chase after the White Suit Slitterhead.
The chase will take some time as the Slitterhead will summon a group of lesser Slitterheads to impede your progress. Fortunately, you are not obliged to engage them and can continue pursuing him. Inflicting a few hits on him will make him flee onto a rooftop.
Utilize Blood Jump to climb the nearby neon signs until you reach the rooftop the White Suit Slitterhead has dashed to. At this point, use Possession to jump to your other Rarity on the roof, then navigate over to the two civilians on that rooftop to trigger another cutscene.
Defeating The Slitterheads
Following the cutscene, you will need to take down two normal Slitterheads, which shouldn’t be too difficult. Start the encounter by using Alex’s Blood Well and Bloody Blast combo to deal significant damage to both Slitterheads right away.
Afterward, switch to Edo, activate his Burning Edge, and utilize Angel Step on one of the Slitterheads to wipe it out, leaving just one remaining. From here, you can either stick with Edo and keep using Angel Step or switch back to Alex to perform his combo once more to finish it off.
Landing the final blow will lead to another cutscene featuring the White Suit Slitterhead, setting the stage for the ultimate battle of the mission against the Greater Blue-Ringed Octopus Slitterhead!
Conquering the Greater Blue-Ringed Octopus Slitterhead
Ah, it’s you again, Greater Blue-Ringed Octopus Slitterhead. If you’re curious, the fight is almost identical to your previous encounter. You can parry and guard most of its attacks, allowing you to close the distance and unleash Edo’s Burning Edge and Angel Step Skills for tremendous damage.
Switching to Alex afterward to execute his Blood Well and Bloody Blast combo will also provide ample damage chances, enabling you to stagger it quickly for further Skills and attacks. With Edo on your side, you can effectively keep up the pressure and deal heavy damage without difficulty.
However, there is one attack from the Greater Blue-Ringed Octopus Slitterhead that you must be cautious of: its unguardable grab and slash that inflicts significant damage. This attack is signaled by a flashing red light, indicating it’s time to move away swiftly. Other than that, feel free to unleash your offensive strategies with little concern!
Insidious Sucker RE (2nd Loop) Rewards

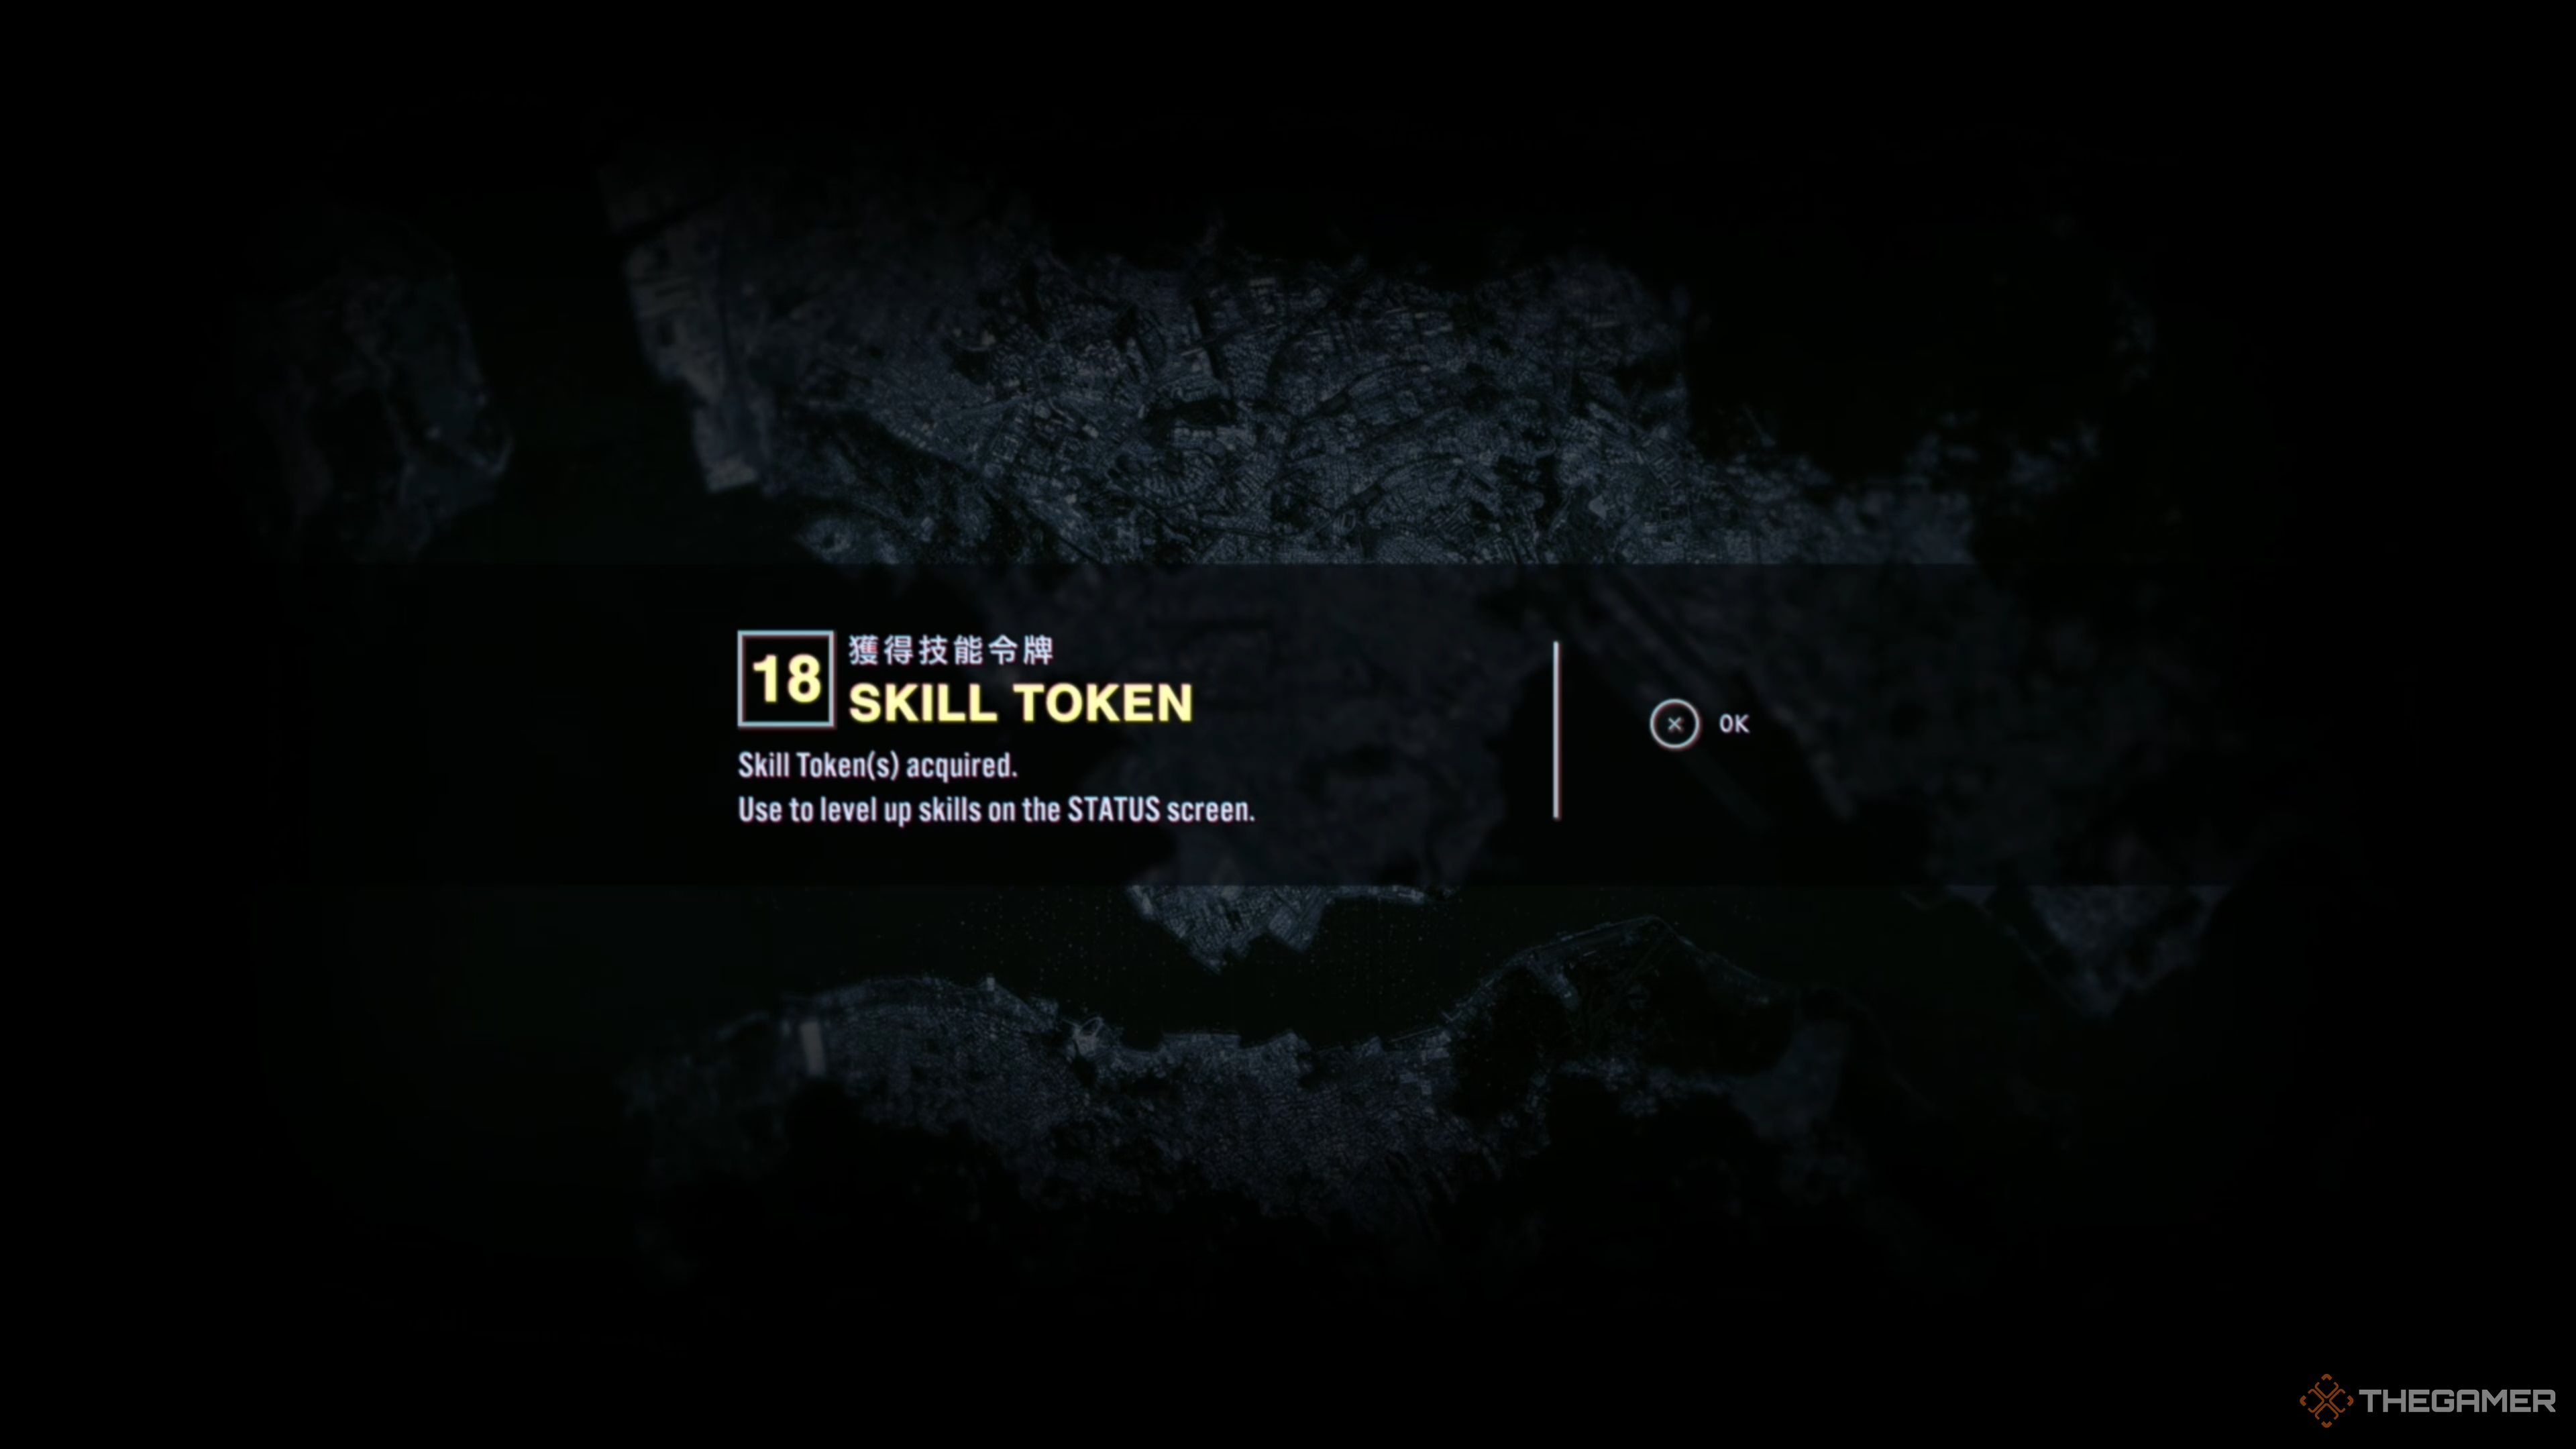
Defeating the Greater Blue-Ringed Octopus Slitterhead once again and successfully completing the Insidious Sucker RE (2nd Loop) mission for the first time earns you a hefty 24 Skill Tokens. You can use them on any of the eight Rarities available in the game, but remember, they are shared, so once you use them, they’re gone.
Lastly, it’s important to note that be sure to check all new ‘Talk’ options to unlock additional missions and progress toward the end of the game. You don’t have much left to complete. If you haven’t collected all eight Rarities yet, take the time to do so; they’re worth the effort!