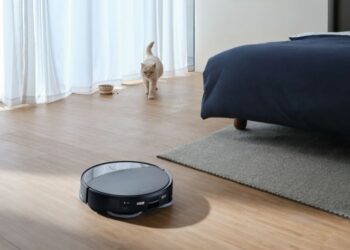
Robot vacuums simplify the cleaning process in your home, allowing you to maintain cleanliness with minimal effort. Once set up and programmed to map your space, these devices can be scheduled to operate automatically throughout the week. However, if you reside in a multi-story home, the task becomes more intricate. Not only must you transport the robot vacuum between floors—since they cannot ascend stairs independently—but each level must be mapped separately too.
Fortunately, the Roborock Qrevo Curv eliminates much of this hassle. It has the capability to save multiple floor plans, making it easy to clean your entire home, whether it’s a basement, first floor, or second floor. If you’re eager to take advantage of this functionality, here’s a straightforward guide on how to create floor maps using the Roborock Qrevo Curv.

Setting Up Multiple Floors with the Roborock Qrevo Curv
Once you’ve created the initial map for your home, follow these steps to add maps for any additional levels:
Step 1: Launch the Roborock mobile application.
Step 2: Locate the Roborock Qrevo Curv on the main screen and tap Enter.
Step 3: Tap the ellipsis icon located in the top-right corner of your screen.
Step 4: Select Manage Maps from the menu that appears.
Step 5: Choose Home Layout and switch the option from Single-Level to Multi-Level.
Step 6: Decide whether you want the device to use Smart Recognition or Manual Selection for mapping. Smart Recognition automatically detects which floor the robot is cleaning, while Manual Selection allows you to designate the floor.
Step 7: Move your robot to an ideal starting position for the new floor map.
Step 8: Tap Create New Map at the bottom of your screen. You will be prompted to ensure that doors are open, eliminate obstacles, and not disturb the robot while it’s scanning. Its sensors should help prevent any falls, but it’s wise to place a physical barrier if you’re concerned about potential accidents.
Step 9: Once the mapping is finished, the robot will return to its starting location. It will notify you if it’s unable to find its dock, which is expected since it should be located on a different floor.
Step 10: Relocate the robot vacuum back to the floor where the dock is situated, then press the Home button. It will return to its base without further assistance.
The Qrevo Curv is capable of storing maps for up to four floors, granting you substantial flexibility for cleaning various levels of your home.


