
Armor plays a vital role in battles in Age Of Darkness: Final Stand. Not every unit has armor, and some Heroes don’t possess it at all, but armored units make a significant impact in combat. Having armored allies is crucial for holding back the Nightmare Swarm, and knowing how to tackle armored enemies effectively is essential for survival.
In this guide, we will explain what armor does, what it doesn’t do, and how to make the most of the Armor Shred stat in your battle strategy.
How Does Armor Work In Age Of Darkness: Final Stand?
Some units and buildings have an Armor stat that helps reduce damage taken. You can easily recognize an armored unit by the gray shield icon next to its health bar. Lightly-armored units generally have around 10-20 Armor, while more elite units may have close to 50. The strongest units, like the Sentinel or the Nightmare Crusher, boast Armor ratings that can reach into the hundreds.
The key point to remember about armor is that it’s not the number that counts; as long as it’s above zero, the unit benefits fully from its protective capabilities.
A unit with any armor will experience a 70% reduction in damage from all sources. This is a significant decrease, so if you can’t quickly and effectively remove an enemy’s armor, taking them down could prove challenging. If you’re facing multiple armored foes during a Death Night or at a Point of Interest, failing to have any Armor Shred will likely result in your defeat.
What Is Armor Shred?
To tackle armored enemies, you’ll need units with the Armor Shred stat, indicated by a shield with a slash through it in their attribute list. Whenever an attacking unit strikes an armored foe, the target’s Armor is reduced by the amount specified by the attacker’s Shred stat. As mentioned, you need to bring the target’s Armor down to zero to see any real impact on their defense.
It’s important to note that Shred affects Armor but not the damage done to HP; both aspects operate independently.
You can observe the current Armor status of your allies or enemies by highlighting their portraits; their remaining Armor Points are displayed just above their HP. At a glance, you can determine a unit’s remaining armor by looking at the gray shield next to their health bar; if it’s cracked, they have only half their armor left, and if it’s completely dark, their armor is gone.
How To Recover Lost Armor
Unlike HP, Armor doesn’t regenerate when not in combat. If your armored units lose their protective covering (which is common, as most non-Crawler Nightmares possess at least some Shred), bring them close to one of the following buildings for repairs:
- The Keep
- Wood Workshop
- Refined Workshop
- Siege Factory
Because these structures are costly to build and maintain, it’s wise to place them near natural choke points. This way, they can repair your units’ armor during sieges and enhance your overall chances of survival without requiring a retreat to the Keep.
Tips For Dealing With Armored Enemies

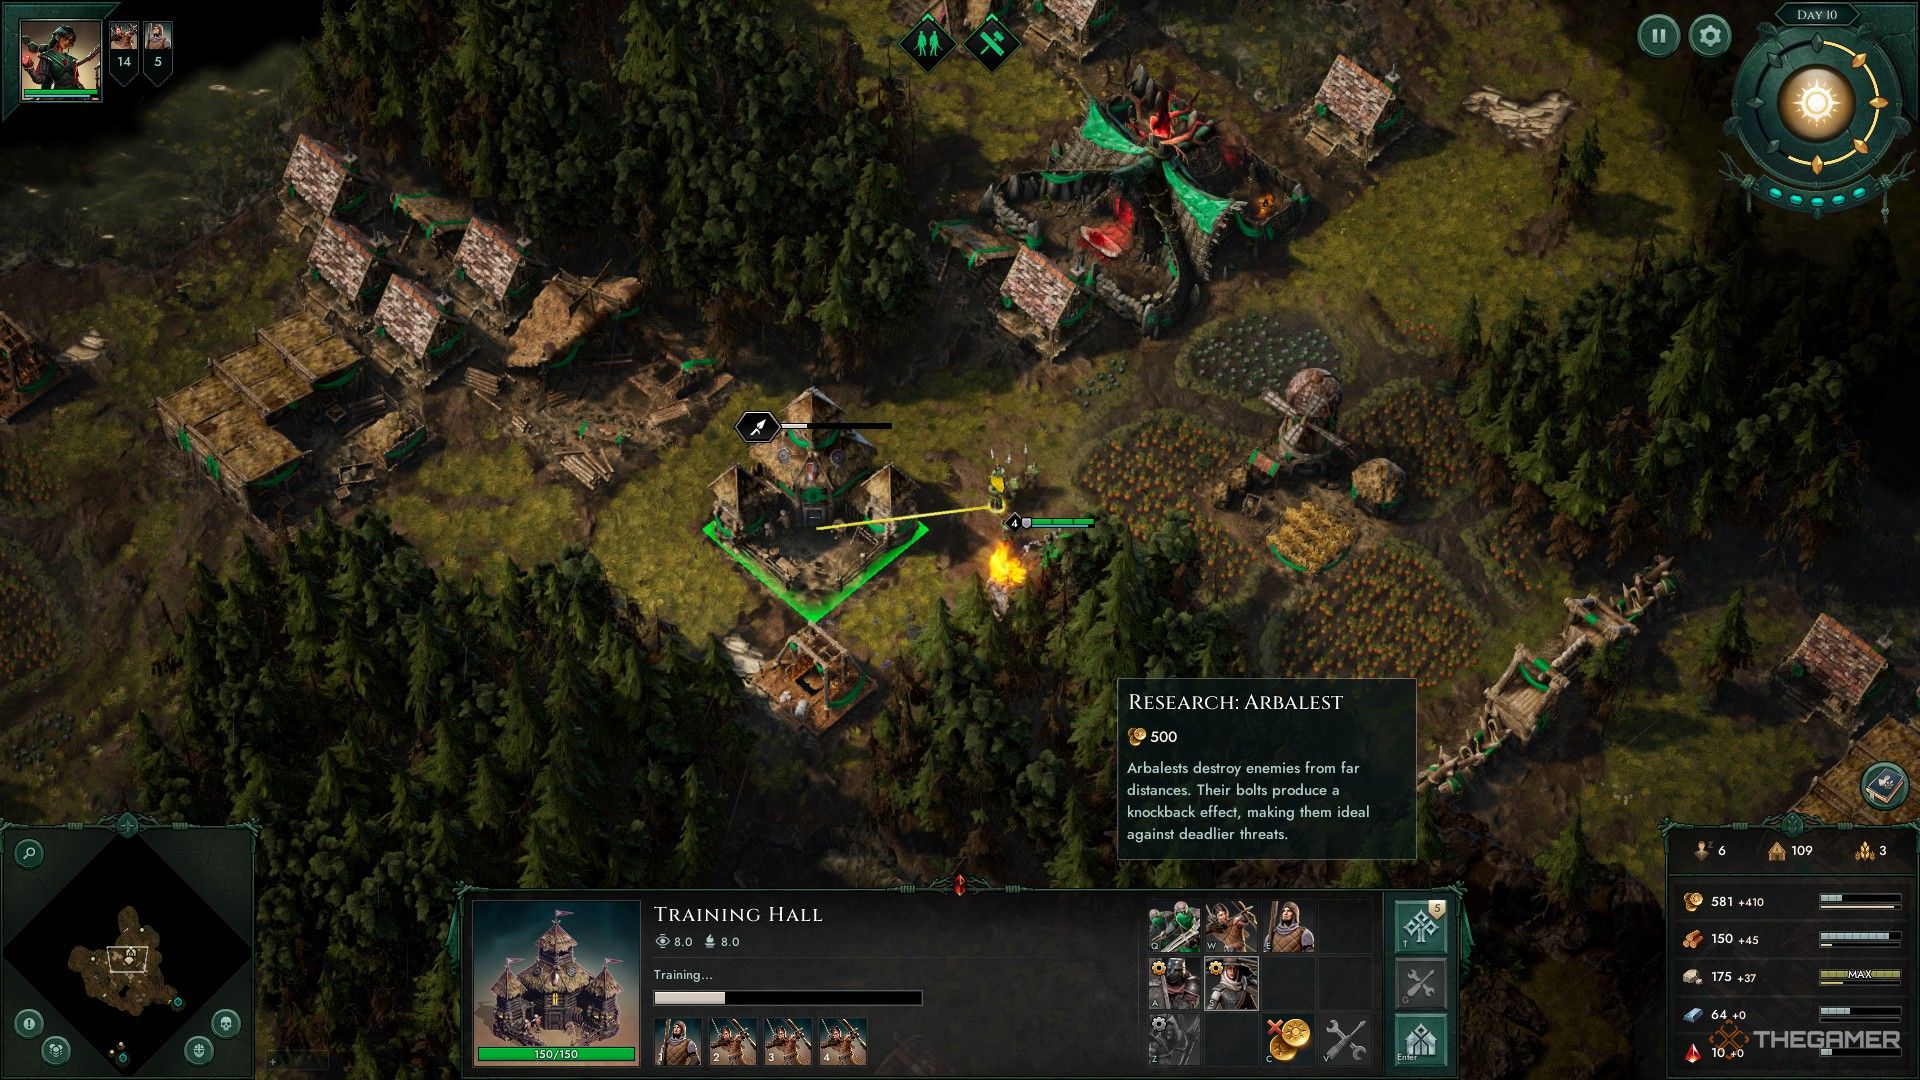
The most effective units for confronting armored enemies are Arbalests, Impalers, and Hunters. They have a high Shred stat and can attack from afar, keeping them safe behind the front lines. Consider
Towers can enhance the Armor Shred of ranged units stationed within them. Ballista Towers are typically preferred in the late game, but this bonus is invaluable for taking down Axemen and Spearmen that often lead Crawler patrols during the initial Death Nights.


