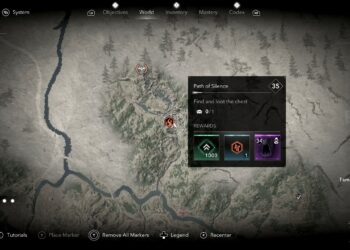
In Atelier Yumia: The Alchemist Of Memories & The Envisioned Land, exploring ancient ruins and uncovering hidden treasures is an everyday task for Yumia and her Research Team. However, each discovery often comes with unexpected twists, especially when it leads to new resources that help them tackle perilous areas.
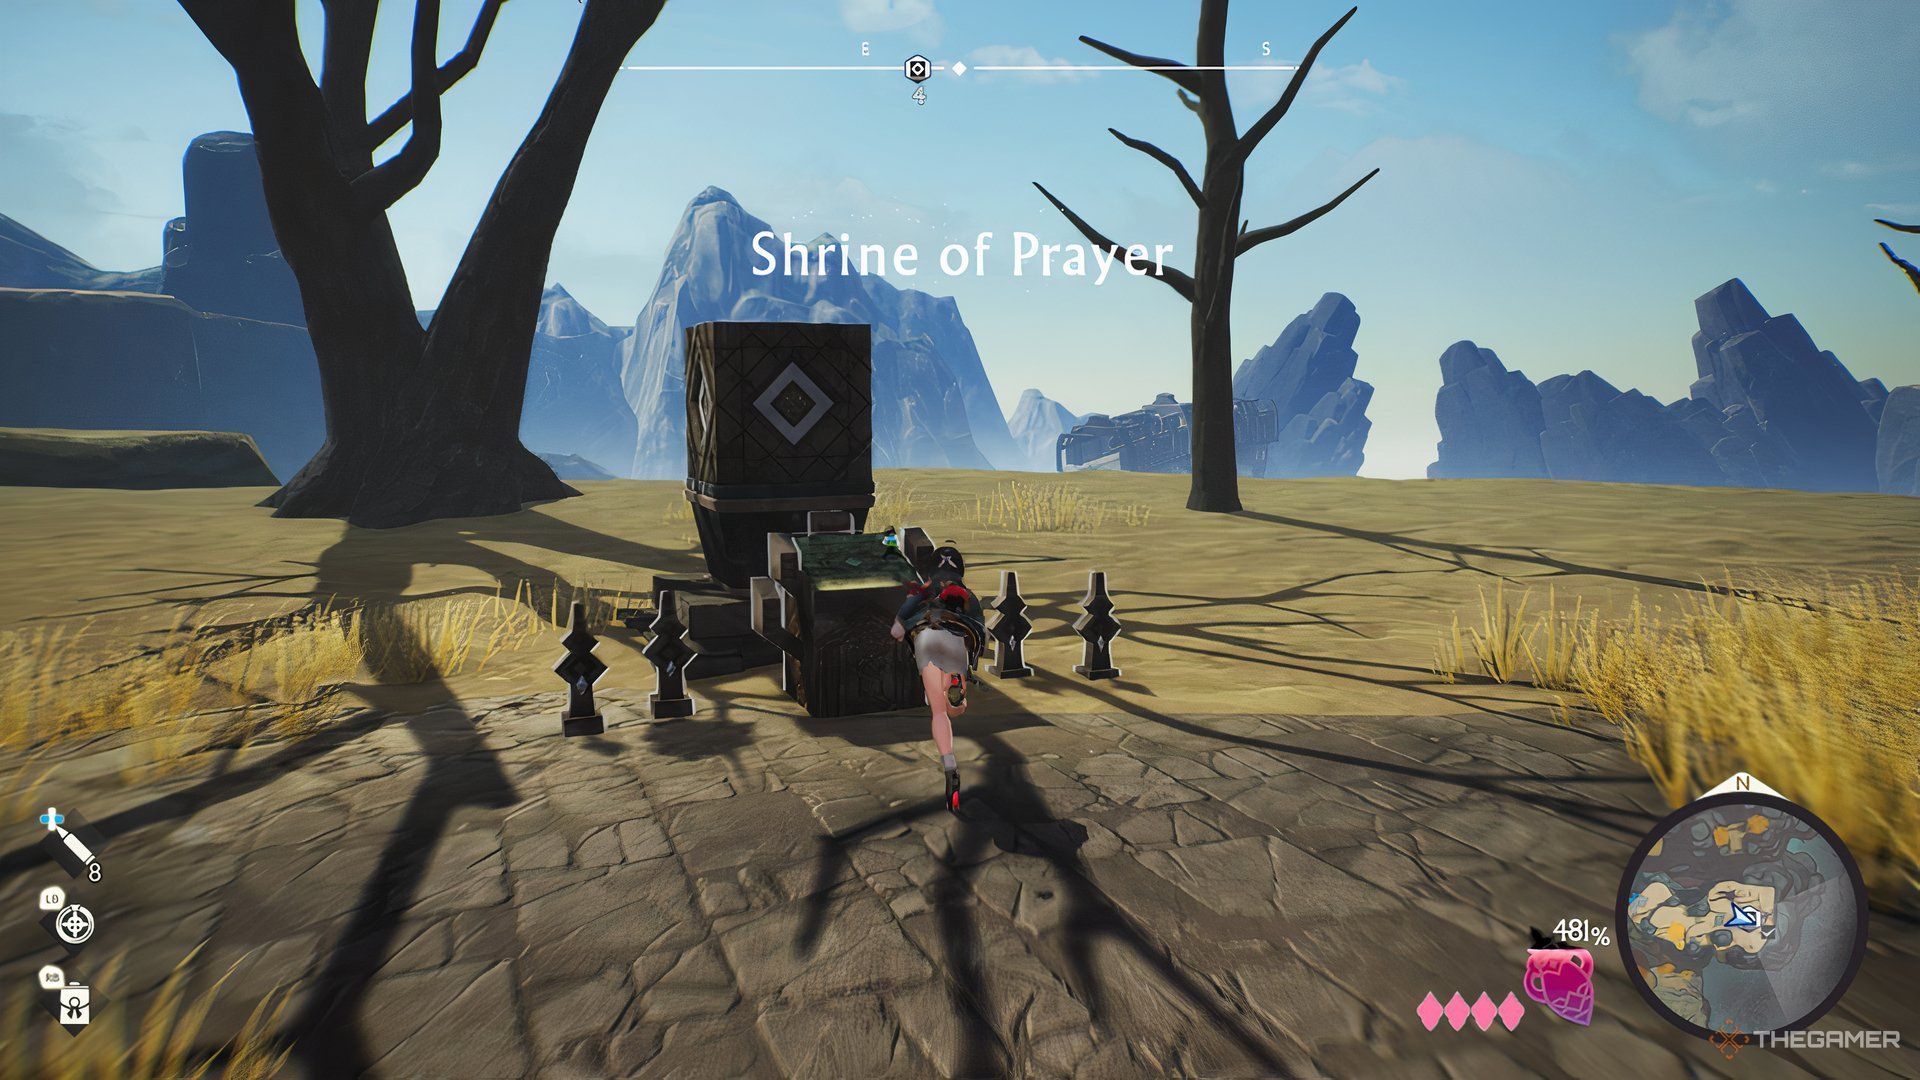
A great illustration of this is the Shrines of Prayer found throughout the regions, including Auruma. These ancient structures hold intriguing puzzles, and solving them rewards you with valuable upgrades, making them well worth the effort to seek out.
All Shrine Of Prayer Locations In Auruma
You can discover a total of 17 Shrines throughout the third region, typically located near Fast Travel points, making them easy to revisit if you happen to miss any. The puzzles at these Shrines tend to be more challenging than those found in earlier regions, and each one offers three unique devices.
It’s important to note that some areas in Auruma are completely off-limits until you complete specific quests, including a few Shrines. Fortunately, these areas contain only a handful of Shrines, so there’s not too much to worry about. Once you finish the ‘Exhausted Research Team’ quest, you’ll be free to explore.
Auruma Survey Base
Enter the tunnel to the north of the Auruma Survey Base and take a left. Follow the path to reach the main device of the Shrine.
Cliffside Store Ruins
Located west of the Dead-End Campsite. If you haven’t uncovered this area yet, exit the Survey Base through the west entrance and climb the hills to a higher viewpoint. From there, head east to find the ruins and the Shrine.
Large Cave
Jump down to the west of the Lode Fault teleport point in the Geni Settlement to discover the Large Cave area, where the Shrine is located.
Golden Lake
Take the Pergra Ost teleport and proceed to Golden Lake. The Shrine is situated on a small island to the south.
Large Commercial Building
Right to the east of the building itself. You can also teleport to the nearby Building Area to skip climbing down.
Eroded Canyon
Teleport to the Eroded Canyon point and turn left. Continue straight ahead to find a cave that contains the Shrine.
Ramus Route
Teleport to either the Building Area or the Ramus Route Ratix, then ascend two flights of stairs to access the Shrine’s location. It can be found inside a small room.
Sandy Falls Hills
Take the Northern Area Entrance teleport and head north to the remnants of Tornus Inn; repair the Zipline inside and use it to reach the Shrine.
Tornus District
Use the Tornus Road teleport, then proceed straight to the stairs. You’ll spot the Shrine right in front of you.
Aladissian Military Base
Right next to the Aladissian Military Base teleport, which is located south of the base.
Mana Transposing Ward
To the north of the main teleport in this zone. The Shrine is situated above a small house, but a simple jump will allow you to reach it.
Residential Area Intersection
Cross the bridge by the Residential Area Intersection teleport to find the Shrine nestled among some crumbled walls.
Unpopulated Residential Area
From the same teleport you used earlier, continue east along the road to Golden Plains – East. The Shrine is along the way, typically guarded by some monsters.
Golden Plains – East
From that last Shrine, continue heading east to spot the next one as you enter the Golden Plains.
The access to the next two Shrines is only granted by advancing through the ‘Exhausted Research Team’ quest.
Large Alber Settlement
Once you’ve gained access to the northern part of Auruma, head north from the Narrow Rocky Path teleport and climb the stairs.
Wygor Quarry
Further into the northern area, you’ll locate the Wygor Quarry teleport. Keep moving straight ahead and ascend the ruins to activate the Shrine at the summit.