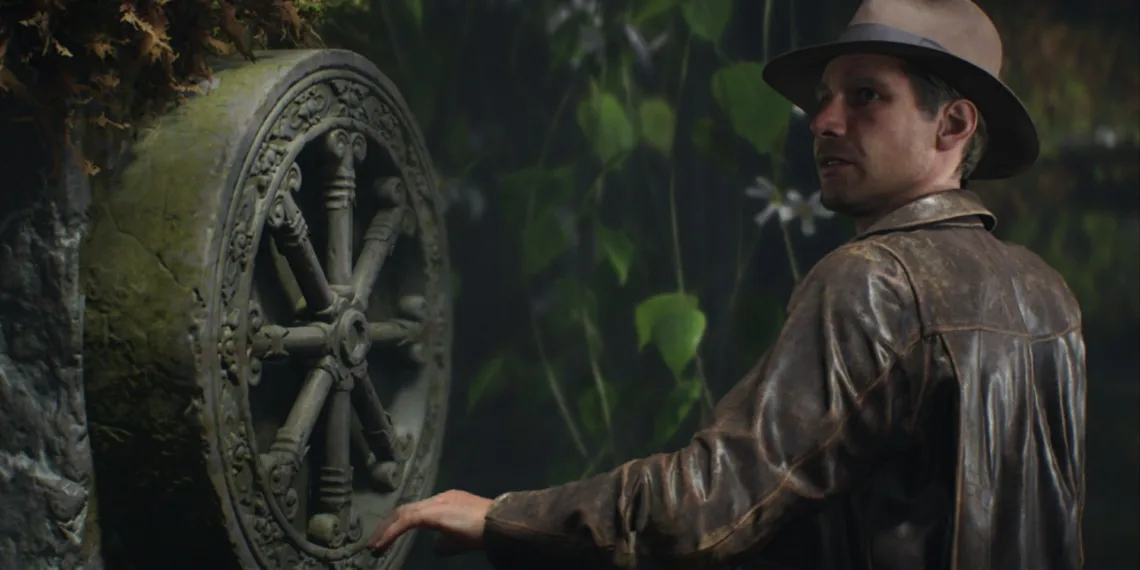
At the climax of Indiana Jones and the Great Circle, you’ll find yourself in Sukhothai, where your journey leads you to pursue the final stone and the tales of a Blessed Pearl. The silver lining is that Voss has yet to uncover the way to the Hidden Pyramid of the Nephilim, but the downside is that it’s actually concealed quite well.
Your first challenge is locating the Pyramid. However, once you’re inside, you’ll face some of the game’s most formidable obstacles, including a scenario that would terrify even Dr. Jones himself. Prepare to confront the age-old dilemma: is it worse to face a hundred normal snakes or one massive serpent?
How to Locate the Hidden Pyramid
You can head to the Hidden Pyramid as soon as you acquire the Breathing Device from Tongdang. The easiest way to fund this purchase is to swipe Voss’ stash of gold from his campsite. While you’re there, you might as well grab a Royal Army Uniform and jump into the Boxing Ring nearby for some extra cash.
Once you own the Breathing Device, take a boat to the northwest corner of the map, just north of Wat Sa Si. You’ll come across two trails: the right one leads to a dead end but features a waterfall you can photograph for adventure points, while the left path reveals a Yeak statue, the creature Sunan mentioned before, indicating you’re in the right place.
Stop your boat, equip the Breathing Device, and dive below. Amidst the ruins, look for a chute to swim down through; this will lead you through a tunnel, pushing aside a wooden beam blocking your way.
Warning: The Breathing Device has a limited oxygen supply, so don’t waste time. It automatically refills when you surface, so keep an eye on the meter at the bottom right of the screen.
After you pass the beam, emerge into a sunlit area to catch your breath, then continue along the left path. You should have just enough air to reach the Gear Train Puzzle waiting for you at the tunnel’s end.
How to Solve the Khmer Gear Train Puzzle
To unlock the mechanism that exposes the waterway, you must activate the gear systems on both sides of the chamber separately. You can tackle them in any order, but first, you’ll need to gather the cogs hidden nearby:
- You’ll find two large cogwheels, one at the front and another at the back of the room.
- Near the gear trains, there’s a small cogwheel on the ground to the left of each; you’ll need to grab both to have a total of two, but you still require a third.
- On the left gear train, there’s a hole to the right. Crawl through and climb the wall on the left to find the third small cogwheel at the top.
Once you have all three small cogwheels, use your whip to pull the ring on the wall opposite the waterwheel. This will set the wheel in motion and activate the machinery.
Right Gear Train
The right gear train presents the simplest cogwheel challenge. Position one small cogwheel to the right of the large center gear, then place a large cogwheel right next to it to form a horizontal line. Next, set a second small cogwheel directly above the large one, and put the third small wheel in the remaining space to its right. This forms a connection from the main gear to the cog concealed in vines in the upper-right corner.
Once arranged correctly, pull the lever at the mechanism’s center. If everything is set up right, the statue to the left will sink into the ground. Afterward, retrieve your cogwheels, as you’ll need them for the other puzzle.
Left Gear Train
You’ll need all five cogwheels (two large and three small) to activate the left gear train, and ensure that the waterwheel in the back is functioning (refer above). After meeting these conditions, place a large cog to the left of the main gear. Then, add two small cogwheels next to each other to the left of this large cogwheel.
The second large cogwheel should go beneath the leftmost small cog so that it sits partly behind the statue’s ear, with the final small cog placed in the last remaining spot on the right. When correctly arranged, pulling the lever will cause the statue to retract into the ground, just like with the right gear train.
Tip: Remember to take the three small cogwheels with you when you leave. You’ll need them for optional puzzles hidden throughout Sukhothai, and they are crucial for collecting all the Ancient Relics.
Once both statues have disappeared into the ground, turn the dial on the wall between the two gear trains to trigger a cutscene that reveals the Hidden Pyramid.
Warning: If you’re low on supplies like Bandages at this point, it’s smart to head back and raid an enemy camp for more before proceeding.
How to Access the Sukhothai Pyramid
The pyramid’s exterior doesn’t reveal any doors, stairs, or ladders. To enter, you must navigate the water and face its serpentine guardian.
Warning: Unless you’re in a tight area where the giant snake can’t follow, you’ll hear a sonar sound whenever you’re in the water near the pyramid. This indicates the snake is on your trail; the sound will increase in pace as it gets closer. If it catches you, the consequences are fatal. Stay out of the water or find cover.
While in the boat from the gear puzzle room, approach the pyramid until you spot a collapsed tower on your left. Carefully climb onto it from your boat and notice that the roof has a hollow space, allowing you to swim down. Equip the Breathing Device and move the beam at the bottom of the tower.
Get some air, then return to the opening and swim straight ahead to the next tower as fast as you can. As long as you don’t pause, you’ll outrun the snake. Move from one safe area to another, following the sunlight if you get disoriented until you’re inside the pyramid. If you catch a glimpse of the snake’s face, you’re temporarily safe; just make sure to get above water before running out of air.
How to Scale the Hidden Pyramid in Sukhothai
Once you’re out of the water, make your way to the far end of the room and jump down to the ledges below until you reach the chasm’s base. Here, you’ll find a crawl space that leads you to the Tower.
Walk carefully along the stone ledges, using your whip and running jumps as needed to navigate larger gaps. When you see a giant mushroom to your right and a spear ahead, you’re about to learn a new climbing mechanic.
Using the Giant Mushrooms to Climb
Throwing a spear at a giant mushroom will create a swinging bar that you can secure with your whip. Ensure you throw the spear from directly across from the mushroom; any angled throws may cause it to bounce off. Generally, there will be multiple spears available, but if you miss too many, you might need to reload a checkpoint to respawn them.
Tip: If the targeting reticle turns red, it means the spear is in range to hit the mushroom, but the angle might still need adjustment. Aim for a straight shot whenever possible for optimal success.
How to Navigate the Lost Archive and Defeat the Giant Snake
After swinging from the first mushroom, you’ll enter the Lost Archive. Head immediately right for an Ancient Relic, then continue crossing the stones as before: make running jumps and swings. If you fall, you’ll end up in the water again, but beware—the giant snake is back. Get back ashore quickly when that happens.
Tip: Some spots will require a quick swim. As long as you’re in and out of the water fast, you should be safe from the snake.
When you spot the elephant skeleton, your only option is to dash toward the swing bar on your left and use your whip midair to grab it. This will lead to a break that drops you into the water. Climb onto the island beneath the elephant to confront the snake directly.
Collect the spears from the ground, and hurl them at the snake when it opens its mouth. Don’t hesitate, or it will bite, depleting a significant portion of your health. Fortunately, the snake takes its time resurfacing after submerging, giving you a chance to apply a Bandage.
Tip: If you run out of spears on the ground, there are more in the elephant’s holster above you.
Once you’ve used enough spears on the snake, it will retreat and break through a wall, allowing you to progress to the next area without further hassle.
Second Climbing Section
Once back in the sunlight, it’s time to climb again. Move counter-clockwise along the cliff’s edge until you can cross the chasm and then shift back clockwise along the tower’s side. At the giant snakeskin, you’ll have two routes: staying to the right will lead you to the spear needed to create a swing bar straight across the chasm. However, before you circle back on the snakeskin, continue on the right path for another Ancient Relic.
Swing across the cliff using the whip attached to the spear and mushroom, then climb through the cave on the opposite side. You’ll surface right above where you just were. Continue to the right path to reach the summit of the tower after some brave jumps and swings using the mushrooms.
At the top, you’ll hear Gina calling from outside. Turn left and head down the stairs, then use your whip to pull her up.
Note: The snake’s escape has also created an opening to the right for easier access without backtracking through the entire ruin.
Follow Gina up the stairs as she turns the dial on the door’s left side; take a running jump back to where you initially came from to reach the right dial and enter the Game Room.
How to Solve the Nephilim Game Puzzle
Each time you place a game piece on the board, it will rotate all orthogonally adjacent towers by 90 degrees counter-clockwise. Start by taking all the pieces from the left shelf; along with the one already on the board, you should now have three to use.
Facing the statue, do the following:
- Place one piece at the center of the board, causing three towers to rotate.
- Position a second piece diagonally next to the first so that the two leftmost towers rotate.
- Position the third piece next to the far-right tower, aligning all four to face the wall.
When all four towers are oriented toward the wall, a second shelf will reveal three more game pieces. Keep the original pieces in their current spots, and add the new pieces to the board on places that won’t move the towers. You’ll need them all off the shelf to ensure continued access after the panel closes:
- Position a piece in the corner so that the center and near-right towers rotate.
- Add the other two pieces beside the remaining towers, causing each to rotate. All four towers should now be facing the statue.
When the statue reveals its secret message, snap a picture to trigger a cutscene and a boss battle. Refer to our guide for strategies on tackling Locus in the Pyramid’s depths; after defeating him, you’ll be automatically transported back outside to continue your adventure.


